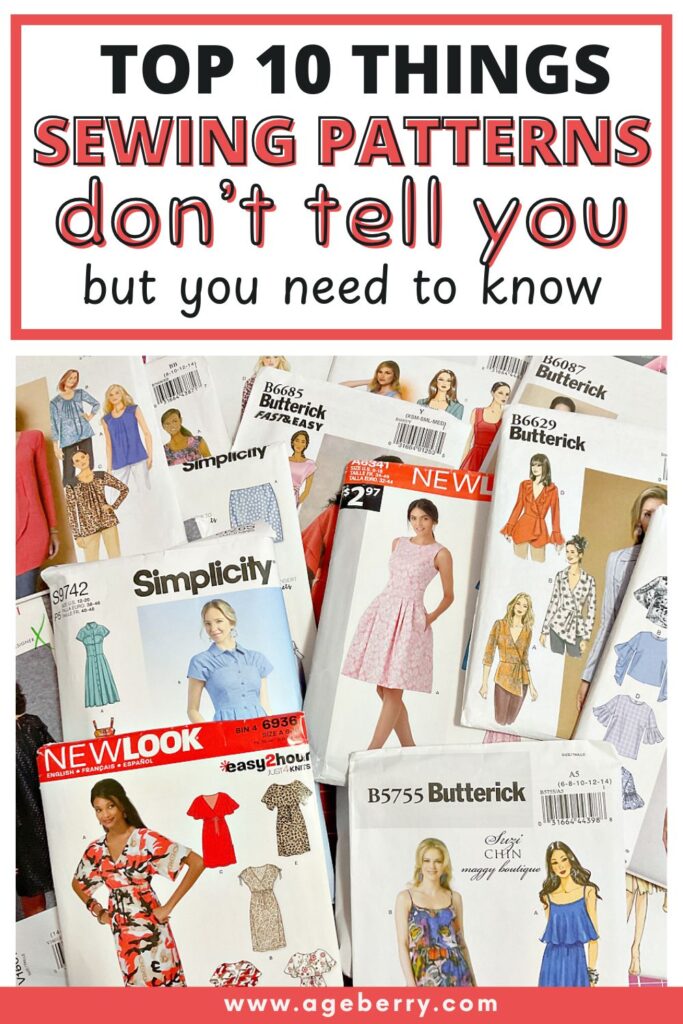
Top 10 Things Sewing Patterns Don’t Tell You (But You Need to Know)
We love sewing patterns. They’re like little blueprints for turning fabric into something beautiful, wearable, and totally handmade.
But as helpful as patterns are, they don’t tell you everything. They’re packed with technical instructions, line drawings, and sizing charts, but some of the most useful sewing wisdom? It’s just not there. Not because the designers are keeping secrets—but because patterns can only hold so much. There’s simply not enough space on that folded sheet to include all the little tips, workarounds, and “wish I’d known this sooner” moments.
So that’s what this guide is for. I’m sharing the top 10 things patterns don’t tell you—but you need to know. These are the behind-the-scenes insights that experienced sewists learn over time, usually through trial, error, and more seam ripping than we care to admit.
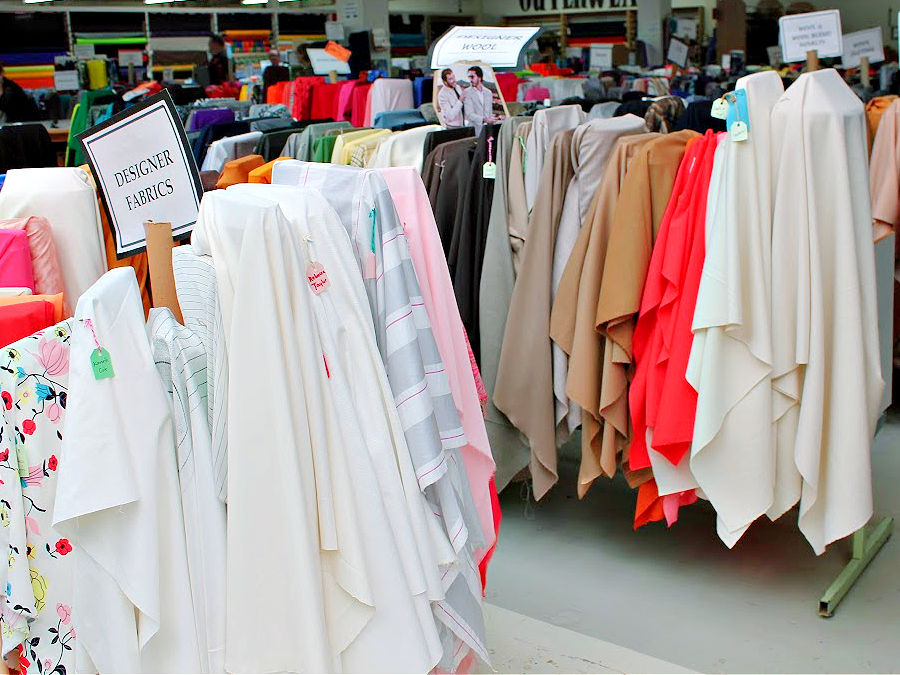
#1. Choosing the Right Fabric
Patterns love to play it cool. They’ll throw out something vague like “Suggested fabrics: cotton, cotton blends” and just walk away like that clears everything up.
Cotton? Sure. But do they mean quilting cotton? Cotton voile? Cotton jersey? Stretch cotton? Woven cotton? Because guess what—those all feel and behave differently, and only one of them will work. The others might turn your cute dress into a stiff tent or a clingy mess — neither of which was on your vision board.
And don’t get me started on when patterns say “knits.” Great. That narrows it down to about 2,000 options.
✅ Related tutorial: All About Modern Types Of Knit Fabric
What they often forget to mention is fabric weight. That’s the secret ingredient. Lightweight, medium-weight, heavyweight—it matters. A blouse pattern often needs something breezy, not stiff like canvas. A pencil skirt needs body, not a fabric that floats like chiffon in a breeze.
Then there’s the name-drop game. Patterns assume we all know what pinwale corduroy, pique, charmeuse, poplin, crepes, chambray, chino, gingham, twill, challis are (but I’ve honestly never seen half of those labels in a fabric shop). I once looked for “pique” and was handed a confused look by the clerk and a bolt of waffle-textured mystery fabric. Was that it?

And here’s another thing: patterns can’t list every single fabric on earth. But what they should do is describe the qualities we’re looking for. That’s why I really like Burda patterns in Burda Style magazine—they say things like “lightweight blouse fabric” or “skirt fabric with some body.” Now that tells me something.
So what do you do when your pattern leaves you guessing? Find one fabric on the list that you actually recognize. Touch it, give it a little shake, stretch it if you can. Then use it as your baseline to find others with similar drape, weight, and behavior.
Think of fabric selection like choosing shoes: you wouldn’t wear flip-flops to a formal dinner, and satin pumps aren’t ideal for a beach day. Fabrics work exactly the same way—each one has its proper place and function.
Here’s a quick takeaway:
- Look beyond general labels like “cotton” and ask yourself: Is it woven or knit? Does it need stretch?
- Consider fabric weight. Lightweight cotton voile feels very different from heavyweight cotton canvas.
- Use fabric descriptions from your pattern as a guide rather than a strict rule.
Choosing fabric carefully sets you up for sewing success from the start.
Have you ever ended up with the wrong fabric choice? Tell me your fabric “oops” stories in the comments.
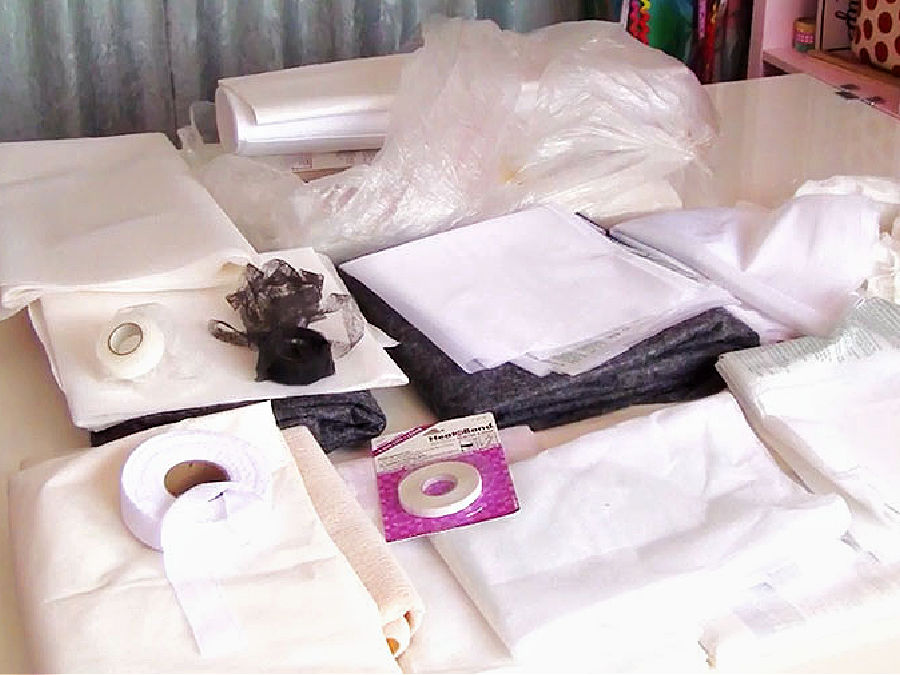
#2. Choosing the Right Interfacing
Interfacing is one of those sewing supplies that quietly does all the hard work behind the scenes. It gives collars their crispness, waistbands their structure, and helps your fabric behave—especially when it doesn’t want to.
But when you look at a pattern envelope for guidance? All it usually says is: interfacing. That’s it. No type, no weight, no hint.
Interfacing has evolved. It used to be just stiff or stiffer. Now you walk into a fabric store and find more varieties than yogurt flavors. Woven, non-woven, knit, tricot, fusible, sew-in, lightweight, midweight, heavyweight—and that’s just the warm-up.
So if you’ve ever guessed and ended up with a collar that feels like cardboard, or a waistband that flops like a cooked noodle, you’re not alone.
The truth is you do need to know the right kind of interfacing. The wrong one can change the whole feel of your project.
If you’re not sure, do a little research before you start cutting. I’ve put together a whole guide on fusible interfacing to help demystify the options. You can find it here: How To Use Fusible Interfacing (Video + Tips And Tricks)
One more tip? Always test it first. Cut a scrap of your fabric, fuse a little piece of interfacing to it, and see how it behaves.
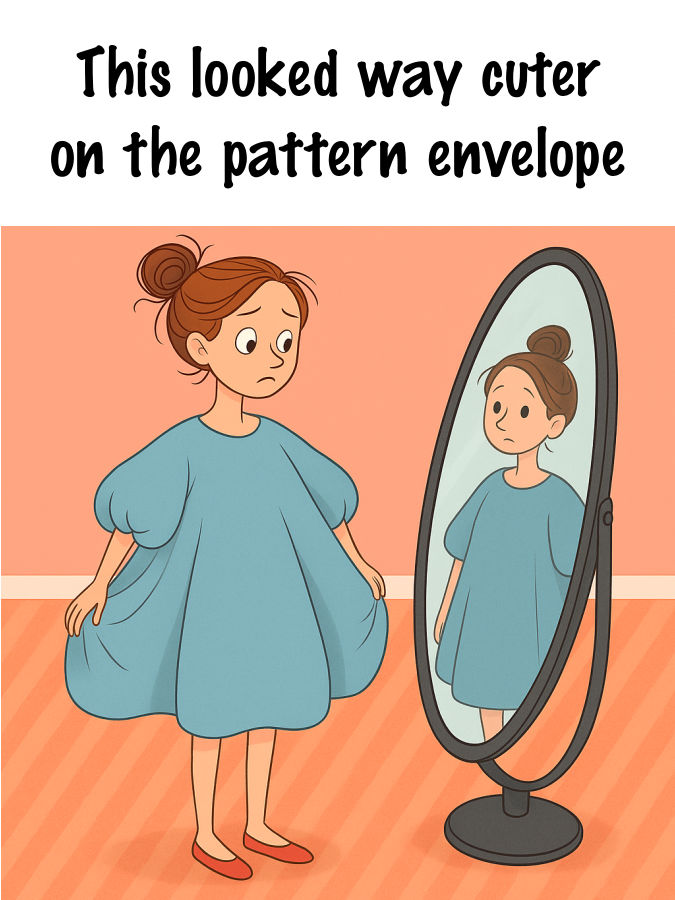
#3. Pattern Ease and Real-Life Fit
Now let’s talk about the mysterious world of pattern ease.
Pattern ease isn’t about taking it easy. It’s the built-in extra space a pattern adds for movement, comfort (and sometimes, a surprise, not necessarily good). And the catch? Most patterns don’t clearly explain how much ease they include. They just quietly slip it in like it’s seasoning. A little here. A lot there. Who knows…
You look at the model on the pattern envelope—sleek, tailored, standing in a sassy pose with her hand on her hip. You think, “Yes, that’s exactly the look I want.” But what the pattern doesn’t show is that the garment has 3.5 extra inches of ease… and unless you’re styling it with a belt, and a lot of confidence, it’s not going to look like that on you.
Ease can sneak up in all the wrong places too. Sleeves that fit like bat wings, waists that float somewhere near your ribs, hips with enough room to smuggle a small handbag. Suddenly you’re wondering if you sewed the wrong size.
Now, some patterns do try to help by including finished garment measurements. These magical numbers tell you the actual size of the sewn piece—not just your body size. So, if your bust is 38″ and the finished bust is 42″, congratulations, you’ve got 4″ of ease! Hopefully you wanted it.
But not all patterns include these measurements. Some brands ( Vogue ) don’t list them at all. And even when they do list them, it’s often just the length of the garment. Bust, waist, and hips? Armhole depth? Skirt hem circumference? Sleeve width? Only sometimes.
Hot tip: before cutting into your good fabric, find those finished garment numbers (if they exist), or measure the paper pattern yourself. It takes a few minutes, but it could save you from ending up with something you won’t actually want to wear.
#4. The Importance of Pressing
Most patterns will casually mention “press the seam” like it’s a side note, right before moving on to the next ten steps. But pressing is not optional.
Now, I get why patterns don’t say “press the seam you just made” after every single step. It would get repetitive fast. But the problem is, if you don’t know that you’re supposed to press constantly, you might not do it at all. And that’s when your beautiful sewing project starts looking a little… rumpled. You could follow every instruction perfectly, and still end up with a garment that looks homemade in the wrong way.
Another thing patterns rarely mention? Which way to press. To the side seams? Toward the center? Press open?
Some steps—like pressing darts—make a huge difference depending on the direction. Press them the wrong way, and you can end up with unwanted lumps or distorted curves.
Knowing how and when to press isn’t always intuitive, and most patterns treat it like common knowledge. But pressing is part of shaping the fabric. It’s what helps everything lie flat, curve correctly, and behave like it’s supposed to.
If you’re not sure where to start or just want to make sure you’re doing it right, I’ve written a detailed guide to help you avoid common mistakes: Pressing Matters: 15 Common Ironing Mistakes to Avoid.
Because sewing without pressing is like frosting a cake before it cools. Technically possible… but don’t expect it to turn out well.
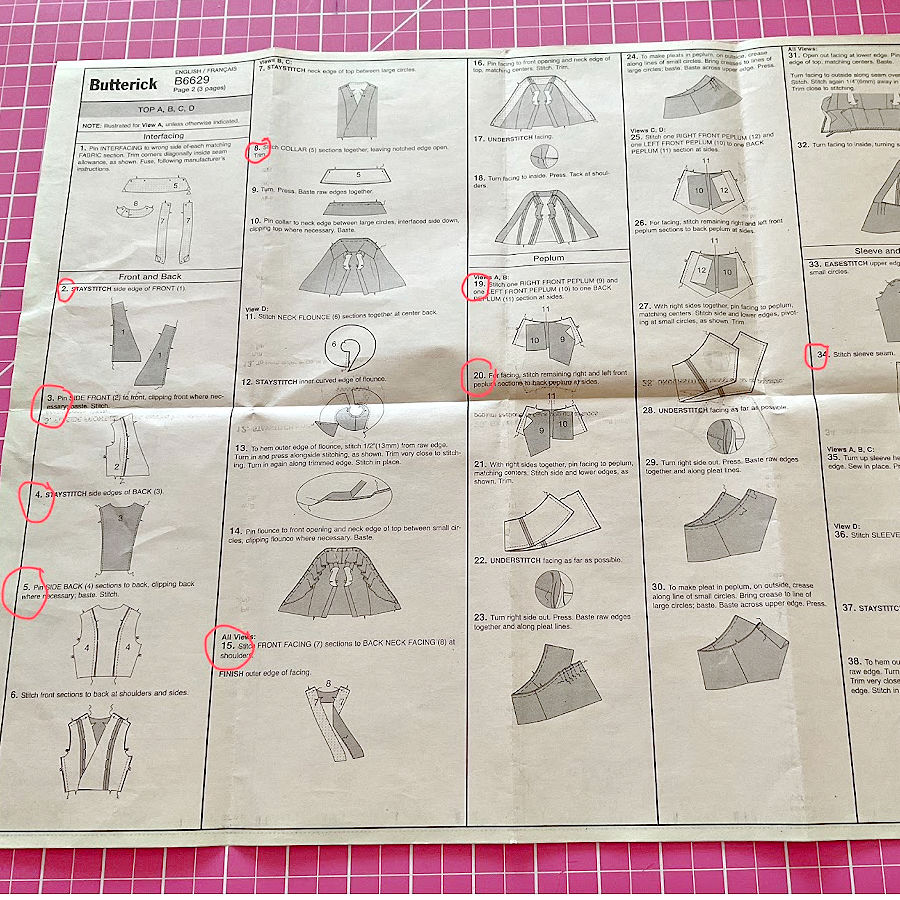
#5. Construction Order Tips
Pattern instructions love their step-by-step lists. First this. Then that. Sew. Press. Repeat. The order is always very logical, and yes—there’s a reason it’s laid out that way. Patterns have to assume every sewist needs to be walked through one clean, linear path.
But once you’ve sewn a few garments, you start to see where you can think outside the lines.
The truth is, the construction order can often be adjusted to suit your workflow. Experienced sewists often tweak the sequence to make things more efficient. For example:
- Batch your tasks. If you’re making a shirt with four vertical (not intersecting) seams, do all your seaming first. Then head to the ironing board to press them all at once. It saves time and cuts down on back-and-forth trips.
Another example: if your pattern calls for gathering the skirt of a dress and easing in the sleeves, you don’t need to do those steps hours apart just because they’re listed that way. Do them back-to-back. That way, your machine is already set up for gathering—same stitch length, same tension, same rhythm. No need to stop, rethread, and guess what settings you used ten steps ago.
- Sew flat when you can. Inserting sleeves or attaching cuffs is often easier when the garment pieces are still flat. Many patterns have you construct the whole body first and then try to wrangle a sleeve into a tube. Sometimes you can save yourself the wrestling match.
Of course, this kind of reordering assumes you know what you’re doing—or at least that you’re up for a bit of experimenting. And that’s totally okay. Sewing isn’t a test. It’s a process. If a different order makes sense to you, and doesn’t mess up your seams or create weird fit issues, go for it.
Think of pattern instructions as friendly suggestions from a cautious teacher. But once you’ve got your confidence (and maybe a seam ripper nearby, just in case), it’s perfectly fine to change the route—as long as you still get to a wearable finish line.
And because I am talking about the seam ripper, you may be interested in my article Why Does Your Seam Ripper Have a Red Ball? Discover Its Purpose!
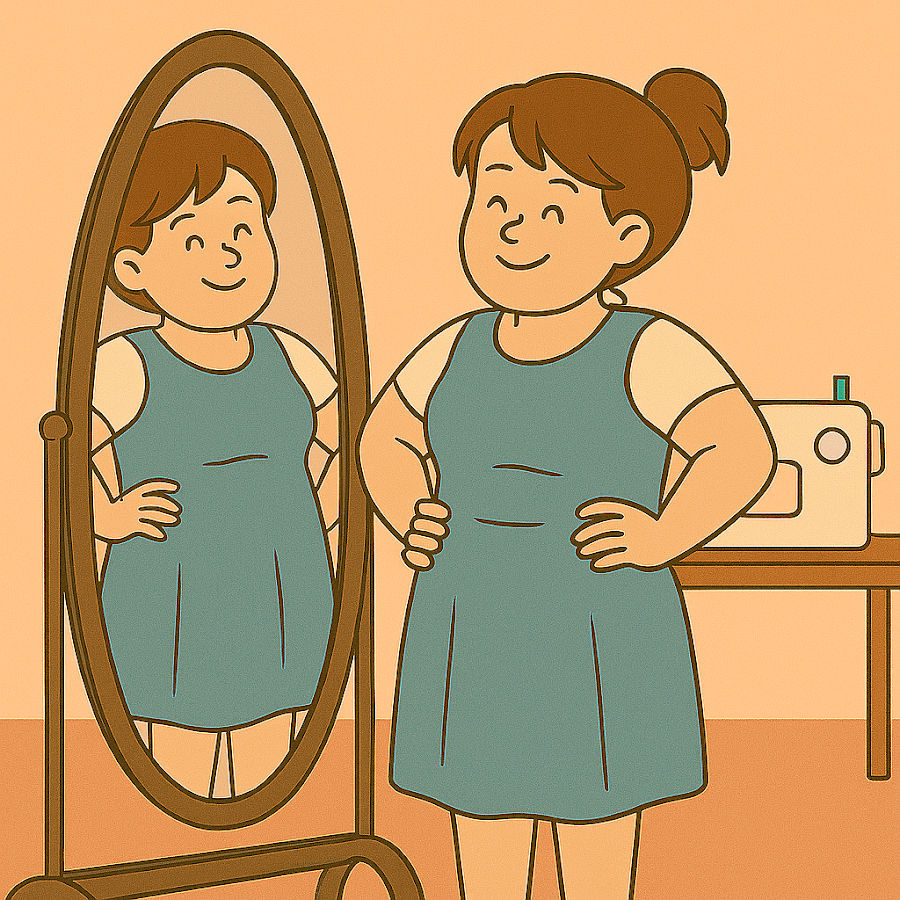
#6. Try It On First – Why Fit Comes Before Finish
Patterns love to pretend that fit is a given. Follow the steps, sew it all up, and poof—you’ve got a perfect garment. But real life (and real bodies) don’t work that way.
Most of the time, I want to check the fit before I commit to all the finishing details. So what do I do? One of two things:
- I make a muslin from cheap fabric (usually something lurking in the stash that’s been waiting for its purpose in life).
- Or, if I’m feeling brave or already know the pattern is close, I use my actual fabric, but skip the polished sewing. I baste everything together quickly, just enough to try it on and see how things are shaping up.
This step isn’t in your pattern instructions. They assume the fit is fine, and they want you to go ahead with understitching, facings, topstitching, and hemming like you’re sewing for a mannequin. But for us humans, basting the major seams and trying it on mid-process is a smart move—especially if you’re between sizes or working with tricky fabrics.
You might discover:
- The darts are pointing to the wrong place.
- The waist is too high.
- The back is too snug.
- Or you can’t lift your arms without feeling like your sleeves are staging a protest.
And wouldn’t you rather find that out before your garment is fully assembled with perfect topstitching and a finished hem?
Patterns won’t tell you to do this, but you can. You should. Think of basting as your sewing test drive—quick, low-stakes, and 100% reversible.
Want to see this process in more detail? I go over it step by step in my guide: How to Sew a Dress Using a Pattern: A Step-by-Step Guide
Because a garment that fits you is always better than one that just looks finished.
#7. Fabric Preparation Essentials
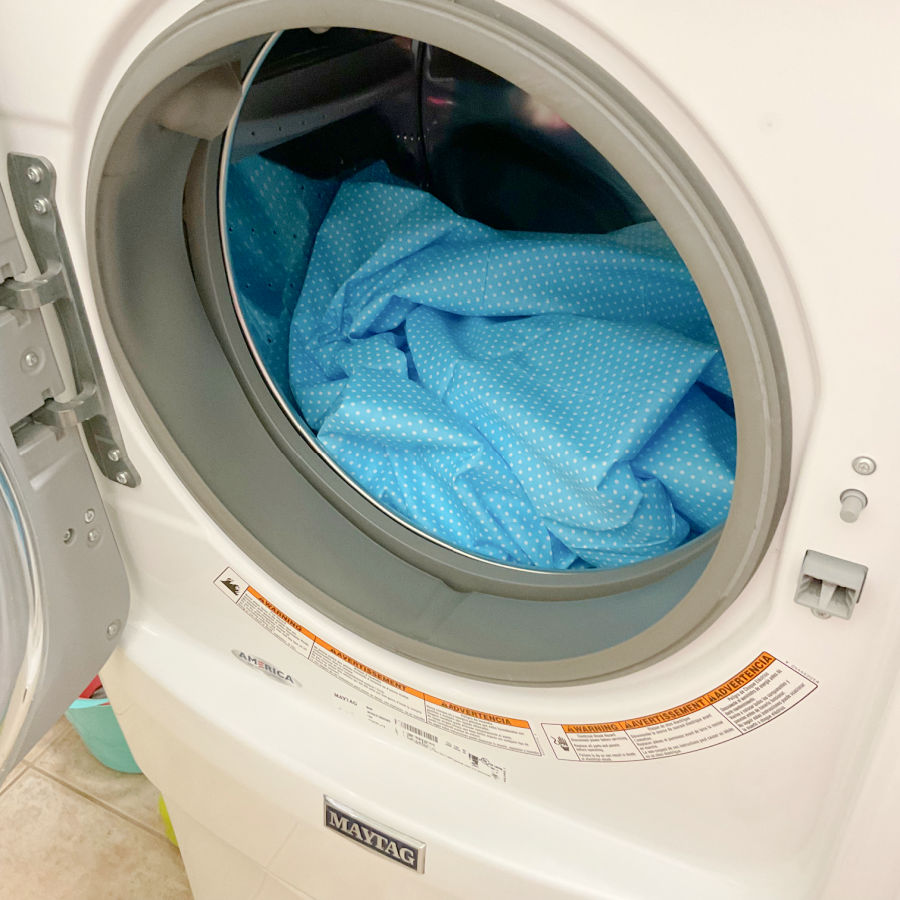
Patterns love to jump straight into the fun stuff—cutting and sewing—like your fabric came perfectly pressed, pre-shrunk, and grainline-ready straight off the bolt. But if you skip the prep? You could end up with a garment that twists, shrinks, or puckers after its first wash… and suddenly, that “perfect fit” is not perfect anymore.
Pre-washing matters. Fabrics shrink. Sometimes just a little. Sometimes enough to turn your new top into a cropped mystery. Washing your fabric the same way you’ll wash your final garment helps prevent that kind of heartbreak. Because sewing without prewashing is like baking without preheating the oven. It’s possible… but the results probably won’t turn out the way you hoped.
Straightening the grain is another pattern step that gets brushed aside—or never mentioned at all. But if your fabric isn’t aligned properly, your seams can twist and your hems can dip or ripple. And no, a good pressing won’t fix that later.
These are the prep steps that make a huge difference in how your garment looks, fits, and lasts.
So before you even touch the scissors:
- Wash and dry your fabric just like you would your finished garment.
- Press it flat.
- Check that the grain is straight—especially for anything cut on the fold or on the bias.
Patterns won’t shout this from the rooftops, but it’s something every experienced sewist learns pretty quickly: a few minutes of prep saves you from hours of regret.
Need help with the prep? I’ve got two guides that walk you through everything:
A few smart steps before you cut can save your entire project. And your sanity.
#8. Seam Finishes Are Rarely Mentioned (But They Matter!)
You followed your pattern instructions perfectly. The pieces are assembled. The fit looks great. But then you peek inside and see… fraying. Loose threads. A raw edge jungle that says, “Homemade” in all the wrong ways. That’s because most patterns barely mention seam finishes—if they mention them at all.
But finishing your seams isn’t just about looks (though it does make everything look tidy and professional). It’s also about durability. Without a proper seam finish, your beautiful garment may slowly unravel with every wash and wear.
This is where a serger (or overlock machine) becomes your best friend. Sergers trim the seam allowance and wrap the raw edge all at once, leaving a clean, stretchy finish that’s built to last. If you’ve ever looked at the inside of store-bought clothes and wondered how they keep those seams so neat—that’s a serger at work.
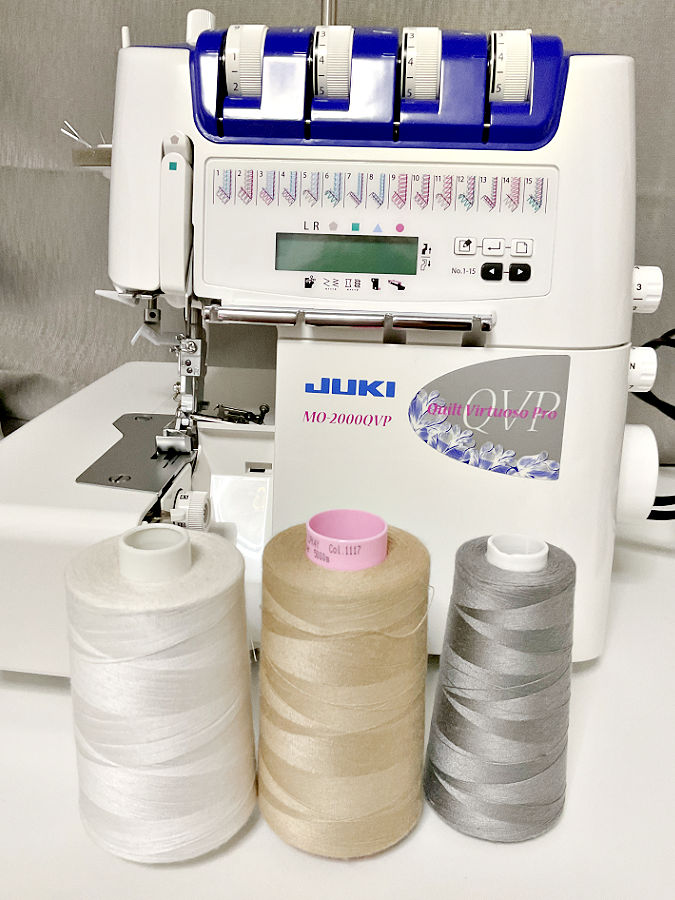
I have a very helpful eBook Serger Success Kit. It has easy-to follow instructions and was designed with beginners in mind. The information in this eBook is broken down into simple tasks so there are no confusing instructions on how-to operate a serger. You can go at your own pace without feeling intimidated. Here is the link: https://shop.ageberry.com/serger-success-kit/

But what if you don’t have a serger? You still have options:
- Zigzag stitch along the seam allowance.
- Use French seams for lightweight fabrics.
- Try pinking shears (for stable, non-fraying fabric).
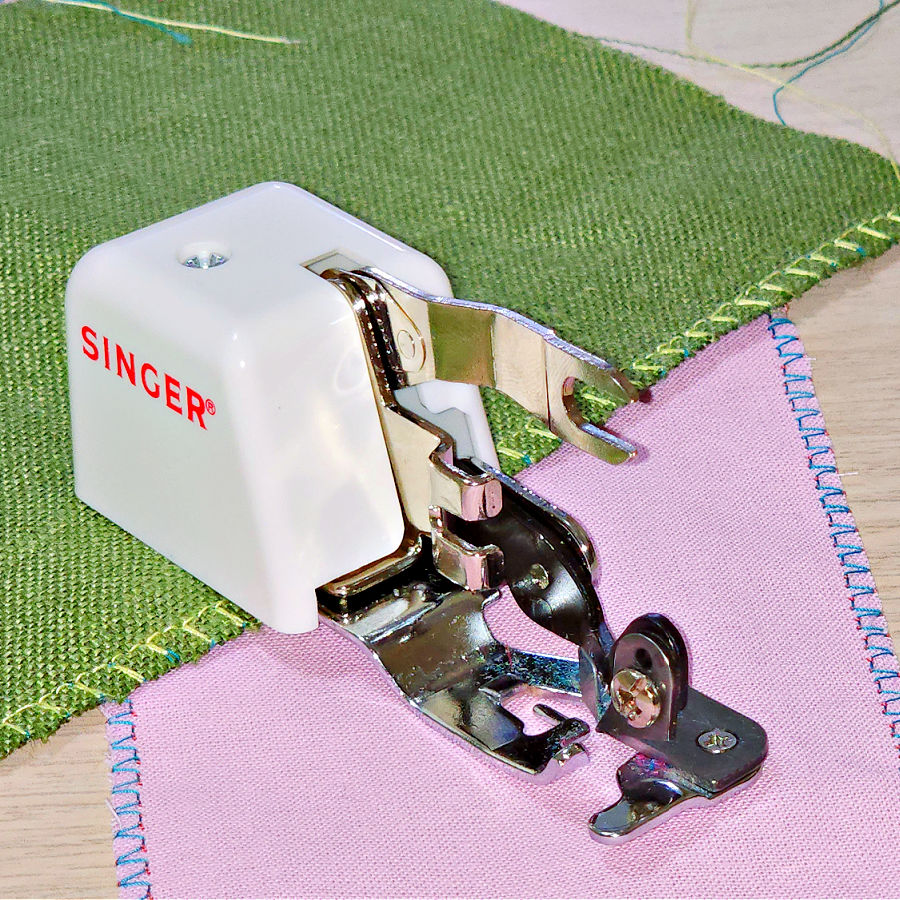
- Or, if you’re feeling fancy, use a side cutter presser foot, which mimics some of a serger’s work on a regular sewing machine.
Patterns don’t usually guide you through any of these. They assume you’ll just figure it out—or learn the hard way when your seams start fraying like the edges of an old dish towel.
Want to dive deeper into the hows and whys of clean seams? Check out these helpful guides:
- All About Sergers / Overlock Machines
- Mastering the Side Cutter Presser Foot / What It Is / How To Use
- Mastering the Zigzag Stitch on a Sewing Machine
- How to sew a French seam
Your garment deserves to look just as good on the inside as it does on the outside. Seam finishes make that happen.
#9. Transferring Every Single Pattern Marking
Patterns are very enthusiastic about their markings. Circles, triangles, notches, mysterious dots in odd places—there they are, peppered all over your tissue paper like a sewing-themed treasure map. And technically, you’re supposed to transfer every single one to your fabric.
But … do you really need every single triangle and dot to sew a pair of pajama pants? Not always.
Experienced sewists know that some markings are helpful… and some are just there. For example:
- Matching notches on sleeves? Yes, very useful.
- That little dot in the middle of nowhere that doesn’t seem to line up with anything? Maybe not.
- Pocket placement marks? Definitely.
- Every tiny circle for gathering on a ruffle you’re going to eyeball anyway? Optional.
Marking everything perfectly takes time, and sometimes you just don’t need that level of precision for casual garments or simple projects. The key is to know which markings matter, and skip the rest only when you’re confident they’re not essential.
Over time, you’ll figure out what you need to mark and what you can safely ignore. Until then, consider this a friendly note: not all pattern markings are created equal. Use your judgment, and don’t feel guilty if you leave out the sixth notch from the left on the back waistband extension panel.
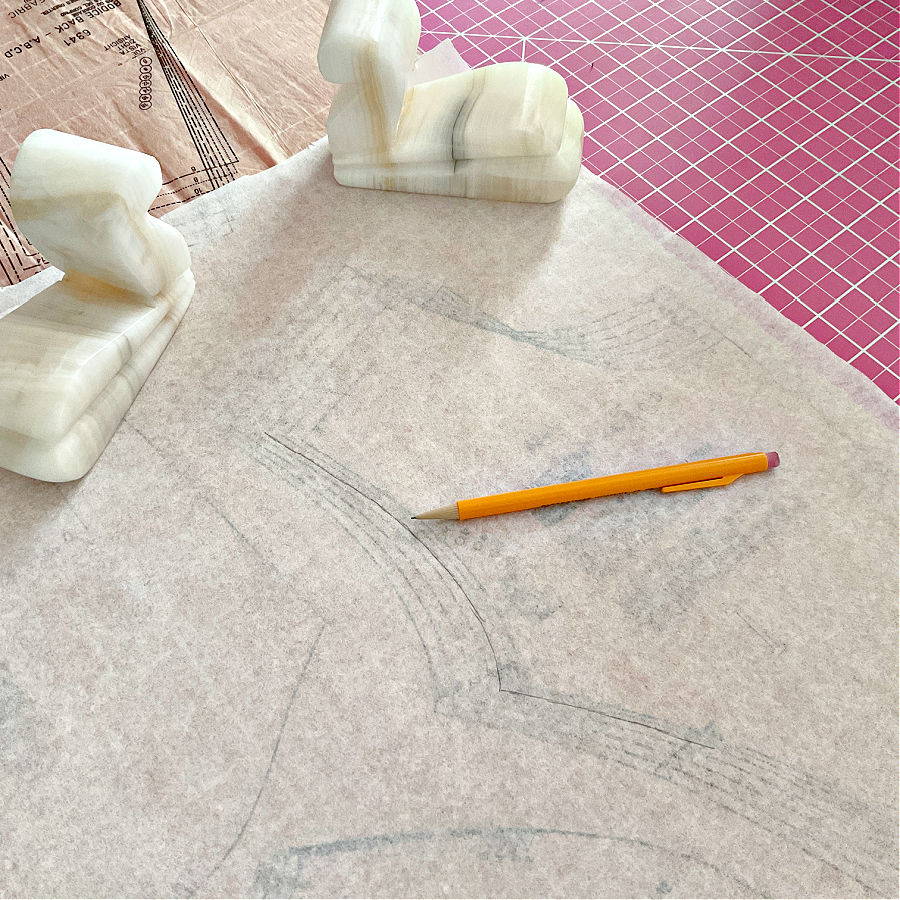
#10. Don’t Cut the Paper Pattern (There’s a Smarter Way)
Most patterns quietly assume you’ll cut right into the tissue paper like it’s no big deal. Just pick your size, grab your scissors, and go. But if you’ve ever been between sizes—or needed to make even one tiny fit adjustment—you know how limiting that can be. And there’s no going back.
Instead, try this: use see-through tracing paper and transfer the pattern pieces you need. Lay the tracing paper over your pattern, hold it in place with pattern weights (or canned beans, if we’re being real), and trace it onto your tracing paper.
Here’s why this works better:
- You keep the original pattern intact. If you need to change sizes later, it’s still there.
- It’s way easier to blend between sizes or add length when working on a separate sheet.
- You don’t have to wrestle with fragile tissue every time you want to make a new version.
- Tracing paper is sturdier. You can reuse it without worrying about tearing a neckline mid-layout.
- If you cut or damage a piece, you can easily make a copy – the original pattern is still there.
This method also gives you more freedom to make your pattern work for you, instead of trying to force your body into the pattern’s default settings.
Was this guide a total sewing ‘aha!’ moment? Then don’t let it slip away like that one rogue bobbin! Save this pin to your sewing board so you can easily find it when your next project calls for some sewing wisdom. And follow me on Pinterest for more tips, tutorials, and those little sewing secrets that make every project easier (and way more fun)!
latest posts
- What Do You Call a Person Who Sews? I Asked My Readers and Got 1,408 Opinions
- DIY Round Purse: PDF Sewing Pattern and Detailed Instructions
- Mini Wonder Clips By Clover: Useful Sewing Tool Or Just Another Notion?
- Non-Slip Grips For Quilting Rulers: A Small Notion With A Useful Job
- Fabric Eraser for Sewing: What It Removes and When to Use It
- What Is The Best Thread For Sewing Machine Projects? Let’s Find Out!
- Butterfly Quilt Block Tutorial – Foundation Paper Piecing
- How To Sew Quilt Squares So The Corners Match
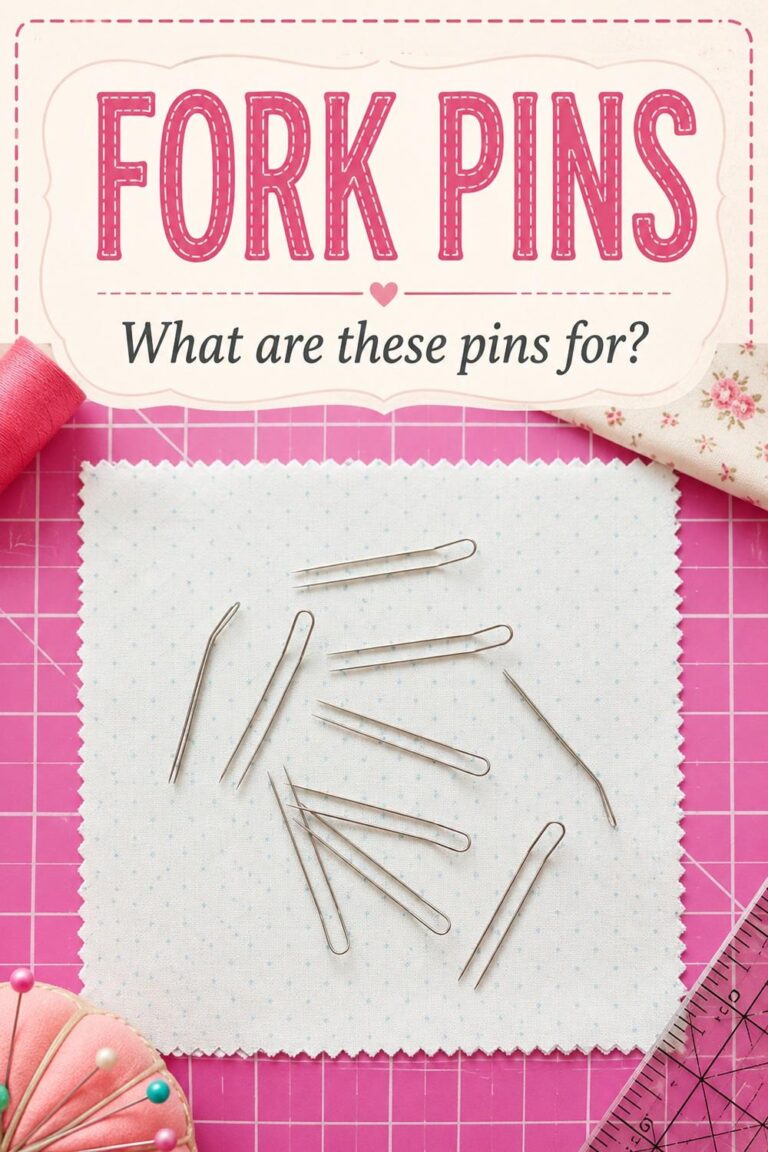
- Sewing With Fork Pins: How They Help With Pattern Matching, Slippery Fabric, And Seams