
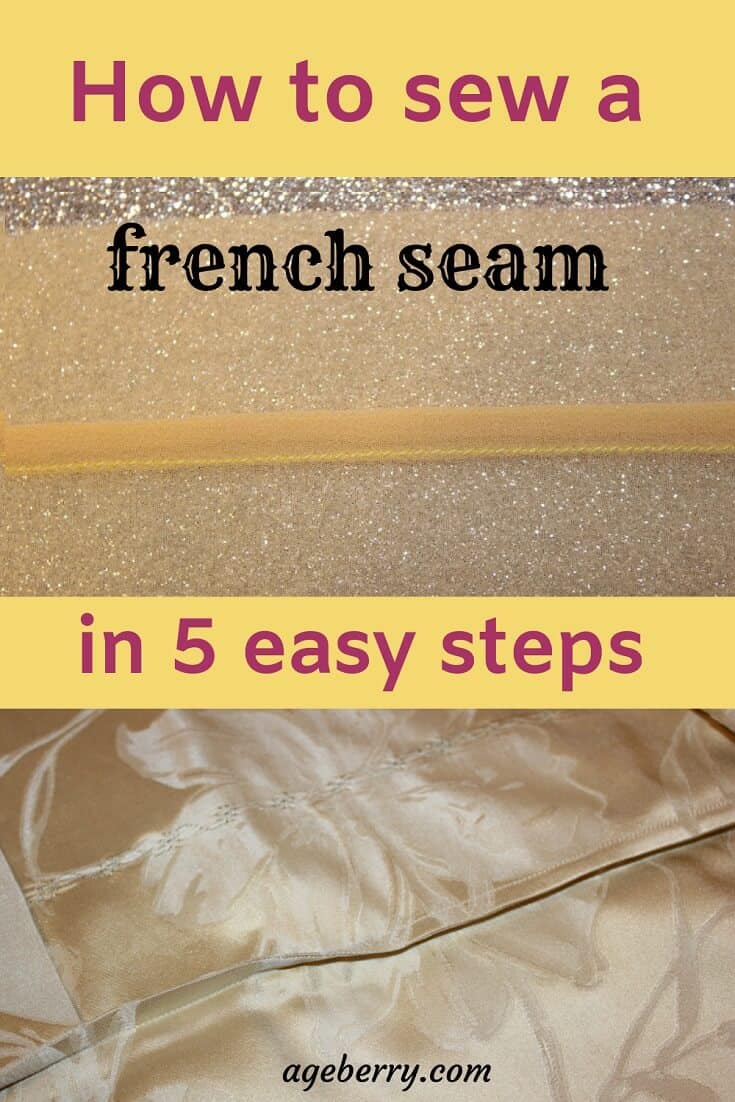
How to sew a French seam
This sewing tutorial is focusing on how to sew a French seam.
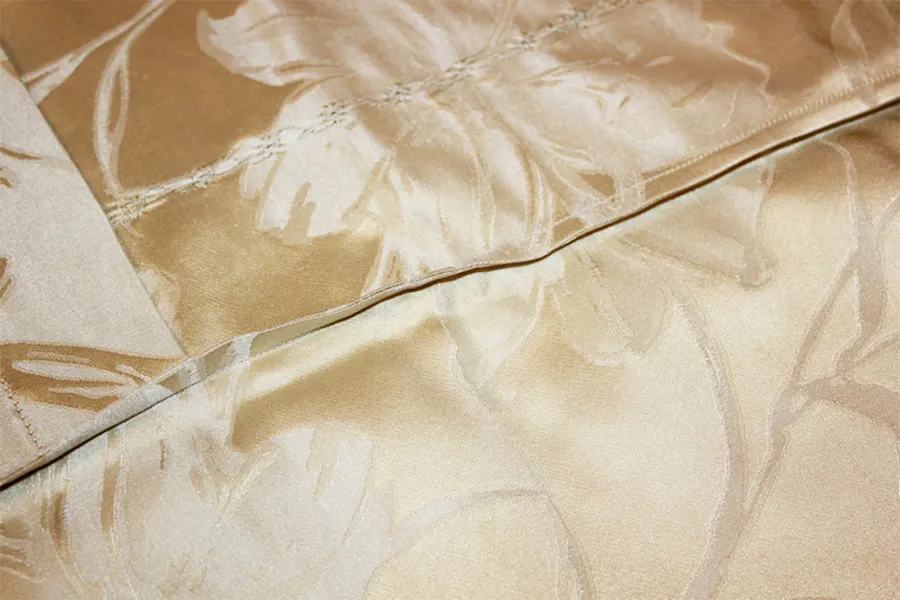
French seams are widely used to sew delicate fabrics. I have always used French seams for my silk chiffon and organza garments. They give a very nice and neat finish. Actually, I like them on any lightweight and medium weight silk. And recently I used French seams to sew 100% silk pillowcases.
You can find many good online tutorials on how to sew French seams. But it seems to me that something is missing in those tutorials. So today I am going to add some tips on how to sew professionally looking French seams.

Note: Some of the links on this page are affiliate links. This means I will receive a commission if you order a product through one of my links. I only recommend products I believe in and use myself.
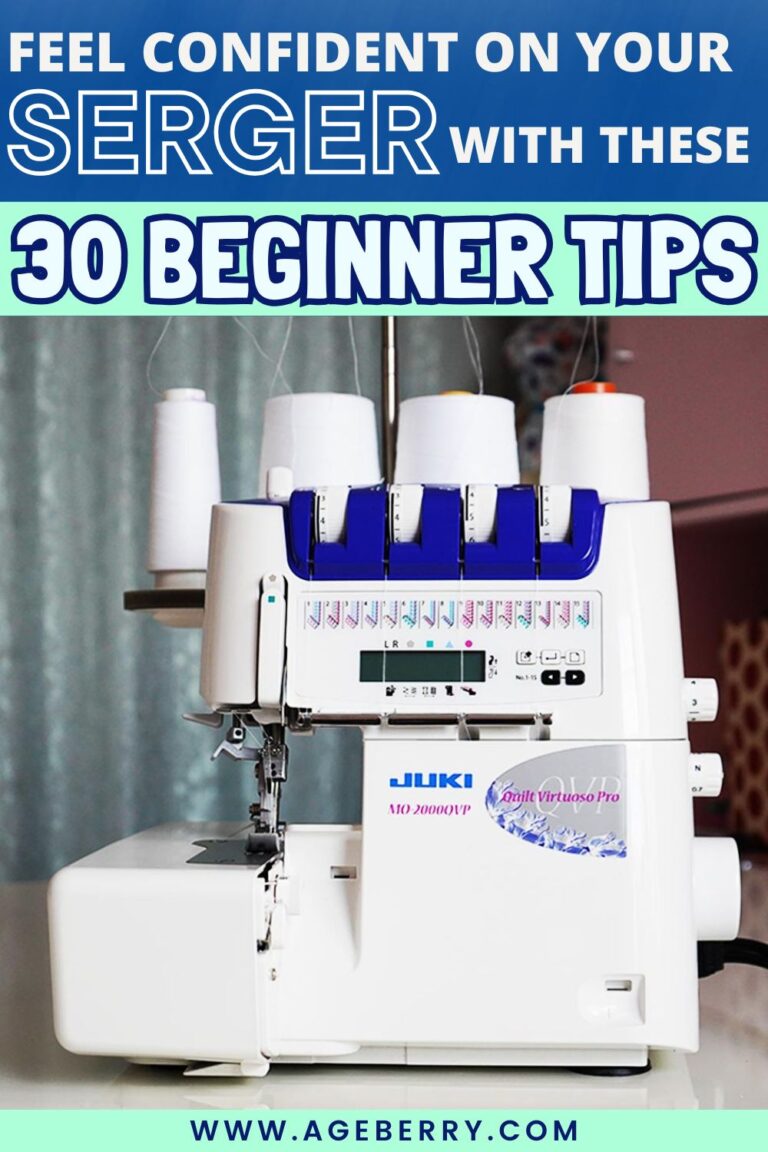
I have on my site a review of a very nice self-threading serger JUKI 2000 QVP (if you would like to upgrade your old serger).
So I think I am not exaggerating when I tell you to use a serger to sew French seams. It is not only faster (regularly sewing French seams is a time-consuming procedure). But silk fabric is usually fraying a lot and it is a very hard task to trim long seams (it is not so bad for very short seams) properly so the threads and even parts of raw edges are not showing on the right side of the item after you are done sewing French seams.
And this can happen often if you didn’t cut away enough fabric after sewing the first seam or if the fabric frayed a lot right away during the trimming process. And I think you agree that it is not acceptable to see any whiskers going out of the seam on the right side of the garment.
Now I am going to show you how to use a serger to sew French seams. I advise you to practice on scraps before actual sewing.
Also please note that measurements in this article are provided in the metric system so if you are used to working with the imperial system please use my fabric conversion calculator
How to make a French seam in 5 easy steps
Step 1.
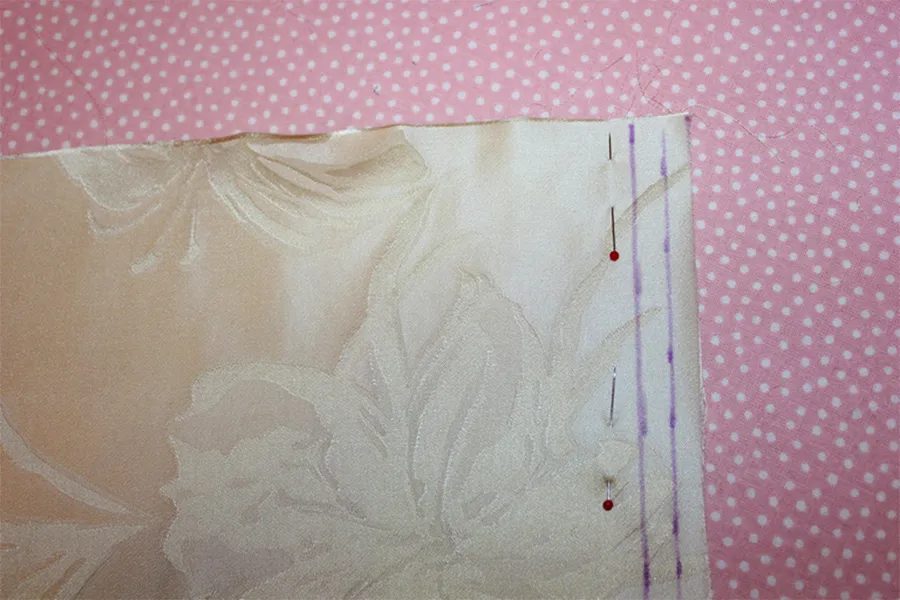
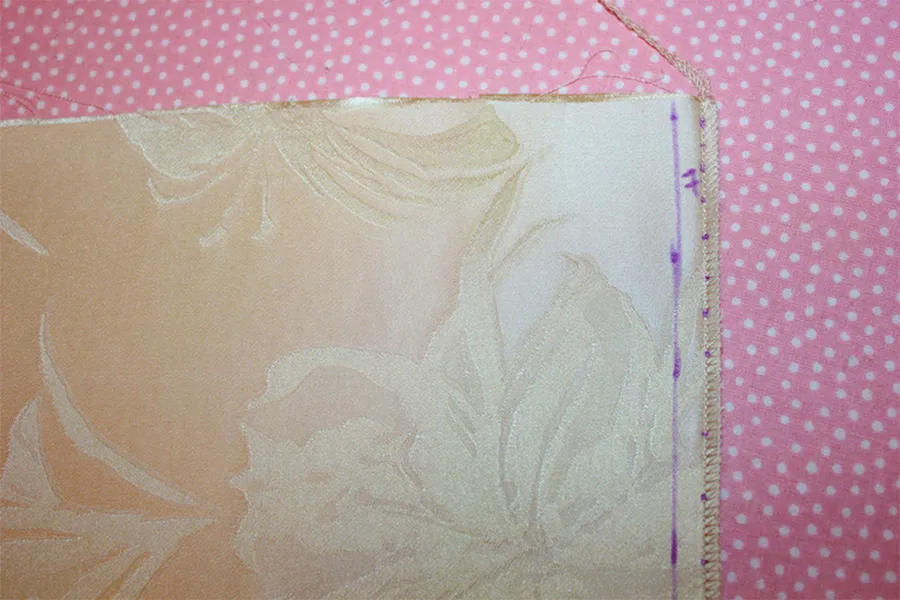
Pin fabric pieces wrong side together and right sides facing up. Mark both stitch lines that you need to sew on ( for French seams we need to sew 2 stitch lines) with a fabric marker. In my case, the seam allowances are 1.5 cm (5/8 in) so I marked one line 1.5 cm from the fabric edge. And I marked another line 7 mm from the first one (this distance can vary depending on the fabric used for the project).
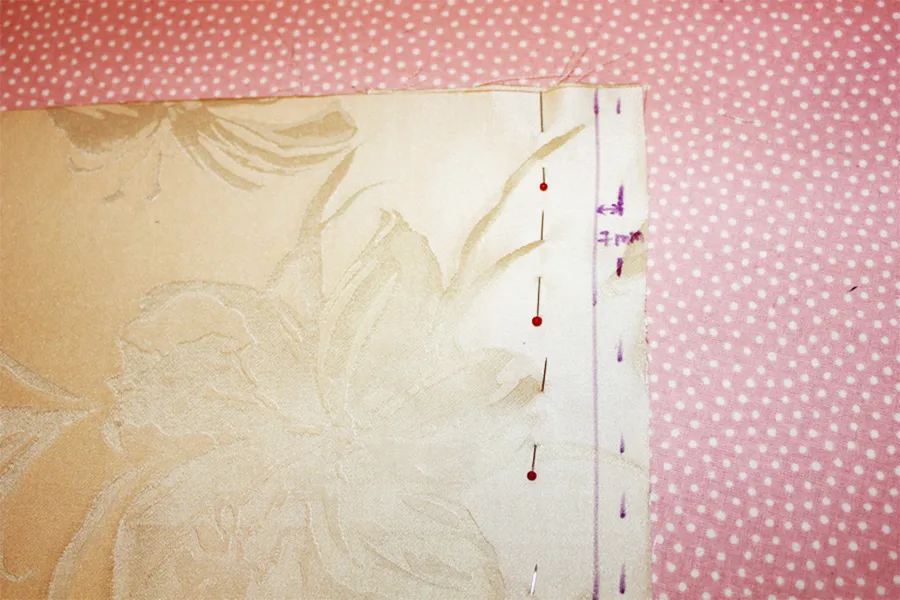
I need to mention though that for silk fabric you need to use very sharp extra fine glass heads and long pins (so they don’t leave any holes in the material).
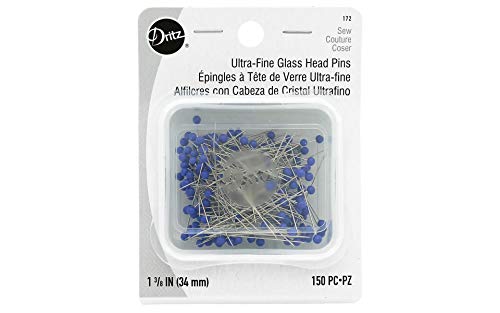
✅ Related tutorial: Types of sewing pins and their uses: all you need to know about straight pins for sewing
I use this wonderful marking pen with disappearing ink for all my sewing projects. It has a fine tip, it has always been very easy to use and it usually gradually disappears with exposure to air.

Step 2.
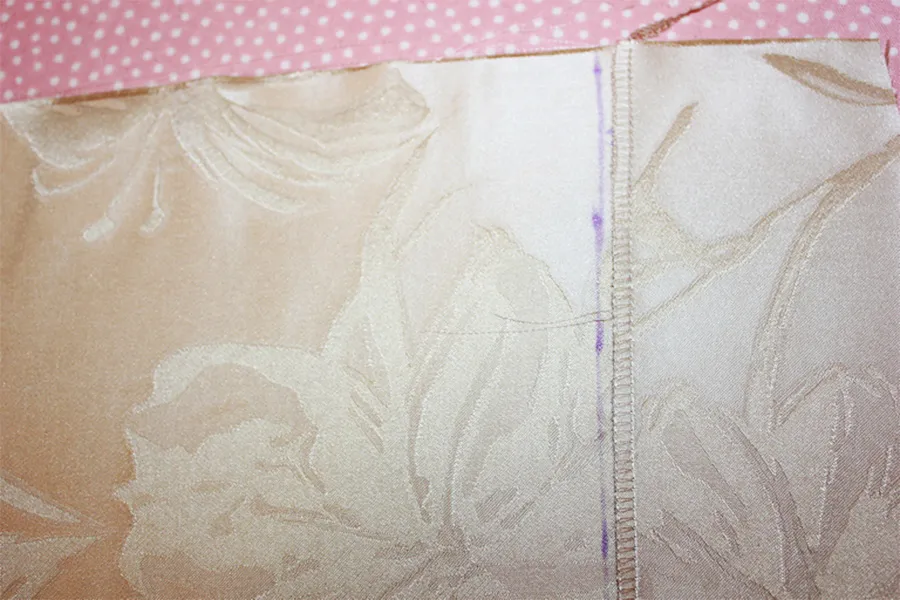
Serger stitch your fabric using proper threads (extra fine and in tone with your fabric). Stitch line should go 7 mm from the pattern line.
I always use 100% silk threads to work with silk fabric. They are smooth, quite strong, yet delicate, have a lustrous sheen, and glide through the silk fabric with amazing ease. Remember that your thread shouldn’t be heavier than the fabric.
Silk threads are just amazing! They are very thin but they are also very strong.
✅ Related tutorial: Sewing thread types and uses
Step 3.
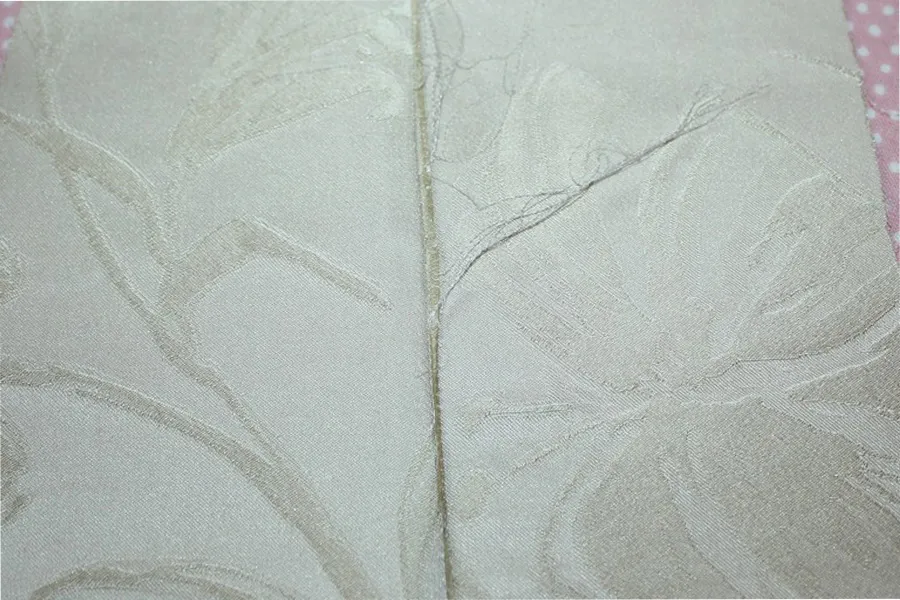
Press seams flat on one side (any side).
Step 4.
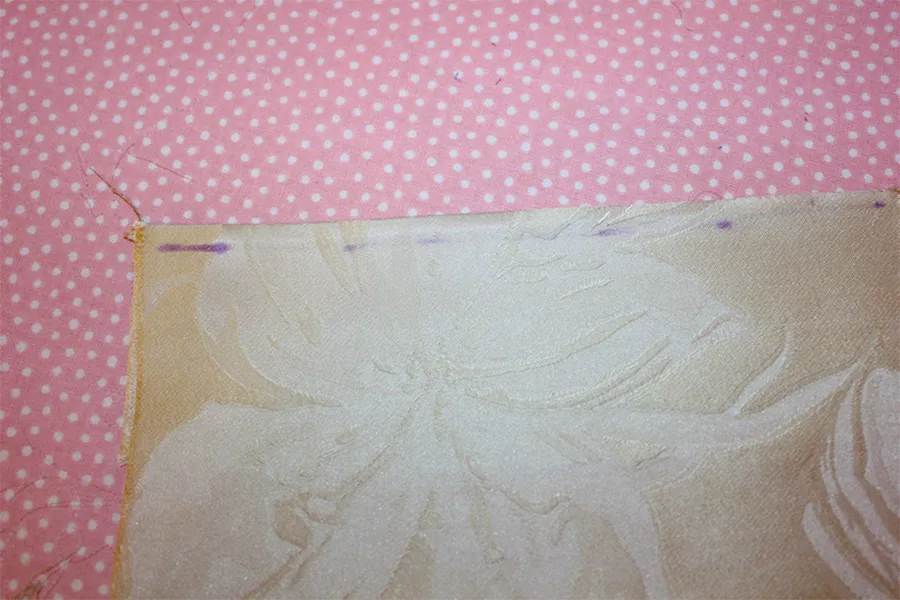
Put pattern pieces right sides together this time and fold the fabric exactly along the first stitch line so the stitch line is right on the edge of your fabric pieces. Baste (or pin) and press carefully. After pressing you will see clearly where the raw edges are.

Step 5.
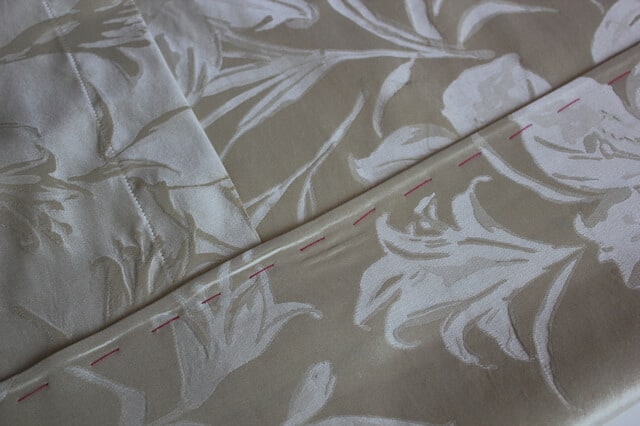
Stitch with a straight stitch (make the length of the stitch 1.5 – 2.00 mm for silk fabric) enclosing the raw edges and using the marked stitch line. I usually sew 6 – 7mm from the folded edge so that the allowances remain inside. Press again on one side.
✅ Related tutorial: Types of Sewing Machine Stitches: Unraveling the Mysteries of the Straight Stitch
French seam allowance
The second tip is about the proper seam allowances when sewing French seams.
The problem with them is that the second stitch line (as you may notice there are two stitch lines in French seams) has to go along your pattern line exactly and it is not very clear how to make this properly.
Some millimeters will be lost after first stitching, folding over, and pressing. And fabrics are different also – some are thinner others are thicker. And where to sew the first stitch? What is the distance between the fabric edge and the first stitch – 0.5 cm? 0.7 cm? 1 cm?
So, just to be sure I usually mark my pattern lines (that are going to be sewn with French seams) with a sewing marker (as you saw above). And I noticed that if I want the second stitch to go exactly over the marked pattern line I have to sew the first stitch 6 – 7 mm from the pattern line and trim it after to 3 mm or use a serger (as described above). But I advise you to practice on scrap fabric to find out exactly where your stitch lines should be (for your fabric).
______________________________________________________________________________________________________________________
And the third tip about sewing French seams is that they are not easy to rip and redo. So when sewing garments and bedding with French seams make sure that the item will fit properly and that you are not planning to make the item bigger or smaller.
Did you find this tutorial helpful? If so, save this pin (see below) on your sewing board so you can come to this tutorial later when you want to make a sewing project with French seams, and follow me on Pinterest for more tips, tutorials, and inspiration!
Ready to take the next step in your sewing journey? Check out more step-by-step tutorials from my blog and don’t forget to share!
latest posts
- Corset Pressing Board for Sewing: What It Does and How I Use It
- 7 Essential Tools and Settings for Sewing Denim on a Regular Sewing Machine
- That Purple Thang: 10 Smart Ways to Use This Weird Little Tool
- 20+ Reasons Your Sewing Machine Thread Keeps Breaking (+ Solutions)
- Dresden Plate Quilt Block: 4th of July Fireworks
- How To Sew Curves the Easy Way Using a Curve Master Presser Foot
- 30 Sewing Hacks That Turn Ordinary Items into Useful Sewing Tools
- Seam Allowances in Sewing Patterns: What They Are and How to Use Them
- What Do You Call a Person Who Sews? I Asked My Readers and Got 1,408 Opinions


Why would one sew with the bobbin threa through the needle?
Did you read that article? This is just an interesting trick. But you can use it to sew darts in sheer fabrics so you don’t need to tie the thread ends.
Amazing information!
Thank you!
DIOS te bendiga Olga gracias por tan excelentes instrucciones, un abrazo desde VENEZUELA
How to get the right balance
I am not sure I understand what do you mean by “right balance”?