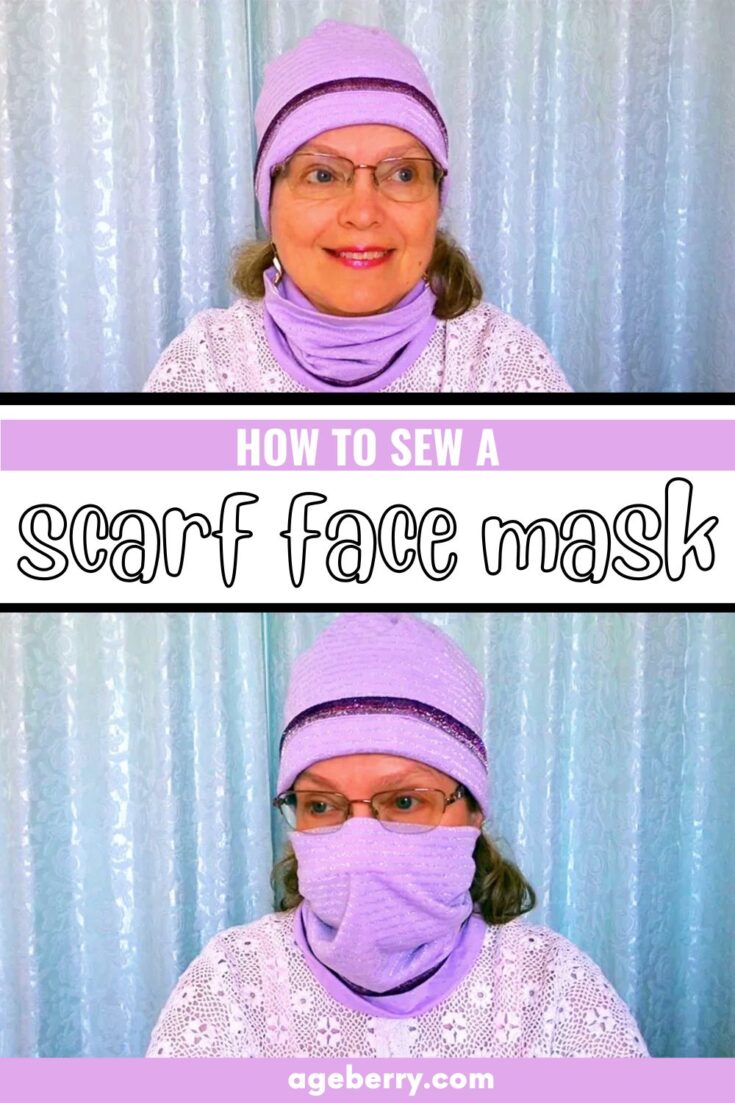
How To Sew A Scarf Face Mask
In this sewing tutorial, I will show you how to sew a scarf face mask.
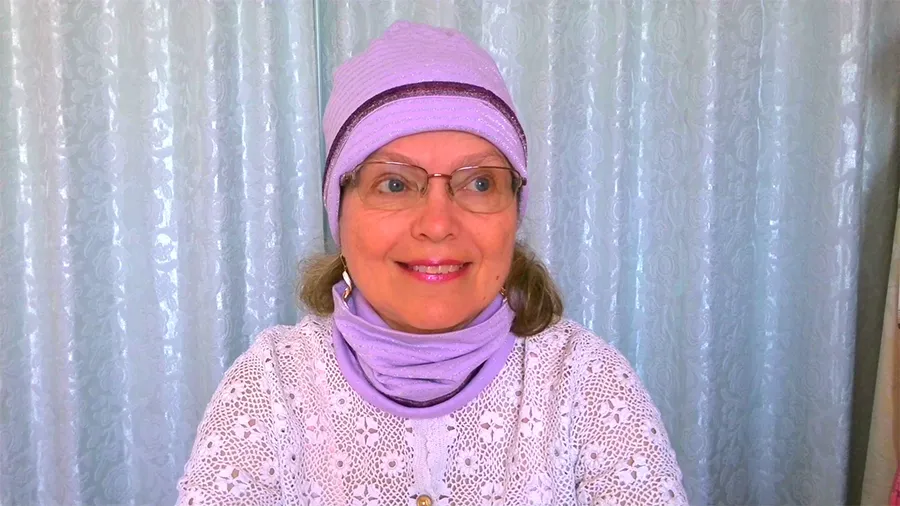
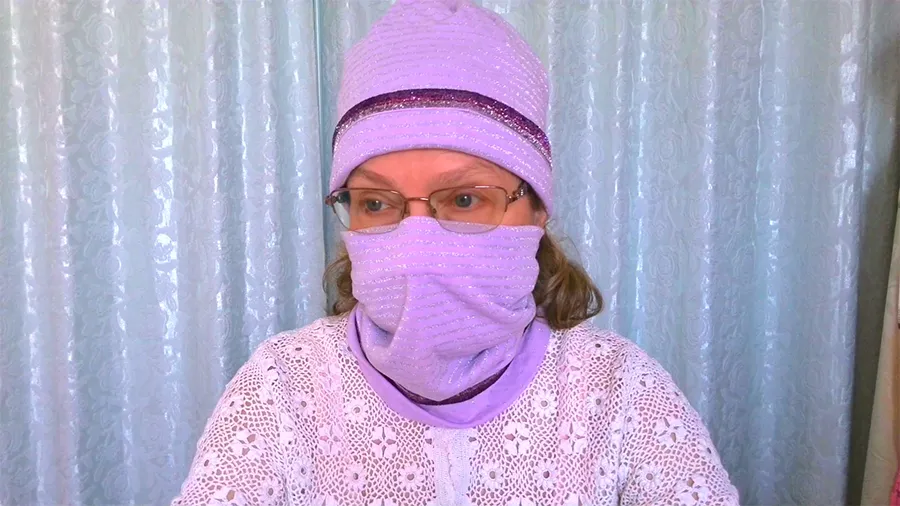
This scarf-transformer is multifunctional and can be used as a comfortable and easy face mask without the need for tying it. It stretches easily over the head.
It’s double-sided, made in the form of a tube and it has a special pocket inside as a face mask filter.
If you make it yourself you can choose soft, pleasant to the touch, and lightweight knit fabric so you can wear the scarf as a face mask indoors (when you go inside for a short period of time). The thickness of the fabric should be thin enough for you to breathe well.
The project is very easy, even a beginner can handle it. It won’t take much time: in one evening you will have time to sew scarves for yourself and your whole family.
The scarf can be used at any time of the year. But it’s ideal for use in colder weather together with the beanie. It’s suitable for everyday wear but also for hiking, skiing, snowboarding, cycling, biking, hunting, fishing, etc.
The design and elasticity of the scarf allow you to choose the desired option: a scarf or a face mask.
Attention! If you like the video format, at the bottom of this post, look for a YouTube video version where there is a step-by-step tutorial for sewing a scarf face mask. For a more complete picture, I recommend exploring both versions.
What you’ll need for making the scarf face mask
- Knit fabric
- Stretch or ballpoint needle for a sewing machine
- Stretch stitches of your sewing machine
- Matching thread
- Steam iron
- Fusible interfacing for knit fabric
- Trims for decoration (optional)
- Double-sided fashion tape (see below)
Note: Some of the links on this page are affiliate links. This means I will receive a commission if you order a product through one of my links. I only recommend products I believe in and use myself.
What fabric is good for the scarf face mask
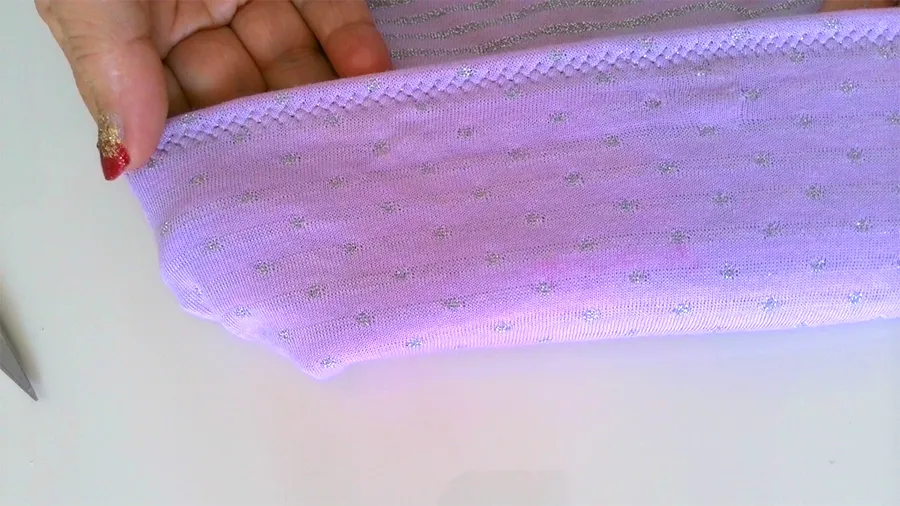
Sew the scarf from lightweight knit fabric, it must be stretchy as the scarf should be easily stretched in both directions but also retained its shape even after many stretches and washings. Use cotton knits, polyester, or rayon knits. The fabric should be breathable. You can see one example of a suitable cotton knit fabric.
")
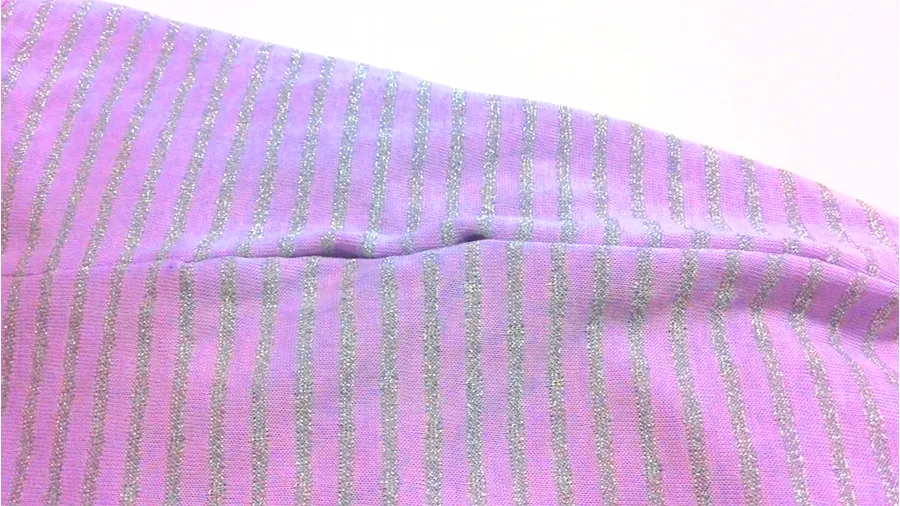
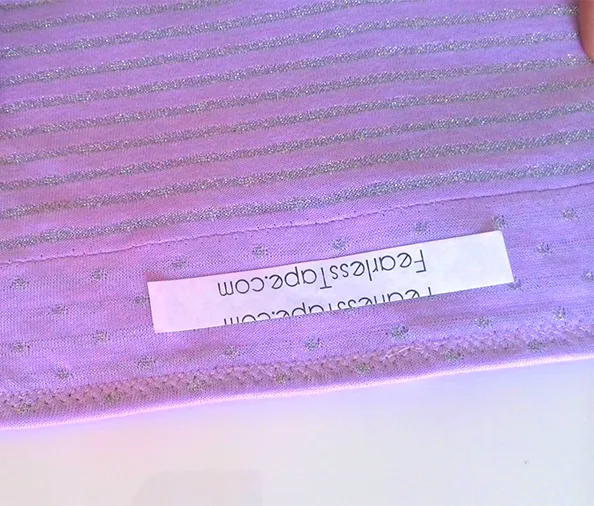
I have chosen lightweight rayon fabric, it’s double sided and because of this it has two layers, it’s also my favorite color with sparkling silver threads.
Step-by-step instructions for making the scarf face mask
Step 1. Cut 2 rectangles from your fabric
They are identical. What is the size of the rectangle?
Well, it depends. The scarf has to go easily over your head.
The size of the rectangle is this:
19 – 20 inches wide x 10 – 12 inches long. Seam allowances are included.
The height of the finished scarf should be about 10 – 12 inches, and the diameter at rest is about 19 – 20 inches (I mean when it’s not stretched)
My scarf for my head is 10 inches long and 19 inches wide. My head measurement is 21.5 inches.
These dimensions are for an adult scarf. Children’s scarves should have a smaller diameter – the size of the head minus 1 inch (in general).
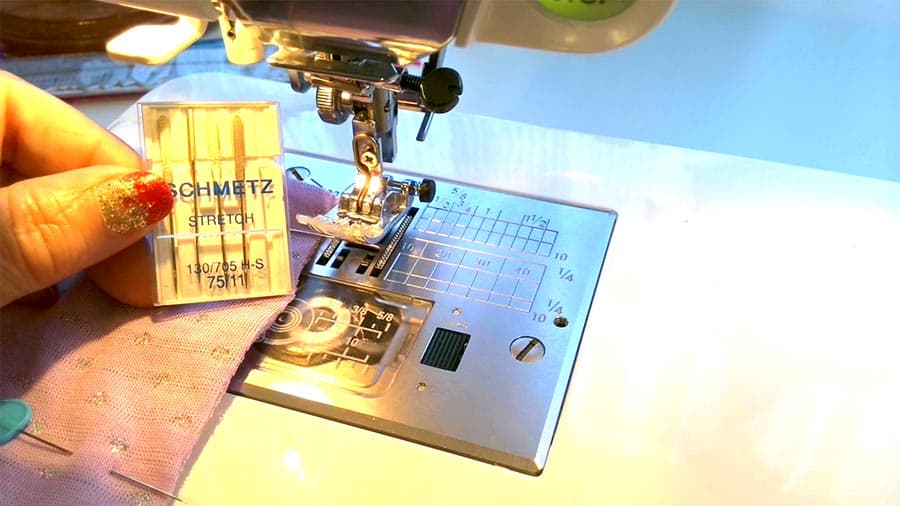
Step 2. Prepare your sewing machine for making a scarf face mask
We are going to sew stretchy knit fabric and the regular sewing machine settings will not work for it. You don’t want bursting stitches when you put the scarf on.
So first of all insert a stretch or ball point needle with a rounded tip. I have a detailed tutorial on stretch needles, check it out if you don’t know how to use them.
Second, choose a stretch stitch on your sewing machine. I have this stitch on my machine, it’s sometimes called a lightning stitch. If you want to know more about types of stretch stitches check out my tutorial at this link: https://www.ageberry.com/stretch-stitches-sewing-machine/
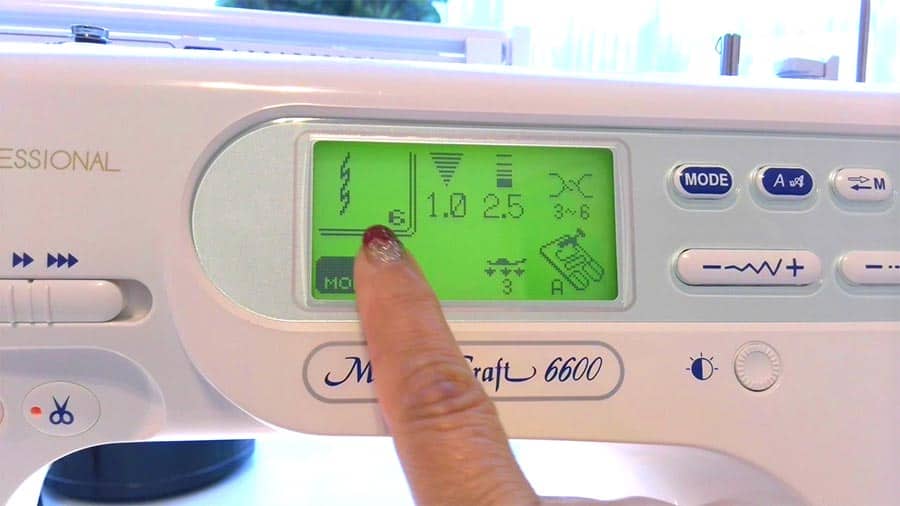
Third, choose a proper thread.
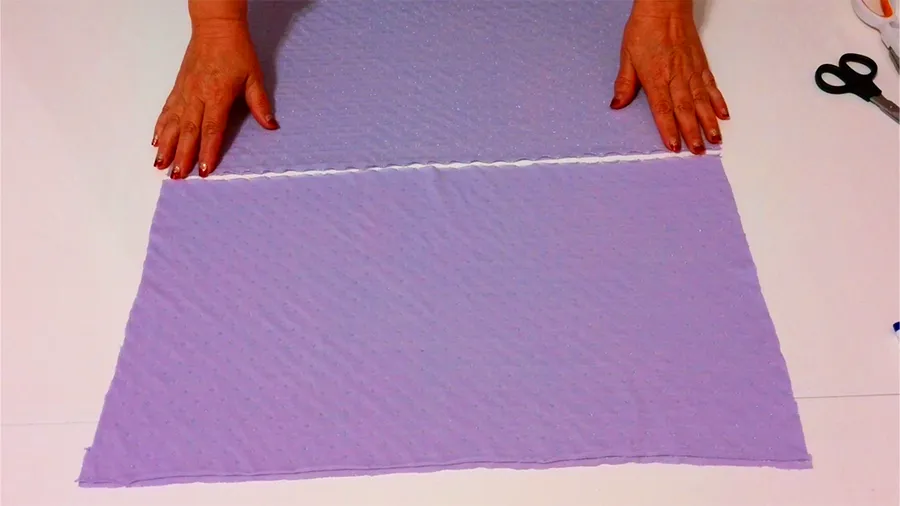
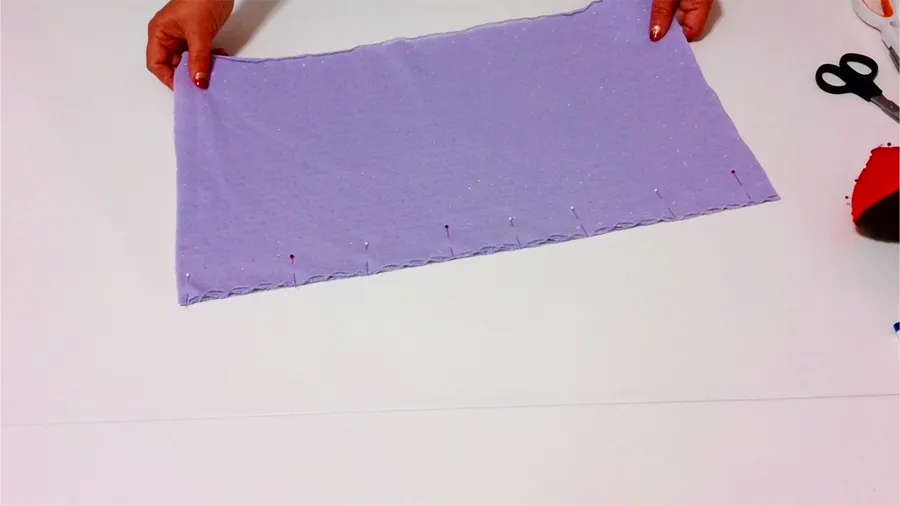
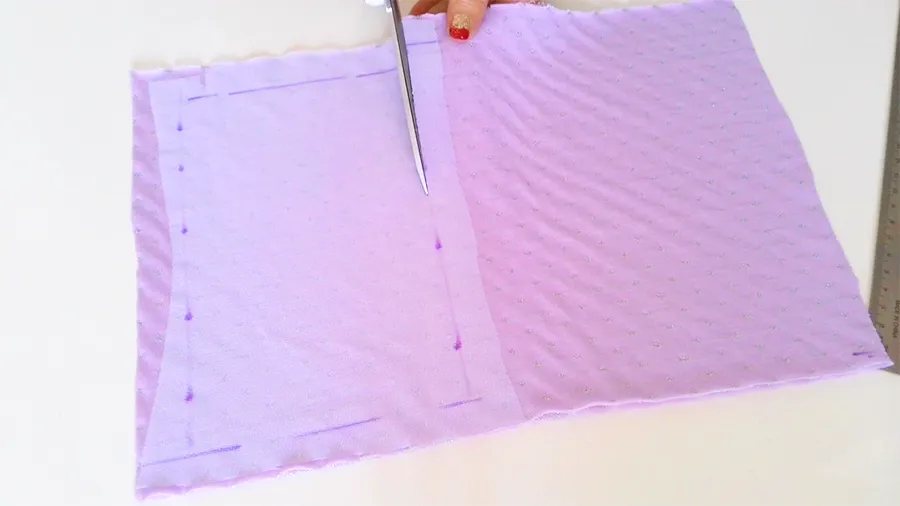
Step 3. Make the first seam
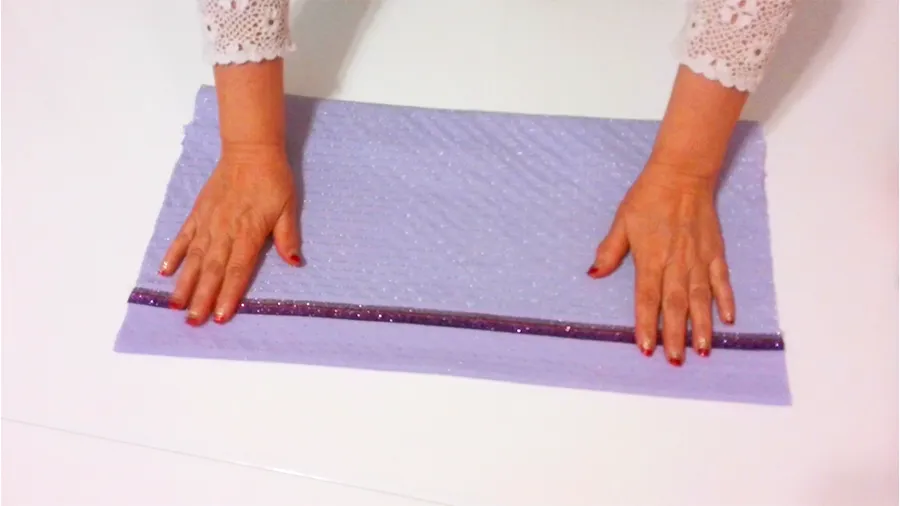
Place rectangles right sides together and stitch the longer side (see the image below). Pin it before going to a sewing machine. The seam has to be stretchable so use the stretch stitch of your sewing machine as I described before.
Seam allowances are ⅜ inch. Don’t sew over pins. After you are done sewing, iron the seam carefully, and press the seam open.
Step 4. Make a pocket to use as a filter for the scarf face mask
Cut a small piece of fabric for the pocket (the size is a little bit bigger than the regular face mask)
Fuse a small piece of interfacing into the fabric.
I used special interfacing for knit fabric. It’s this type: Pellon SK135 Sheer-Knit Specialty Apparel Fusible. Or you can use the one you see in the image.
")
Read this: Fusible interfacing for face masks
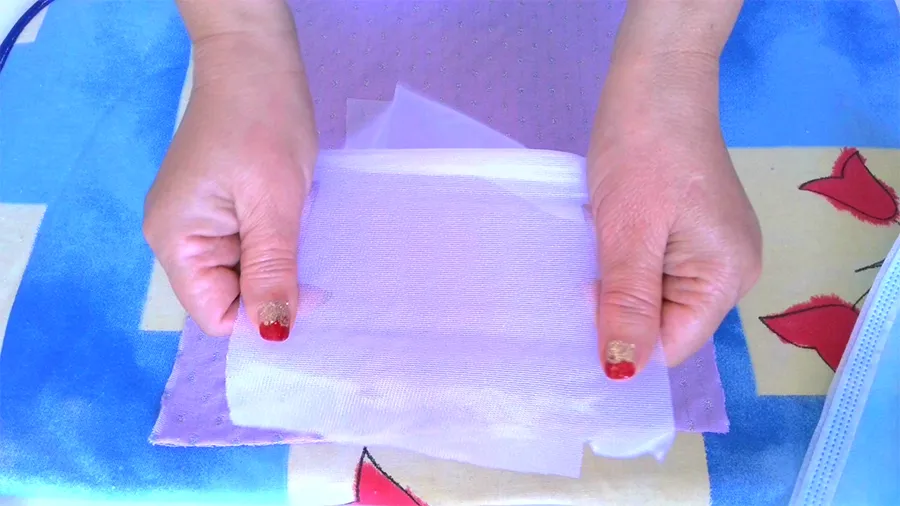
Place the adhesive side of the interfacing (its rough side) on the wrong side of the fabric. Your piece of knit fabric has different stretch – on one side it’s usually more stretchy than on the other. The stretchy side of the interfacing should go on the less stretchy side of the knit fabric.
Set the iron temperature on wool with steam. Iron interfacing in place using the iron with steam.
Watch this: How to use fusible interfacing
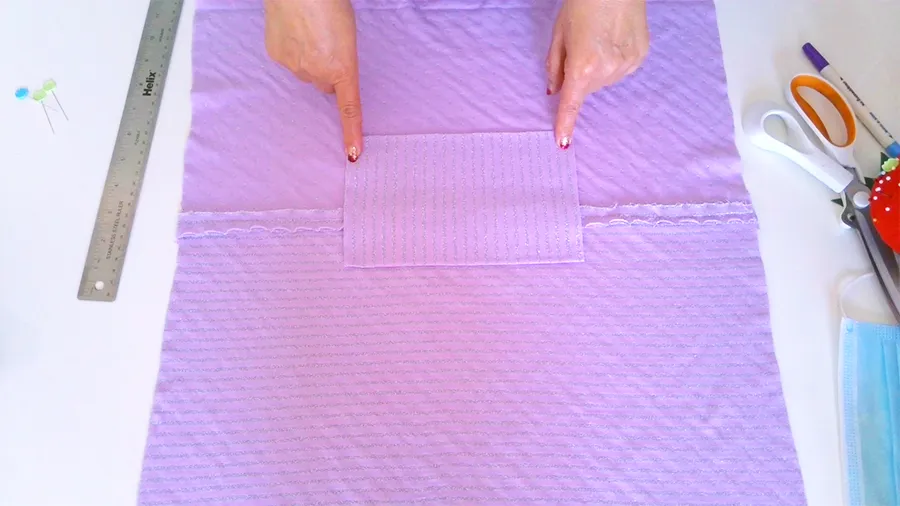
From this interfaced piece of fabric, cut a small rectangle the size of a regular face mask plus half an inch on all sides, about 8 x 5 inches.
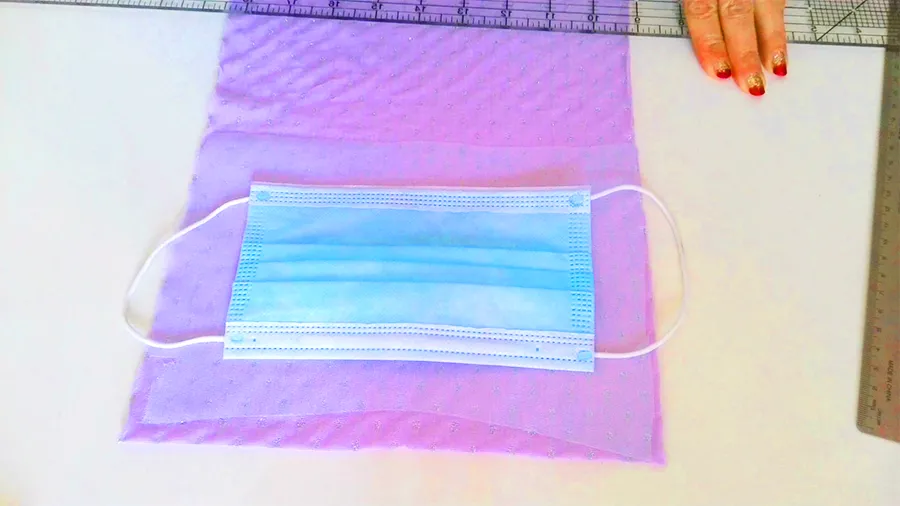
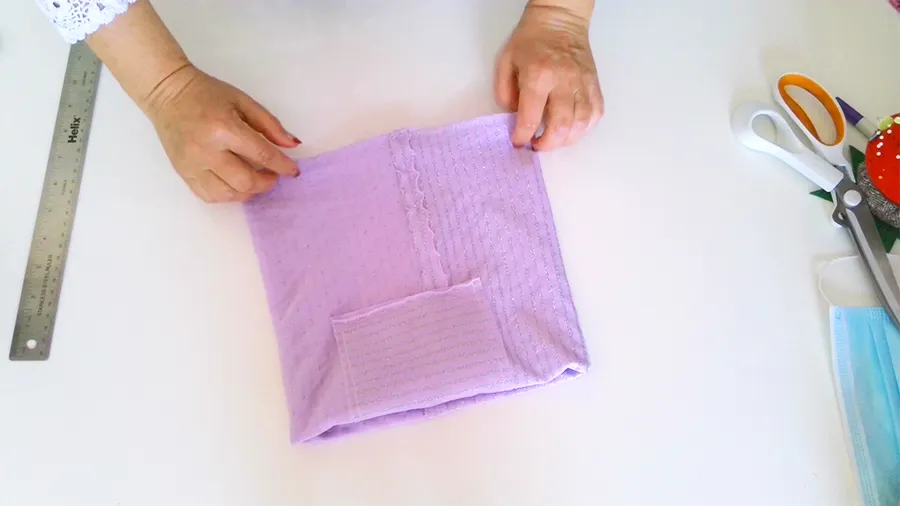
Place this pocket as you see in the image below: over the seam, the wrong side against the wrong side of the scarf. The upper side of the pocket should be placed 1.5 inches above the seam. Pin the pocket and stitch on all sides.
Step 5. Stitch the other longer sides of the scarf together
Fold the scarf’s right sides together and stitch the long side using the same stretch stitch as before. The seam has to be stretchable.
Press the seam open.
In the end, we have the tube.
Step 6. Turn the tube right side out
At this point, I decided to decorate the scarf with the elastic ribbon, the same as my beanie hat. But it’s completely optional, you don’t need to do it if you don’t want to.
Read this: How to sew a beanie
I placed the stretchy ribbon over the second seam (made in step 5) and stitched it in place using Gutermann metallic thread (silver) so the stitch is not visible. I used a triple zigzag stitch to do it.
Sew the ribbon over one layer of fabric only, don’t stitch over both layers of the tube. Baste the ribbon first.
It wasn’t comfortable to stitch the ribbon in place when I have the tube. But it was possible because the knit fabric is stretchy.
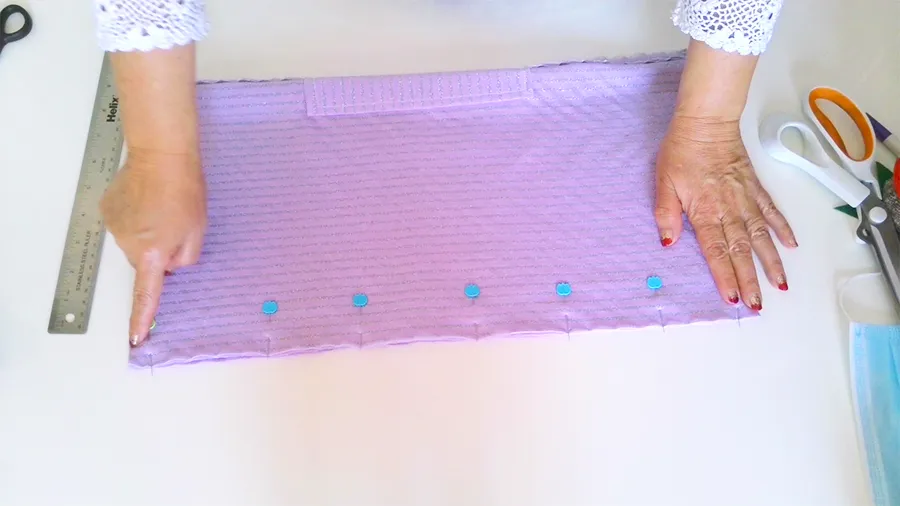
Step 7. Fold the tube and sew short ends together leaving an opening for turning the scarf to the right side
Fold the tube as you see in the image below right sides together. Align the seams. Stitch all around but leave the opening for turning the scarf right side out. Use the same stretch stitch of your sewing machine.
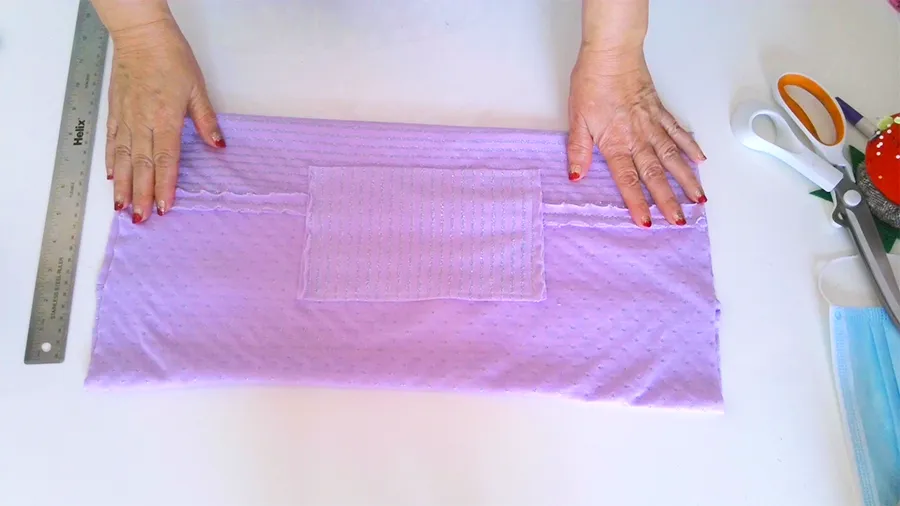
Step 8. Turn the scarf right side out and finish the opening by hand
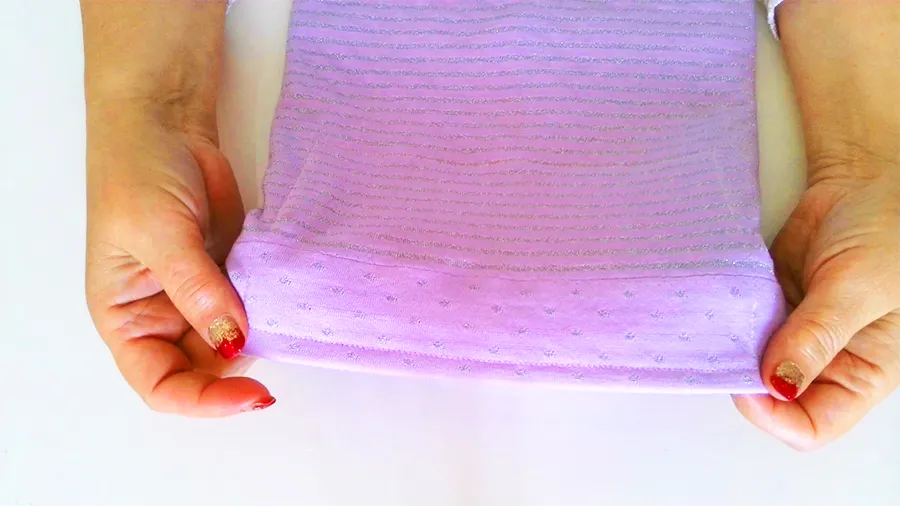
Turn the scarf right side out and align it properly: the edge with the pocket is going above the seam 1.5 inches.
Finish the opening – sew a blind stitch by hand.
Read this: How to sew an invisible stitch by hand
Step 9. Attach a double-sided fashion tape
Now comes the fun part.
A little bit of a story. So, I was browsing Amazon to buy a “fashion tape” to hold my off-shoulder dress in the proper place (the dress didn’t stay off my shoulders and tried to go up, which I didn’t want).
Read this: How to sew an off-shoulder dress and make your own pattern easily
I found this double-sided tape which had very good reviews. And to my surprise, I read in the reviews that people were buying the tape for their face masks to keep them in place. So that’s when I thought about the scarf face mask with the double-sided tape.
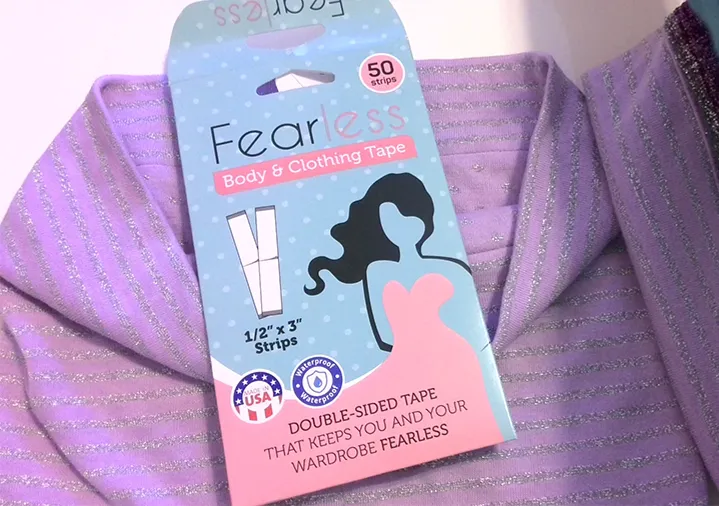
I thought like this: if you can attach the tape to very sensitive parts of your body you certainly can attach the tape to your nose (the part that always stays outside and is used to challenging conditions).
The description of the fashion tape was saying this:
- ✅ SAFE ON SKIN – Our special adhesive is designed to be skin safe and not cause irritation when applied directly to your skin. We use safe materials that are comfortable all day long, but also wash off easily, so you don’t have to deal with annoying residue or unsightly glue marks.
- ✅ MOVE WITH CONFIDENCE – Professional women and super moms are always on the go! That’s why our tape is built to hold up to movement and real-life use. No need to stand like a statue to maintain your perfect silhouette. Feel free and fearless in wedding dresses, prom gowns, or stylish everyday attire.
So I bought the tape to try and I am very satisfied with how it works for my scarf face mask.
Attach the tape to your scarf. It’s very easy to take out the paper that covers the adhesive part of the tape.
Step10. Make a decorative stitch on the top edge of the scarf face mask
I didn’t make the stitch before taking images of me wearing the scarf and I could feel that the outer edge of the tube is sliding a bit down, not much though, only a few millimeters. The inner edge was staying perfectly secure with the double-sided tape.
So I decided that the stitch is necessary so the whole scarf stays in place.
Choose one of the many stretch decorative stitches on your sewing machine. The edge MUST stay stretchy.
I used Gutermann metallic thread to make the stitch.
If you would like to watch my video tutorial on YouTube here is the link: https://youtu.be/huI0L8tHMtc

Did you find this tutorial helpful? If so, save this pin (see below) on your sewing board so you can come to this tutorial later when you are ready to make a scarf face mask, and follow me on Pinterest for more tips, tutorials, and inspiration!
latest posts
- How To Sew Curves the Easy Way Using a Curve Master Presser Foot
- 30 Sewing Hacks That Turn Ordinary Items into Useful Sewing Tools
- Seam Allowances in Sewing Patterns: What They Are and How to Use Them
- What Do You Call a Person Who Sews? I Asked My Readers and Got 1,408 Opinions
- DIY Round Purse: PDF Sewing Pattern and Detailed Instructions
- Mini Wonder Clips By Clover: Useful Sewing Tool Or Just Another Notion?
- Non-Slip Grips For Quilting Rulers: A Small Notion With A Useful Job
- Fabric Eraser for Sewing: What It Removes and When to Use It
- What Is The Best Thread For Sewing Machine Projects? Let’s Find Out!