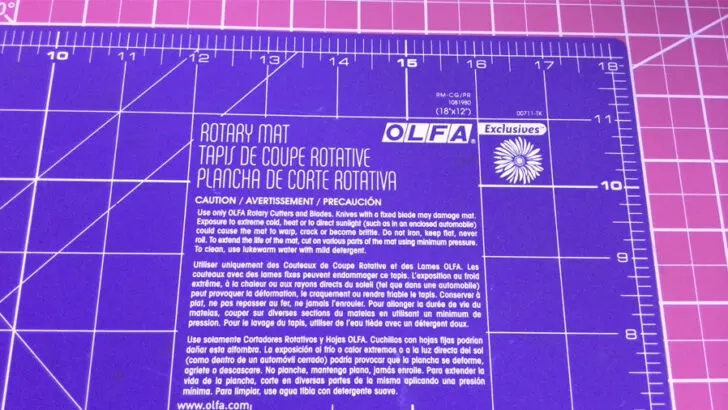
I am truly amazed by all the magical sewing tools we have at our disposal: self-threading needles, self-threading sewing machines and sergers, wonder tapes, wonder clips, disappearing markers, invisible zippers, and other things better suited for a magician’s kit. And one of them is the self-healing cutting mat.
Quilters and sewists alike know that cutting fabric is one of the most important skills to master. A cutting mat is a must-have for anyone who wants to get a clean, even cut. But what exactly is a self-healing cutting mat, and how does it work its magic?
Note: Some of the links on this page are affiliate links. This means I will receive a commission if you order a product through one of my links. I only recommend products I believe in and use myself.
What Is a Self-Healing Cutting Mat?
A self-healing cutting mat provides a smooth surface on which to cut fabric, leather, paper, and other materials with a rotary cutter. The mat protects your table or counter from dings and cuts, preserving your work surface. Think of them as like cutting boards, but for sewing, not cooking.
The self-healing feature means that the mat will last for years, as the surface won’t get damaged from repeated use.
When you use a cutting mat, the pressure of the blade makes an indentation or cuts into the mat’s surface. Depending on the mat’s material, the cut can be permanent or it can close back up again, leaving a smooth surface. On a hard plastic or cardboard mat, those cuts are permanent and eventually cause the mat to become unusable.
For years, I used a regular cutting mat that was the proper size for my table. It was a Dritz brand mat, but it wasn’t self-healing. Over time, the scratches on the mat became more noticeable, and the delicate fabric began to catch on them.
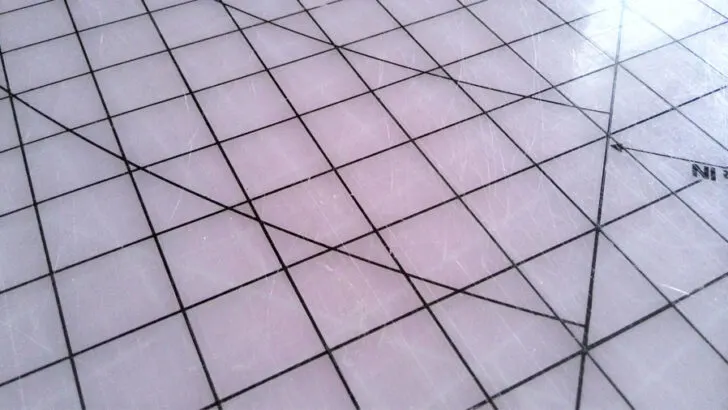
I eventually decided to buy a new mat, and I chose a self-healing option. Self-healing mats maintain their smooth surface for longer. In addition, self-healing mats are often softer and more comfortable to work on.
Self-healing mats are made from a material that separates when you run a blade over it. Once you lift the blade, the material pushes back together, so the mat’s surface stays flat and smooth.
I wanted to see how well the self-healing mat worked, so I decided to put it to the test. I took my rotary cutter and made a few cuts in the fabric. To my surprise, I didn’t see any marks at all. I was amazed at how well the mat worked.
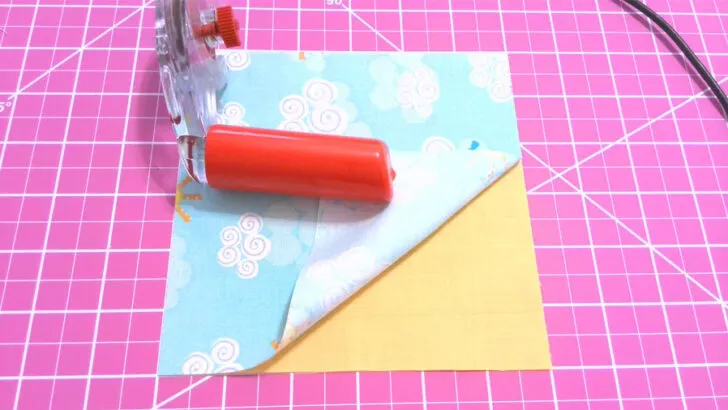
So I decided to push the blade harder and see if I could make a mark. And sure enough, I did. You can see in this image that the blade has left a slight indentation in the mat.
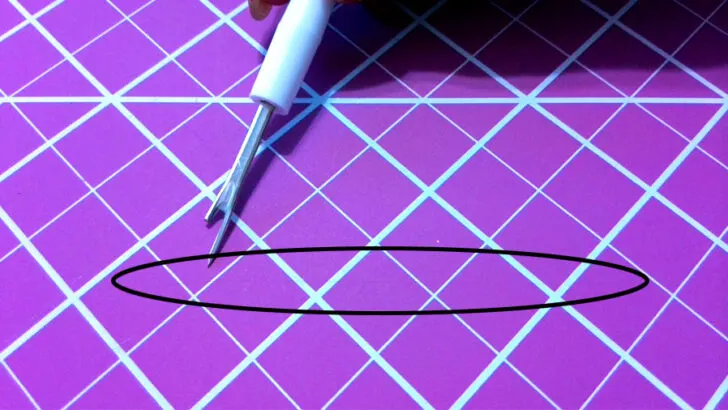
I was amazed at how quickly it healed after I cut into it. I could barely see the mark of the blade after just a minute or two. This image was taken soon after I removed the fabric – the mark was already barely visible. And within a few minutes, the mark had disappeared completely.
After I started using a self-healing cutting mat I noticed that my rotary cutter blades seemed to stay sharp longer. I’m not sure exactly how it works, but somehow the mat seems to help extend the life of the blade.
Self-healing cutting mats come in a variety of sizes and colors, so you can choose one that fits your needs. My mat is one of the largest, 36 x 48, and it’s a two-sided mat, one side is pink and the other side is blue.
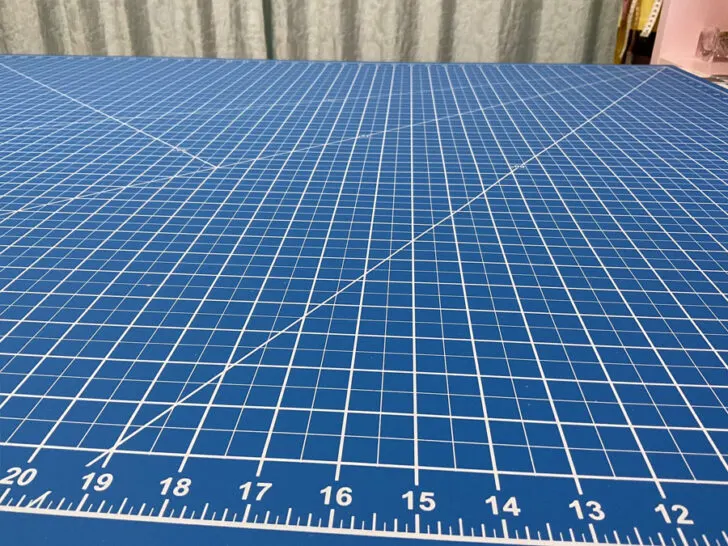
They also have grid lines on them, which makes it easy to cut fabric in straight lines and position your fabric accurately before you start cutting. There are also bias lines and measurements marked on them, so you can use the mat as a ruler before cutting.
The mats also provide a non-stick, grippy surface, making them ideal for use with slippery fabrics, such as satin or silk.
What is a self-healing cutting mat made of?
Self-healing cutting mats aren’t made from a magic substance. Without getting too technical, I can say that the key is in the materials used to make the mat.
They typically consist of layers of plastic, such as PVC. PVC stands for polyvinyl chloride. It’s a type of plastic that’s used in all sorts of products, from pipes and tubing to fabrics and credit cards.
When you cut into a self-healing cutting mat, the blade doesn’t actually touch any solid surface. Instead, it passes through a layer of extremely small particles. These particles are designed to be slightly soft and flexible, so they can quickly spring back into place when cut. This flexibility is what allows the mat to “heal” itself and maintain a smooth surface.
Uses for a Self-Healing Cutting Mat
Let’s explore some of the many uses for a self-healing cutting mat. Self-healing cutting mats can be used for the following:
#1. Cut quilting shapes
#2. Cut bias binding
#3. Cut applique shapes
#4. Cut around paper patterns for sewing projects
#5. Draw marking lines on the fabric
#6. Be used for measuring
#7. Cut through several layers of fabric at once
#8. Cut not only fabric but also leather, paper, and other materials
Here’s a closer look at each use.
If you’re making a quilt, you’ll need to cut out dozens—if not hundreds—of perfect squares, triangles, or other shapes. A self-healing cutting mat makes this task quick and easy. Place your fabric on the mat and use a rotary cutter and ruler to make clean cuts. You’ll end up with perfect quilting shapes that are ready to be sewn into your quilt top.
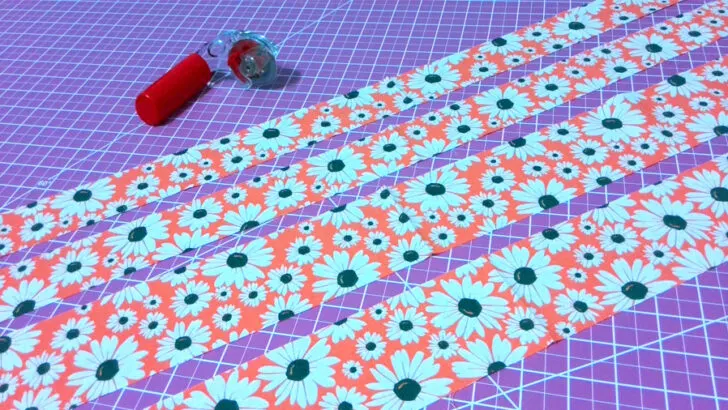
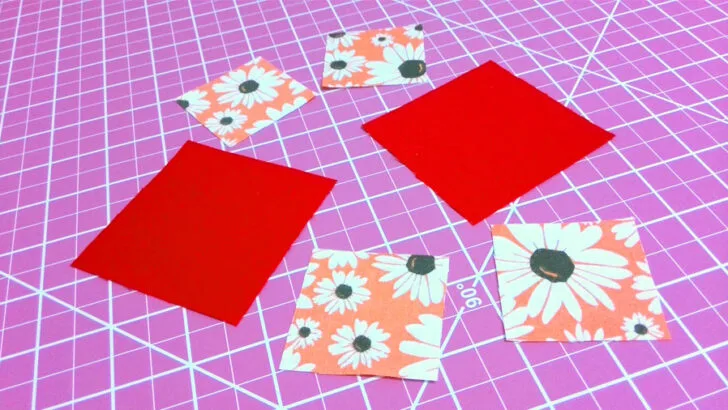
One of the most common uses for a self-healing cutting mat is to cut bias binding. Bias binding is a strip of fabric that’s been cut on the bias, or at a 45-degree angle. Cutting bias binding can be tricky, but with a self-healing cutting mat, it’s a breeze. Just place your fabric on the mat and use the 45-degree line to cut the fabric.
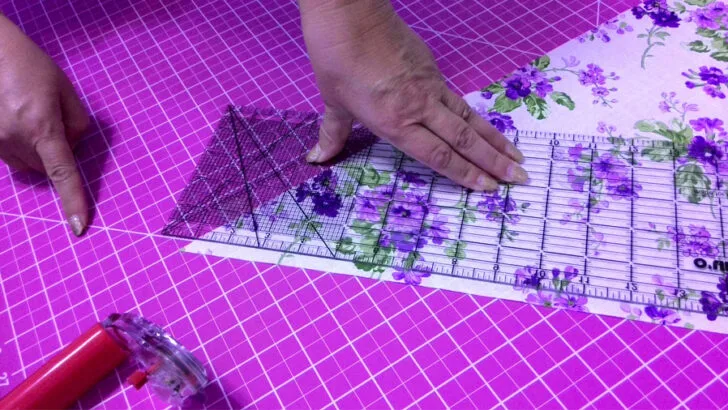
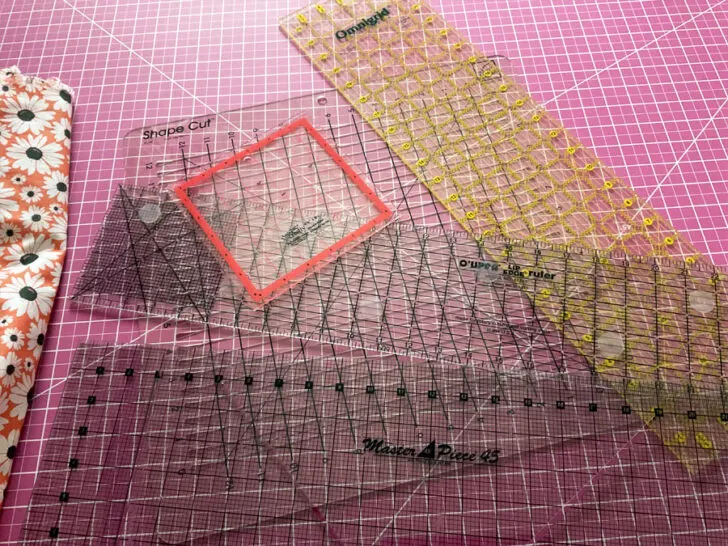
Another popular use for self-healing cutting mats is to cut applique shapes. For this, you would need special rulers if you want to cut stars, ovals, pentagons, hearts, diamonds, etc.
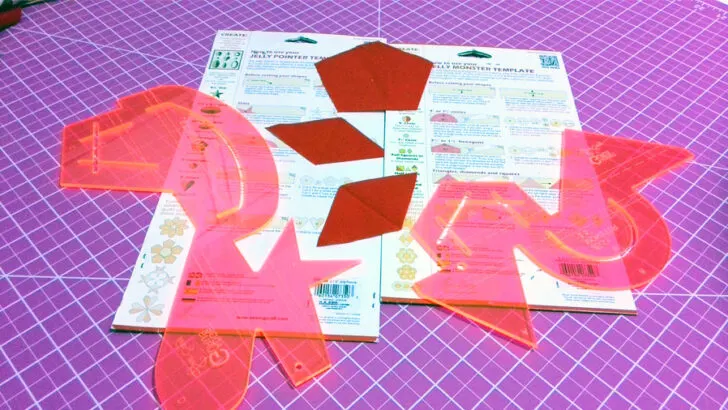
Paper patterns come in all shapes and sizes. If you often sew your own clothes, you probably have a collection of paper patterns stored away somewhere. We used to cut paper patterns with scissors, but it is also possible to cut with a rotary cutter and self-healing cutting mat. To cut out a paper pattern, simply lay the fabric on the self-healing cutting mat and position a pattern (or template) on top. Hold the pattern in place with your non-dominant hand and carefully cut along the edge of the pattern with a sharp rotary cutter in your dominant hand. Repeat this process until all of the desired pieces have been cut out.
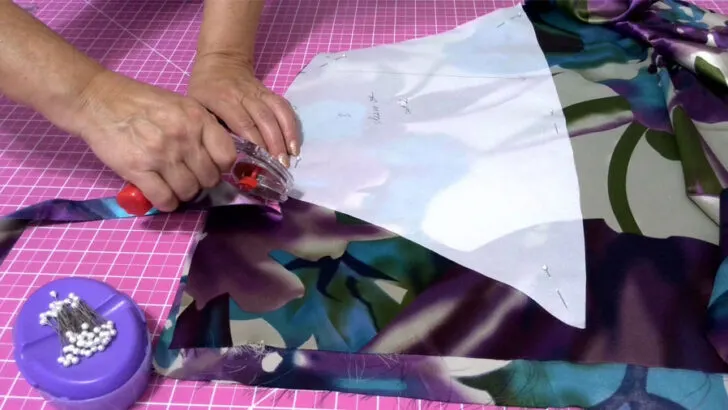
The grid lines on a cutting mat are extremely helpful for keeping straight cuts, and I often use them to draw lines on fabric before cutting. By drawing lines on the fabric first, I can achieve perfectly straight cuts without having to measure each individual piece.
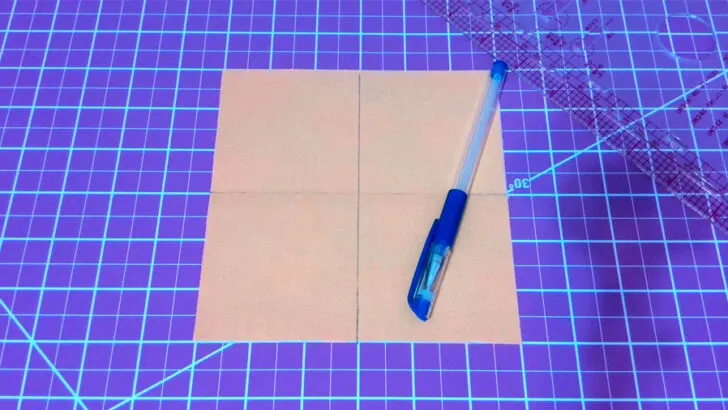
If you’re working with multiple layers of fabric, it can be difficult to get clean, even cuts. But with a self-healing cutting mat, you can easily cut through several layers of fabric at once. A mat will protect your table surface and because the mat is self-healing, you won’t have to worry about damaging it with your rotary cutter. When cutting through multiple layers of fabric, it is important to use a rotary cutter with a sharp blade. A dull blade will cause the fabrics to bunch up and create uneven cuts.
How Does a Self-Healing Cutting Mat Work?
A cutting mat forms a protective barrier between your fabric and the surface you’re cutting on. The mat keeps your blade from reaching your work table, preserving the surface and protecting it from scratches and nicks.
The composition of a self-cutting mat is key. It’s semi-solid, so when you push it into the mat, the particles separate, then join together again. You can compare the make-up of a self-healing mat to that of water.
If you push a blade into a bowl full of water, then remove it again, no evidence of the blade remains. The water separates to make space for the blade, then moves back once the blade is gone.
Note that self-healing mats don’t last forever. If you use your mat repeatedly or make the same cut in the same spot on the mat over and over, eventually, a mark will form. You can extend the life of your mats by having more than one and rotating through them during projects. Cleaning your mat and storing it properly also extends its life.
How do you know if a cutting mat is self-healing?
Cutting mats that self-heal are usually clearly labeled as such if you’re buying a new one. But let’s say you already have a mat at home and aren’t sure if it’s self-healing or not. Luckily, there are ways to test the mat to see if it self-heals.
The first thing to do is cut a small piece of fabric on top of the mat. Remove the fabric and inspect the mat’s surface. If the mat is self-healing, you shouldn’t generally see evidence of a cut or mark on its surface. If you see a scratch or gouge and it’s not disappearing the mat’s not self-healing.
How to Use a Self-Healing Cutting Mat
To use a self-healing cutting mat, place it on a flat, smooth work surface, such as your sewing table. The work surface needs to be big enough to hold the mat flat.
Spread the fabric you’re cutting flat on the mat. You can use the grid or bias marks on the mat to line up the fabric or guide you as you make your cuts. Every part of the fabric that you’re cutting should be on the mat. That means you might need a very large mat if you’re cutting a large piece of fabric.
Self-healing cutting mats go hand in hand with rotary cutters and quilting rulers. A quilting ruler is typically wider than an average ruler. It’s also made from clear plastic. Place the ruler on top of the fabric, lining up the edge with the fabric part you want to cut.
Run the rotary cutter over the fabric, using the ruler’s edge as your guide. The blade of the rotary cutter should be sharp in order to minimize damage to the cutting mat and make sure the cuts are clean. It is also important to apply even pressure when cutting so that the cuts are consistent. If too much pressure is applied, it can leave permanent marks on the mat. If you find that you need to apply a lot of pressure in order to cut through the fabric, it may be time to change the blade on your rotary cutter.
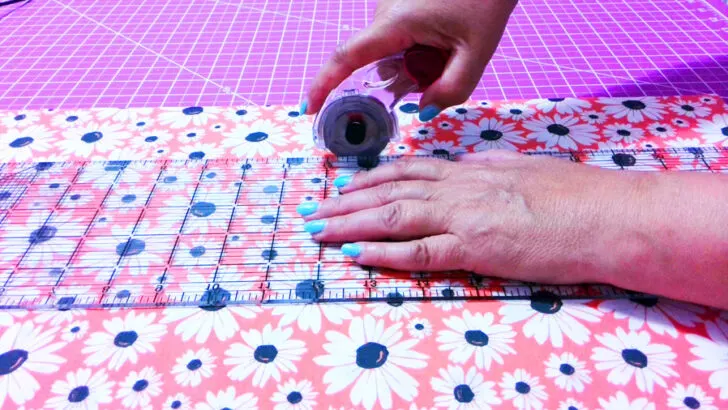
When cutting on a cutting mat, start your cut from the mat’s bottom edge and work up to the top. Don’t cut from the top down or cut side to side.
Never iron on the mat – the heat will warp it.
Don’t leave the mat in direct sunlight, as this can also cause warping or make the mat become brittle over time.
Rotate which part of the mat you use for cutting. This will help to extend the life of the mat by preventing any one area from becoming too damaged.
Cutting Mat Sizes
Cutting mats come in a wide range of sizes. How can you tell which size is right for your project? It all depends on the size of the fabric you’re cutting and the size of your work surface.
The mat should be small enough to fit completely on your work surface, without dangling over any of the edges. It should be large enough that each part of the fabric you’re cutting fits onto the mat.
While there are special sizes available and you can even get custom-sized cutting mats, such as a mat large enough to cover the entire surface of a crafting table, self-healing mats are most commonly found in these sizes:
- 12 by 18 inches
- 18 by 24 inches
- 24 by 36 inches
- 36 by 48 inches
The smaller size is ideal for small sewing projects, or if you want to take a project with you on the go. The medium size is quite versatile and ideal for patchwork, quilts, cutting bias tape, and most other sewing projects. The larger size is perfect if you mostly sew clothing or have a large dedicated area for cutting.
Large self-healing cutting mats for quilting
While standard cutting mat sizes are 12 by 18 inches up to 24 by 36 inches, there are some exceptions. Olfa makes a mat that measures 35 by 70 inches. And I found large mats 40″ x 80″ made by US Art Supply.
If you’re a quilter, you might be tempted to go for the biggest mat possible. But, bigger isn’t always better. A large mat can come in handy if you’ve got a lot of yardage to cut through, but it isn’t necessary if you’re cutting squares or shapes from smaller fabric pieces.
You might actually find that you prefer using a smaller mat, such as an 18 by 24-inch mat, for quilting, as it’s portable, easy to store, and gets the job done.
But I’ve found that a bigger cutting mat is better for me. Particularly when working with fabric from the bolt, which is 44 inches wide. Even if you keep it folded in half, that’s still 22 inches. I often start a quilt by cutting strips of fabric and they are usually long. A big cutting mat helps to accommodate those long strips and makes the cutting process much easier.
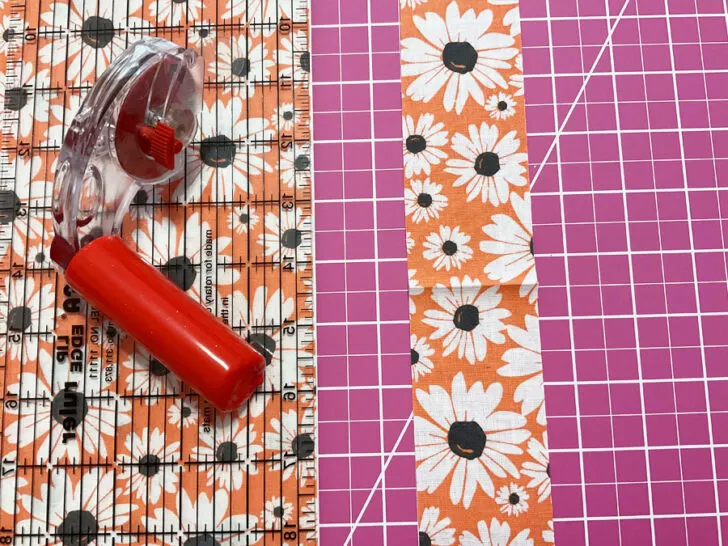
However, I have found that the big mats can be pretty heavy and difficult to move around. So it’s important to find a spot for the mat where it can stay put while you’re working.
What is the biggest self-healing cutting mat?
In the cutting mat world, 24 by 36 inches is typically large enough. But, as mentioned, larger models are available, like my mat which is 36 by 48 inches, the 35 by 70-inch mat from Olfa, or the 40 by 80 inches mat from US Art Supply. The 40″ x 80″ mat seems the biggest self-healing mat I found.
You can also get a custom-sized mat, designed to fit over the entire surface of your craft or sewing table.
How to Clean a Self-Healing Cutting Mat
Cleaning your self-healing cutting mat prolongs its life and keeps the surface smooth. After you’ve used your mat a lot, you might notice little pieces of fabric or lint stuck in it. Cleaning removes the lint.
Mat cleaning is a two-step process. First, you want to remove any pieces of lint or loose threads from the surface. Use a soft-bristled toothbrush to gently scrub away the lint.
Once the threads and lint are gone, you want to soak the mat. If your mat is small you can use a basin, sink, or bathtub to soak it. Fill the basin (or tub or sink) with about five gallons of room-temperature water.
Add 1 cup of distilled white vinegar to the water. Put the mat in the vinegar-water mixture and let it soak for about 20 minutes.
Add a squirt of dish soap to the water.
Use the toothbrush to gently scrub the mat’s surface, removing any lingering bits of fabric. Rinse the mat.
However, big mats can be difficult to clean, as they often don’t fit in standard-sized bathtubs. One easy way to clean a large cutting mat is to cover it with a bath towel and spray it with a solution of water and vinegar. Let the mat soak for 20 minutes, then clean it with a toothbrush.
After this, your mat might look new. The soak helps to refresh the material so it can self-heal once again. The only thing left to do is dry the mat.
Gently blot the mat dry with a soft, lint-free towel. Then, leave it to air dry on a flat surface but make sure the other side of the mat is completely dry. If it’s not dry it may destroy your table. Never use heat to dry your mat, as that will damage its self-healing properties.
How to Store Cutting Mats
The best way to store your self-healing cutting mats is flat. Ideally, you’ll keep the mats on a flat surface, such as on your work table, when not in use.
Another option is to store the mat vertically. But, since the mat can warp or bend if it’s not fully supported, only choose the vertical option if you’re confident that the mat won’t flop or fall over.
Now I have to store my old mat behind a couch in my sewing room. Not ideal.
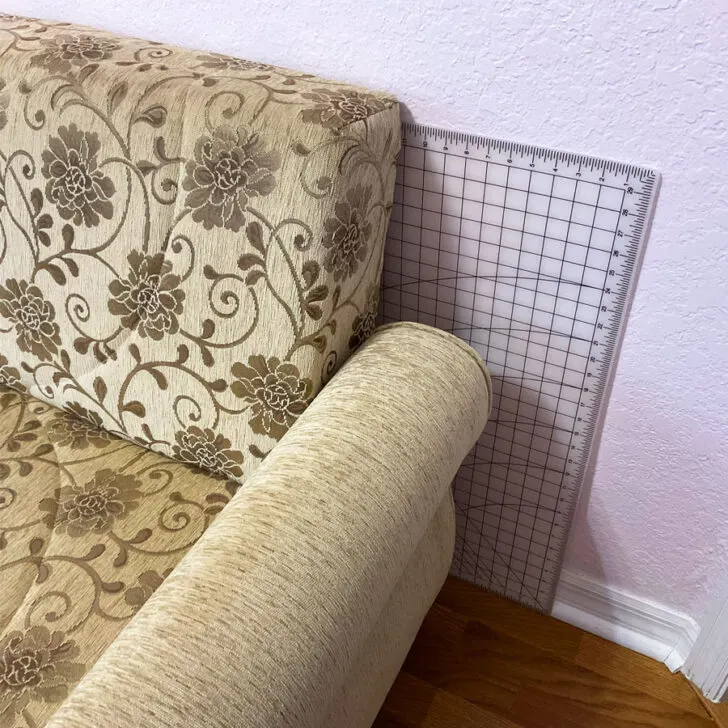
Keep the mat away from direct sunlight and heat sources, which can damage it.
How to Repair a Self-Healing Cutting Mat
Self-healing mats do wear down with time. They dry out and might not self-heal anymore. If you notice that happening, you have a few options.
The first thing to do is give the mat a good soak. Soaking the mat in water for about 20 minutes rehydrates it, refreshing the surface and allowing it to self-heal once again.
If you notice that your mat has become warped or misshapen, you can try to straighten it out. Give the mat a good soak in lukewarm (but not hot) water.
Remove from the water, dry completely, and lay on a flat surface. Place books or other heavy, flat objects on top to hold them down. Leave the books in place for at least 24 hours.
Rotating Cutting Mats for Quilting
A rotating cutting mat is a mat that is attached to a base and can spin around. This is helpful if you are cutting shapes or patches for quilting, as it allows you to easily access all sides of the fabric.
The OLFA 2-piece rotating mat is a good option, as it has a non-slip stationary bottom layer and the top cutting mat rotates 360 degrees and has grid lines. This makes it easy to cut your fabric without having to move the project, mat, or yourself.
There are many different brands and sizes of rotating self-healing cutting mats available on the market. Another brand is definitely worth considering is Fiskars. Fiskars mats are made of high-quality materials so you can be confident that you're getting a product that will last.
Best Self-Healing Cutting Mats
While plenty of brands make self-healing cutting mats, a few stand above the rest.
When choosing a mat, consider the size available and the price point.
Olfa Self-Healing Cutting Mats
Olfa self-healing cutting mats come in a wide range of sizes, from 6 by 8 inches up to 35 by 70 inches. The brand is known for producing high-quality, long-lasting mats.
That quality does come at a price, though, and Olfa mats tend to cost a bit more than other options.
However, Olfa mats are not designed for use with fixed-blade utility knives. The blades on these knives are too sharp and can easily damage the mat. If you’re looking for a cutting mat that can be used with a fixed blade utility knife, look for one that’s specifically designed for that purpose.
Fiskars Self-Healing Mats
Fiskars offers self-healing mats ranging in size from 12 by 18 inches up to 24 by 36 inches. It also produces several rotating mats, ideal for quilting. Some Fiskars mats have special features, like an extra non-stick surface, which increase their price. But even the basic mats are still a great value.
The mats are very sturdy and well-made. The easy-to-read measuring grid (often on both sides) is another nice feature – you can turn the mat over for double the usage. And the 30-, 45- and 60-degree bias lines make creating quilting shapes easy.
Some of the Fiskars mats have special features that make them even more user-friendly. For example, the Eco Cutting Mat is made from polypropylene instead of PVC. This is good news for those who are looking for an environmentally friendly option, as polypropylene is a recyclable material. The mat can also be recycled when it is used up after long-term, intensive use.
US Art Supply Cutting Mats
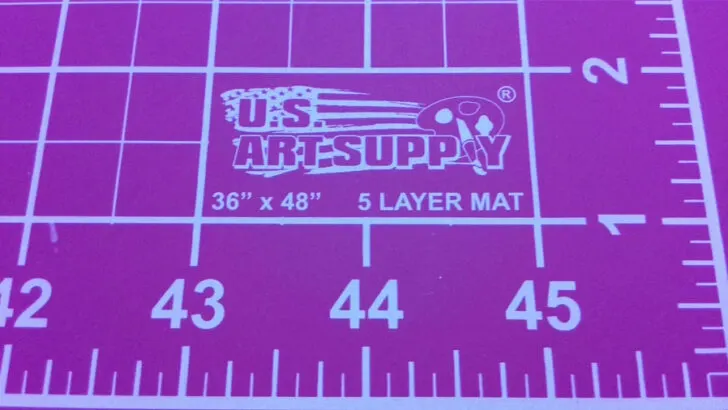
Among the top cutting mats on the market today are the US Art Supply Self Healing Cutting Mats. This is the brand of my cutting mat. This mat is made from durable 5-layer construction, and features a 1/2″ grid with 1/8″ marks for precise alignment. It also has 45°, 30° and 60° guides for cutting diagonals. The mat is reversible with grid markings on each side, so I can use both sides. This mat is large enough to accommodate most sewing projects, and is a great choice for both beginners and experienced sewers alike.
I bought it on Amazon and my mat came shipped flat which I really appreciated.
Where To Buy Cutting Mats
If you’re looking to buy a cutting mat, you have a few different options. Amazon is a great place to start your search, as they have a wide selection of self-healing cutting mats to choose from.
Just make sure to do your research before buying so you know you’re getting a quality cutting mat. I like to buy on Amazon – a great variety, good deals often, and free shipping as I am a Prime member. Try Amazon Prime for 30 days free at this link.
With Amazon Prime, you get unlimited free one or two-day shipping on eligible items with no minimum purchase, free returns, unlimited streaming of movies and TV shows through Prime Video, ultrafast grocery delivery; you can stream over two million songs ad-free with Prime Music, read as much as you want from a rotating selection of thousands of eBooks, popular magazines, comics and audiobooks and more. With so many benefits, it’s no wonder that Amazon Prime is so popular.
So if you’re looking for a quality self-healing cutting mat, be sure to do your research and then take advantage of Amazon Prime’s free shipping offer.
Joann Fabrics is another good option, as they often have sales and discounts on cutting mats.
If you need some help choosing the right mat for your project, your local craft or sewing store should be able to give you some guidance.
There are different types of mats designed for different purposes, so make sure you read the descriptions carefully before making your purchase.
Cutting mats can range from relatively inexpensive to quite costly, so it’s important to find one that fits your budget.
FAQ
You can fix a warped self-healing mat by soaking the mat in lukewarm water for 20 minutes and then drying it and laying it flat with books stacked on top of it. The weight from the books will help straighten out the mat.
Some people have raised concerns about whether self-healing cutting mats are safe to use. The good news is that most self-healing cutting mats are made from a type of PVC that does not release toxic chemicals into the air. Overall, self-healing cutting mats are a safe and convenient way to protect your surfaces while you work on your latest project.
Also, “eco-friendly” options are available. If you’re concerned about the toxicity of your cutting mat, look for one made from polypropylene rather than PVC as polypropylene is a recyclable material. The mat can be recycled when it is used up after long-term, intensive use. Fiskars Eco mat is one example.
Self-healing cutting mats do wear out, but you can extend their lifespans by taking excellent care of them. Store the mats flat and away from heat and sunlight to keep them from warping. Clean the mats regularly to refresh and rehydrate them. If washing the mats or dehydrating them isn’t enough to restore their function, it might be time to replace them.
You can extend the life of your self-healing cutting mat by storing it properly and keeping it clean. Wash the mat regularly to keep its surface clean and smooth. Always store the mat flat and keep it out of high heat areas or away from the sun. Always use a sharp blade when cutting on the mat to extend its life.
There are many things you shouldn’t do with a self-healing cutting mat. Using a dull blade on the mat is a big no-no. Dull blades cause cutting mats to wear out more quickly, as the blade actually damages the mat. Also, don’t cut in the same spot on the mat over and over. Rotate or move the mat around so you always cut in a different area. It’s important to never roll up the mat, as this can damage the self-healing properties. Always store the mat flat.
latest posts
- Ever Tried This on Your Serger? This Differential Feed Feature Will Amaze You
- Ditch My Sewing Machine? Not in This Lifetime!
- Adorable DIY Needle Book | Easy Tutorial for Beginners
- Master the Seam Ripper: Your Ultimate Guide to Precision Stitch Removal
- Think You Know Zippers? This Installation Guide Might Surprise You
- Why Does Your Seam Ripper Have a Red Ball? Discover Its Purpose!
- Topstitching Troubles? This Simple Trick Will Turn It Around Instantly!
- How to Sew Shirring: A Step-by-Step Guide to Elastic Thread Gathering
- Are Self-Threading Needles Really Useful?


