
Realistic Sewing Room Organization Ideas for Fabric Scrap Storage
It usually starts innocently enough. You finish a project and toss the leftover bits into a basket with every intention of using them “soon.” But then the next project ends. And the next. And suddenly, that modest basket has multiplied into three bulging bins and a mysterious pile near the ironing board that keeps growing when you’re not looking.
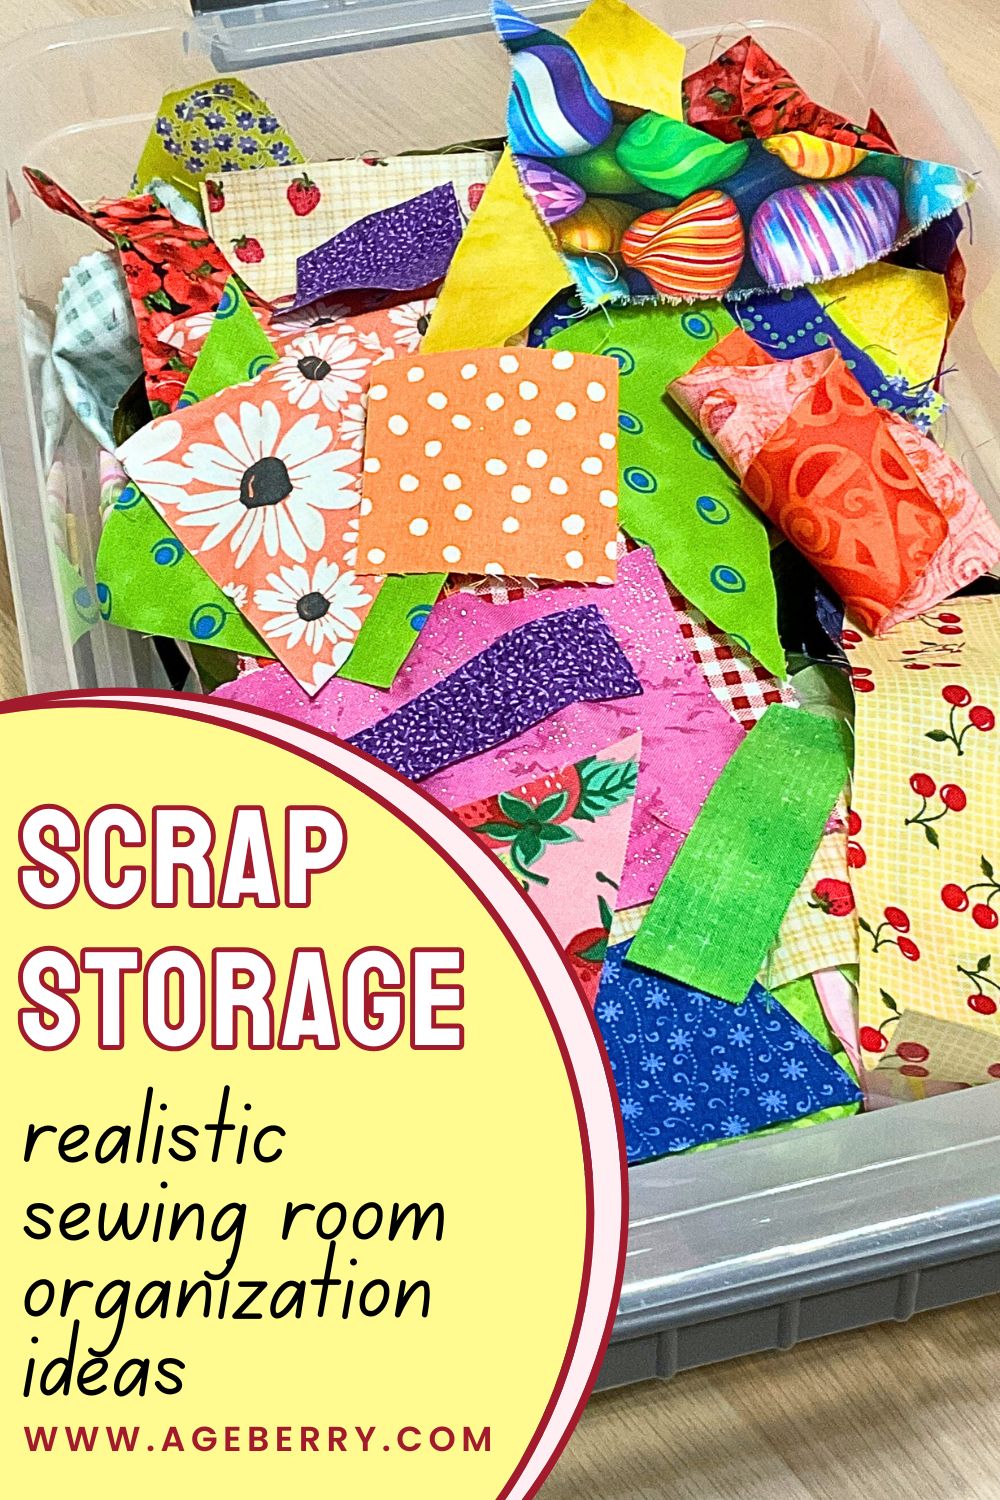
One day, you move a rotary cutter case and find a wad of batik strips you don’t even remember cutting. There’s a full rainbow of scraps in the corner of your sewing table, and a few determined pieces have migrated into your thread drawer.
Scrap chaos is basically a side effect of sewing. Every sewist has faced the moment of fabric pile panic — when the scraps outnumber the usable yardage and you realize it might be time to make a plan.
Why You Should Keep Scraps (Within Reason)
You can scraps to test out stitches or tension before committing to your real fabric.
They’re perfect for appliqué, small quilting blocks, or mending a garment. And some of the best handmade gifts — bookmarks, pincushions, storage pods — started as scraps you almost tossed.
Keeping scraps can also save you money. Plus, it’s one of the easiest ways to sew more sustainably. That fabric you love doesn’t belong in a landfill just because it’s not a full yard anymore.
✅ Related tutorials: 21 Scrap Fabric Projects to Transform Your Textile Trash into Treasure
But here’s the catch: if you keep everything, you’ll end up overwhelmed. A tangled mess of odd shapes and offcuts doesn’t help your creativity — it can bury it. There’s a difference between a scrap stash and a fabric graveyard. Keeping only what you’ll use is what turns chaos into something useful.
But how do you know what you’ll actually use?
Start by thinking about what you sew most often. If you mostly make garments, you probably don’t need a bin full of one-inch triangles. But if you quilt or love appliqué, those little pieces might be very useful.
Here are a few ways to decide if a scrap is worth saving:
- Could you cut a recognizable shape from it? If yes, it’s worth keeping. If not, it’s likely too small to be helpful.
- Would you be excited to use that fabric again? If you’re just keeping it because it was expensive (but you don’t love it), it’s probably going to sit forever.
- Do you already have five others just like it? Repetition can be useful — until it isn’t. Keep a few, not fifty.
- Can you picture using it in a specific type of project? Think bookmarks, patchwork, bias tape, or doll clothes. If it fits your usual projects, it earns a spot.
There’s no one-size-fits-all rule. What’s useful to a quilter might be clutter to someone who sews clothing. The goal is to curate your scrap stash, not keep every sliver out of guilt.
But what about fabric crumbs?
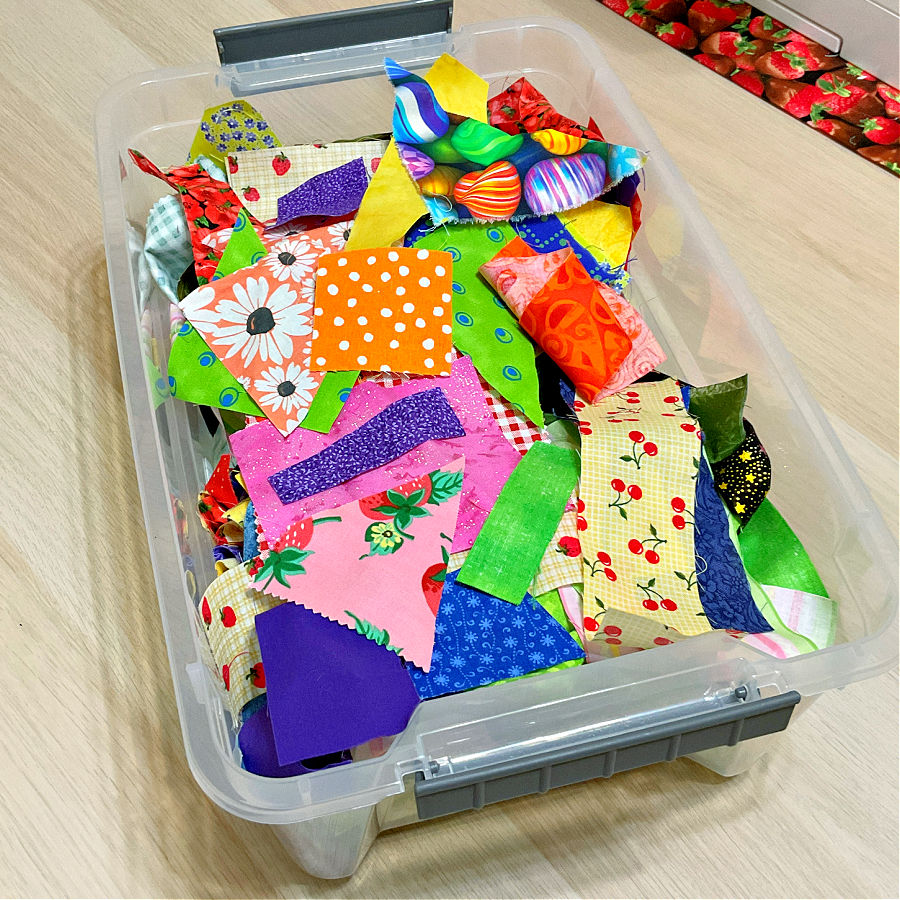
Fabric crumbs are the tiniest scraps — too small to label as “small,” but not quite garbage. We’re talking about narrow strips, oddly shaped corners, and slivers that might not look like much on their own.
Are they useful? Surprisingly, yes — but only in specific situations. Crumbs can be stitched together to create crumb blocks for quilting. They’re also great for making things like fabric confetti bookmarks, mini appliqué, or scrappy art pieces. If you love improvisational quilting or small-scale projects, a jar or bin of crumbs can feel like a treasure chest.
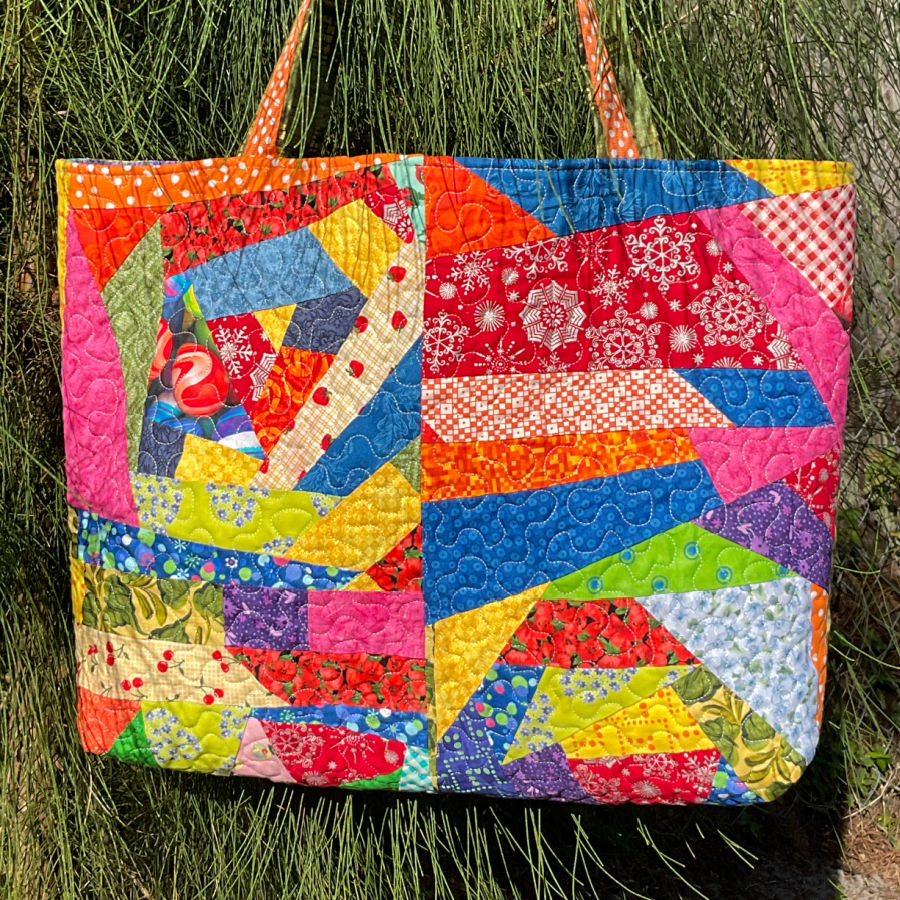
I used nothing but fabric crumbs to make a sturdy quilted tote bag in one project, which shows how even the smallest pieces can turn into usable fabric – Crumb Quilt Tutorial: Easy Ideas for Making Fabric from Scraps.
✅ Related tutorial: Leftover Fabric Ideas: Fabric Crumbs Projects
That said, if the thought of sorting through crumbs makes your eye twitch, it’s okay to let them go. Not every scrap has to be saved. Keeping a few crumbs for specialty projects is enough — you don’t need to hoard every corner you clip.
Step Two: Sort by Type, Color, or Usage
Once your scraps are sorted by size, take it a step further by sorting them by fabric type. This makes it much easier to match like with like when you’re working on a project. I group mine into categories like:
- Cotton (quilting cotton, apparel cotton)
- Knits (jersey, ribbed, spandex blends)
- Specialty fabric (silk, tulle, velvet, vinyl, felt)
- Home decor or upholstery-weight fabric
You can also sort by color. This is especially helpful for quilters, scrap artists, or anyone who tends to design based on colors. Storing your scraps by color helps you see what you have (and what you don’t). It also makes it easier to pull coordinating pieces when you’re starting a project. You can combine this with other categories — for example, small cotton scraps sorted into rainbow-colored pouches.
There’s something satisfying about a drawer or bin filled with neatly folded blues or a bag bursting with sunny yellows. It’s practical, but also inspiring.
You can also sort based on how you’re most likely to use the scrap. That might mean setting aside a bin for garment leftovers, one for quilting-friendly pieces, and one for “craft stash” odds and ends.
If you’re more of a project-driven sewist, this second method may be the most useful. And yes, you can mix the two systems — maybe cotton scraps for quilting go in one drawer, and knit garment offcuts go in another.
To keep it all straight, label everything clearly. Use painter’s tape, fabric tags, washi tape, or even clothespins with labels if your bins are open. Whatever method you choose, make sure it’s easy to read — and that you’ll actually stick with it.
Think of it like a spice rack. You wouldn’t mix paprika with cinnamon and hope for the best. The same logic applies here. A small amount of effort up front saves loads of time later when you’re deep into a project and trying to find that one piece of black ponte you swear you saw last month.
Note: Some of the links on this page are affiliate links. This means I will receive a commission if you order a product through one of my links. I only recommend products I believe in and use myself.
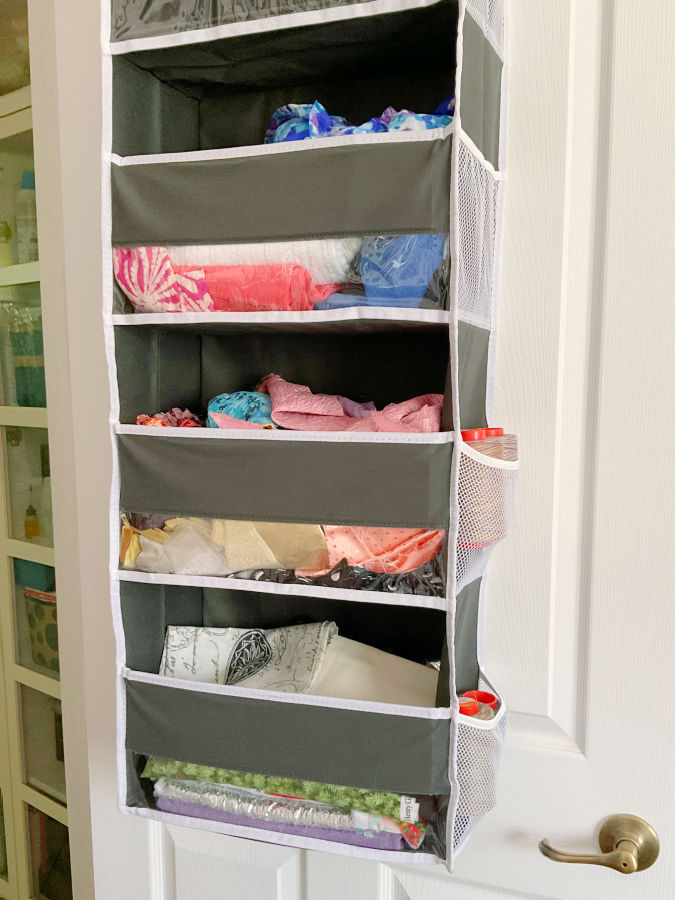
Step Three: Choose Your Storage Style
Now that your scraps are sorted by size and type, the next step is figuring out where they’ll live. Your storage doesn’t need to be fancy — it just needs to work for how you sew. Below are a few storage styles that work in real sewing rooms (not just Pinterest boards).
Clear plastic bins or drawers
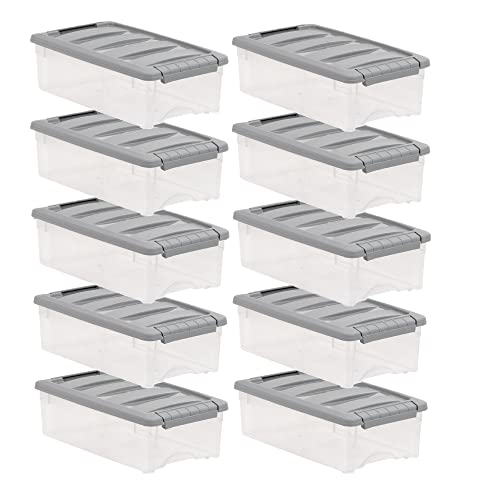

These are ideal for seeing what you have at a glance. Transparent bins let you spot a specific fabric without opening five lids. Stackable styles work well for shelves, while drawer units are great under a table. If you have many bins you can label each one by fabric type, size, or project so you’re not rummaging through them during a project.
Ziplock bags
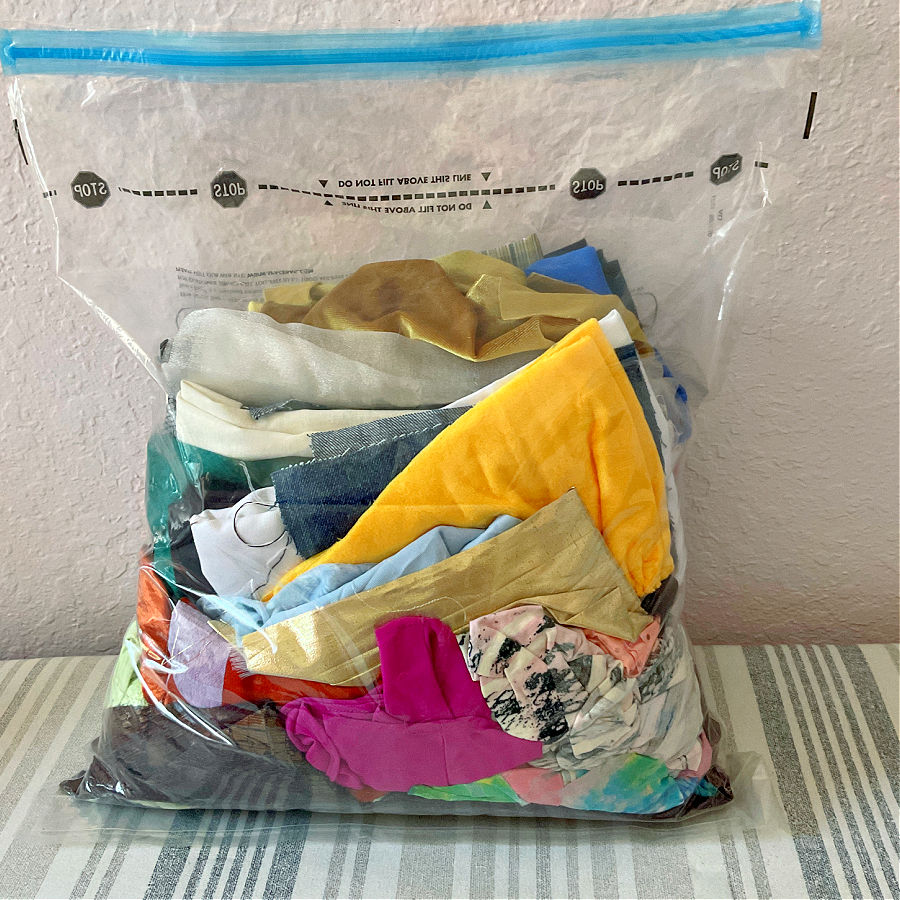


Perfect if you’re working with limited space. You can use gallon-sized bags to group small scraps by color or type, then file them neatly in a drawer. This setup keeps your workspace clutter-free but still easy to access. When you need to dig into one category, just pull out a single bag.
Hanging over-the-door organizers (clear)
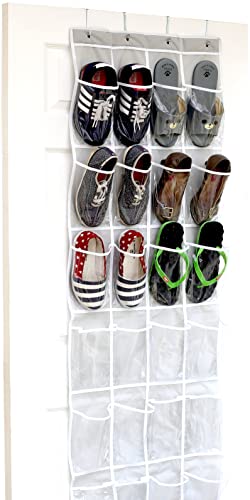

Surprisingly effective for storing fabric scraps. Each pocket can hold a different size or color, and the whole thing hangs on the back of a door or inside a closet. It keeps everything visible and off your main work surfaces. Bonus: no lid lifting or drawer opening needed.
For larger scrap pieces that don’t fit neatly into small bins or pockets, I recently started using an over-the-door organizer like this one.
The photo shows it hanging on the door just for the picture, but I actually keep it inside my closet. I don’t store fabric out in the open because light can cause fading, so this setup works much better for me.
I just bought it on Amazon, and so far I really like it. The pockets hold bigger fabric remnants, fat-quarter–sized pieces, and awkward cuts that tend to get folded and forgotten. It’s not meant for tiny crumbs, but for medium to larger scraps, this type of organizer keeps everything contained and easy to access without exposing fabric to light.

Fabric-covered boxes for open shelving
These boxes hide the clutter and also block sunlight from fading delicate pieces. Add tags or labels so you don’t forget what’s inside.


You don’t have to pick just one approach. Many sewing spaces use a mix — drawers for large scraps, hanging organizers for small ones, and a few pretty boxes to keep everything feeling neat. The best system is the one that doesn’t frustrate you in the middle of a project.
Set a Scrap Storing Routine
Sorting scraps once is helpful. Keeping them sorted is even better — and it’s not hard.
Start with a simple habit: sort your scraps right after each project. Before clearing your cutting table, separate the usable pieces into your small and large scrap categories. If you’re in a hurry, a quick drop into the right bin is enough to stay organized.
It also helps to keep a “scrap drop zone” near your cutting area. This could be a small basket, a pretty bowl, or one of those fabric pods made from previous leftovers. Use it to collect offcuts as you sew. That way, everything’s in one place when you’re ready to sort.
Set aside time maybe once a month for a 10-minute tidy-up. Use it to file away what’s collected in your drop zone and to pull out any lingering scraps that didn’t make it into storage. It’s quick and keeps your workspace usable — especially if you’re working on more than one project at a time.
Final Tips for Keeping it Under Control
Even the best storage system needs boundaries. Set a maximum space limit for your scraps — a shelf, a bin, a drawer. Once that space is full, it’s time to either use what’s inside or let some of it go. This keeps things from spilling into every corner of your sewing room.
If you haven’t touched a scrap in two years, it’s probably not coming back into style — at least not in your projects. Trends shift, sewing habits evolve, and sometimes a fabric just doesn’t spark ideas anymore.
The goal isn’t to keep every scrap forever. It’s to hold onto what’s useful, inspiring, or just too pretty to toss — and let the rest move on.
If this guide gave you even one idea that felt doable in a real sewing room, it’s worth saving. These fabric scrap storage solutions are practical and they work. Save the pin below so you can come back to this guide when you’re reorganizing or drowning in scraps again. And if you want more sewing room ideas, tutorials, and problem-solving tips, you can follow me on Pinterest.
latest posts
- What Do You Call a Person Who Sews? I Asked My Readers and Got 1,408 Opinions
- DIY Round Purse: PDF Sewing Pattern and Detailed Instructions
- Mini Wonder Clips By Clover: Useful Sewing Tool Or Just Another Notion?
- Non-Slip Grips For Quilting Rulers: A Small Notion With A Useful Job
- Fabric Eraser for Sewing: What It Removes and When to Use It
- What Is The Best Thread For Sewing Machine Projects? Let’s Find Out!
- Butterfly Quilt Block Tutorial – Foundation Paper Piecing
- How To Sew Quilt Squares So The Corners Match
- Sewing With Fork Pins: How They Help With Pattern Matching, Slippery Fabric, And Seams

I love your tutorials and am learning so much about sewing. I’m also enjoying your humorous ones too. I make my own ballroom dance dresses and your tutorials are helping me not make so many mistakes. Especially using silks, satins and chiffon. I struggled with hemming chiffon until I read about ban roll tape. Now, I can make small hems with ease in chiffon. I’m keeping a binder full of your tutorials. Thank you so much.
It’s much easier with the ban roll method for chiffon, isn’t it? I had a very hard time with the sewing machine foot for narrow hems, I was also very happy when I found this method.