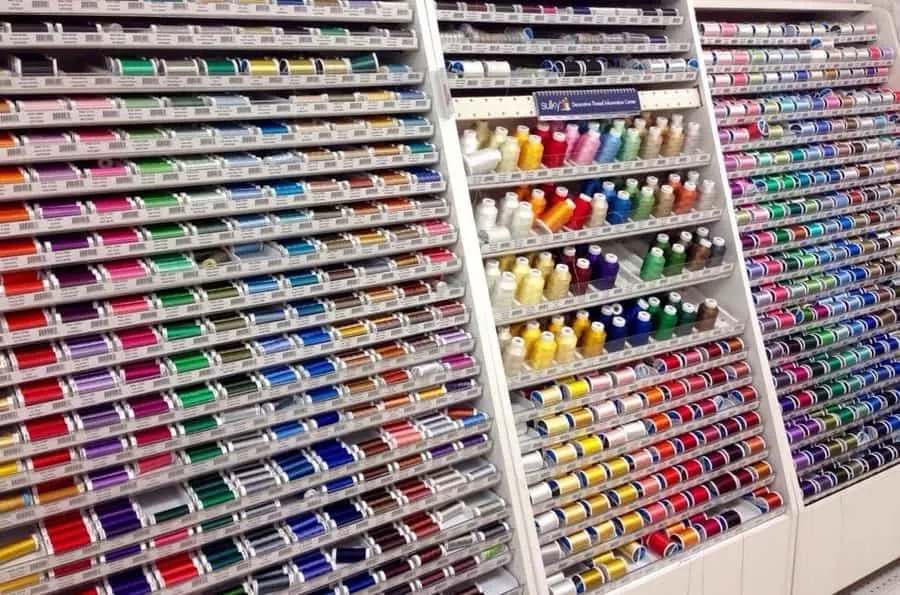
Have you ever looked at images of organized sewing rooms? Some are amazing; some not so amazing. One thing becomes amazingly clear. Everything is amazingly coordinated. The threads and fabric are all amazingly organized by color.
Amazing!
I just am not really sure I need immediately 25 spools of thread in the same color in 25 different hues; I am not a thread store.
All designer rooms are large, airy, and may have a crystal chandelier over the cutting table. Reality check!
I saw one that was obviously organized by an interior designer who knew nothing about sewing because she put the ironing board on the other side of the room from the sewing machine. The pegboard is light green, the frame is dark green, and the hanging scissors have green handles.
I have been in hundreds of sewing rooms over the years. Not one of them looks like the images on the internet. Not one. Certainly not any of the ones I have had nor the ones I dreamed about. Not even when my sewing room was 550sf (think large 3-car garage). Wait a minute. The valances over the three windows coordinated with the two couches. That was it.
For the time being, we moved to help my 89yo mother. Now my sewing room is 107sf. Not just ouch but…OUCH!!! Too much time was spent trying to get everything in that tiny room. It wasn’t until I decided to put the sewing machines into a small, useless dining room that the magic happened.
What happened, you ask.
I accidentally created my dream Design Studio
I learned there is a difference between organizing and designing. Organizing is homogenized one-size-fits-all space planning. Designing is all about you, the sewist. It’s about how you sew, what you sew, and how you do what you do. It’s about creating a workspace specifically tailored to your needs, and only your needs.
I sew mainly my clothes, home dec items, some crafts, purses, bags, and totes. What works for me may not work for you. It’s okay. Designing is all about you! Not your family or friends. It is all about you. In coming to this conclusion, I inadvertently devised a plan that works.
This plan works because I was selfish, lazy, and demanding!
Use this 3-step plan to help you create your own Dream Sewing Studio. In all my years of sewing, from dining room tables to 550 square feet over a 3-car garage, never have I enjoyed sewing this much. Before I felt like a large rodent searching for things like duplicate copies of patterns, things printed off the internet, notions, pattern pieces, the right foot for the right machine, or even a seam ripper, even though I own 12 of them.
For our readers not used the imperial system, 550 square ft is roughly 51 square meters or a room 8.5m x 6m. 107 sq ft is roughly 10 sq meters or a room 3.3×3 meters.
Now I feel professional. Relaxed. I no longer feel frustrated. Sewing the pattern together seems to flow easier. I make fewer mistakes. I am more creative. I found the courage to take my imagination beyond what I was comfortable with. All because I got rid of Big Rodent.
You have it within you to create your own Dream Sewing Studio.
Because…
You have my permission to be selfish, lazy, and demanding.
✅ Related tutorial: Choosing a Mini Vacuum for Sewing Machine
STEP 1: DREAMS DO COME TRUE
HOPE BEGINS WITH A DREAM
Think big. And I mean BIG. Forget about the size of your room. Forget about finances. My dream studio involves a 1500sqft studio on a lakefront property next to a 3000sqft house and a boat. Maybe one day. For now, I have a 107sqft room to deal with.
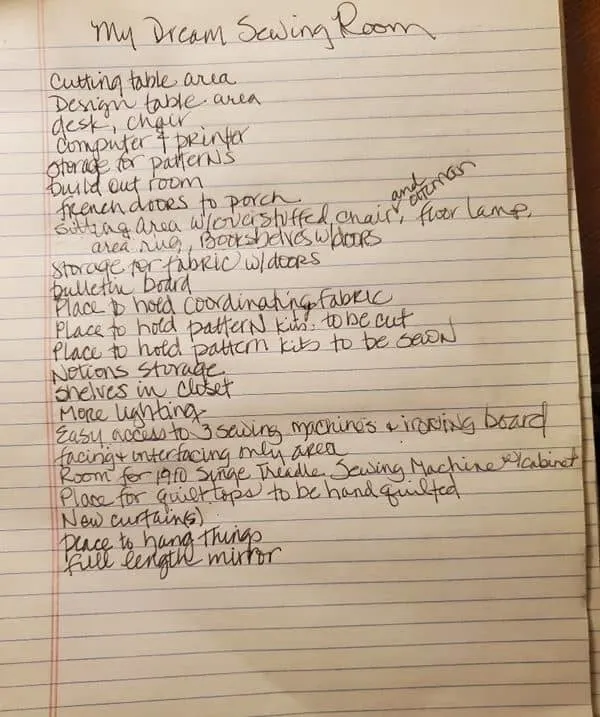
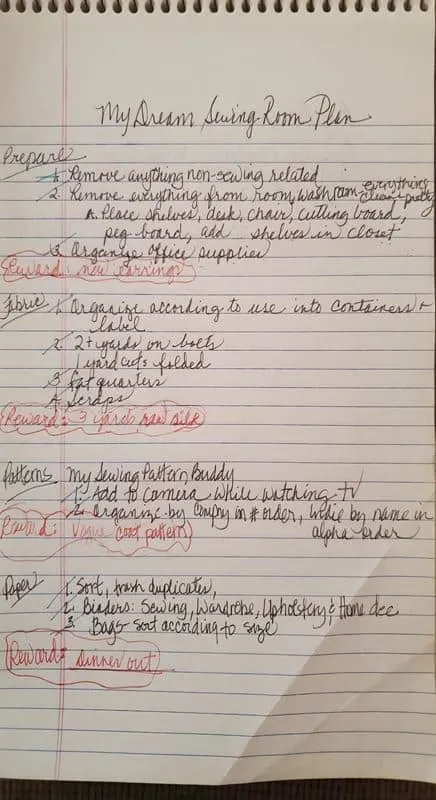
Note: In case reading my handwriting is difficult, please click on the image and you will be able to download a text document with the contents.
There are no boundaries in dreaming. Boundaries crush creativity. Let your mind play like a child who is writing a wish list for Santa Claus. List everything you would like your dream studio to be. Be selfish.
Keep a clean copy of this list. You can use it to plan your next dream studio if you move. You have my permission to use a computer for this of course.
STEP 2: ADJUSTMENTS
A DREAM WITHOUT GOALS IS JUST A DREAM
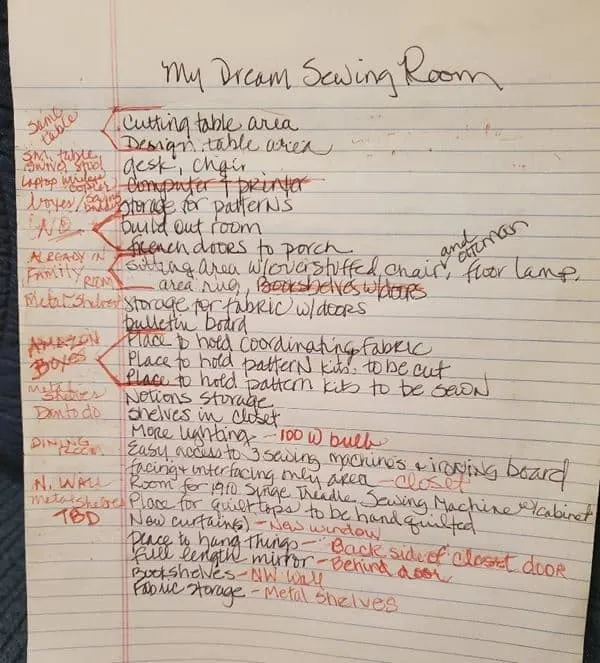
First, cross out the items you know won’t work in this room. A big comfy chair with ottoman, a rug, and bookcases…no can do.
Next, choose from your list the items that are very important to you, even if you don’t see how you can fit them in. Keep item(s) that you absolutely, positively must-have.
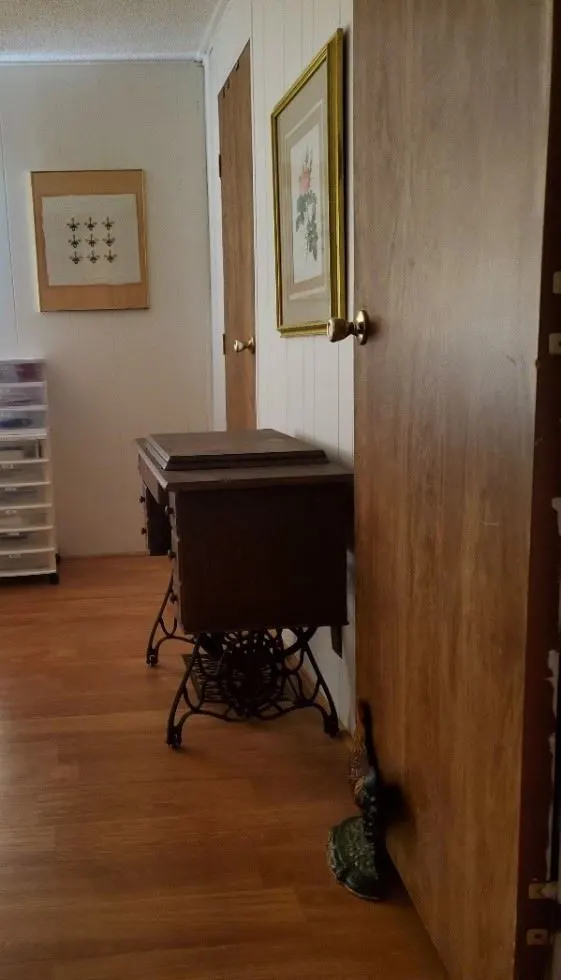
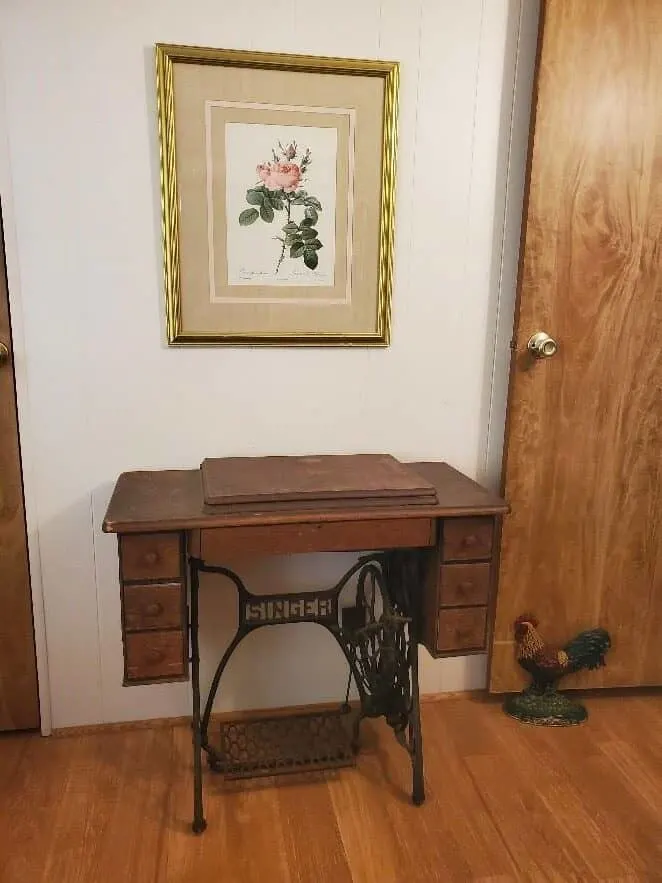
I could have used the space by the door for more storage, but I demanded that for the treadle machine. I wanted that porch but demanded the desk by the window. Only after those decisions were made, I then design the room around them.
STEP 3: PLANNING A SMALL SEWING ROOM LAYOUT
A DREAM WITH ACTION CHANGES YOUR WORLD
You can see what I did at this stage. This is the first page. These are not in any order. As you think about what needs to be done for each section, write it down.
Try to finish each section before starting the next, but keep in mind that it is okay to skip around and do one thing in Patterns and do something else in Papers before finishing Patterns.
Choose the reward with something related to that section. Organize patterns/Vogue coat pattern. Organize material/3 yards of raw silk. To earn the reward, finish all the items in the section.
Everything on my final dream list is in there. It’s incredible how many things will fit when you have designed your own dream studio.
LOOK! I found a corner big enough to bring in my home dec rolls of fabric from elsewhere! I can now see the actual bulletin board. The table is now a cutting table and a design table. Everything is within an arm’s reach. Dressmaking rulers for making patterns are in a black case under the table.
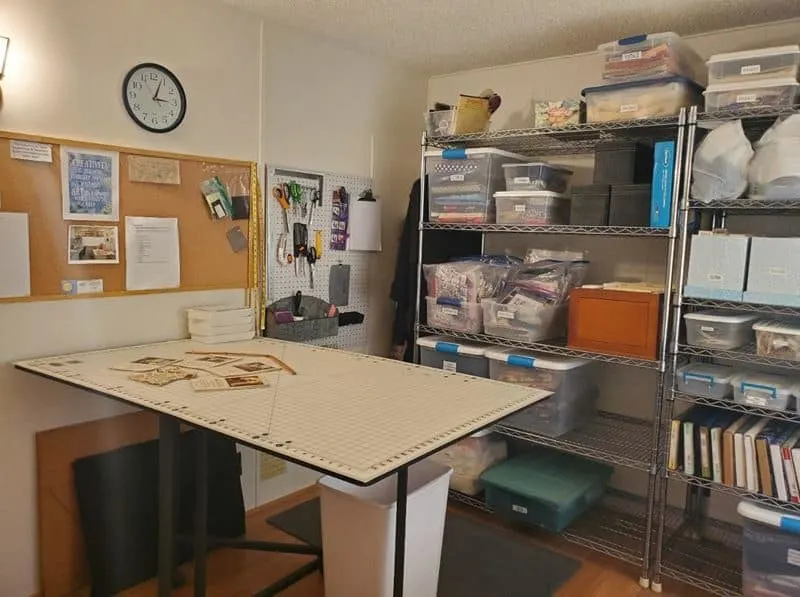
By the wall, the third shelf from the floor is two plastic containers. One for coordinating fabric for future use. One is for ready-to-cut kits, including everything needed to make a project. A third one is in the sewing room for ready-to-sew projects.
Note: Some of the links on this page are affiliate links. This means I will receive a commission if you order a product through one of my links. I only recommend products I believe in and use myself.
HINT: You can find space anywhere. The metal container on the peg board was getting a little full. These under-table drawers are perfect for my needs. They come in two a package; I bought 2 packages. You can buy them here.
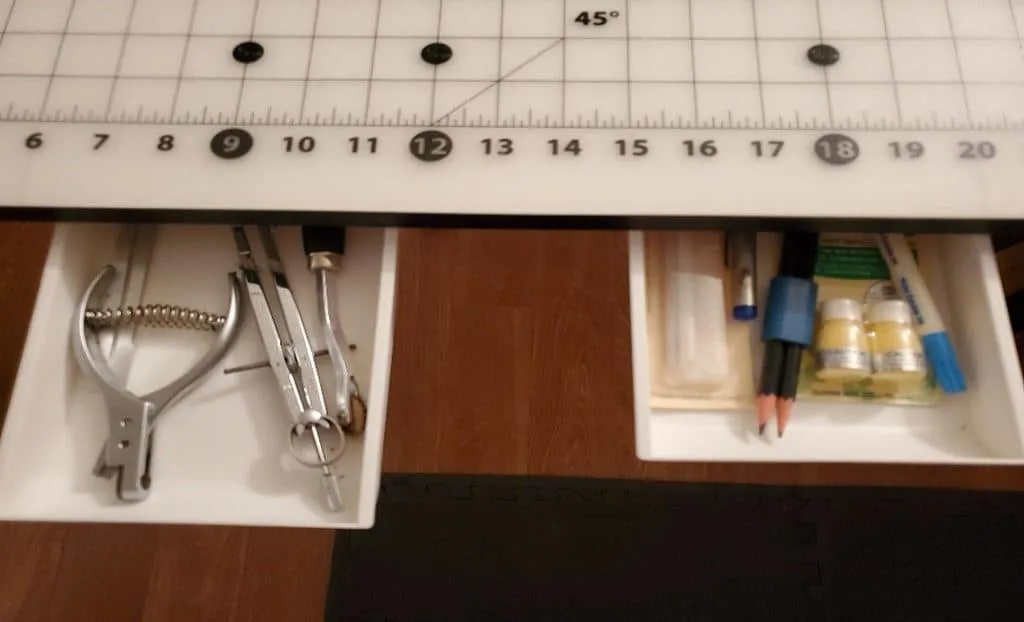
Here are the items on sale on Amazon. They come in two sizes, the “Large” is wider (the length is the same)
All fabric was brought in from other areas. Fabric is sorted by use, put in plastic bins, and labeled. For example, Top Weight, Bottom Weight, Cotton, Jeans, Home Dec, Upholstery, and more.
The free cardboard bolts I got from the fabric store are filled with two-plus yards. Other plastic bins are labeled: One Yard, Fat Quarters, and Scraps. Plastic bins like these:
Notions are in the smaller containers, all labeled.
Plastic containers on top are quilts that need to be hand quilted, sewn together, or ready to cut.
The three tall white and blue boxes hold my patterns, listed by company name in alphabetical order and then patterns sorted numerically. Indie patterns are listed in alphabetical order by name. One box is for clothes, one for purses/bags/wallets, and one for pdf patterns that fit perfectly unfolded and inserted sideways. The smaller one is for crafts.
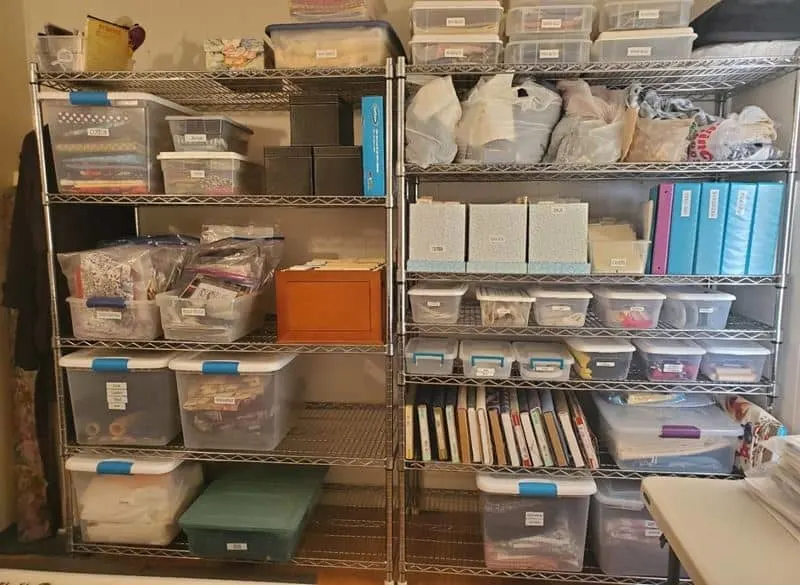
I need to know how much of a certain fabric I have. If you need to how much of a certain color, sort it that way.
HINT:
- Get your patterns on your phone! Very helpful. I use My Sewing Pattern Buddy, available for android and iPhone.
- Create a file folder for each sewing machine to hold all pertinent information.
- Use dedicated 3” binders for each type of sewing you do. For example, one of the turquoise binders is labeled Clothing. I have separate tabs labeled for each section of sewing. The tabs in that folder are labeled Pattern Design, Pattern Fitting, Sleeves, Tops, Bottoms, Coats/Jackets, Hints/Tips, and more. Then you won’t have to make another copy (again) of it. You will know where it is.
On the design table is an antique ruler, four Singer books published from 1920 to 1930, and the very first dress I designed and made when I was nine. This will go on the wall above the treadle machine.
(You can read my article Is Learning To Sew Hard? to learn more about Dollie and her dress).
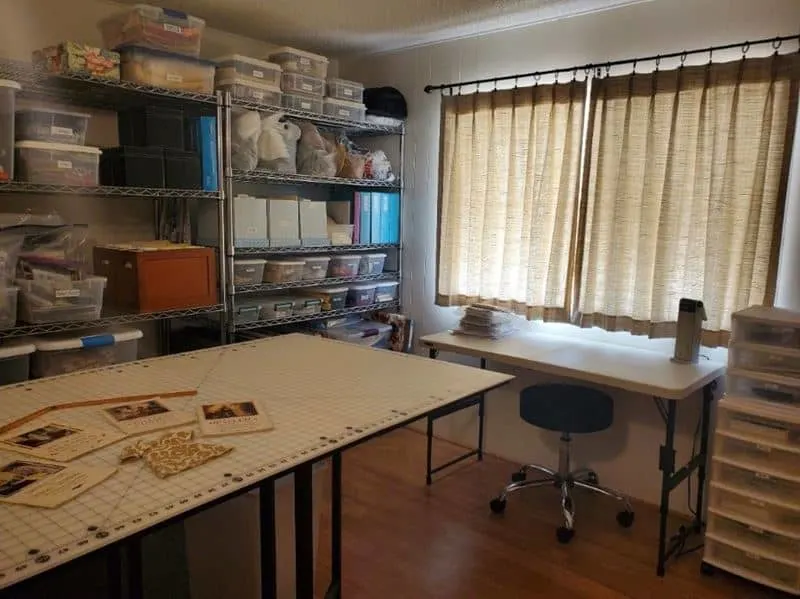
New window treatments are to be made soon. Yes, I think they’re ugly too.
My 1910 Singer treadle machine. The things on the design table will go on this wall. I could have used this space for something more practical, but it was on my list and I was demanding.
HINT: Always, no matter how small your sewing room is, include something totally impractical that you love and cherish. Just for fun.
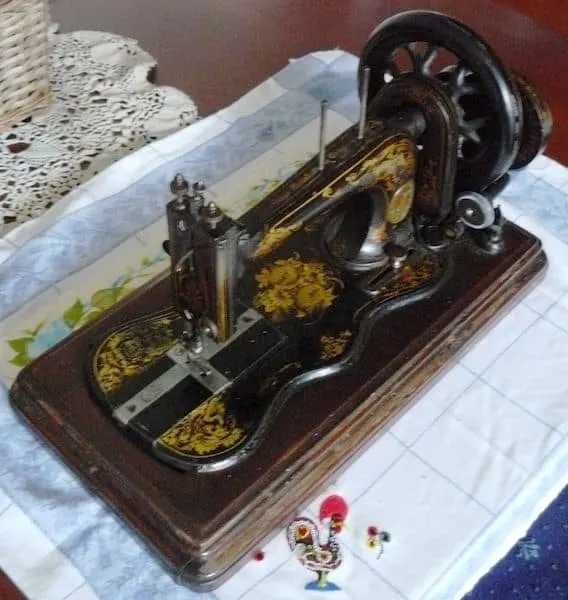
By the way, if you want to read an interesting story of a 1870-era sewing machine, try this article: The story of us: continuity and progress (ageberry.com)
The back wall will be shelves for sewing books. I include the following hint because interfacing, quilt batting, and other miscellaneous things are on closet shelving (not shown).
HINT: Cut out a square of interfacing and staple it on a 3×5 index card. Cut the instructions out of the plastic insert, fold it to index card size, and paperclip that to the card. Next time when you have a piece of interfacing and you don’t know what it is, this will also serve to identify it.
✔️EVERYTHING FOR DESIGNING AND PREP WORK WHERE IT NEEDS TO BE
DINING – oops! SEWING ROOM
Excuse the mess. I am refurbishing a 1920 Singer treadle machine. Usually, there are three sewing machines here.
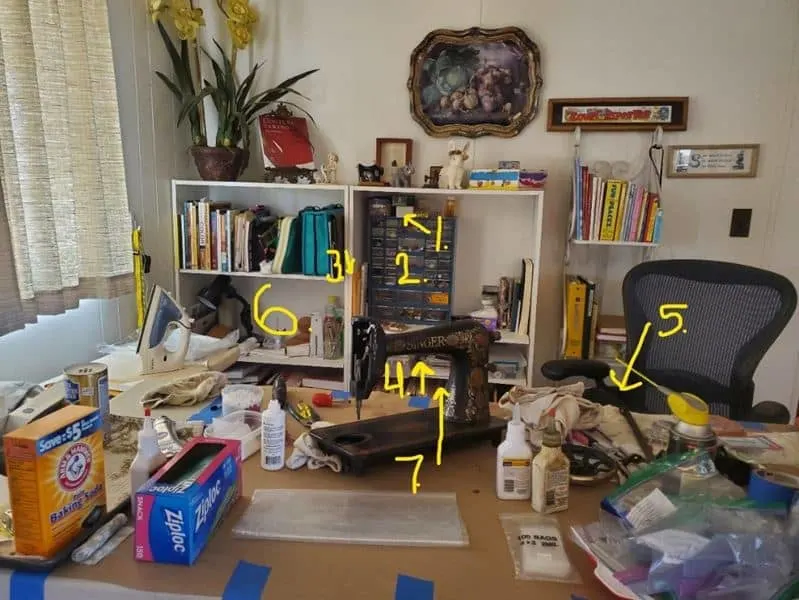
That Big Rodent showed its ugly head when I was sewing. Searching for co-mingled sewing equipment is not time spent sewing. This works for me.
- Each machine I own, five of them, has its own set of feet and tools made up into kits, including its own seam ripper. I also made a complete kit for traveling (kept in luggage), and one for hand stitching kept in a drawer by a big, comfy chair) that includes all necessary notions. Will never have to look for a thing again.
- Notions.
- Machine manuals.
- Feet for Brother, and thread (in two double-sided Matchbox containers, one each for warm and cool colored thread).
- Serger-related items are in a container behind the chair.
HINT: Most clothing can be sewn with white, neutral gray, or black thread, reducing the need to rethread. Remember, serged seams are on the inside.
- All ironing-related items.
HINT: For crisp folds when ironing seams open, there is the tailor’s clapper. Use steam (or a spray bottle if you don’t have a steam iron) to iron the seam open. Press the clapper on top to hold in the seam, making a professionally flat seam. They are relatively expensive to buy, for a piece of wood. Get a piece of 2x4x11” hardwood (like oak or cherry wood) a scrap of lumber and sand it smoothes all around. It works beautifully. Do not use a softwood like pine. Always test scrap fabric to make sure it won’t leave an imprint on the seam on the right side of your fabric.
- Points to the bottom shelf for sewing resource books
✔️EVERYTHING FOR SEWING WHERE IT NEEDS TO BE
It took me six months to get where I am at. I went lazy and worked on the plan when I wanted to. If you can do it within a month…Wow! I’m impressed. Take it at your own speed.
Your Dream Sewing Room doesn’t have to be amazingly coordinated. It is a workroom. Make IT work, not YOU!
Finally, when everything is the way you want it, have someone take a big-smile picture of you holding a glass of champagne celebrating you and your Dream Studio. Frame it and hang it on your Dream Sewing Room wall.
Because it is All About You.
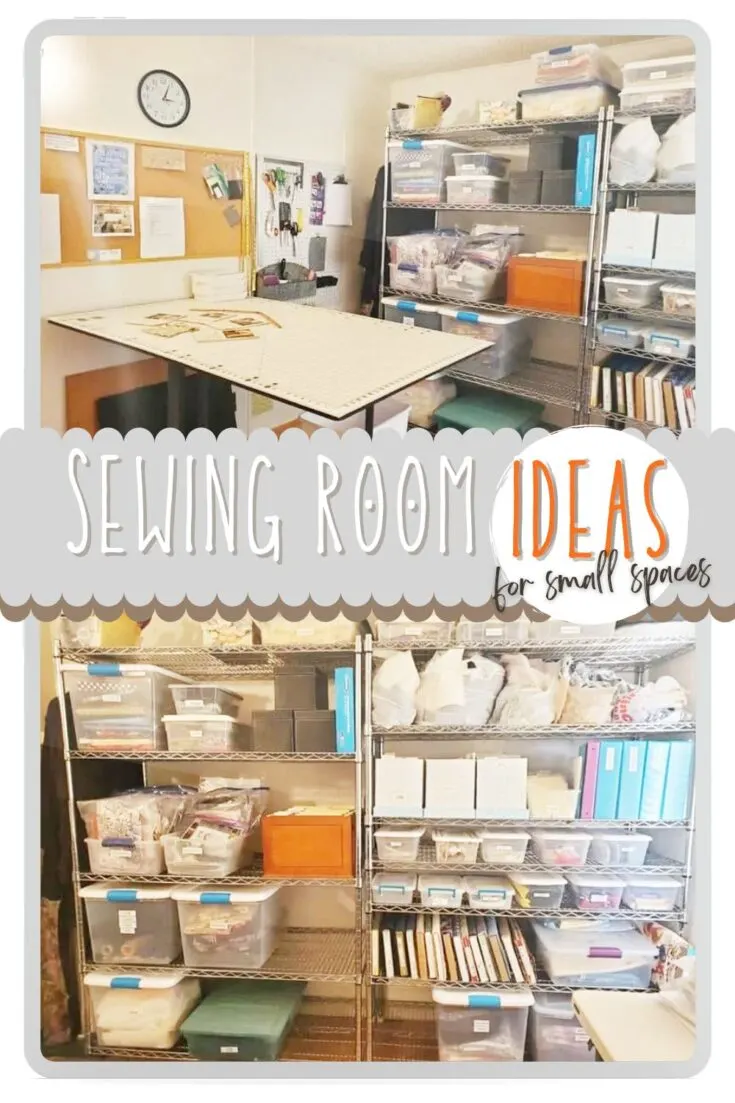
Did you find this tutorial helpful? If so, save this pin (see below) on your sewing board so you can come to the article later when you need this information on stay stitching , and follow me on Pinterest for more tips, tutorials, and inspiration!
latest posts
- Adorable DIY Needle Book | Easy Tutorial for Beginners
- Master the Seam Ripper: Your Ultimate Guide to Precision Stitch Removal
- Think You Know Zippers? This Installation Guide Might Surprise You
- Why Does Your Seam Ripper Have a Red Ball? Discover Its Purpose!
- Topstitching Troubles? This Simple Trick Will Turn It Around Instantly!
- How to Sew Shirring: A Step-by-Step Guide to Elastic Thread Gathering
- Are Self-Threading Needles Really Useful?
- Amazon Spring Sale: Best Choices
- Elevate Your Prom Look: A Guide to 10 Neckline Choices (2024)



Jitka
Sunday 26th of November 2023
I have two additional suggestions. The first is to use LED garage lights. I got the equivalent of 1000W for the price of a couple of lattees. The second is to use locking castors for your large tables (e.g., cutting and ironing). I attached locking castors to a plywood sheet, mounted a pair of Ikea storage units with slide-out drawers on each end, and ripped it with a butcher block countertop. On those occasions when I need to have access around all for sides, I unlock the wheels and pull it away from the wall. I saved so much space!
Carol
Sunday 26th of November 2023
@Jitka, Thank you for two more great ideas! I am moving soon and will incorporate these two in my new sewing room!
Vera
Tuesday 15th of November 2022
Hi, where did you get your cutting table? I have never seen a table with a grid before. Did you make it or purchase it?
Carol
Wednesday 16th of November 2022
@Vera, The grid is separate and sits on top of the table. It is just lucky it is pretty much the same size as the table.
Margie
Tuesday 15th of November 2022
Thank you for this article! Your process for designing a sewing space is simple, easy to implement, and practical. I most liked the realistic pictures. To your advice I would add, get the room put together, live with it for a while & adjust to suit your needs. My sewing spaces over the years have been in a corner, or one end of my bedroom, depending on the apartment—small. I am finally blessed with a forever home & a small bedroom I can dedicate to sewing & crafting. I’ve discovered a love for sharing crafting time with my daughters & granddaughters. I reconfigured the room slightly to facilitate family crafting. It is my dream space.
Carol
Wednesday 16th of November 2022
@Margie, Kudos to you for getting your dream space and sharing it with your daughters and granddaughters. A wonderful way of staying involved with them and making memories they will cherish forever. Does it ever get better than that? Thank you for reminding people that the Dream Studio Plan is not static. Built into it is the flexibility to change as your dreams change. Always make it your dream, not somebody else's. Keep making what you love!
Rosanne
Wednesday 14th of September 2022
Where did you get your table top for the cutting/design table?
Carol Diane
Wednesday 14th of September 2022
@Rosanne, I got it at Joann's.
sneorena peepers
Thursday 11th of August 2022
I love your perspective on a sewing room. Totally accurate! It is my room, and when I get help in redoing it, it never works because I need what I need and want what I want. When the weather cools down I'm going to start redoing my room. Thank you so sew much.
Carol Diane
Thursday 11th of August 2022
@sneorena peepers, You're sew welcome! Start now with planning your dream studio so you are ready when the weather cools down. Remember to dream big. When you make it personal, getting into the "sewing zone" is as easy as walking through the door.