Binding in Sewing: What It Is, Why It Matters, and How to Use It
At some point, every sewist faces this moment: you’ve stitched the seams, pressed the edges, maybe even admired your work a little — and then you realize the edge still looks like it’s waiting for instructions.
Enter binding. That small strip of fabric that somehow causes more confusion than an invisible zipper foot.
In this tutorial, we’ll walk through what binding actually is, how bias, straight grain, and self binding differ, and how to choose the best type for your sewing project. We’ll also look at practical uses, real-life tips, and a few moments that might make you laugh — especially if you’ve ever found yourself arguing with bias tape at 10 p.m.
So if you’ve ever stared at a roll of bias tape and thought, “Do I really need this?” — the answer is probably yes. And by the end of this guide, you’ll know why.
What Is Binding in Sewing?
The Role of Binding in Sewing Projects
Binding is a narrow strip of fabric used to encase raw edges in sewing. It provides both structure and polish, and turns an exposed seam into a neat, finished detail.
Have you ever looked at a garment and thought, “Why did they bother with binding instead of just serging the edges?” I used to ask the same thing. For a long time, I believed binding was mostly for quilts and maybe the occasional placemat. It seemed like one of those optional techniques that was nice to know but easy to skip.
Then I took a closer look at high-end garments and fashion pieces. I noticed how beautifully the inside seams were finished — not with bulky facings or messy overlocked edges, but with smooth, coordinated fabric strips. That’s when it clicked. Binding wasn’t just functional. It was intentional. It was a quiet detail that said, “This was made with care.“
Binding is simple, yes — just a strip of fabric wrapped around a raw edge. But the more you sew, the more you realize how much there is to know about it. Should the tape be cut on the bias or straight grain? How do you get a clean finish around curves and corners? Which type of binding works best for each kind of edge?
These are the kinds of details that seem small — until you’re sewing a silk neckline or a curved hem and the usual tricks just don’t work. Binding steps in where other methods fall short. It keeps fabric stable. It softens the look of seams. It adds color or contrast in a way that feels deliberate, not forced.
Common Projects That Use Binding
Most people associate binding with quilts, and yes, it’s essential there. But its reach goes far beyond quilting. Think about sleeveless dresses with neatly bound armholes.
Or aprons with crisp edges that hold their shape wash after wash. Even small items like wallets, bags, and napkins benefit from the durability and clean lines that binding provides.
✅ Related tutorial: How To Make A Reversible Cross Back Christmas Apron: Step-By-Step Tutorial
It’s the detail that takes your project from homemade to handmade — with intention and care stitched into every edge.
Note: Some of the links on this page are affiliate links. This means I will receive a commission if you order a product through one of my links. I only recommend products I believe in and use myself.
Store-Bought vs DIY Binding
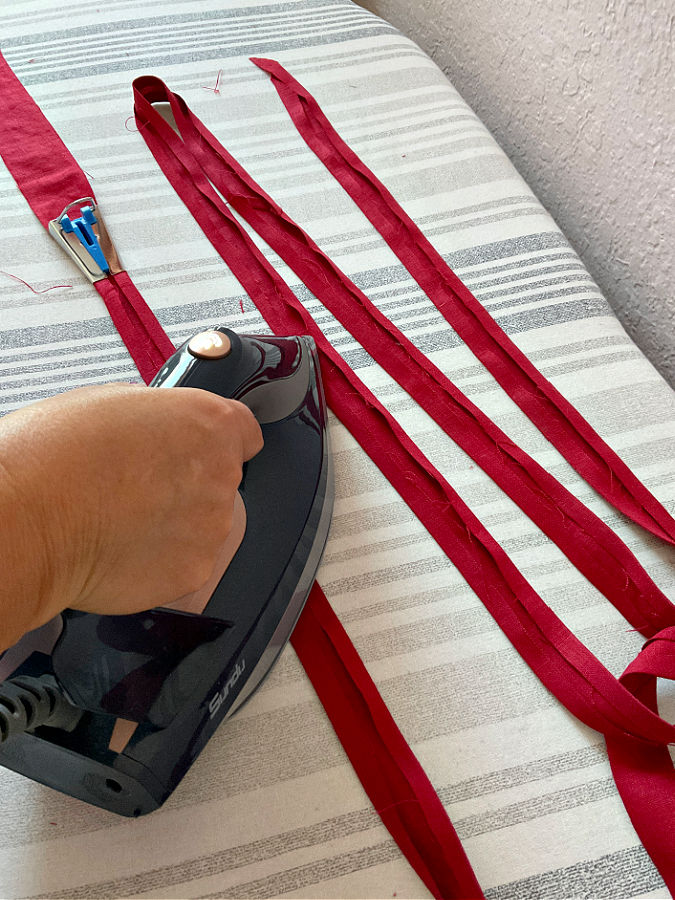
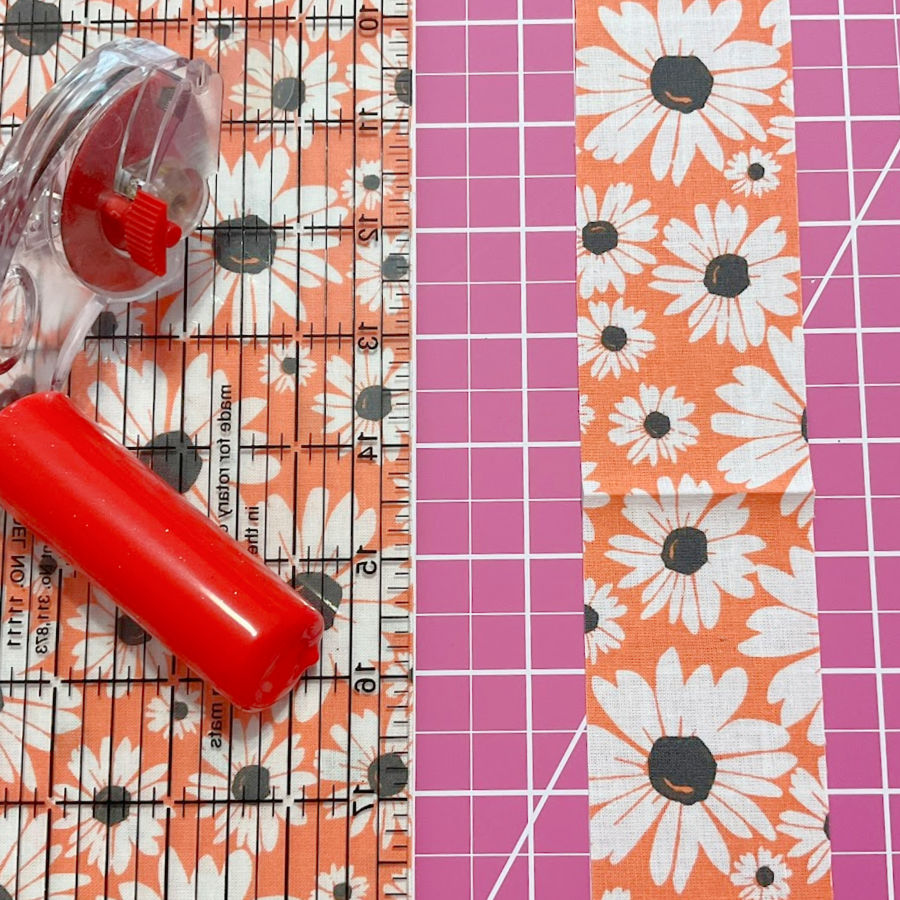
If you’ve ever stood in front of the notions wall at a fabric store, you’ve probably seen those tightly folded bias tape packets. They’re convenient and predictable. But once you try making your own, it’s hard to go back.


Store-bought tape rarely matches your project’s exact fabric or tone. DIY binding lets you cut from scraps, coordinate perfectly, and choose the exact width you need. It’s also a great use for leftover fabric, especially if you want to reduce waste.
Here’s something to consider: Do you want your next project to look stitched together — or finished? Sometimes, it’s a single strip of binding that makes all the difference.
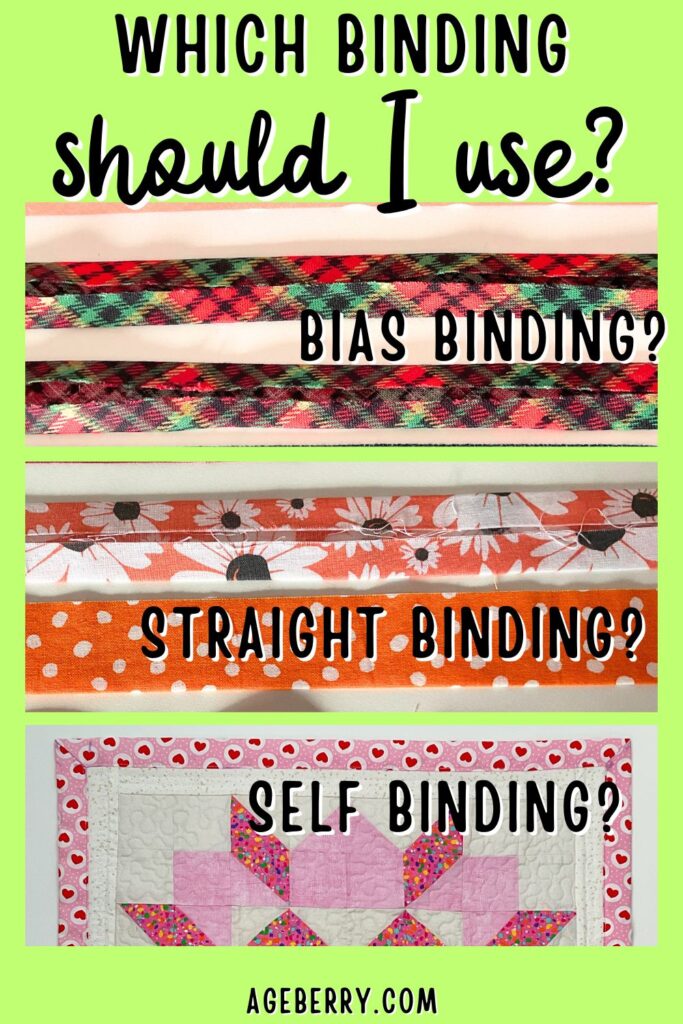
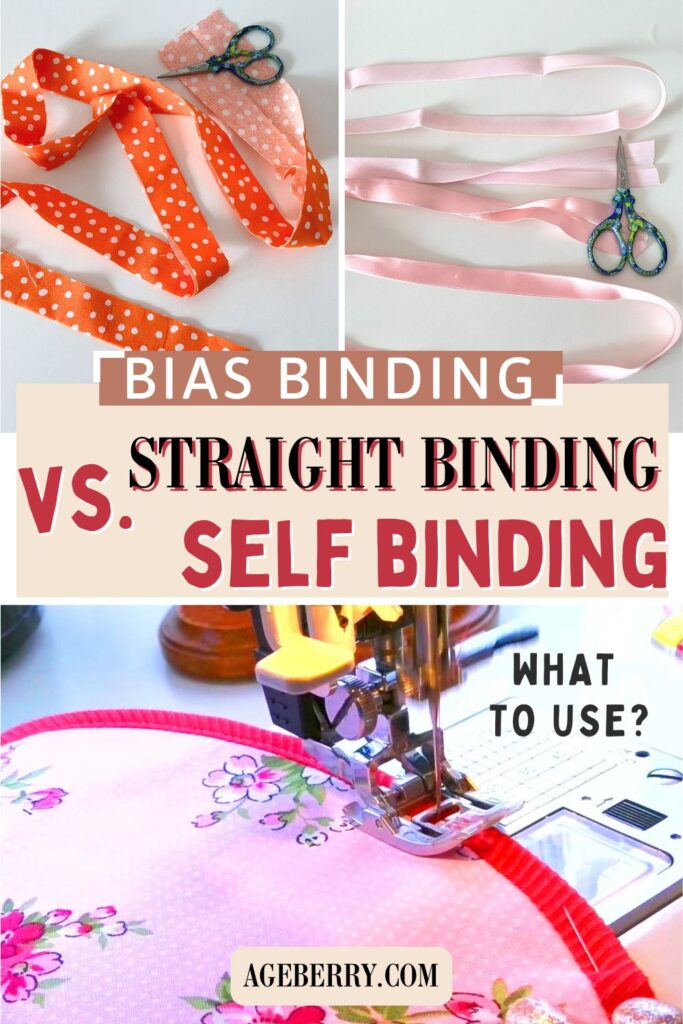
Types of Binding Explained
Bias Binding
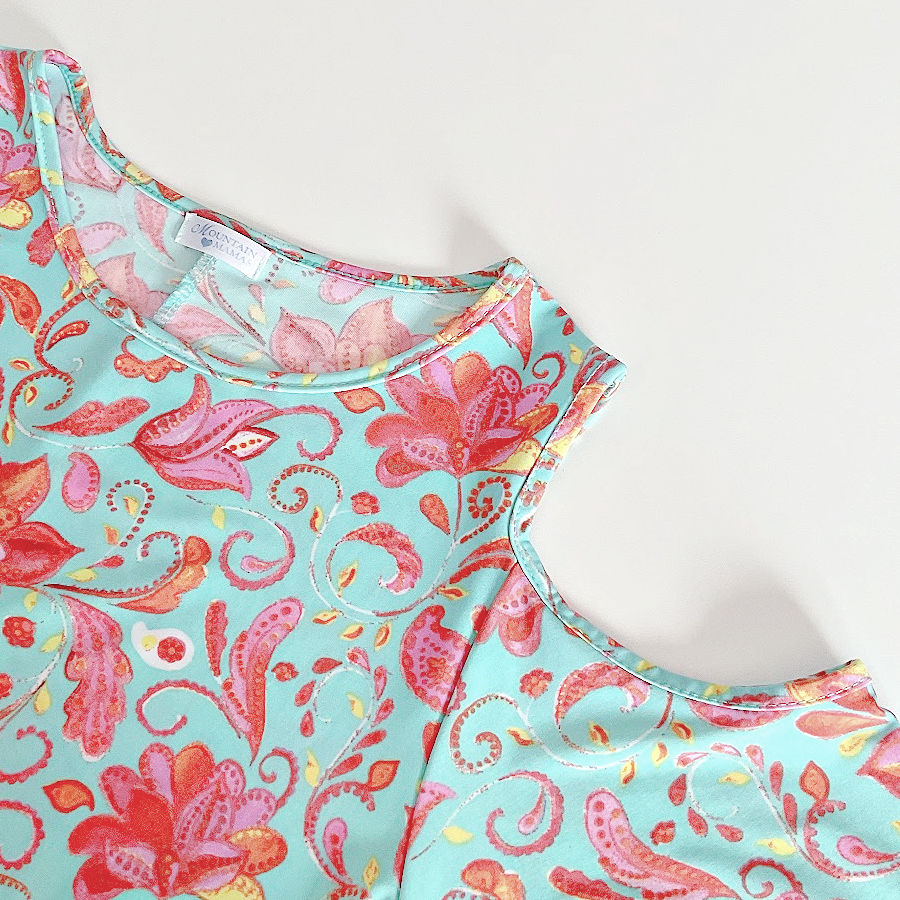
Bias binding is made by cutting fabric strips at a 45-degree angle to the grain. This diagonal direction gives it flexibility and just the right amount of stretch — the kind you need to wrap neatly around curves.
That stretch is what makes bias binding ideal for areas like necklines, armholes, and hems with rounded edges. If you’ve ever tried to bind a curve with straight-cut fabric, you know it can pull or wrinkle. Bias tape moves with the shape instead of fighting against it.
Edge Compatibility: Bias binding works beautifully on curves, corners, and anything that isn’t a straight line. It molds to fabric in a way that other types of binding just can’t.
Fabric Efficiency: Here’s the trade-off. Bias strips use more fabric than straight cuts. Because you’re cutting diagonally, there’s more leftover material around each strip. But what you get in return is a binding that behaves well and wears beautifully — even with frequent use and washing.
Once you try bias binding on a curved neckline or a rounded pocket, you’ll see why it’s a favorite in both garment and quilt sewing.
✅ Related tutorial: Bias tape tutorial: how to use a bias tape maker


Straight Grain Binding
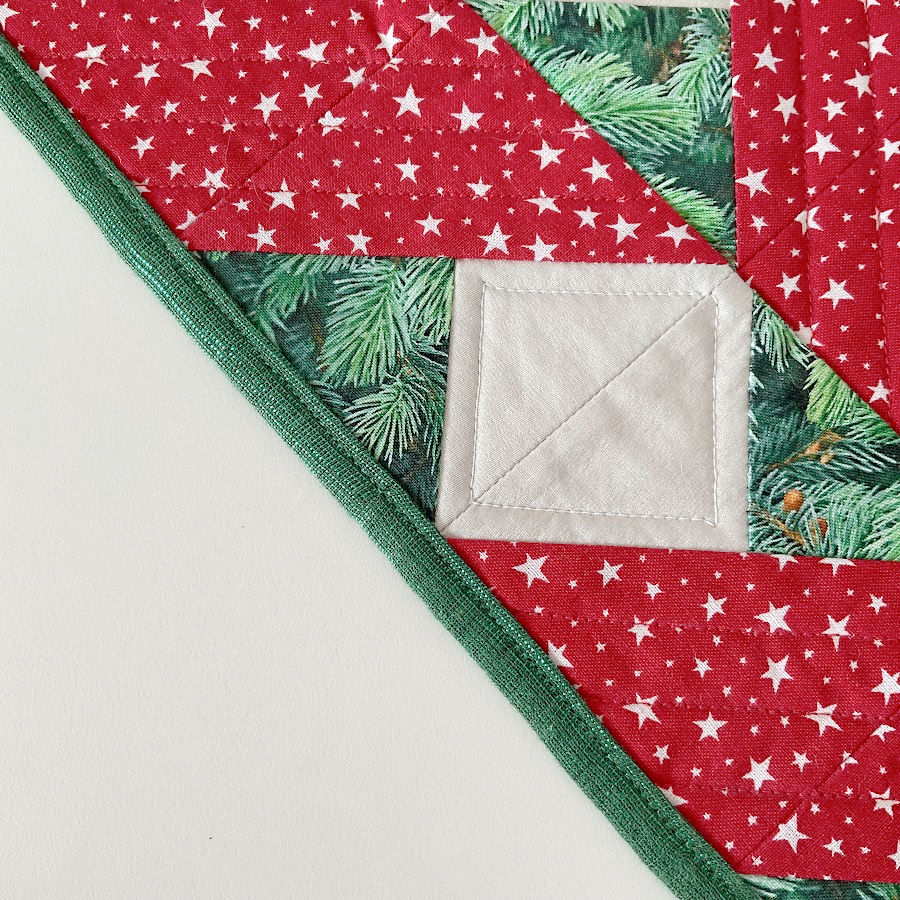
Straight grain binding is made by cutting fabric strips either along the lengthwise or crosswise grain — that is, following the threads of the fabric, not cutting across them on the diagonal. This type of binding has no stretch, which can be a benefit or a limitation, depending on your project.
Because it’s more stable, straight grain binding is a great match for edges that don’t bend or curve. Quilts are the most common example. Their straight, clean borders make this binding a natural choice. It also works well on placemats, table runners, and other rectangular or square shapes in home décor.
Edge Compatibility: Straight grain binding behaves best on straight lines. Try to force it around a curve, and you’ll likely see puckering or pulling — which can distort your project and make your finish look uneven.
Visual and Structural Notes: One of the strengths of straight grain binding is how flat and crisp it lays. It holds its shape without stretching or rippling. That’s especially helpful when you want a neat, even edge that frames your work with a sharp outline.
If you want to use less fabric, straight grain binding is more efficient than bias. It’s easier to cut, wastes fewer scraps, and uses the grain lines to your advantage. But it does have limits. When your project calls for flexibility — like an arched quilt corner or a scooped neckline — this type of binding isn’t the best tool for the job.
Still, when used in the right place, straight grain binding does exactly what it should. It finishes the edge cleanly and keeps everything stable.

Self Binding
Self binding is a method where the back of the project — often a quilt or blanket — is extended, folded over the front edge, and stitched down to create a finished border. Unlike bias or straight grain binding, self binding isn’t a separate strip of fabric. Instead, it uses what’s already part of the project. That’s what makes it “self.”
This technique is especially popular for smaller projects like baby blankets, mug rugs, or wall hangings. It’s quick, requires no extra materials, and gives a clean finish without additional cutting or piecing.
Visual Differences: Self binding tends to be wider and thicker than other types. Because the folded edge comes from the backing layer, it often has more bulk — especially if batting is included.
Efficiency: One reason sewists turn to self binding is the simplicity. There’s no need to calculate strip width, press folds, or sew binding to both sides. It’s a one-step method that’s perfect when time is short or the edge doesn’t need to stand out.
People also choose self binding when they want the back fabric to become a design feature on the front. It can tie the whole project together visually, especially if you’re working with coordinating prints or solids.
But there are trade-offs. It’s not a great option for items that need a sharp, narrow finish. And it can feel bulky at the corners unless you carefully trim layers and miter the folds.
Still, self binding has its place. It’s simple, practical, and lets the fabric shine without interruption. When you need a quick finish that still looks intentional, this method gets the job done — and does it with character.
✅ Related tutorial: Self Binding Quilt Tutorial: Easy Steps for Perfect Mitered Corners and a Professional Finish
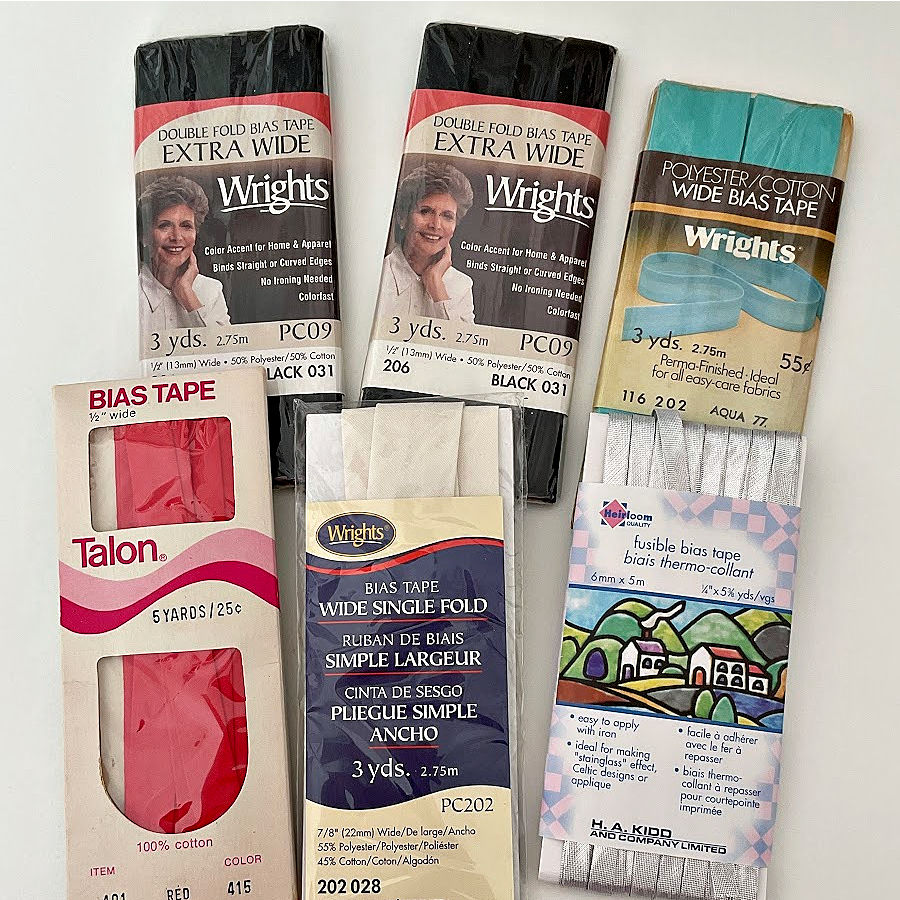
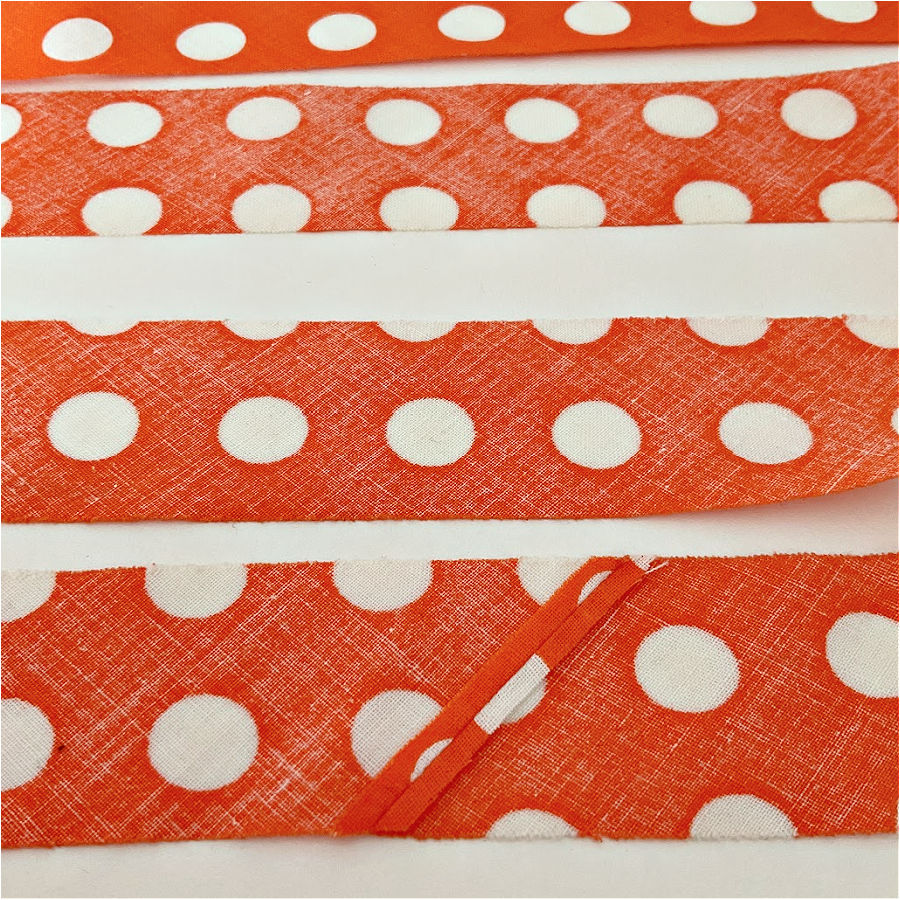
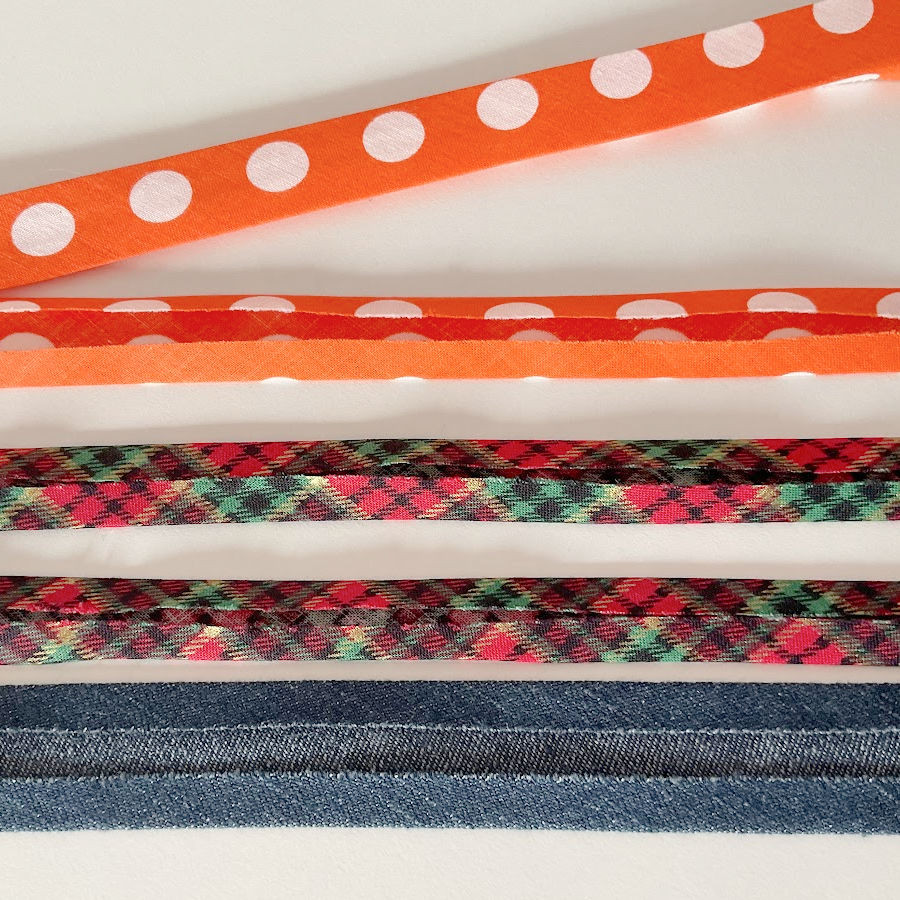
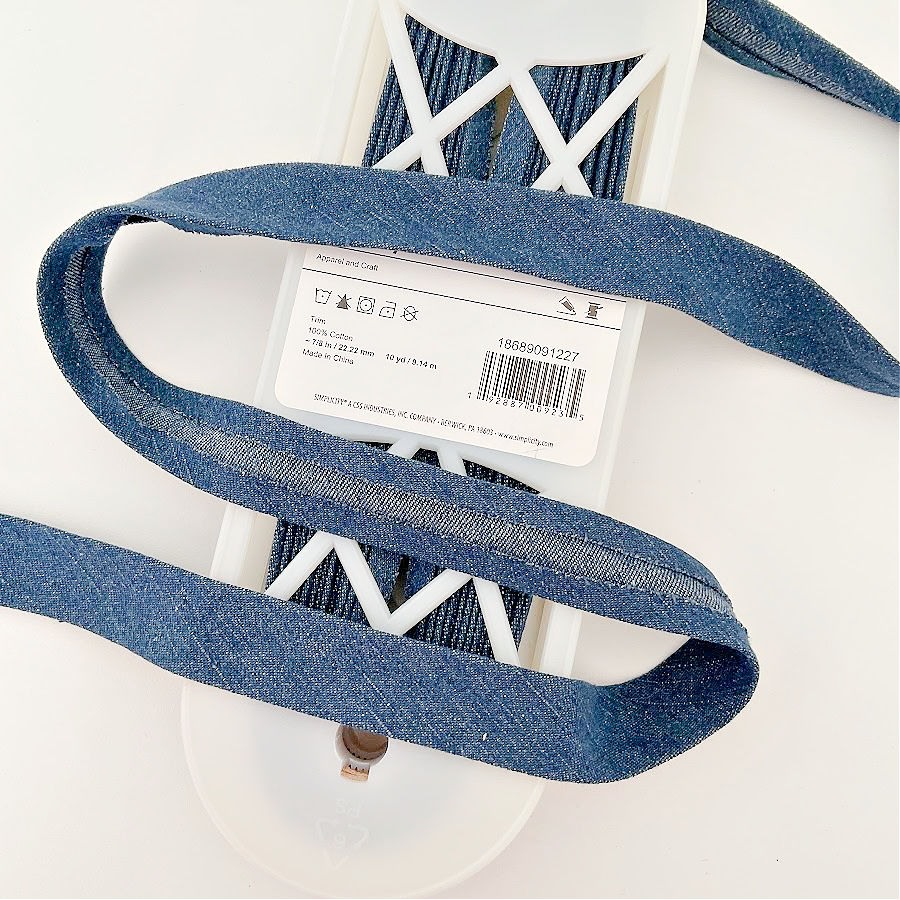
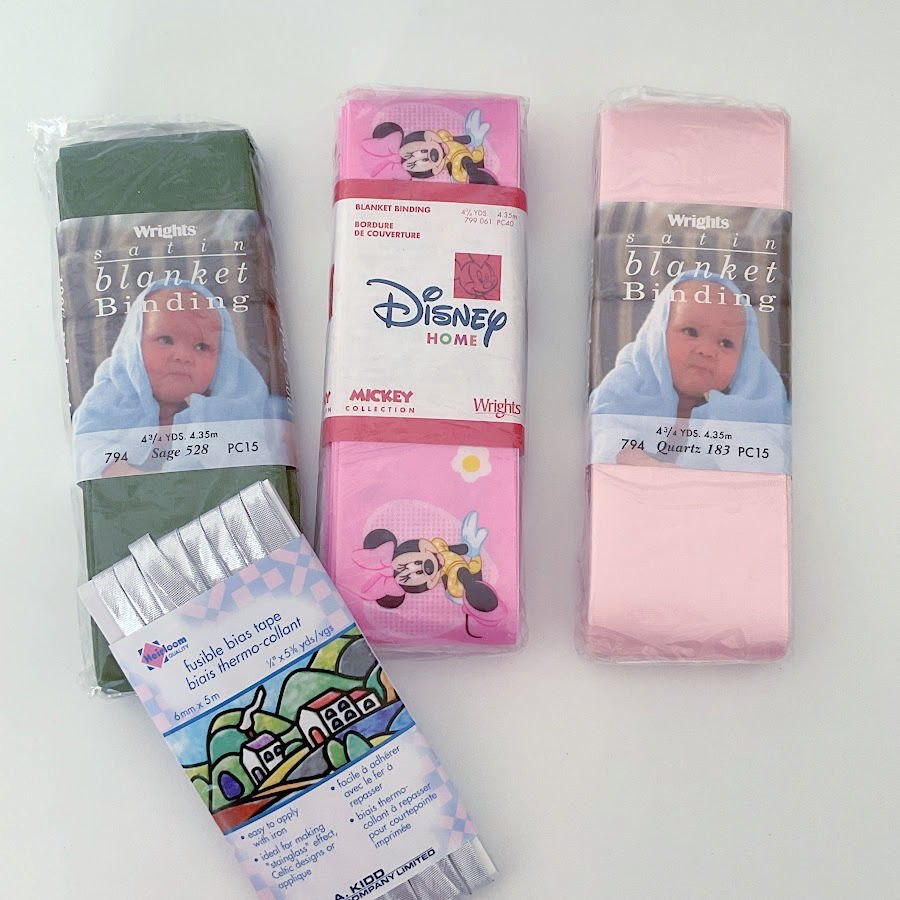
Bias Tape (Pre-Made Binding)
Bias tape is a pre-folded strip of fabric, sold ready to use and available in several formats: single fold, double fold, and wide double fold. Each type serves a slightly different purpose, depending on the project and how much of the tape you want to show on the finished edge.
They can be bought in multiple sizes and are also available in many colors.


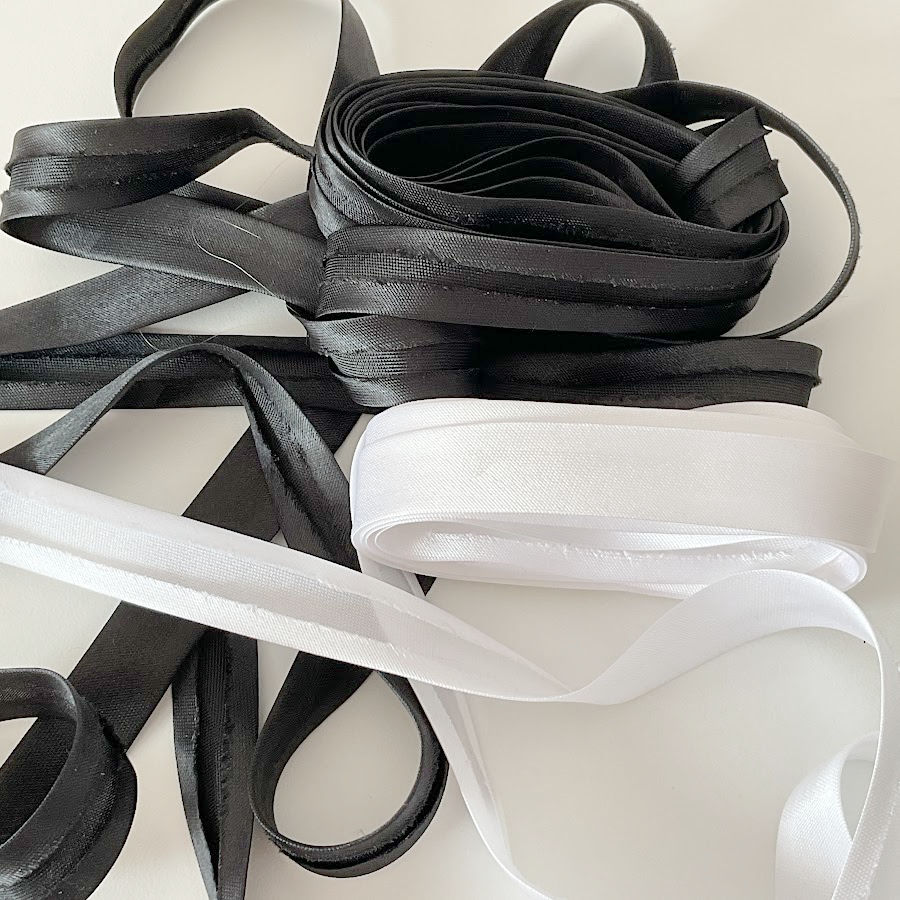
It’s commonly made from cotton, but you’ll also find it in satin, polyester blends, and even specialty versions with prints or decorative edging.
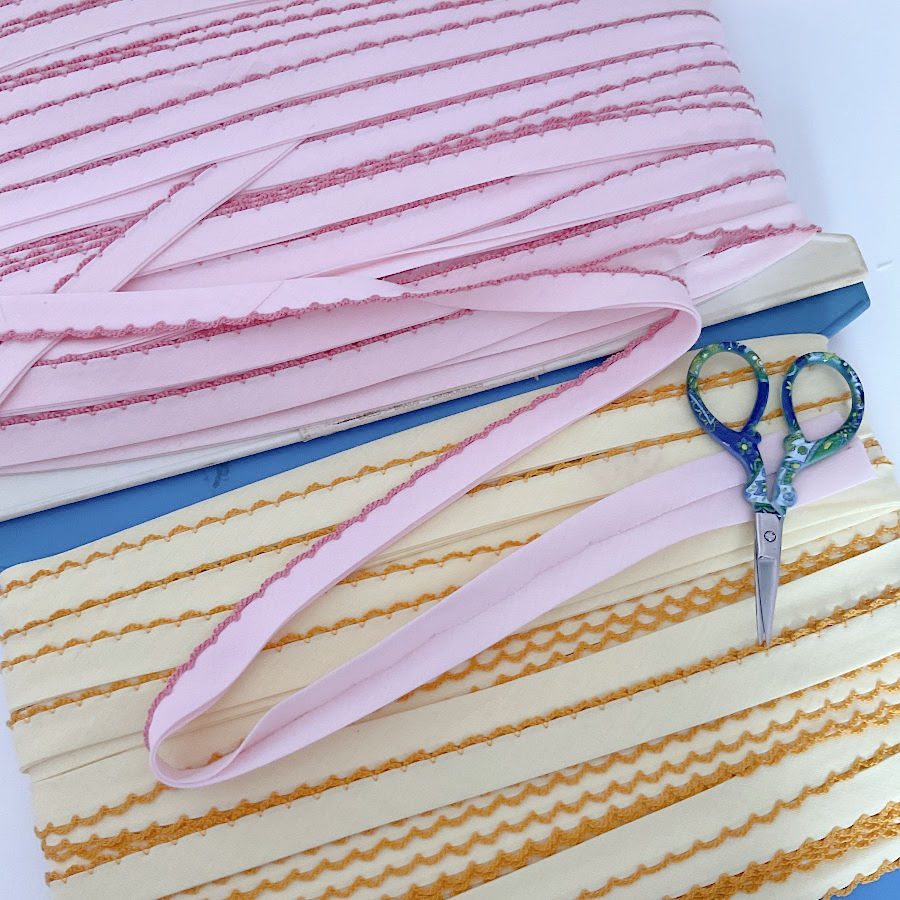
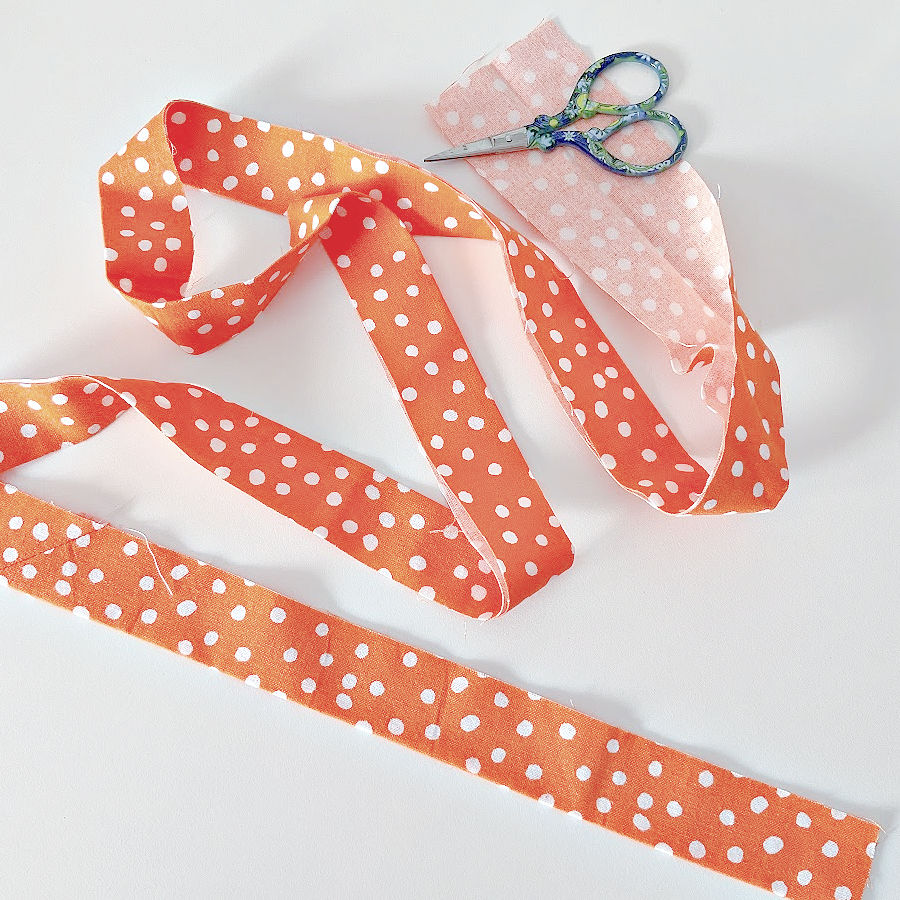
The fabric is cut on the bias, which means it has a bit of stretch and flexibility. That makes it especially useful for finishing curves or navigating around corners.
For many sewists, bias tape is a go-to option when they need consistency. The folds are already pressed, the edges are even, and it’s ready to sew. If you’re working on a project with a deadline — or just don’t feel like cutting and pressing your own strips — it’s a practical alternative that saves time.
Bias tape can create a visible frame around edges, especially when used in a contrasting fabric. Or, if you choose a coordinating color, it can blend in and quietly support the overall design. Either way, it gives the edge a stable finish that holds up to washing and regular use.
While it may not always be an exact match to your fabric, pre-made bias tape is still a valuable tool. It’s straightforward to apply and helps you achieve an even edge without a lot of extra preparation.
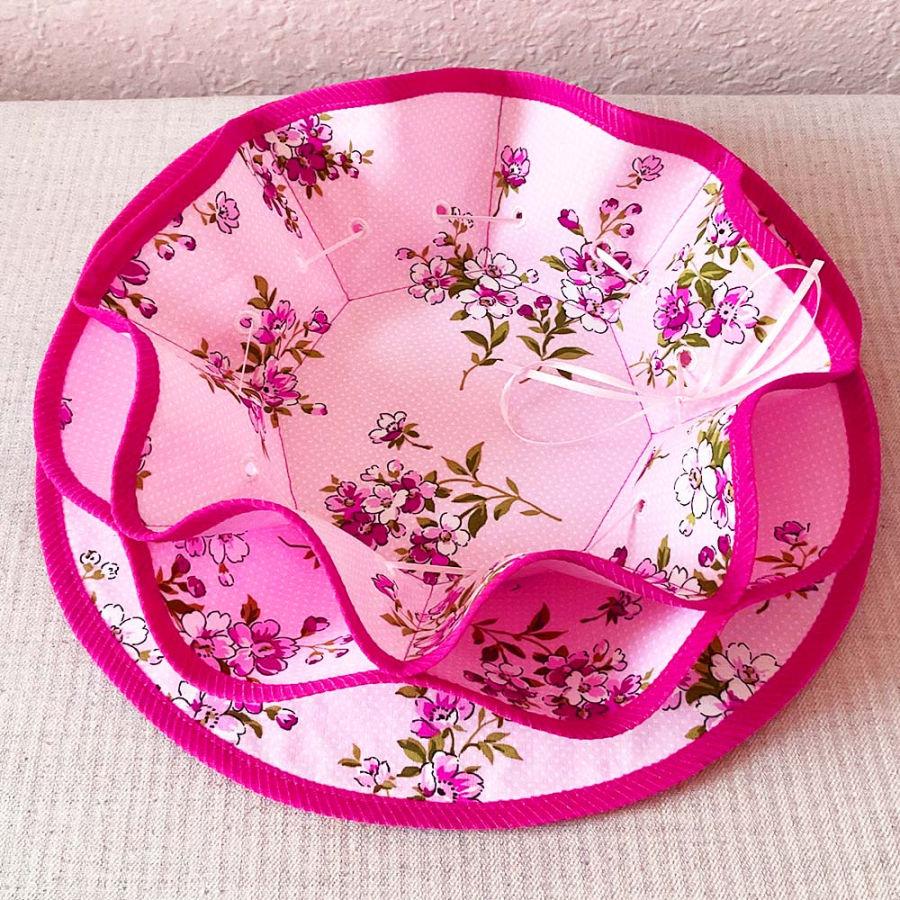
✅ Related tutorial: Easter Sewing Project You’ll Love To Make: Fabric Bowls DIY
Double Fold vs Single Fold vs French Fold Binding
Alright, if you came here looking for logic, you’re about to be deeply disappointed. This is the part where sewing terms take a sharp turn into a comedy. Yes, we’re still talking about fabric strips…
So, I was trying to make sense of all these binding types.
Single fold. Double fold. French fold. Sounds like I’m doing laundry at a Parisian retreat.
I looked them up — you know, just to be an informed sewist — and the definitions? They might as well have been written by a fabric philosopher after a glass of wine.
Single fold binding… has TWO folds.
Double fold binding… has THREE folds.
And French fold? Oh, that only has ONE fold — but it’s called French, so I guess it gets a pass for sounding chic while being completely confusing.
Now here’s the kicker: once you start sewing, that ‘single fold’ binding? You fold it again to stitch it down. Congratulations, it’s now… double fold! Just like that. A transformation right there under your presser foot.
So I sat there like, Why even name them at all? Honestly, these terms are like lipstick shades — ‘berry mauve’, ‘plum twist’, ‘quilted raspberry’ — they all look exactly the same but somehow create drama.
And none of the names tell you anything useful.
But does any of it matter? Not really. Because once you start sewing, all those folds? They vanish into your project like socks in the dryer.
So my advice? Stop worrying about what they’re called. Just fold the fabric, sew the thing, and call it what it is — binding. It’s fabric on the edge, doing its job, while we sit here trying to decode its folding profile.

Eventually, I realized this naming chaos isn’t just sewing trivia — it actually matters when you’re buying bias tape. Most listings, especially on Amazon, will say “single fold” or “double fold” in the description. No one sells anything called French fold, by the way — that one’s just for the DIY crowd.
Uses of Binding in Sewing
In Garment Sewing
Binding in garment sewing is one of those things that seems simple — until you’re squinting at a neckline and wondering why it suddenly looks like a crumpled lettuce leaf.
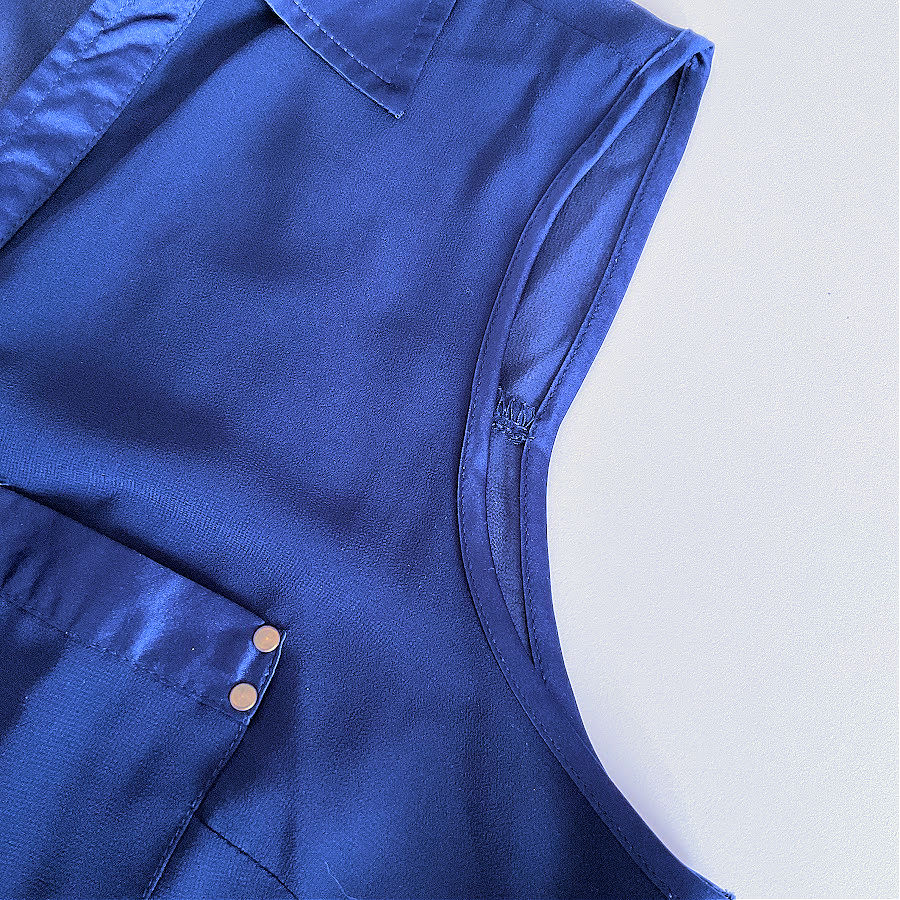
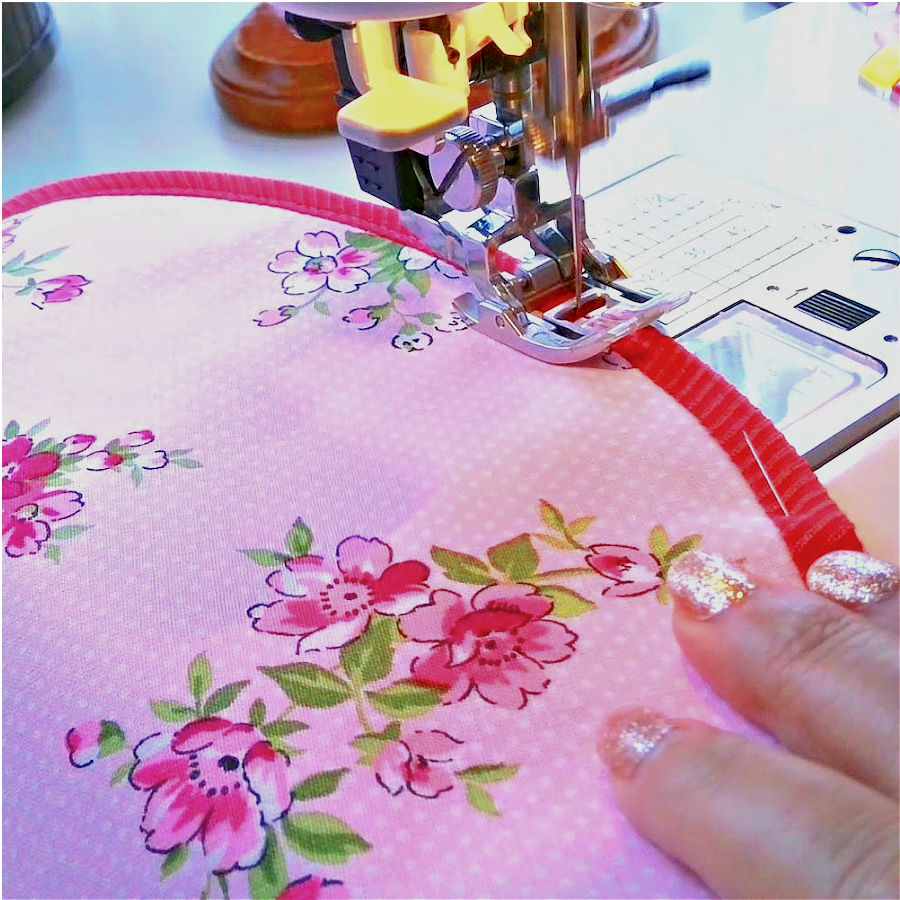
Bias binding is a favorite here. It curves around armholes and necklines like it was born for the job. It doesn’t just finish the edge — it shapes it, supports it, and quietly keeps everything in place without drawing too much attention. (Unless you want attention, in which case, make it floral).
Straight grain binding can also show up in garments — not just for decoration, but for hems, sleeve finishes, and seam edges. It doesn’t stretch, so it’s best on straight lines, but it’s a great way to keep everything tidy on the inside of unlined pieces.
Some designers use visible binding as a feature — it peeks out at the neckline, outlines sleeves, or runs along hem seams. Others keep it hidden inside the garment, like a little sewing signature only the maker gets to enjoy.
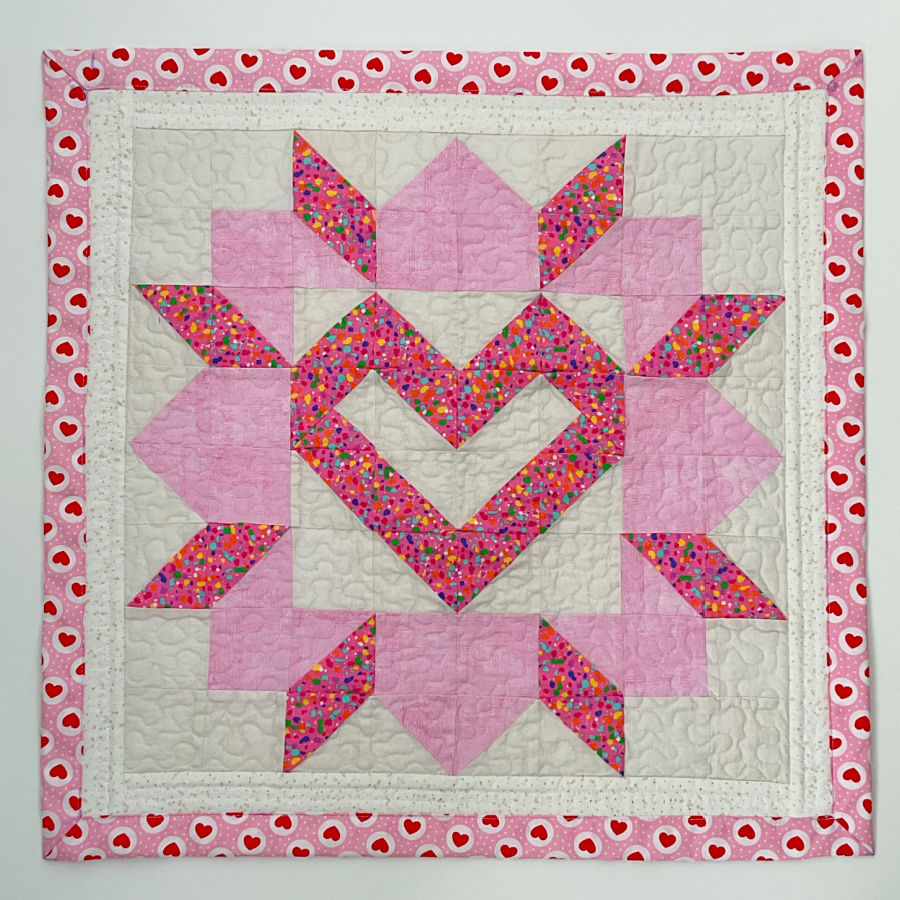
In Quilting
Quilts and binding are a classic couple. You just can’t have one without the other. After all that piecing, quilting, pressing, and possibly crying, binding comes in to seal the deal. It frames the quilt like a picture — and keeps the edges from unraveling after the first wash.
Bias or straight grain? Either works, but bias is often chosen for curved edges or when extra flexibility is needed. And let’s not pretend it’s just a finishing step. That outer edge? It’s a design opportunity. Use a bold color, a playful print — it’s like a final border that ties the whole quilt together.
And yes, it helps keep the batting and seams from escaping into the laundry. But it also says, “this quilt is complete” in a very satisfying way.
✅ Related tutorial: How To Make A Quilted Christmas Table Runner
In Home and Craft Projects
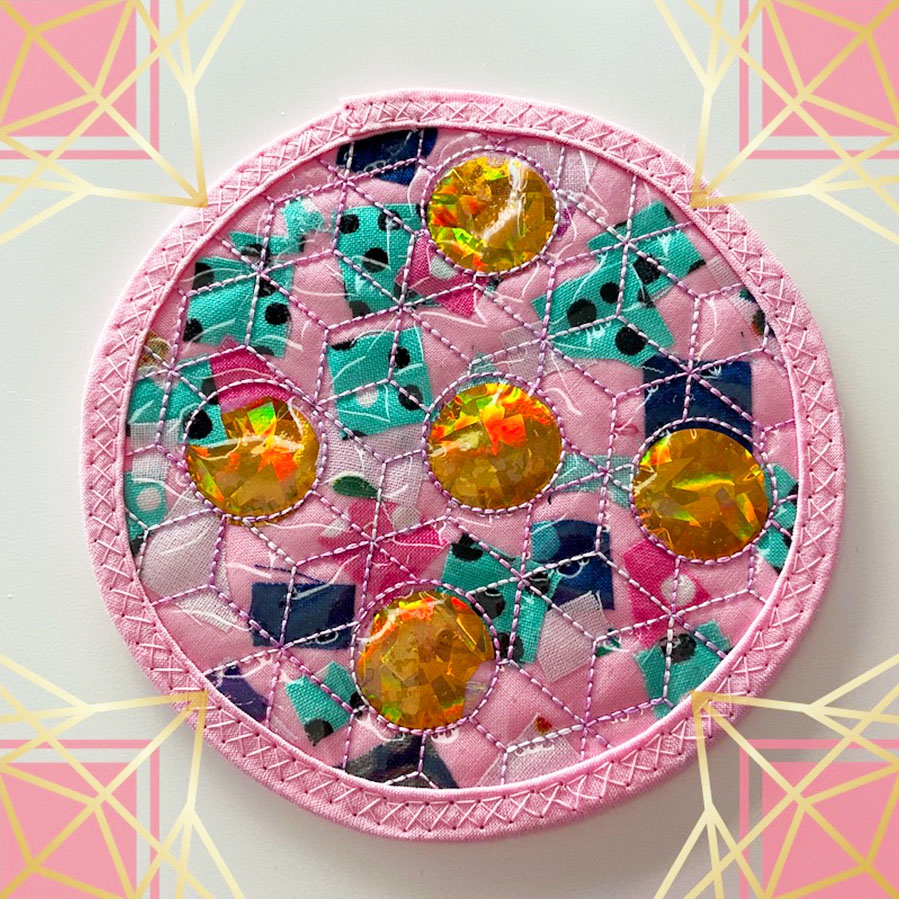
Now here’s where binding gets adventurous. Around the house, it shows up in places you’d never expect. Aprons, hot pads, coasters, bags, placemats, napkins, bunting, organizers — if it has an edge, someone out there has probably bound it.
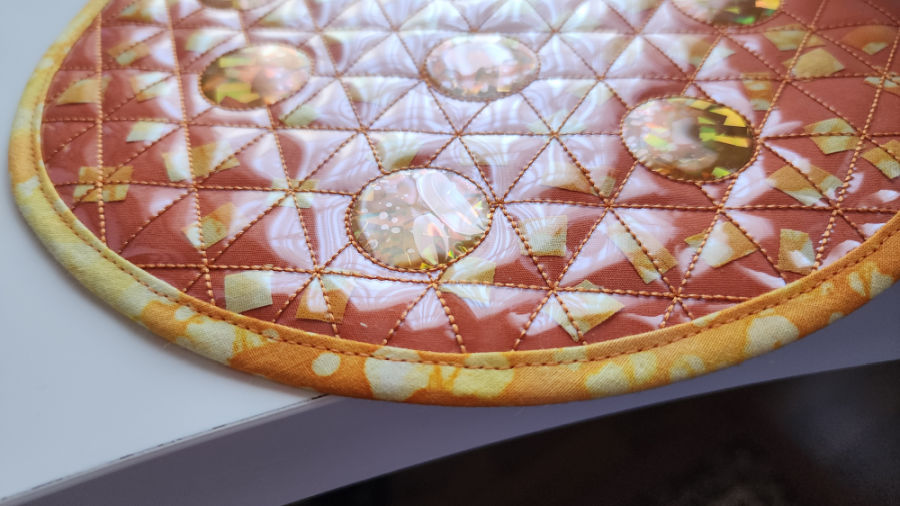
Binding adds structure to bag handles, defines the edge of a pocket, or finishes a table runner with a style. And when you use a contrasting color or print, it instantly makes your project look more detailed — without actually doing more work.
You can even embellish the binding like in the project below:
✅ Related tutorial: DIY Fabric Coasters | In The Hoop Embroidery Project
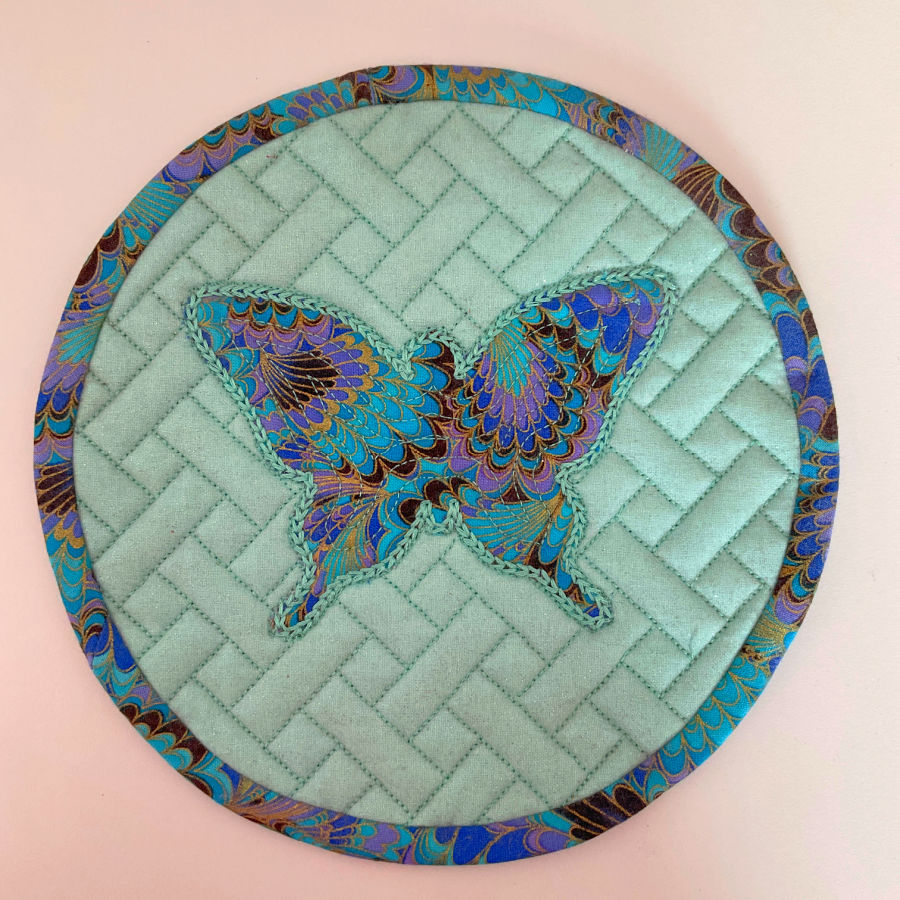
Binding is also a practical choice for items that get heavy use. A double-fold edge on a pot holder isn’t just pretty — it helps that corner survive round after round in the kitchen. So yes, it’s decorative. But it’s also sturdy.
✅ Related tutorial: Brother Luminaire Tutorial: How To Make A Mug Rug In The Hoop
Choosing the Right Binding for Your Project
So you’ve picked your fabric, cut your pattern, and the sewing machine is humming. But what about the edge? This is where binding choices come in — not just to finish the job, but to shape how your project feels, wears, and looks. Here’s how to choose the right binding that works with your project, not just on it.
Consider Your Edge Shape
Working with curves? That’s bias binding territory. It bends and flexes around necklines, armholes, and anything circular without fighting the fabric.
Got straight edges? Use straight grain binding. It’s steady and structured, perfect for square corners and straight lines — like quilts, placemats, and structured bags.
If the edge is even slightly rounded, you’ll save yourself frustration by using bias.
Match Fabric Type and Weight
This part matters more than most people think.
If your main fabric is sturdy — denim, canvas, quilt sandwiches with batting — it needs a binding that holds up under pressure. Choose something with weight. Thicker cottons will keep the edge from sagging or warping.
For lighter projects like blouses, dresses, or anything floaty, go for lighter binding too. You want it to move with the fabric, not control it. Match weight for a finish that feels seamless — in the best way.
Also, don’t be afraid to make binding from your project fabric. It’s a simple way to keep the same feel and drape across every part of the piece.
Style and Finish
Want your binding to stand out? Choose a contrast color or a printed tape. Tiny florals around the hem of a solid skirt? That’s charm without fuss. Stripes on a quilt border? That’s a statement.
Prefer something subtle? Use the same fabric, or something one shade lighter or darker. It’s a quiet finish that lets the rest of your project take the spotlight.
So don’t treat binding like an afterthought. It’s not just the edge — it’s a decision. And the right one can make your whole project feel more intentional.
Don’t forget to think about width
Narrow binding (¼ inch to ⅜ inch finished) is great for garments, especially around necklines and armholes where you want less bulk. For quilts and home projects, wider binding (½ inch to ⅝ inch finished or more) gives a stronger frame and holds up better with wear.
And for bags, organizers, or anything with layers and corners? Go wider. It makes it easier to catch both sides when stitching — and saves you from the dreaded “missed edge” moment.


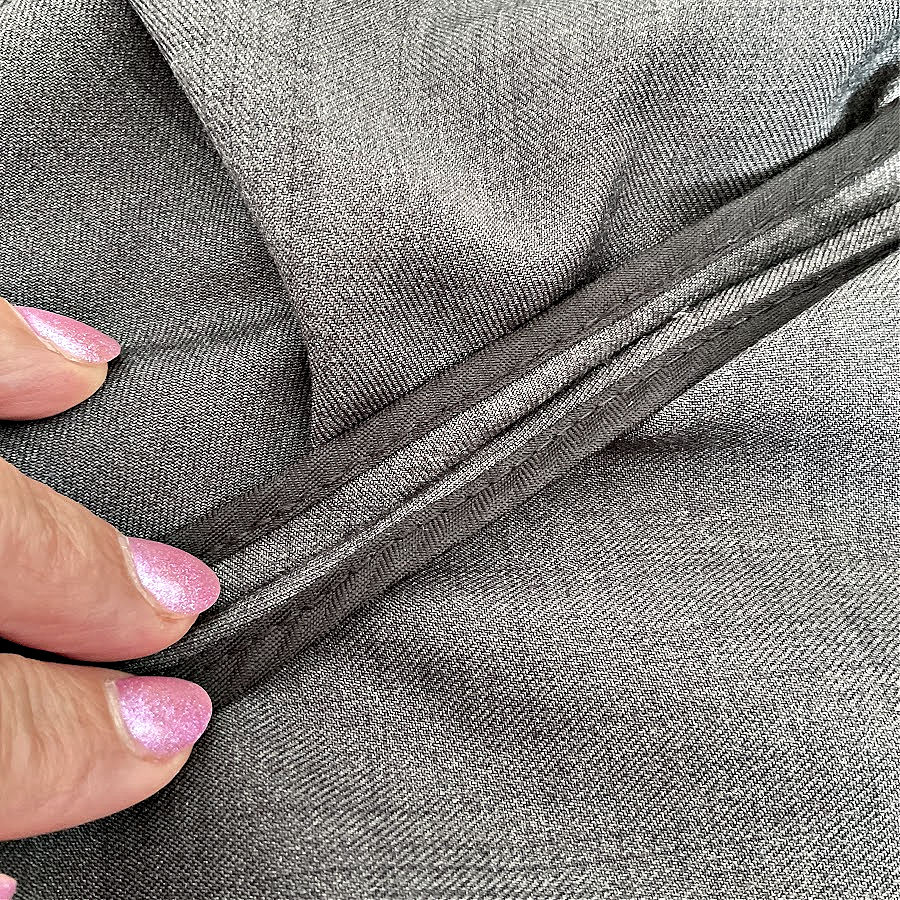
And here’s a funny story from the corner of my sewing room.
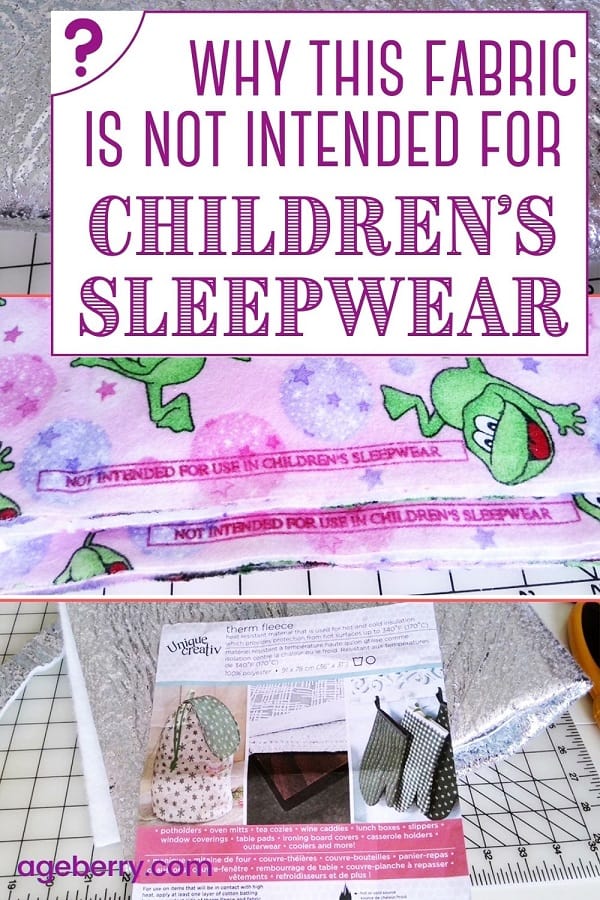
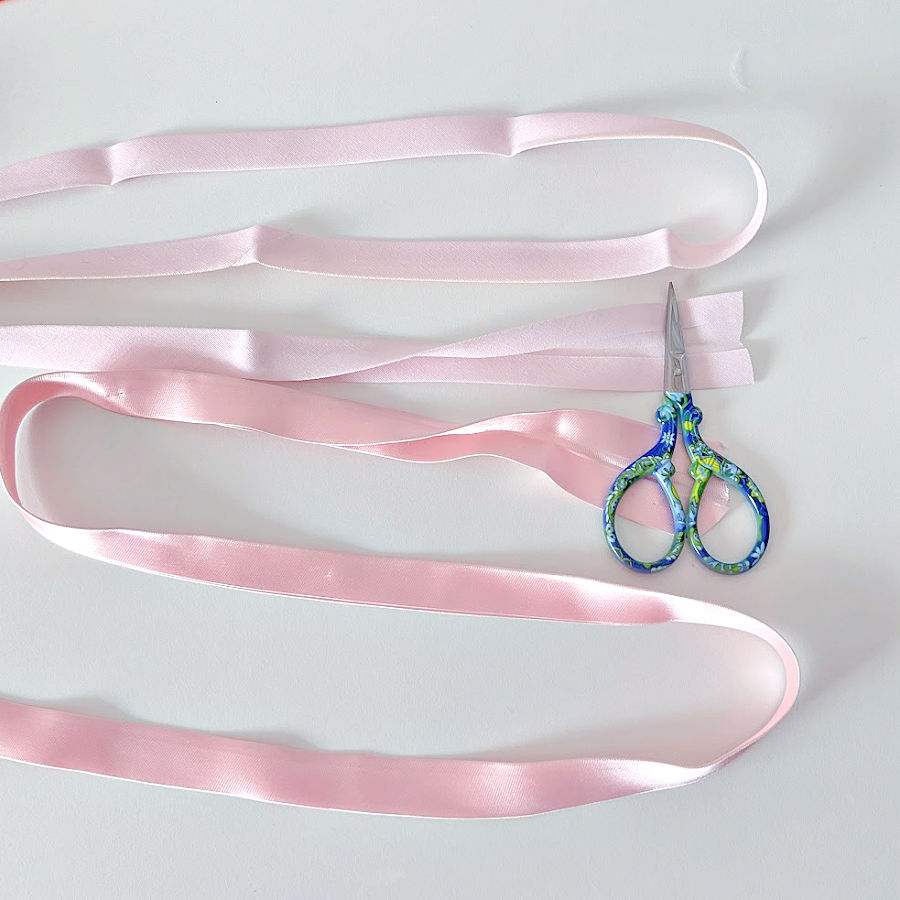
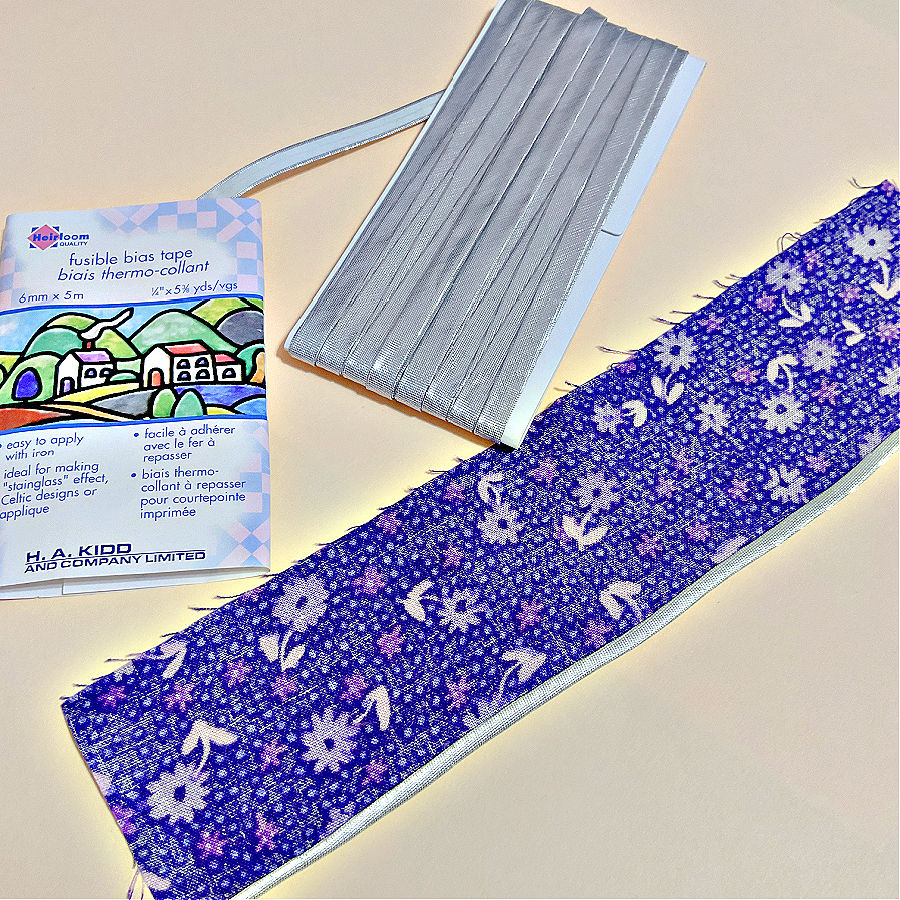
While working on this tutorial, I remembered I had a roll of silver fusible bias tape (see the image above). Fancy, right? I must’ve bought it in a moment of confidence — probably thinking “this will come in handy one day.”
And what better day than binding tutorial day?
So I pulled it out, admired the sparkle, and thought, “Okay, this one’s different — it’s fusible. I’ll show everyone how it works!” Like a dutiful sewing blogger, I pressed it carefully onto a scrap fabric edge. Iron, steam, a lot of patience…
But something felt off. It was tiny. Like, blink and you miss it narrow. Just 1/8 inch wide when folded — and it kept trying to slide out from under the iron like it had somewhere better to be.
I kept wondering: why would anyone make binding this thin? Is this a prank? Is this for doll clothes? Is this the ultralight version of binding?
So I looked it up on Amazon. And guess what?
It’s not for binding.
It’s for making quilts look like stained glass windows. You know — the kind of thing you’d use in Celtic applique, not to finish the hem of your next skirt.

Oops.
So, lesson learned: not all bias tapes are created for binding. And just because it’s shiny doesn’t mean it belongs on the edge of your potholder.
But hey — at least now you know, and I have a scrap sample with very fancy stained-glass potential.
What about self binding?
That’s a good option when you want to keep things simple — especially on smaller quilted items like baby blankets, placemats, or wall hangings. It works best when your backing fabric is sturdy enough to fold over and hold a clean edge.
Use it when time is short, your fabric is generous, and the finish doesn’t need to be sharp or narrow. It’s a practical choice — no extra strips to cut, no extra fabric to match — just fold, press, and stitch.
✅ Related tutorial: Easy Self-Binding Placemats for Easter – A Fun & Quick Sewing Project

Was this tutorial helpful? Pin it to your sewing board so it’s easy to find when you need it. And if you enjoy practical sewing tips and tutorials, follow me on Pinterest — I share fresh ideas regularly!
latest posts
- What Do You Call a Person Who Sews? I Asked My Readers and Got 1,408 Opinions
- DIY Round Purse: PDF Sewing Pattern and Detailed Instructions
- Mini Wonder Clips By Clover: Useful Sewing Tool Or Just Another Notion?
- Non-Slip Grips For Quilting Rulers: A Small Notion With A Useful Job
- Fabric Eraser for Sewing: What It Removes and When to Use It
- What Is The Best Thread For Sewing Machine Projects? Let’s Find Out!
- Butterfly Quilt Block Tutorial – Foundation Paper Piecing
- How To Sew Quilt Squares So The Corners Match
- Sewing With Fork Pins: How They Help With Pattern Matching, Slippery Fabric, And Seams