Step-by-step sewing tutorial on how to sew piping with tips, techniques, and real project examples
Piping has a reputation – it’s one of those sneaky sewing techniques. It looks impressive. It feels polished. People see that crisp little edge and immediately assume you studied tailoring in Paris (you don’t have to correct them).
But piping is just a cord wrapped in fabric. That’s it. If you can sew a straight line, you can sew piping. If you can’t sew a straight line yet, guess what? Piping is a great place to practice pretending you can.
This tutorial shows you how to make your own piping and sew it into seams — curves, corners, and all the places where sewing likes to test your patience.
What Piping Actually Does
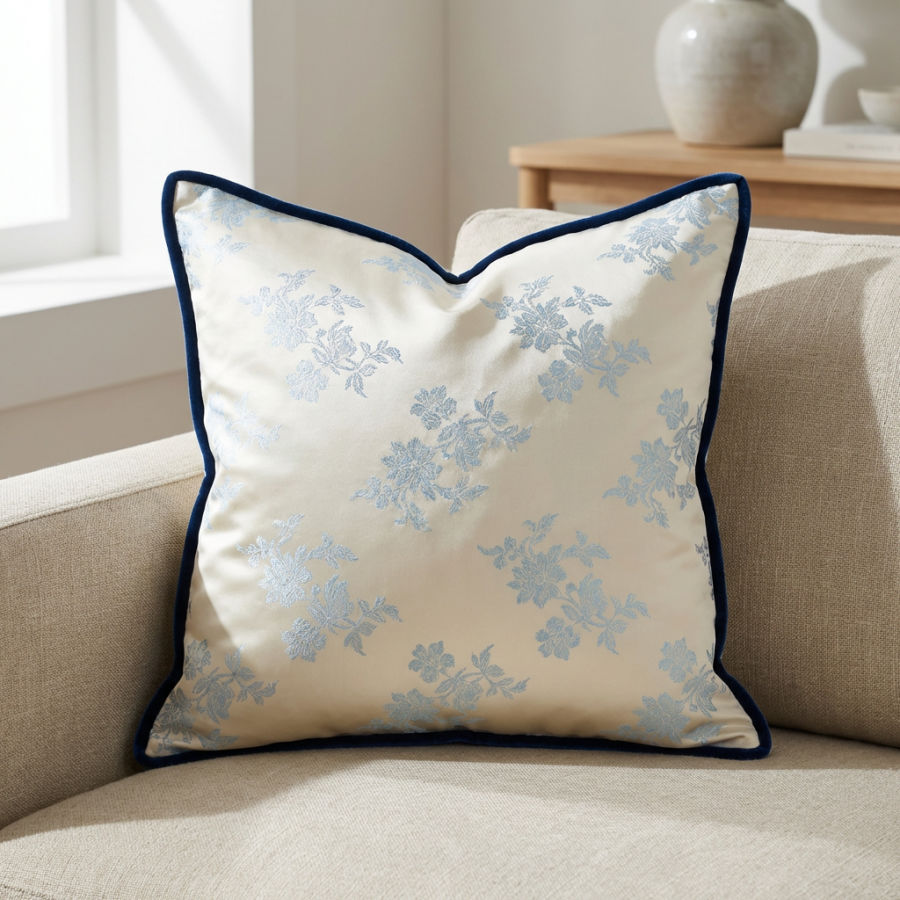
Piping helps define the edges of your project. If you’ve ever sewn a pillow and felt like it looked a little flat, adding piping would give it that store-bought finish. On garments, piping frames seams and draws the eye in — princess seams, yokes, collars, or even the edges of a pocket.
It’s not just decorative. Piping adds stability too. In places that get a lot of tugging or wear, like cushion covers or the tops of tote bags, that extra layer makes seams feel stronger. So while it’s pretty, it’s also practical.
Note: Some of the links on this page are affiliate links. This means I will receive a commission if you order a product through one of my links. I only recommend products I believe in and use myself.
Stuff You’ll Need ( It’s All Normal Sewing Things)
- Fabric for piping
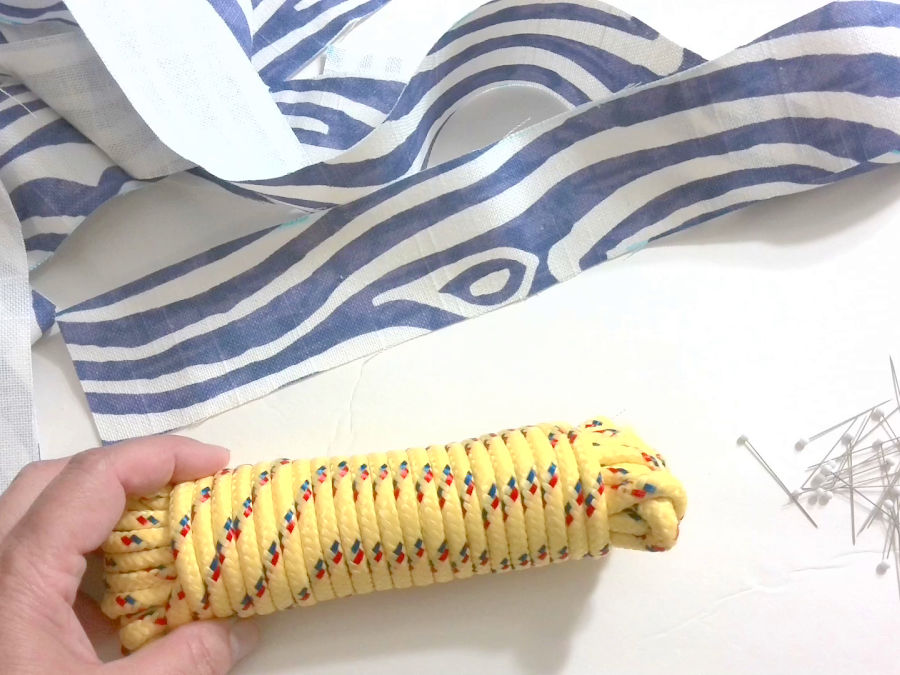
- Piping cord
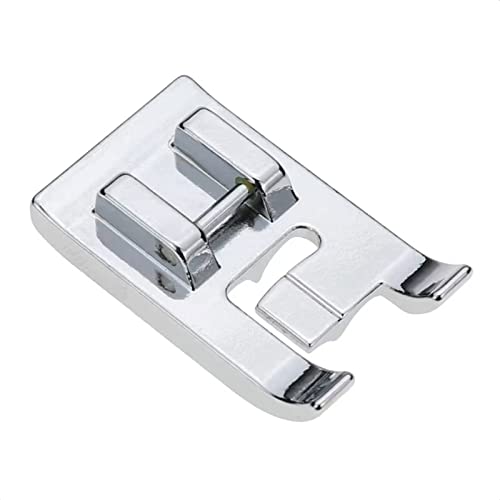
- Zipper foot or piping foot
- Regular sewing tools and notions (pins, thread, etc.)
Cord comes in different sizes. Tiny cord = delicate detail. Chunky cord = bold move. We’ll discuss the cord size a little later in the article.
I prefer to use a zipper foot for this but a special sewing machine foot for this purpose does exist with the mention that the foot can only be used to sew cords of certain thickness. The zipper foot can be used for all type of cords.

The Fabric Part: Why Bias is Best
When you make your own piping — and yes, you should — you’ll need to cut strips of fabric to wrap around the cord. These strips need to stretch slightly, especially around curves, so bias-cut fabric often is key.
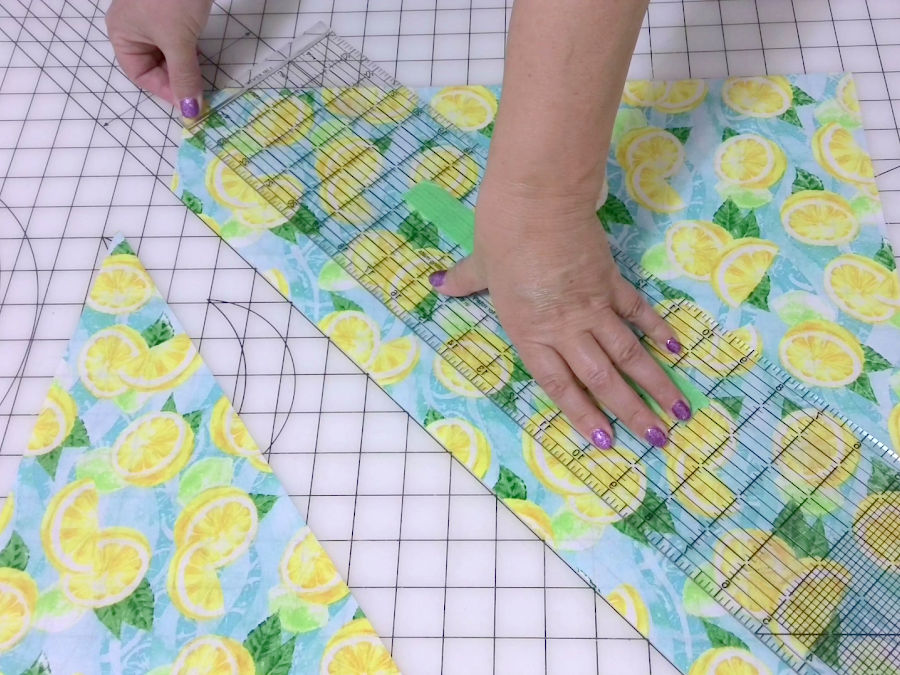
Cutting on the bias means slicing diagonally across the fabric, at a 45-degree angle from the selvage. This creates a strip that bends without bunching or puckering, which is exactly what you want when you’re easing around a corner or a neckline.
You can use straight-grain strips if your project has no curves, but most things benefit from a little flexibility.
Cotton fabrics work great for making piping, especially quilting cotton or light poplin. Stay away from anything too thick or stiff. Bulky fabric will make your seams bulky too, and that’s not a good look.
Good piping fabric:
- Cotton quilting fabric
- Light canvas or broadcloth
- Poplin
Avoid:
- Thick denim
- Slippery satin (unless you enjoy yelling at your sewing machine)
Making Your Own Piping
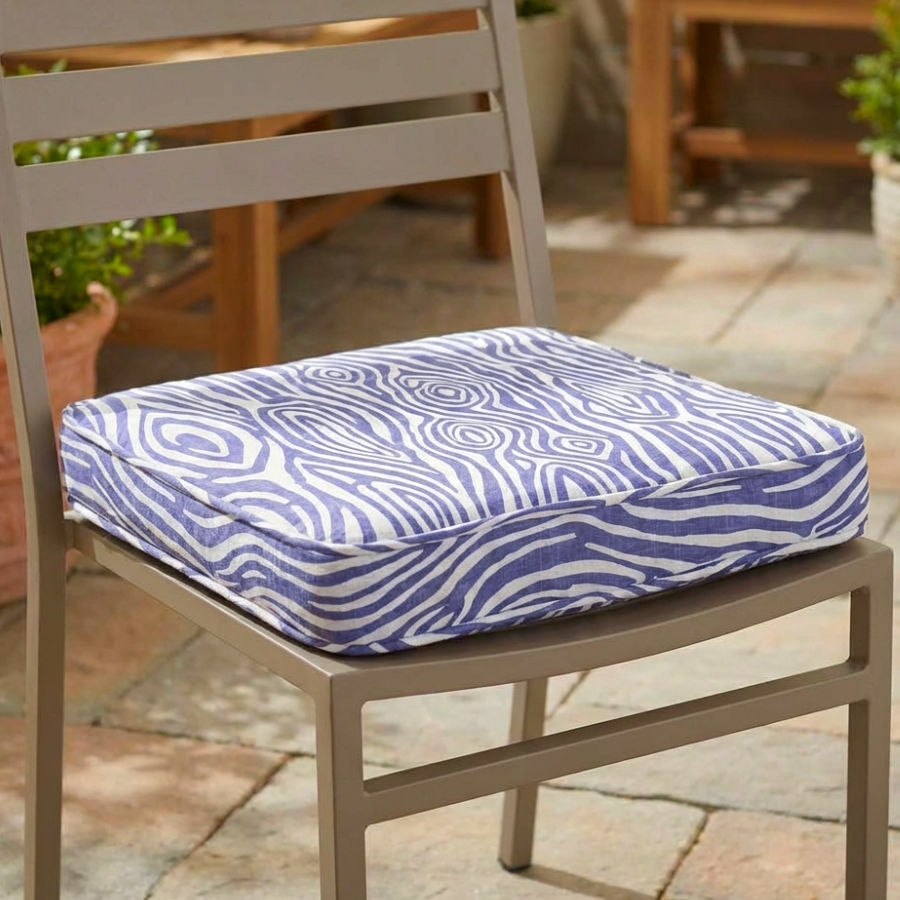
Before we get into the steps, a quick note about the images you’ll see throughout this guide. Most of the photos come from two of my older projects — a cushion cover I made for an outdoor chair, and a sewing machine cover I stitched for my Janome machine.
I do have a full tutorial on the sewing machine cover ( Sewing machine cover tutorial: quilted cover with piecing in the hoop) if you’d like to check that out, but I never got around to writing one for the cushion (yet!).
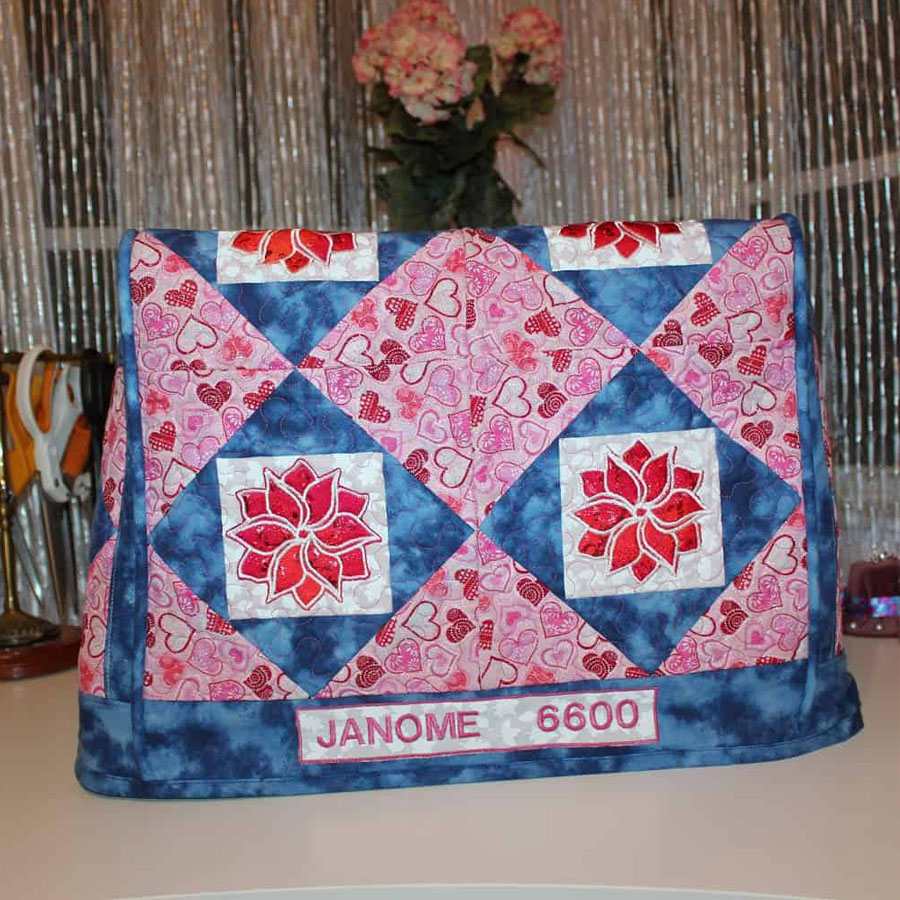
Since I was making the piping to match each project, you’ll notice that the contrast in some images is subtle. I used the same fabric for both the piping and the main item — which looks lovely in person, but doesn’t always show every detail clearly in photos. I also used matching thread throughout — mostly white and blue — to keep everything clean and coordinated.
Even with the softer contrast, the steps are all visible and follow the same method you’d use with higher-contrast fabric. Just know that if things look a little quiet in the photos, it’s because they were made to blend in beautifully.
Step 1: Cut Bias Strips
Start by cutting your fabric into bias strips. The width depends on your cord thickness and your seam allowance, but a good starting point is 1½ inches wide. If your cord is thicker or thinner, you’ll want to adjust.
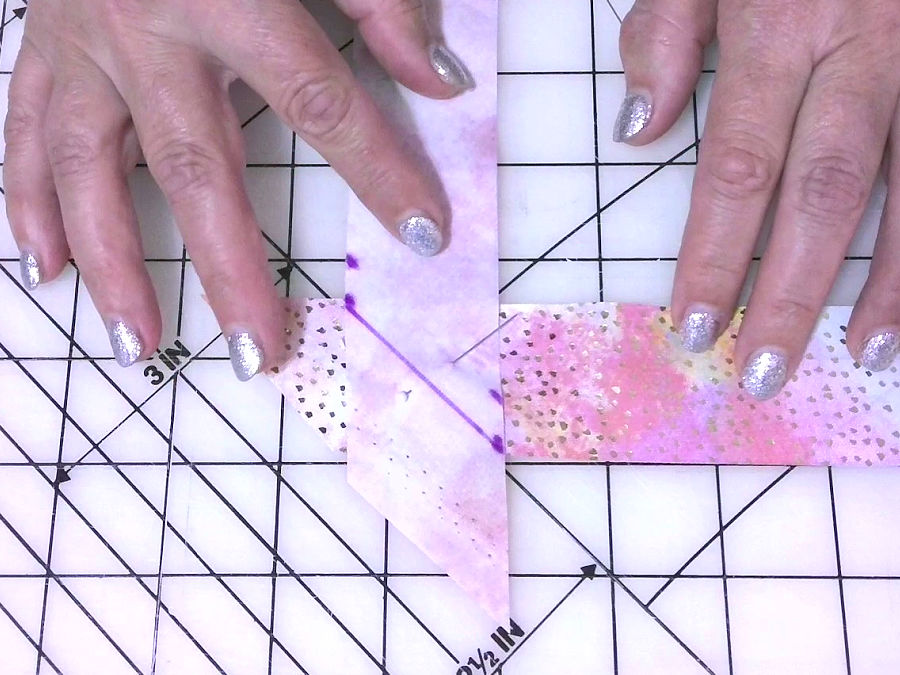
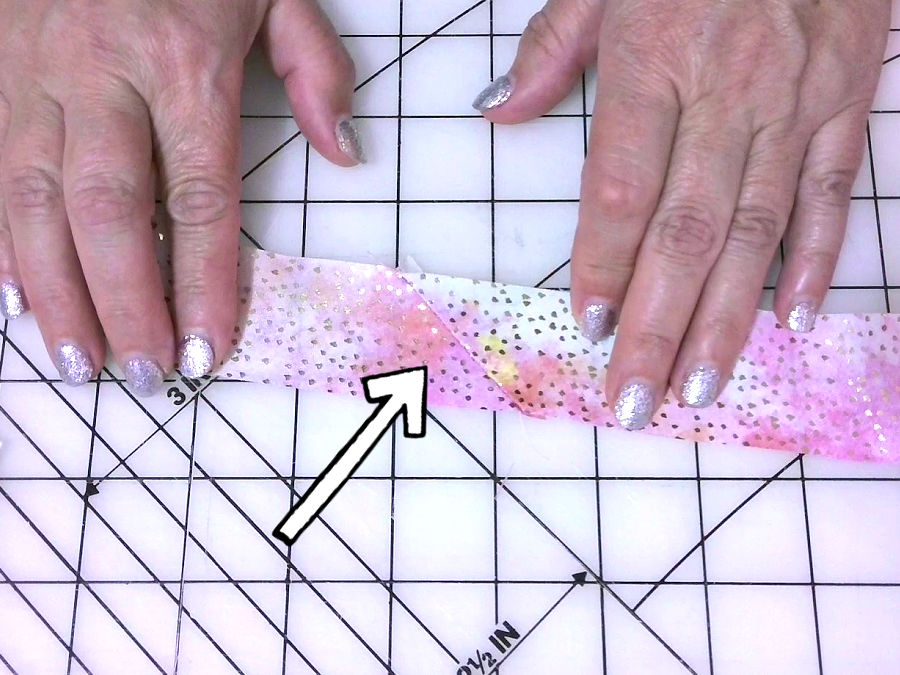
After cutting your strips, join them into one long piece using diagonal seams — this keeps the seam joins from stacking up when you sew it into your project. Press all those joins open so nothing gets bulky.
✅ Related tutorial: How to cut fabric on the bias
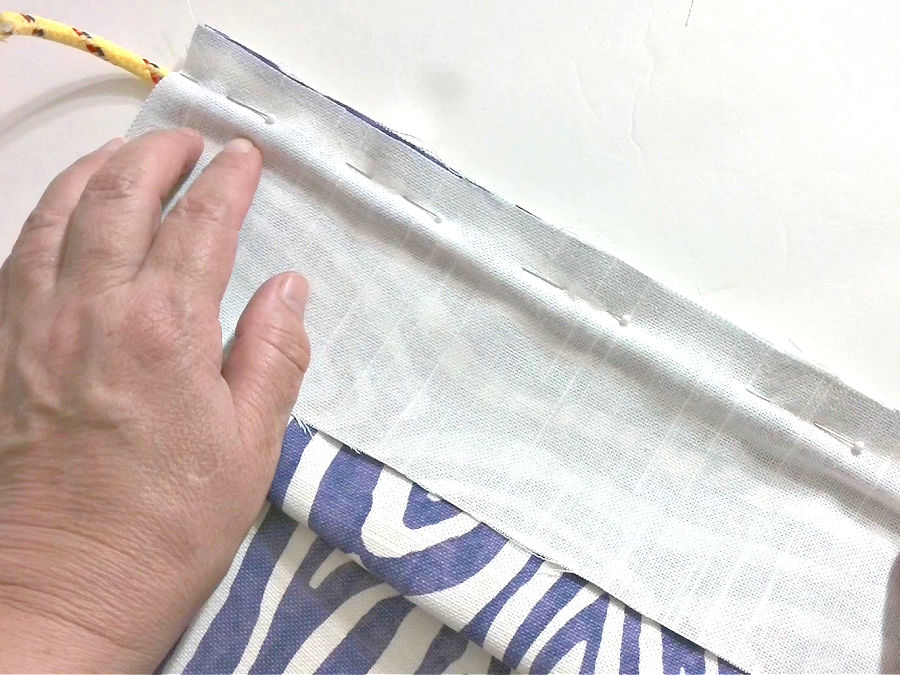
Step 2: Wrap the Cord
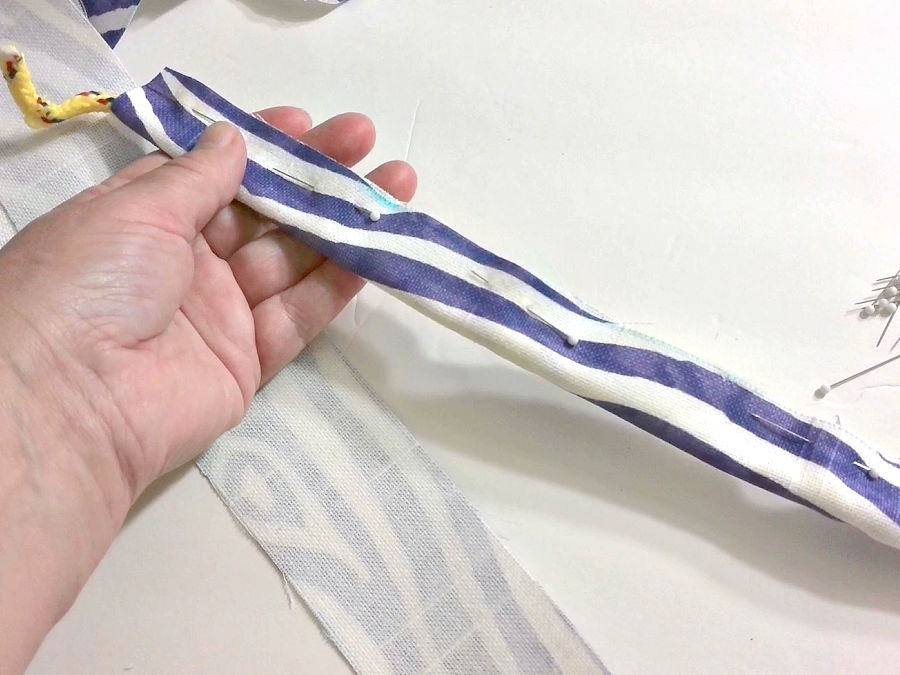
Place your piping cord down the center of the wrong side of your fabric strip. Fold the fabric over the cord so the raw edges meet. You want the cord tucked neatly in the middle.
Now, if you’re wondering how to keep everything in place while you sew — you’ve got options. You can absolutely use pins. Just pin close to the cord, not out near the edge. That keeps things stable where it matters.
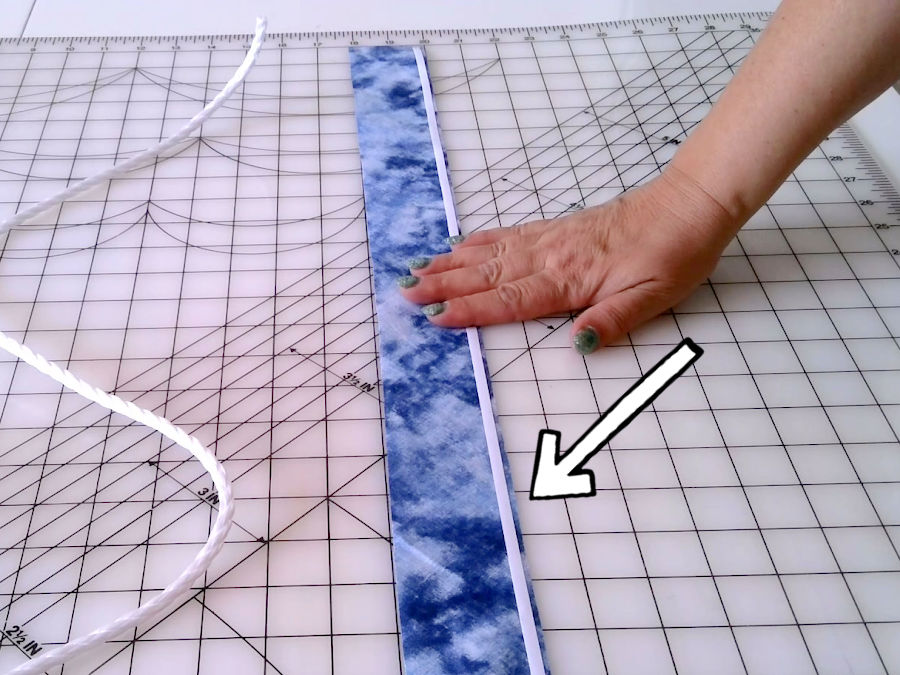
But here’s my favorite trick: Wonder Tape. This stuff makes piping behave beautifully. I run a strip of Wonder Tape along the fabric, about ¼ inch from the raw edge.

After peeling off the paper backing, I fold the fabric over the cord and press the edges together.
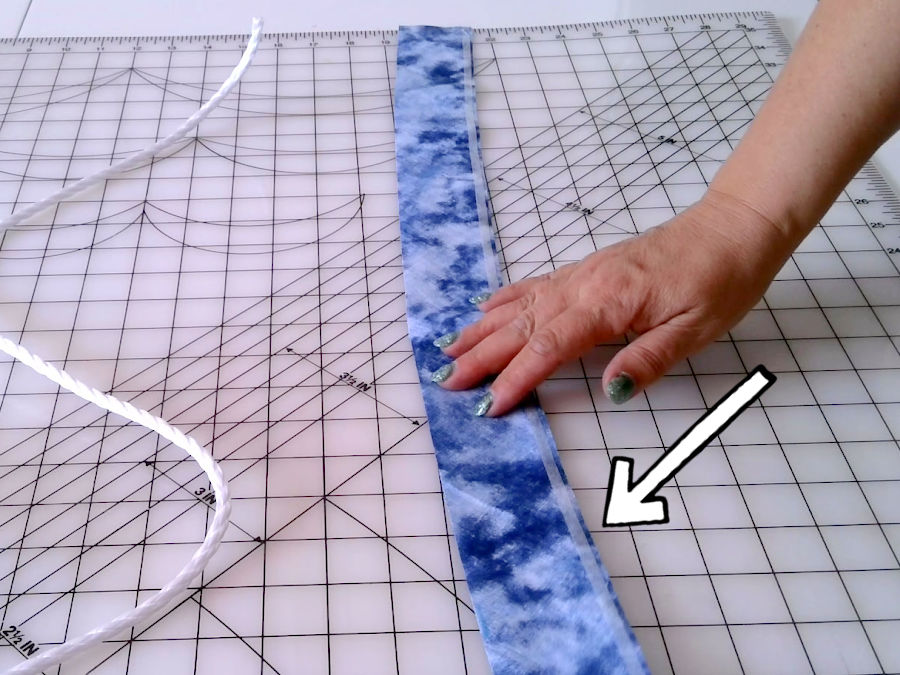
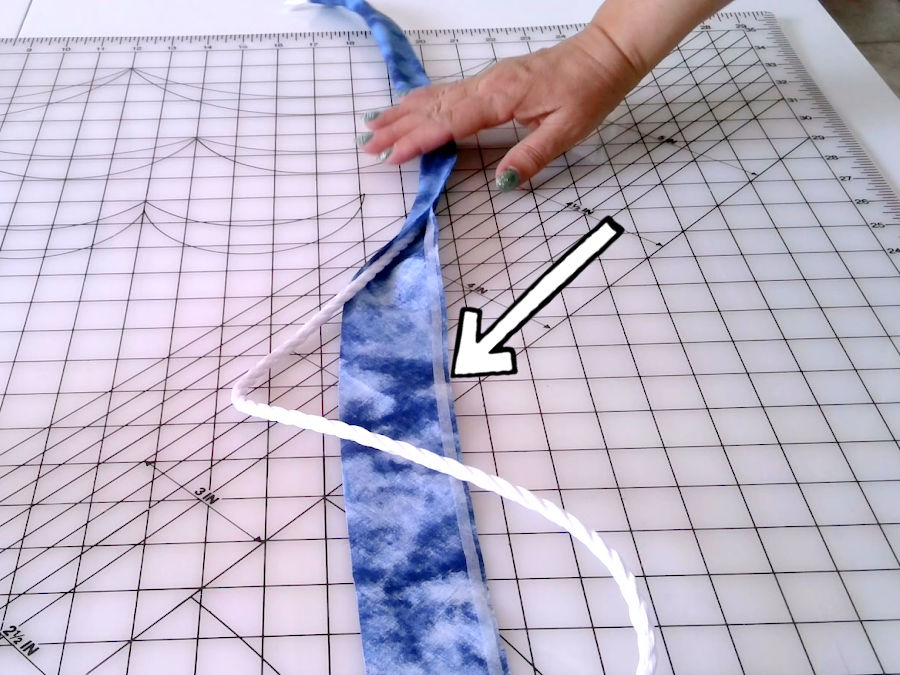
The tape holds the fold neatly in place without shifting. It’s especially helpful if you’re working with slippery fabric or if pins tend to distort your strip.
And don’t worry, it won’t gum up your needle. It washes out completely the first time you launder the project. Just make sure you’re using Wonder Tape specifically. Not all double-sided tapes are sewing-friendly, and regular ones can leave residue behind or permanently bond where you don’t want them to.
Once your cord is wrapped and secured — either with pins or Wonder Tape — you’re ready to stitch.
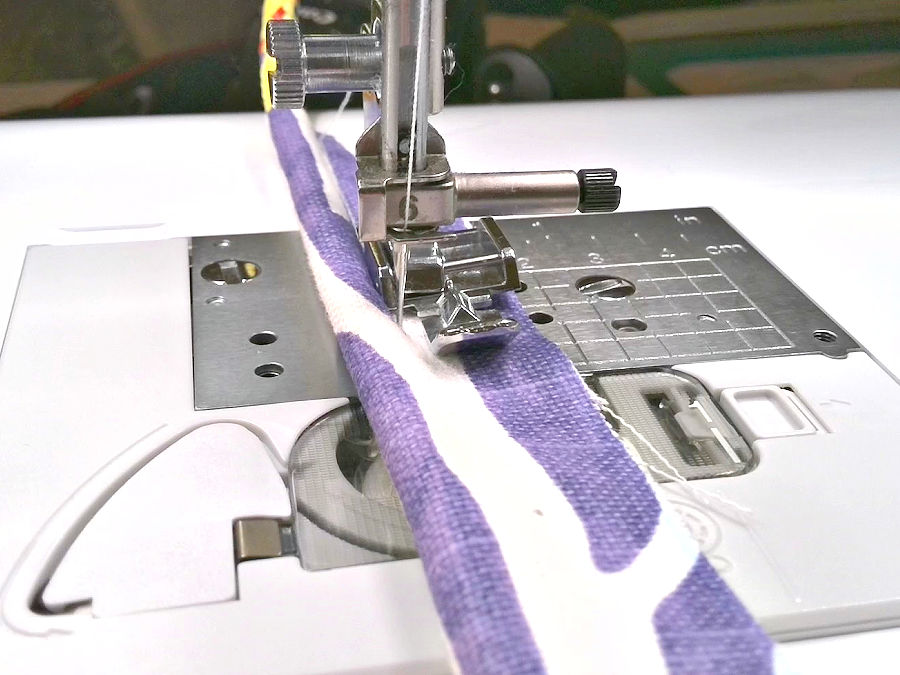
Step 3: Stitch It Shut (Kind Of)
Now it’s time to sew that piping closed. This seam won’t be visible later, but it’s still important. It keeps the cord snug inside the fabric and helps everything stay aligned when you sew the piping into your project.
To sew close to the cord, you’ll need the right presser foot. Most sewists (including me) reach for a zipper foot here — and for good reason. It lets your needle get up close to the cord without hitting the foot. You’ll want to position the zipper foot so the needle is on the left and the foot is on the right, snug against the cord. This setup gives you the best visibility and control as you sew along the piping.
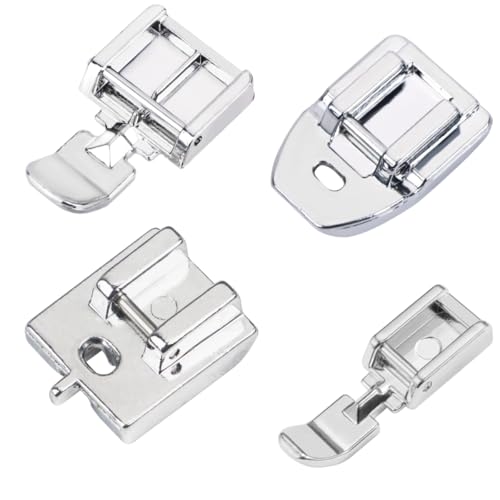

If you have a piping foot, it’s worth trying. Piping feet have a little groove or channel underneath that fits snugly over the cord and holds it in place as you sew. They can be great when you’re working with slippery fabric that tries to wiggle away. The only catch? Piping feet are usually made to fit a specific cord size. If your cord is smaller or larger than the groove, it might not guide the fabric properly — which is why the humble zipper foot sometimes wins for versatility.
Before you start stitching, check your sewing machine settings. Use a straight stitch, and keep your stitch length around 2.5 mm. You don’t want anything too tight, but shorter stitches will help the fabric stay wrapped neatly around the cord.
Now sew slowly, letting the cord guide you. You’re not trying to crush the cord. Just aim for a firm but gentle hold — like you’re drawing a line right next to it, not over it.
Is ready-made piping available? Yes, and the selection is great; here is a selection from Amazon. So why make your own piping when you can buy ready-made? Simple. The one you make will match your project!
Once you’re finished, you should have a long strand of piping with the cord fully enclosed and the edges nice and even. Give it a quick press with the iron if needed. At this point, you’ve got real, made-by-you piping that’s ready to be sewn into any seam you like.
In the piping, the cord is inside the fabric. If you want to place the cord on top of the fabric you may want to read my tutorial Cording foot – what it is and how to use it
How to Sew Piping Into a Seam
Start by placing your piping along the edge of your fabric, cord side in, raw edges aligned. Pin or clip it in place. You want the fabric side of the piping against the right side of your project.
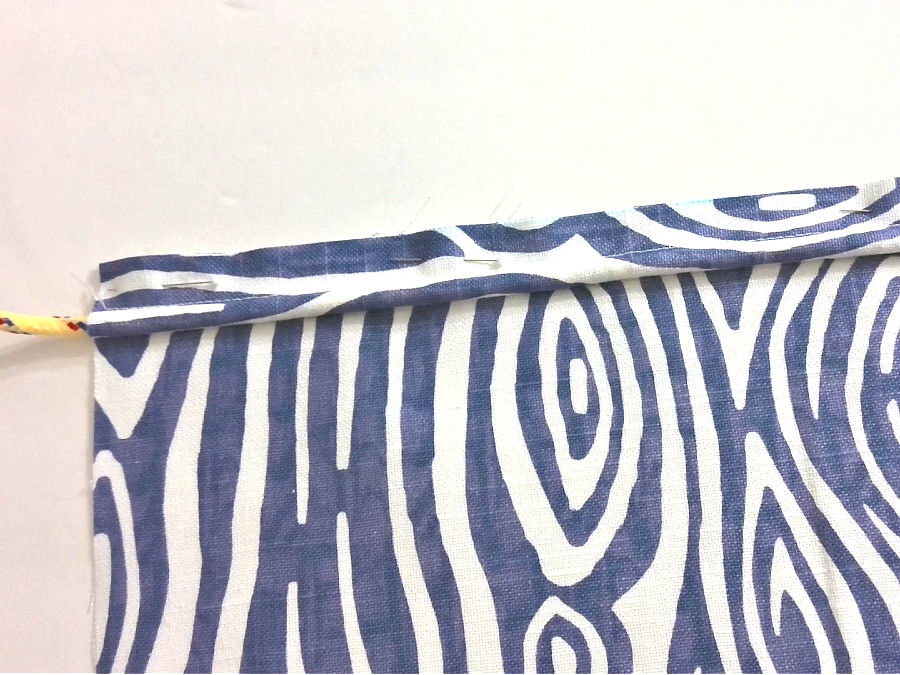
It should feel like you’re sandwiching the piping between two layers of your project — because that’s exactly what you’re doing. The piping will always be at the junction between two other pieces of fabric, covering the seam between them.
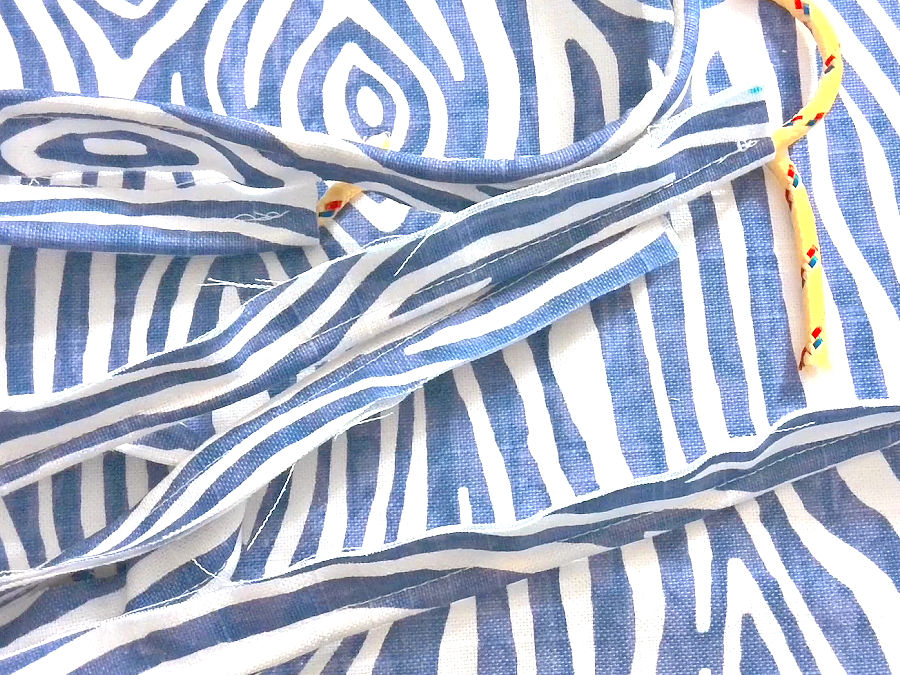
Stitch the piping to the first layer of fabric using your zipper foot again. You want to sew close to the stitching line you made earlier when you wrapped the cord. This helps everything stay even.
The image below shows the piping attached to the top and bottom pieces for my chair cushion with the new seam highlighted.
Then place the second piece of fabric on top, right side down. Now your piping is inside a fabric sandwich, and you’ll stitch one more time to lock it in.
This second seam secures the piping between both fabric layers, and once you flip everything right side out, that perfect raised edge will be sitting right at the seam.
Navigating Curves
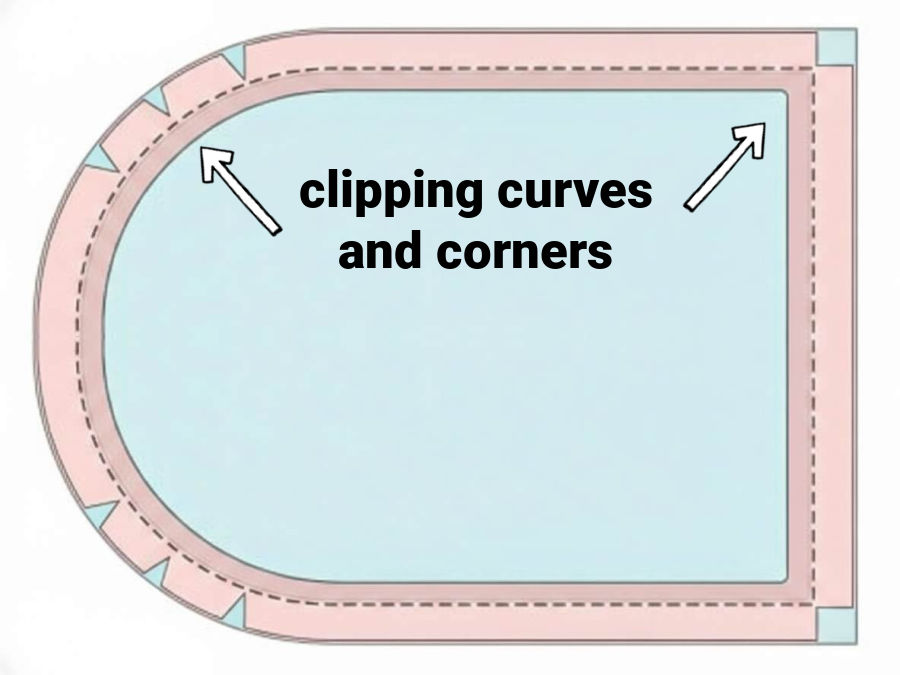
Curves are where piping likes to throw a little tantrum, especially if the seam allowance isn’t cooperating. The trick is to clip the seam allowance of your piping before you sew it into the curve. These tiny clips — just up to the stitching, not through it — let the piping spread out and lay flat as it bends.
When stitching piping around a curve, sew slowly. And if it starts to twist or shift, pause and adjust. There’s no prize for speed, but there is satisfaction in a curve that lays smooth with no puckers.
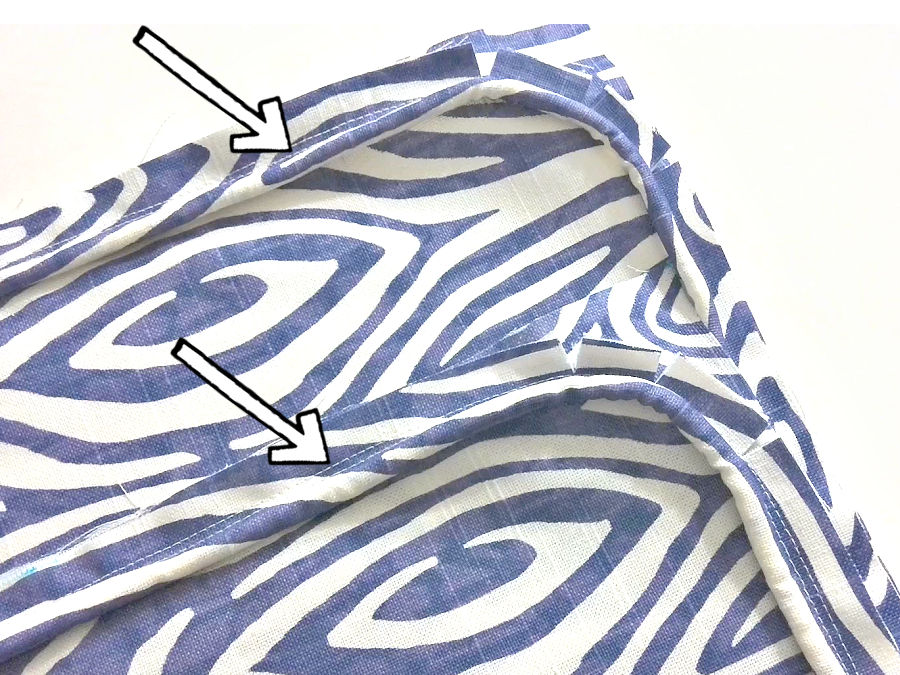
Getting Around Sharp Corners
Corners are where things can get a little messy if you rush, but they’re manageable once you break them down.
When you get to the corner of your project, stop sewing about half an inch before the corner with the needle down. Clip into the piping seam allowance just enough to let it pivot. Fold it around the corner gently and then keep sewing along the next edge.

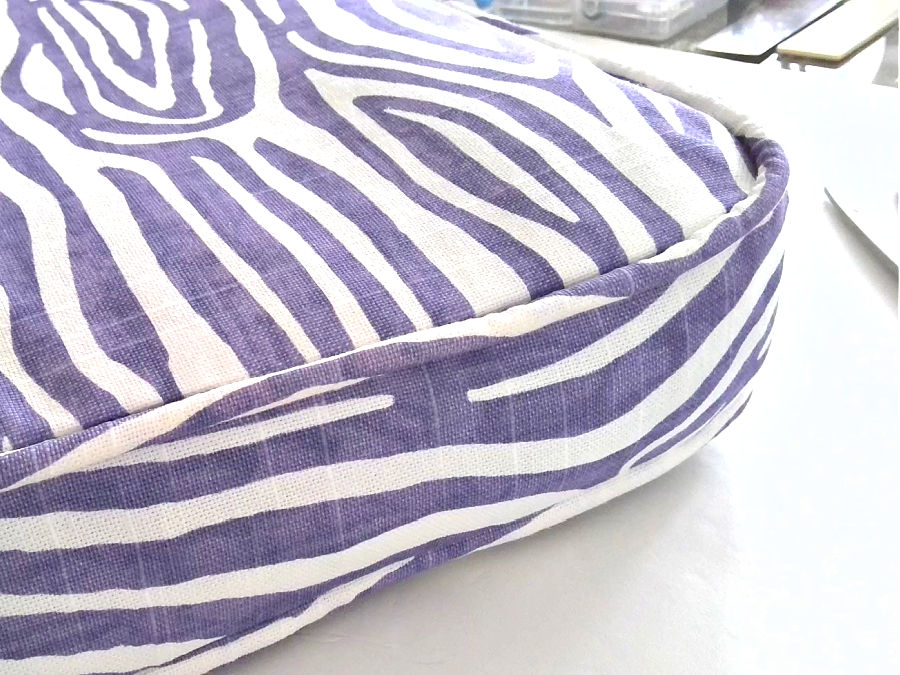
In my cushion cover project, I chose to sew smooth, rounded corners — they just felt like a better fit for the soft look I wanted, and piping curves nicely when you take your time. But before committing, I did test out how a sharp straight corner might look. You can see that test in the photo above.
When done right, piping corners look sharp and intentional. So take your time. Pause. Pivot. Adjust.
Joining Piping Ends
This is the moment that makes people nervous, mostly because it feels like there’s only one chance to get it right. But joining piping ends is far more forgiving than it looks, especially if you slow down and work in a clear order.
When you start sewing piping around a project that’s enclosed — a pillow, a bag, a rounded edge — you should leave a few inches of piping unsewn at the beginning. That little tail gives you room to work at the end, and it’s what makes a neat join possible instead of stressful.
As you approach the starting point, stop sewing when you’re about two inches away from where the piping began. Don’t force the piping to meet yet. Let both ends relax so you can see what you’re working with.
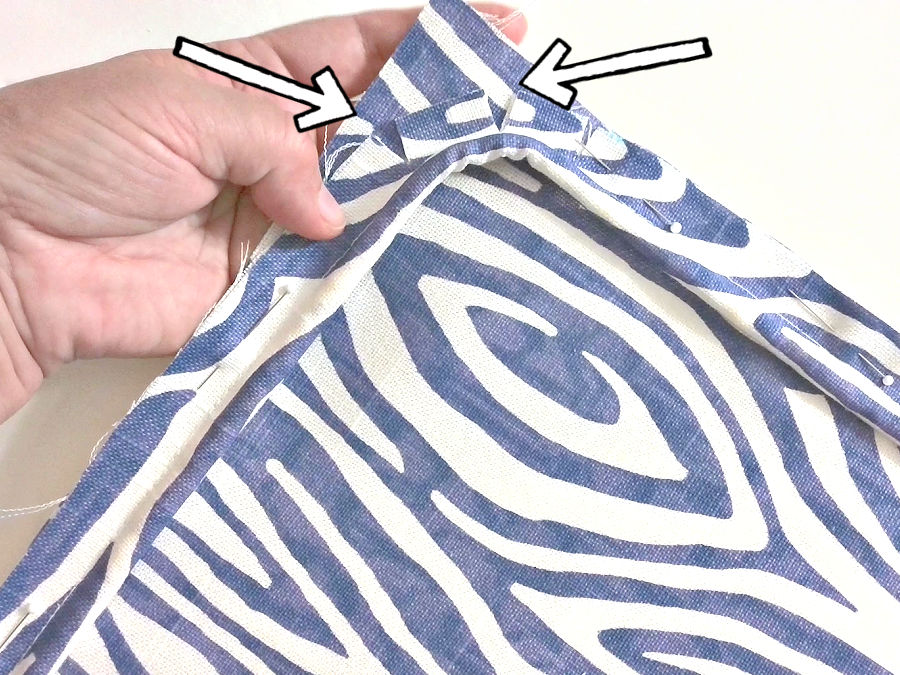
First, deal with the cord inside. Open up the fabric covering the piping at both ends and trim the cord so the two cord ends meet exactly, end to end. They should touch but not overlap. Overlapping cord creates a lump, and leaving a gap creates a dip.
Once the cord is trimmed, it’s time to deal with the fabric. Take the fabric at the beginning end of the piping and fold it in slightly, exposing the cord. Now take the fabric at the ending side and wrap it around the starting end, tucking the raw edge neatly inside. Think of it like closing an envelope: one side overlaps, the other side stays hidden.
At this point, the fabric should lie smoothly around the cord, with no raw edges showing and no extra bulk. Pin or clip this join carefully. This is a great moment to pause and check with your fingers. Run them over the join. If you feel a bump, open it back up and adjust. It’s much easier to fix now than after everything is sewn into the seam.
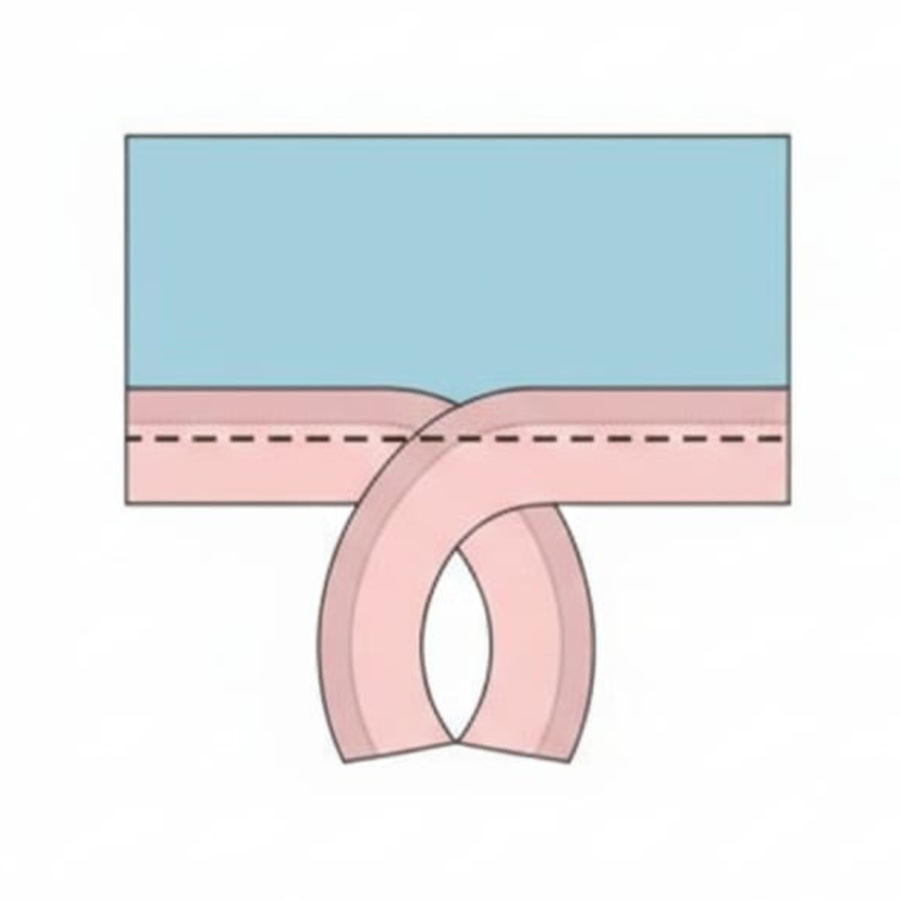
This diagram shows how the two layers of piping will overlap at the point where they join. The final seam is shown and the cord is cut to lay in a straight line along that seam.
Once the join feels smooth, stitch the piping down through this joined section, staying close to the cord just like before. You’re only securing the piping here, not sewing the final seam yet. After that, continue sewing the piping into your project as usual.
When the project is turned right side out, the join should disappear into the seam. If someone has to search for it to find it, you did it right. And if it’s not completely invisible the first time? That’s still a win. Joining piping ends is one of those skills that improves quickly with repetition, and every attempt teaches your hands what to do next time.
Choosing the Right Cord Size for Piping
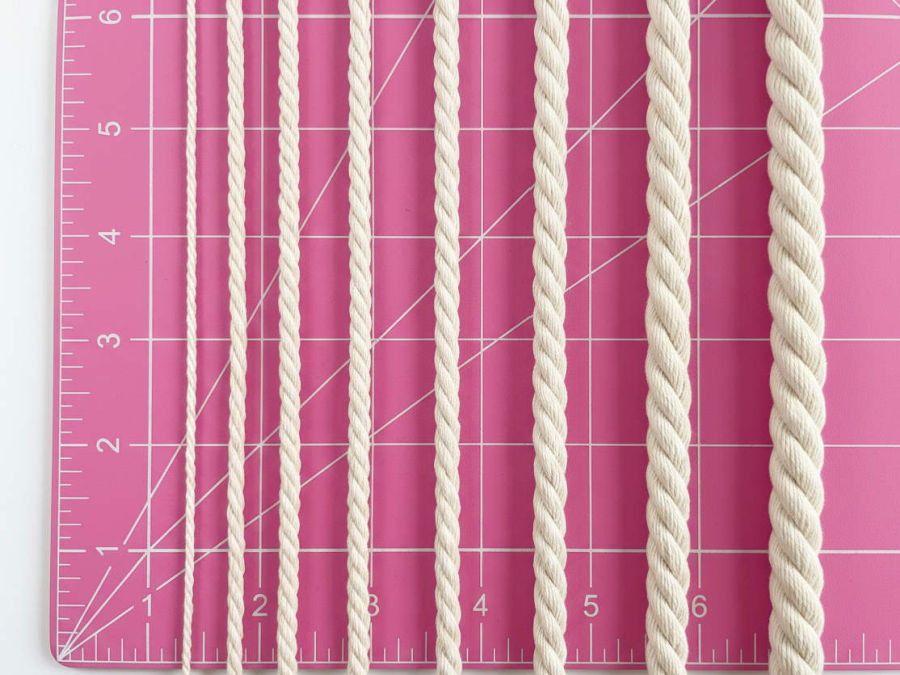
Cording comes in a variety of thicknesses, and while there’s no strict rule that says “use this size for that project,” some general guidelines can help you choose what works best.
The size of your cord affects both the look and the function of your piping. Thicker cord gives a bolder, more pronounced edge. Thinner cord creates a subtle, delicate finish. What you choose depends on your fabric, the scale of your project, and how much attention you want the piping to draw.
For example, if you’re making something like a 20-inch throw pillow with mid-weight home décor fabric, a ¼-inch cotton cording is usually a good place to start. It’s visible enough to give shape and structure to the pillow, but not so bulky that it overpowers the design.
If you’re using heavier canvas or making outdoor cushions, you could go up to ⅜-inch for a stronger, more defined edge.
Here’s a general idea of where different cord sizes work well:
- ⅛-inch cord – Soft, fine piping. Great for garments, baby items, or light cotton pillows.
- 3/16 to ¼-inch cord – Versatile, everyday piping. Works well on most throw pillows, cushions, and bags.
- ⅜-inch or thicker – Bold piping for upholstery, large cushions, or anything with heavier fabric.
Keep in mind that as cord size increases, so does the seam bulk. Thicker piping needs wider seam allowances. It also pairs best with sturdier fabrics that can support the added weight.
If you’re not sure, cut a small fabric strip and wrap it around a few different cord sizes. Hold it up to your project and see what feels right — that test will tell you more than any number on a package.
A Few Common Issues (And Why They Happen)
Even after you follow every step carefully, piping can still throw a little attitude. These issues are normal, especially the first few times you try it. They’re also easy to fix once you understand what’s going on.
The piping looks wavy instead of smooth
This is probably the most common one. This usually happens when the fabric strip got stretched while sewing. It’s especially common if you’re sewing bias-cut strips and didn’t let them relax first. Bias loves to stretch under pressure. If you pull or guide too firmly while stitching, you’re unintentionally stretching that strip as it feeds under the presser foot. When the tension is released, it springs back — and that’s where the ripples come from. Slowing down helps, as does letting your bias strips rest flat before sewing them.
The piping disappears into the seam
Another frustrating one; and you can barely see it from the outside. This usually means the second stitching line — the one where you attach the top fabric over the piping — was sewn too close to the cord. Even a few millimeters make a difference. To fix this, make sure you’re sewing directly on top of the original line you used to baste the piping in place. That first stitching line should become your guide for everything that comes after it.
The piping looks flat and lifeless
This is the opposite problem. This can happen if the cord is too thin for the fabric weight, or if your seam is too far from the cord.
The piping bunches or folds at a corner
Corners and curves bring their own drama. If your piping does that, it’s likely because the seam allowance wasn’t clipped before turning. Around curves, not clipping the seam allowance means the outer edge has to bend more than it wants to — and it usually responds by wrinkling or twisting. Clip up to the seam but not through it. Every half-inch or so makes a big difference in how the piping shapes itself around bends.
Joins that look bulky or lumpy
Finally, joins that look bulky or lumpy are often caused by overlapping the cord ends. It’s tempting to eyeball the end and just stuff it in, but this is one place where precision pays off. If the cord ends overlap, that bulk has nowhere to go. If the fabric is layered too thickly, it shows as soon as you turn the project right side out. Taking an extra thirty seconds to trim and fold makes the difference between a bumpy join and one that disappears into the seam.
Rushing the job
Most piping issues come down to the same thing: rushing. The steps themselves are simple. But they need time. Let the bias settle. Let the corners breathe. Let the join take its shape before stitching it closed.
Final Thoughts
Next time you’re making a pillow, a tote bag, or a dress, try adding piping. You’ll see it come together, and you’ll think: “Wait, that’s it?” Yes. That’s it.
You just learned a fancy skill that isn’t actually fancy. It’s just fabric, a cord, and a bit of know-how.
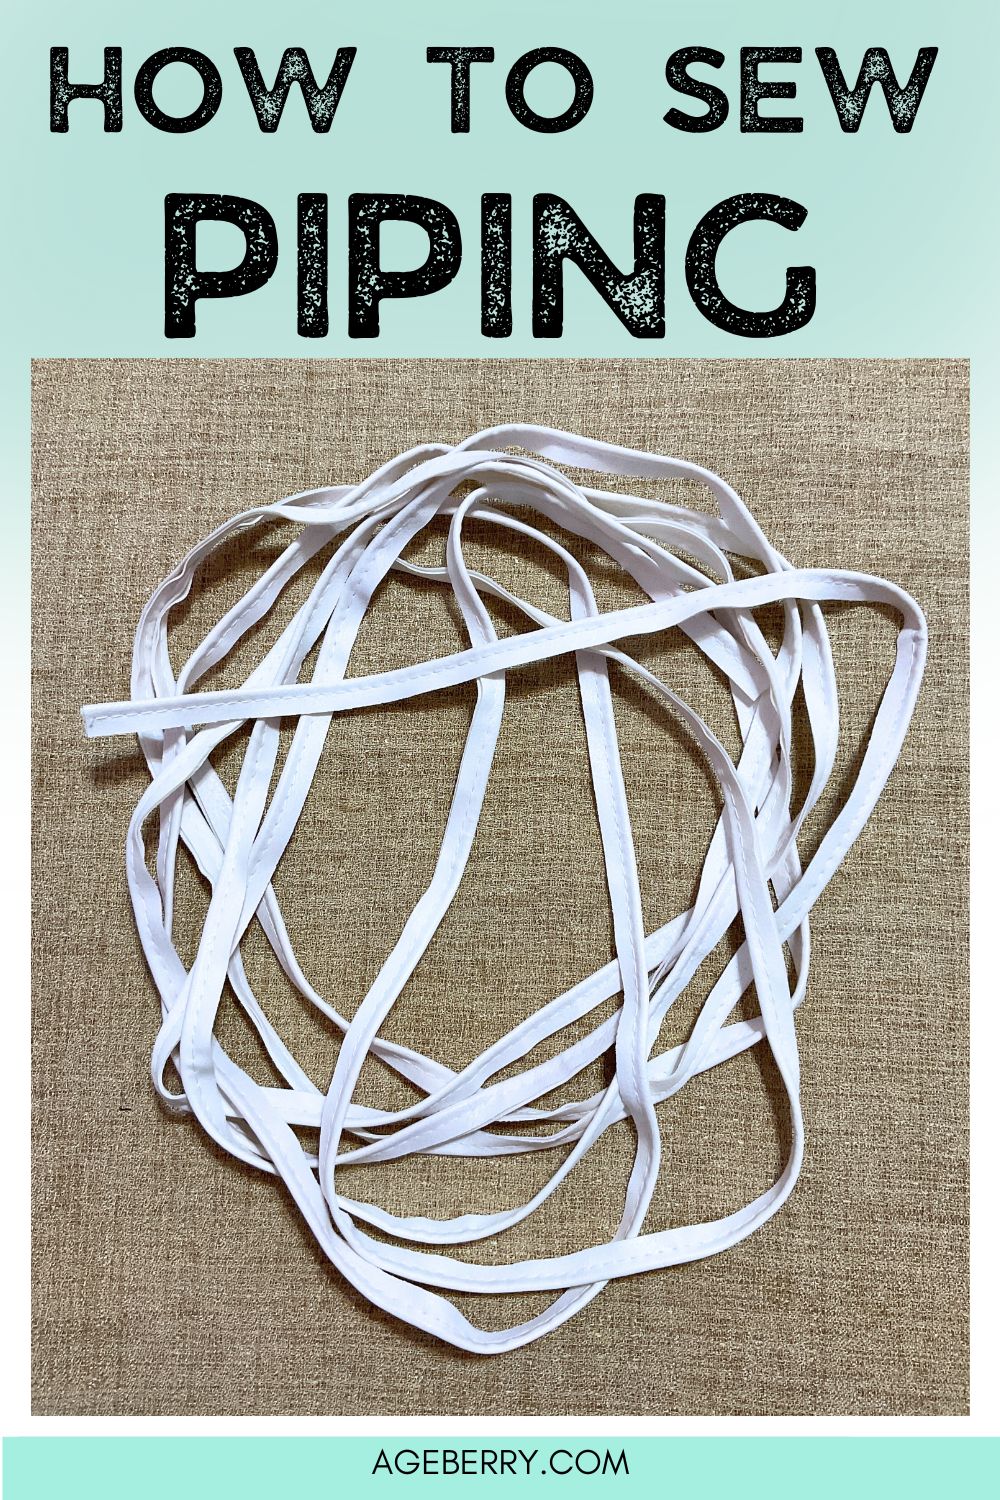
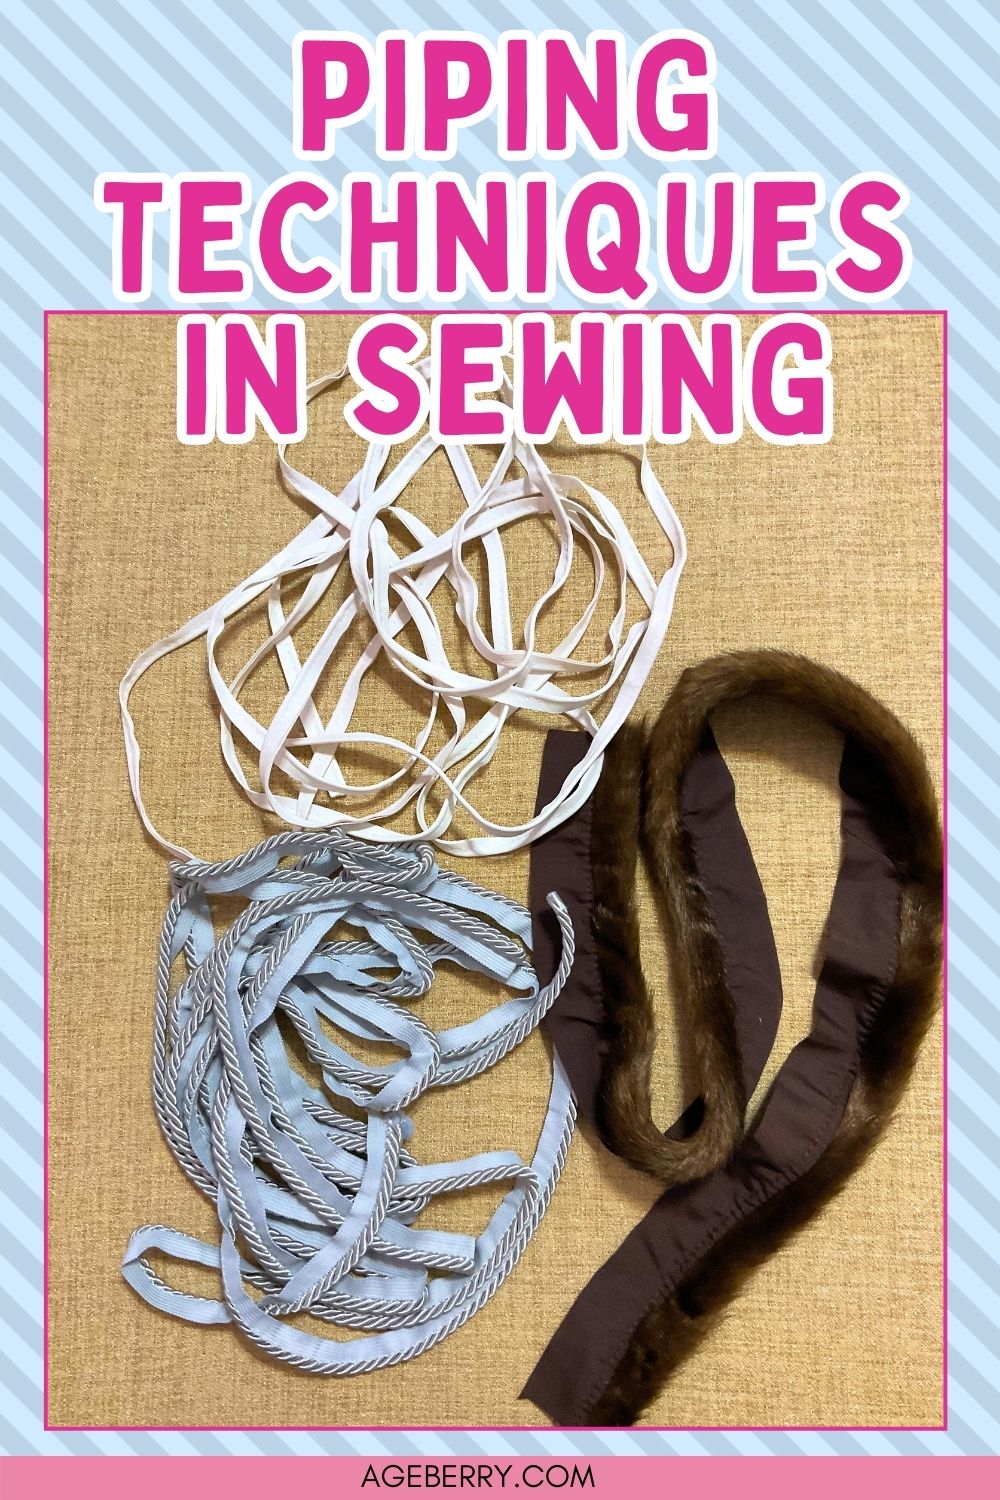
Did you find this tutorial helpful? Did it convince you to try the technique? If so, save this pin (see below) on your sewing board so you can come to this tutorial later when you are ready, and follow me on Pinterest for more tips, tutorials, and inspiration!
latest posts
- Butterfly Quilt Block Tutorial – Foundation Paper Piecing
- How To Sew Quilt Squares So The Corners Match
- Sewing With Fork Pins: How They Help With Pattern Matching, Slippery Fabric, And Seams
- How Much Fabric Do I Need? 21 Helpful Tips For Calculating Fabric Yardage
- Easy Simple Sewing Project: Fabric Jar Opener
- DIY Oven Mitts: Step-by-Step Sewing Tutorial
- Easy DIY Potholder: New Design
- Tailor’s Clapper: What It Does, Why It Works, And How To Use It Right
- Heat Resistant Batting for Sewing: What It Is, How It Works, and What Makes a Difference