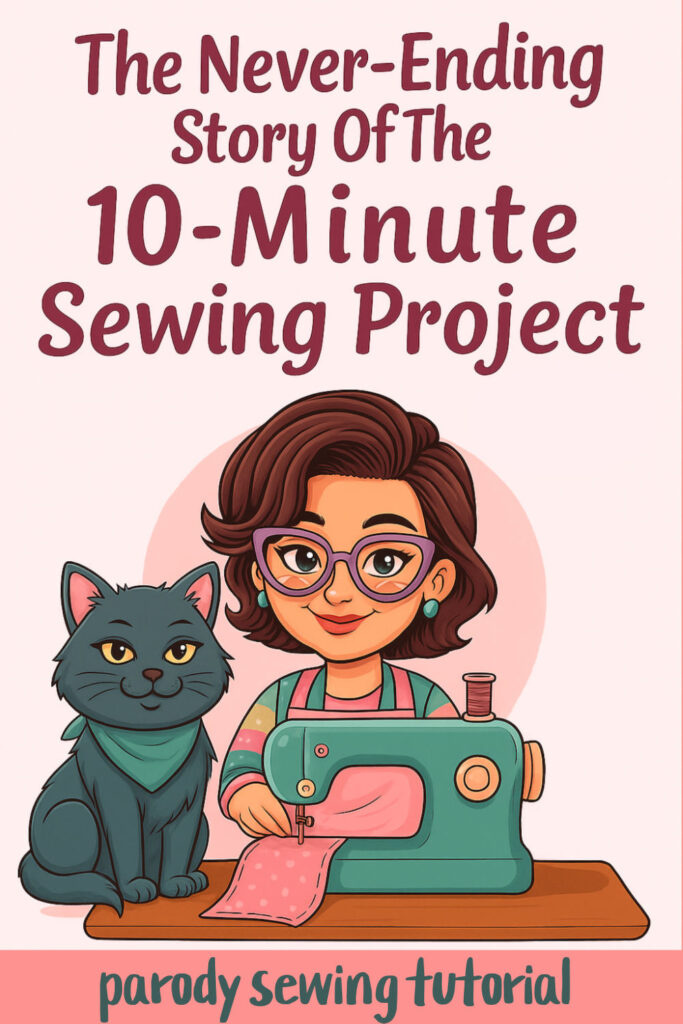
Jokes About Sewing: The Never-Ending Story Of The 10-Minute Sewing Project (Part 2)
Welcome back to my parody sewing tutorial, where we continue the epic saga of “Things That Should Take 10 Minutes But Actually Consume Your Entire Weekend”! Here’s Part 2 of my journey into the fabric-filled abyss, picking up at step #6 because the first five steps already consumed half my life and required an emergency chocolate restocking.
If you missed Part 1, don’t worry—just imagine someone with fabric scissors and a dream, gradually losing both as time passes. “It’ll be quick,” I said. “Just a simple project,” I said, while the sewing gods laughed so hard they nearly fell off Mount Fabriclympus.
If you want to read Part 1 (which I recommend), here it is: I started a 10-minute sewing project yesterday. I hope to finish it tomorrow.
Pour yourself a beverage of choice, settle in, and enjoy reading about someone else’s sewing misadventures from the comfort of your chair. Remember: I make these mistakes so you don’t have to. (Who am I kidding? We’ll all make them anyway!)
Onward to more 10-minute tasks that defy the space-time continuum!
#6. Deciding the Size of the Pattern
What I should accomplish in 10 min:
Measure waist and hips, check measurements against pattern size chart, circle my size.
Actual finish:
Existential crisis: 2 hours later.
So, now comes pattern sizing — that special moment when a piece of paper tries to convince you that you’re actually two sizes larger than you thought you were. Let the identity crisis begin!
I start by confidently retrieving my measuring tape, which has somehow tangled itself into a physics-defying pretzel shape despite being neatly rolled up the last time I saw it. After wrestling it into submission, I wrap it around my waist, sucking in slightly because even though I’m alone and this is purely for sewing purposes, I still feel judged by the inanimate yellow tape.
“I’m a size 8-10 in stores,” I remind myself with confidence. “This should be straightforward.”
I check the pattern’s size chart and… wait. There must be some mistake. According to this pattern, I’m a size 14. FOURTEEN. Did I suddenly expand when I wasn’t looking? Is this pattern company in cahoots with my bathroom scale to ruin my day?
I re-measure, this time sucking in so dramatically that I nearly pass out. The number doesn’t change. This measuring tape is clearly my enemy now.
Next comes the frantic Googling phase: “Are pattern sizes different from store sizes?” I discover this is a well-documented phenomenon called “pattern size reality,” when stores use “vanity sizing” to make us feel better about ourselves. I feel both validated and betrayed.
To complicate matters further, I discover I’m different sizes in different areas. My waist screams size 14, and my hips are whispering size 16. But then I notice the pattern envelope includes bust measurements too. “Better be thorough,” I mutter, wrapping the tape around my chest. Might as well collect the full set of disappointing numbers! And according to my bust, I’m a size 12.
Well, I am officially a size “good luck with that.”

By the two-hour mark, I’ve pinned seven articles about pattern grading and watched two YouTube videos at 1.5x speed about “embracing your true size.”
I spend thirty minutes drawing elaborate blending lines between sizes on my pattern but mentally I’ve already decided that when this doesn’t fit right, it’s the pattern’s fault, not mine.
I reward myself with chocolate because clearly, I’ve burned enough calories with all this mental gymnastics to justify it.
✅ Serious tutorial: How To Take Body Measurements For Sewing
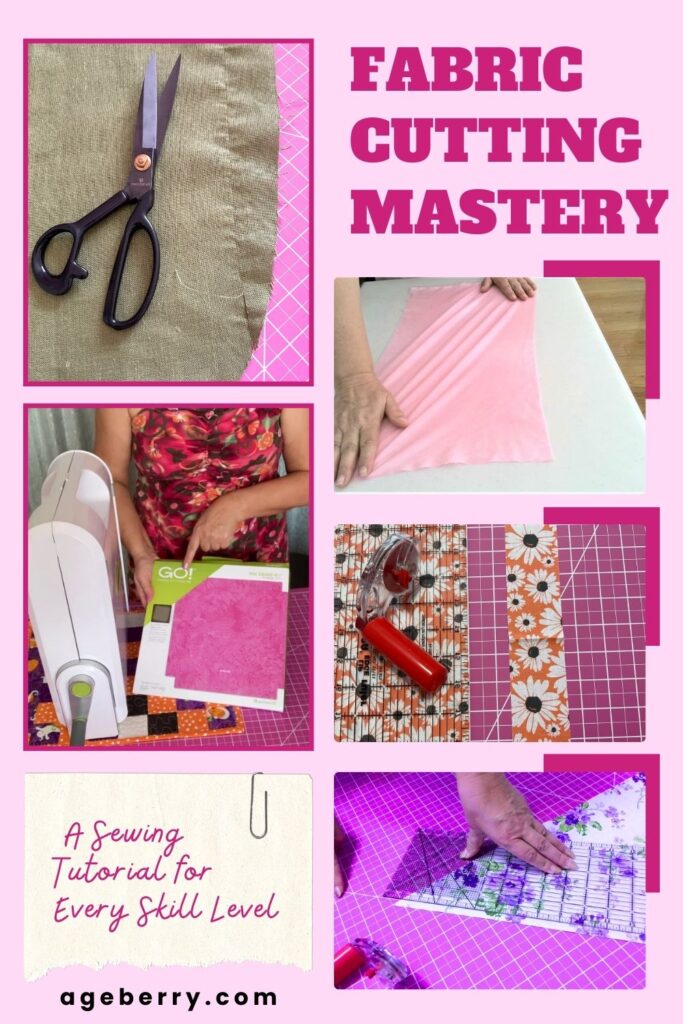
#7. Cutting Fabric
What I should accomplish in 10 min:
Lay out fabric, place pattern pieces, pin, begin cutting.
Actual finish:
Fabric subdued and cut: 1 hour and a bandaid later.
I begin by clearing my cutting surface, which requires relocating a stack of mail I’ve been meaning to sort since last Tuesday, two mugs with mysterious contents that might qualify as scientific specimens at this point, and a cat who seems genuinely offended that I need to use my own table for its intended purpose.
After relocating all the table squatters, I unfold my jersey fabric and immediately face the question of finding the grainline. The pattern helpfully marks “GRAINLINE” in authoritative all-caps, but my knit fabric is stretching in every direction like a yoga instructor showing off.
I tug it one way, then another, tilting my head like a confused puppy. Is this the grainline? Is that? Is there even a grainline on knit fabric? Or is it more of a “grain-suggestion”? After five minutes of fabric stretching that looks like I’m performing some strange textile fortune-telling, I vaguely remember that the grainline in knits runs parallel to the selvages. Of course! I knew that! I was just… testing myself. Obviously. And proceed with all the confidence of someone who just made that up completely.
But now I notice that not all edges of my fabric are created equal. The cut edge is dramatically rolling up like a yoga mat after class. This edge, of course, needs to be straightened before I can cut my pieces.
I flatten it. It rolls again. We engage in this dance of wills for several minutes. “Behave!” I command the fabric, which responds by curling even tighter, as if to say, “I Will Never Be Flat, Accept Your Fate.”
I press the fabric with my iron, hoping heat might persuade it to cooperate. The edge briefly flattens under duress, only to spring back into its rolled state the moment the iron moves away.
I try weighing down the corners with a random assortment of canned goods from the pantry. My cutting table now resembles an impromptu grocery display.
With the fabric temporarily subdued by kidney beans and chickpeas, I attempt to position my pattern pieces. I’ve got two pant fronts, two backs, and smaller pocket pieces that all need to fit on this uncooperative textile.
With my pattern pieces finally arranged in what I’ve decided is a “close enough” approximation of proper placement, I begin the pinning process. I approach this task with the delicate precision of someone defusing a bomb, gently sliding pins through paper and fabric without disturbing my carefully arranged pieces.
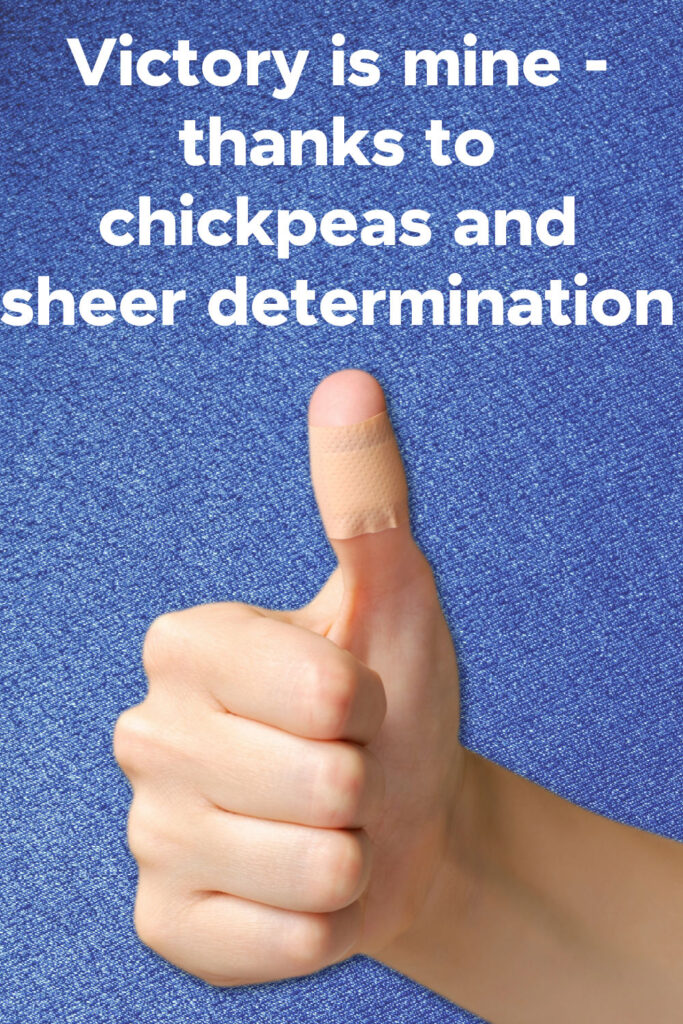
This works for exactly 2.5 pins before I somehow manage to stab myself with a pin.
“How?” I mutter, watching a tiny dot of blood appear on my index finger.
I continue pinning, now with the caution of someone who’s been betrayed. By pin 15, I’ve somehow managed to stab the same finger twice more, leading me to believe this particular digit has magnetically charged itself to attract sharp objects.
The final injury comes not from a pin at all, but from the edge of my rotary cutter when I set it down “safely” and then immediately drag my knuckle across it while reaching for more pins. This one deserves a bandaid, which requires a trip to the bathroom, which means I must carefully step away from my project without disturbing anything.
Upon my return with fingers freshly bandaged, I discover my cat has taken my momentary absence as an invitation to nap directly on my carefully arranged pattern pieces. The look she gives me clearly states, “You weren’t using this paper bed, were you?”

An hour later, with a bandaid covering my nick wound, I’ve managed to cut all pattern pieces. They’re mostly the right size and approximately the correct shape, which I count as a victory worthy of an Olympic medal in the Extreme Fabric Wrangling category.
So I sit back, surveying my work with pride. I’ve conquered the rolling edges, tamed the stretchy beast, and emerged victorious with only minor flesh wounds. The cut pieces look surprisingly professional when arranged on the table—almost like I know what I’m doing! I allow myself a brief moment of sewing euphoria, that dangerous high that makes you believe the rest will be smooth sailing.
✅ Serious tutorial: The Ultimate Fabric Cutting Guide: Tips, Tools & Techniques for Every Project
#8. Reading Instructions
What I should accomplish in 10 min:
Open pattern instructions, read all steps.
Actual finish:
Fully understanding instructions: 1.5 hours later (after multiple Google searches and three YouTube tutorials).
After my triumphant fabric cutting victory, I decide to reward myself by sitting down with a cup of tea to calmly read through the pattern instructions like the organized, methodical sewist I pretend to be.
I unfold the instruction sheet, which immediately transforms from a neat rectangle into what appears to be a map of the London Underground system, complete with mysterious symbols, arrows pointing in contradicting directions, and text so small it could be used as an eye exam.
I encounter the phrase “ease in sleeves” which is puzzling since these are pants and should not, under any circumstances, have sleeves. After careful reading, I realize this instruction is for a completely different garment that shares this instruction sheet. Efficient for the pattern company, maddening for me.
I search in vain for illustrations of the specific steps I’m confused about. Is this even the right instruction sheet?
“Step 1: Stitch front to back at inner leg in a double-stitched seam.”
I stare at this seemingly simple instruction for a full minute. Inner leg? If there’s an “inner” leg, is there an “outer” leg? A “middle” leg? And what exactly is a “double-stitched seam”? Is that two lines of stitching? One line, sewn twice? Just a regular seam?
YouTube shows me a 22-minute video where someone spends the first 18 minutes talking about their sewing journey before finally demonstrating a technique that may or may not be what my pattern is asking for.
By the time I reach Step 3, I’m thoroughly confused: “For crotch seam, turn one leg right side out. Slip inside remaining leg. Stitch in a double-stitched seam.”
I read this five times, each time more baffled than before. Am I making pants or performing some kind of textile origami? One leg inside the other? I try to visualize this process.
“Slip inside remaining leg” sounds like instructions for the world’s most confusing magic trick. “Watch as I make this entire pant leg disappear… INTO ANOTHER PANT LEG!” I’m half expecting the next step to involve a rabbit and a top hat.
The pattern keeps referring to the crotch seam with the casual confidence of someone discussing the weather, as if it’s the most natural thing in the world to be pondering crotches at 2 PM on a Tuesday. “Reinforce crotch seam,” it commands. “Trim crotch seam,” it demands.

So I’m actively Googling “what is crotch”. My search history now suggests I’m either a seamstress or someone with very specific anatomical curiosities.
By the 90-minute mark, I understand approximately 60% of what I’m supposed to do, which I decide is good enough. The sewing gods invented seam rippers for a reason, after all.
I set aside the instructions and promise myself I’ll figure out the rest as I go. Future me will surely be wiser, more patient, and better at deciphering cryptic sewing terminology. Current me needs more chocolate.

#9. Preparing the Sewing Machine
What I should accomplish in 10 min:
Remove the cover, dust the sewing machine, change the needle and the presser foot.
Actual finish:
The machine fully set up: 1 hour, 15 minutes later (following a needle replacement saga, a presser foot gymnastics competition, and a threading adventure that tested the limits of my sanity and eyesight).

With my pattern pieces cut and instructions semi-understood, I approach my sewing machine with the hopeful optimism of someone who has clearly forgotten our last interaction.
I remove the dust cover to reveal… well, dust. It immediately triggers a sneeze, which sends the lint flying into the machine.
Time to change the needle to one appropriate for knits. I open my needle case to discover an organizational system that can only be described as chaotic. Despite my previous attempts at sorting them by type and size, they’ve somehow rearranged themselves into a jumbled mass of identical-looking metal spikes. The packets they came in offer no help, as most are empty or labeled with hieroglyphics that translate roughly to “good for something, probably.”
✅ Serious tutorial: Adorable DIY Needle Book | Easy Tutorial for Beginners
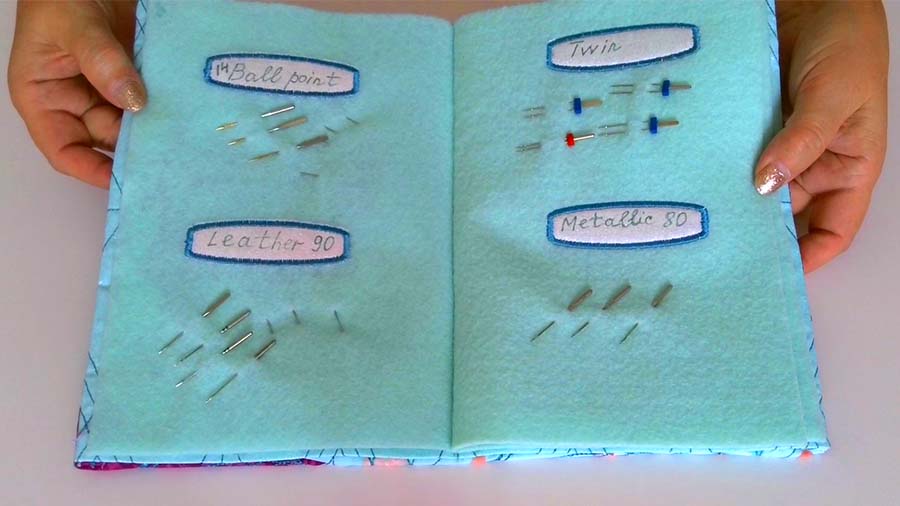
After squinting at various needles under my phone’s flashlight like a jeweler examining suspicious diamonds, I finally identify what I think is a ballpoint needle for knits.
I carefully remove the old needle, which of course chooses this moment to drop silently onto my carpet.
“No problem,” I mutter unconvincingly, “I’ll just find it later… with my foot.”
I install the new needle, only to realize I’ve put it in backwards. I remove it, turn it around, and re-install it, then second-guess myself. Is the flat side supposed to face forward or backward? I need to check the manual.
Next, I need to change the blind hem foot that’s currently on my machine to a regular presser foot.
This should be simple—just a little lever to flip and the foot comes off. Except the lever is stuck. I jiggle it gently at first, then with increasing frustration until I’m yanking on it with enough force to potentially launch the presser foot into orbit if it suddenly releases.
Which it does. The blind hem foot goes flying across the room with the velocity of a startled sparrow, ricocheting off a wall and disappearing behind my fabric stash. I make a mental note of its approximate landing zone to discover it later.
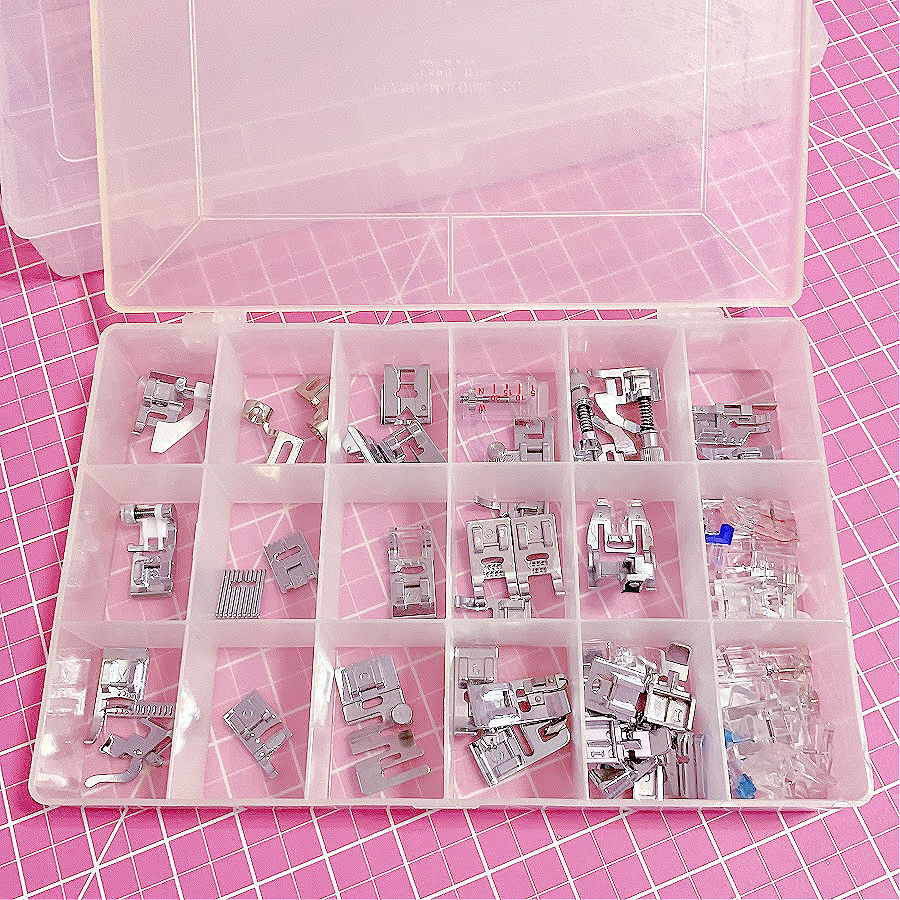
I open my presser foot container, a plastic organizer with specific slots that I’ve completely ignored, instead creating a “system” where all feet are thrown in together.
I dig through what feels like 47 presser feet, none of which seem right. There’s the one with the weird flange I bought for a specific project three years ago and never used. There’s the ruffler foot that requires an engineering degree to install. There’s something that might be a presser foot or might be a part that fell off my vacuum cleaner.
✅ Serious tutorial: Presser Feet Storage: Practical Ideas to Keep Them Safe and Organized
Finally, I locate what I think is the right foot.
It takes me three attempts to attach it, during which time I drop the screw exactly twice. The second time, it rolls under the sewing cabinet.
This necessitates moving the entire sewing cabinet, which reveals a secret archaeological site of lost bobbins, pins, and what appears to be a chocolate chip cookie from an indeterminate era. I retrieve the screw along with a stray sock that vanished from the laundry in 2019, three sewing machine needles in a size I’ve been searching for since last Christmas, and an earring I accused my husband of accidentally vacuuming up.
With the presser foot finally attached, I move on to threading the machine.
This should be simple—I’ve done it many times. And yet, somehow, threading a sewing machine remains an activity that requires the concentration of a cat stalking a laser pointer and the fine motor skills of a microsurgeon.
I grab my thread spool and begin the ritualistic dance. Up through the first guide, around the tension disc, down through that weird hook thing whose actual name I’ve never bothered to learn, then through the take-up lever.
The thread makes it through the first four obstacles with surprising ease, giving me a false sense of security before the real challenge: getting it through the needle eye. I trim the end of the thread to a perfect point, hold it up to the needle, squint dramatically, and completely miss on the first attempt. And the second. And the third.
By attempt six, I’m holding my breath like an Olympic archer. By attempt twelve, I’ve convinced myself I need reading glasses. By attempt fifteen, I’m questioning why I ever thought sewing was a relaxing hobby and not an elaborate form of self-torture.
I try the “lick and pinch” method to stiffen the thread end, only to realize too late that I’m using polyester thread that now tastes like industrial chemicals.
In a moment of desperation, I suddenly remember that my machine has an automatic needle threader. But this device, supposedly designed to make threading easier, has all the reliability of a weather forecast. I carefully position it, lower the lever, and watch as it completely misses the needle eye.
After manually reshaping the needle threader with pliers I had to hunt for in the garage, I try again. This time it catches – I finally manage to thread the needle, celebrating with a victory dance that nearly unthreads it immediately. I secure the thread with a death grip while pulling enough through to prevent any chance of it slipping out.
Now for the final hurdle: catching the bobbin thread. I turn the handwheel, watching intently as the needle dips down to perform what seems like a secret handshake with the bobbin. I keep turning, expecting the bobbin thread to appear in a magical loop above the needle plate. Nothing happens.
I check the bobbin again, confirming that yes, there is thread in there, and yes, it is going in the right direction (I think). I try again, turning the handwheel with the ceremonial slowness of someone opening an ancient tomb.
Finally, a tiny loop appears—the bobbin thread has deigned to join the party!
I wipe the sweat from my forehead, realizing I’ve just spent forty-five minutes on a task that the YouTube sewists complete in approximately seven seconds while simultaneously carrying on a cheerful conversation about their latest fabric haul.
“Threading complete,” I announce to my empty sewing room, feeling like I deserve a medal, or at the very least, a sticker that says “I Threaded My Machine All By Myself Today!”
So, what’s next? Oh, just the simple matter of adjusting tension for knit fabric, basting and actually sewing these pieces together without stretching, warping, or accidentally creating a third leg. But that’s a 10-minute task for another day—or possibly another decade, depending on my ability to resist starting seventeen new projects before finishing this one.
✅ Serious tutorial: Most Common Sewing Machine Tension Problems (+ Solutions)
For now, I carefully place the cut pieces in a project bag, which I label with today’s date and optimistically add “To be finished by:” followed by a date that we all know is pure fantasy. Then I reward myself with chocolate, because even partial victories deserve celebration in the world of sewing reality.
Did this post hit a little too close to the seam line? Save this pin to your sewing board so you can come back to it whenever you need a good laugh—or a gentle reminder that sewing timelines are more of a suggestion than a schedule. Follow me on Pinterest for more real-life tutorials, awkward victories, and fabric-fueled chaos. Pin it now, laugh later. And remember: true sewing talent isn’t about speed. It’s about keeping calm when you realize your “10-minute task” has somehow consumed your entire weekend.
latest posts
- What Do You Call a Person Who Sews? I Asked My Readers and Got 1,408 Opinions
- DIY Round Purse: PDF Sewing Pattern and Detailed Instructions
- Mini Wonder Clips By Clover: Useful Sewing Tool Or Just Another Notion?
- Non-Slip Grips For Quilting Rulers: A Small Notion With A Useful Job
- Fabric Eraser for Sewing: What It Removes and When to Use It
- What Is The Best Thread For Sewing Machine Projects? Let’s Find Out!
- Butterfly Quilt Block Tutorial – Foundation Paper Piecing
- How To Sew Quilt Squares So The Corners Match
- Sewing With Fork Pins: How They Help With Pattern Matching, Slippery Fabric, And Seams