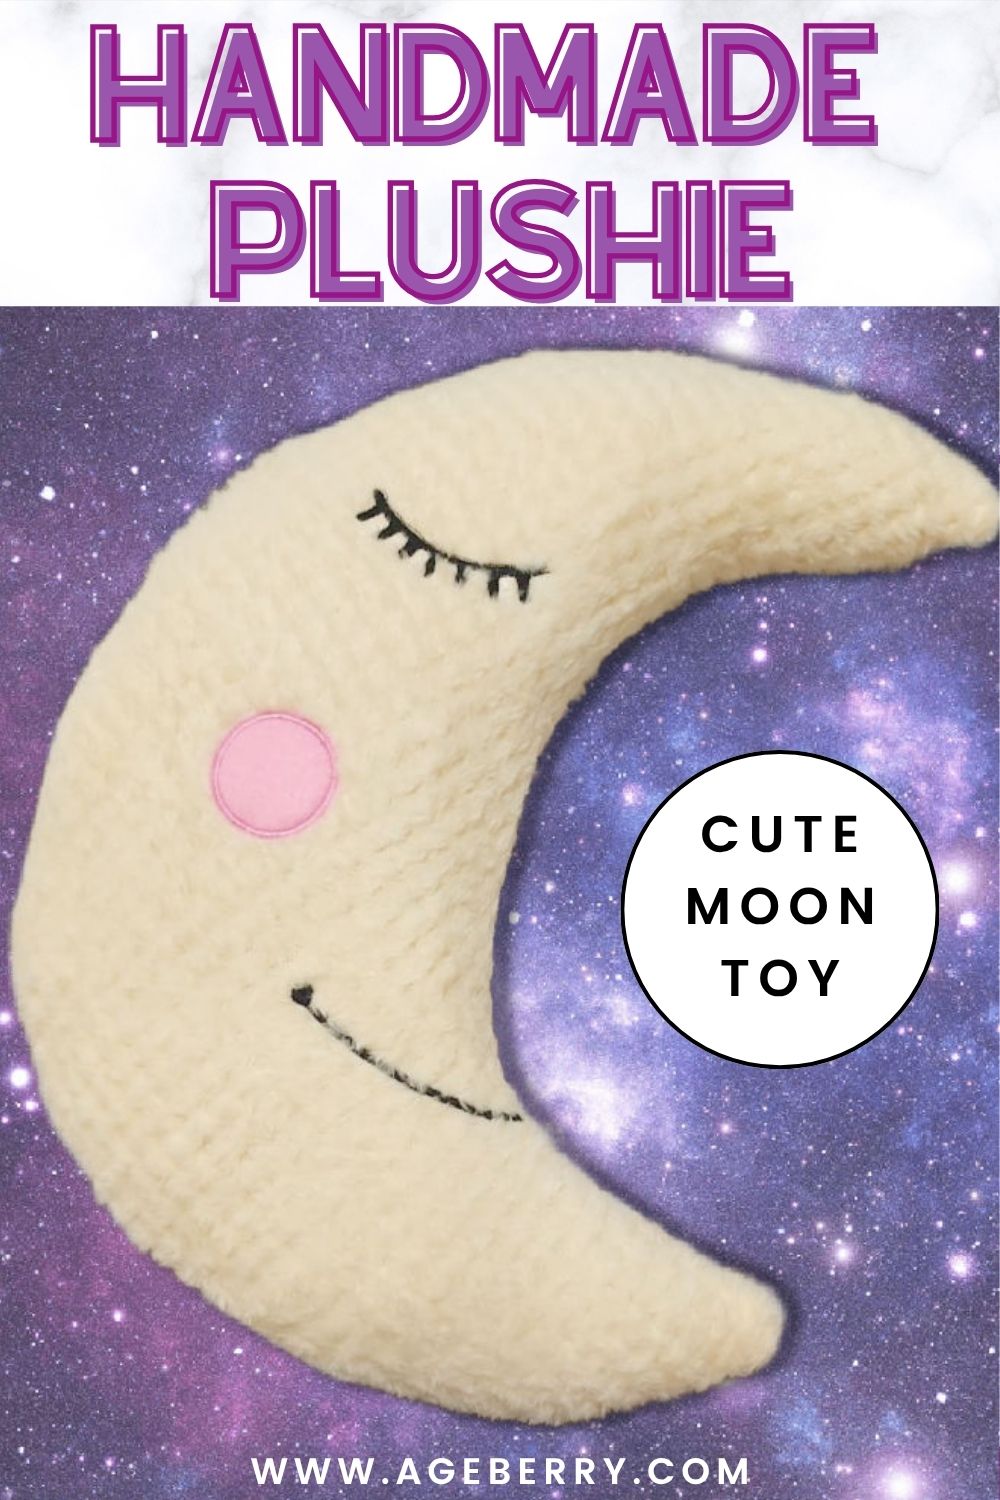
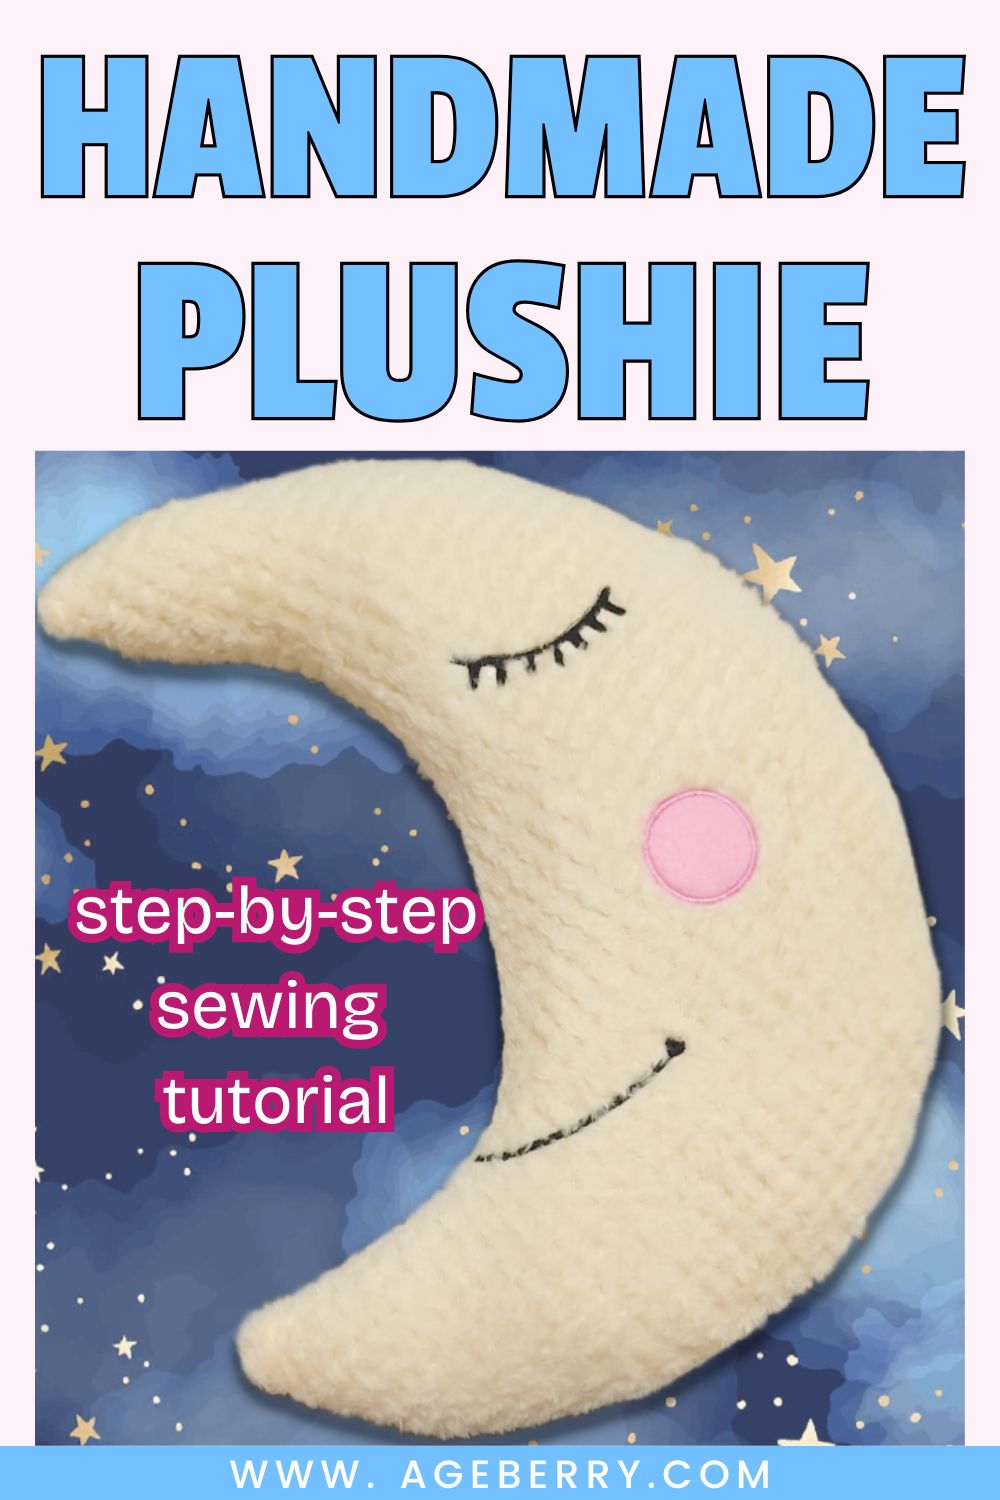
Easy Handmade Plushie Project – Sew a Cute Moon Toy
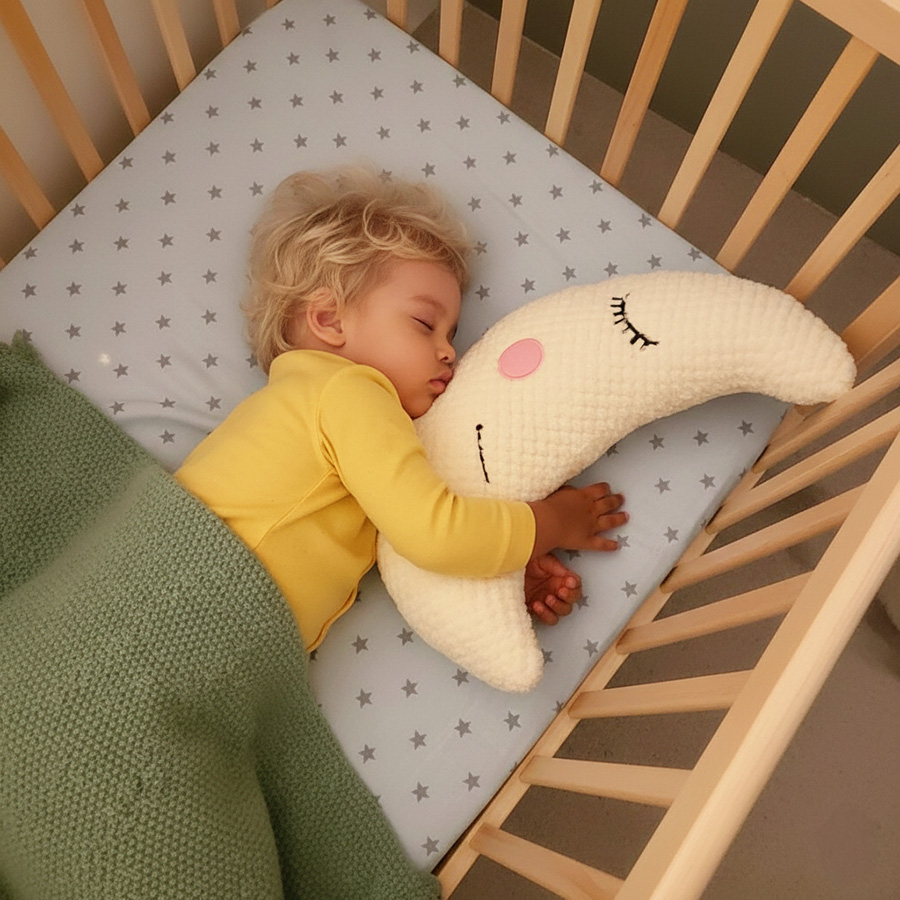
Toddlers have a special way of noticing the world. My granddaughter, who is only a year and a half old, is absolutely enchanted by the moon. Every evening she rushes to the window, points with her little finger, and exclaims “MOON!” So I decided to bring that magic indoors — by sewing her a soft, huggable toy – a handmade plushie moon.
If you have a little one who loves the moon too, this project will be a joy to make. It’s simple, cozy, and full of charm.
What You’ll Need
Note: Some of the links on this page are affiliate links. This means I will receive a commission if you order a product through one of my links. I only recommend products I believe in and use myself.
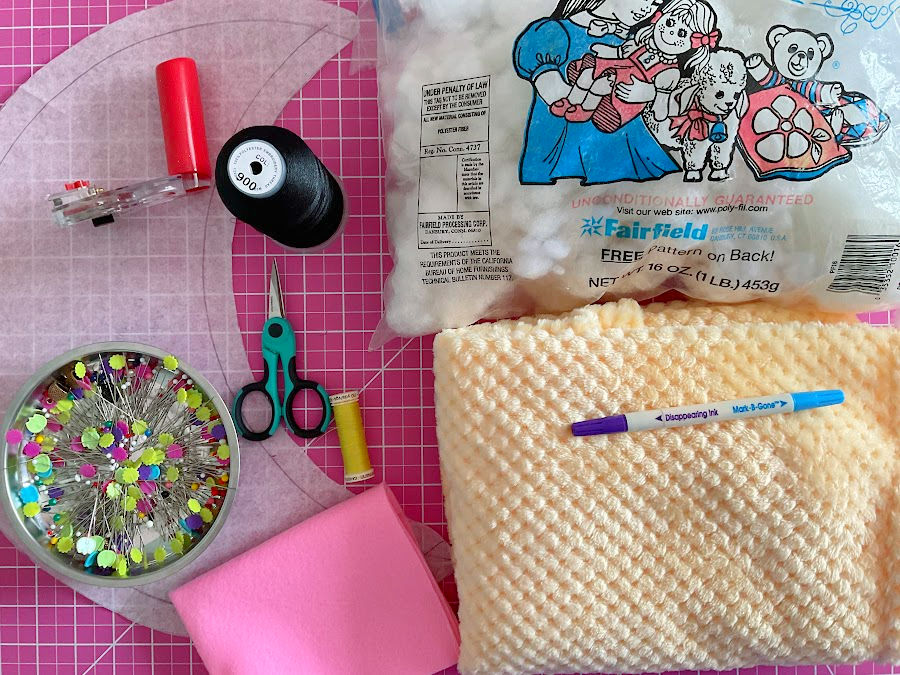
- Yellow plush fabric – about ½ yard is more than enough (you’ll get both sides of the moon from it)
- Pattern paper and pencil – for drawing the moon shape
- Matching thread – strong enough for stuffed toys
- Embroidery thread – black and pink
- Small piece of pink fabric – for the cheek
- Stuffing or fiberfill – to make your moon nice and plump
- Rotary cutter or fabric scissors
- Embroidery design – for the eyes, mouth, and cheek (optional if you prefer hand embroidery)
I use medical exam paper for patterns because it’s smooth, lightweight, and easy to draw on.


My favorite pencils are PaperMate SharpWriter – they make clean, erasable lines. I ended up buying the large 36 pack – it does not dry up, it does not spoil, it will last for years and it is very cost effective.


I usually use Brothread or Simthread embroidery thread; for this project I recommend to use polyester thread, not cotton or rayon which do not go well with plush fabric.
Step 1. Make the Pattern
Start by drawing your moon shape. On your pattern paper, make a circle about 21.5 cm (8½”) in diameter. Use a dinner plate if you don’t have a compass handy.
Next, draw a curved line inside the circle to form a crescent shape — this will be your moon. Cut out the shape.
Seam allowances are included and they are ¾” (2cm) all around. Plush fabrics with pile need a bit of extra allowance because the thickness eats up space in the seam.
The dimensions are what I used, but they are not set in stone. You can easily adjust the size — make it smaller for a handheld toy or larger for a pillow-style moon.
Step 2. Cut the Fabric Pieces
Lay your plush fabric with the nap direction running consistently (so both sides of the moon feel the same).
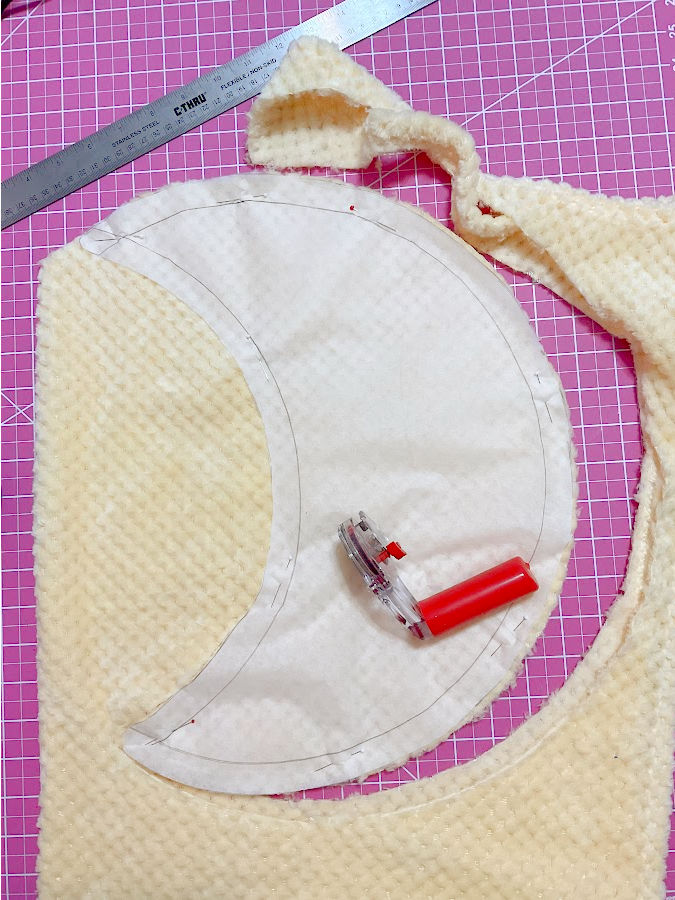
Cut two pieces, not on the fold. Using a rotary cutter helps keep your curves clean.
The piece I made is symmetrical so I can cut the second shape using the same pattern and the same orientation. But when I will assemble the toy, the second piece will be flipped so the wrong sides will face together. If the piece would not have been symmetrical, I would have had to cut the second piece in the mirror compared with the first.
A word of caution:
When cutting faux fur or plush, fibers often get trapped in the grooves of your self-healing cutting mat. Gently remove them right away. If fur stays inside the cuts, your mat may stop “self-healing.”
Expect some fluff to fly around — that’s just part of the fun! Use a lint roller to collect it, then take the fabric to a sink or shower and shake out the remaining fibers. Then use a vacuum cleaner to collect them. Wearing a mask helps if you’re sensitive to floating fuzz.
Step 3. Embroider the Face
This step adds personality to your moon.
I created embroidery files for the eyes, mouth, and cheek sized for a small embroidery hoop. To place them, I lightly marked the positions on the fabric with a washable marker.
The embroidery files are available in my Resource Library, free to download for all subscribers to my newsletter.
If you have an embroidery machine cover the plush fabric surface with a wash-away stabilizer film. This keeps the fur from poking through your stitches. The image below shows the finished embroidery.


For a larger mouth, I should probably have placed the embroidery more inside the moon shape, the embroidery goes a little outside. In the end, this does not really matter, the seam allowance is 5/8″ (2cm) here so the end will be inside the seam. And the mouth is pretty as it is.
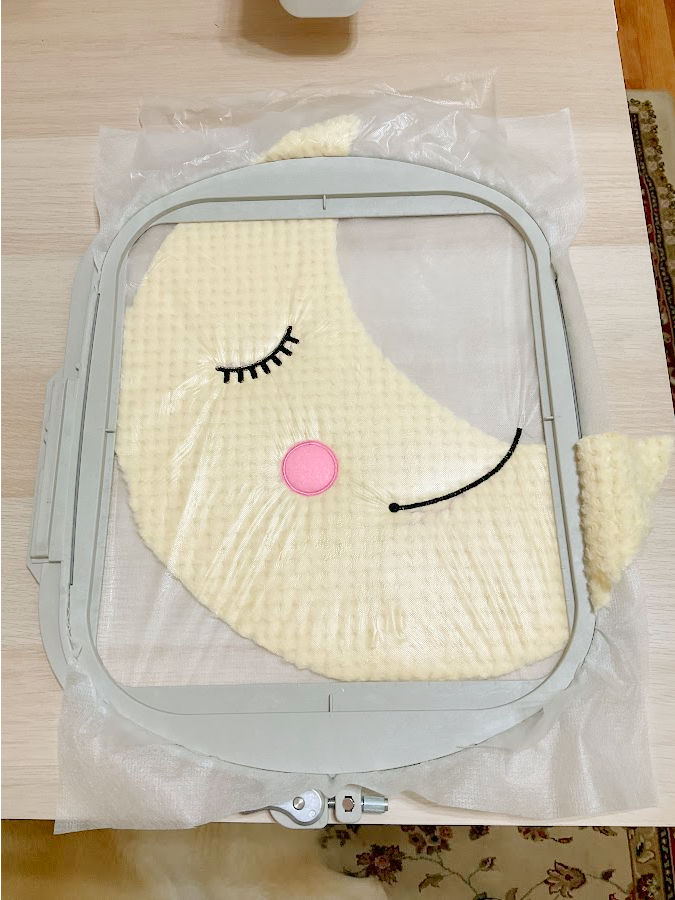
The eyes and the mouth are just embroidery files but the cheek is an applique made with an embroidery machine. You still need the embroidery file to make it.
If you’ve never done applique this way before, don’t worry — it’s much simpler than it looks. You can follow my detailed guide, Brother Luminaire Tutorial: How To Applique With An Embroidery Machine, where I show every step of the process with clear images.
Here is a short description:
- Stitch the placement line for the cheek.
- Place a small pink fabric scrap over it, stitch the tack-down line, and trim close with duckbill scissors.
- Finish with a satin stitch border.


If you don’t have an embroidery machine, since the embroidery is not large, hand embroidery works beautifully. Simple satin stitches for the eyes and mouth give it a soft, expressive look.
Step 4. Sew the Moon Together
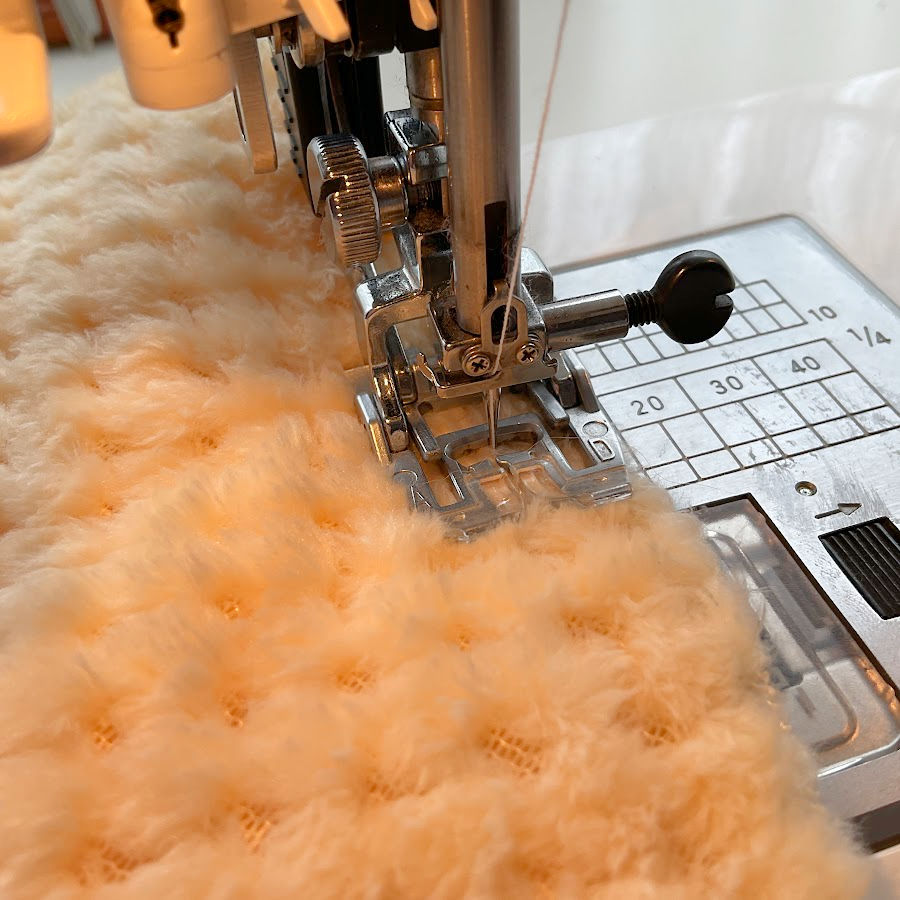
Place your two moon pieces right sides together (here is where you have to flip the back piece). Pin them carefully — plush tends to shift, so use lots of pins.
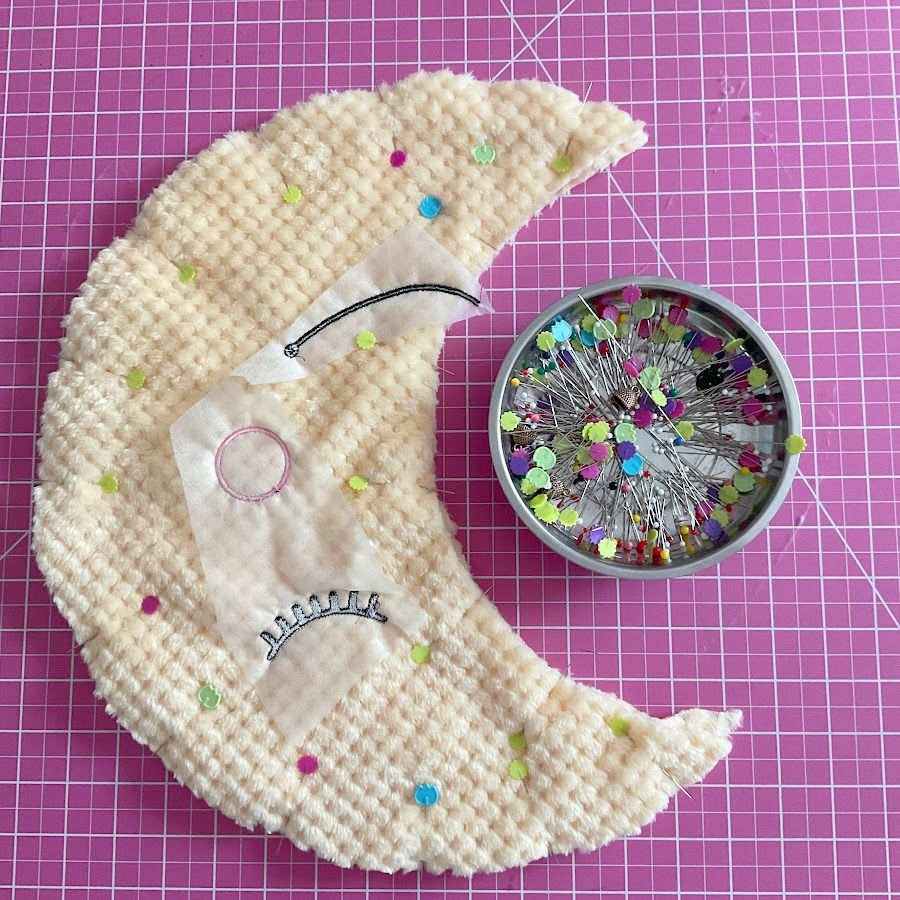
Sew around the edge with a 3 mm stitch length and strong matching thread. Leave an opening about 3 inches (7–8 cm) for turning and stuffing.
If your machine struggles with thick pile fabrics, try using a roller foot, walking foot, or dual feed foot. Test on a scrap first and adjust tension if needed.
✅ Related tutorials:
How to use a walking foot
Presser foot guide: what is a Rotary Even Foot and how to use it
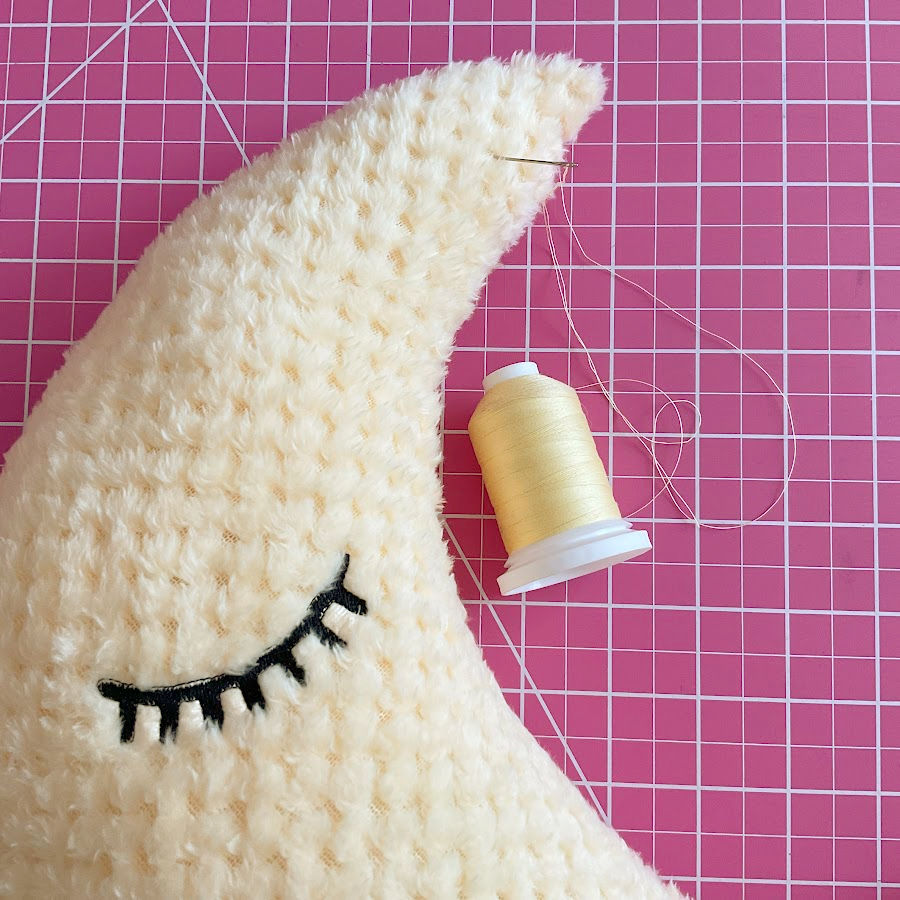
Please ignore the difference in color in the image below; I am a sewist, not a professional photographer! This is an actual photo taken while sewing the moon toy.
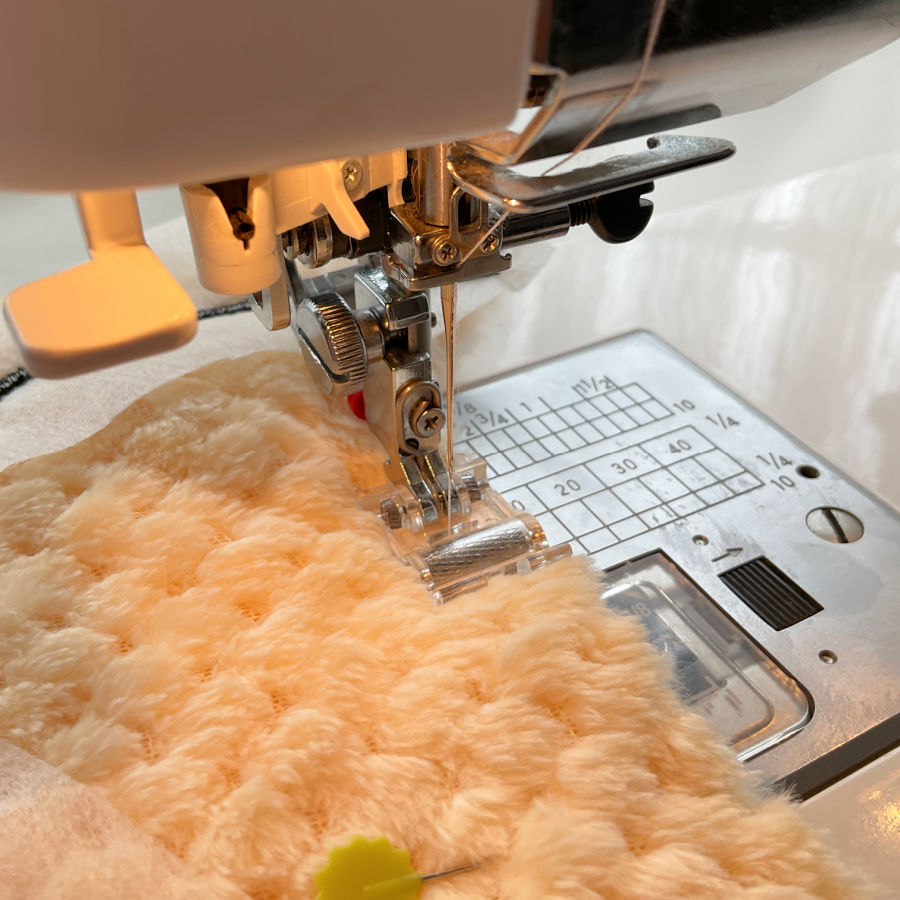
I started sewing the moon with my dual feed foot (the built in walking foot on my machine), which worked perfectly for the plush fabric.
But because not every machine has one, I tried a roller foot instead. It stitched through the soft pile just as smoothly, so you can use whichever you have.


The roller foot glides smoothly over thick or textured materials without stretching or dragging the pile. If you’ve never tried it before, you can read my detailed guide, Must-Have Presser Foot for Sewing Challenging Fabrics: The Roller Foot, where I explain how it works and why it’s one of my favorite tools for plush and faux fur projects.
Backstitch at both ends of the opening to secure it.
Step 5. Stuff the Moon
Turn the moon right side out. Use a blunt tool to push out the ends.
Now it’s time to bring it to life. Fill the moon with small handfuls of stuffing at a time. Using smaller bits gives a smoother, more even shape without lumps.
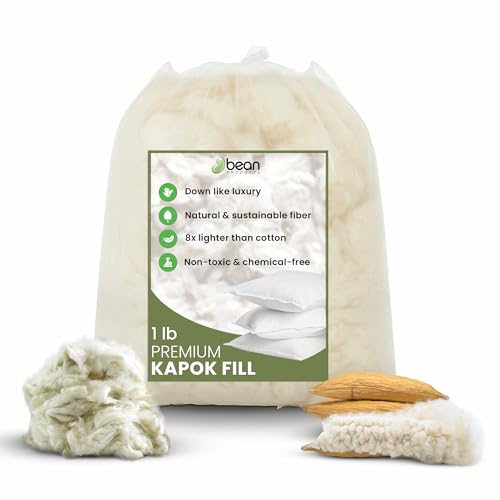
You can use polyester fiberfill or any soft toy filling you like. You can even use Kapok Fill, an organic, chemical free stuffing; however because i was in a hurry, I used the highly rated poly-fill which I already had. Avoid large chunks — they make the surface bumpy.

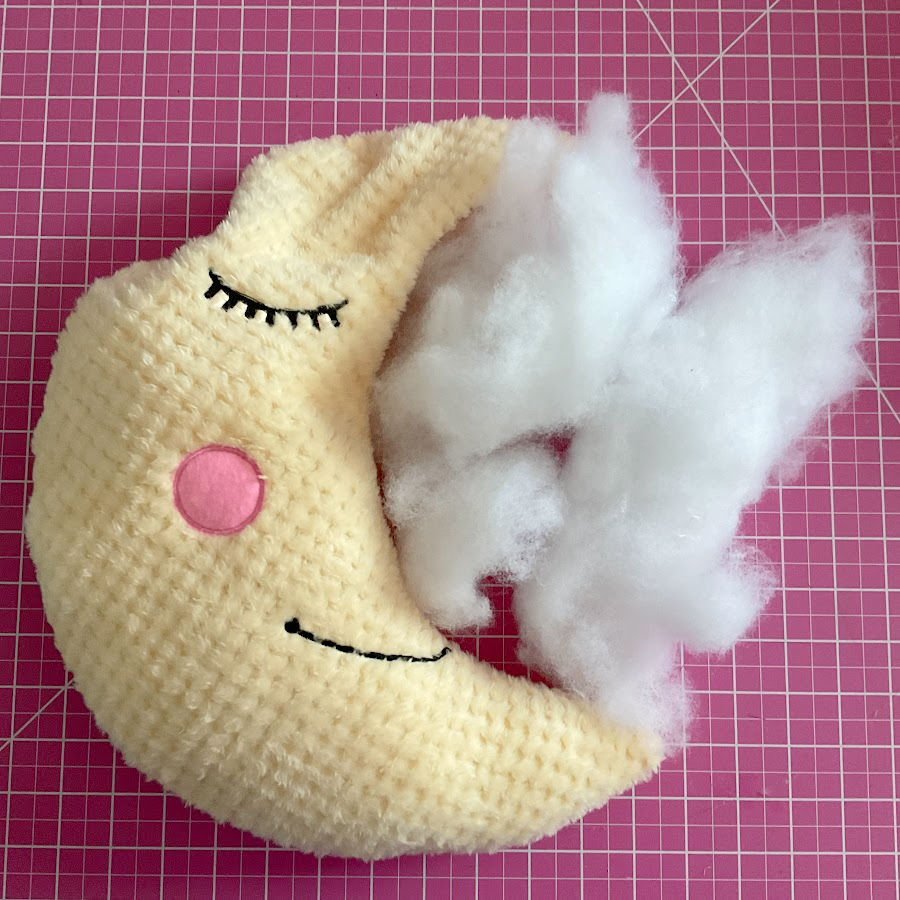
Keep checking the shape as you go. The moon should look plump and full but not stretched tight.
Step 6. Close the Opening
To finish, you’ll sew the opening by hand using the invisible ladder stitch (also known as slip stitch).
Here’s how:
- Thread a needle with strong matching thread and knot the end.
- Fold the raw edges of the fabric inward.
- Insert the needle under one folded edge and then into the opposite side, alternating sides in a ladder pattern.
- Gently pull the thread to close the seam — the stitches will disappear into the plush.
I have a full tutorial showing this technique step-by-step — Invisible Stitch Tutorial: How To Fix A Tear (+ Sewing “Blind” Hems). It’s one of the most useful hand stitches to know for toy making.
The Finished Moon Toy
And there it is — your soft, squishy handmade plushie moon. It’s so cute, even I like it!
This little project is quick and deeply satisfying. It’s super easy to make, and it’s also a lovely handmade gift for children and makes a cute nursery decoration too.
If your toddler falls in love with it (like mine did), don’t be surprised if it becomes their new bedtime companion!
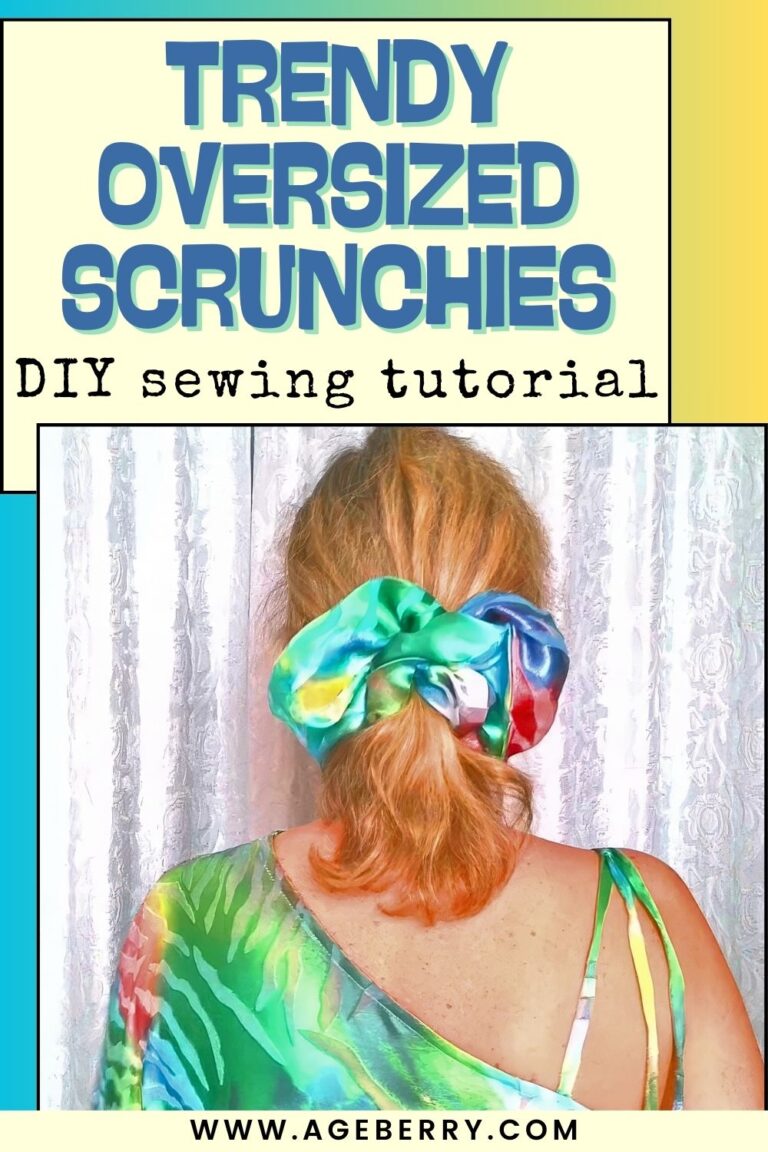
Did you like this moon plushie tutorial? I hope it inspired you to sew a soft little moon for a child — maybe your own or someone dear to you. If you’d like to make it later, save this pin to your sewing board on Pinterest so it’s easy to find. You can also follow me on Pinterest for more sewing tutorials, tips, and creative fabric projects.
latest posts
- What Do You Call a Person Who Sews? I Asked My Readers and Got 1,408 Opinions
- DIY Round Purse: PDF Sewing Pattern and Detailed Instructions
- Mini Wonder Clips By Clover: Useful Sewing Tool Or Just Another Notion?
- Non-Slip Grips For Quilting Rulers: A Small Notion With A Useful Job
- Fabric Eraser for Sewing: What It Removes and When to Use It
- What Is The Best Thread For Sewing Machine Projects? Let’s Find Out!
- Butterfly Quilt Block Tutorial – Foundation Paper Piecing
- How To Sew Quilt Squares So The Corners Match
- Sewing With Fork Pins: How They Help With Pattern Matching, Slippery Fabric, And Seams