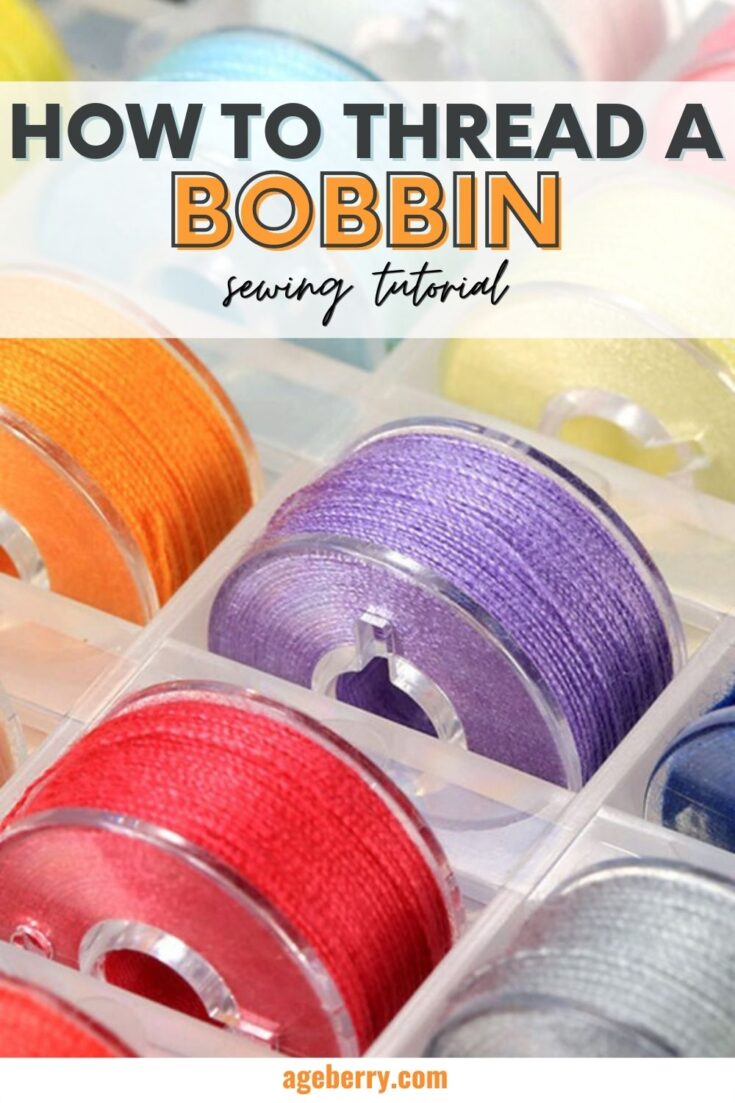
How to thread a bobbin
A regular sewing machine uses two interlocking threads to make a seam; one is the needle thread, threaded through the needle, and the other one is hidden under the needle plate: the bobbin thread. This article will deal with threading the bobbin, an accessory so small nevertheless an essential in all home sewing machines.
Table of contents
How to thread a bobbin (how to wind a bobbin)
Winding a bobbin step-by-step
What can go wrong when you are filling a bobbin
Putting a bobbin in a sewing machine (How to insert a bobbin in a sewing machine)
Pulling up the bobbin thread (or how to get bobbin thread up through the machine)
How to wind a bobbin by hand (and why to do that)
Bobbin size chart
How much thread does a bobbin hold?
How many bobbins do you really need?
Prewound bobbins
Bobbin runs out of thread
Nice-to-have gadgets and tools to make your life easier
Does bobbin thread need to match
Note: Some of the links on this page are affiliate links. This means I will receive a commission if you order a product through one of my links. I only recommend products I believe in and use myself.
How to thread/wind a bobbin
A bobbin is a very important part of a sewing machine on which the lower thread is wound. Let’s see what the dictionary says: “The machine makes a stitch by catching the bottom thread, from the bobbin, with the top thread, from the needle”. Simple, right? And all happens under the cover!
What this does not tell you is that the bobbin is essential and winding it correctly can save you a lot of grief. Nobody talks about winding spools of thread, after all, they are properly wound in the factory. The bobbins, most of the time, we need to wind ourselves, and there is a lot that can go wrong.
Do you prefer a video tutorial? Check out the following short video (~15 minutes) on the Ageberry YouTube channel (and make sure to subscribe!)

Winding a bobbin step-by-step
Threading a bobbin or winding a bobbin is a quick and easy job when you know what you are doing. Follow the directions in this tutorial if you want to know how to fill a bobbin.
Start with an empty bobbin. Don’t wind one color over another color. Always wind the bobbin before threading the machine.
Place a spool of thread on a spool pin. Attach a spool cap (they are usually coming with a sewing machine in an accessories box).

Pass the thread from the spool through the thread guide and through the bobbin winding tension disk.
Pass thread end, from inside, through the small hole in the rim of the bobbin. Place the bobbin onto the bobbin winder pin.
Lock your bobbin winder. This will stop the sewing machine needle from moving.

Hold the free end of the thread in your hand and start the machine.
Stop the machine when it has wound several layers and cut the thread very close to the hole in the bobbin. Start the machine again. When the bobbin is fully wound most sewing machines will stop automatically. I usually fill up my bobbin each time I wind it because I don’t want to run out of thread too often. Most machines do not fill the bobbin right to the edges of the sides of the bobbin.
But if your machine doesn’t stop on its own you have to do that manually, don’t wind the bobbin so full that it’s tight and difficult to insert in the bobbin case.
You will notice that I use my sewing machine to wind the bobbins; my main sewing machine is a Janome 6600P which is not very cheap so I am trying to save it as much as I can. For this reason, I also have a separate (and relatively cheap) bobbin winder which, while not perfect, allows me to spare my beloved machine.
There are many bobbin winders, I am using something similar to the one in the image. While not perfect, it does the job.


Cut the thread and remove the bobbin from the bobbin winder pin.
Check your sewing machine manual for specifics on operating your model, since different machines may work a bit differently.
What can go wrong when you are filling a bobbin
Even if threading a bobbin is a simple process something can go wrong but here are some general tips:
Use only bobbins specific to your sewing machine, read more about bobbin sizes and shapes further in this guide.
If you cut the thread end when it’s not covered by a few layers of the thread it may unwind like in the video below. Always make sure that the thread is not going to unwind when you cut the thread tail. Sometimes I even put a few layers of thread on the bobbin by hand.

Sometimes a spool of thread may stop moving because the thread was tangled on the spool pin. In this case, untangle the thread and try turning the spool over.

If you see that the bobbin fills unevenly, check the placement of the thread around the bobbin tension disk. If it’s done correctly use your finger to help the thread move evenly.

Some spools have notches and sometimes the thread catches on the notch of the spool. Use spool holders in this case or turn the spool over. By the way, this tip is very valid for sewing also, you need to make sure the thread can come off the spool without snagging.

When you start filling the bobbin hold the thread tail firmly. Otherwise, the thread may unwind from the bobbin.

Putting a bobbin in a sewing machine (or how to insert a bobbin in a sewing machine)
Insertion of a bobbin may differ a bit depending on the make and the model of your sewing machine because there are two types of sewing machines: top-loading and front loading.
If you have a top-loading machine (as most modern machines are) follow these steps.
- Raise the needle to its highest position.
- Remove the bobbin cover plate by pushing the release button to the right. Bobbin cover will pop up sufficiently to allow you to remove the cover.
- Very important! – place the filled bobbin in the bobbin holder with the thread running off counterclockwise, otherwise, the bobbin can become unthreaded and cause sewing problems if it rotates clockwise.
- Guide the thread into a notch on the front of the bobbin holder.
- Draw the thread to the left, sliding it between the tension spring blades.
- With a finger held gently on top of the bobbin continue to draw the thread until it slips into the other notch. Make sure the thread does not slip out of position.
- The bobbin should turn counterclockwise when pulling the bobbin thread.
- Pull out about 3-4 inches of thread and lead it towards the back of the machine under the presser foot.
Keep lint out of the bobbin area. Lint and broken or frayed pieces of thread accumulate in the bobbin area can cause problems for your machine.

How to get bobbin thread up through the machine (pulling up the bobbin thread)
Now, let’s pull up your bobbin thread.
Most of the time it’s necessary to pull up the bobbin thread for sewing.
Raise the needle. Raise the presser foot. Hold the needle thread with your fingers and press up/down needle button twice to pick up the bobbin thread or turn your machine handwheel towards you (never turn the handwheel away from you) lowering, then raising the needle.
Gently pull the needle thread to bring up a loop of the bobbin thread. Using the tip of a narrow object like a pencil or scissors, pull the loop up and then bring both threads to the back under the presser foot toward the back of the machine.

How to wind a bobbin by hand (and why)
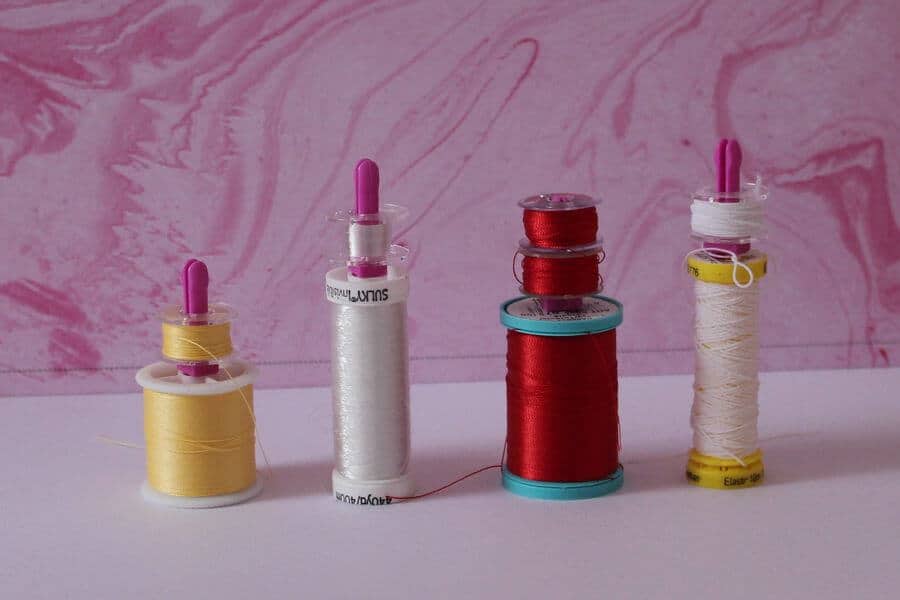
In some cases, we will have to wind a bobbin by hand. It happens when we want to sew with elastic thread (to do shirring for example), invisible thread (to sew a blind hem, for example), or thick thread – yarn, ribbon, embroidery floss (for a bobbinwork). You can purchase spools of these threads right here (other colors are available of course).


Hand-winding a bobbin is not complicated at all but It takes a bit of practice.
Insert one end of the thread into the small hole in the bobbin and hold this thread tail so it doesn’t slip back out when you start to wind the bobbin. Begin winding the thread into the bobbin.
Use firm even tension to wrap the thread trying not to twist the thread. Be sure to go back and forth across the bobbin in order to get an even amount of thread. Try to evenly wind the bobbin without a glob in the center or tapered ends.
Do not overfill the bobbin. Too much thread on the bobbin prevents it from moving correctly in the bobbin case. If you keep loading your bobbin past the sides, then the thread will slide off and unwind.
Once you’ve finished winding the bobbin, cut off the small thread tail. Then properly load the bobbin into your sewing machine.

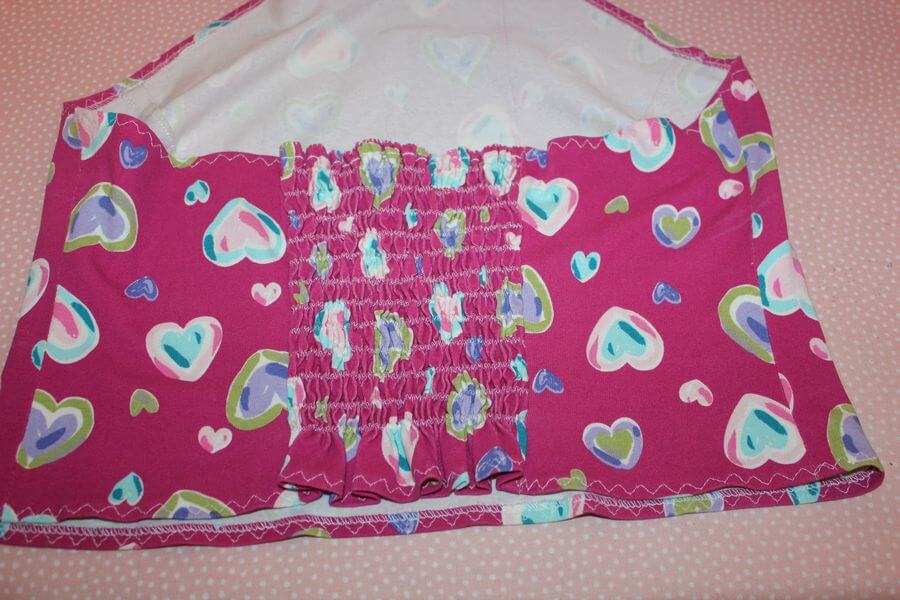
I like to sew with elastic thread. Below you can see one of my creations made with elastic thread – a simple halter neck knit top.

Bobbin size chart
There are many different types and shapes of bobbins even if they look pretty much the same. This is the case when one size does not fit all.
Here is a very useful infographic from this guide https://www.sewingpartsonline.com/blog/understanding-bobbins-every-sewist-know/. You will notice that the bobbin sizes do not vary by much, nevertheless, those fractions of a millimeter are very, very significant and usually, a bobbin made for one machine will not work well in another even if it seems to fit.

Do you really have the right bobbin? Double check with your sewing machine manual as to which bobbins are right for your machine.
The majority of modern sewing machines on the market now are compatible with an L-style or Class 15 bobbin. Some bobbins have top and bottom flat, others have top and bottom both curved. Some bobbins are shorter in height than others.
Use the correct bobbin in your machine. If you don’t use the right bobbin you will end up with problems and can actually damage your machine.
When you purchase bobbins, write down the make and model of your sewing machine and make sure you’re purchasing the exact same type of bobbins. If you bought extra bobbins for your sewing machine, double-check to make sure the bobbins are the correct type.
Have in mind that plastic bobbins and metal bobbins of the same size can NOT be swapped. For example, If your machine is made to use lighter plastic bobbins, the tension settings may change if a heavier metal bobbin is used.

How much thread does a bobbin hold?
The amount of thread that a bobbin holds varies a lot and it depends on the winding tension settings, thread weight, size, and the speed of the winder. I found information on this site https://www.superiorthreads.com/education-bobbin-capacity and they say that the bobbin holds from 40 to 100 yards of thread.
How many bobbins do you really need?
As for me I have more than 100 and feel like I always need MORE.
Prewound bobbins
Do you know that you can buy prewound bobbins? Like these below, two of my collection of prewound bobbin boxes. I use them mostly for embroidery but there are bobbins preloaded with regular thread too.
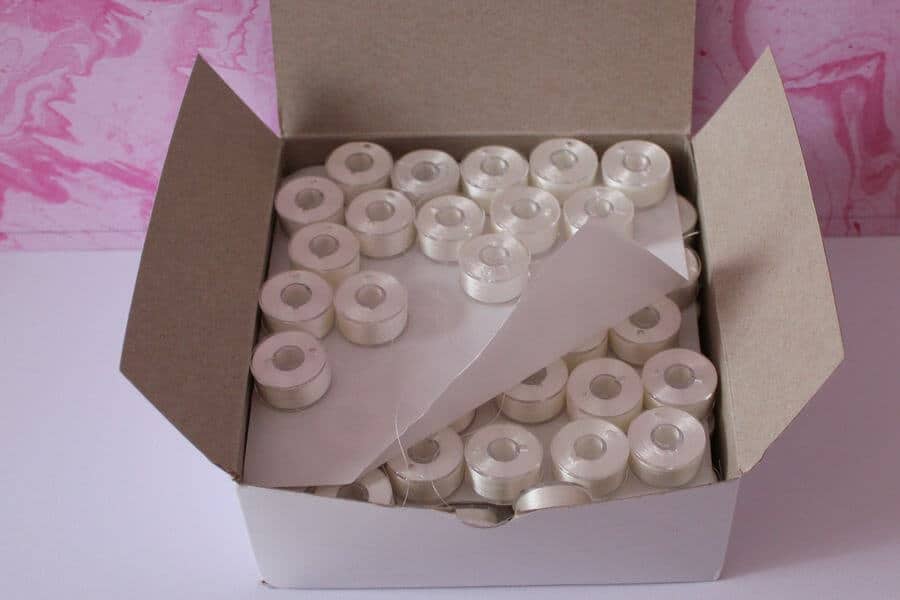
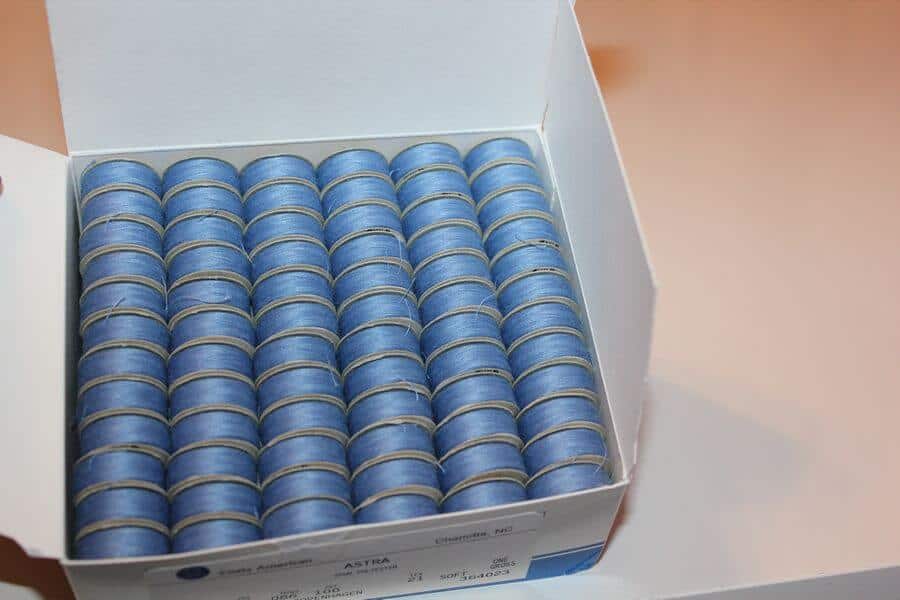
I have lots of pre-wound bobbins for my embroidery projects so I have fewer interruptions when I sew. This really makes it so easy, and for longer jobs is a big time saver. I simply pop a new prewound bobbin into the bobbin case when my bobbin runs out of thread, and during embroidery, one uses a lot of thread. They come in all colors, not only black and white.
I found some interesting comments on superiorthreads.com regarding these: they say that “in most cases, professionally-wound bobbins have more thread on them because of the precision machinery that is used to wind thread onto the bobbin core and the consistent tension that is applied throughout the winding process. Our precision-wound bobbins contain 30-50% more thread than a bobbin that has been wound on a home sewing machine.”
What’s interesting the empty bobbins cost as much or more than the prewound ones, and in some cases (not always) you can actually reuse the empty bobbins once the thread was used. So for colors that I use a lot, it makes actually sense to buy prewound bobbins.

Bobbin runs out of thread
Did you ever have an “out of bobbin experience”? Or better said, out of bobbin thread 🙂 experience!
It’s not a pleasant surprise AT ALL when you realize that the machine hasn’t actually sewn any stitches in almost a foot of fabric because the bobbin thread ran out. On a regular sewing machine, you can’t know for sure that the machine is running low on the bobbin thread. However, some modern embroidery machines can actually show you a message – “your bobbin is empty”.
The more you use your sewing machine, the better you will get about knowing how much thread was used for a project and how long one bobbin of thread will last.
Start every project with a full bobbin and fill a few bobbins for the project at once so that when your bobbin thread runs out you have another one ready. This is especially important if you are running out of bobbin thread in the middle of topstitching or when you are sewing leather. I keep spare bobbins on hand or prewound bobbins for all my sewing projects.
Nice-to-have gadgets and tools to make your life easier
In recent years so many new tools and gadgets were created to make sewing easier, more exciting, and fun.
I already mentioned prewound bobbins. They are especially helpful if you like machine embroidery.
But you have to buy prewound bobbins from a reputable seller because you need a good-quality thread that doesn’t break easily or feel lumpy. A poor quality thread can also cause sewing machine problems. Prewound bobbins are usually available in cotton and polyester fibers and in three styles: Class 15, L-style, and M-style (check the images above for styles of bobbins).
 Prewound Bobbin Thread Plastic Size A SA156 for Embroidery and Sewing Machine Cottonized Soft Feel Polyester Thread Sewing Thread")


")
Again, ALWAYS check the reputation of the manufacturer, not all threads are equal!
Another interesting invention – is these small gadgets called bobbin pegs. By the way, do you use Eloflex thread for sewing knits on a regular sewing machine? It’s stretchable! Read about it here: How to use Eloflex. I am mentioning Eloflex because this is how I started using the pegs, I had a bobbin wound with Eloflex and I did not want to lose it. Use a peg, job done!

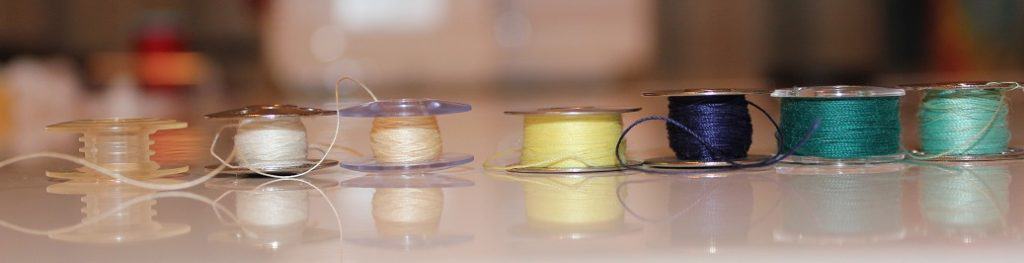
Pegs keep the thread spool and the matching bobbin together so you don’t lose bobbins or mix up similar colors. I have threads that are so close in color that it’s hard to see the difference, but with these pegs, I can keep the colors separated much easier. They seem quite durable. They can actually hold two bobbins at once.
I have shown you one type of peg, the ones that I have. There are multiple types, mine are quite old now. Sometimes they are called “bobbin buddies” but they perform the same function, and they perform it well: keep the bobbin together with the spool from which it has been filled, for further use.
")

Another common issue is that the thread can unwind from the bobbin (or from the spool, for that matter) when handled. I don’t like that of course, but I saw a solution to this problem also. How cool is that?
They are called bobbin clamps and when you think about how simple the idea is, you wonder why it is not more widespread. These simple but super functional thread holders will add organization and fun to your sewing room.


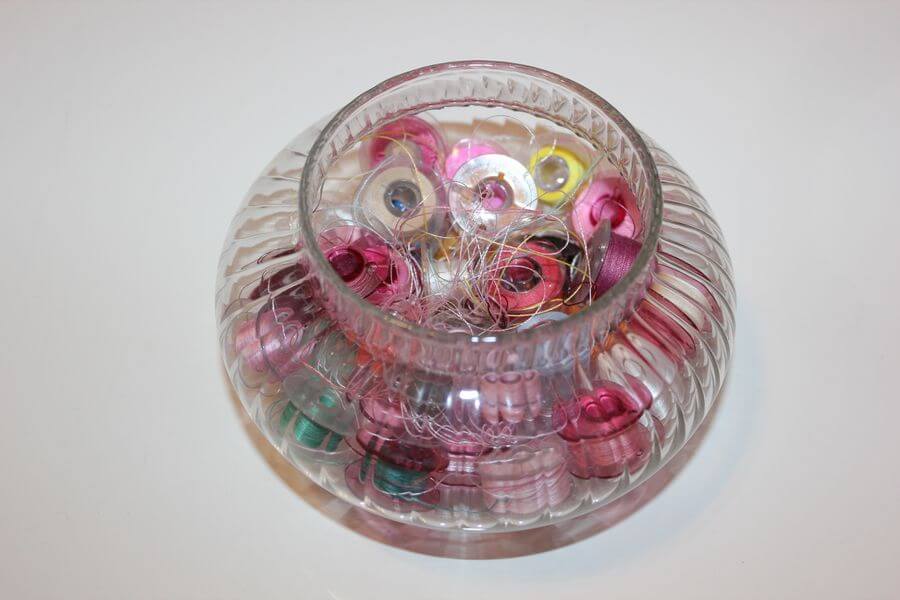
Bobbin cases are the next very useful thing indeed so you can easily switch from a tangled mess and loose ends to neat and organized threads. Below are two that I own, the round one is not really nice, it does not have individual locations and you can see the tangle of thread without the clamps!
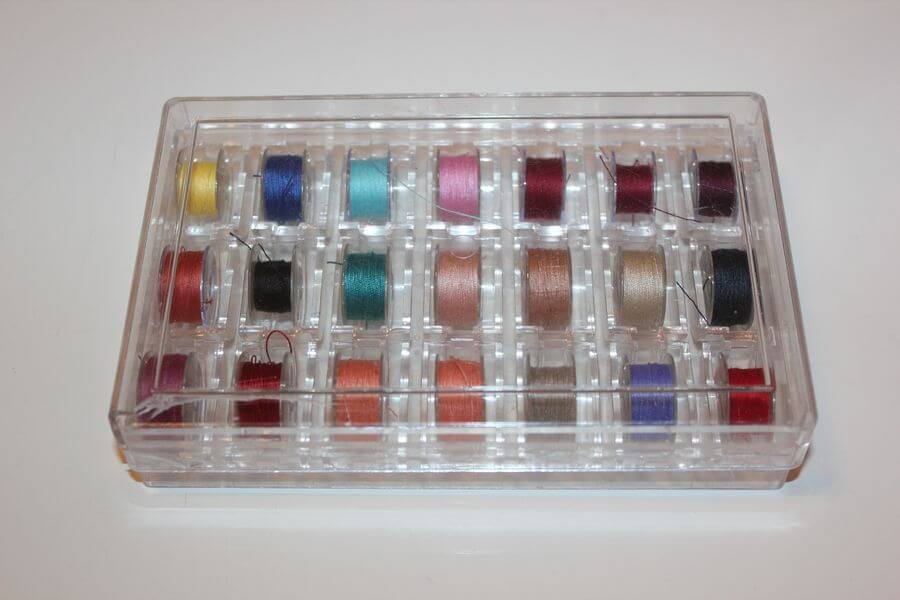
There are different types of bobbin organizers. I like the foam box the most. The bobbins fit tightly in the foam box and, if you turn the bobbins so that the loose end of the thread is facing the bottom of the slot, you won’t have any loose threads to tangle up.


")
Does the bobbin thread need to match?
Let’s first talk about a color match.
Usually when you sew you have to use the same color for the bobbin thread as you do for the needle thread to avoid problems. It’s also important for the thread to match the color of the right side of the fabric you use.
But it is not always necessary. If you decide to use a bobbin thread of different colors and can see the different color specks on the right side of your project then your stitch is not balanced. Do a sample, adjust the tension, and if the bobbin thread doesn’t show on the front, go for it.
For machine embroidery, this is a little different. We often use different color threads in the needle and in the bobbin. Embroiderers usually use white prewound thread in the bobbin but in some cases, threads have to match also (when doing free-standing lace embroidery, for example, or when you want your embroidery design to look the same on the front and on the back)
Now let’s talk about fiber match.
Usually, we use the same thread for convenience. But it’s not absolutely necessary to use identical thread in fiber and weight for needle thread and bobbin thread. It’s OK to use sometimes, for example, a heavier thread in the needle and a thinner thread in the bobbin, cotton thread on top and polyester thread on the bottom, metallic on top and polyester underneath, etc. Sometimes, when shirring, for example, you actually must use a different thread in the bobbin (elastic).
However, always adjust the tension settings for each project, and that depends on the thread also. Sometimes a big difference in thread weight may cause birdnesting.
Did you find this tutorial helpful? If so, save this pin (see below) on your sewing board so you can come to this tutorial later when you need to know how to thread a bobbin, and follow me on Pinterest for more tips, tutorials, and inspiration!

latest posts
- What Do You Call a Person Who Sews? I Asked My Readers and Got 1,408 Opinions
- DIY Round Purse: PDF Sewing Pattern and Detailed Instructions
- Mini Wonder Clips By Clover: Useful Sewing Tool Or Just Another Notion?
- Non-Slip Grips For Quilting Rulers: A Small Notion With A Useful Job
- Fabric Eraser for Sewing: What It Removes and When to Use It
- What Is The Best Thread For Sewing Machine Projects? Let’s Find Out!
- Butterfly Quilt Block Tutorial – Foundation Paper Piecing
- How To Sew Quilt Squares So The Corners Match
- Sewing With Fork Pins: How They Help With Pattern Matching, Slippery Fabric, And Seams