In this sewing tutorial, I will show you how to sew a dress without a pattern.
Do you want a new dress? Of course, you want. Who doesn’t? Why would I even ask? Well, you can sew one yourself even if till now all sewing you have done was putting on a button. I encourage you to give it a try. Not only it is fun, but it is also very easy. I guarantee that you will spend less time sewing it than going shopping for a new dress.
So, we are going to make something like these dresses below.
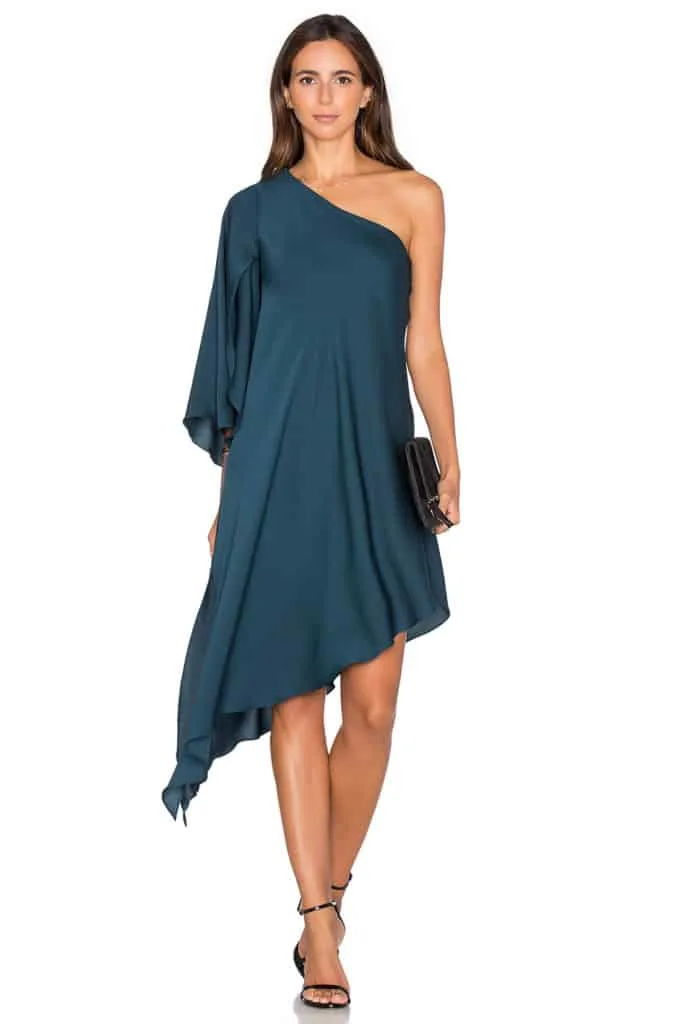


And images below show what dress we are going to make and how the dress looks on me (I am not a model obviously). I just want you to see what a piece of nice fabric and skillful hands can do.
Being comfortable and grabbing attention at the same time is no problem in this fluid one-shoulder dress with an asymmetrical hem. The loose fit and abstract pattern make it ideal for all figure types. I made it from airy high-quality pure silk fabric. The fabric is a work of art itself. My aim was to find a pattern that corresponds to the beauty of this fabric. I love finding new and interesting ways in sewing clothes. In our busy lives, we are always after maximum effect for a minimum of work.
You only need to sew a few seams and your new dress will be ready in a flash.
Team it with high-heeled shoes for an elegant party outfit or with flats for a stroll through the town. I think you agree that the dress looks wonderfully feminine.
Make sure that you have all you need to complete the sewing of this dress and read through the instructions BEFORE you start so you have a clear understanding of what is going to happen.
Materials
So, for this project, you will need
- 1.5 m (about 60″, or just under 1 3/4 yards) of fabric (see recommended fabric below)
- Thread matching fabric color and thickness (100% silk or Eloflex thread are ideal). Check out my article “How to use Eloflex” if you decide to use stretchable thread.
- Sewing machine needle size 80/12
- Contrast threads for basting
- Sewing pins for silk fabric (very thin and sharp)
- Some small washbowl for pre-washing the fabric
- Sewing scissors
- Ruler and measuring tape
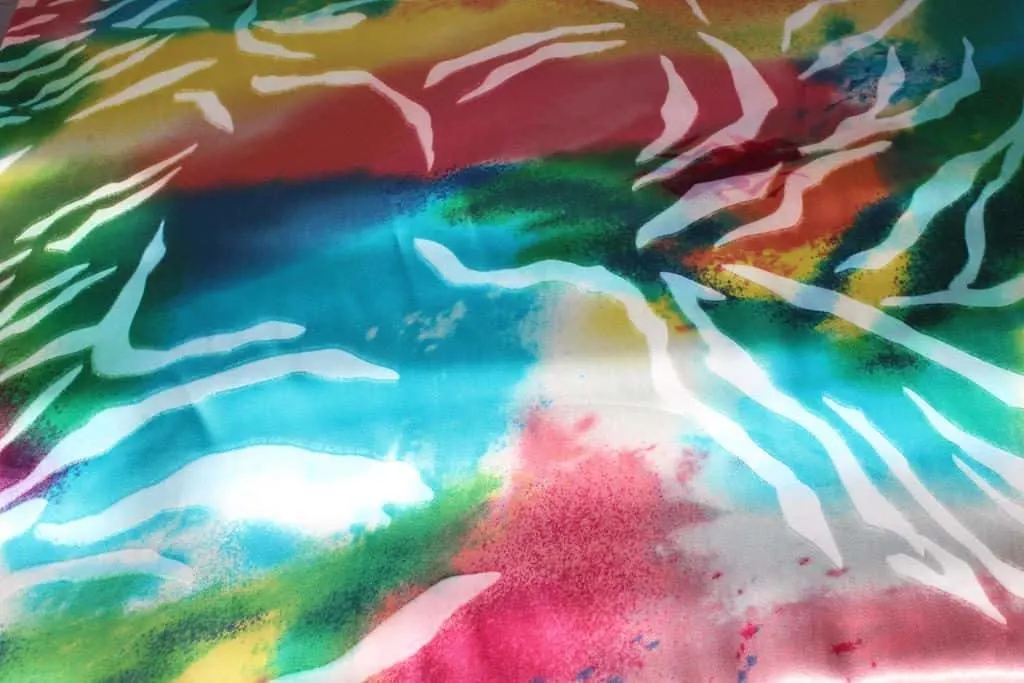
Recommended fabric: lightweight woven fabric – silk charmeuse, silk chiffon, silk georgette, or stable silk or cotton jersey (but not very stretchy), have in mind that fabric with stripes and lines are not suitable. The fabric I chose for my project has indeed a very nice multi-color pattern with a very nice shine to it.
Note: Some of the links on this page are affiliate links. This means I will receive a commission if you order a product through one of my links. I only recommend products I believe in and use myself.
Prepare the fabric before cutting it.
I highly advise you to pre-wash the entire piece of silk fabric before cutting it. Don’t use your washing machine, most silk fabrics have to be hand washed. Of course, there are exceptions. Read my tutorial on how to wash (and pre-wash) silk.
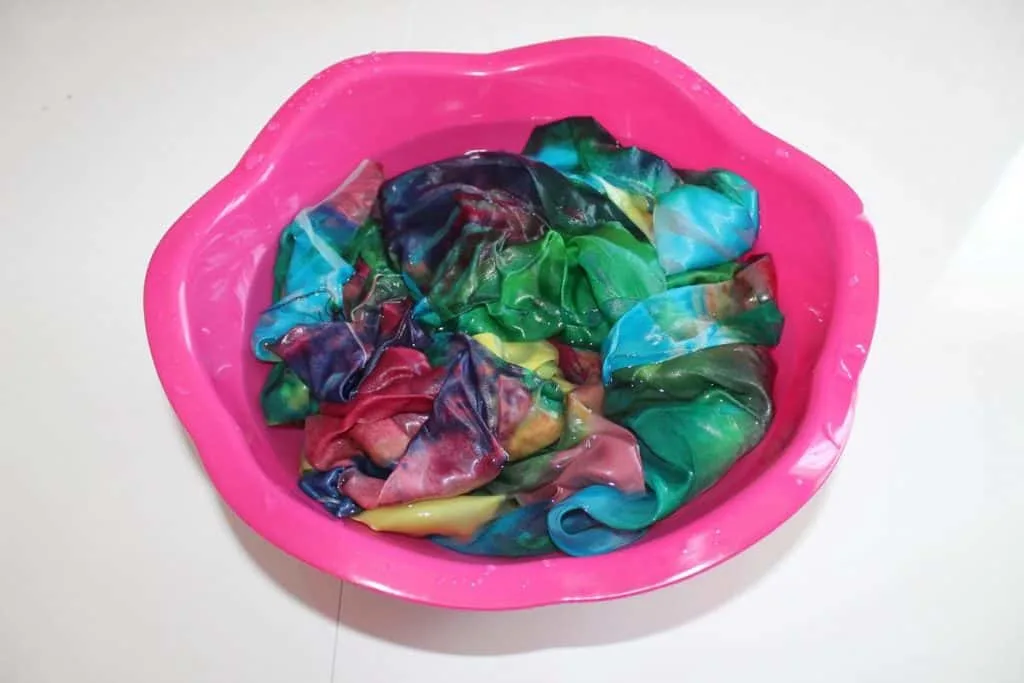
- Fill a container with lukewarm water (30-35 °C, 86-95 °F). You can add to the water a few tablespoons of distilled white vinegar or a few drops of a hair conditioner.
- Gently push your fabric into the water and move it around a little so all the fabric is soaked.
- Let it sit for 5 minutes or so.
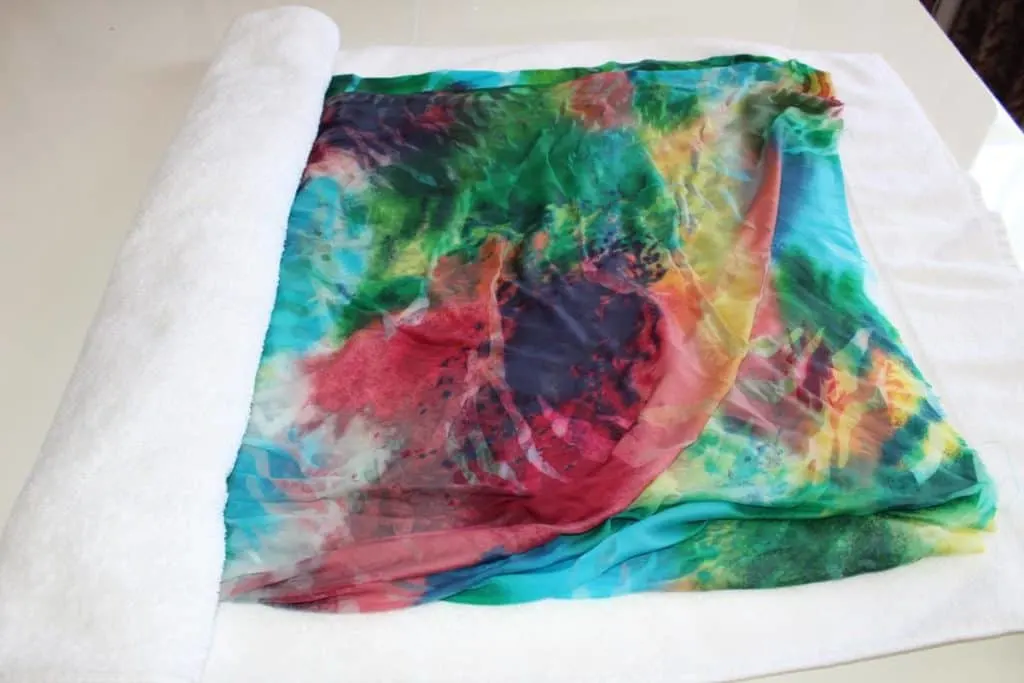
- Drain water, gently squeeze the fabric, put it on a towel, and roll it up to remove water.
- Air-dry it, but not fully, it has to be a little damp. Don’t place it to dry in direct sunlight or near heating elements. Machine drying is not recommended.
- Iron on low (while it is still damp) without steam on the wrong side of the fabric.
Ironing silk is always delicate work. Test your iron first on a small side piece of fabric. Don’t slide the iron over the silk, or it may stretch the fabric or put it off-grain. Usually, irons have special settings for silk but I found that the temperature of this setting is really very low. So I iron my silk fabric on a wool setting and never burned even sheer chiffon. I have to say this again: always test first!
Make sure the piece of fabric is straight before cutting and square it if necessary; please refer to my tutorial “How to cut fabric perfectly straight”. Another article you may find useful, given the material we are using, is “How to cut chiffon”.
Taking Measurements
Take only 3 of your body measurements and write them down on a piece of paper
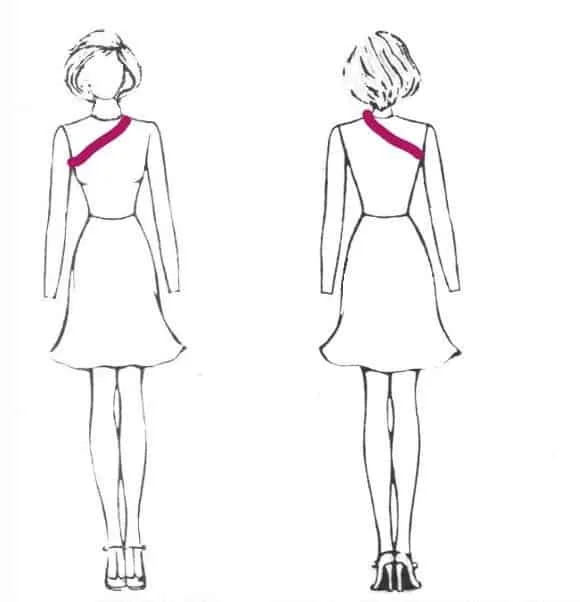
Side-to-shoulder measurement
Using a flexible measuring tape, start under the left armpit, go up to your right side neck point, wrap it around the neck and go back to the armpit ( on the backside ); basically, this is a loop around your left shoulder. Horizontally the armpit point is located at the side seam, so it splits the front and back. And vertically it is located about a half-inch to an inch under the armpit. You don’t want to measure it too low.
Bust
Fit the measuring tape around your body below the arm over the fullest part of the bust. Check out my tutorial “How to take body measurements for sewing“
Length
Dress length at its shortest point depends on your height and body proportions but I suggest choosing between 50cm and 55cm (or 20in and 22in). Measure from the armpit down.
Cutting out
You don’t need to make a paper pattern. We will draw some lines right on the fabric and cut them.
Step 1
First cut a rectangle from the fabric.
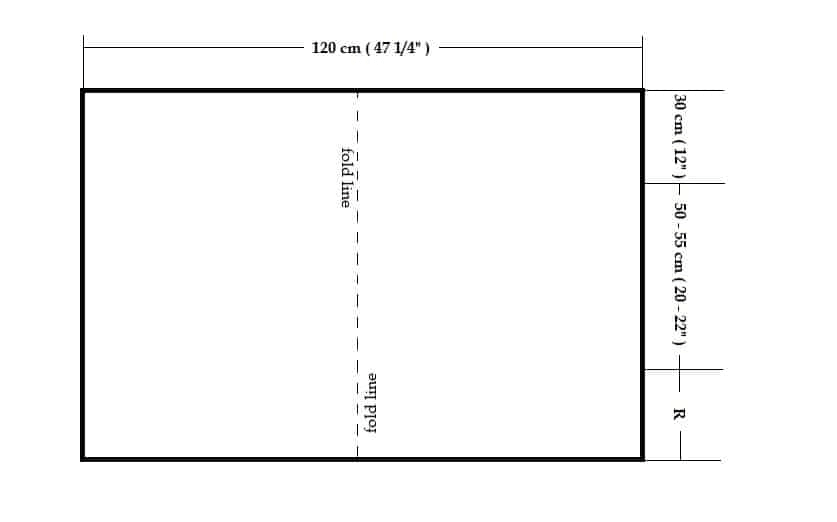
The length of the rectangle is 120 cm (or 47 ¼ in) for all sizes.
The width has to be calculated. We have to calculate the radius for the neckline according to this formula:
R = side to shoulder measurement taken in step 1 divided by π (π = 3.14) minus 3 cm.
So, the width of your rectangle should be like this
R plus length of your dress 50–55cm (it depends on your height) plus 30cm (this 30cm should be added for all sizes)
Or if you like it in inches R plus 20-22 in plus 12 in (12 in should be added for all sizes)
So, in my case, the width is 105 cm (yours should be somewhere around this number too)
You have to cut the fabric very straight and precisely following the grain; I suggest using the “pull out the thread” method to do it. If you are not sure how to do it check my tutorial “How to cut fabric perfectly straight”.
Step 2
Fold the fabric in half crosswise right side and put it on the table as shown in this image.
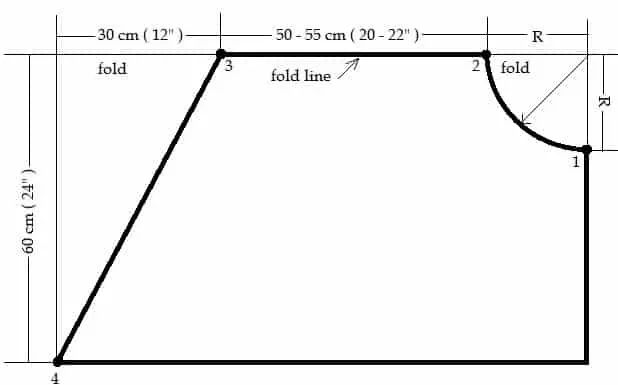
In the upper right corner draw a curve line between points 1 and 2 with the R (radius you calculated according to your measurement).
From the upper left corner measure 30 cm (12 in) to the right (point 3) and connect this point with point 4 in the down left corner. These are your cutting lines (1 to 2 and 3 to 4)
Step 3
We have to draw one more line where you will make your side seam later on.
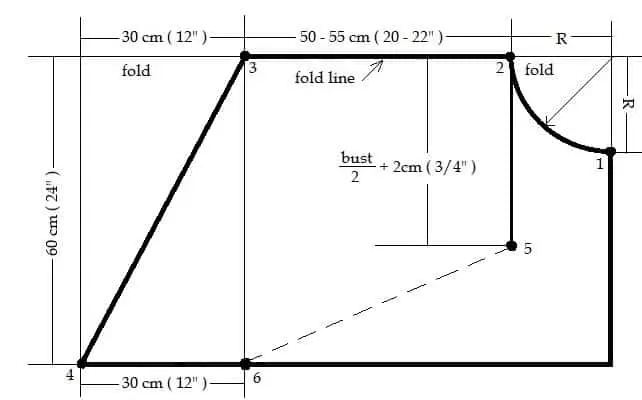
For this make a line from point 2 down perpendicular to the fold (point 5). The length of this line is equal to your bust length divided by 2 plus 2 cm (or 3/4 in)
Bust/2 + 2cm (3/4 in)
From the down left corner measure 30 cm (12 in) to the right and put point 6. Connect points 5 and 6 with a marker. This will be your side seam.
Now cut the fabric using very sharp scissors. You cut only lines 1 to 2 and 3 to 4.
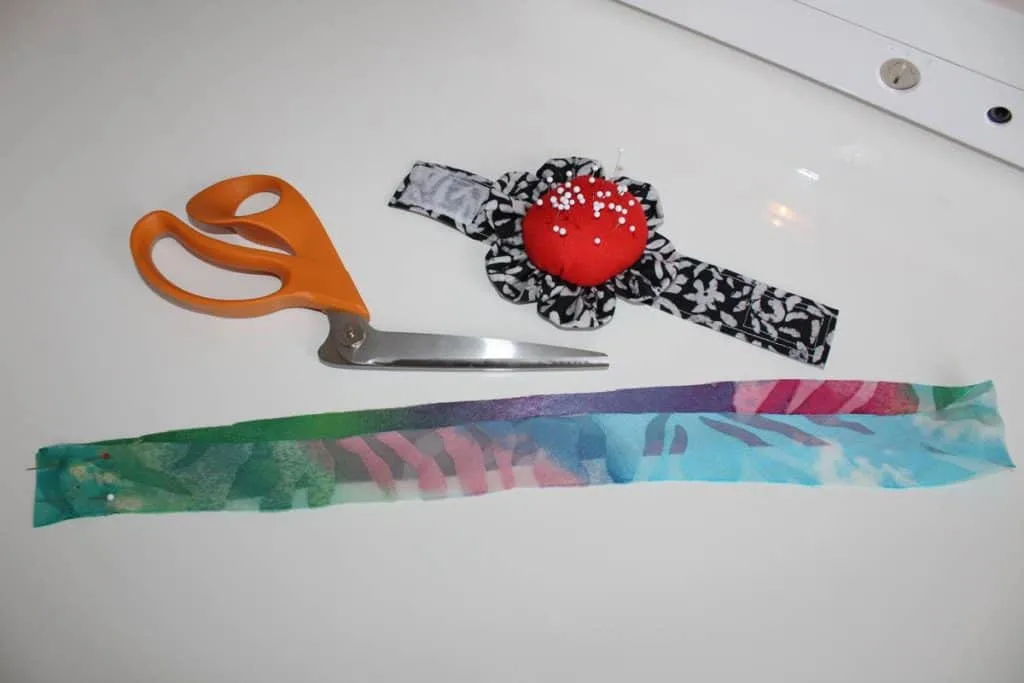
Cut also a bias strip for finishing the neck-shoulder edge. The length of the bias strip is equal your side to shoulder measurement (you took in step 1 above) minus 2-4 cm (if your fabric is very stretchy on the bias, then take 4 cm out, if it is not very stretchy, then take 2 cm out). The width of the bias strip is 4 cm (1 5/8 in) including an allowance of 1 cm (3/8 in)
Construction
1. Stitch shoulder seams, neaten them together with a zigzag stitch or a serger, and press to one side.
I buy both my 100% silk threads and Eloflex on Amazon, I found they usually have the best price and selection. My local stores seldom have either, if you live near a big city (like New York or Chicago) perhaps it’s different but for me, Amazon is the main source.
2. Make a narrow hem along all straight edges.
For this turn under and baste the raw edges (1 cm or 3/8 in) to the wrong side of the fabric, and press well.
Fold back another 1 cm (3/8 in) all around and baste with different color thread, so that the raw edge is enclosed. Press well again.
I am not using here this method but I have also made a “Narrow Hem Tutorial” that might be interesting to check out.
You may have a problem finishing the corners. I made a separate tutorial on how to finish corners “How to easily finish outside corners (especially acute)”.
Topstitch over the folded edges with a straight stitch setting of your sewing machine. Press.
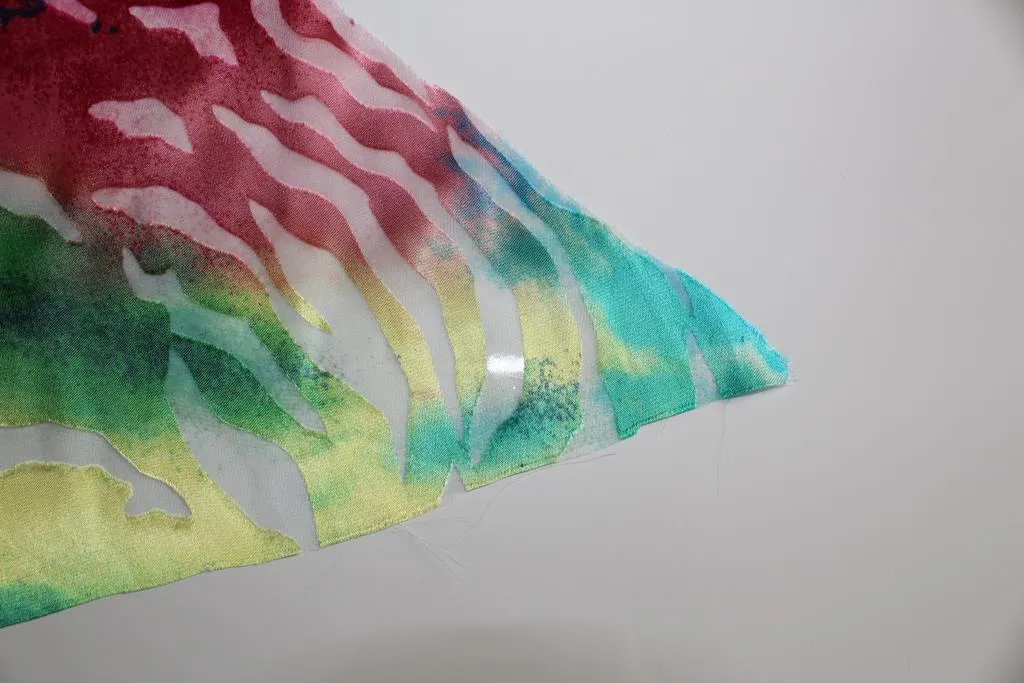
3. Turn the dress right side out and make the side seam over the marked line (the dashed line on the image below). You have to secure stitches very well both in the beginning and at the end of the seam.
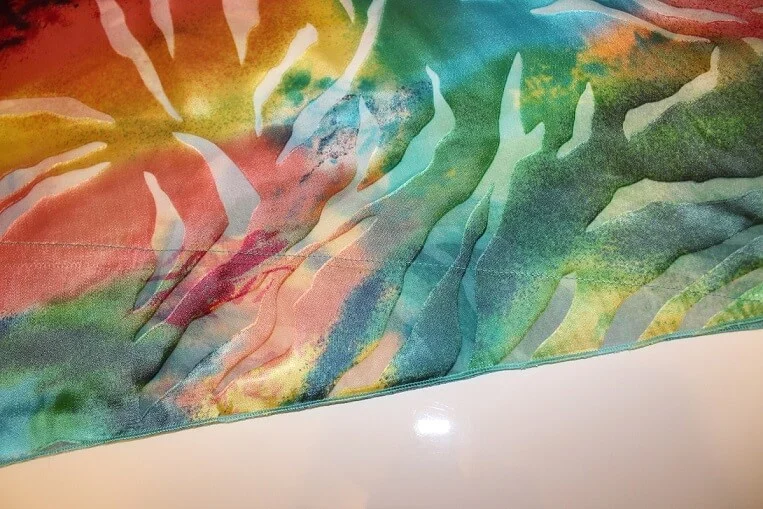
4. Now finish the neck-shoulder edge.
To achieve this, stitch both ends of the bias strip together, and press the seams open. Fold the bias strip lengthwise and press, the right side facing up. Pin folded bias strip to the garment edge. Make sure you don’t stretch the garment’s edge. Stitch 1 cm (3/8 in) from the edge. Trim seam allowances to a width of 5 mm (3/16 in). Turn strip to inside, baste it, topstitch 7 mm (1/4 in) from the edge, and press.
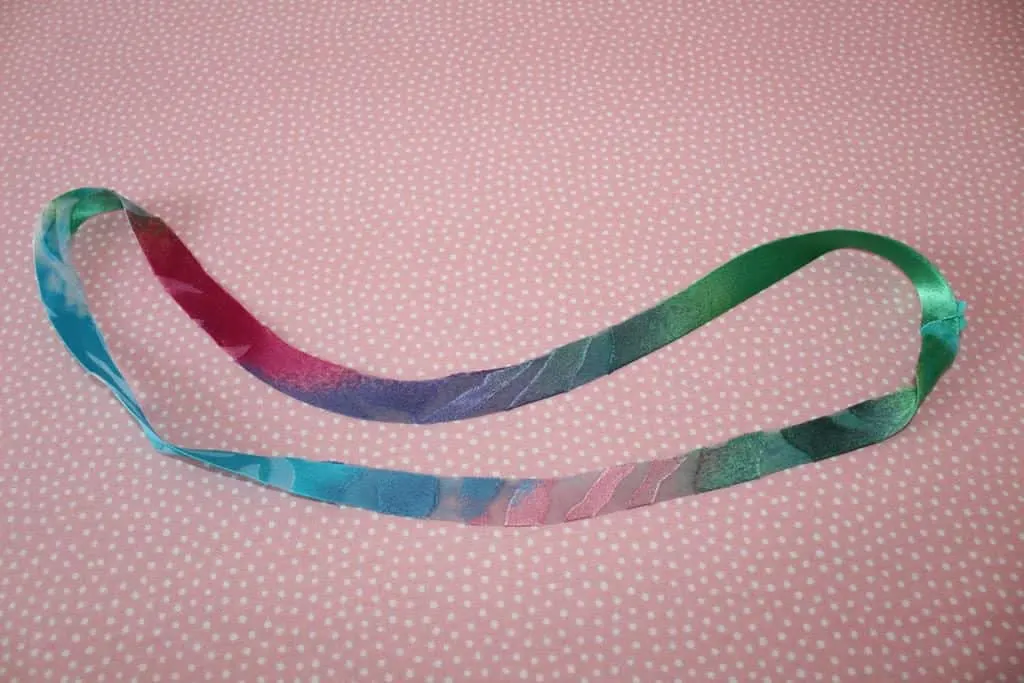
Your dress is now ready! Some images of the dress.


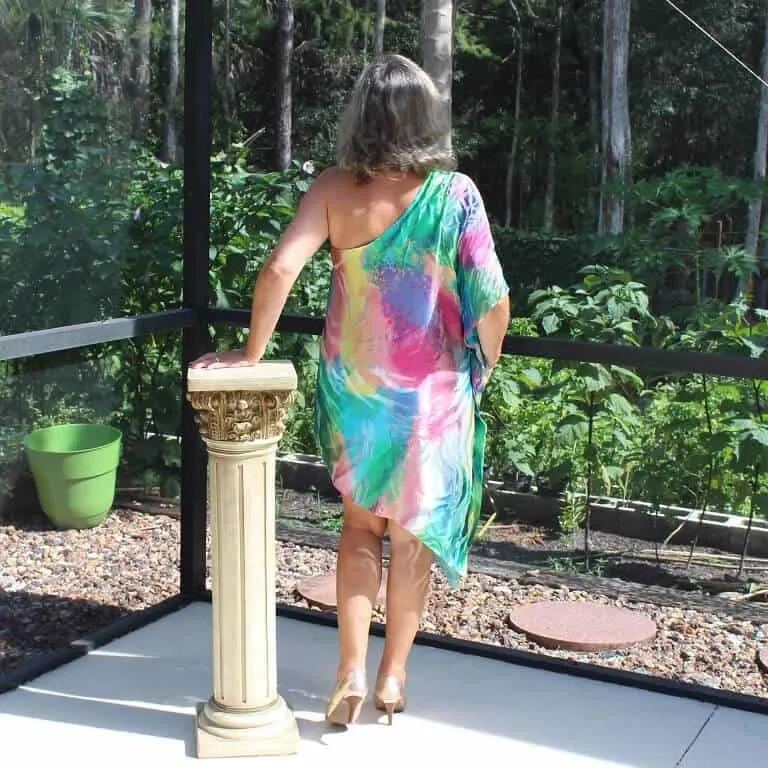
Did I inspire you to make the dress like this? Do you have any questions? Do you want to try to sew it yourself?
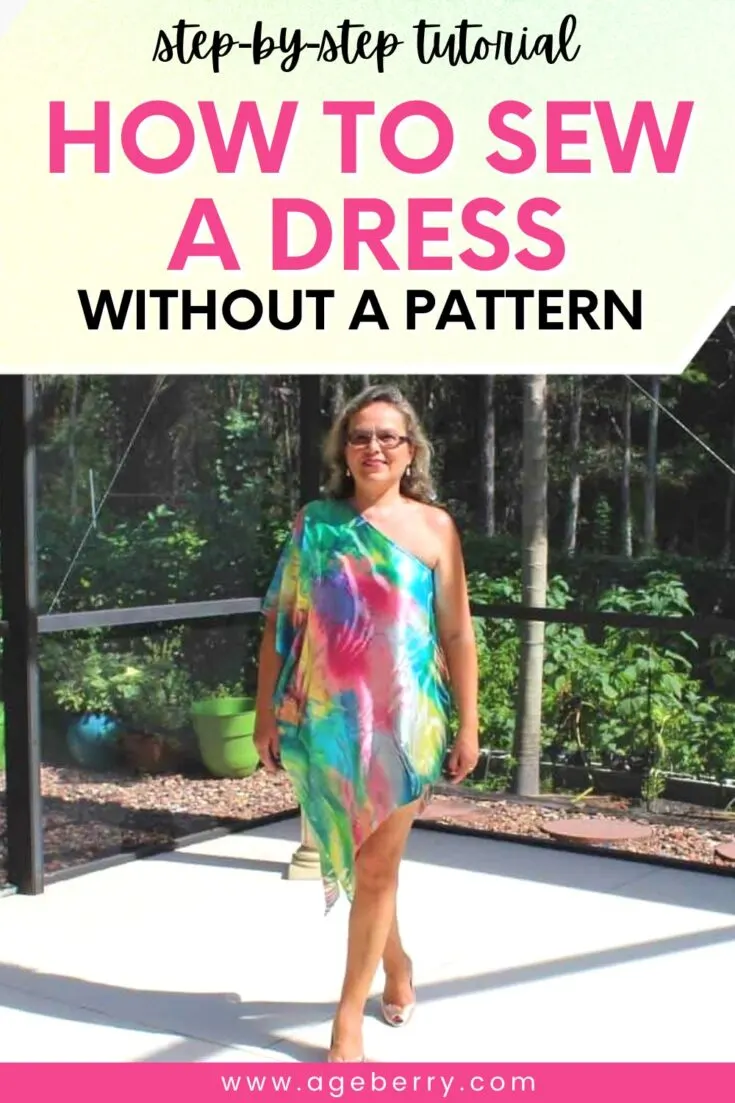
I hope you have found some helpful information in this sewing tutorial on how to sew a dress without a pattern. Want to remember this tutorial? Post this pin to your favorite Pinterest board so that you can find the instructions later.
Like sewing tips? I have other popular tutorials on my site that might be interesting for you. Check them out below.
latest posts
- Adorable DIY Needle Book | Easy Tutorial for Beginners
- Master the Seam Ripper: Your Ultimate Guide to Precision Stitch Removal
- Think You Know Zippers? This Installation Guide Might Surprise You
- Why Does Your Seam Ripper Have a Red Ball? Discover Its Purpose!
- Topstitching Troubles? This Simple Trick Will Turn It Around Instantly!
- How to Sew Shirring: A Step-by-Step Guide to Elastic Thread Gathering
- Are Self-Threading Needles Really Useful?
- Amazon Spring Sale: Best Choices
- Elevate Your Prom Look: A Guide to 10 Neckline Choices (2024)






Majo
Wednesday 20th of September 2023
Does this pattern work for a longer dress?
Olga Balasa
Sunday 15th of October 2023
Yes, it can be done, just add the length to the hem line which is the line 3-4.
Vicki
Wednesday 22nd of July 2020
Thank you for inch conversions, very much appreciated
Penny Watts
Friday 1st of February 2019
Cannot wait to make this to wear in Hawaii!!!
Olga Balasa
Wednesday 6th of February 2019
Oh, you are going to Hawaii! That's great! I am in Florida, but I hear that it's terribly cold all over the US right now so a trip to Hawaii would be wonderful. And this dress is very suitable for hot weather. Did you see my other dress that you can make in 30 minutes? Maybe try this also, here is the link https://www.ageberry.com/how-to-make-dress-easy/. And you will need a cover-up also - here is the tutorial https://www.ageberry.com/project/free-sewing-patterns-beach-dress/. I hope it helps. Have a great vacation!