
DIY Barbie doll clothes patterns free printable
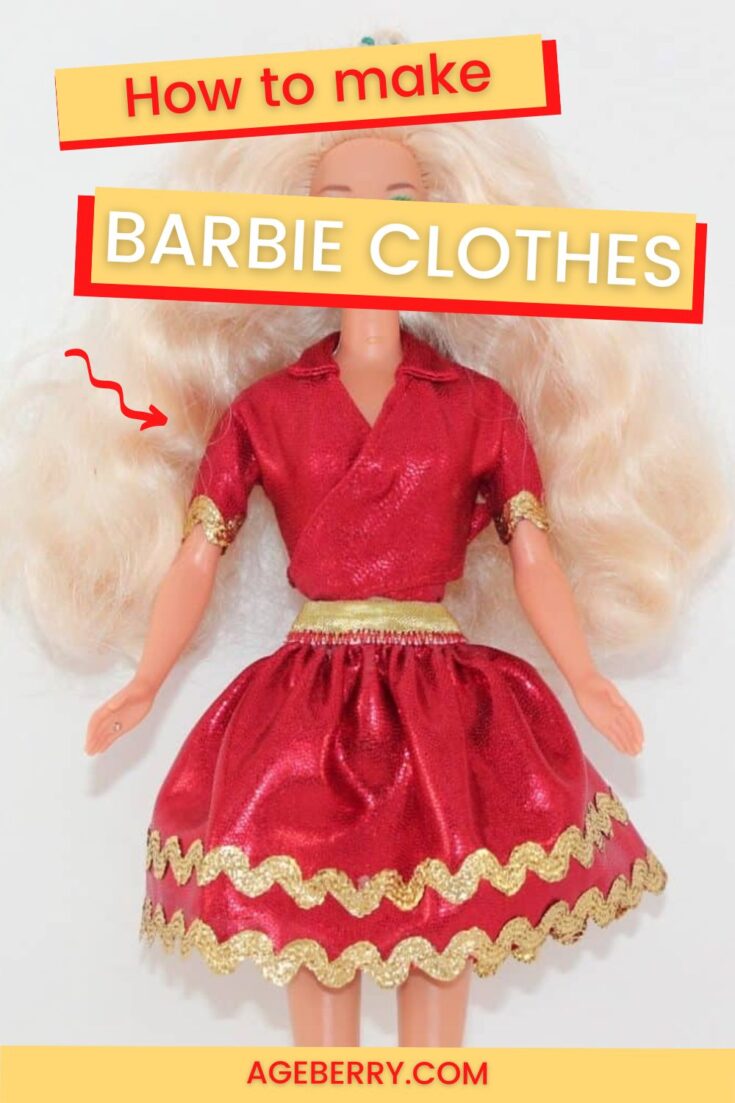
In this video sewing tutorial, I will show you how to make Barbie clothes ( a top and a skirt) easily using my free printable Barbie clothes patterns PDF.
If you are looking for creative things to do while staying at home you will like my idea of sewing clothes for Barbie.
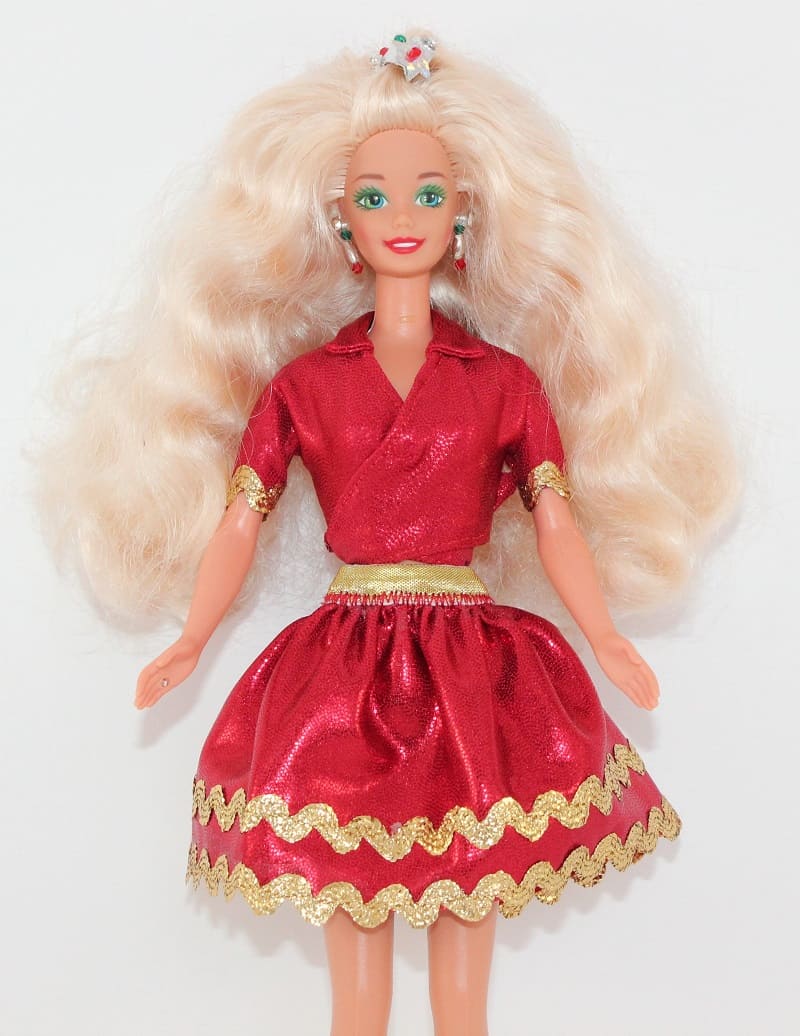
The top has kimono sleeves, a collar and can be tied at the front or back. The skirt is gathered around the waist. I tried to make the Barbie clothes patterns as simple as possible so even beginner sewists can make these cute DIY Barbie clothes without problems.
Note: Some of the links on this page are affiliate links. This means I will receive a commission if you order a product through one of my links. I only recommend products I believe in and use myself.
What you’ll need to make these Barbie clothes
Small piece of fabric (medium weight)
Sewing patterns are available for download by all subscribers to my newsletter on my resource library page. If you are not a subscriber yet, scroll down for a chance to subscribe.
Trims for embellishment
Fabric glue
Regular sewing notions
Barbie dolls are very popular toys among modern girls, and the most interesting part of the game is, of course, dressing them up.
I hope this tutorial on making Barbie clothes will be relevant, since it’s not always possible to find ready-made beautiful Barbie clothes in the store, and sometimes they are not cheap.
DIY Barbie clothes don’t look different from real-life clothes but making them can be much simpler and the amount of work is less of course.
I made free printable Barbie clothes patterns for the top and the skirt. If you are a subscriber to my newsletter, you can go to my resource library and download it. If not, you can use the form below to subscribe:
For these Barbie doll clothes, I decided to use spandex fabric. It doesn’t fray, which is a very big plus, you don’t need to finish raw edges because they don’t fray. It’s not flimsy and it keeps its shape very well but at the same time, it’s stretchy. They use this fabric in making costumes a lot. So I think this fabric is very suitable for making Barbie clothes. It also looks very pretty – kids like shiny and bright fabrics. You can read more about how to sew spandex in this tutorial
There is a large selection of such fabric on Amazon, some individual examples are below.
")
")

But obviously, spandex is not the only option here. You can use any medium-weight fabric that doesn’t fray. I think even quilting cotton will be good for this project.
Step 1
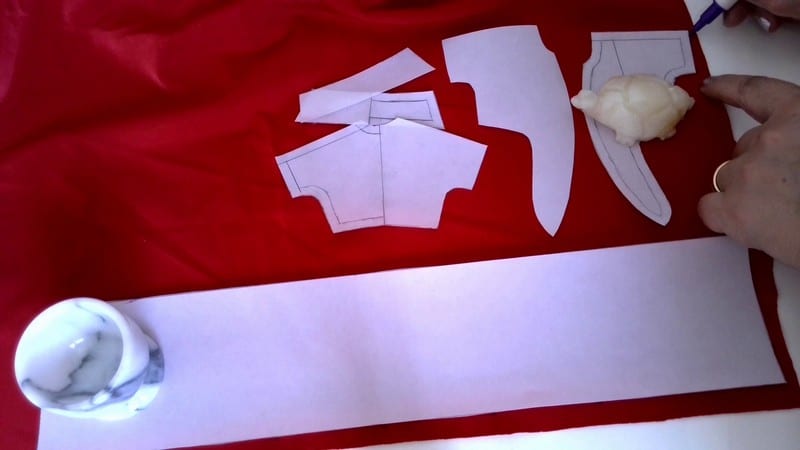
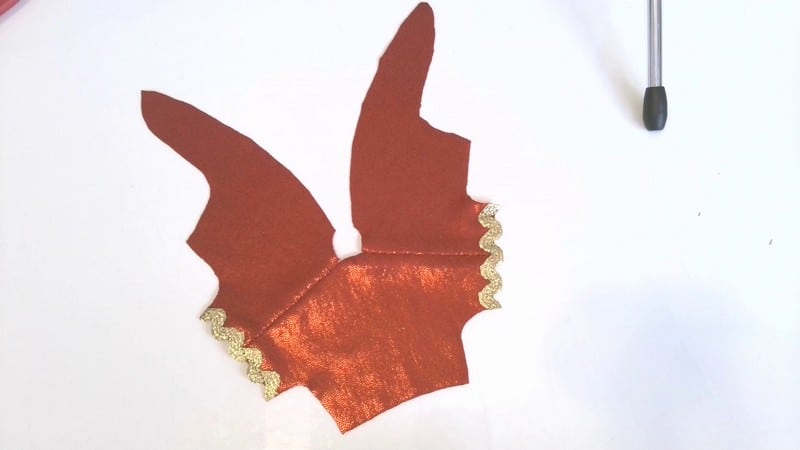
The first step is cutting the fabric using my free Barbie clothes patterns. I think it’s better not to cut on a fold in this case – the pattern pieces are very small so I made 2 front pieces left and right and two collar pieces.
I am using my stone figurines instead of pattern weights. Use your favorite fabric marker to draw around all pieces. Try to be precise as the pieces are small and even a few millimeters off can result in big differences.
Try to follow grainlines – on the pattern you can see the marked grainline. Place the pattern pieces with the grainline parallel to the fabric selvages.
Cut all pieces using good fabric scissors.
Or you can cut using Cricut. With a cutting machine, the cut will be much more accurate.
If you are a subscriber to my newsletter, you can find free SVG files for Cricut in my resource library.
If you are looking for a Barbie doll as a gift, I have it from a very reliable source that the ones below are “the best of the best” when it comes to princesses and fairies. This serious opinion comes from a very qualified 6 years old.


")
Step 2
Let’s sew the top now.
Prepare your sewing machine – change the needle, and choose the thread you are going to use. For my project, I used a ballpoint needle specially designed for knit fabric.
For my spandex fabric, I used Eloflex thread – it’s a very interesting thread, it’s strong and durable, but the main point is it’s stretchable! And you can use it in the bobbin of a regular sewing machine for sewing stretchy fabrics.
I have a review of this thread on my blog How to use Eloflex – an innovative stretchable sewing thread from Coats
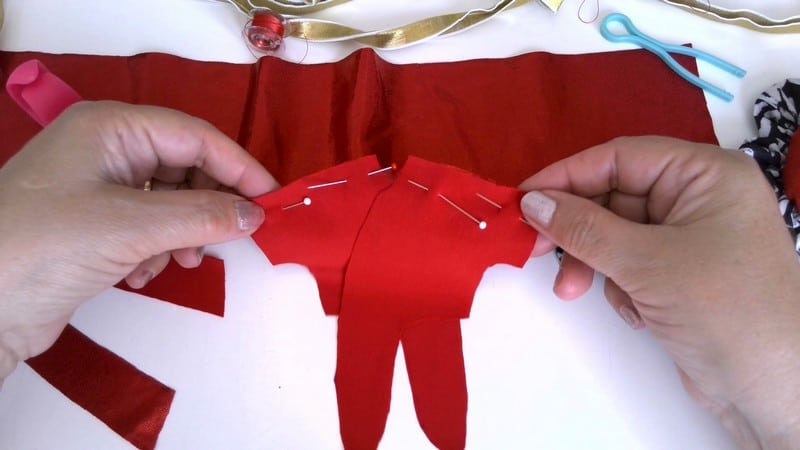
So, pin front to back at shoulder seams with right sides together matching edges and stitch. Seam allowances are 3/16 inch or 5 mm.
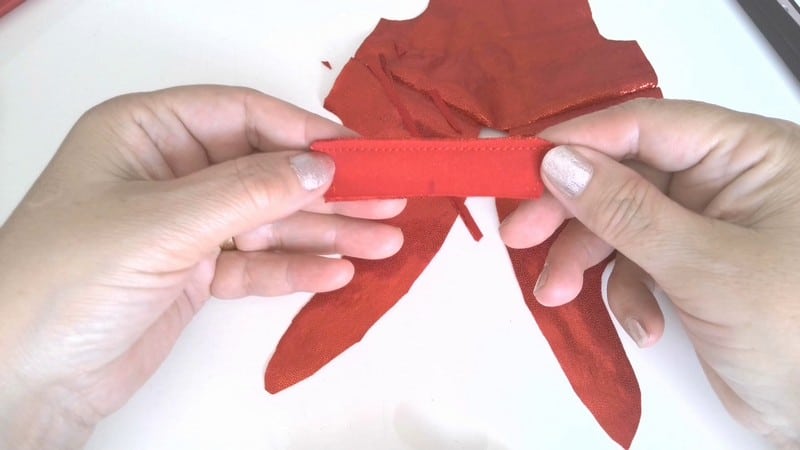
Sew also the collar pieces together.
Trim the seam allowances on the collar and don’t forget to cut corners. Turn the collar right side out.
Thread, fastening, and glue at Amazon (I will use all later in the process):


Step 3
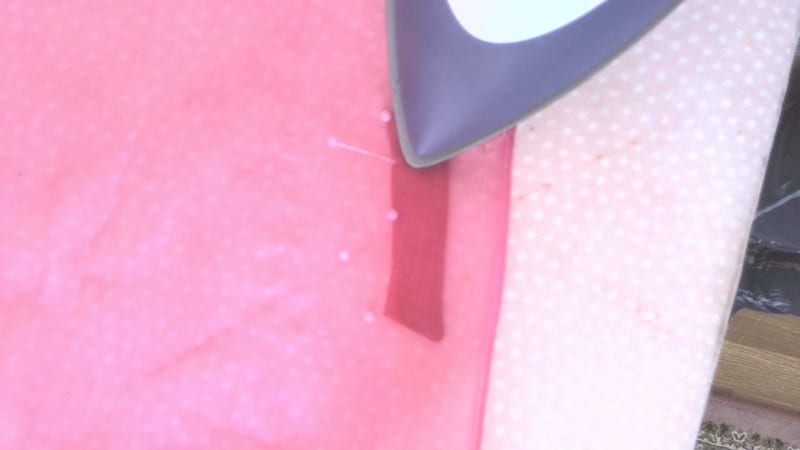
Now we need to iron the seams.
Be careful with the iron settings. For example, for my spandex fabric, I set my iron on wool.
The collar piece is so small so I decided to pin it to my ironing board so it doesn’t move out of its shape.
Use pressing cloth for ironing. I usually use silk organza fabric as my pressing cloth.
Press also shoulder seams open
Step 4
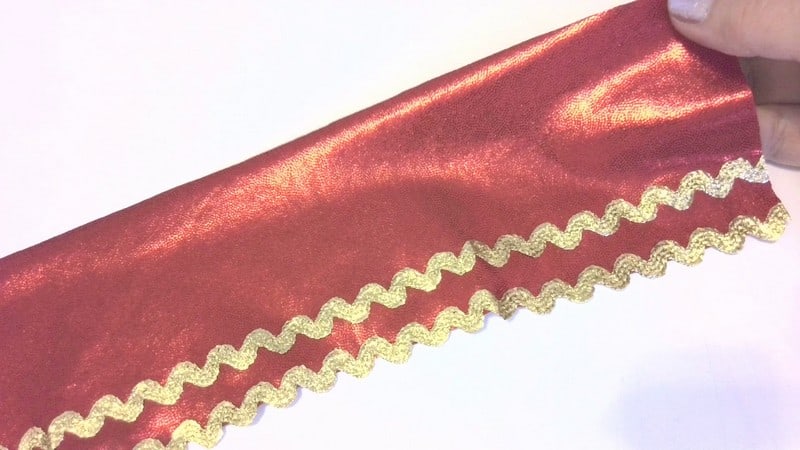
I decided to embellish the Barbie clothes. Embellishments options are practically endless. You can decorate the finished product with rhinestones, beads, fabric flowers, trims, embroidery, and other decorative elements.
I want to use a golden rick-rack ribbon for the sleeves and for the skirt hem.
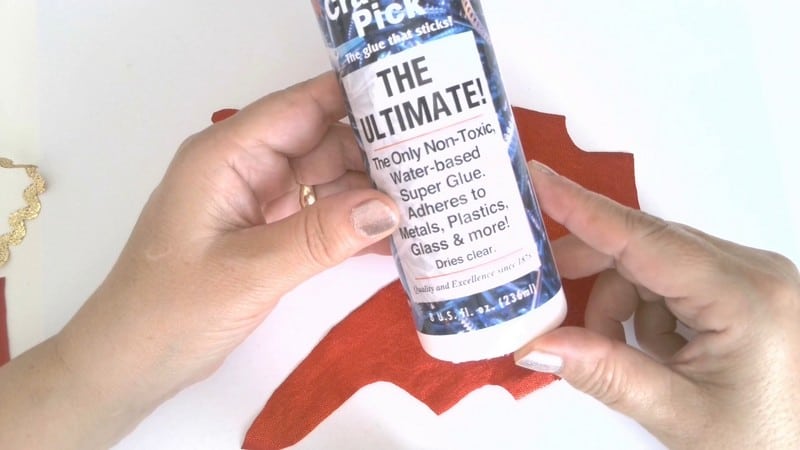
To attach the ribbon I used fabric glue.
I like to use glue that’s called The Ultimate. They say it’s the only non-toxic, water-based super glue.
I like it because it dries clear and doesn’t leave any marks on any fabric.
You can make a stitch after the glue dries out. But I decided not to make it because it seems to me this glue is holding the ribbon very well.
Step 5
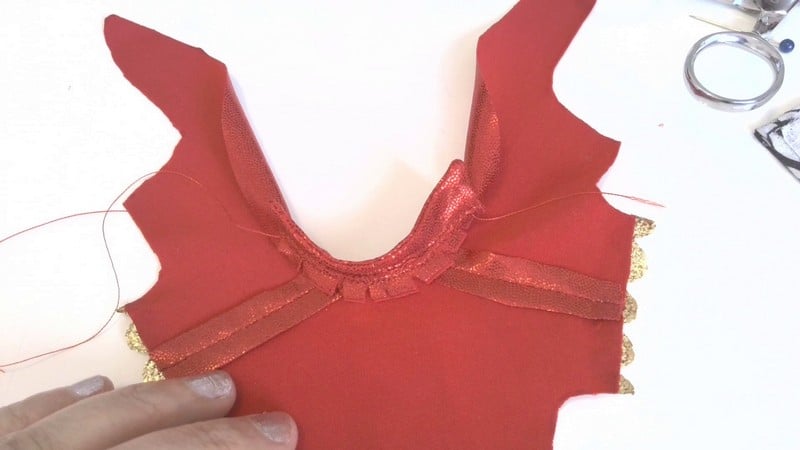
Now let’s sew the collar.
We marked the center of the collar pieces and the back piece. Start pinning the collar to the bask at the center back. Then pin the edges. The collar edges should be pinned 3/16 inches (or 5 mm) from the cut fabric edges.
Stitch the collar to the top. Clip curves.
Machine-stitch neck edge along the seam line over collar seam allowances.
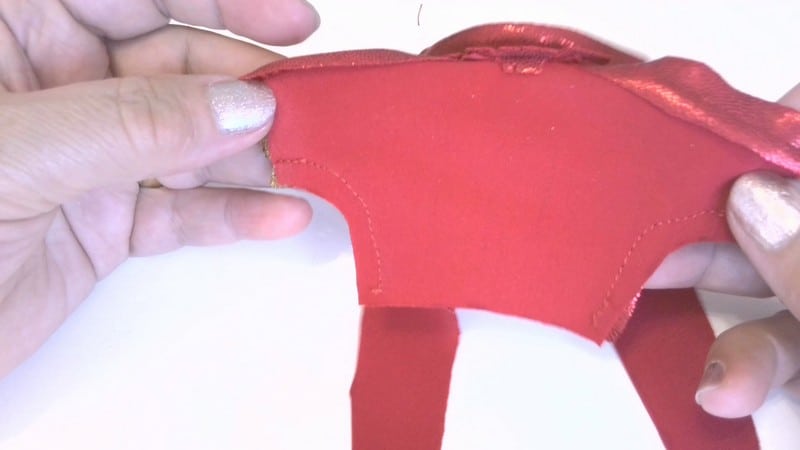
Step 6
Now we need to stitch the side seams. Pin them right sides together matching the edges and stitch.
They are curved so make a few little snips in the seam allowances at the curve for the top to fit well. Don’t cut the stitches though.
Press the side seams open.
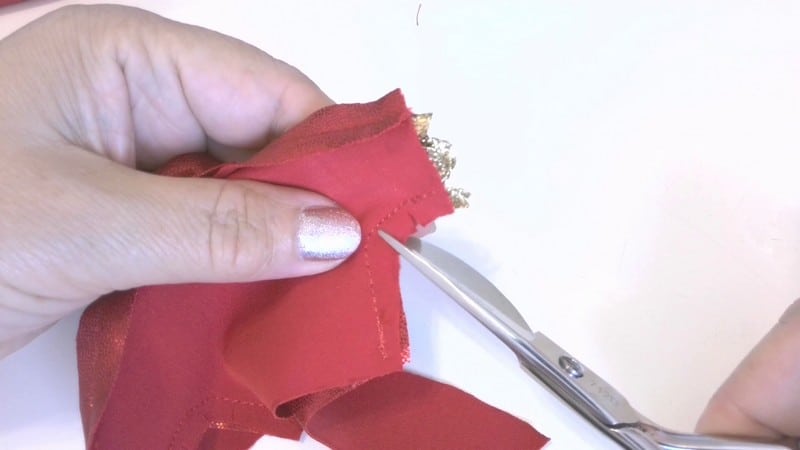
Step 7
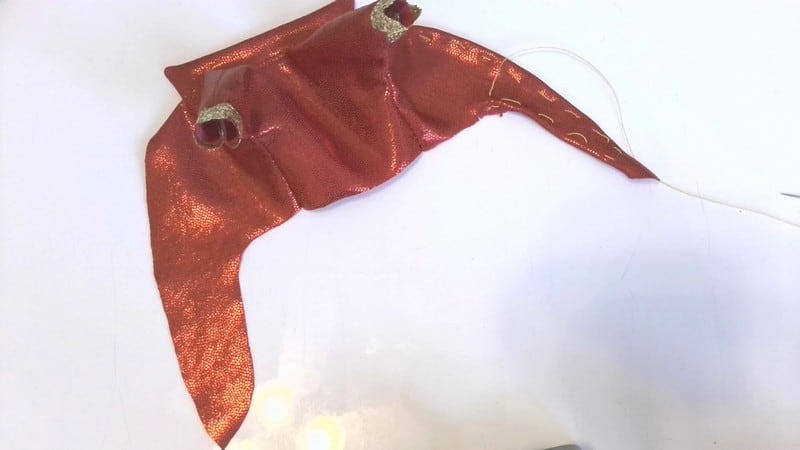
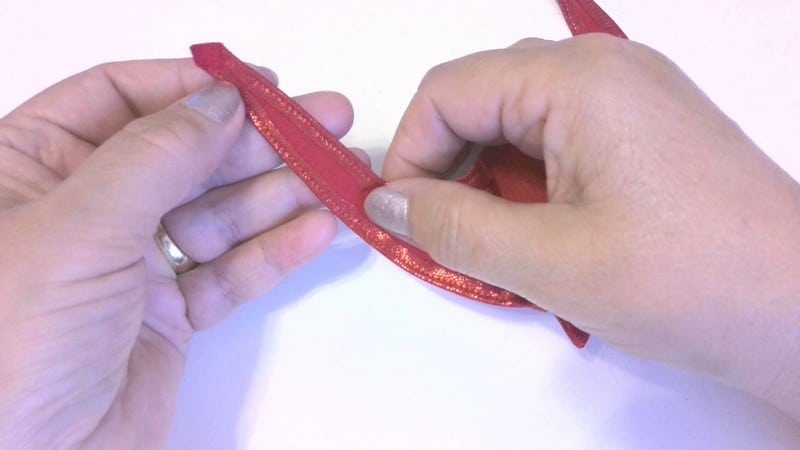
The next step is finishing the hem of the top. Carefully hem the edges.
Fold the fabric under 3/16 inch (5 mm) and baste it by hand first. Press it and after that stitch close to the edge. Press again.
Step 8
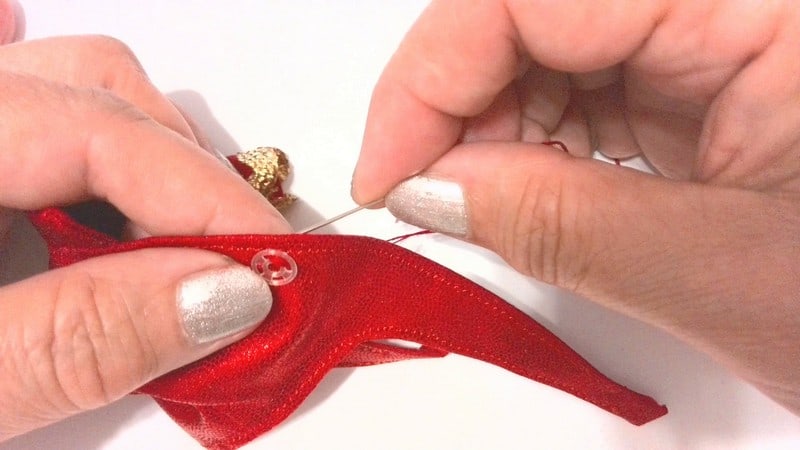
Sew a plastic fastener. Maybe it’s not absolutely necessary but I decided to use it.
Also, when I put the top on my Barbie I noticed that the collar doesn’t really sit nicely so I decided to make a few hand stitches to the collar so it stays down.
Step 9
Now let’s make the skirt.
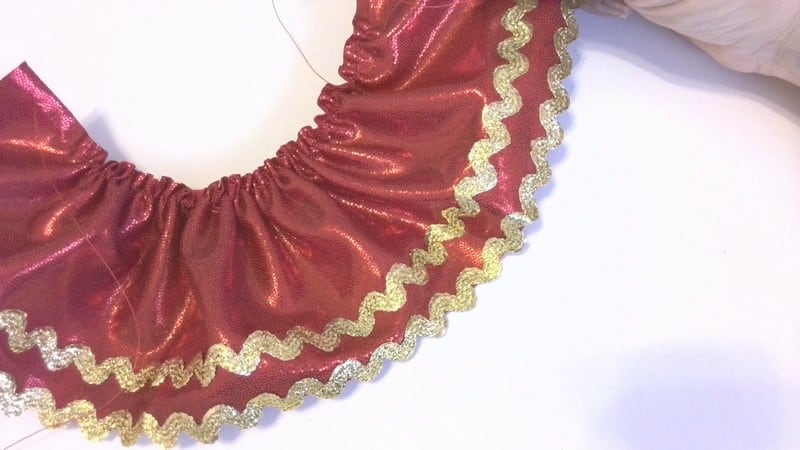
We’ve already embellished the skirt with the golden ribbon.
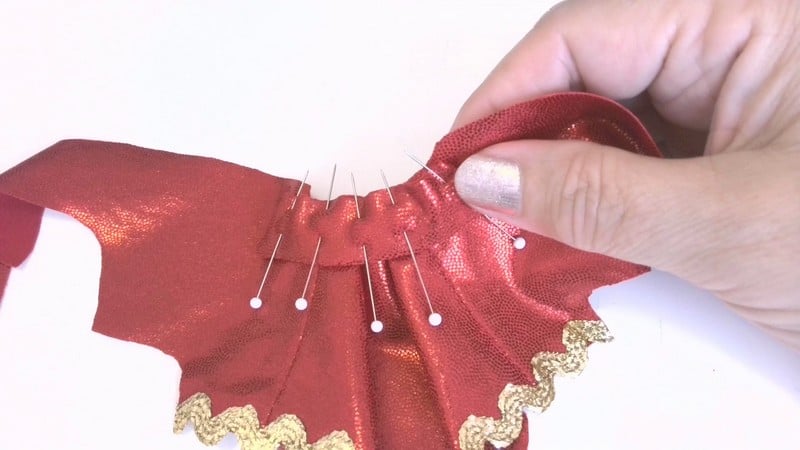
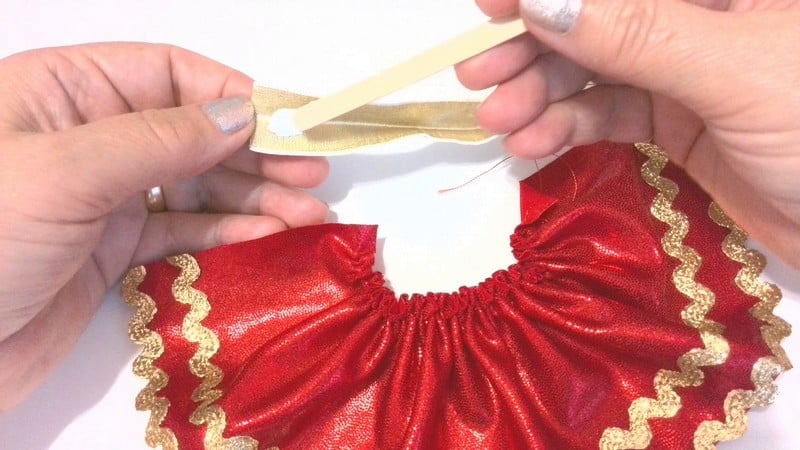
Now let’s put gathering stitches. Set your sewing machine for a straight stitch with a length of around 3.5 – 4 mm and turn tension to 0.
Sew one stitching line. Gather the fabric by pulling the bobbin thread.
The width of the gathered skirt is 4 inches ( maybe 4 ⅛ inches). Leave 3/16 inch (5mm) on each side of the skirt without gathering.
Step 10
For the waistband, you can use a piece of the double-folded bias strip.
I decided to use a double-folded elastic strip. The length of the strip is 4 inches.
I like to burn the edges of the elastic so they don’t fray and I don’t need to fold them inside.
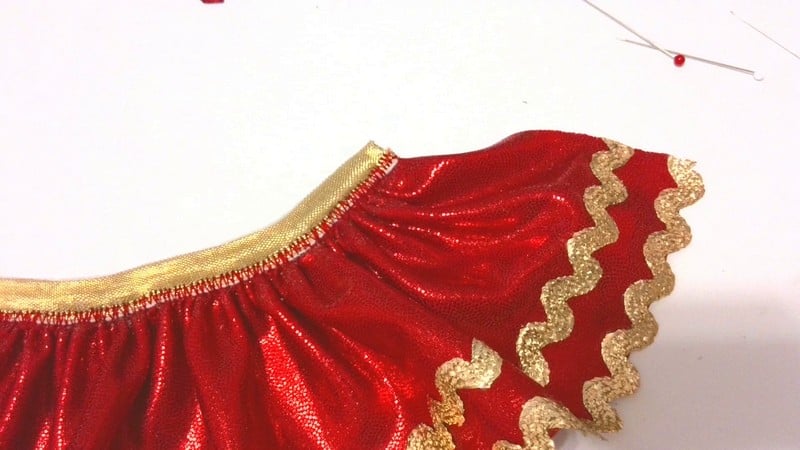
I used glue to attach the gathered skirt to the elastic waistband.
After the glue dries out, sew the waistband to the skirt. Use a straight stitch or a zigzag stitch.
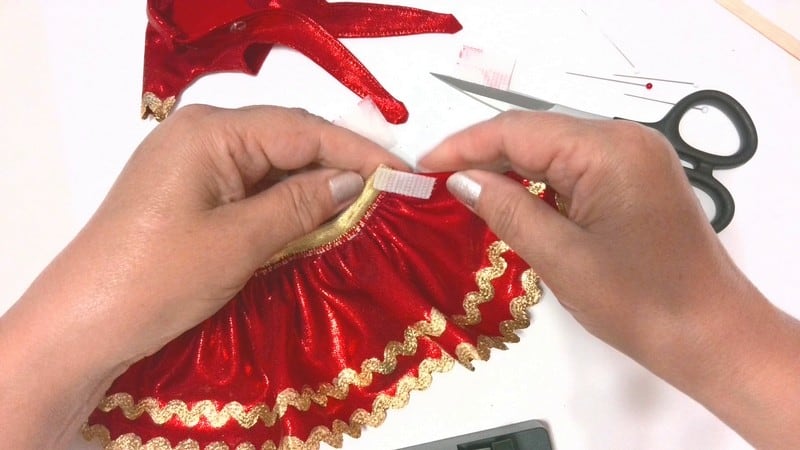
Step 11
Now we need to sew a strip of Velcro for fastening the skirt on the doll. I used a piece of Velcro that has glue for attaching to the fabric. It’s very convenient because it holds the Velcro in place very well. But it’s better to sew over it anyway. If you have a Velcro strip that doesn’t have glue on the back attach it to your skirt with fabric glue before sewing.
Step 12
The last step is sewing the center back seam of the skirt. Press the seams allowances open after you’re done with stitching.
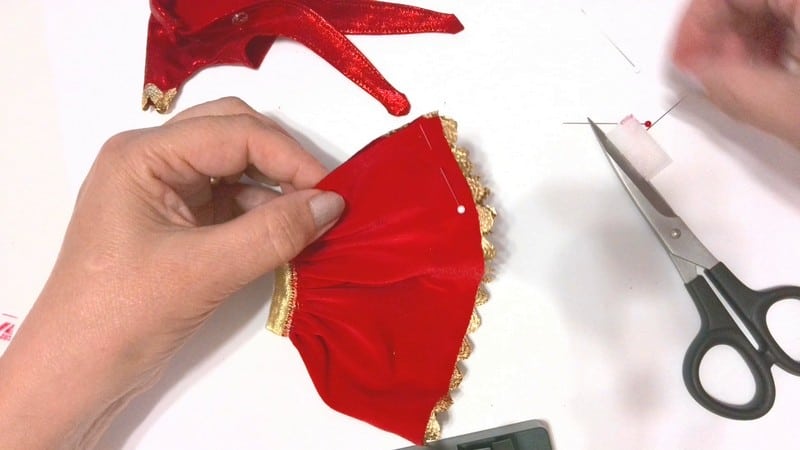
And this is the result.
You can also watch my YouTube video tutorial on how to make Barbie clothes step-by-step.

Did you find this tutorial helpful? If so, save this pin (see below) on your sewing board so you can come to this tutorial later when you are ready to sew your own knit pencil skirt, and follow me on Pinterest for more tips, tutorials, and inspiration!
Ready to take the next step in your sewing journey? Check out more step-by-step tutorials from my blog and don’t forget to share!
latest posts
- How To Sew Curves the Easy Way Using a Curve Master Presser Foot
- 30 Sewing Hacks That Turn Ordinary Items into Useful Sewing Tools
- Seam Allowances in Sewing Patterns: What They Are and How to Use Them
- What Do You Call a Person Who Sews? I Asked My Readers and Got 1,408 Opinions
- DIY Round Purse: PDF Sewing Pattern and Detailed Instructions
- Mini Wonder Clips By Clover: Useful Sewing Tool Or Just Another Notion?
- Non-Slip Grips For Quilting Rulers: A Small Notion With A Useful Job
- Fabric Eraser for Sewing: What It Removes and When to Use It
- What Is The Best Thread For Sewing Machine Projects? Let’s Find Out!
I sew for needy children and will appreciate the printable patterns.patterns
The pattern is free at https://www.ageberry.com/resource-library/ for all subscribers to my newsletter, check please the newsletter for instructions on how to access it. Contact me (use the contact link at the bottom) if you have difficulties.
How do I print these patterns?
You can use any printer at home, patterns are fit for a letter size paper and they fit also on A4 format (used outside North America). Print the .pdf file at 100% size, or actual size, no scaling. Most patterns (including this one) have on them a line of marked length to verify that the pattern has been printed at actual size.
Do you have printable instructions on how to sew this?
Thanks….cute pattern and good instructions.
Thank you; at the time it has been a[p[proved by a very exigent 6 years old. I rel;y on experts for quality control!
I’ve been sewing for Barbie since I was about 10. My mother was an excellent seamstress. I have found one of the easiest ways to cut out the patterns is to trace to freezer paper and iron it on the fabric. That way you can pick it up and cut out the curves with ease. One thing I have found is that vintage patterns do not fit the newer Barbies.
Thank you for the info; I did not know that Barbies have other measurements in modern times! Good to know.