Step-by-Step Guide to Make Your Own Dress Without a Store-Bought Pattern
Making your own dress isn’t as complicated as it sounds. You don’t need fancy tools or a sewing degree — just a pattern that works, some basic know-how, and a bit of patience. This tutorial walks through every step with real-life sewing in mind. That means clear photos, simple explanations, and tips that make sense once you’re actually at your machine.
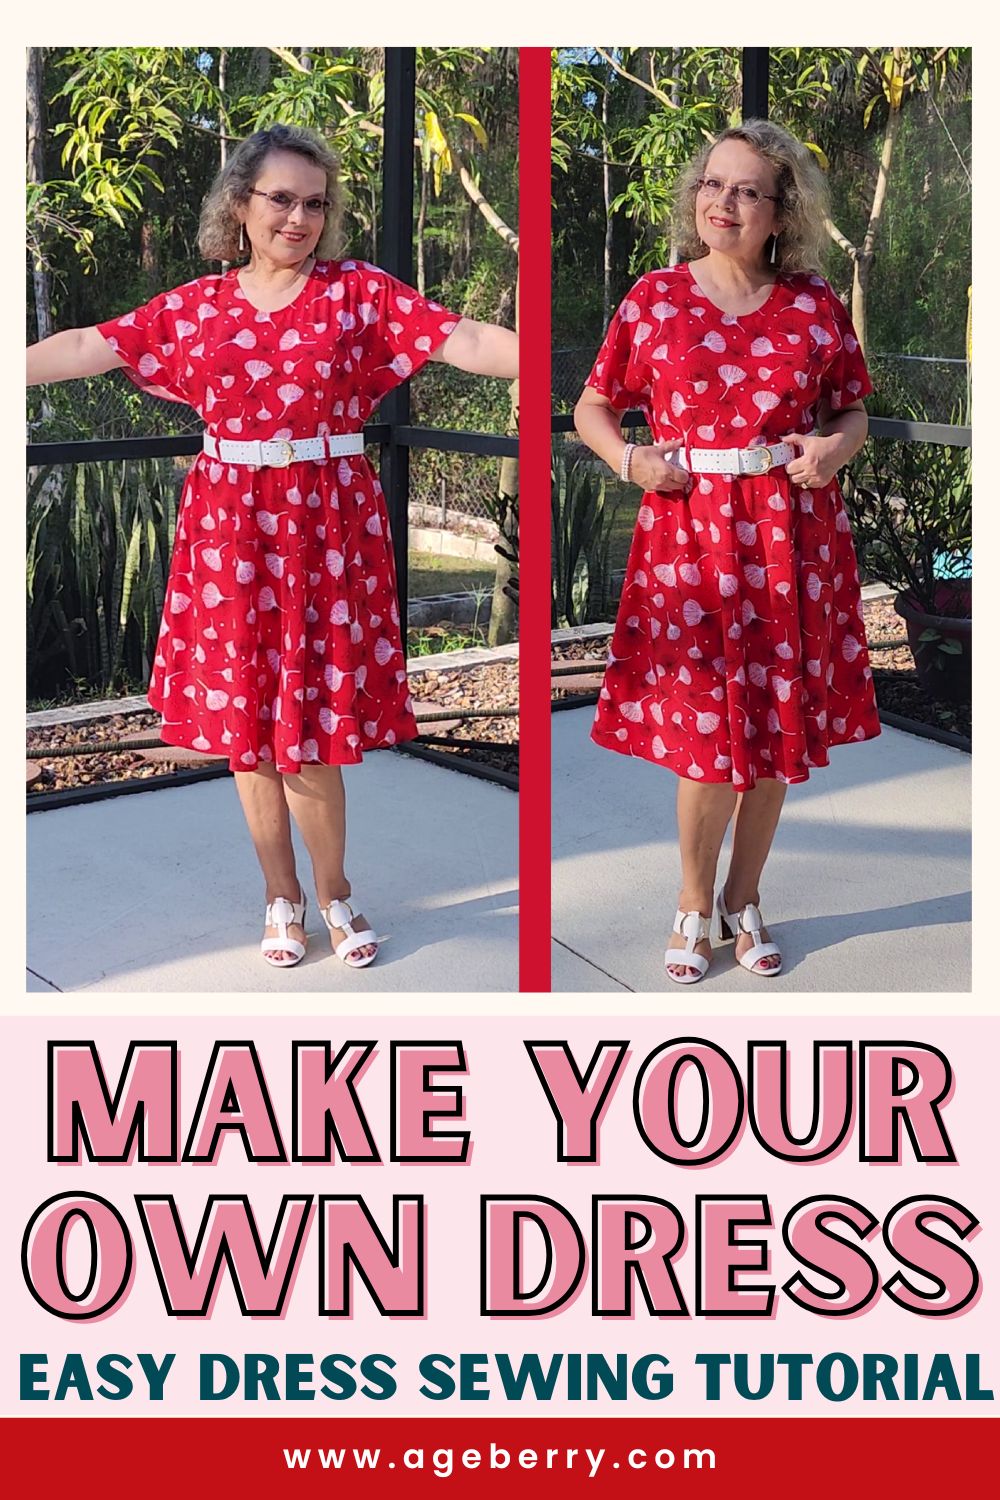
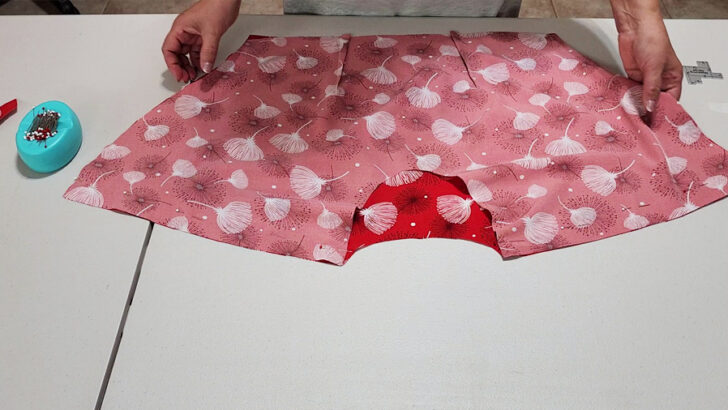
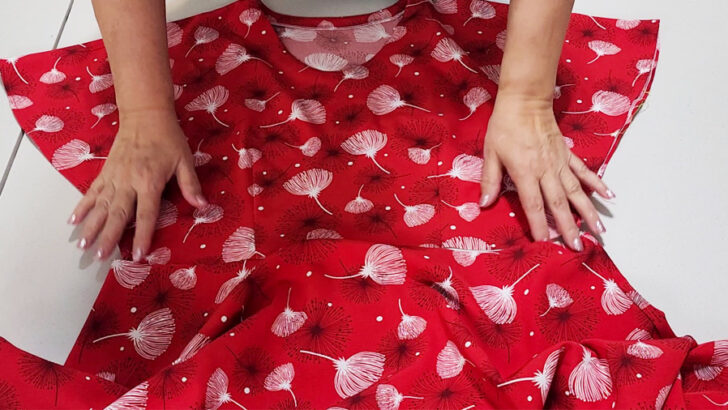
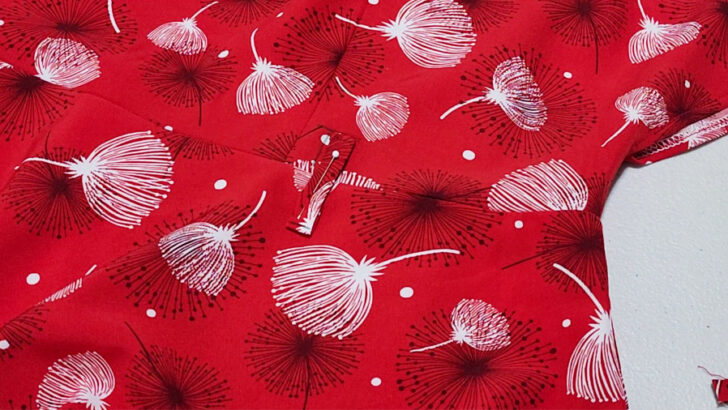
So, let me describe the dress now. This dress is really a combination of style and comfort.
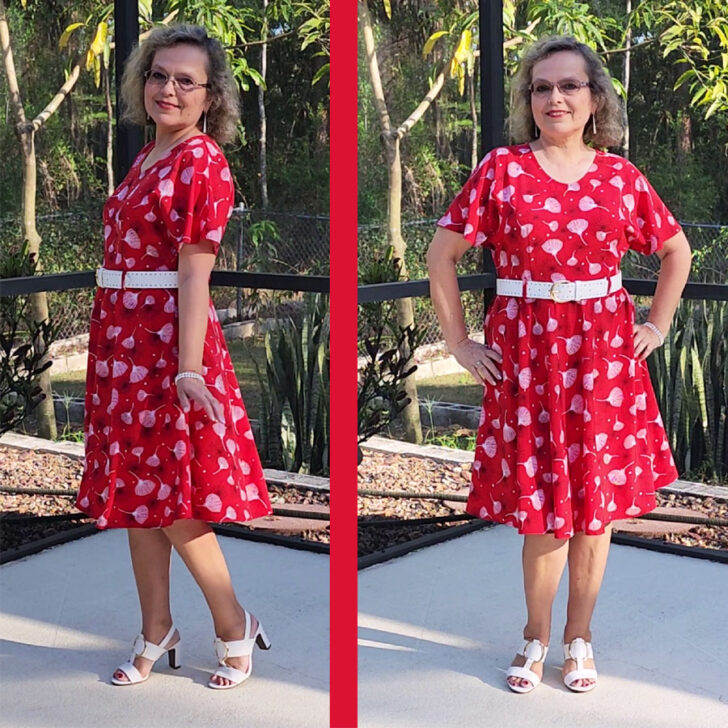
It has a flared, half-circle skirt that creates beautiful movement as you walk. The delicately draping top has the front and back extended into sleeves.
The length falls just below the knee. The red fluid fabric with a fashionable print of white puffballs makes the dress suitable even for a formal occasion.
This dress is not just about style, it’s also designed for comfort, allowing you to move freely and feel confident. I am sure this dress will make you look and feel amazing.
Why settle for a store-bought dress when you can create one that is perfectly tailored to your measurements? With this pattern, you can achieve a custom fit that will flatter your body type and make you feel confident and comfortable.
Not only can you choose the fabric of your choice, but you can also add your own personal touches to make the dress truly unique. Add a belt, adjust the length, or modify the neckline – the possibilities are endless.
Sewing your own dress is not just about saving money – it’s about creating something that is truly your own. It’s a chance to express your personal style, showcase your creativity, and learn new skills along the way.
Imagine the compliments you’ll receive when you tell people that you made your own dress.
This dress will surely capture your heart because it has the following features:
- Easy to make
- You won’t have to worry about dealing with any buttons or zippers
- Looks stylish and elegant
- Comfortable to wear
- It is suitable for all women, regardless of their body type, height, or age
- The dress accentuates your positive features while concealing any body imperfections
- It is versatile and can be worn on a daily basis, during business meetings, or on special occasions
What you’ll need for making the dress
Fabric – lightweight fluid woven fabric with a high thread count.
Choosing the right fabric is an important step in making this dress. The fabric will determine the shape of the dress, how it hangs, and how it looks overall. The wrong fabric can make the dress look frumpy, bulky or cheap.
The ideal option is lightweight fabric with soft, fluid drape made from silk or polyester that has a high thread count and a smooth, refined appearance. Easy to sew with a serger, easy to wear. So, it might be silk fabric, natural or synthetic, or lightweight woven apparel cotton fabric. It has to be quite dense fabric and 60 inches wide.
Cotton lawn fabric or cotton batiste are a perfect choice! It’s light and airy cotton fabric, almost sheer, but has enough crispness for the dress. Plus, cotton lawn is easy to work with and easy to care for.
I don’t recommend using rayon because it’s very stretchable on bias usually and not as stable as necessary for the project.
Avoid thicker fabrics (like quilting cotton) if you don’t want any bulk around your waist.
Avoid stripes, plaids, and one-way prints.
I used polyester crepe fabric.
Note: Some of the links on this page are affiliate links. This means I will receive a commission if you order a product through one of my links. I only recommend products I believe in and use myself.
You can also use stable not very stretchy knit fabric for this dress.
You will need approximately 2.5 yards of 60-inch wide fabric.
Interfacing – lightweight fusible interfacing
It’s important to choose the correct type of interfacing for your dress because interfacing needs to match your fabric: it should add stability to the fabric without altering its texture or properties.
I used Pelon lightweight fusible interfacing.


Serger – I stitched most of the seams of the dress by serger.
The serger’s ability to sew the seams and finish the edges of the fabric simultaneously gives the dress a clean and professional look.
If you don’t have a serger and are considering purchasing one, it’s essential to choose the best serger for beginners. To help you make an informed decision, I recommend reading my comprehensive serger buying guide before making a purchase.
✅ Related tutorial: Best Serger For Beginners: Serger Buying Guide
Regular sewing machine and sewing notions: you will need needles for your serger, coordinating thread, pins, scissors, a tape measure, marking tools, etc.
Take the following measurements:
Back waist length – from the neck to the waistline
Desired length of the skirt of the dress – I prefer the length a bit below knee – my skirt length is 24”.
Waist
Bust
Bust separation – the distance between both apexes in the bust
Shoulder length
✅ Related tutorial: How To Take Body Measurements For Sewing
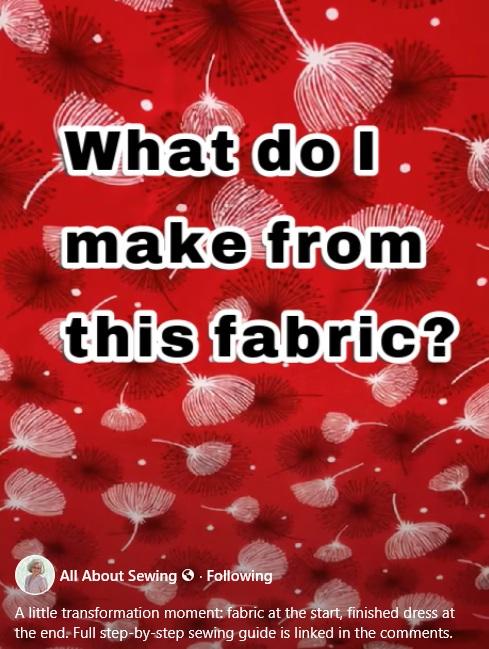
If you want to see a 20 second magic transformation, I made a Facebook reel here. In reality, the process was slightly longer and this article will describe it.
How To Cut Fabric For Making The Dress
I usually prewash the fabric before cutting and iron it. But it’s certainly your choice.
✅ Related tutorial: Prewashing Fabric: Is It A Good Idea?
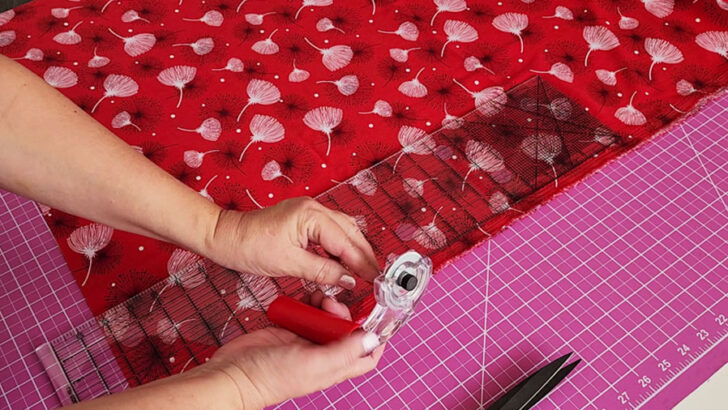
Make sure to cut the fabric carefully, and use sharp scissors so that the edges are clean and even.
Cut selvages – this is a must! Sometimes I use my rotary cutter for cutting selvages.
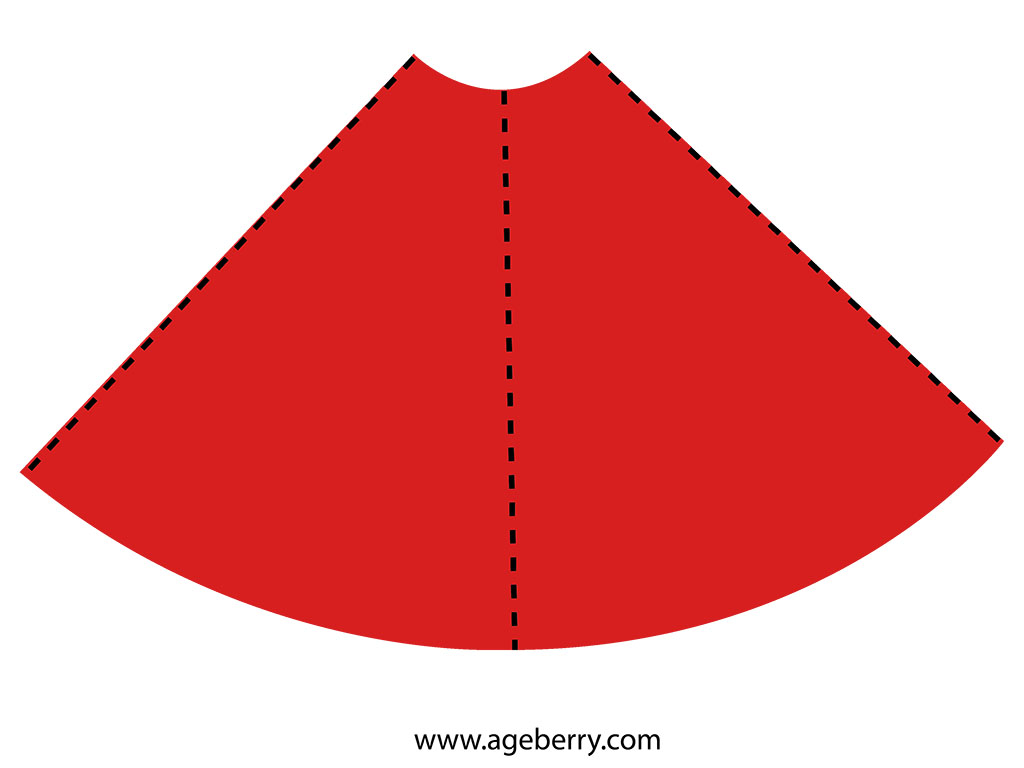
Let’s start with the skirt. I decided to make a half circle skirt for the dress. The half circle skirt is made up of two quarter circle panels, one for the front and one for the back, and when you put them together, you get a complete half circle. This is a great alternative to a full circle skirt, as it requires less fabric but still has that beautiful flow and movement.
We will cut the quarter circle panels folded in half, to make it easier.
You will need the following measurements: your waist plus 4” divided by 4.
But be careful here, we all have different bodies so you need to make sure that this number – your waist plus 4” – is bigger than your bust circumference. Why? Because you need the waistline of the skirt to be big enough so you can put the dress on (so it can easily go through your bust). So, in case your bust circumference is bigger than your waist plus 4 inches – use the bust circumference number (and don’t add 4 inches to that number, just divide by 4).
For me, this number (Waist + 4 divided by 4) is 10 inches.
We are going to draw cutting lines directly on the fabric and then cut out the skirt.
Step #1. Fold the fabric for the dress
Make sure the edge of the fabric perpendicular to selvages is cut straight. There are multiple ways to cut fabric straight. If you are not sure how t do it, check out my detailed tutorial How to cut fabric straight | 8 Easy Ways Explained.
I use one of the methods described in that tutorial – by pulling a thread.
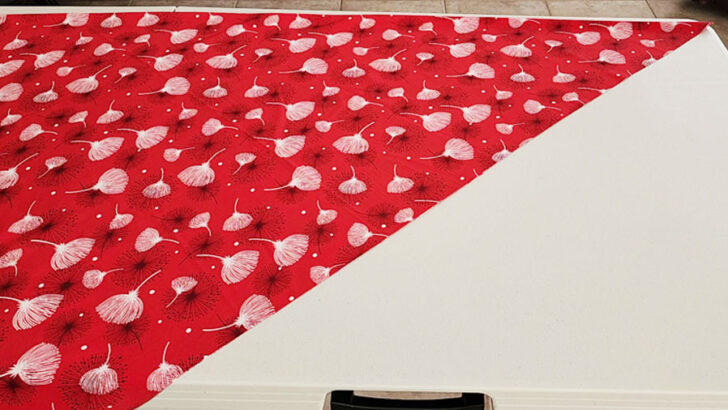
Fold the fabric as you see in the image below. Place the fold toward you.
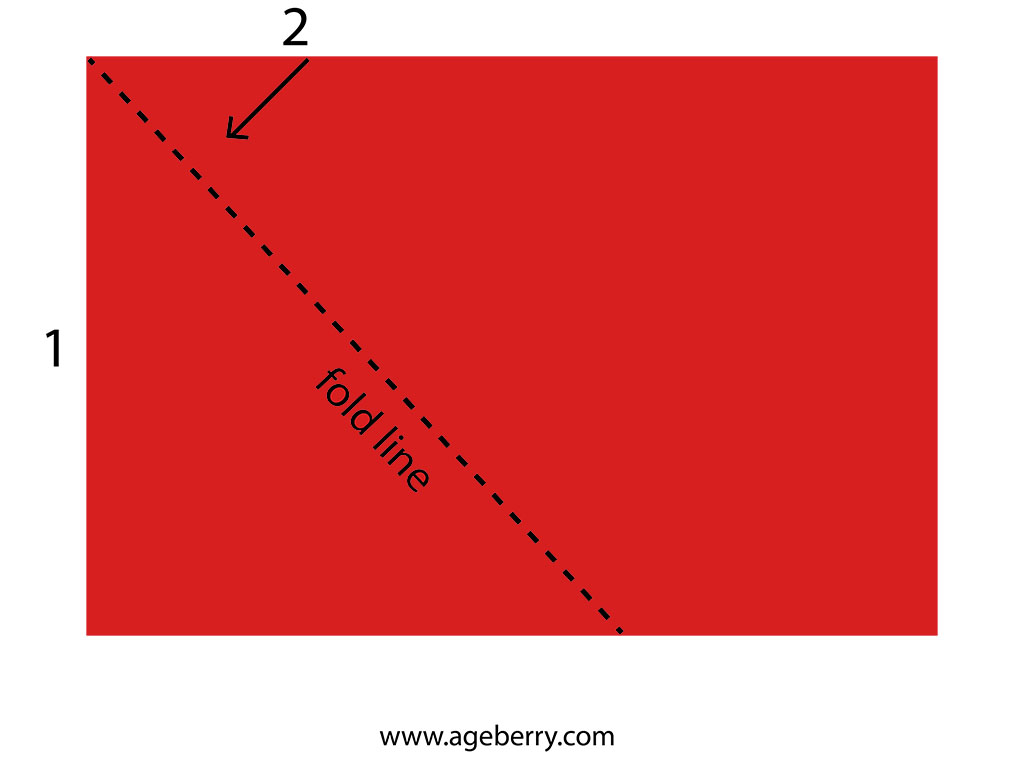
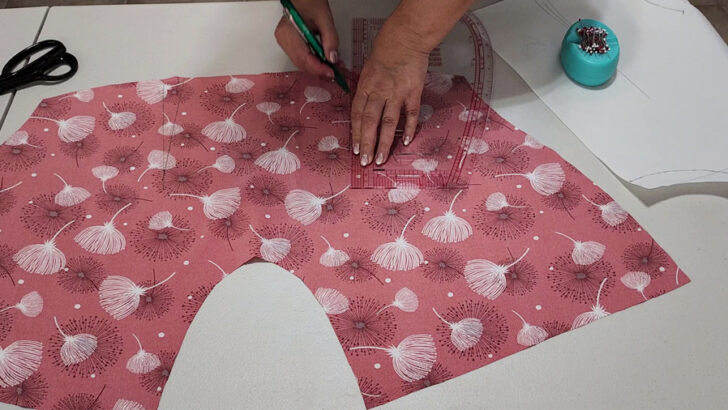
Step #2. Draw the waistline of the skirt on the fabric
For this, you will need this number: your waist measurement plus 4 inches divided by 4.(See above). Let’s name this number as “A”. My number for this skirt is A = 10”. Your number will be different.
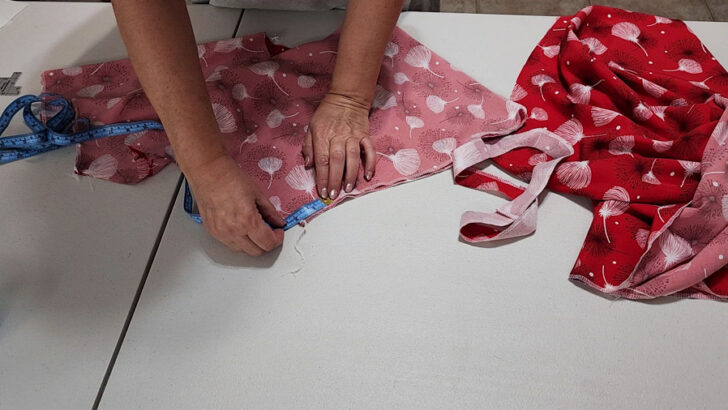
Take your flexible measuring tape, find A mark on it (my A = 10”) and place it on the fabric like you see in the image – make kind of a quarter of a half-circle with the tape. You don’t have to be very precise, really. But try to place it at an equal distance from the corner point.
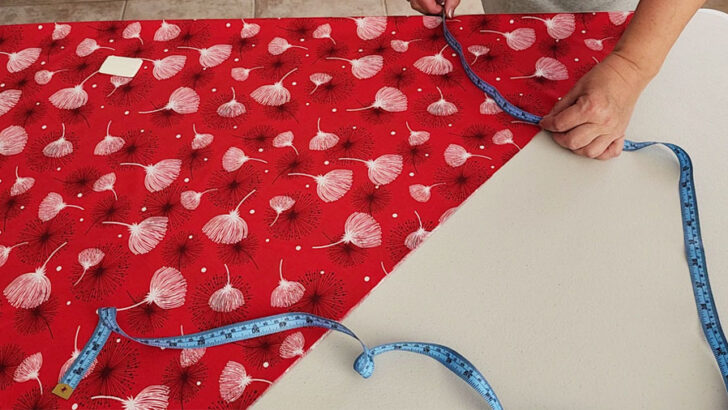
Next, find the approximate radius of the circle this way. Mine was around 12”. Let’s name it “B”.
If you are a fan of computations, we can actually compute the radius: B = A * 4 / 3.14 (A*4 is the half circle length, divided by constant π; length of the circle is 2*π*Radius). For my measurement of A = 10 the exact computation would be B = 12.7 so my approximation of 12 was within 6% of the exact value; good enough 😀!
Draw a waistline (actually a quarter of the waistline) using this number (12” for me) as the radius.
You don’t need to make the waistline exactly equal to your measurement. Also, you don’t need to be very precise with your measurements: you have room for some errors, half an inch more or less doesn’t really make a big difference.
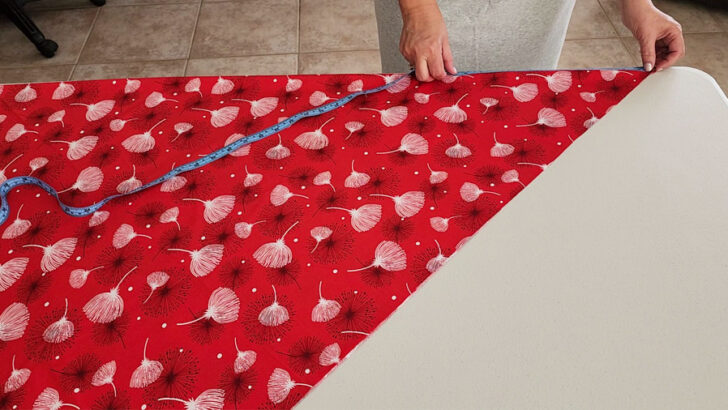
Use a measuring tape and a marking pen to draw the waistline (actually it’s a quarter of your waistline, remember?). Measure and mark radius B from the top corner of your fabric and then connect the marks by hand drawing.

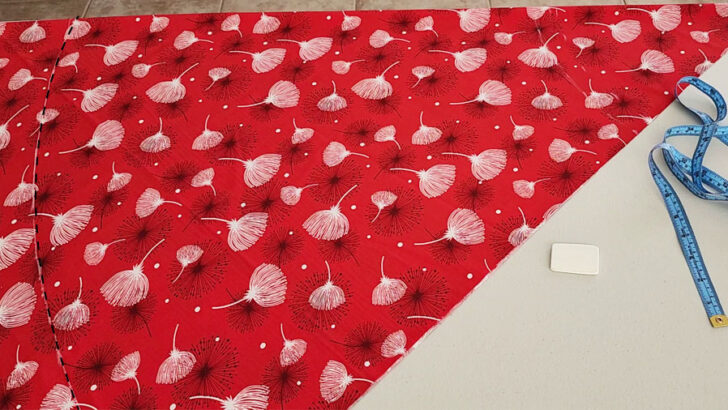
Step #3. Draw a hem of the half circle skirt
You already have decided what length you want for the skirt.
Measure 24” (your number will be different) from the waistline and make marks.
Connect all the marks with a marking pen.
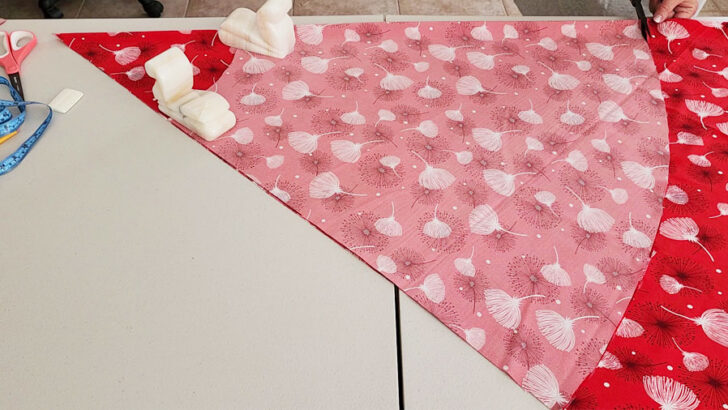
Step #4. Cut the fabric for the half circle skirt
Cut along the lines.
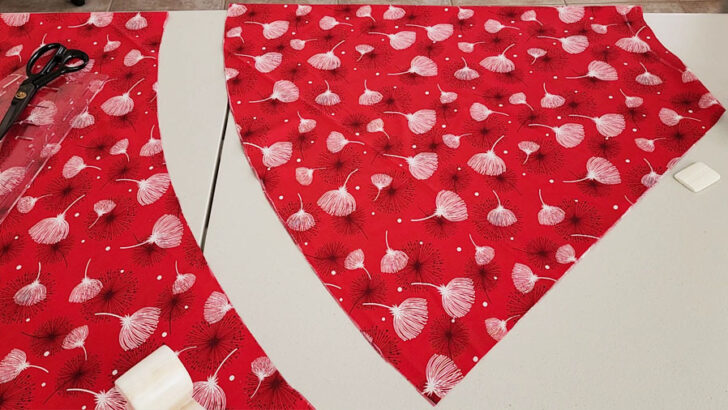
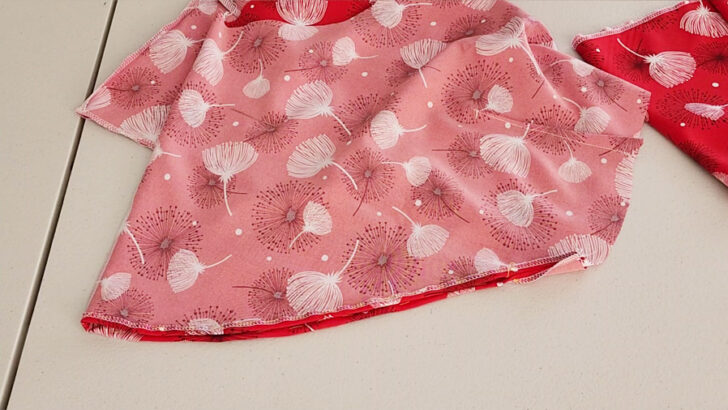
We made half of the skirt – front or back (they are equal).
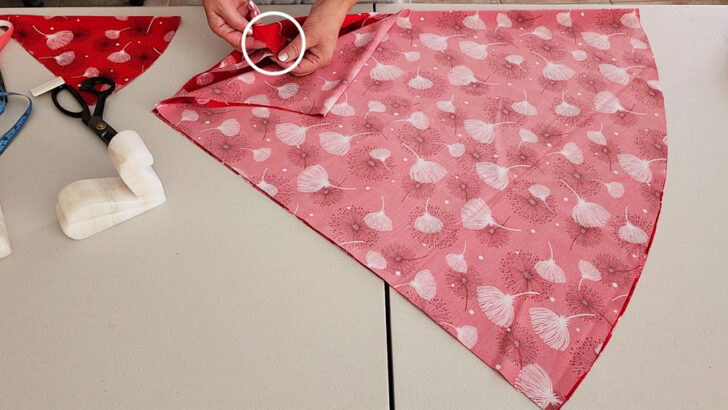
Now we need to make the other half – the process is exactly the same. Only now you don’t need to draw it from scratch. Just use the previously cut piece but fold the fabric as you did before.
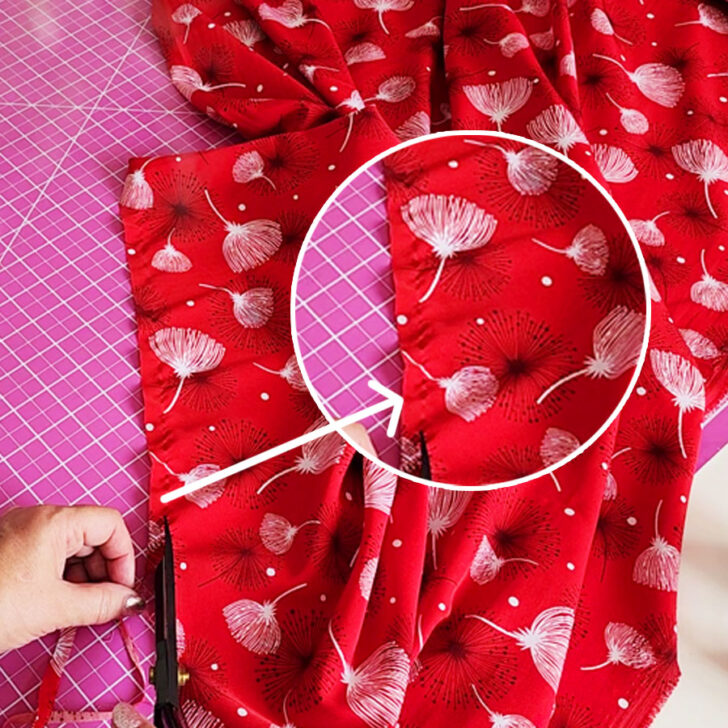
Don’t forget to clip notches. In my case it’s the center back and the center front of the skirt. Make sure you don’t cut too far into your fabric – cut only ⅛” or even less.
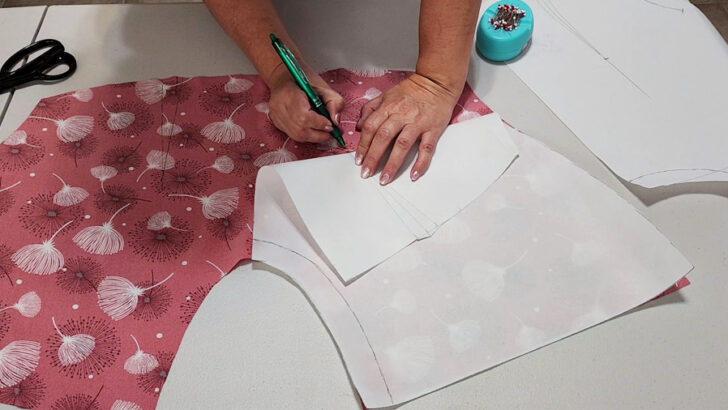
Step #5. Cut front and back pieces of the top and facing pieces
Use the front and back pattern pieces.
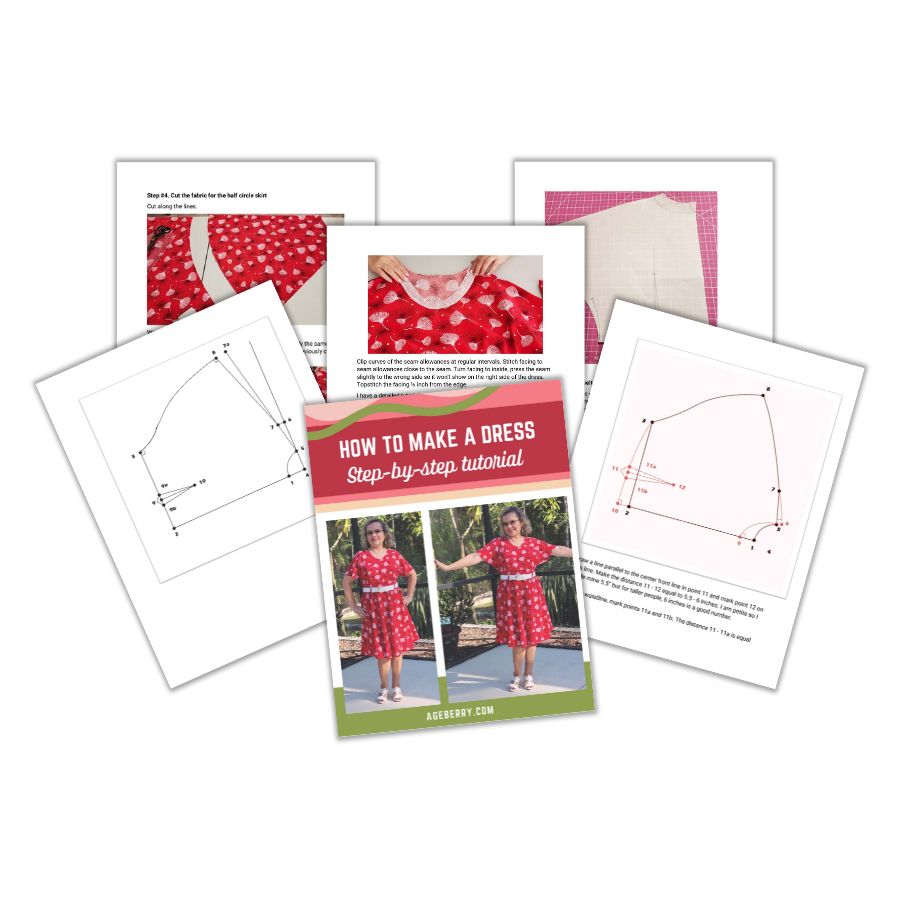
I’ve created a PDF ebook with detailed instructions on how to make a pattern for the dress, as well as step-by-step instructions on how to sew the dress.
The ebook provides a comprehensive guide that takes you through the entire process, from choosing the right fabric to finishing the dress. With the convenience of a digital download, you can start your project right away from the comfort of your own home. The ebook also includes detailed illustrations and photographs to help you visualize each step of the process.
Fold the fabric along the grainline – the center back line on the pattern must be aligned with the fabric fold. Pin the back pattern.
Place the front pattern piece exactly the same way – the center front line on the pattern must be aligned with the fabric fold. Pin the front pattern.
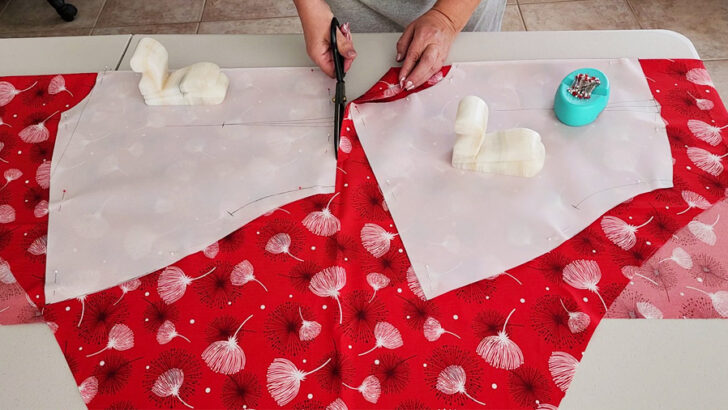
Cut the front and back pieces.
Don’t forget to clip notches. In my case it’s the center back and center front. Make sure you don’t cut too far into your seam allowances – cut only ⅛” or even less.
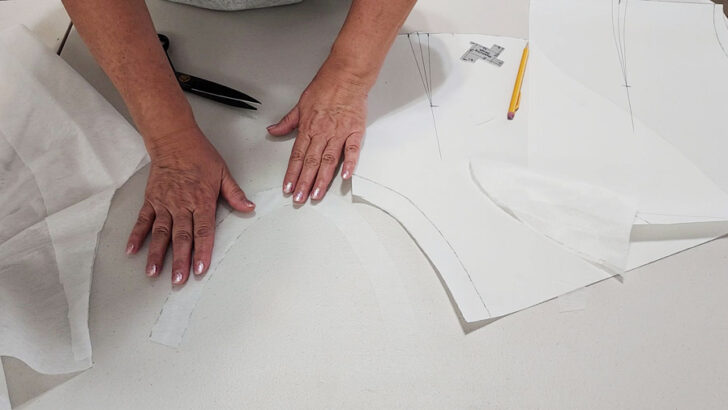
Transfer the waist darts onto the fabric.
For this, clip the ends of the dart and then mark the dart’s point with a pin through all layers. Mark the dart’s points on both front and back pieces of the dress.
Remove the pattern and draw the dart legs. Repeat the procedure for all 4 darts.
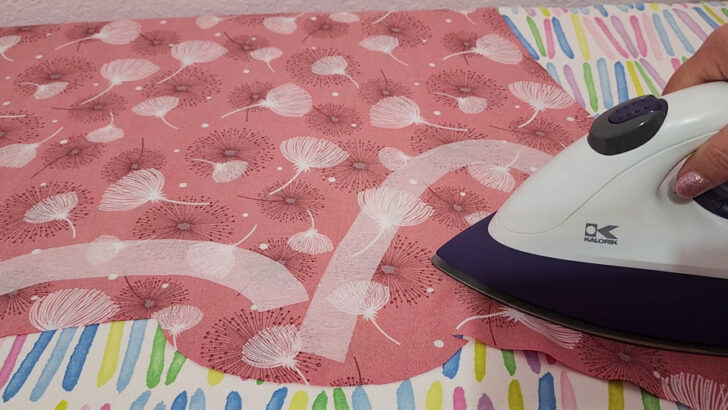
Cut interfacing for the dress – front facing and neck facing.
Fuse the pattern pieces cut from interfacing to the wrong side of a piece of fabric and after that cut front and back facing pieces.
If you need to know more about how to use interfacing I have a detailed tutorial on my site, check it out.
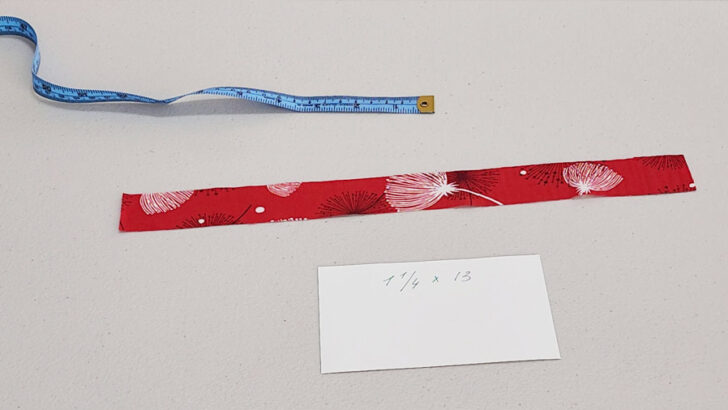
Step #6. Cut fabric for the belt and belt carriers
So, these are approximate measurements for a strip of fabric for belt carriers – 13” x 1 ¼ ”
Determine the length of your belt.
Cut a strip of fabric to the desired length and width. The width should be twice the desired finished width of the belt plus seam allowances. For example, if you want a 1-inch wide belt, cut the fabric 2.5 inches wide (1/2 inch for seam allowances and 2 inches for the finished width).
These are the measurements for my belt – 60” x 3”.
Optional: If you want a stiffer belt, add heavy weight interfacing to the wrong side of the fabric strip. I added interfacing only to the length of the belt that was going around my waist, and left the ends of the belt without interfacing.
How to sew the dress
I have broken down the sewing process into a few easy (really easy!) steps.
It’s better to sew the dress using a serger.
I am using a 4 thread 2 needle serger stitch for sewing and 3 thread 1 needle stitch for finishing fabric edges.
Step 1. Sew the darts on the front and back pieces.
Use a regular sewing machine to sew darts. Press the darts toward the center front and center back.
✅ Related tutorial: How To Sew Darts: Tips And Techniques For Different Types Of Darts
Step 2. Sewing shoulder seams of the top, side seams of the skirt
Thread your serger with coordinating threads.
Test the stitch on scrap fabric first and make adjustments if necessary. The 4 thread 2 needle serger stitch is very good for sewing dress seams.
I see that my first test stitch is not good – I can see the left needle thread on the right side of the fabric. So, check yours too! Not good. Need to increase the left needle tension a little.
Ok, now the stitch is correct and I can start stitching the dress.
I try not to trim the edges as I stitch them, or trim only about 1 millimeter from the seam allowances.
If you would like to know more about using a serger I have a very popular ebook Serger Success Kit.
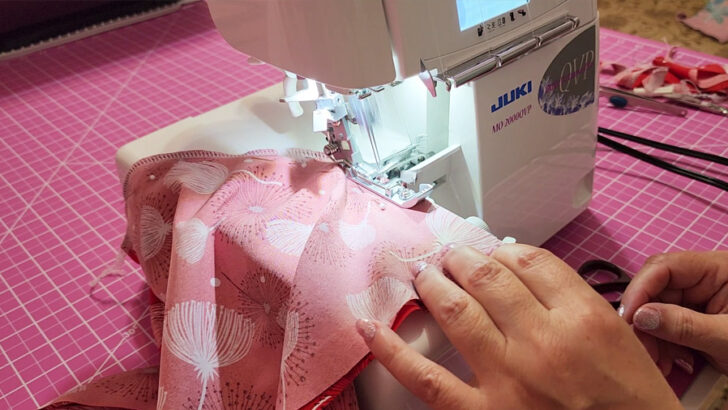
Start with stitching shoulder seams. Pin the front to the back piece at the shoulders with the right sides together, matching the edges. As I am stitching by serger I insert pins parallel to the edges so that the serger presser foot has space to go.
Next stitch the side seams of the skirt.
Stitch also the shoulder seams of facing pieces.
Press all the seams.
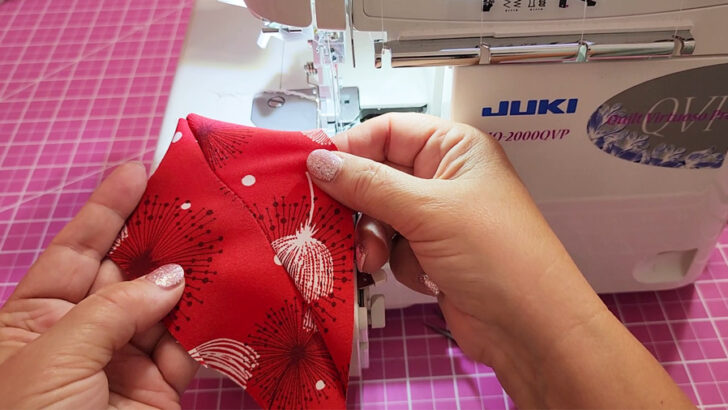
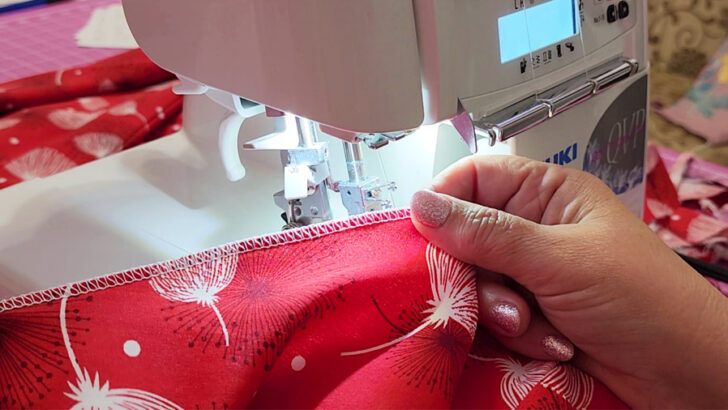
Step 3. Finishing raw edges
Change the serger settings to 3 thread 1 needle (the right needle) overlock stitch. Test on scrap first and adjust if necessary.
Finish the sleeve edges, and hem of the skirt, and the facing outer edge.
Step 4. Sew the side seams of the top.
They are very short, only 2 inches. Press seams open.
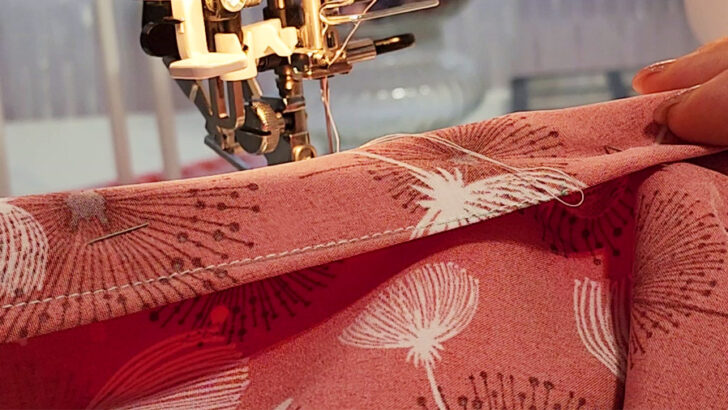
Step 5. Sew the hem on the sleeves and the skirt.
Fold the serged edges to the inside about half an inch and baste by hand sewing. Make a stitch finishing the hem using a regular sewing machine. Press.
Step 6. Sew the facing
The facing is an essential component of a well-made dress. The facing provides stability and shape to the dress neckline and creates a clean, finished appearance.
It’s essential to sew the facing correctly to ensure that it performs its intended function. Improperly sewn facing can result in the garment looking unprofessional, bulky, or uneven. So take the time to carefully measure, cut, and sew the facing so it fits the dress perfectly and lays flat.
Pin facing right sides together with the edge of the neckline matching the edges and shoulder seams. Make sure you don’t stretch the edges. Stitch along the neckline by sewing machine using ¼ seam allowances.
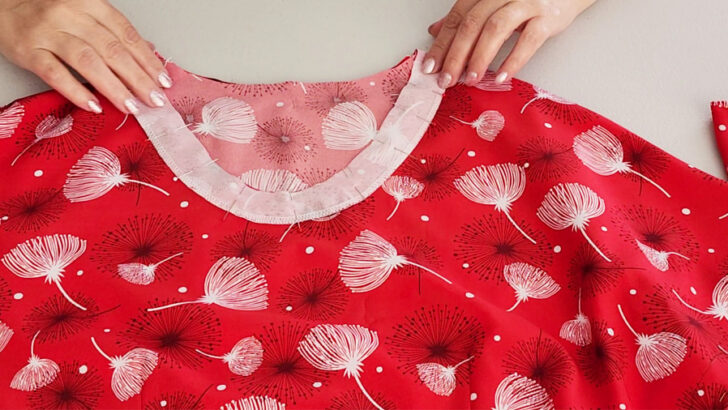
Clip curves of the seam allowances at regular intervals. Stitch facing to seam allowances close to the seam. Turn facing to inside, press the seam slightly to the wrong side so it won’t show on the right side of the dress. Topstitch the facing ½ inch from the edge.
I have a detailed tutorial on how to sew facing, so check it out.
✅ Related tutorial: Shaped facing: a detailed tutorial on how to sew facing to a curved neckline
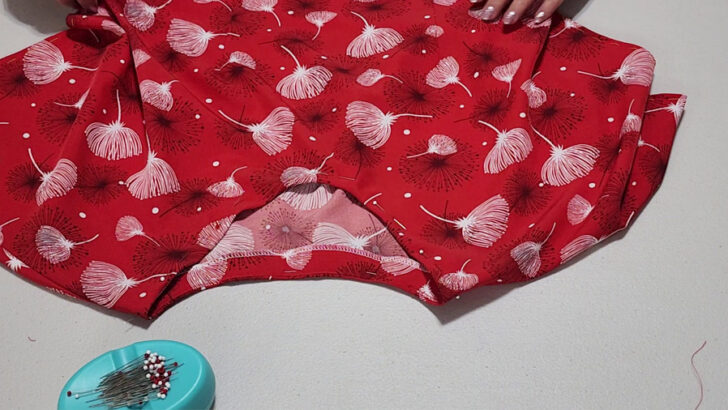
Step 7. Sew the top and the skirt together
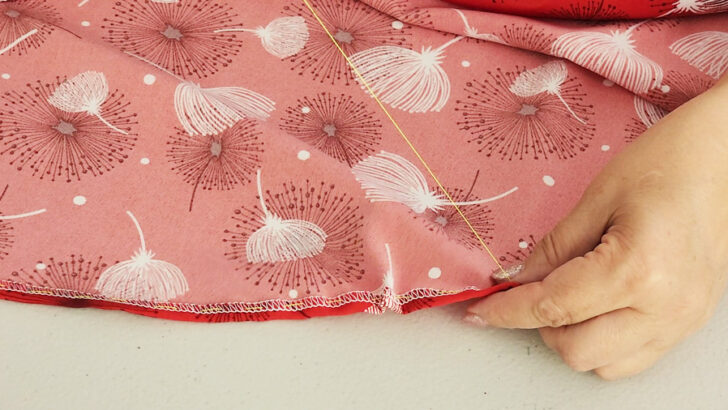
Pin the skirt right side together with the top matching side seams. Stitch using the serger stitch – 4 thread 2 needle stitch. Press seam allowances down (or up, it doesn’t really matter).
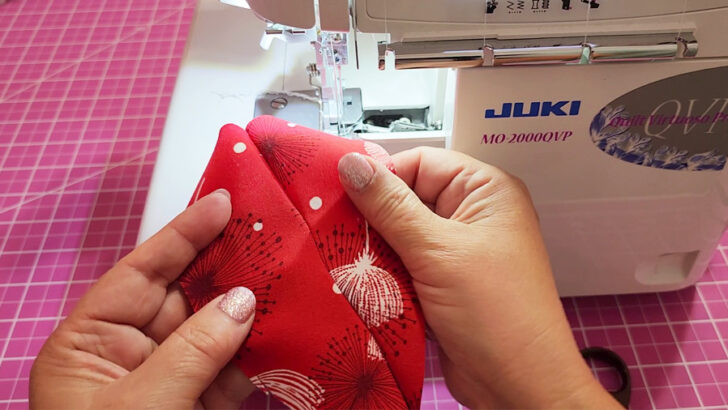
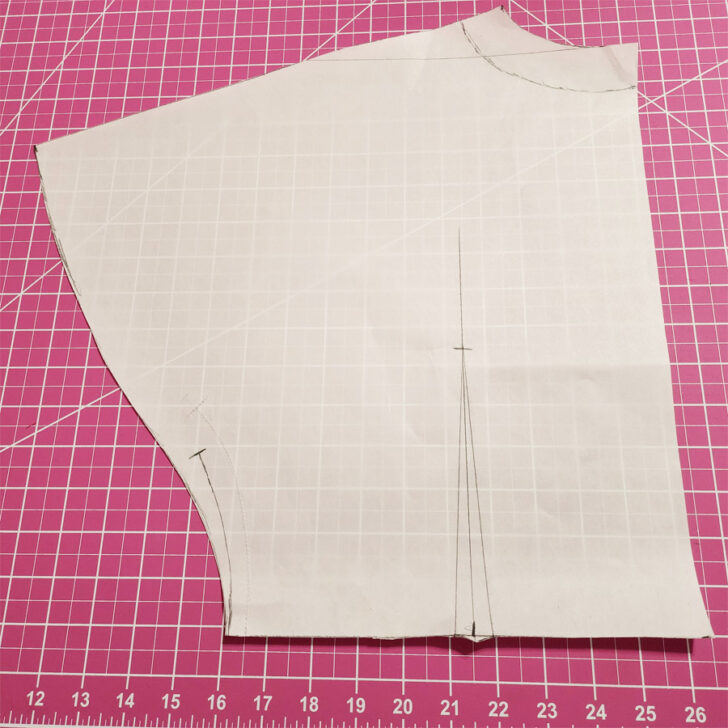
Make 2 seams on the dress connecting the front and back pieces together starting from a point where the side seams of the dress meet the waistline. The length of the seam is about 4 inches. I couldn’t make an image of the seams on the dress as they are practically invisible but here is the image of the pattern and you clearly see the seam.
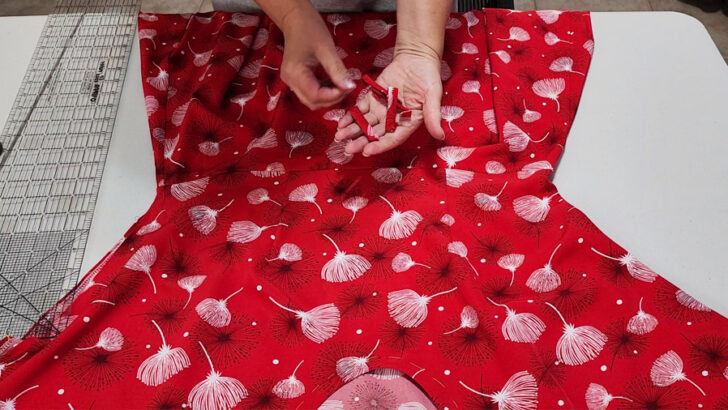
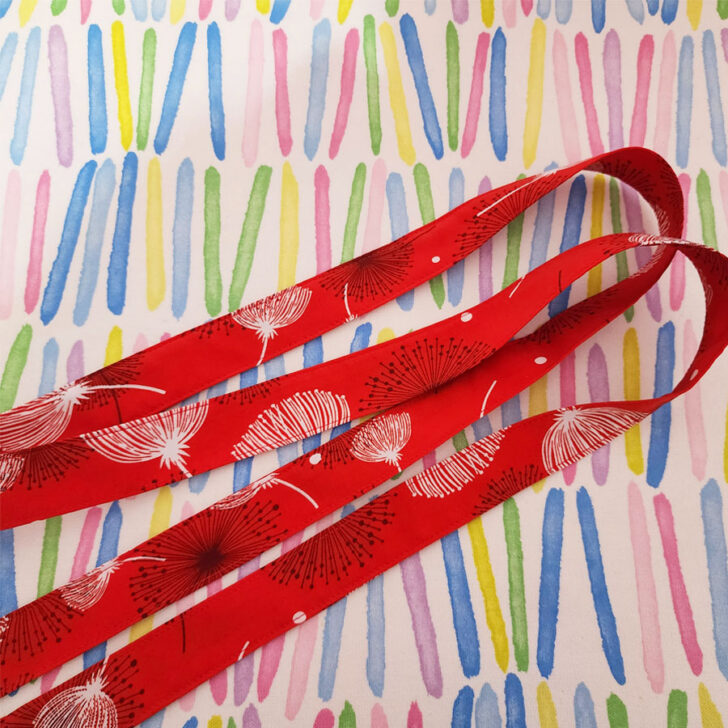
Step 8. Sew 4 belt carriers and the belt
At this point, the dress is practically ready. But I would like to make a belt for the dress from the same fabric. And if you want to use a different belt you will still need to sew 4 belt carries to the dress.
How to do it? Let me show you.
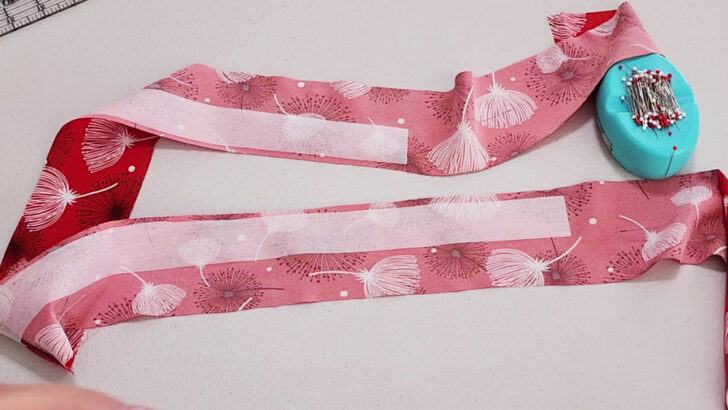
Fold long edges of the strip for belt carries in half lengthwise, wrong side facing up.
Stitch edges together using your sewing machine, keep seam allowances ¼ inch.
Turn the strip right side out – I usually use a safety pin for this. Press. Topstitch both edges of the strip.
Cut strip into 4 equal pieces. Fold the edges of each piece inside for a finished length of 1 ½ inch and press.
Stitch belt carries to the dress – two to the front near the darts, and two to the back.
Fold the fabric for the belt in half lengthwise with the right sides together. Pin the long edges together and sew a 1/4 inch seam allowance, leaving both short ends open.
Turn the fabric right side out using a safety pin, a special tool or even the handle of a wooden spoon.
Fold the raw edges of each short end inwards by 1/2 inch and press with an iron.
Fold the unstitched edges of the belt in half with the wrong sides facing each other and align the folded edges of the short ends. Pin in place.
Sew along the folded edges of the short ends to secure them together so that they form a neat square shape. You can do this by hand or with a sewing machine.
Topstitch the long edges of the belt making sure the seams are straight and neat. Press the entire belt flat with an iron.
If this tutorial was useful, keep it close. Save the pin below to your sewing Pinterest board so it’s easy to find the next time you’re ready to make a dress with your own measurements. And follow me on Pinterest for more tips, tutorials, and inspiration!

latest posts
- How To Sew Curves the Easy Way Using a Curve Master Presser Foot
- 30 Sewing Hacks That Turn Ordinary Items into Useful Sewing Tools
- Seam Allowances in Sewing Patterns: What They Are and How to Use Them
- What Do You Call a Person Who Sews? I Asked My Readers and Got 1,408 Opinions
- DIY Round Purse: PDF Sewing Pattern and Detailed Instructions
- Mini Wonder Clips By Clover: Useful Sewing Tool Or Just Another Notion?
- Non-Slip Grips For Quilting Rulers: A Small Notion With A Useful Job
- Fabric Eraser for Sewing: What It Removes and When to Use It
- What Is The Best Thread For Sewing Machine Projects? Let’s Find Out!