DIY mesh bag/video sewing tutorial / in the hoop projects
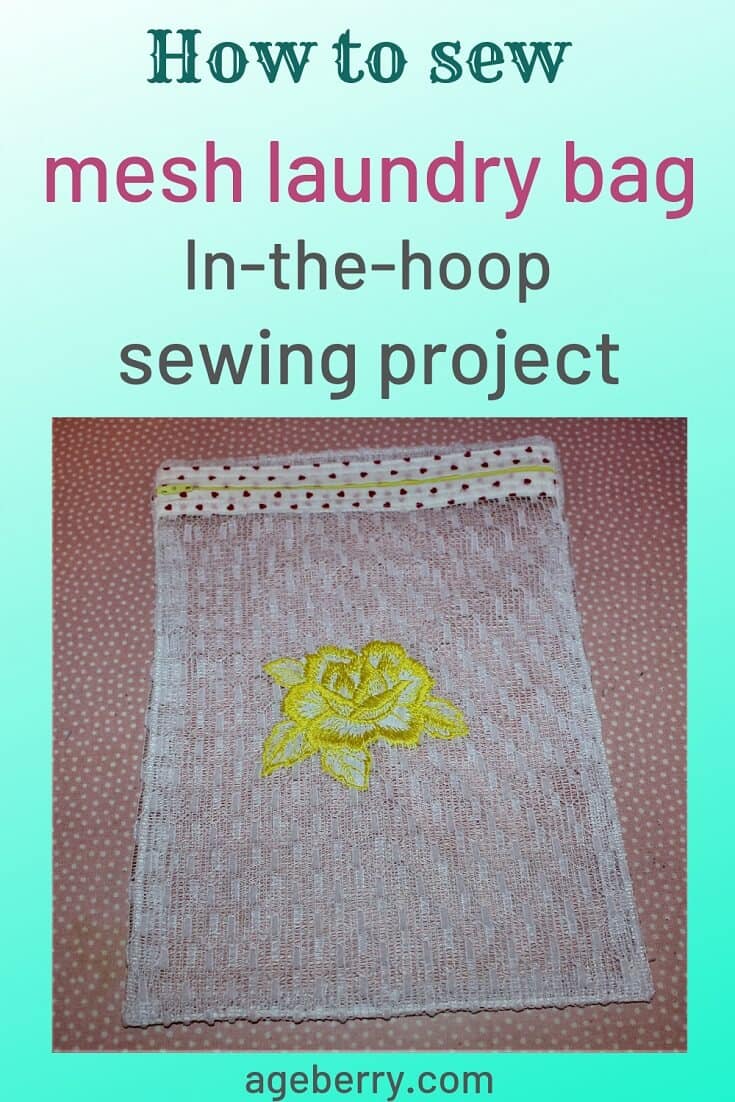
In this sewing tutorial, I want to show you how to sew a mesh laundry bag with a zipper for delicates, underwear, and socks. It’s a fast and easy sewing project. Learn how to make free in the hoop zippered bag.
If you prefer to watch the tutorial go to my YouTube channel here.

Of course, you can buy a mesh laundry bag in a dollar store just for one dollar. But when you actually USE it you notice the zipper doesn’t work anymore because it’s broken, or the stitches come apart everywhere!
So after disposing of many store-bought bags, I thought enough is enough and decided to make a good quality laundry bag that I can use not once but many times.
But what mesh fabric to use? Why not go with an upcycling project? I had an old piece of a lace curtain and I thought it was time to use it, and – why not – save the environment a little in the process.
This fabric has plenty of holes for water to go through.
Also, I have decided to make my bag in the hoop using my embroidery machine. Did you ever try to make in the hoop projects? By the way, do you know what is in the hoop project? It means I will make my bag right on my embroidery machine and the machine will do all the work – magically stitch all the seams and even sew a zipper.
This is my first attempt to make in the hoop project and I am really wondering how it will go.
So, the first step is preparing the mesh fabric. I just cut a rectangle that’s bigger than my biggest embroidery hoop. I made it 42 x 15 inches. But in the end, it was kind of too big for the bag.

I also prepared some cotton fabric to use around the zipper. I pre-washed the cotton fabric in hot water. I am making a laundry bag so this will go to the washer very often, and I don’t want the cotton fabric to shrink after I make the bag. So I pre-shrinked it before using it.
Cotton fabric can be easily ripped, by the way. It’s a fast way to make perfectly straight strips from cotton fabric. I don’t want these cotton strips to be very wide. They are 2 inches wide. And their length is the same as the mesh fabric.

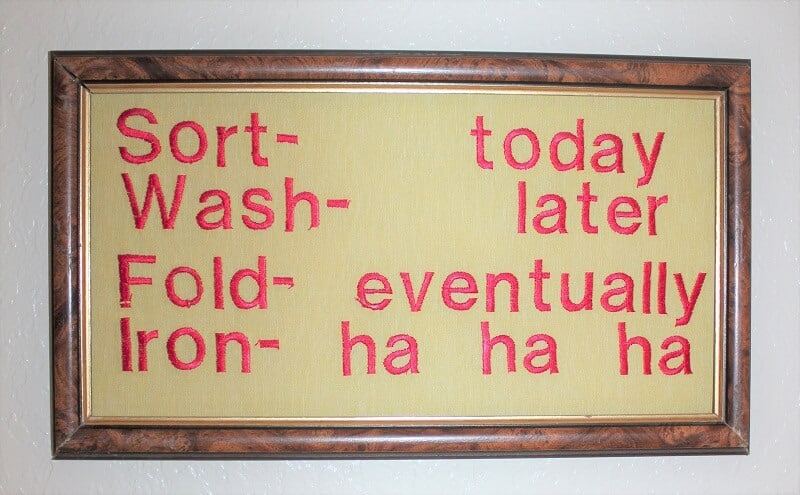
Oh, I want to show you what wall decor I made (with my embroidery machine) for my laundry room. Just for fun!
Note: Some of the links on this page are affiliate links. This means I will receive a commission if you order a product through one of my links. I only recommend products I believe in and use myself.
A funny sign is really taking the dullness out of your laundry room; if you don’t want to make one, or simply need inspiration, there are some funny signs for sale on Amazon; some are really funny!
Now I have to determine approximately where I want to place my zipper.
So in the front of the bag I will have two pieces and the zipper will be sewn between them.

I found mesh fabric for sale suitable for sewing laundry bags! Check it out below.
Annie Mesh Fabric Lightweight 18″x 54″ White, 18″ by 54″
The next step is attaching the cotton strips to the mesh fabric. I could use pins but I like to use these special clips called wonder clips for basting my pieces. I should mention also that I am using very strong thread, thin, number 40, but really strong because I don’t want my seams to be broken after a few washings.

Neither the thread nor the clips are specific for this project, I use them as a matter of fact.
MumCraft Multipurpose Sewing Clips with Tin Box Package, Assorted Colors, Pack of 100
Superior Threads Omni 40-Weight Polyester Sewing Quilting Thread Cone 6000 Yard (Natural White)
After I stitched the pieces together I pressed the seams and I also folded 1 cm in and pressed it. I want to hide the seam allowances inside these cotton strips. I think my laundry bag may last forever if I do this.
If you are going to make the same laundry bag following my tutorial make sure the strips are perfectly straight. Use pins for that and press them before stitching. So I created cotton edges that will go next to the zipper.

From now on I am going to use my embroidery machine to continue with the project.
I took my biggest hoop and placed two pieces of tearaway stabilizer. They have to stay tightly in the hoop and should not have any wrinkles. So I connect them together with a masking tape.
Now I need to mark the place where the zipper will be put on the stabilizer. This line has to be parallel to the hoop side and be very straight.
I have to mention now that I pre-washed even my zipper in very hot water.
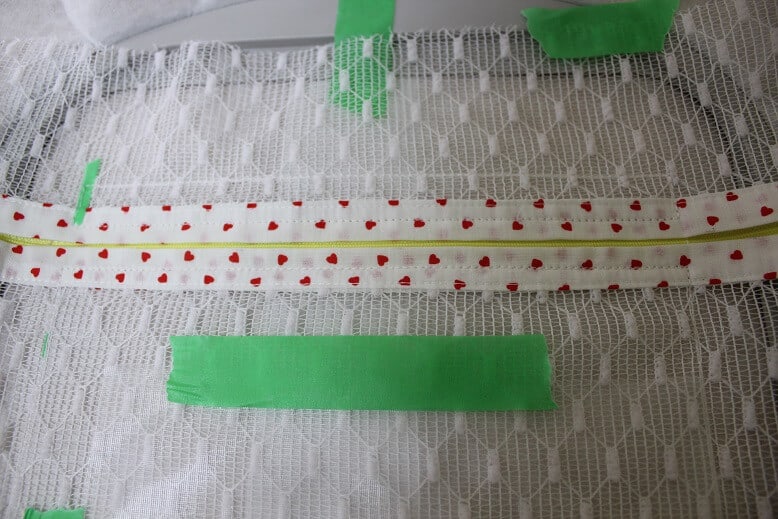
Close the zipper and match up one edge of the zipper with the marked line.
Make sure that the zipper is placed right side up and the wrong side is down against the stabilizer. The zipper should be longer than the hoop. You will see that the zipper ends hang over on both sides. We will cut them later. Use masking tape to hold the zipper in place. When the machine will make stitches over the tape don’t worry, you can take the tape out later without any problem.

Now let’s sew the zipper to the stabilizer.
My Destiny embroidery machine scanned my hoop and here is what I see on the screen. I choose a rectangular shape from my machine and shrink it to match my zipper.
The machine will sew the zipper with straight stitches. Remove the hoop from the machine after that. But don’t remove the stabilizer with the zipper.

Let’s take the masking tape away now. This painter’s tape is so useful. I use it all the time.
Now I place the prepared fabric pieces next to the zipper teeth. That’s where the front pieces go. Make sure the cotton edges go alongside the zipper.
I put the hoop back and chose again 2 rectangular shapes – one smaller and one bigger to attach fabric pieces to the zipper. The length of these rectangles should be exactly the same as the first rectangle we stitched.
The machine sews the seams. They are perfectly straight. I think it was the easiest zipper I have ever sewn. The stitches look really nice. Sewing a zipper in a perfectly straight line can be a challenge. Not with this in the hoop technique – the machine does all the work by itself almost.
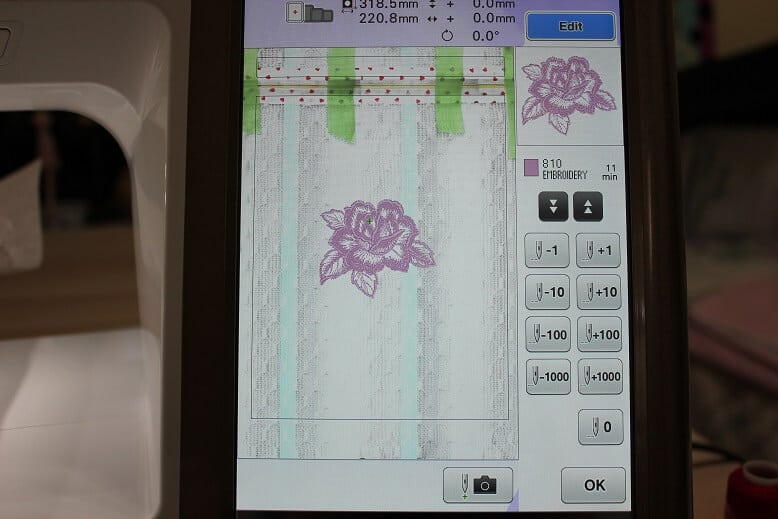

Now I would like to add some embroidery to the front piece of my mesh laundry bag. Why not, right?
Did you ever make embroidery on mesh fabric? I didn’t. But I want to give it a try. I think I will choose a lace embroidery design. But for the embroidery, I will have to use water-soluble stabilizer.
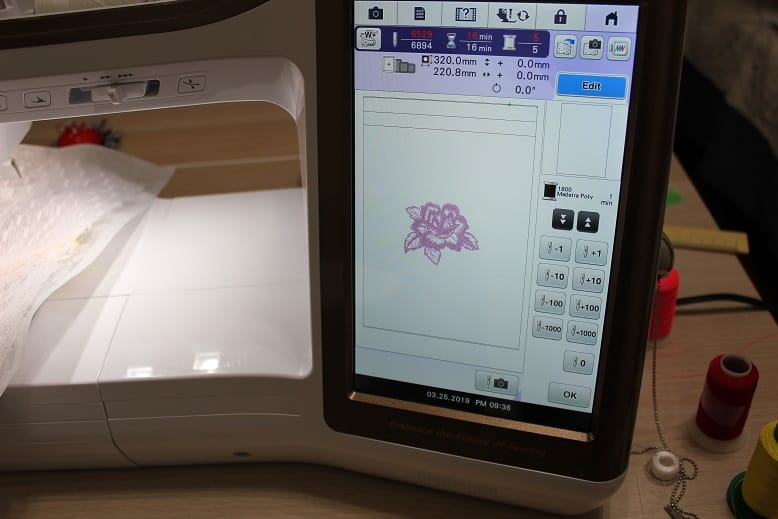
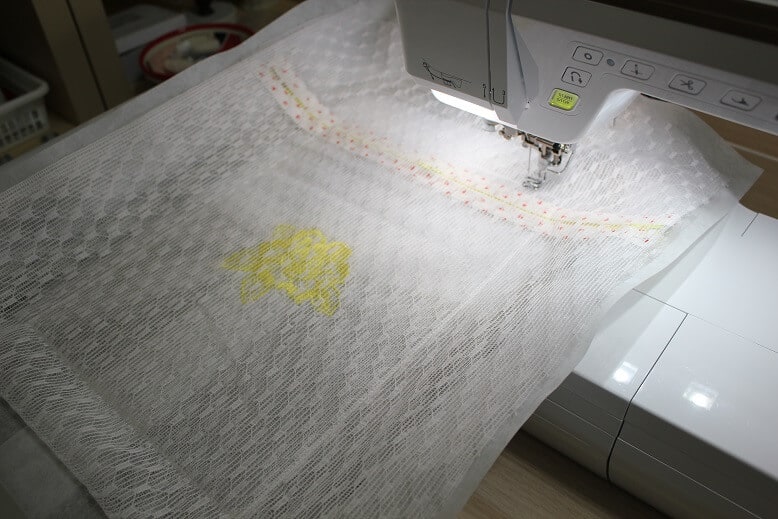
Let’s put the hoop back in the machine and change the top thread – now I am going to use regular embroidery thread, I want a yellow color to match the color of the zipper.

After my embroidery is done I have to remove the stabilizer and prepare the hoop for the final stitch.
First of all, I have to move the zipper tab to the center leaving the zipper half open. If you don’t do it you will not be able to open the bag after everything is sewn.
I place the back piece on top of the front piece matching up the edges and smooth the mesh fabric inside the hoop and put the hoop back in the machine.
Now the machine will have to sew the final rectangle so we will have our bag.

After the final stitch, I am carefully removing the tearaway stabilizer from the back of the project.
I trim away seam allowances and cut off the extra zipper length on either side of the bag.
And the final step – turn the bag right side out through the open zipper.

Ok, here I have my nice laundry bag.
I am glad I decided to give in the hoop project a try. My Destiny sewing machine can do so many things, not only embroidery.
They said that in the hoop projects are supposed to be extremely simple and fast. Now I can see it myself.
And I really like this fine little laundry bag that will protect my delicates in the washing machine and is strong enough to survive more than a few washings.
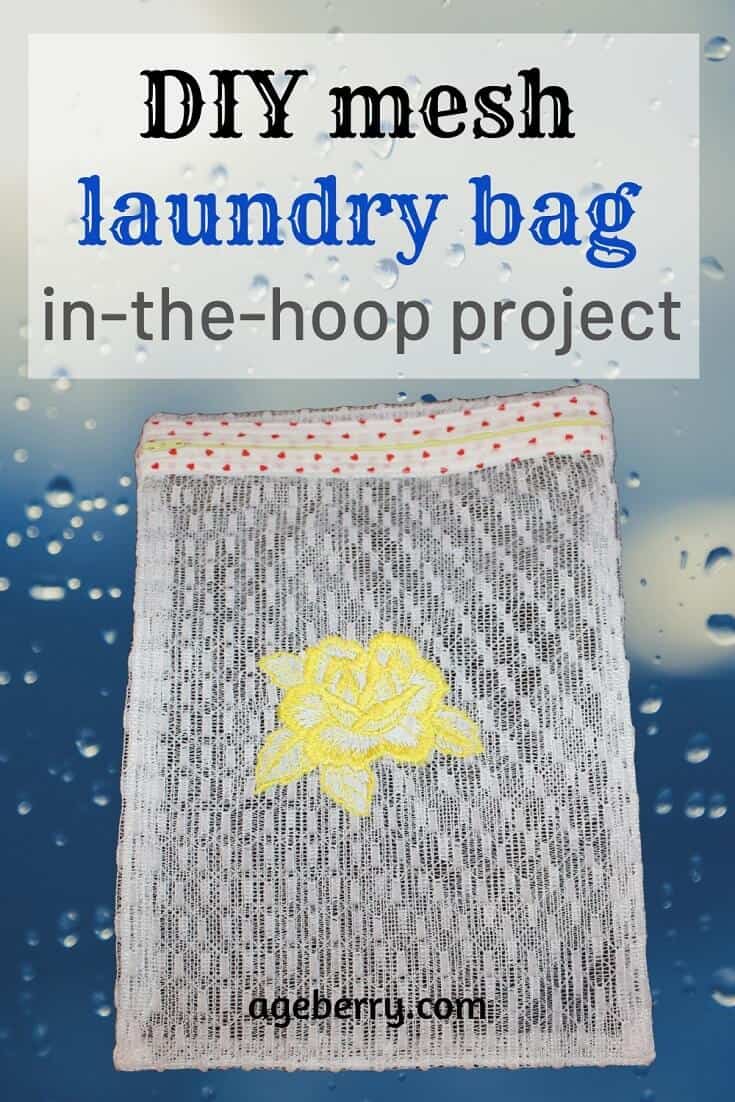
Did you find this tutorial helpful? If so, save that pin (see above) on your sewing board so you can come to this tutorial later when you want to sew a mesh laundry bag, and follow me on Pinterest for more tips, tutorials, and inspiration!
latest posts
- What Do You Call a Person Who Sews? I Asked My Readers and Got 1,408 Opinions
- DIY Round Purse: PDF Sewing Pattern and Detailed Instructions
- Mini Wonder Clips By Clover: Useful Sewing Tool Or Just Another Notion?
- Non-Slip Grips For Quilting Rulers: A Small Notion With A Useful Job
- Fabric Eraser for Sewing: What It Removes and When to Use It
- What Is The Best Thread For Sewing Machine Projects? Let’s Find Out!
- Butterfly Quilt Block Tutorial – Foundation Paper Piecing
- How To Sew Quilt Squares So The Corners Match
- Sewing With Fork Pins: How They Help With Pattern Matching, Slippery Fabric, And Seams