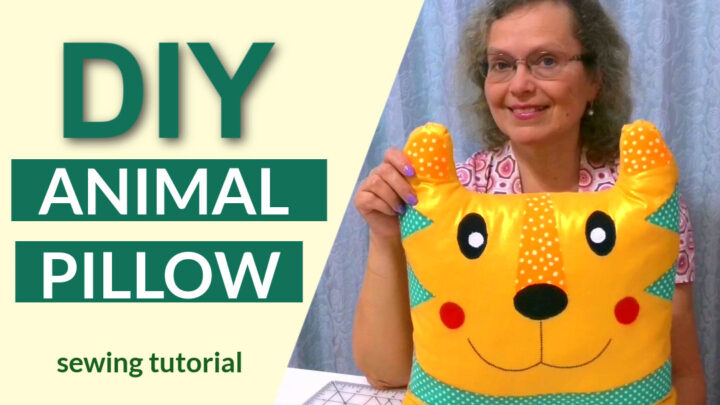
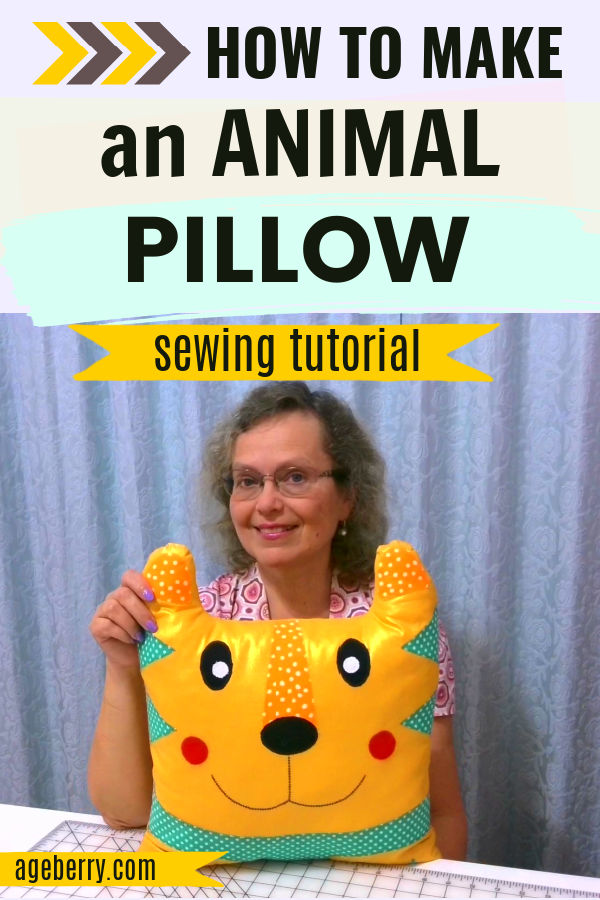
How to make a stuffed animal pillow: easy sewing project for beginners
Do you want to make an adorable animal pillow for your kids?
The best thing about animal pillows is that they can be used for more than just sleeping on them. They are super cute, comfortable and sure to delight any child. They’re also a way to add some color and cuteness to your home!
So, if you are looking for an easy way to sew something cute and adorable, then this tutorial is just what you need!
This tiger pillow is the perfect choice for any kid who loves animals. It’s also very simple to make – all it takes is some fabric, stuffing and beginner’s sewing skills. You can even use leftover scraps of fabric from other projects! And it’s not just the final product that you should enjoy—the process itself will help you improve your sewing skills.
This tutorial includes step-by-step instructions as well as detailed pictures showing each step along the way so anyone can follow along easily.
Attention! If you like the video format, at the bottom of this post, look for a YouTube video version where there is a step-by-step tutorial on how to make an animal pillow. For a more complete picture, I recommend exploring both versions.
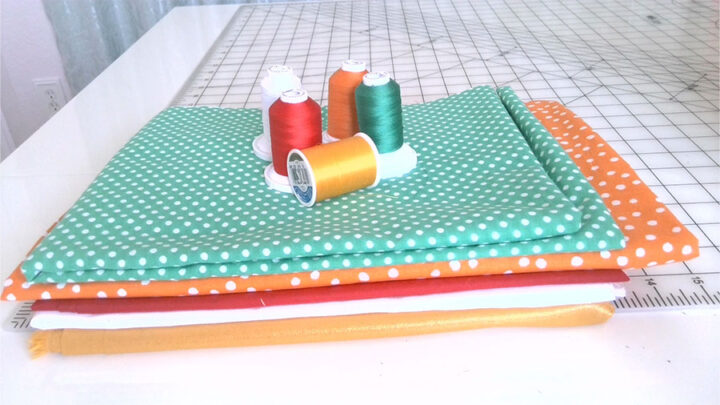
First of all, gather all materials needed for this project – fabric pieces, stuffing material, sewing machine, fusible web for making appliques, and of course a pattern. The pattern is available in my shop.
But before actually doing this project, read the whole tutorial because I will show you in detail what materials exactly you will need.
Step 1
Printing and assembling an animal pillow pattern PDF
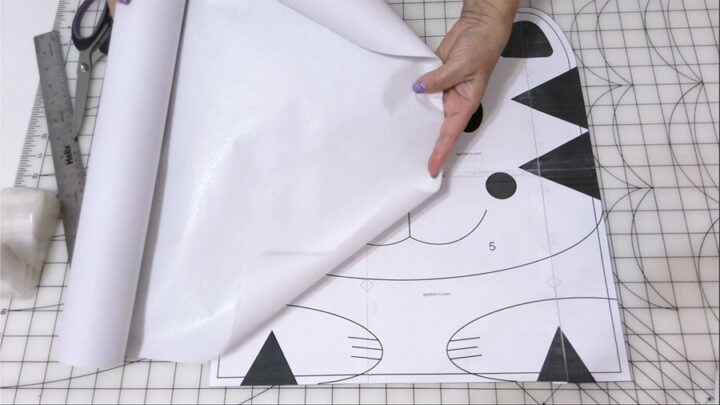
Print the PDF pattern for the pillow, it’s only 6 pages. I put numbers on these pages. Assembling the pattern is pretty easy.
Start with your first row, pages 1, 2, 3. Draw 2 lines like this on page 1, cut page 1 along these lines, and overlap it on page 2.
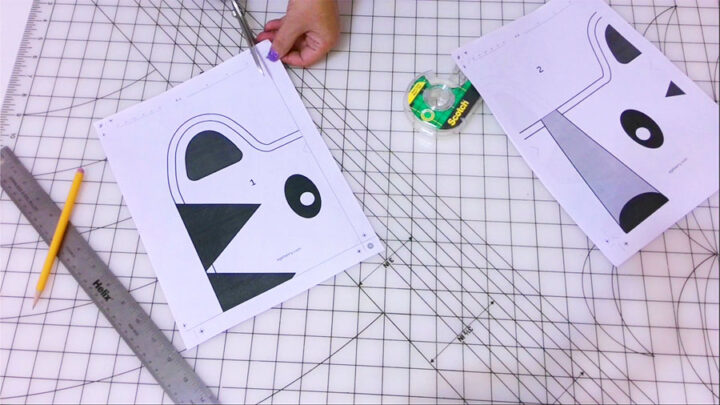
Line up the pattern lines. You will also see these small triangles that will help you line up your pattern even easier. Tape the pages together.
Now prepare the second page and line everything up and tape the 2 and 3 pages together. When taping, try to keep the pages so they don’t shift.
And here we have our first row.
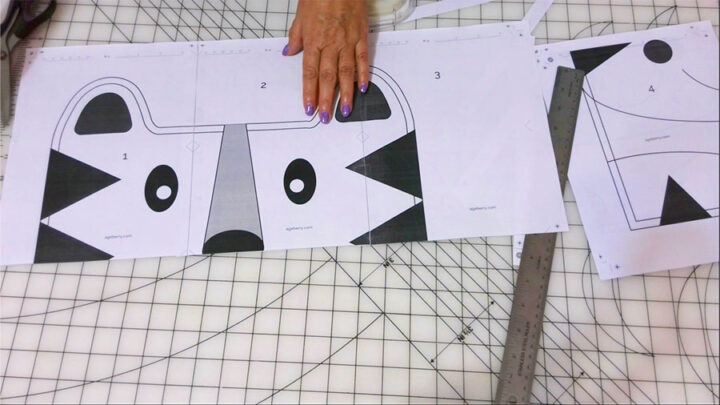
After your first row is assembled, continue on with the next row aligning the tops and the sides of your pages.
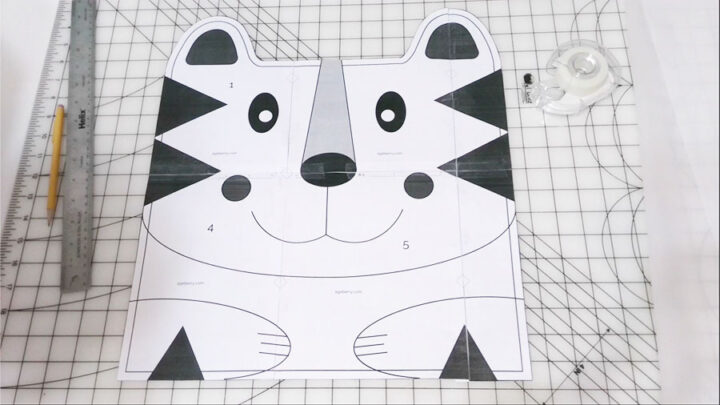
And this is the result, our pattern is ready.
Step 2
Cutting applique pieces for the animal pillow
Now we have to deal with all these small design pieces that make our pillow top. Do you know a fast and easy way to cut and sew them?
I am going to use a technique called “raw edge applique”.
Let me show you what you will need for this.
Note: Some of the links on this page are affiliate links. This means I will receive a commission if you order a product through one of my links. I only recommend products I believe in and use myself.
So, this is fusible web.
It has adhesive on both sides. Usually, one side of fusible web is paper-backed.
Fusible web is perfect to use for applique because you can position an applique easily and very precisely and secure it to the base fabric without pinning or basting. It holds the applique in place and you don’t have to worry about it shifting. Also, fusible web stabilizes the applique fabric which makes it easier to cut and stitch. Fusible web also prevents (to some degree) fabric from fraying which is really helpful.
There are many types and weights of fusible web. I prefer to use the lightweight fusible web because I don’t want my appliques to be stiff, I want my fabric to keep its drape and I also don’t want to have problems with gumming up my needles when I sew appliques in place.
We need to trace some pieces on this paper-back fusible web. You can see through this paper pretty well. First, I will trace the biggest piece of the tiger’s body. You can continue tracing all other small pieces – 4 big triangles, 2 smaller triangles, eyes, nose.
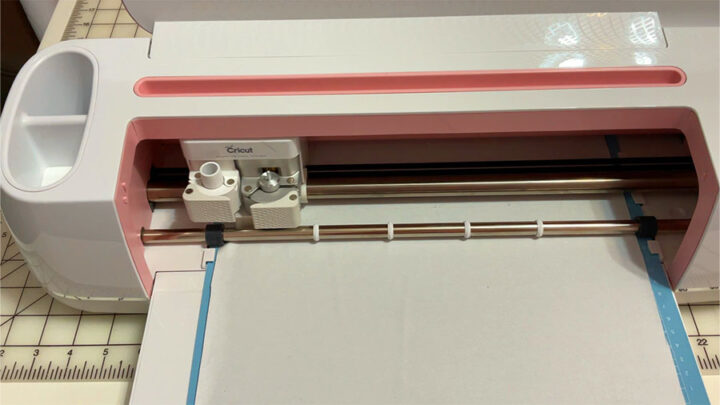
But I prefer to cut all these pieces using my Cricut Maker. If you have Cricut you can use SVG files that come together with my pillow pattern. So, just load this SVG cutting file on your Cricut and you will have perfectly cut applique pieces for the pillow.
Use only a lightweight mat, it’s blue. Put a piece of fusible web on the mat, paper side down, glue side up and cut.
If you don’t have a Cricut you sure can cut everything with scissors, not a big deal.
Step 3
Fusing applique pieces to fabric
Now that we cut all these small applique pieces we have to fuse them to coordinating fabrics. I used green fabric, orange for a nose and ears, black for eyes and a nose, red for cheeks and white for eyes.
Any type of fabric can be used for applique. Just have in mind that the applique fabric has to be compatible with the base fabric. For example, if you are going to wash the finished product, use fabric for an applique that’s also washable. It’s recommended to prewash your fabrics before cutting an applique. Also, it’s not really good to use for applique fabric that frays easily.
I used mostly quilting cotton for my applique pieces. But I didn’t have black cotton so I used cotton jersey fabric for the nose and eyes.
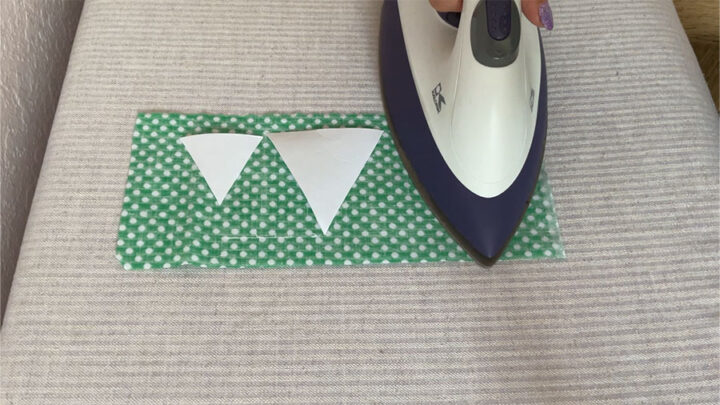
I advise you to do a test first on a scrap piece of your applique fabric, so you can see how it works. You can always use manufacturer’s instructions coming with your fusible web so you know what is the correct iron temperature and whether to use steam or dry iron. You can adjust the iron temperature after testing. Sometimes manufacturers recommend to fuse using steam and sometimes you will need to use a dry iron.
You should always fuse fusible web on the wrong side of your applique fabric. Press for 3-5 seconds to get a good bond. But don’t keep the iron too long also as the heat may scorch the fabric.
The applique should stick to the fabric so you can’t lift it.
Step 4
Cutting the base fabric for the animal pillow
Now is the time to cut the base fabric.
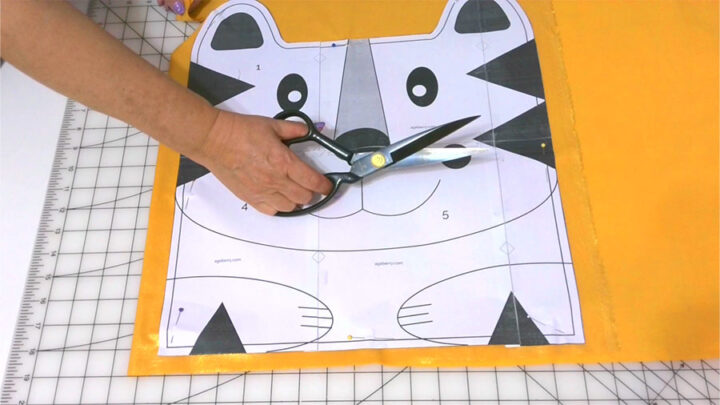
We need to cut 2 identical pattern pieces for the pillow top and pillow back. So fold your fabric, place the pattern and use pins to secure the pattern on the fabric. Cut using good fabric shears. Do you have good fabric scissors?
Recently I bought these scissors and I can say they are the best even if they are not brand name. They are inexpensive but work really great.
✅ Related tutorial: Cutting Tools For Sewing: Ultimate Guide
You should choose a soft easy-care fabric for your pillow like 100% quilting cotton.
Whatever fabric you choose for your pillow, make sure that it is comfortable and soft.
You should also make some snips that will help you to attach the applique pieces to the pillow top. Make snips around all edges.
Step 5
Transferring pattern lines for the animal pillow
Now we need to transfer some lines onto base fabric.
For this I am using tracing paper and a tracing wheel. Just insert the tracing paper between the pattern and the fabric and trace the necessary lines.
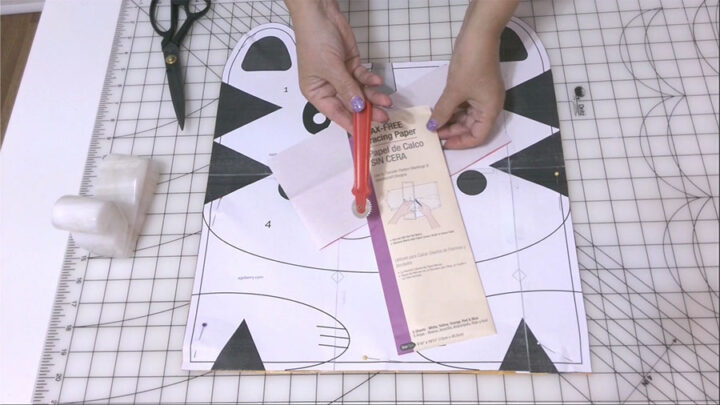
I can also trace placement lines for eyes and the nose. There are only a few lines you need to trace and it’s very easy to do with the tracing wheel. Do you use it for your sewing projects?
✅ Related tutorial: Tracing Wheel In Sewing – What It Is And How To Use It
Step 6
Fusing applique pieces to the tiger pillow top
Ok, we cut the fabric. Now is the time to arrange the applique pieces on the pillow top.
And it’s so easy to do now as we have fusible web attached to the applique pieces.
I have to peel off the paper backing and sometimes it’s almost impossible to do it. So here is the trick – if you can’t find a paper edge to start peeling, use a pin to scratch the paper in the middle of the applique and you will see how easy it is to peel the paper off this way.
Adhesive side (that was under the paper) goes on the right side of the fabric.
I just press the appliques with my fingers and they are fused.
I know some types of fusible web need to be pressed with an iron and the applique will stay in place only after pressing because the adhesive side needs to be activated by the heat from an iron. But my fusible web is different, I don’t need to use an iron, I just press with my fingers.
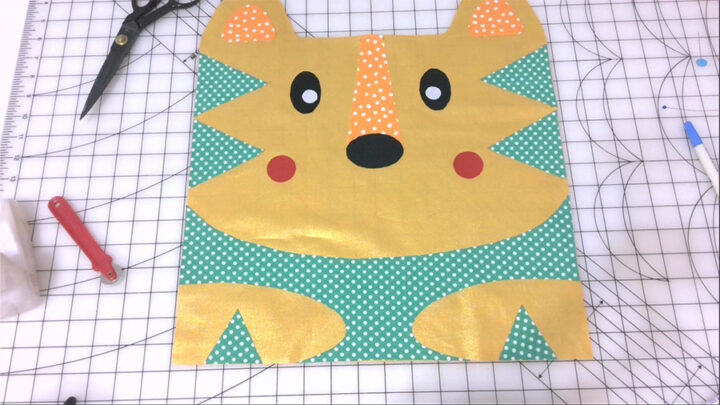
And here I have all the applique pieces attached.
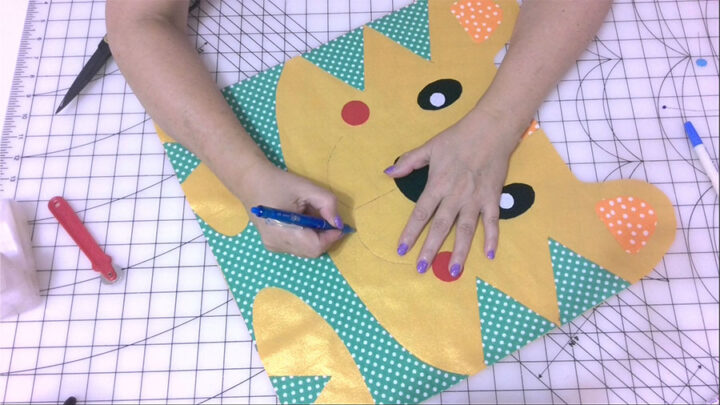
Now I am going to show you a very interesting fabric marker – this Frixion pen. Do you know what it is? I can mark my fabric easily and the marks will completely disappear when I use hot iron. I want to mark some pattern lines on my pillow fabric so I can clearly see them when I sew with my machine.
And we are ready to take the pillow top to the sewing machine.
Step 7
Stitching the applique pieces to the animal pillow top
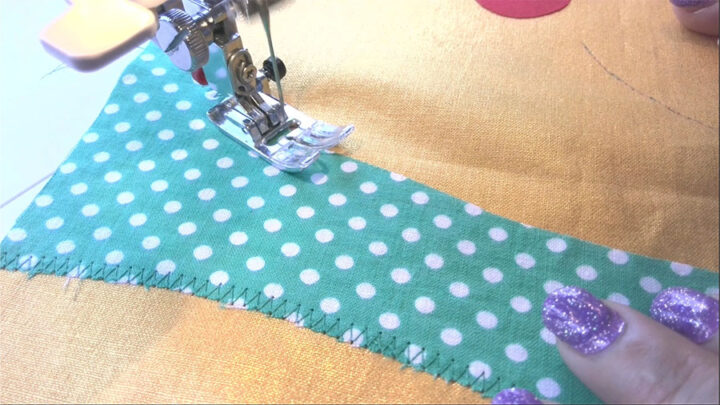
So the next step – sewing. You have to stitch all these pieces in place and to finish the raw edges. There are many stitching techniques available. Most common way to do it is just to zigzag stitch by sewing machine.
Stitch so one edge of the zigzag falls in the applique fabric and the other edge goes just past the raw edges of the applique into the base fabric.
This kind of stitching takes a little bit of practice and you may notice that you went too much on the base fabric or you stayed only in the applique fabric without even going onto the base fabric. But don’t worry, it’s ok, it will not be really visible. But still , try to sew slowly and make zigzag stitches nice.
You will also need to choose threads for your applique pieces. The thread color should match the applique fabric not the base fabric. So for green pieces I used green thread, for red pieces I used red thread, and so on.
✅ Related tutorial: Sewing thread types and uses
I’ve set up the machine to do a standard zig-zag stitch with a length of 2 millimeters and a width of 3 millimeters. I would recommend that you test the setting on scrap fabric before you actually sew this onto your appliques. This zigzag stitch not only looks nice but it will help to prevent fraying.
As you reach a corner, it’s a little bit tricky, the angle is acute and you don’t want your stitches running onto the base fabric and not onto the applique fabric. So you need to stop the machine with the needle down in the fabric, lift the foot and move the fabric so your next zigzag stitches will be going right on your applique fabric.
I recommend doing this in a few steps, not in one step. Move the fabric slightly, make a zigzag, stop again and move the fabric again. You can practice on scrap fabric doing this.
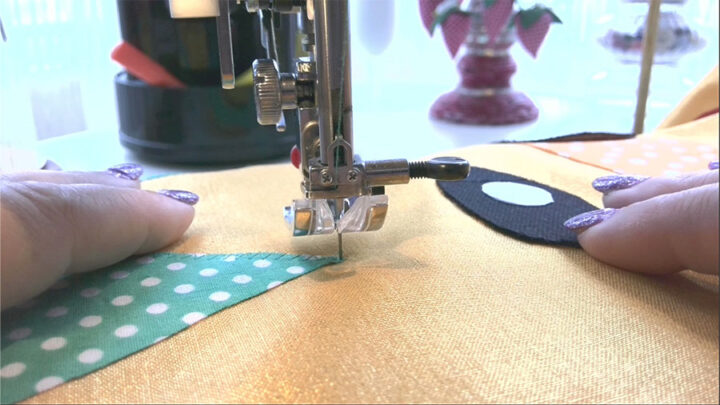
And after you are done with the corner continue stitching.
And after that, stitch all applique pieces in the same exact way. It’s not hard, believe me.
The only problem is stitching the smallest part of the eye – this white circle. Use white thread of course. The part is really really small and you have to sew carefully and stop practically after every zigzag and turn the fabric slightly.
Fusible web can gum up your needle. It may happen if you are using heavyweight fusible web, or if you are using the same needle for many applique pieces as I was doing. Just clean the needle with alcohol if you still want to use it to finish the project.
There are some special needles from Schmetz that are covered with non-sticky coating – they are a great choice for stitching your fusible applique.

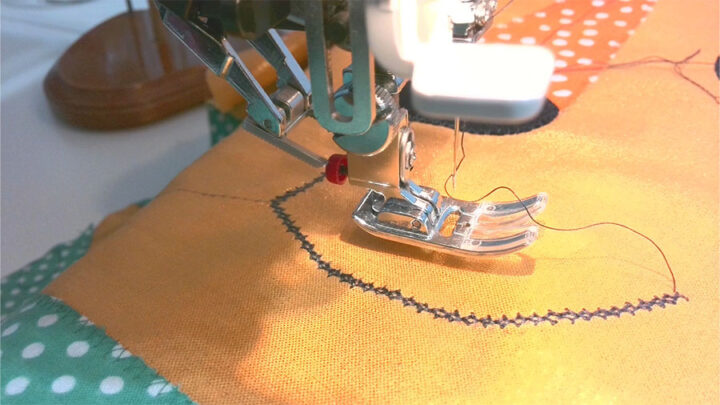
And now let’s make some stitches over the marked lines. Choose a decorative stitch on your sewing machine. I think a regular straight stitch would be too thin for this. You can use a zigzag stitch too. I decided to go with this stitch. But there are many other options, you can even use a thin ribbon to outline the mouth and nails.
Step 8
Sewing the tiger pillow
So we made all the preparations and now let’s sew the pillow.
Lay the back piece on top of the front piece with the right sides together, now you have the right sides on the inside. Pin around the perimeter of the pillow but we need to leave an opening at the bottom for stuffing so pin just about 3 inches in from each edge.
Mark the beginning and the end of your seam. The seam allowances for this pillow are ⅜ inch or 1 cm.
Start stitching using a regular straight stitch of your sewing machine. Secure the stitches at the beginning by backstitching. The stitch length is regular here, I used 2.5 mm.
Backstitch at the end too to make sure that the stitching doesn’t come out when you will stuff the pillow.
Now clip your corners at an angle but don’t cut into the stitching when you clip your corners. Make a few snips around the ears too. You need to do this so that when you turn your pillow right side out it will be less bulky.
Turn the pillow right side out. Push out the corners. Use a chopstick for example.
Fold the bottom edges inside with ⅜ inch seam allowances and press with a hot iron. Iron the whole pillow.
Step 9
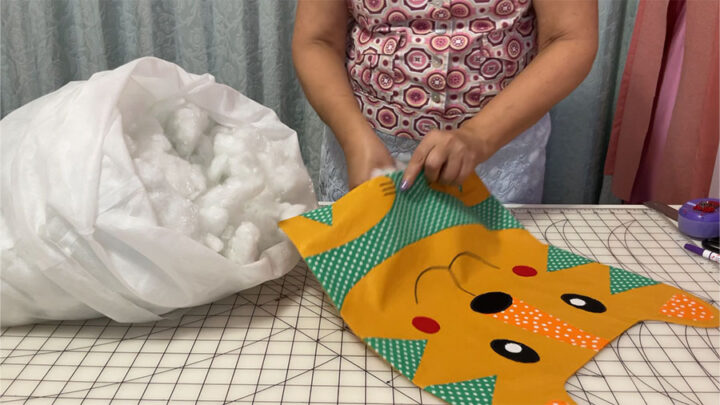
Stuffing the animal pillow
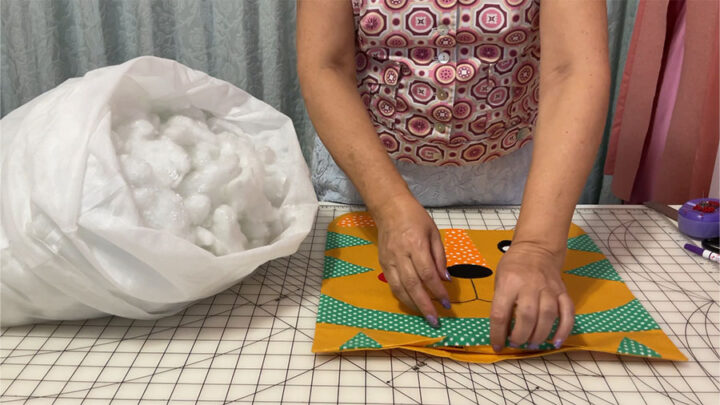
Stuff the pillow. There are many different choices for stuffing the pillow. But whatever you choose you have to make the pillow fluffy but not lumpy.
Start with stuffing the ears first then stuff the bottom corners. Stuff the rest of your pillow. You can put as little or as much stuffing into your pillow as you like. Have in mind that some of the poly fill is a bit lumpy and you need to break the lumps so the pillow is smooth and soft.
Don’t over stuff the pillow; it needs to be soft and not like a brick.
Step 10
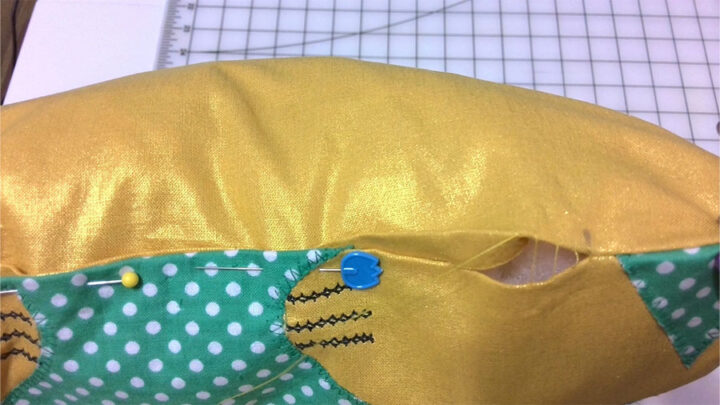
Sew the pillow closed
Next, pin the opening closed. Insert pins parallel to the edge of the pillow and hand sew the opening closed.
I have a detailed tutorial on my site on how to do an invisible stitch to close the opening so check it out if you are not sure how to do it.
So here is my YouTube video. Check this out if you like to see a helpful video on how to make a stuffed animal pillow (instead of reading).

——————————
Well, enjoy yourself while creating something useful and cute. Let me know how it goes when finished and send me photos of it. Your feedback means everything for me because I love seeing people enjoying my projects.
Did you find this tutorial helpful? If so, save this pin (see below) on your sewing board so you can come to this tutorial later when you are ready to make an animal pillow, and follow me on Pinterest for more tips, tutorials, and inspiration!
latest posts
- What Do You Call a Person Who Sews? I Asked My Readers and Got 1,408 Opinions
- DIY Round Purse: PDF Sewing Pattern and Detailed Instructions
- Mini Wonder Clips By Clover: Useful Sewing Tool Or Just Another Notion?
- Non-Slip Grips For Quilting Rulers: A Small Notion With A Useful Job
- Fabric Eraser for Sewing: What It Removes and When to Use It
- What Is The Best Thread For Sewing Machine Projects? Let’s Find Out!
- Butterfly Quilt Block Tutorial – Foundation Paper Piecing
- How To Sew Quilt Squares So The Corners Match
- Sewing With Fork Pins: How They Help With Pattern Matching, Slippery Fabric, And Seams