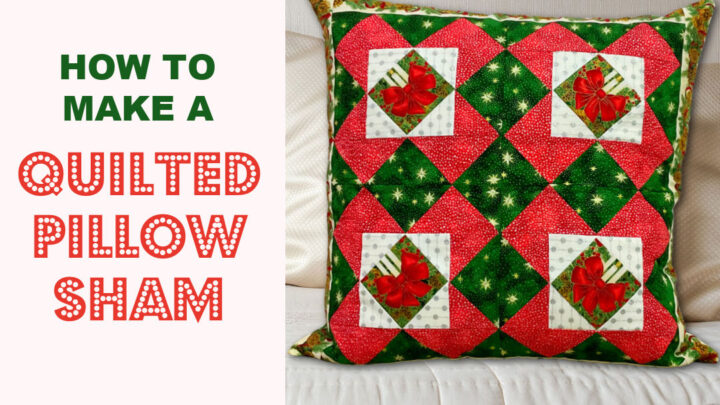
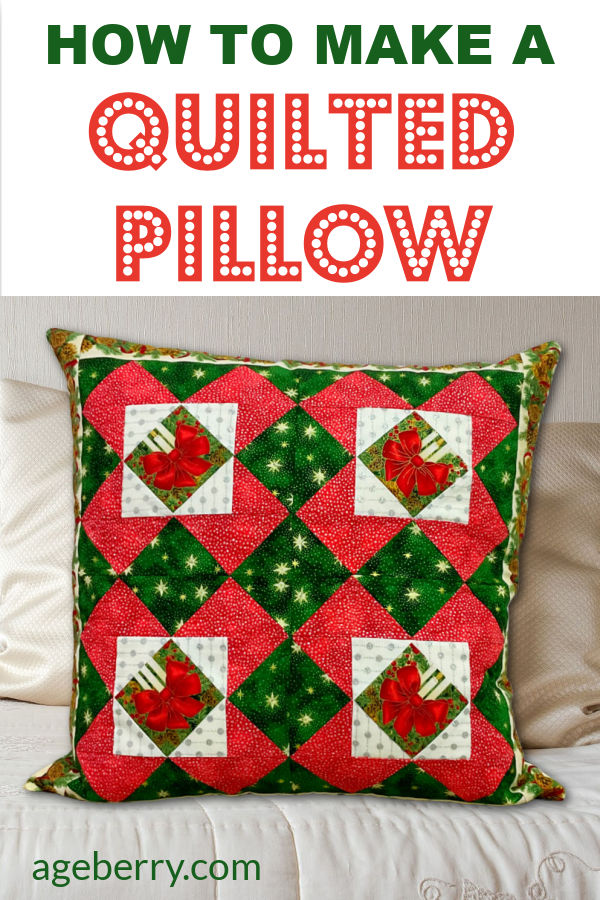
Quilted Pillow Tutorial: How To Make A Quilted Pillow Sham
In this tutorial, I will show you how to make a quilted pillow sham using an AccuQuilt Go fabric cutter.
I’ll walk you through the process step-by-step, and once you see how easy it is there are endless possibilities when it comes to patterns and colors. I know that you’ll love making more quilted pillow shams for yourself or as gifts for friends and family members. Your home decor will never be the same again once they see what beautiful pillows are now adorning your couch! You can use quilted Christmas pillows around the house as decorations or even just for comfort while watching TV! This tutorial includes helpful tips on sewing invisible zippers as well.
I’ve been staring wistfully at these gorgeous quilts for years, but it seemed it would take up way too much time for me to work on and I didn’t have time to spend hours cutting all these small pieces of fabric. I mean come on – who wants an elaborate sewing project when they only have so much free time?
Note: Some of the links on this page are affiliate links. This means I will receive a commission if you order a product through one of my links. I only recommend products I believe in and use myself.
Finally, I found a way to cut fabric for quilting fast! I discovered AccuQuilt Go Fabric Cutter and now I am just wondering why I didn’t buy that cutter years ago.
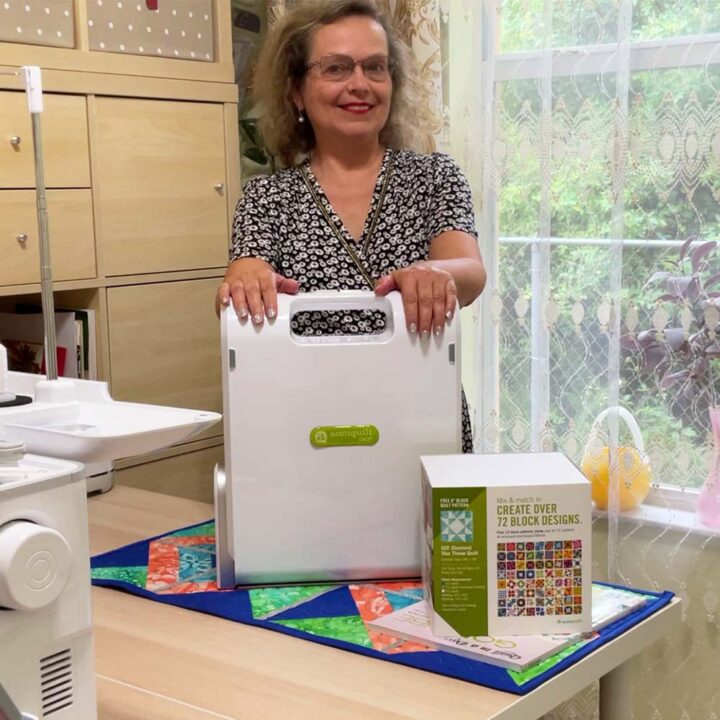
What is the AccuQuilt Go fabric cutter? It is the most efficient and easy-to-use fabric cutter on the market.
It’s a great way to cut fabric for a quilt. It can cut up to 6 layers at once, which saves so much time when compared with rotary cutting. With the AccuQuilt Go, you will be able to cut more accurately and quickly than ever before. This makes it easy for anyone from beginner sewers all the way up to professional quilters who want a better solution for their craft.
With just one pass through your AccuQuilt Go, you can cut complex shapes with ease – no more frustrating trial-and-error or wasted time trying to get it right! This innovative tool makes sewing easier and more enjoyable so that you can focus on what matters most – making beautiful quilts.
So if you are also looking for a faster way to get through your quilting projects, then the AccuQuilt Go fabric cutter is perfect for you.
Let me show you the AccuQuilt Go fabric cutter in action.
What you’ll need for making the quilted pillow sham
- AccuQuilt Go Fabric Cutter
- Fabric for the pillow. For my Christmas pillow sham, I used 5 different fabrics.
- Quilt pattern. I use the one that came together with my cutter.
- Piece of batting. I used fusible batting for this project.
- Invisible zipper (I use a fusible one)
- Pillow insert. My feather insert is 20″ square.
- Special 1/4″ presser foot (optional)
- Invisible zipper foot (optional)
- Regular sewing notions
You can find everything you need for this project at this link –
Shopping List for making a quilted pillow sham
Attention! If you like the video format, at the bottom of this post, look for a YouTube video version where there is a step-by-step tutorial on how to make a quilted pillow sham. For a more complete picture, I recommend exploring both versions.
Step 1
Cutting fabric for the quilted pillow sham with the AccuQuilt Go fabric cutter
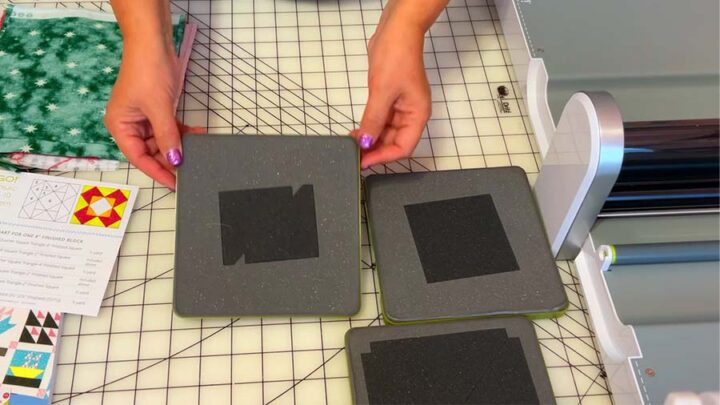
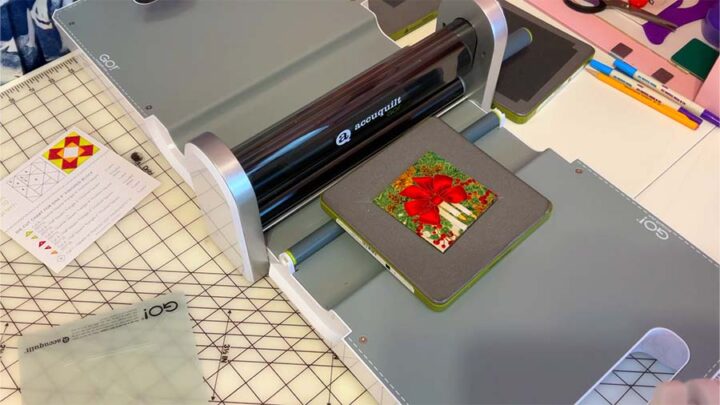
The AccuQuilt Go fabric cutter came with everything I needed to get started: the cutting machine, the Go Qube with 8 dies, a few patterns, and a cutting mat. I even got a DVD on getting started and a free book with patterns.
What are these AccuQuilt dies? They are metal squares with some foam on top and sharp blades inside. The dies are what give the AccuQuilt Go fabric cutter its power. With them, you can create precise and accurate cuts. They’re essential for the AccuQuilt Go cutter because it’s a die-cutting machine. All you need are the right dies for your quilt. With these dies, you get the exact same measurements every single time you cut a shape.
My fabric cutter is manual, which means it’s equipped with an easy handle that activates dies that cut the fabric.
For my quilted pillow sham, I decided to use this pattern.
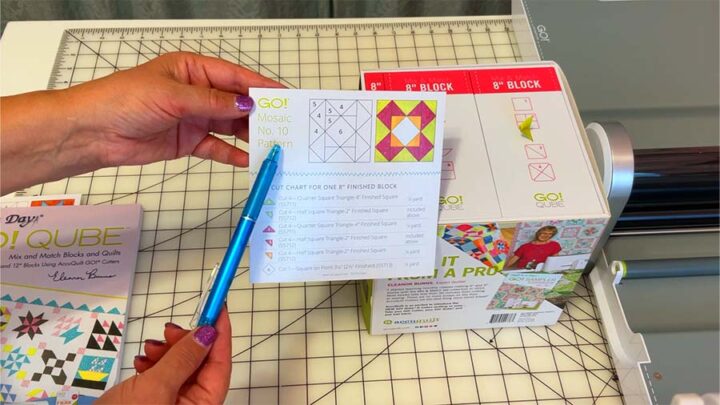
So I figured out that I would need some nice designs in the middle square and 3 other fabrics for the block. I have chosen white, red, and green colors as I am making a Christmas pillow. All the fabric is 100% cotton.
I will need dies numbers 4, 5, and 6 for this project. The card says what dies I need to use and how many pieces to cut for the block. Very useful information. So easy.
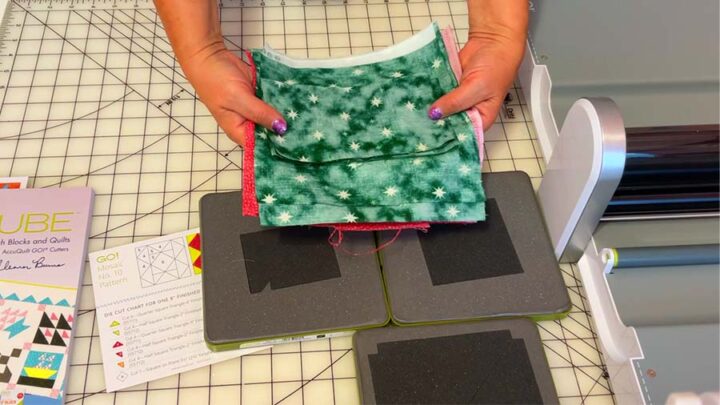
But before actually using the AccuQuilt Go fabric cutter, I needed to prepare fabric for cutting. A big piece of fabric can’t go into the cutter. So I cut smaller pieces, about the size of the die. I could use my fabric more economically but it’s my first project with the Go machine so I obviously made some mistakes.
I started with die #4, there are 4 triangles. I will need 16 of them for the quilted pillow sham.
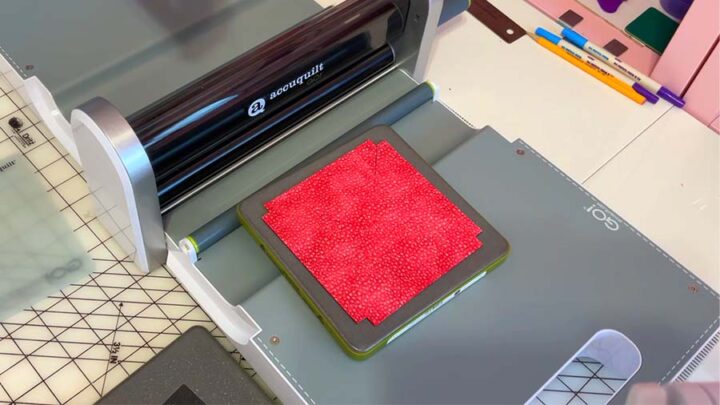
I take die #4, foam size up.; place 4 layers of fabric to cover the shape on the die completely. I have to remember about the grainline of the fabric – the straight grain should align with the 2 edges of the blades. Next, I cover the fabric with a special cutting mat. I have to push this piece against the roller and turn the handle.
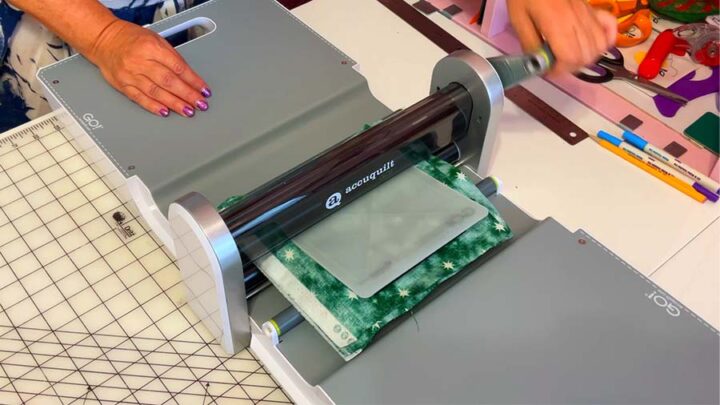
And that’s it – I have perfectly cut triangles. Can it be easier than this?
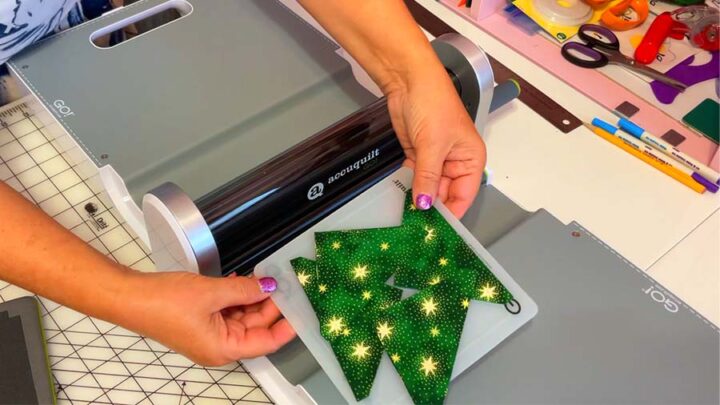
Now I will use die #5 to continue cutting my green fabric.
Next, I am going to cut red triangles using the same dies, #4 and #5.
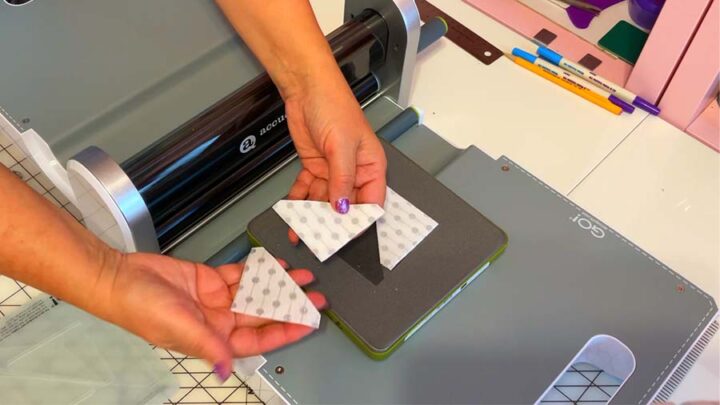
I also need to cut small triangles from white fabric. With this fabric I have to be careful: it has parallel lines.
So I need to make sure the lines are not crooked and stay parallel to one side of the triangle and perpendicular to the other side. Well, it was easy to achieve with the cutter. I just make sure the lines on the fabric are aligned with the blades.
So I cut all these 80 small pieces in about 15 minutes and I was filming it. Without my camera work, I would cut them in half the time I think.
Cutting the fabric for the middle squares is a bit trickier. I believe these squares are called “fussy squares” because they have a design that needs to be centered. So I learned how to cut them.
First of all, I decided to carefully precut the fabric with the design exactly in the middle of the square. It didn’t take much time as I only needed 4 of these squares. Then, I drew diagonal lines on them and marked the center point. Next, I drew diagonal lines on the die itself. Apparently, you can do it with a regular fabric marker as the blades on the dies are covered with foam.
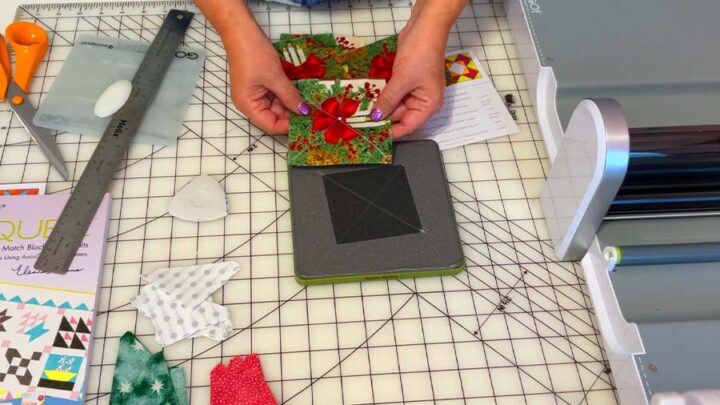
Now all I need to do is correctly place the fabric squares on the die, aligning the center point and diagonal lines on the fabric and on the dies. And all 4 squares are now cut!
When using the AccuQuilt Go fabric cutter, try to keep everything organized so you don’t lose time looking for something necessary.
Step 2
Preparing a sewing machine for stitching the blocks
It’s an important step in making your quilt.
First of all, you need to make sure that you keep correct 1/4″ seam allowances for your pieces. There are multiple ways to do this and you can read my detailed tutorial on seam guides.
For this project, I decided to use a special 1/4 ” presser foot. There are also a few types of these feet. I am going to use this one, it works the best for me.
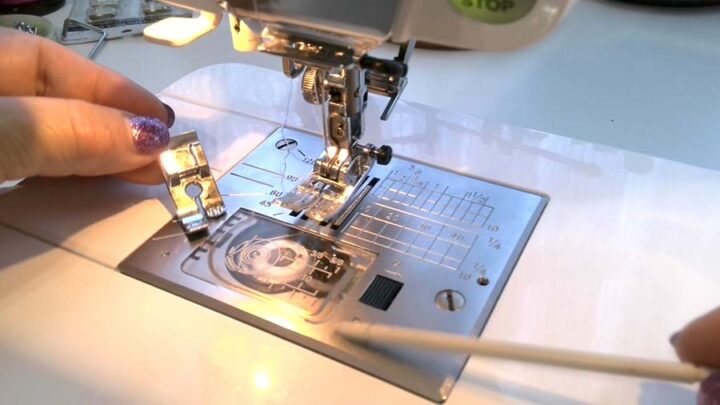
Make sure you don’t use another type that is very similar to this one but has a very small hole in the middle. That presser foot is suitable for a different throat plate with one small hole for a straight stitch only.
I found out that the AccuQuilt book actually recommends using a straight stitch throat plate with a small hole for the needle because sometimes corners of triangles are getting caught in a regular throat plate with a bigger hole. But I didn’t use it because my quilt is pretty small and I needed to make only four 8″ blocks. I had it happen twice though. So if you plan a big quilt, change the throat plate.
Choose a proper straight stitch. I like to choose the one that automatically secures stitches at the beginning and at the end. I have it on my Janome machine (the link goes to my review of the machine). I guess a regular straight stitch can also be used but then you don’t secure the stitches at all.
Choose a strong thread.
Recently I bought these threads
New Brothread 24 Basic Colors Multi-Purpose 100% Mercerized Cotton Threads 30WT
And now I’m a big fan of this thread. The thread is very smooth and durable but at the same time very soft and even silky so it is a pleasure to work with. It never breaks. Their sets include all basic colors so you’ll be prepared for any project. And now I use only them for my projects.
Adjust your sewing machine settings: tension, stitch length, etc.
✅ Related tutorial: Sewing Machine Tension Adjustments
Step 3
Sewing all the pieces together for the quilted pillow top
Now I sew cut pieces together for a quilt block. It amazed me how well all the individual parts fitted perfectly into one another – they were really made just to fit each other! I just sewed a perfect 1/4″ seam from end to end.
I mostly didn’t use pins to baste pieces but sometimes I couldn’t avoid using them. For example, when I sewed a rectangle with green and red triangles to the square, I needed to perfectly align these corners (see the image below).
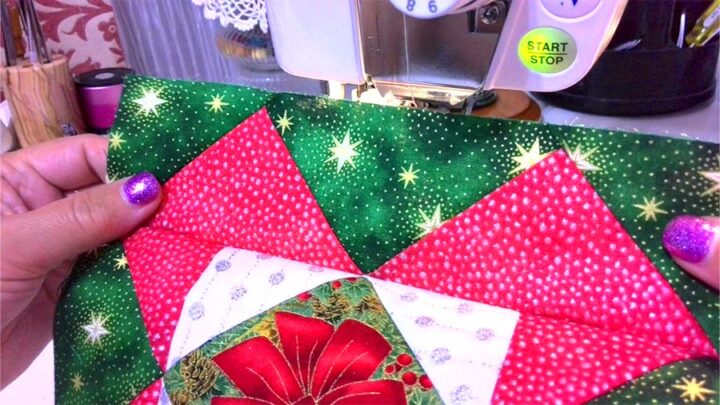
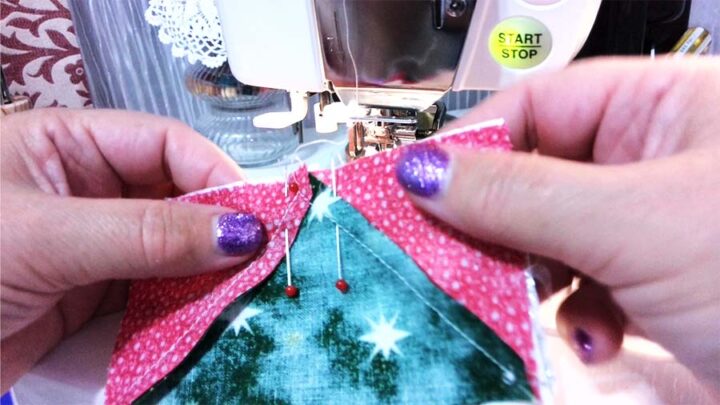
So when I stitched the first rectangle I saw that the corners don’t align. Ouch! I didn’t like that and had to rip the seam. Well, it happens, right?
Then I tried to attach it again – and again I had the same bad result. Not very bad but nevertheless visible. So I had to rip the seam again, and after that, I decided to pin these pieces aligning the corners with a pin. And it worked very well.
I was supposed to press all the seams with a hot iron before proceeding to the next steps. But it would take too long. So I made sure that I don’t have any seam puckering: all the stitches look good and I just use my favorite tool – a finger presser! It works quite well for quilting cotton fabric.
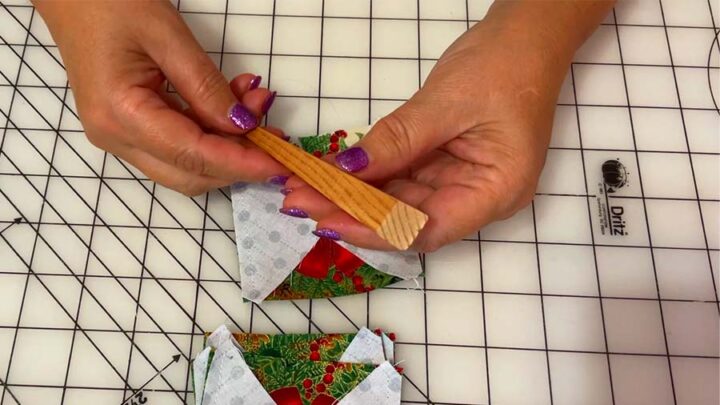
But I don’t think you can use a finger presser if your seams are puckered. If you would like to know (or to refresh your knowledge) how to prevent or fix seam puckering I have a set of printables to help you with this.
You have to press seam allowances in opposite directions so there is no bulk in seams.
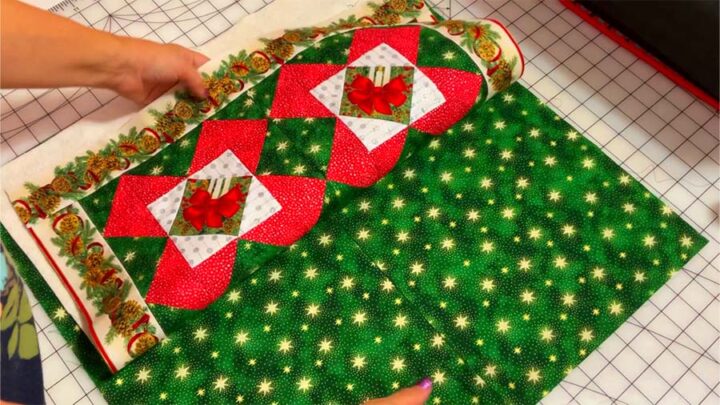
After I stitched all four 8″ blocks together I had to add some border for my pillow top as my pillow is bigger than 16″ x 16″. So, what size should I make my pillow top if the feather insert is 20 x 20″? I prefer to make the pillow about 1 inch smaller than my insert. So my pillow should be 19 x 19″. Therefore I will add a 1.5″ border to my pillow top.
Step 4
Quilting the pillow top
Now I cut a square piece of batting about 2″ larger than my pillow top.
I decided to use fusible batting for the pillow. It can be attached just with a hot iron.
Do you have your favorite type of quilting? There are many choices and you can use free motion quilting, straight-line quilting, hand quilting, etc. I like to quilt with my embroidery machine and I explain there how the quilting design can be created directly on the machine, but this design I created in Palette embroidery software (Palette is the same as PE Design from Brother).
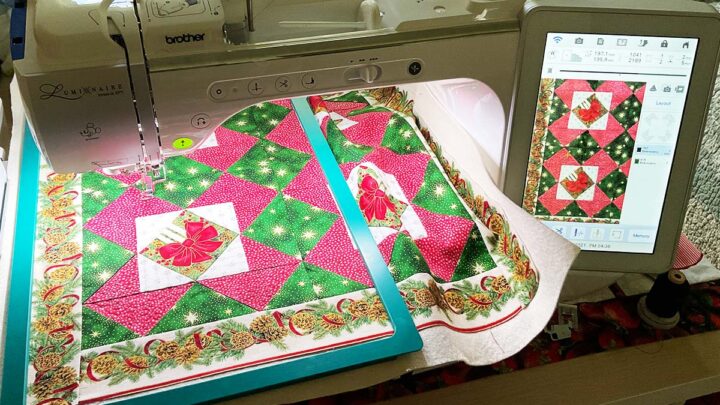
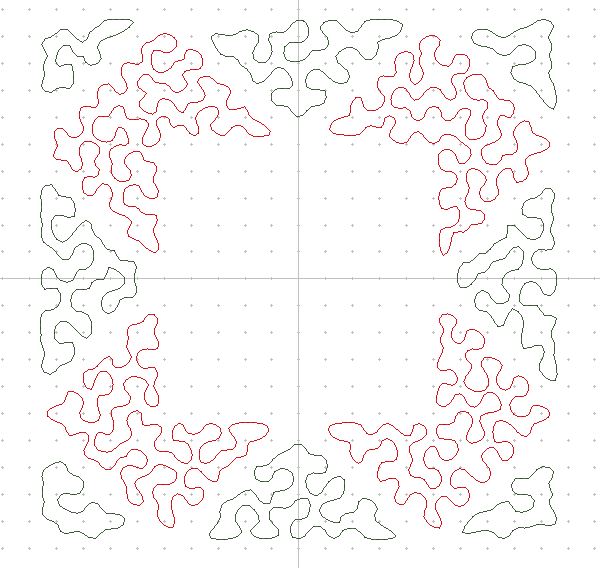
For this, I am always using my magnetic frame. I digitized the quilting design myself. It’s just stippling stitches but I wanted to quilt only parts with red and green fabric and keep the square in the middle with white fabric and the border not quilted. I also wanted to change threads – red thread for red fabric and green thread for the green fabric.
If you would like my quilting design for this 8″ block (which works only for machines with big hoops like Baby Lock Destiny, Solaris, Brother Luminaire, etc.) you can get it free from my Resource Library.
After I finish quilting, I trim all the excess batting. I am pleasantly surprised that my quilted pillow top is a perfect square! I don’t need to square it up. I am sure it’s because I cut all the pieces with my AccuQuilt Go Fabric Cutter.
Step 5
Attaching an invisible zipper and finishing the quilted pillow sham
Now I need to cut a piece of fabric for the pillow back. I decided to insert an invisible zipper in the middle of the pillow back. And because of this, I had to cut a rectangle for the pillow back, not a square.
The rectangle should have 2 sides exactly as the pillow top sides and 2 sides a bit longer, I added just 2 inches to the other 2 sides.
Next, I cut that rectangle in the middle, dividing it into two parts. I used my serger to overcast the edges so there will be no fraying when I wash the pillow sham.
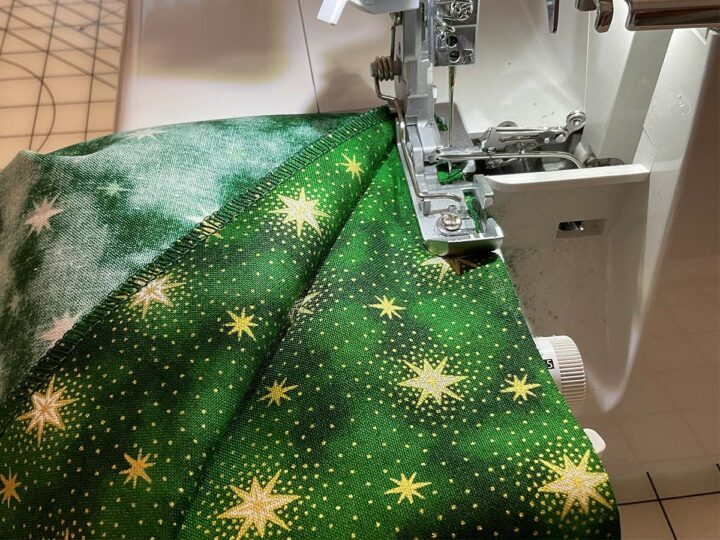
✅ Related tutorial: Serger vs sewing machine
Now I stitch these pieces together on both sides, but just about 2 inches on each side so I have a hole in the middle for inserting the zipper.
I found a very interesting invisible zipper – it’s fusible! See these lines on the zipper?
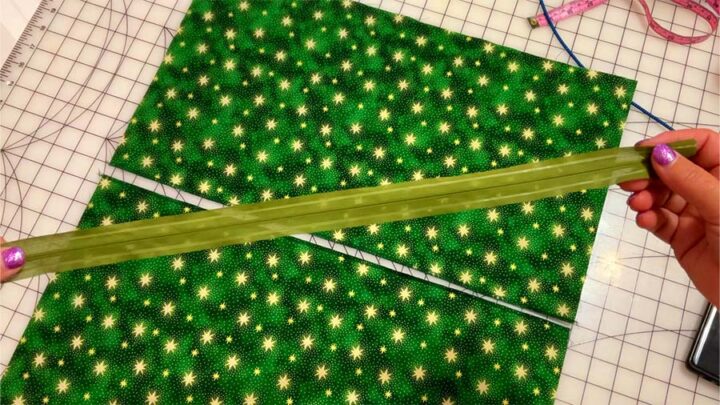
I can temporarily fuse the zipper using a hot iron.
✅ Related tutorial: Iron buying guide
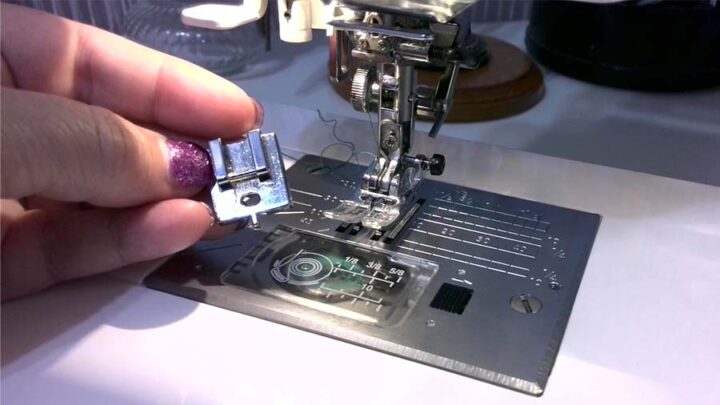
It’s better to use a special presser foot – an invisible zipper presser foot if you want your zipper to be really invisible.
This foot has 2 grooves along the bottom for plastic coils of the invisible zipper.
The coils of the zipper are easily flattened as I sew with this foot, and my stitches go quite close to them.
The presser foot can’t go to the very end of the zipper so I make a few stitches by hand.
There is another more common way to insert an invisible zipper by sewing the zipper first and after that stitching the seam below the zipper end. But for this pillow sham, I decided to try my way, and I see it looks good.

After I finish attaching the zipper I press the fabric. The zipper is completely hidden like there is no zipper at all.
Now I need to make a final seam along the perimeter of the pillow sham. I pin the top and back before stitching leaving the zipper half open for turning the pillow sham right side out. I again use my serger to finish raw fabric edges.
And the last step – I turn the pillow inside out and put a feather insert inside.
———————————————–
I hope you liked this tutorial on how to make a quilted pillow sham and now have the confidence for your own creations. They’re also perfect for gifts because they take little time to put together but offer tons of design options with different fabrics and patterns.
So here is my YouTube video. Check this out if you like to see how to make a quilted pillow sham instead of reading.

Did you find this tutorial helpful? If so, save this pin (see below) on your sewing board so you can come to this tutorial later when you want to make a quilted pillow sham, and follow me on Pinterest for more tips, tutorials, and inspiration!
latest posts
- Butterfly Quilt Block Tutorial – Foundation Paper Piecing
- How To Sew Quilt Squares So The Corners Match
- Sewing With Fork Pins: How They Help With Pattern Matching, Slippery Fabric, And Seams
- How Much Fabric Do I Need? 21 Helpful Tips For Calculating Fabric Yardage
- Easy Simple Sewing Project: Fabric Jar Opener
- DIY Oven Mitts: Step-by-Step Sewing Tutorial
- Easy DIY Potholder: New Design
- Tailor’s Clapper: What It Does, Why It Works, And How To Use It Right
- Heat Resistant Batting for Sewing: What It Is, How It Works, and What Makes a Difference