
High waisted shorts DIY plus how to make an easy pattern
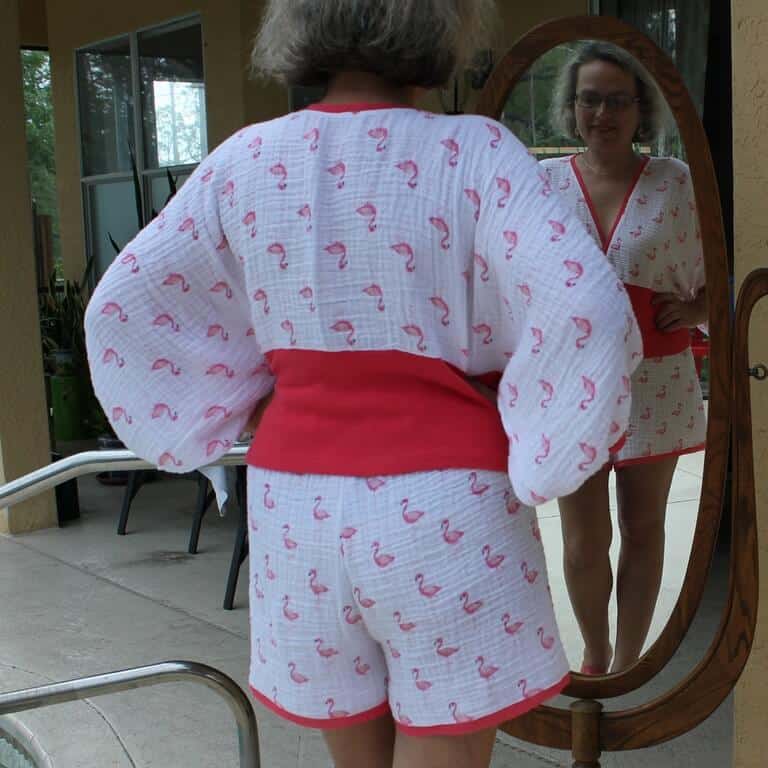
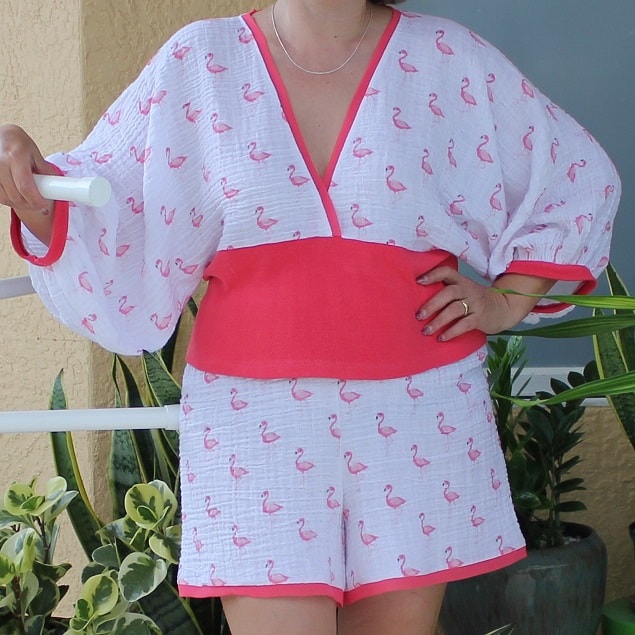
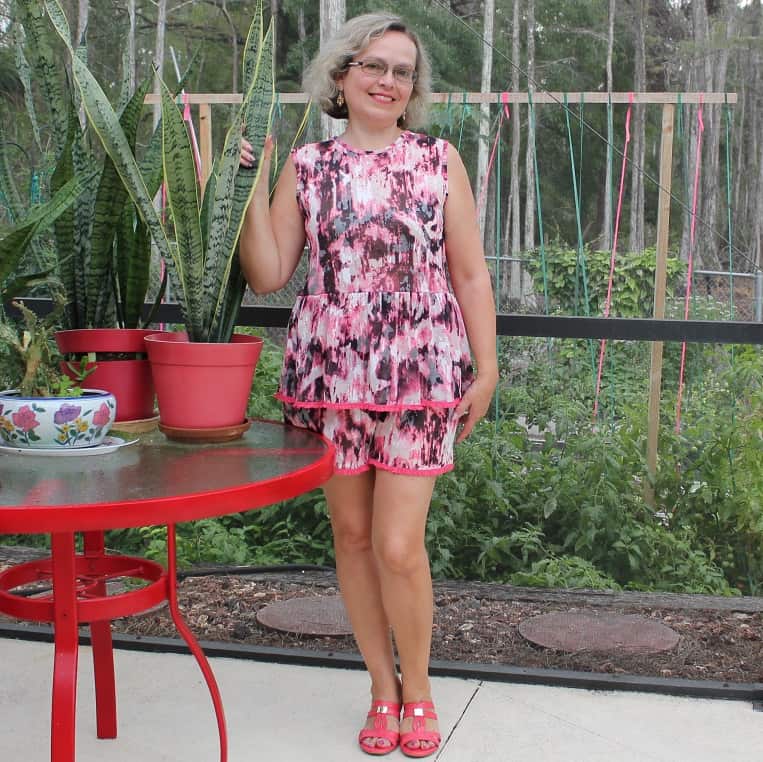
In this sewing tutorial, I am going to show you how to sew 2 pairs of high waisted shorts you can see in the images below and easily make a pattern. And you can find how to make matching pajama tops in my other tutorial here.
For a long time, I feared sewing shorts and pants because they never fit right. I tried different patterns, starting with Burda and finishing with McCalls and Vogue. Even if the pattern was close to my measurements in hips and waist the pants were not good in the crotch area. So for a long time I didn’t make any pants because of this.
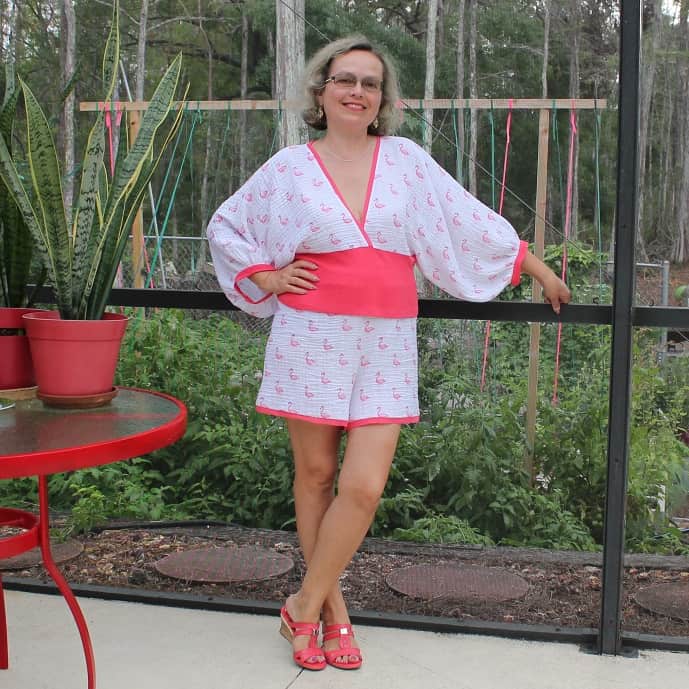
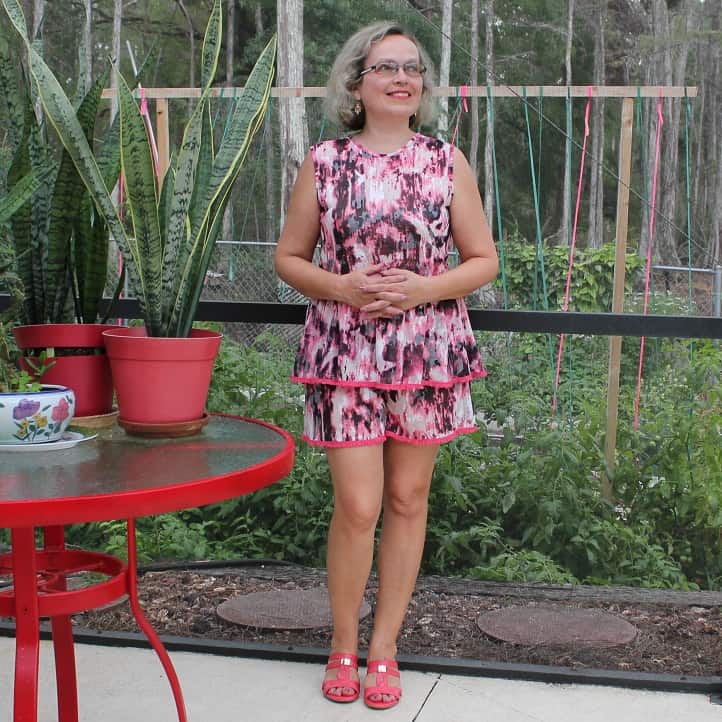
But at some point, I decided to draft my own high waisted shorts pattern because I was really tired of those low-cut shorts that won’t stay up without a belt and kept dropping off my hips. I found easy instructions how to make a simple shorts pattern in one of the Russian YouTube tutorials. It was really simple, it didn’t even have side seams and zipper closure, and I could even draw it right on the fabric without a paper pattern. I made a few changes to the basic drawing though.
Note: Some of the links on this page are affiliate links. This means I will receive a commission if you order a product through one of my links. I only recommend products I believe in and use myself.
To my surprise, the first shorts I made with this simple pattern fitted me perfectly. Since then I made lots of shorts and pajamas pants using this pattern.
Here are the steps how you can make the pattern for your own measurements. I hope you are going to have a perfect crotch also and I hope this simple pattern will be good for any lower body shape.
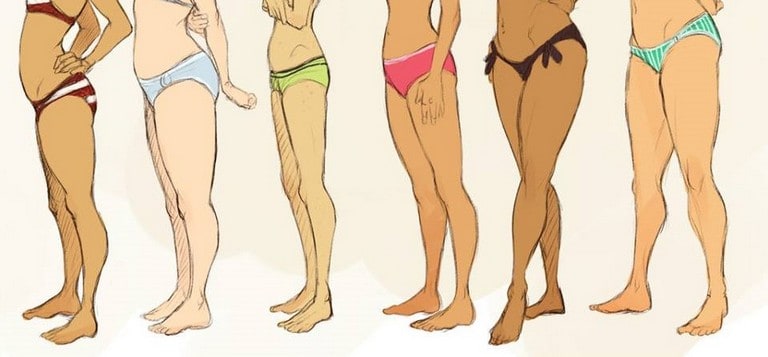
Take the following measurements:
Hip circumference ( hips )
Side length. This is the distance between the waistline and the horizontal surface when you sit down on that surface ( please see image below )
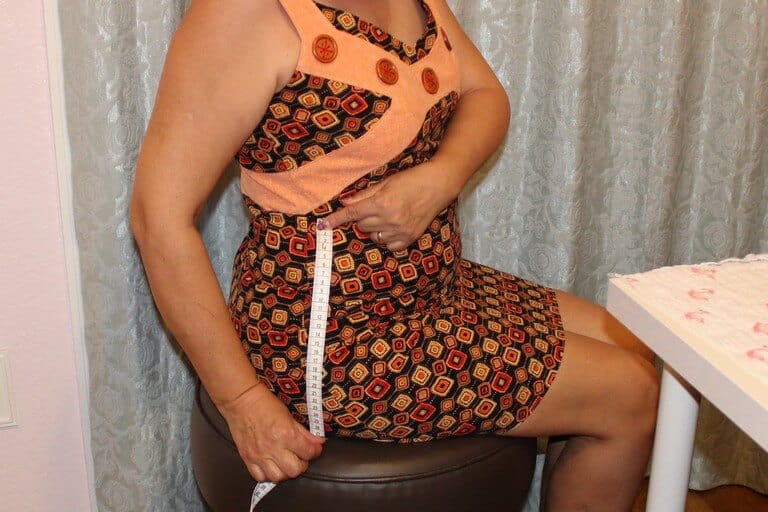
I need to mention here that the traditional way of taking these measurements is to measure the exterior pants length ( from waist to end of leg ) and the interior pant length ( from crotch to end of leg ) and the “side length” is derived as the difference between the two. I am more used to my way of taking the measurement but there is nothing wrong with the traditional method either. The important thing is the end result.
Length of shorts measured from the crotch including the hem ( inner pants leg length )
This pattern has seam allowances already included and they are around 1/4 in.
Please note that I am not a professional seamstress and didn’t finish any pattern making courses. Maybe this pattern breaks some pattern making fundamentals, I don’t know about that. The only thing I know that it fits well and it’s a really easy pattern.
This is the pattern for high rise shorts with an elastic waistband
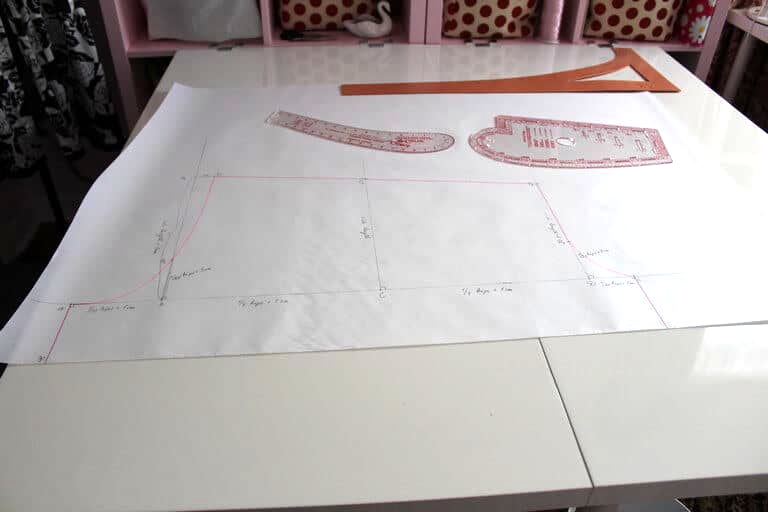
How to make a pattern for DIY shorts
You can see how to make a sewing pattern for the DIY shorts in my YouTube video
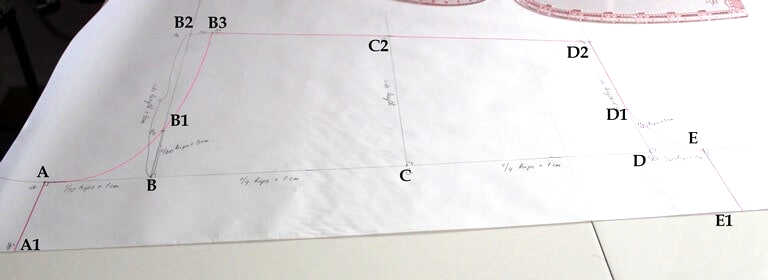
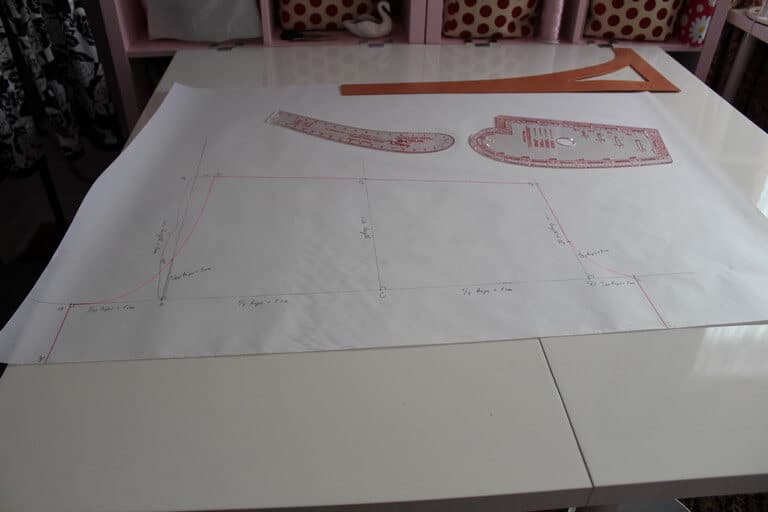
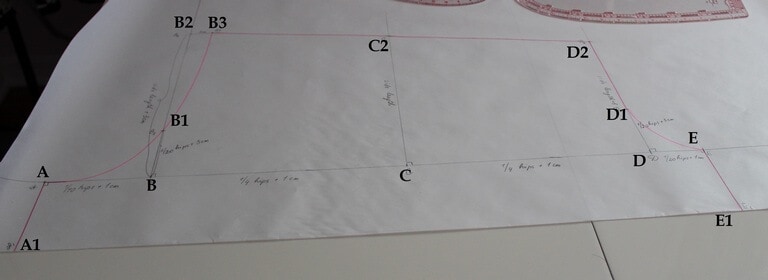
Draw a horizontal line on a piece of paper and mark on this line a number of points:
Start with Point A
Point B at a distance from A equal to 1/10 hips + 3/8 in
Point C at a distance from B equal to ¼ hips + 3/8 in
Point D at a distance from C equal to ¼ hips + 3/8 in
Point E at a distance from D equal to 1/20 hips + 3/8 in
As you may notice distances B-C and C-D are equal to each other and are equal to ¼ hips + 3/8 in.
Draw a perpendicular to line A-E in point A and mark point A1 at a distance equal to inner pants leg length (for my shorts I used 4 in). Perform a similar operation in point E, distance E-E1 is equal to A-A1. Connect points A1 and E1. This line is parallel to line A-E. The line A1-E1 is our hemline.
Draw a perpendicular to line A-E in point B and mark on this new line two points: B1 at a distance 1/20 hips + 1 3/16 in from B and B2 at a distance from B equal to the measured side length + 1 3/16 in.
Draw a perpendicular to line A-E in point C and mark on this new line one point C1 at a distance equal to the measured side length.
Repeat the process from the step above in point D and mark in a similar fashion points D1 and D2: D1 at a distance 1/20 hips + (plus)1 3/16 in from D and D2 at a distance from D equal to the measured side length — (minus)1 3/16 in.
Draw a perpendicular to line B-B2 in point B2 and mark a point B3 at a distance of 1 3/16 in (for all sizes) from B2. Line B2-B3 is parallel to A-E.
The Grainline is parallel to lines B- B2, C-C2 and D-D2.
Connect points B3, C2 and D2. Please note that the points B3, C2 and D2 are NOT in a straight line; they are close, but not co-linear. This is expected.
Use the French curve ruler to draw a curve through the points B3, B1 and A. Same procedure for a curve from D1 to E, please see the images below.
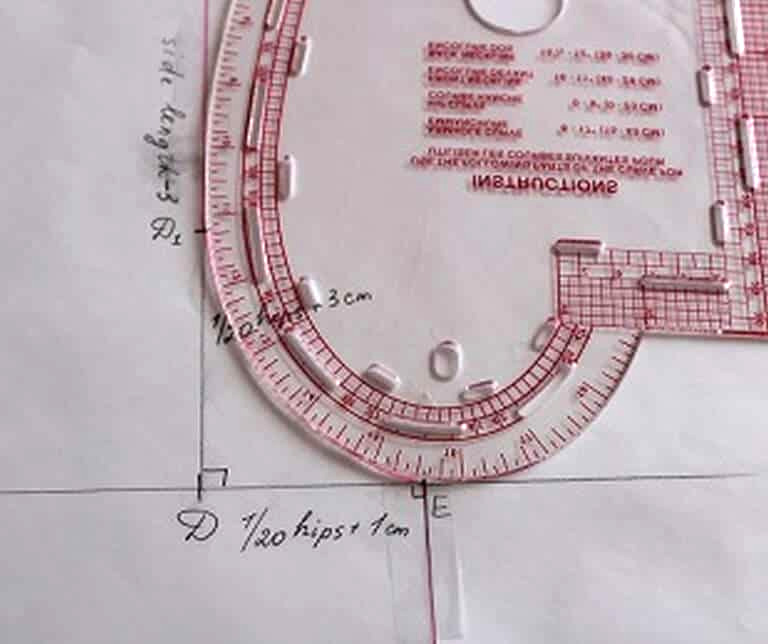
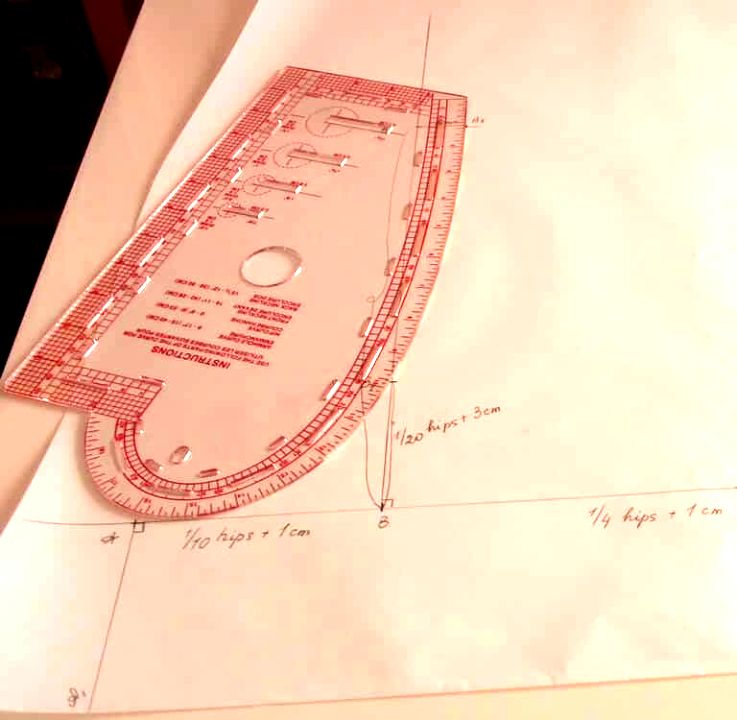
You can draw this curved lines free hand without the French curve ruler of course. The usage of the French curve tool is intuitive and I am trying to make the curve tangent to the target lines at both the start and end points. This is of course not an exact action but it is quite easy to find on the curve a portion that is as close to tangent as the naked eye can see at both points.
Well, that’s all for the pattern drafting.
Materials
Now lets’ prepare the fabric for the shorts. These guidelines are good also for matching pajama tops (I guess you would like to sew them too; check out this link that goes to my other tutorial).
This pattern is suitable for any kind of knits and also for lightweight and medium weight woven fabric with some kind of stretch in it.
How much fabric do I need for shorts?
If the fabric is wider than 1 1/4 times your hips size, you will need a piece as long as the length of the shorts plus about 5 inches. If the fabric is not wide enough, you will need twice the length of the shorts plus about 5″ for the waistband.
How are shorts made?
I will show step by step how-to in the next paragraphs. When appropriate, I will show some videos too.
I used 100% cotton double gauze fabric for one pair of shorts and 100% cotton knit fabric (very lightweight and almost see-through) for another pair of shorts. For embellishments, I used silk chiffon fabric and elastic trims.
For best results, I prewashed all fabrics and trims in warm water and used my dryer for the gauze and the cotton. As for the chiffon and trims, I air dried it after prewashing and afterwards ironed. Check my tutorial on how to wash silk fabric.
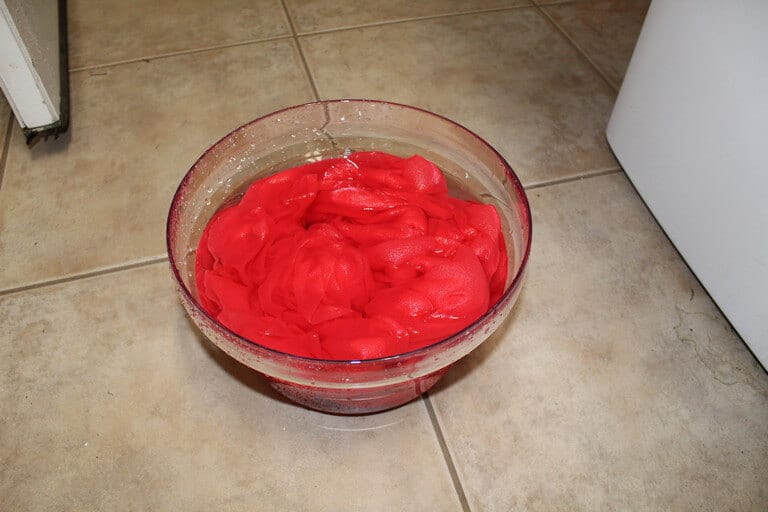
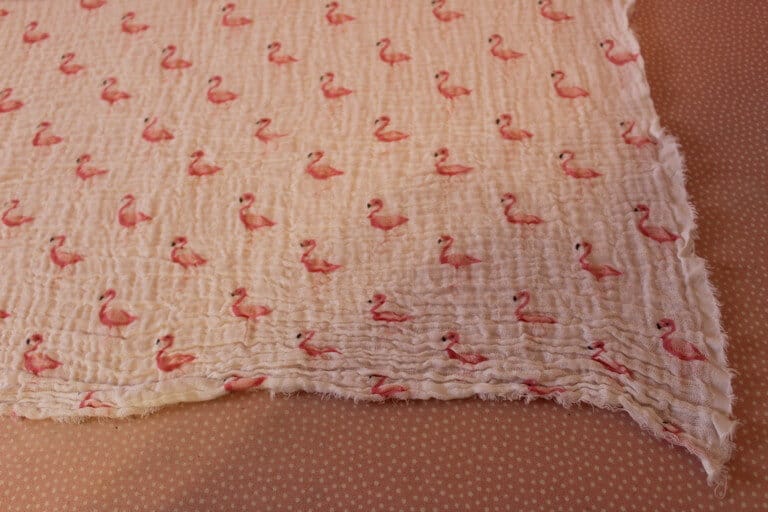
The prewashing added some serious wrinkles to the cotton gauze, especially at the edges of the piece of fabric so I needed to iron the edges to make them smoother.
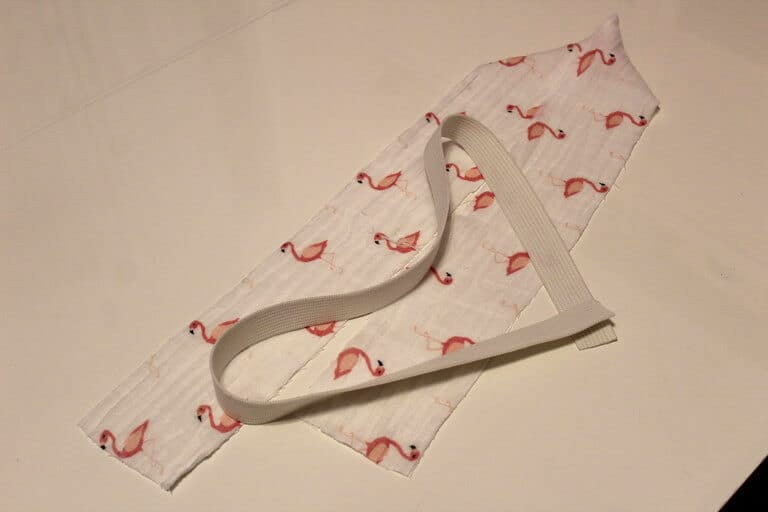
You will need also some elastic for a waistband. Measure it around your waist and cut. I used 1 in wide elastic for my shorts.
How do you cut fabric to make shorts?
For every sewing project you will need to find at least one straight edge of the fabric so afterwards you can advance from that line on. Fabric cut in the store is not always cut straight. Sometimes the bevel happens to be 5-10 cm or even more. It is very important to straighten fabric edges for any sewing projects BEFORE cutting pattern pieces from it.
Cut 2 shorts pieces. It is preferable to cut on fold and I did that for this pair (images below). However not all fabric is wide enough to accommodate cutting on fold so sometimes you can’t do it. For the other piece (the gauze shorts) I cut individual pieces and in this case it is important to cut not two identical pieces, but one and then another one as a mirror image. I did not show this in the images.
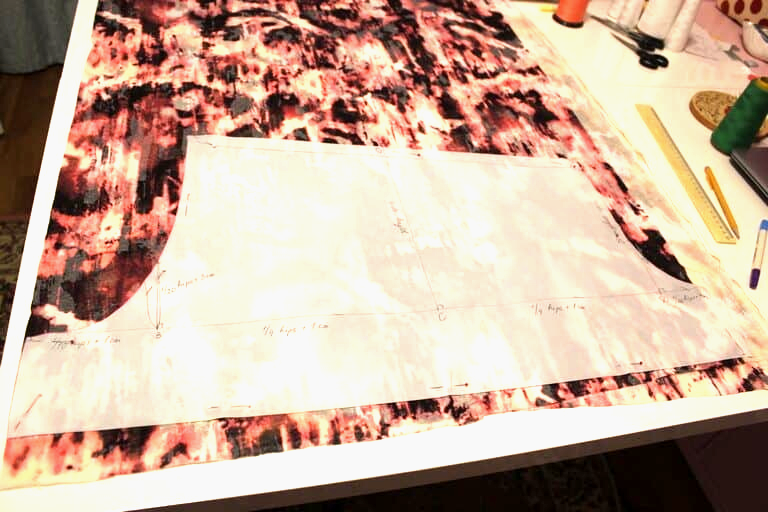
Fold on the left side
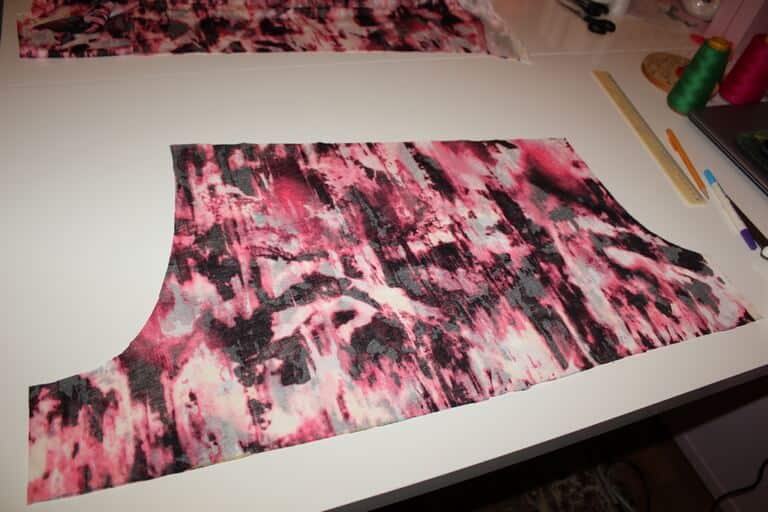
Cut a piece of fabric for the waistband ( the width is 2 widths of your elastic plus 3/4″ for seams and the length is equal 2 lengths of the distance B3-D2)
Cut then 2 silk chiffon hem embellishments ( 2″ wide and the length is equal to the distance A-E) or trims for the hem with the same length.
Construction
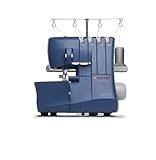
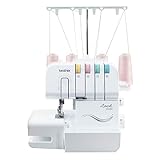
I used my serger with 4 thread overlock stitch. Thread your serger with suitable threads, change needles if necessary, and try sewing on scrap to check its settings.
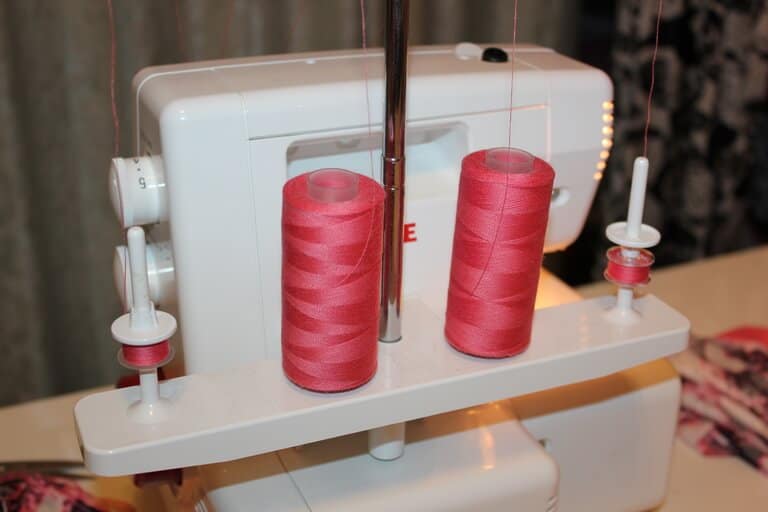
Useful tip: You don’t need to buy 4 cones of the same color thread for this 4 thread overlock stitch. I usually have one cone (sometimes 2) and then I use my regular sewing machine to put the thread on 3 bobbins. I use bobbins in my serger but they have to be covered with small spool holders as you can see in the image below.
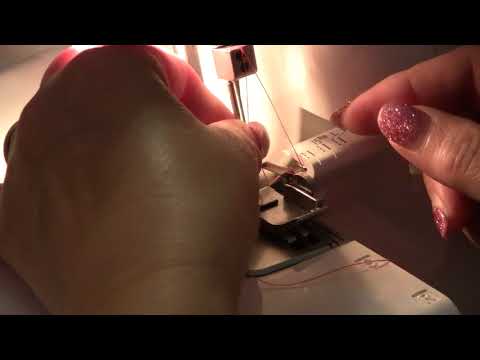
Useful tip #2: I have easy threaders on my sewing machine and my embroidery machine but I don’t have it on my serger. So threading the needles can be a problem. So I started to thread the needles before inserting them to their place in the serger. See the video below.
If you don’t have a serger maybe it’s time to buy one? Check out my article Best serger for beginners – Serger buying guide and perhaps you will be inspired!
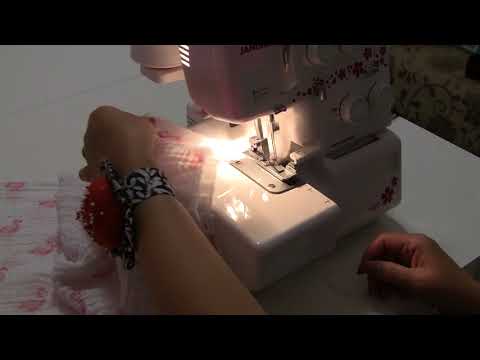
Start sewing shorts with stitching inside leg seams. Stitch the short ends of the waistband.
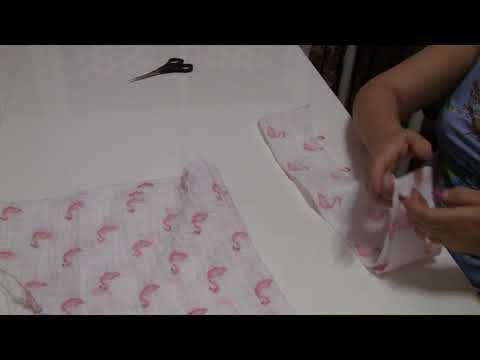
Press the seams. Fold the waistband in half and press.
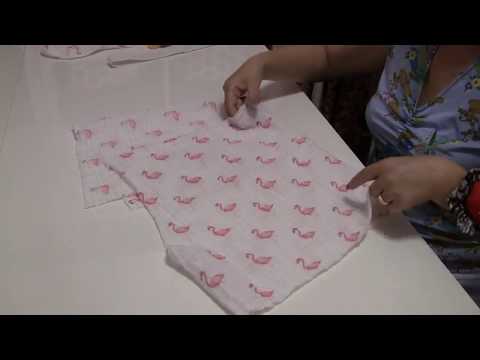
Insert one short leg into the other, with right sides together. Stitch center front and back seams as continuous seam.
How do you sew an elastic waistband?
Sew the ends of the elastic together. Divide the elastic and the folded waistband into quarters and mark 4 points on the folded waistband and on the elastic as I show it in the video below. Insert the elastic into the waistband matching all 4 points and pin it. Baste the casing under the elastic.
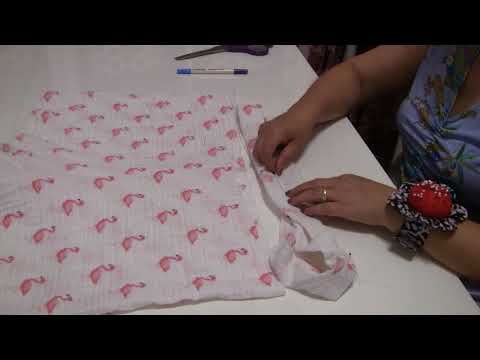
Mark the center front, center back, left side, and right side on the waistline of the shorts. Starting at one of these points, pin your waistband (with the elastic inside) to waistline along the edge. Match your centers and match your left and right sides, pinning at these points so you will have four pins securing the waistband to the edge of your shorts. Insert 4 more pins between those points and baste the waistband to the shorts stretching it to match the shorts’ waistline. Remove all pins before serging.
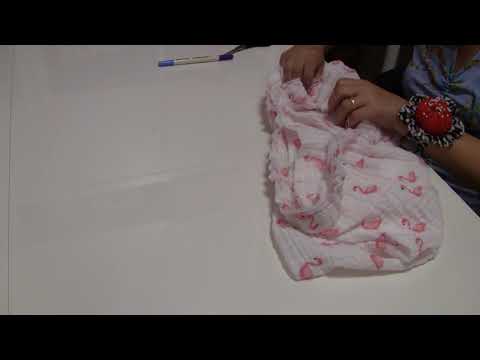
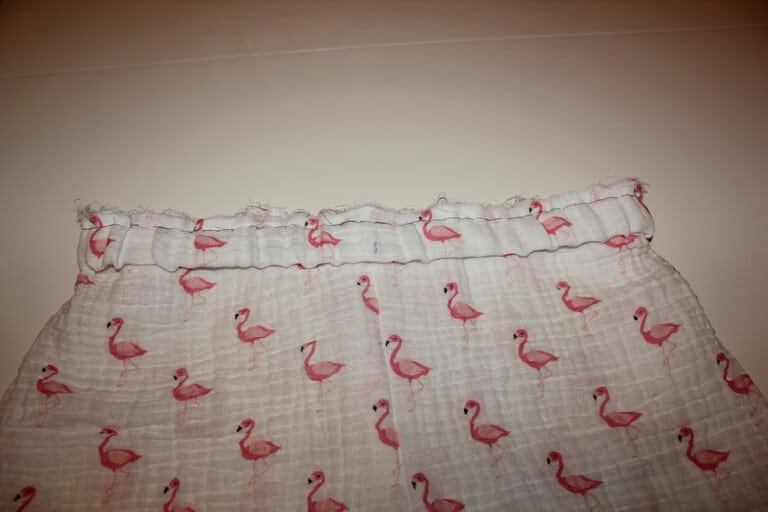
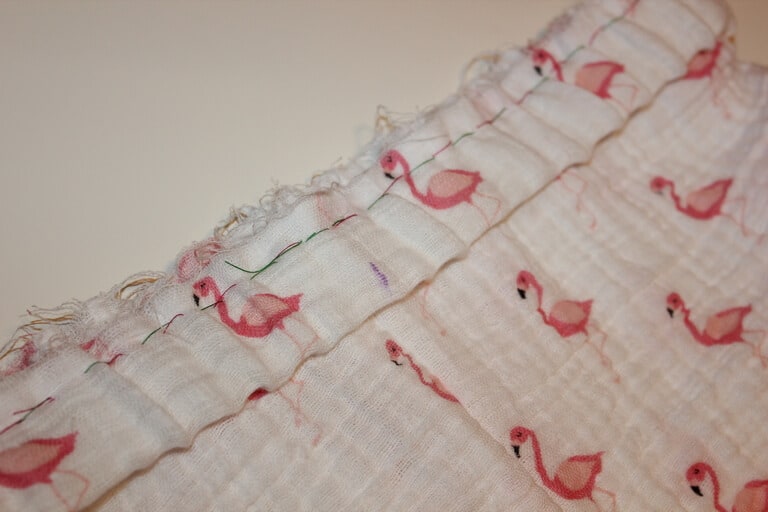
Beginning at one of the 4 points drop the needles into the waistband. Start sewing holding the waistband securely both in front of and behind the presser foot and stretching the waistband until it matches the short’s waistline. Sew around the waist, adjusting the waistband so it continues to match the waistline all the way around. When you get back to where you started, overlap your stitching to secure the seams.
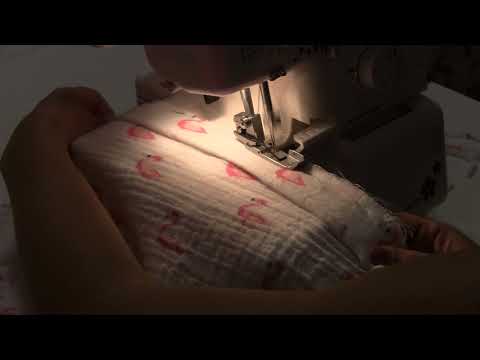
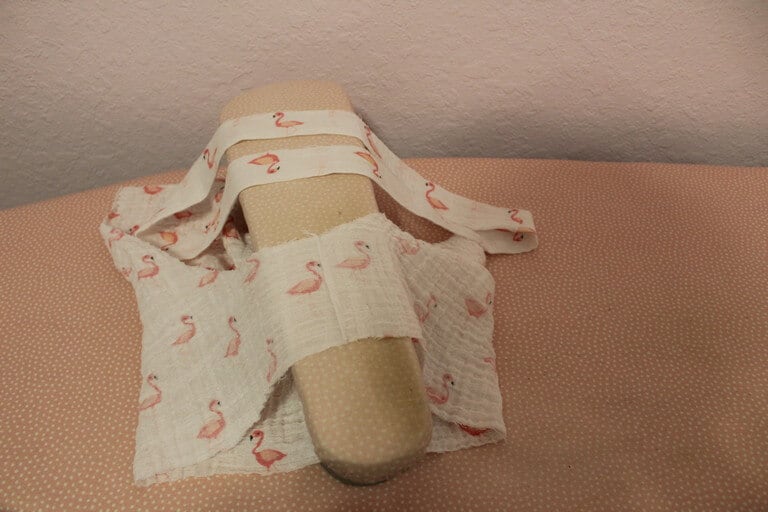
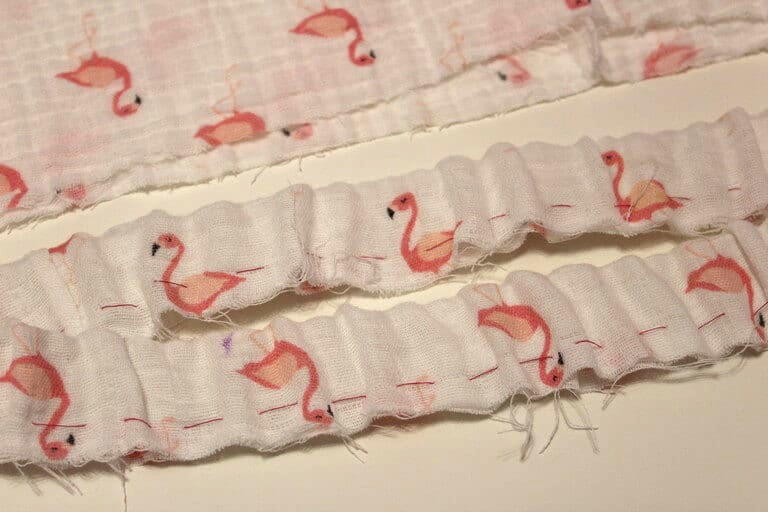
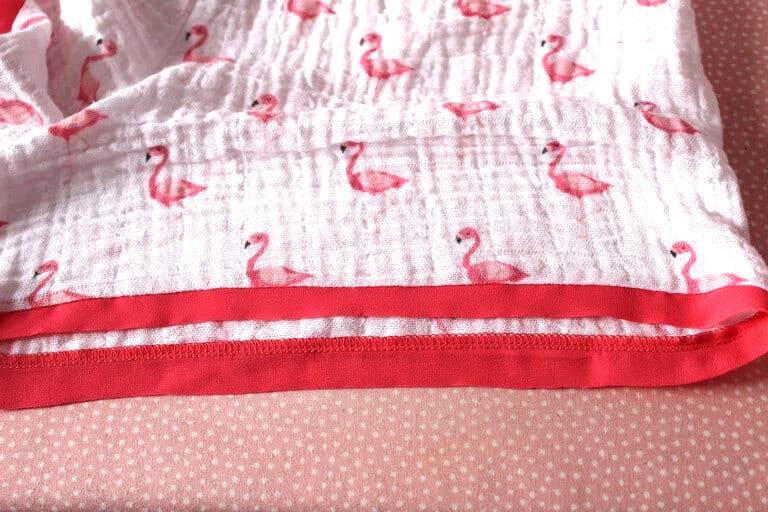
Finish hems of each leg. For gauze shorts I used folded strips of silk chiffon and for knit shorts I used matching elastic trims.
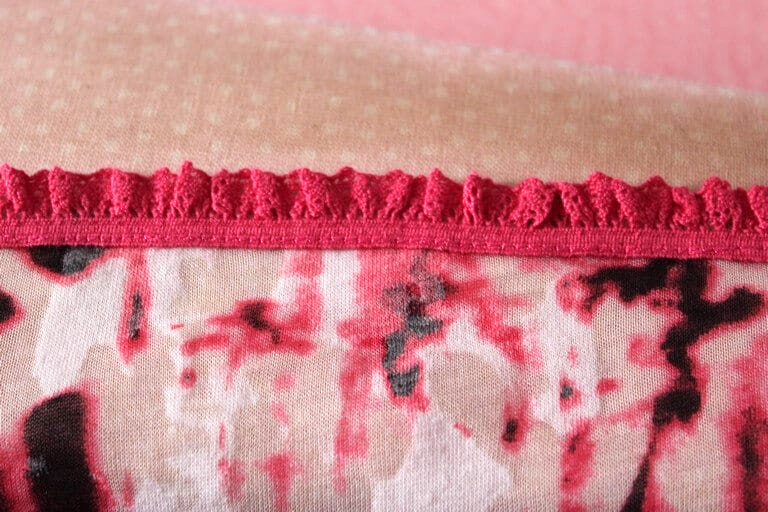
The hem on knit fabric has to stay stretchy. Now it became possible to use just a regular sewing machine with just a regular straight stitch for sewing knits. Isn’t that awesome? But we have to use a special stretchable thread, Eloflex. I have an article about different stretch thread types here.
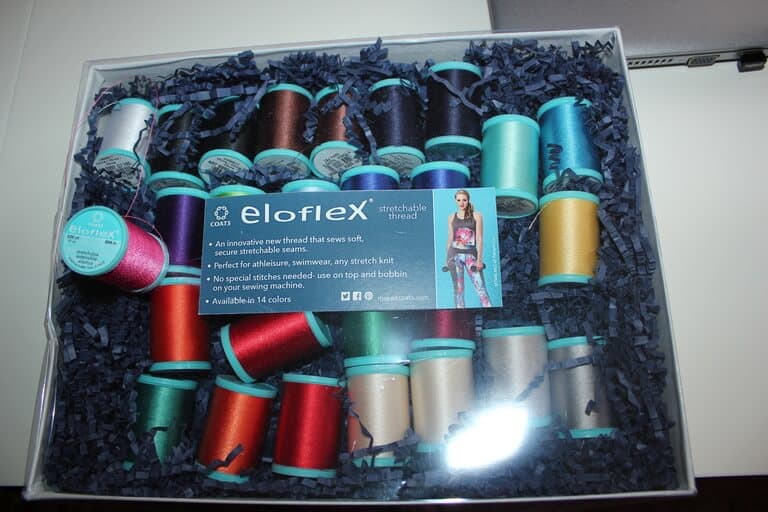
I liked this thread so much that I wrote an article about it here: How to use Eloflex.
So wind your bobbin with Eloflex, thread your machine with the same thread and stitch the trims away. If you are wondering where you can buy Eloflex thread here is the affiliate link for Amazon.
I am sure even a beginner could make these shorts in almost no time at all. If you want to make also matching pajama tops check out my other tutorial “DIY pajama tops”.
Did you find this tutorial helpful? If so, save this pin (see below) on your sewing board so you can come to this tutorial later when you are ready to sew high waisted shorts DIY using my free sewing pattern and follow me on Pinterest for more tips, tutorials, and inspiration!

latest posts
- Knit Presser Foot: How It Works, How to Use It, and My Sewing Tests
- How to Sew Neat Mitered Corners at Acute Angles
- Sewing Machine Needle Organization: A Clever System I Tried
- DIY Car Armrest Organizer: Sewing Tutorial
- Easy DIY Potholder Sewing Tutorial: Better Shape, Better Grip, Smart New Design
- How to Buy a Sewing Machine (Even If You Already Have 10)
- 23 Kitchen Items That Belong in Your Sewing Room
- What Is a Sewing Machine Piping Foot And How to Use It
- Fixing Sewing Mistakes: Repair an Accidental Cut in Fabric
Interesting! Gonna try this.
Elastic needs to be cut 3-4” SHORTER than waist measurement to keep garment in place. Measure a RTW elastic waist to see that the relaxed measurement is less than garment’s stated waist measurement.
Thank you for the insight! I would like to explain a little: I don’t like things too tight; my husband even says that all my clothes are one size too large! I also usually use a stiff elastic, and I don’t want that tight at all. But preferences vary, I am well aware that not everything that works for me would work for everybody so probably many people that would try this would appreciate your advice. Thanks again!
Is there a certain “kind” of elastic that is better than another. Seems when I have done some elastic waistbands, the elastic seems to already be stretched out when I put it in the “old way”. I have tried several ways to put an elastic waistband in, but I am anxious to try your way. Thanks!
Certainly the elastic has to be good quality, the first test is that it returns to its original length after being stretched. If it does not, then it is probably old and some rubber is already decayed (all elastic decays in time and with washing). I personally like elastic which is more on the stiff side (not very weak) but I am not a fan of tight clothes so I tend to make it quite wide, or loose. In the end everyone has to find the best for themselves, after all part of DIY is the fact that you can always have a custom fit.
Threading the needles BEFORE inserting into the serger is GENIUS! Thank you for the tip.
I can’t make a pattern. I don’t have the items you do. Is there any way to get a pattern already drawn up? I wear a size 12 for sleeping. I like loose and roomy.
Thank you; the pattern is intended to be self-drawn, rather than printed, since it consists mainly of straight lines, the two curved profiles can be easily approximated by hand, not necessary to use a french curve profile. I realize this might be a problem but the pattern is too large to fit on regular paper that everyone has at home, and requiring print shop hardware to print is not really an option.
Where can I get a French curve tool like yours? I’ve looked, and I like yours the best.
Many on Amazon, this is one example: https://amzn.to/34XWQUw Another example: https://amzn.to/2VP2Ue3 (these are affiliate links)
Hello,
I fon’t understandvehat means
length + 1 3/16 in.
It is 13, or 1 comma 3?
Thanks
This means “length plus 3 sixteenth of an inch” or in Europe about 3cm.
Stitched one today. It really turned out to be perfect. Wow, the crotch was so fit. After so many trials from other tutorials, this is the first time I got one with a perfectly fitted crotch. A real ??. Thank u mam for sharing. Also your instructions were very clear, except a small correction in the drawing which has to be C1 instead of C2. not a big mistake, juz for the sake of beginners. I’m definitely following you.
Well this is a dream come true! I have a short waist so shorts usually come up to my breast or they just fall off. I hate tight clothes and love that I could make them a bit bigger with a loose fit! Finally shorts that fit!
I tweeked a bit because I didn’t use elastic. I made a waistband out of jersey fabric. This is smoother and more comfy on my body since I have fibro and clothes hurt to wear sometimes.
I am going to try to use this same method with the jersey fabric for long pj pants!
Thank you for sharing! I no longer have to rip apart clothes to make them fit!
Thank you; I am really glad my work is useful!