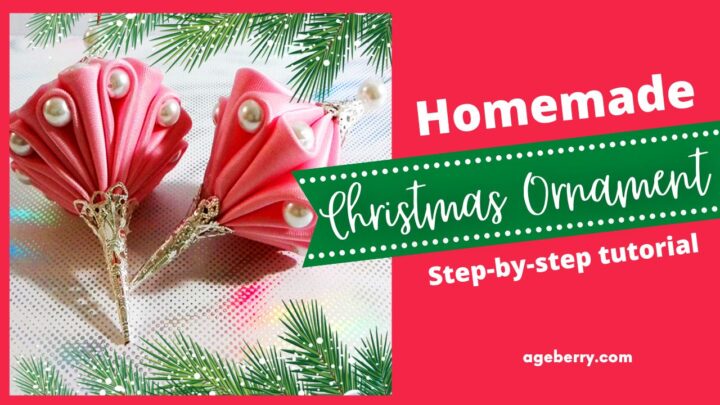
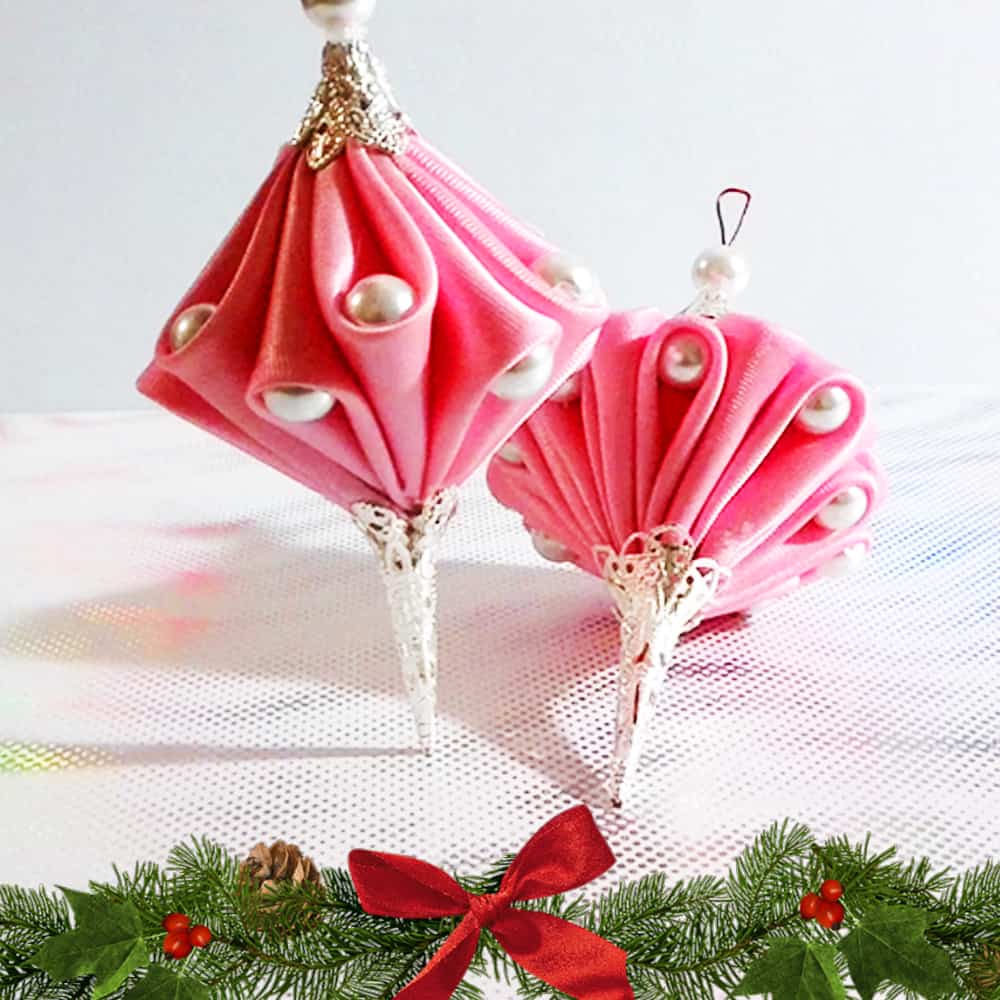
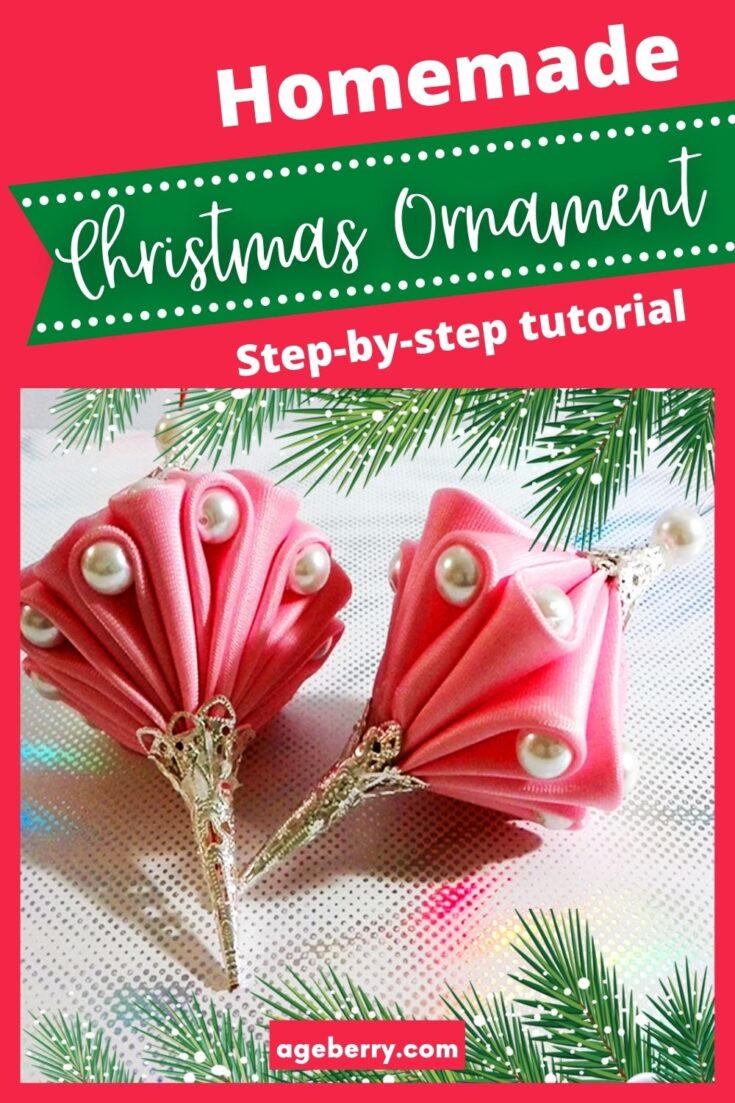
Unique DIY Christmas Ornaments
In this tutorial, I will show you how easy it is to make your own unique DIY Christmas ornaments.
These beautiful ornaments require few materials (and a small quantity too) and the technique is not so difficult to master. You will start with satin ribbons and the main ingredients will be patience and persistence, as this is work that requires attention, accuracy, and perseverance. If you like sewing, the work will not seem difficult to you.
The project may be entirely a no-sew project or at certain points, you may sew the parts together.

This is not the first Christmas ornament I made (and it will not be the last either), you may want to check out my article “No Sew Fabric Christmas Ornament“
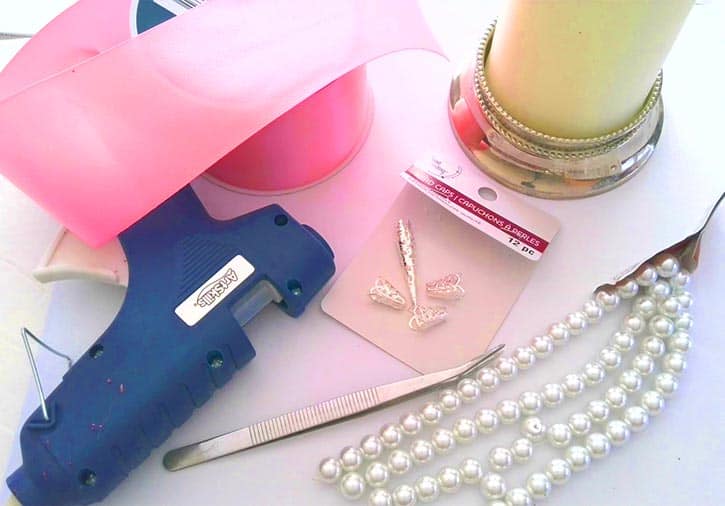
Tools and materials
- satin ribbons
- beads (I used 8mm)
- lighter or candle (very important notes below); I prefer a candle
- sharp scissors
- hot glue gun and glue
- tweezers
- thin wire
- bead caps
Note: all subscribers to my newsletter can download for free a printable copy of this article to keep as a reference if you intend to make the ornament. When you subscribe, you will receive the password for my Resource Library where you will find a treasure trove of free patterns and printables!
If you are not a subscriber already, please use the below form to subscribe.
Some general considerations before I start describing the process
Not all types of ribbons are suitable, only satin ribbons will do as they are the most pliable and smoothest. They also keep their shape well and shine. Satin ribbons might be single-faced satin (smooth and shiny only on one side) and double-faced satin (smooth and shiny on both sides).
As a rule, satin ribbons of different widths are used for ornaments. But I think it is best to use the 2.5 inches wide. A 2.5 inches wide ribbon is easy to fold and is more convenient to use, it keeps its shape well and is not too difficult to handle. Smaller ribbons are more difficult to work with.
Use only satin ribbons made from synthetic materials (polyester and nylon). Don’t use ribbons made from natural silk. For no-sew projects, where the material is not in contact with skin, I prefer to work with artificial fibers: they melt but don’t burn, and polyester is a flame-resistant material.
Note: Some of the links on this page are affiliate links. This means I will receive a commission if you order a product through one of my links. I only recommend products I believe in and use myself.


When working with ribbon pieces the main disadvantage is the edge fraying on the cut. In order to prevent this, I put the cut edge for a very short time through the flame, not enough to damage the material but enough to melt the stray fibers and allow me to smooth it by hand. If you do it correctly, the material will not be hot and can be touched safely.
But if you want you can use finger protectors or even special quilting gloves. I decided to work without them and at some point when working with hot glue I actually touched a hot point. Not pleasant. Highly recommended, these protectors. They are cheap and one pack will probably last a very long time.

You will also need tweezers. First of all, tweezers are essential for safety, they protect fingers from burns and make processing workpieces more comfortable.
Sharp scissors are needed for cutting the ribbon.
I already mentioned the heat sealing of the cut edges; that has to be done immediately after cutting, observing safety measures. If you handle the cut pieces without sealing the edges you will get fraying. You will need a candle or a lighter. I recommend a candle with a low flame, a lighter will be more difficult to handle and will occupy your hands. A candle leaves both hands free to work on the material.
IMPORTANT SAFETY NOTE
Every time you are working with an open flame, as will be the case here, you will need to pay special attention to your safety and take extra care.
- Never leave the flame unattended
- Always extinguish the flame when you are done or when you take a break
- Never leave flammable materials around the flame
- Handle with care any materials near the flame
- Always keep your kitchen fire extinguisher handy
- Work with flame near your kitchen sink
- Fire is not a toy; never leave children, especially small children, around the candle or alone in a place where fire can be easily started
I am sure everyone is reasonably familiar with these precautions nevertheless house fires are quite frequent which means it does not hurt to reiterate them again.
Also an important note: any fire creates smoke. This may taint your ribbon, keep the ribbon well away from the flame and make sure smoke is not a problem. If your candle somehow smoked the ribbon, that piece is pretty much lost – you will never be able to take the smoke out.
We will use a hot glue gun to glue the inside parts. Transparent instant hot glue is ideal. It leaves no visible marks and dries quickly without slowing down work.
Most DIY Christmas ornaments contain additional decorative elements, in our case the bead caps and pearl beads. These elements are used both to hide the joining of the parts and as embellishments.


Step-by-step instructions
If you prefer to watch the tutorial GO TO MY YOUTUBE CHANNEL TO SEE THE VIDEO

1. Cut the satin ribbons into squares.
We need a total of 12 squares. The ribbon we use is 2.5 inches wide so we will mark 12 pieces of 2.5” on the ribbon. Extreme precision is not really important here, fractions of a millimeter are not going to make a big difference.

Note that in the final design the cut lines will be totally hidden.
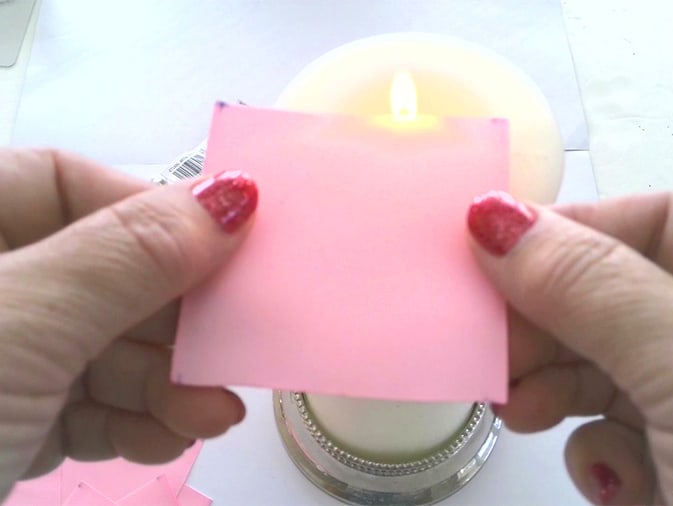
We need now to stabilize the cut edges and we do that by moving the edges quickly through a low flame. Of course, the original ribbon edges are processed at the factory and we only need to deal with the two cut lines from each square. Pay attention to the safety procedures mentioned above, and also pay attention to avoid smoking the ribbon. It takes probably only 1-2 seconds to process each cut line.
This method of sealing the fraying polyester ribbon edges is well known (I didn’t invent it) and described in many tutorials, for example, you may read about it in the article How to stop ribbon fraying or see it on this YouTube video from TheRibbonRetreat.com channel.

Repeat the operation for all 12 squares.
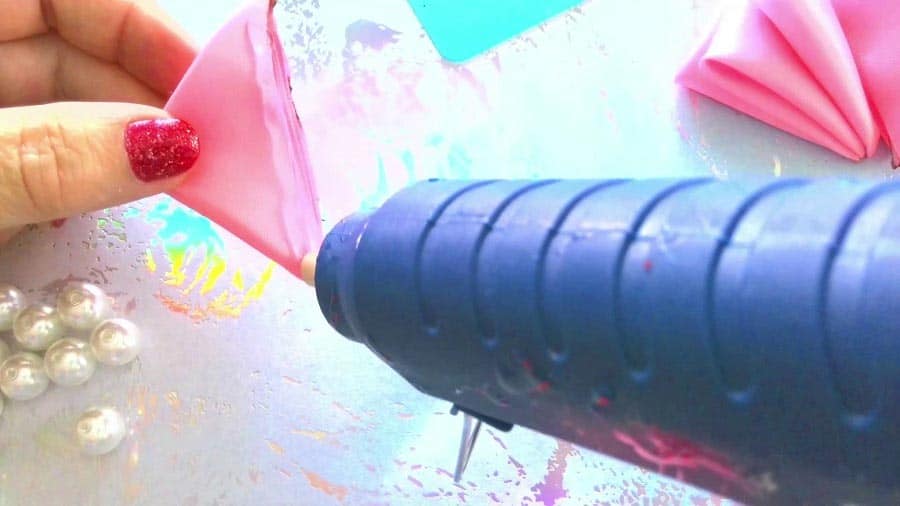
2. Fold a petal from each square, seal the corners with flame
We now fold the ribbon in a triangle by bringing two opposite corners together.
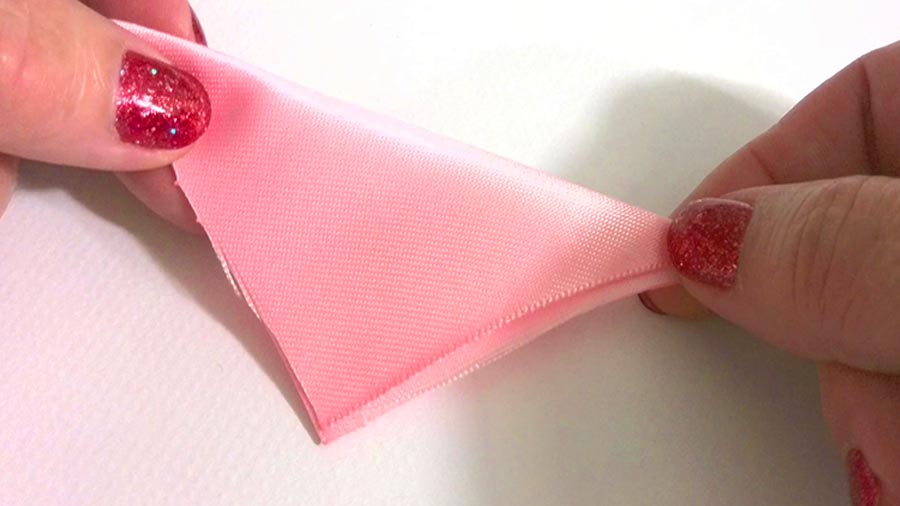
Then fold it again, like in the image.
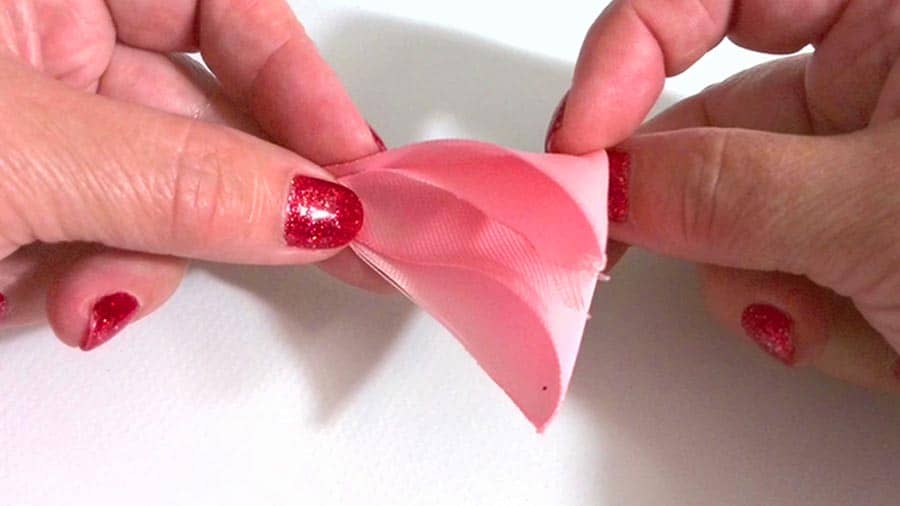
You will end up with a small triangle. DO NOT iron the resulting triangle, we need it to show nice folds. It will become clear later. As you fold a piece, you will have to seal the corners immediately.
The triangles so formed tend to unravel so we need to either sew the corners together (which is possible) or because my polyester ribbon is melting in the flame I chose to seal the corners using the trusty flame.
Using tweezers hold the corner together a quarter inch from the corner, then place it inside the flame BRIEFLY. Then smooth it between your index finger and thumb. Test it first on a piece of scrap ribbon, until you get the hang of it. If done correctly, the material will melt just a little at the very edges, and that is all we need.
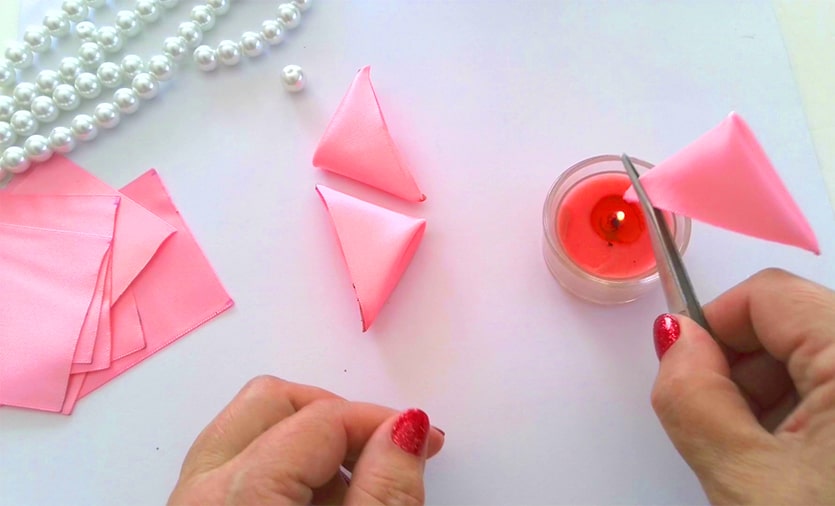
As you can see it is safe to touch the material immediately after, it will be warm but not very hot.
But you can certainly wear finger protectors.
In the image above you see two triangles already processed waiting on the table, I am working on the third. You need to repeat this for all 12 squares.
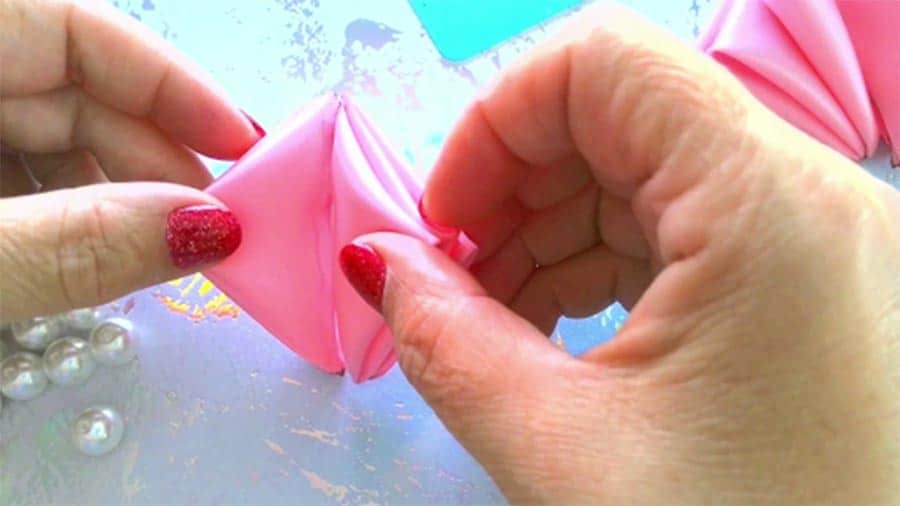
3. Put together 3 triangles to form a quarter of the ornament
We now take 3 of the triangles so processed and arrange them as in the image below.
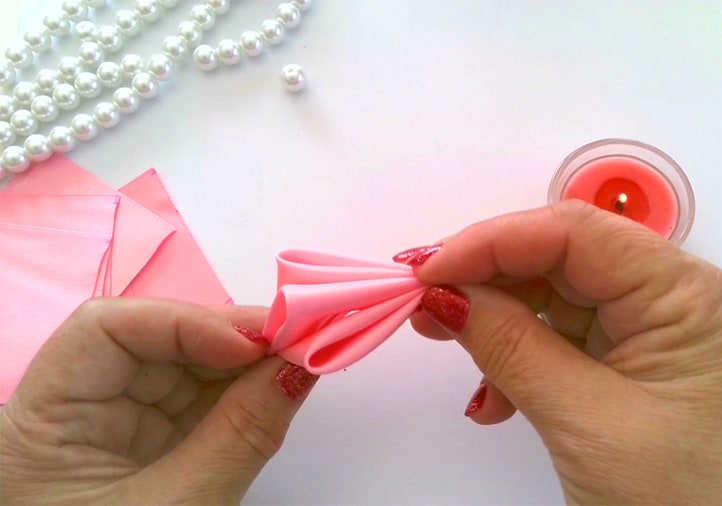
Note that the “fold” (the two outer pieces) and the “loop” (the middle piece) alternate. You can not get it wrong as long as you make sure the “fold” and the “loop” alternate. The side we look at here has a fold in the middle and loops on the outside but if you look at the other side of the triangles (to the left my left index finger points at it) you will see the folds are on the outside and the loop in the middle.
We now need to make sure the ensemble of the three triangles arranged this way will not unravel so we will again go to our trusty flame and seal the corners using the same method used with a single item above.
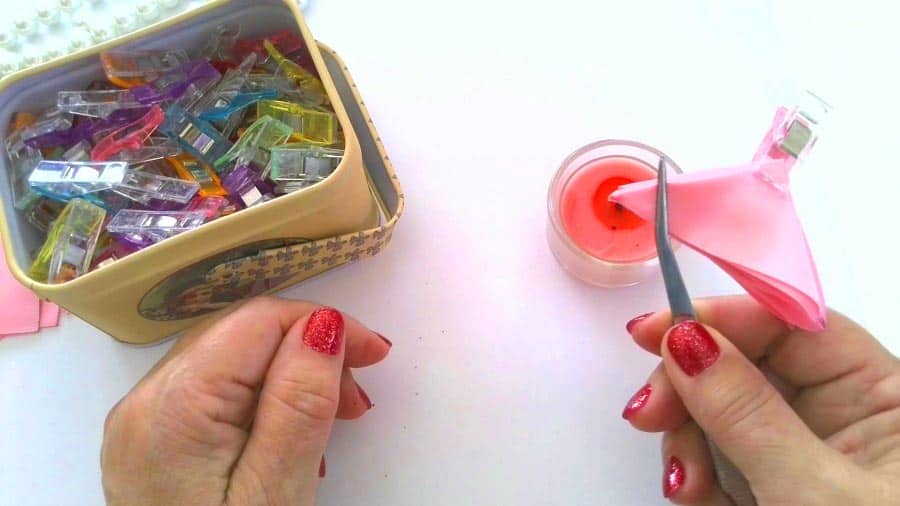
Please note that I have used a clip to help keep the three items together until the corners are processed but this is not really necessary. What is necessary is to make sure you align the corners and the edges correctly!
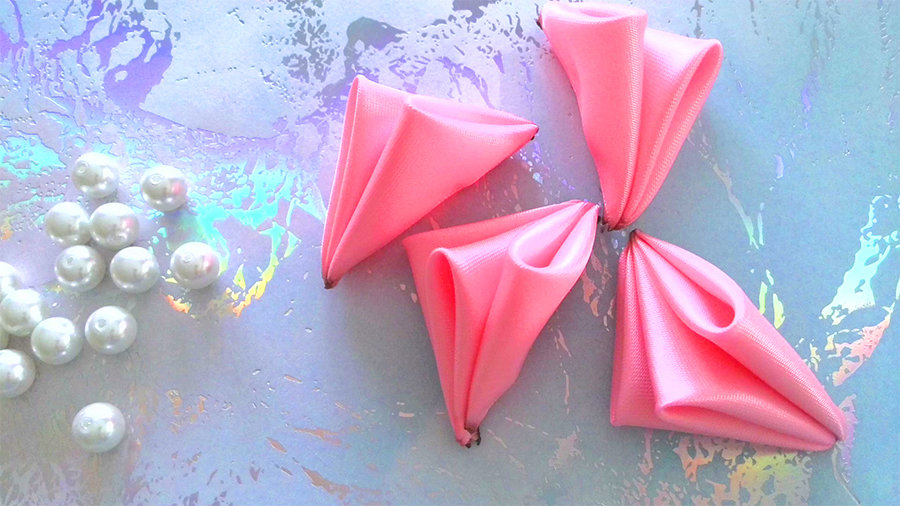
Repeat the procedure three more times, using all the 12 original pieces.
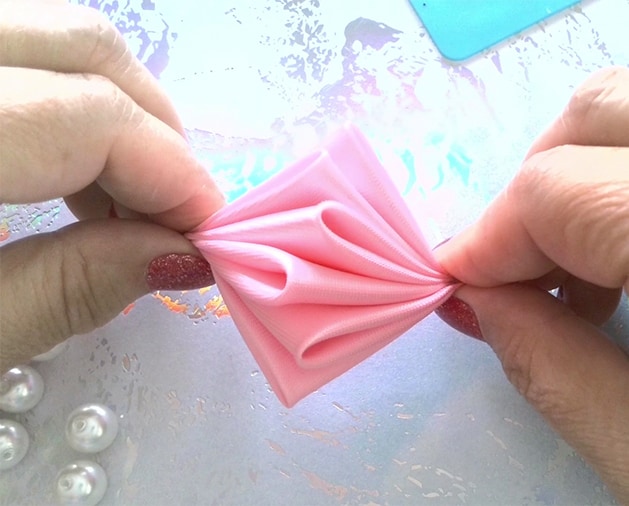
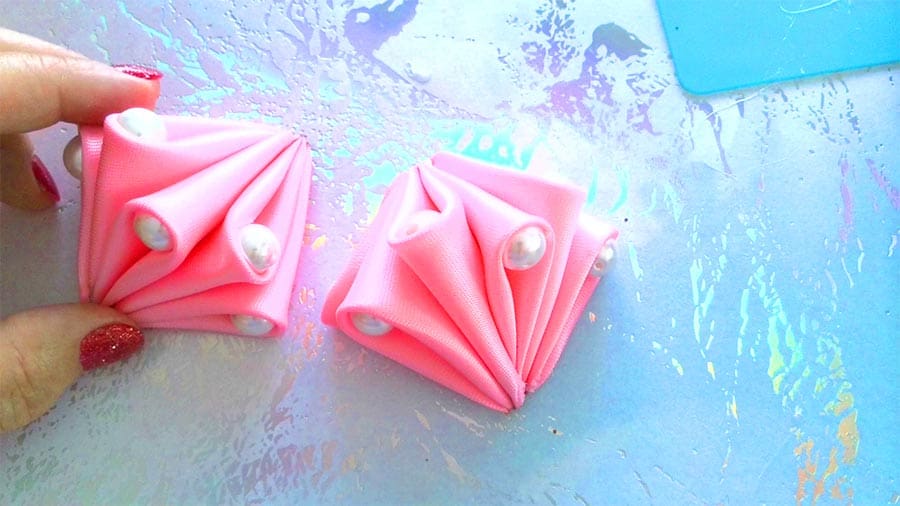
After this exercise, we end up with 4 similar pieces like in the image below. Check if all the corners are sealed together completely!
4. Put together two quarters to make ½ of the ornament
We will now glue the quarters obtained in the step above two by two, and we will get two halves of the ornament. We use a hot glue gun for this.
Carefully apply hot glue to one quarter, then stick a second one to it making sure they align properly.
You will notice that when we join the two we will make sure that the joined piece has loops and folds alternating like in the image below.
We then repeat the operation for the remaining two quarters. After this, we will have the two halves of the ornament ready to be joined together.
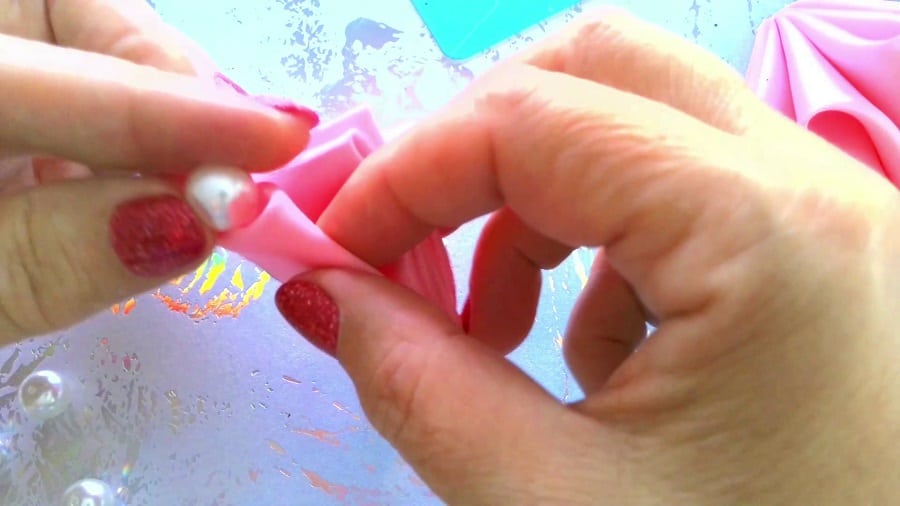
Before the final step, I decided to add some embellishments to the ornament and I decided to mount a small bead in every loop. I used 8mm pearl beads and I also used hot glue to set the beads in the folds.
I decided to mount the beads before I made the full ornament for two reasons: it is easier to manipulate a smaller object and I also wanted to minimize the number of manipulations the ornament will undergo; I was afraid it might be fragile and come apart. The truth is, the hot glue and the satin ribbon made the ornament quite sturdy, I did not have any problems with it coming apart later, even if I did subject it to certain stress (I dropped it repeatedly while taking images).
Apply a small drop of hot glue to the bead and place it in the fold. Allow a couple of seconds to set.
5. Join the two halves together
We now have two items like in the image below:
We need to join them together to make the full ornament body.
When I did this the first time I made a mistake and I forgot to put in the middle the metallic wire that will form the hook, so I had to take it apart and glue it again. Do not repeat my mistake, remember the wire!
Below is the body of the ornament after the two halves were assembled. Again, allow a couple of seconds for the glue to set.
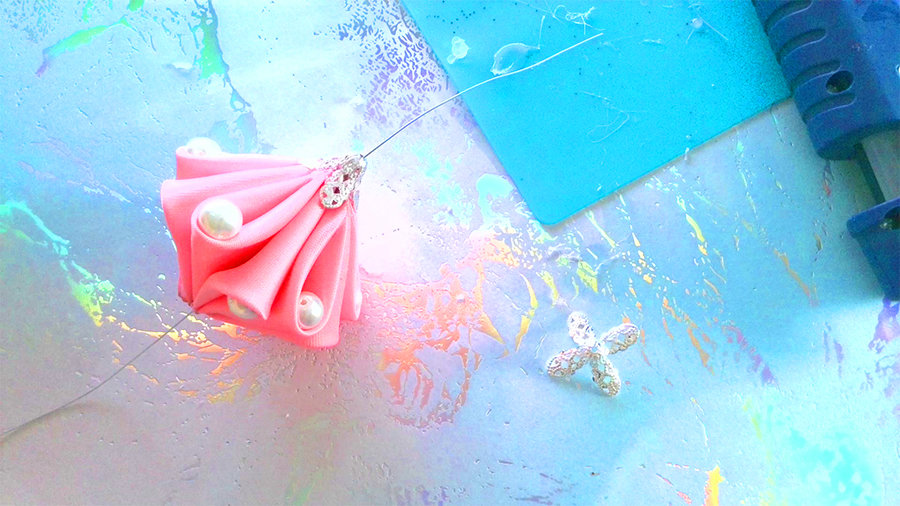
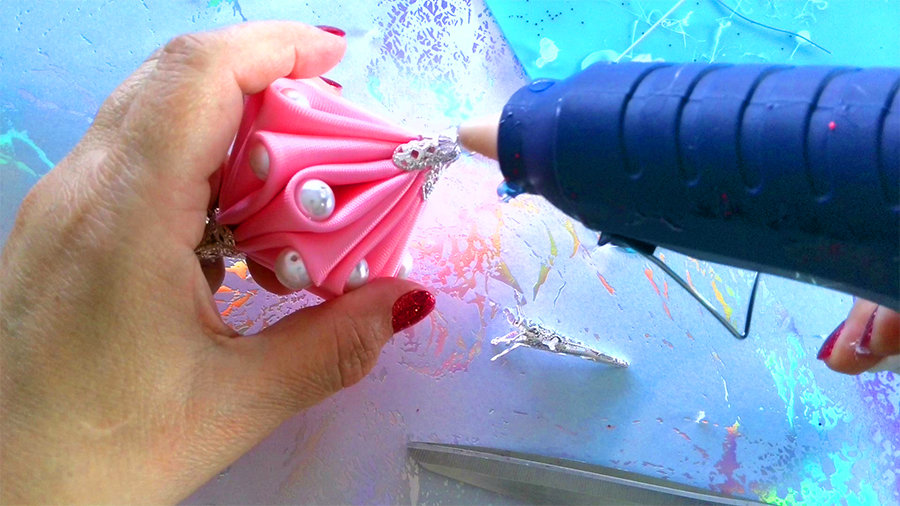
6. Attach bead caps
We now need only to attach the embellishment accent items: the bead caps.
I used bead caps that I already had in my collection but you can of course use whatever design catches your eye. In my case, I used a silver color which goes very well with the pink of the ribbon and the white of the beads.
At the upper point of the ornament (the one that is closer to the hook) I used not one, but two bead caps because it seemed to me one looked kind of “poor” on the ornament; two cover the end much better. Both are attached with a drop of hot glue.
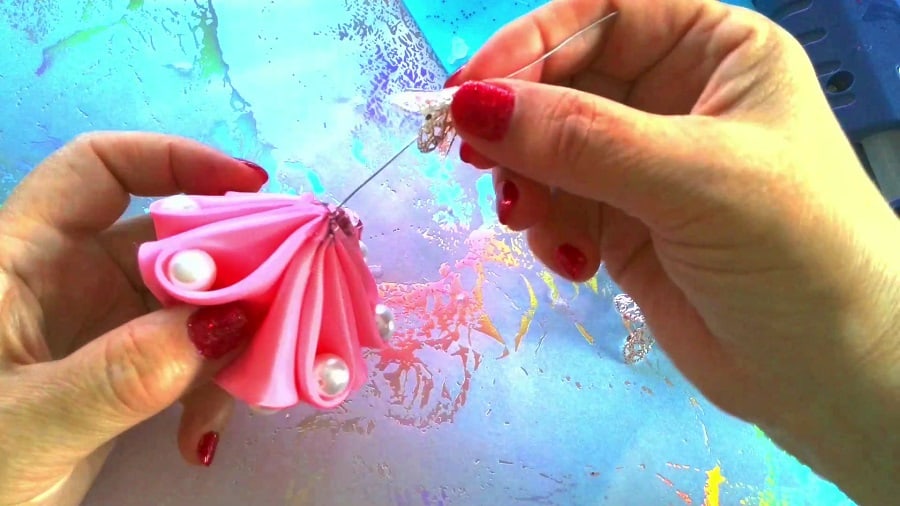
Then I decided to attach a bead on top of the second bead cap, to me it looked better that way.
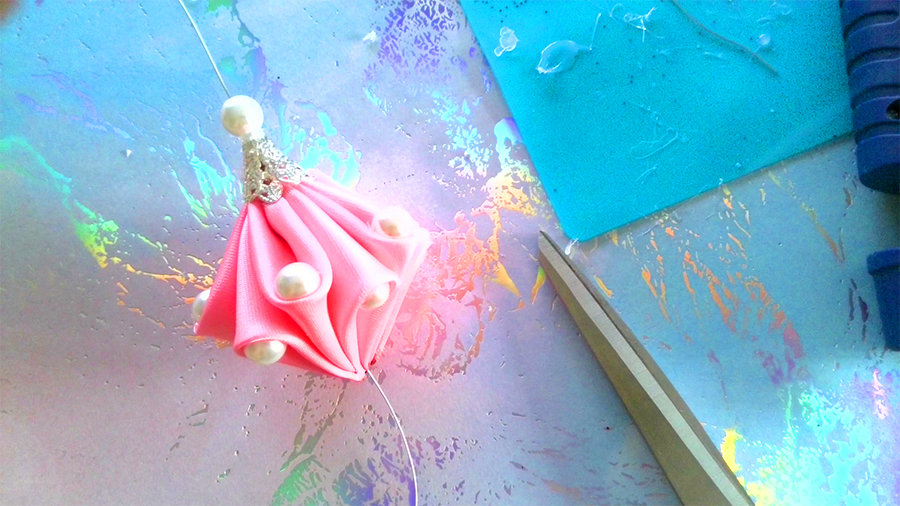
I repeated the operation for the second (lower) end where I also attached two bead caps, but one had a more elongated shape.
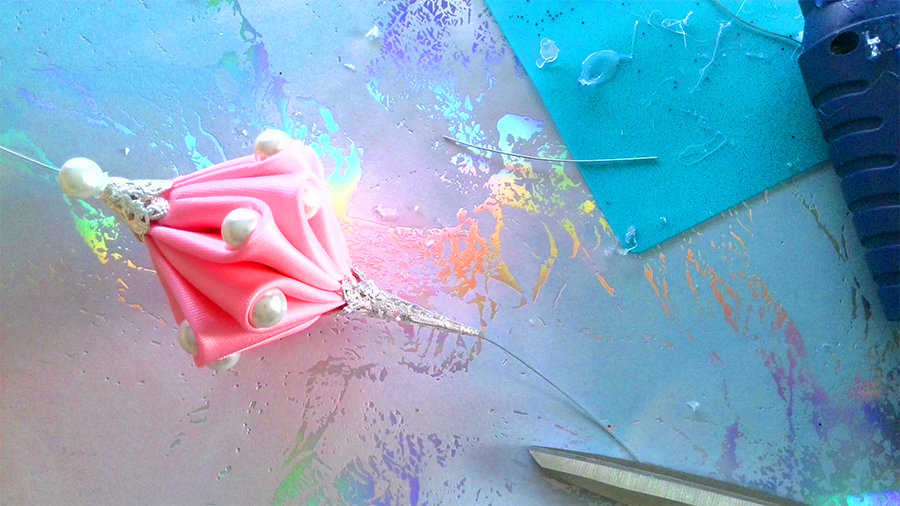
After attaching the bead caps you will need to make sure the petals of the caps are properly touching the ornament and hiding completely the glue and any other hint of assembly.
7. Trim the metallic wire and make the hanging loop
I used my craft scissors to cut the wire to length, then my trusted tweezers to bend it and create a hanging loop. The wire is not difficult to bend but that is ok, the ornament is lightweight.
As you can see, everything is quite simple! The main thing is to start, and then you will not be able to stop! The result? Judge for yourself.
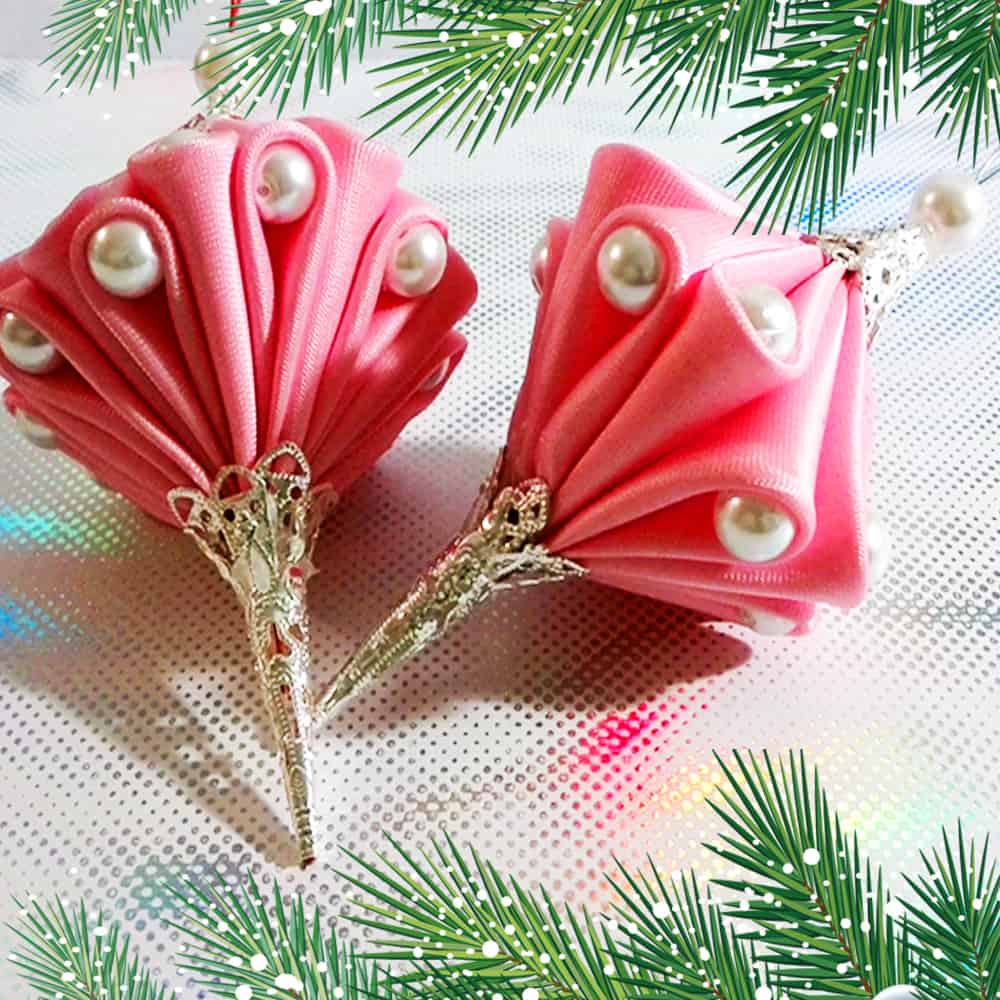
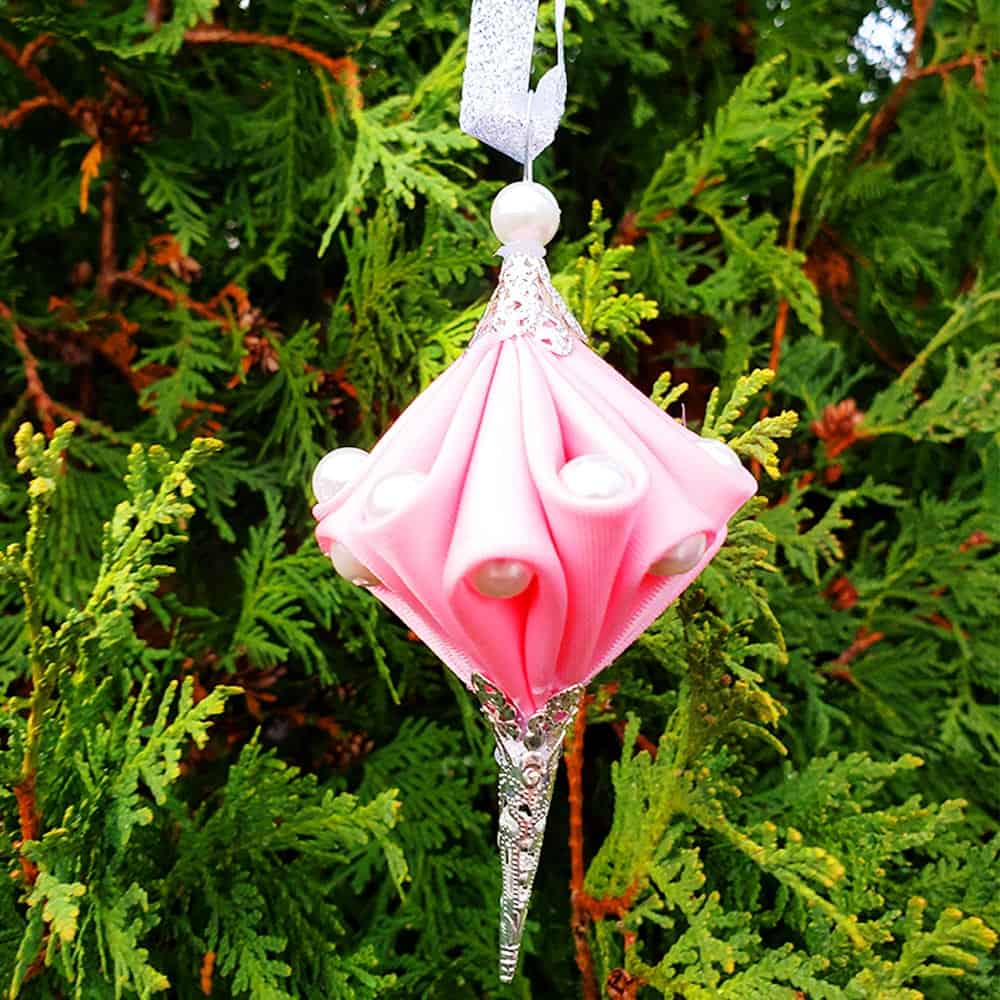
Did you find this tutorial helpful? If so, save this pin (see below) on your sewing board so you can come to this tutorial later when you are ready to make this DIY Christmas ornament 2020, and follow me on Pinterest for more tips, tutorials, and inspiration!


latest posts
- What Do You Call a Person Who Sews? I Asked My Readers and Got 1,408 Opinions
- DIY Round Purse: PDF Sewing Pattern and Detailed Instructions
- Mini Wonder Clips By Clover: Useful Sewing Tool Or Just Another Notion?
- Non-Slip Grips For Quilting Rulers: A Small Notion With A Useful Job
- Fabric Eraser for Sewing: What It Removes and When to Use It
- What Is The Best Thread For Sewing Machine Projects? Let’s Find Out!
- Butterfly Quilt Block Tutorial – Foundation Paper Piecing
- How To Sew Quilt Squares So The Corners Match
- Sewing With Fork Pins: How They Help With Pattern Matching, Slippery Fabric, And Seams