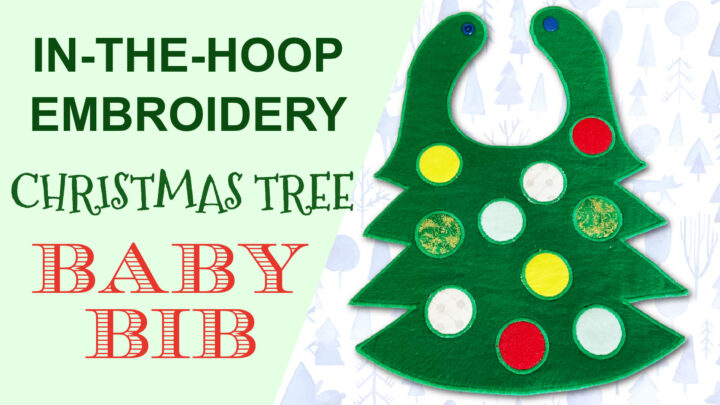
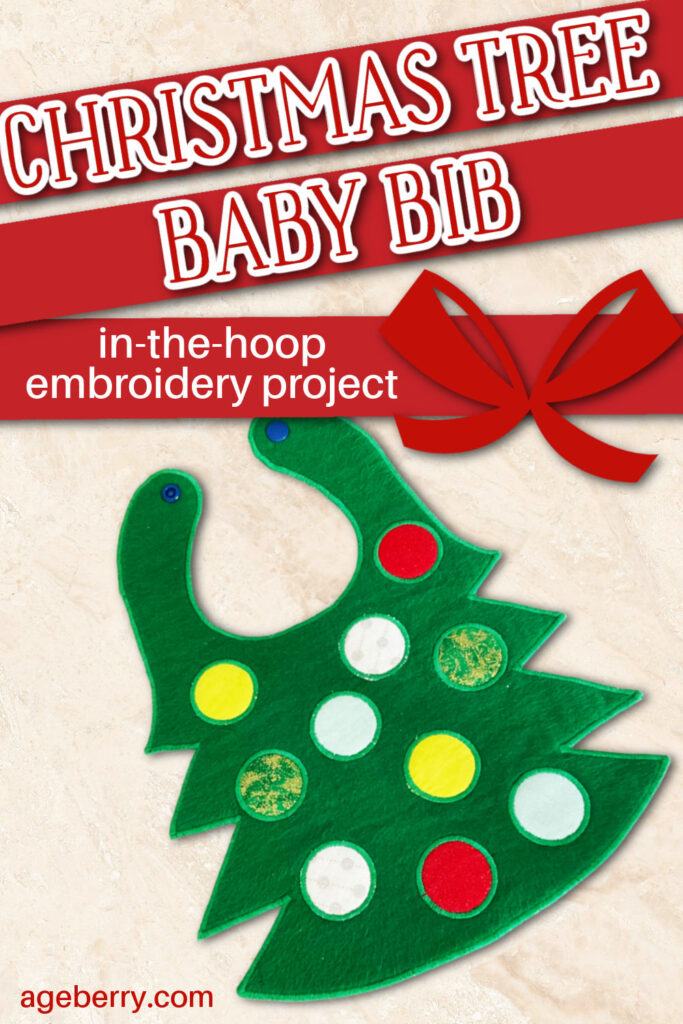
In The Hoop Embroidery Project: Fabric Christmas Tree Baby Bib
This in-the-hoop embroidery project is perfect if you’re looking to make personalized baby bibs this Christmas.
If you have a modern embroidery machine, then it is time to try In the Hoop Embroidery! Did you hear this phrase “in the hoop embroidery” but have no idea what it means?
In the Hoop or ITH embroidery is a new way to make all sorts of fun things right on your embroidery machine. You can create stuffed animals, baby bibs, bags, keychains, bookmarks, coasters, planner covers, photo frames, and more with just your embroidery machine! You can create three-dimensional objects right on your embroidery machine with no sewing machine required.
It may seem like a complicated process at first glance. However, it’s really not that difficult.
In the Hoop embroidery is a great way for you to create beautiful gifts for friends and family.
Let me show you how to make a fabric Christmas tree baby bib in the hoop. This design takes about an hour to finish (from start to finish) and when you’re done stitching it up – you get something really unique and your creation will be ready to wear!
So download the hoop embroidery design from my shop (free for my subscribers, the link is here) and start creating! This tutorial will walk you through every step of the process.
If you’re thinking of a lasting and meaningful gift for Christmas, making personalized baby bibs is the perfect option. It’s so much more meaningful than buying something at the store because you made it yourself with love!
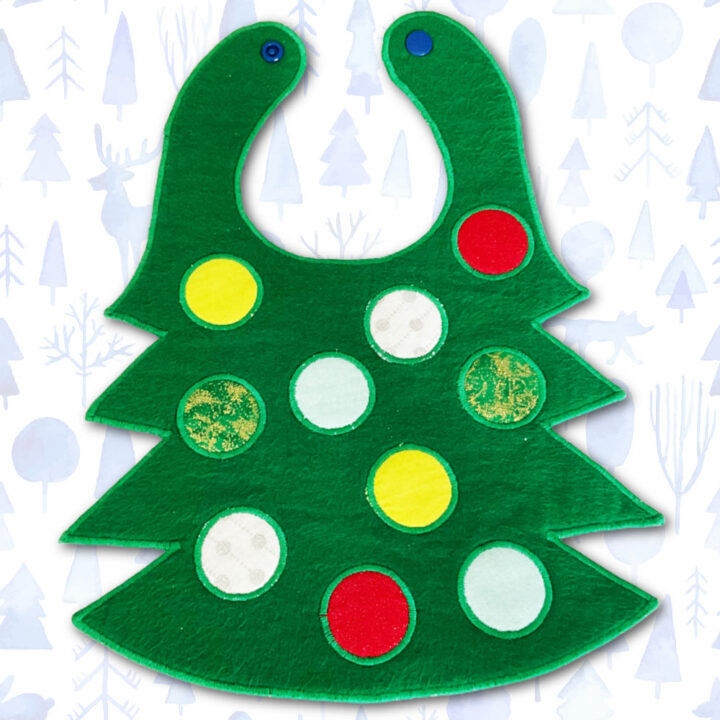
Once finished, this bib will be soft and absorbent, making it comfortable enough to wear. Plus, with its festive holiday design and bright colors, it’s sure to become one of the baby’s favorite accessories! Your little one will look adorable in their new handmade accessory while keeping them dry during mealtime or playtime. And since they are made from 100% cotton fabrics, these bibs are machine washable!
What you’ll need to make the in-the-hoop baby bib
- Embroidery machine with a hoop size 9 ½” x 14” or bigger
- Cotton flannel fabric – a rectangle 11” x 14” for the bib top
- Cotton flannel fabric – a rectangle 11” x 14” for the bib backing
- Scraps of different color cotton fabrics (red, yellow, blue, white, and gold, for example), cut 2” x 2” squares from them
- Wash-away (water soluble) embroidery stabilizer
- Machine embroidery threads
- Cotton batting – a rectangle 11” x 14” – use a very thin batting for the baby bib
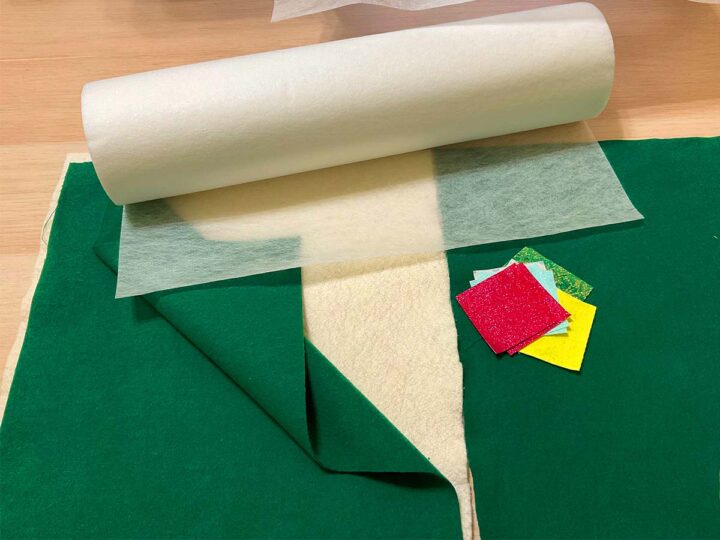
You can use any 100% cotton fabric you like for this project – just be sure to choose something soft and comfortable against your child’s skin so that your little one is comfortable wearing it. I recommend using cotton flannel for the front and back of the bib because of its soft texture and warm feel and quilting cotton fabric for appliques.
✅ Related tutorial: Everything You Need To Know About Sewing With Flannel Fabric
You MUST prewash and iron your cotton fabrics before starting the project because you will need to put the finished bib in the washing machine (see step 12).
Prewash also batting so it doesn’t get shrunk after washing.
Note: Some of the links on this page are affiliate links. This means I will receive a commission if you order a product through one of my links. I only recommend products I believe in and use myself.
I recommend using 100% COTTON embroidery thread because polyester or rayon embroidery thread requires lower iron temperature than cotton and because it’s often best to use a thread that is the same material as the bib.
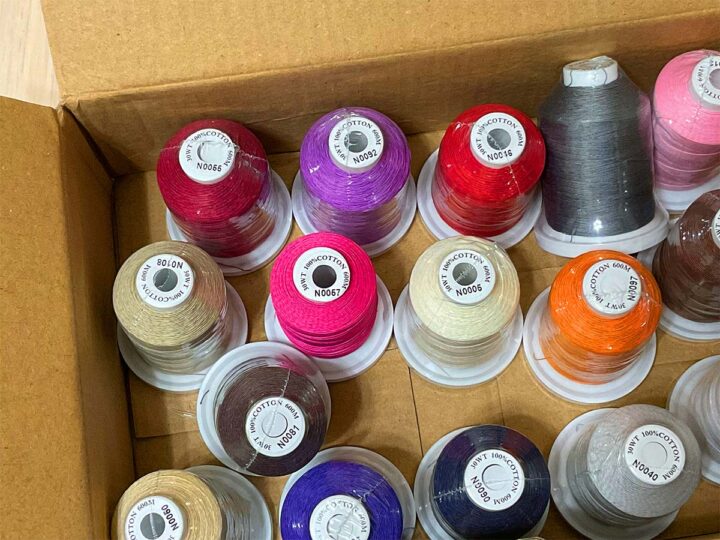
Recently I bought these threads New Brothread 24 Basic Colors Multi-Purpose 100% Mercerized Cotton Threads and now I’m a big fan of this thread. The thread is very smooth and durable but at the same time very soft and even silky so it is a pleasure to work with. Their sets include all basic colors so you’ll be prepared for any project. It never breaks even if the speed of my embroidery machine is big.
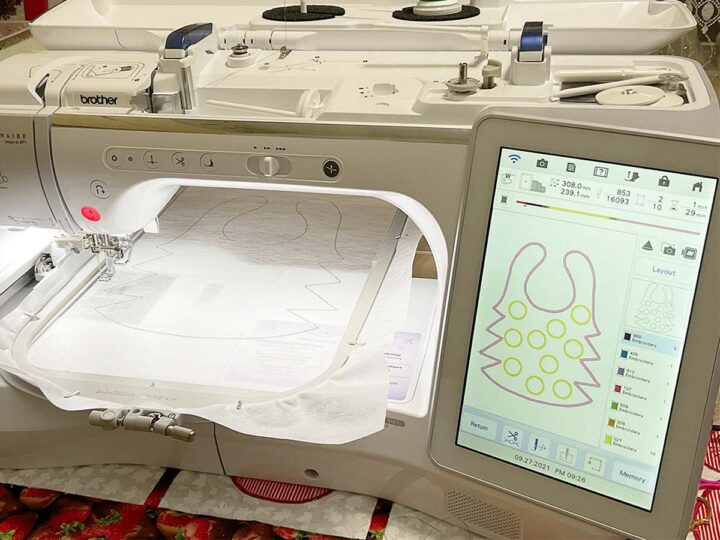
Step 1
Load the baby bib in the hoop embroidery design onto your machine
Don’t change the order of steps in the design. You must stitch the design in the correct order to ensure that the baby bib is stitched together correctly.
Also, I used different thread colors when digitizing the design to indicate that the embroidery machine should stop at certain points in order for the embroidery to go in the correct order.
So, don’t change thread colors and don’t use Color Sort threads in the design. For the baby bib, you don’t even need to change thread colors, you can use only green thread for the whole project.
Step 2
Choose the thread for the fabric Christmas tree baby bib
Don’t pay attention to the different color threads on the machine screen – they are used only for the machine to stop at certain points so you can place different fabrics for the appliques.
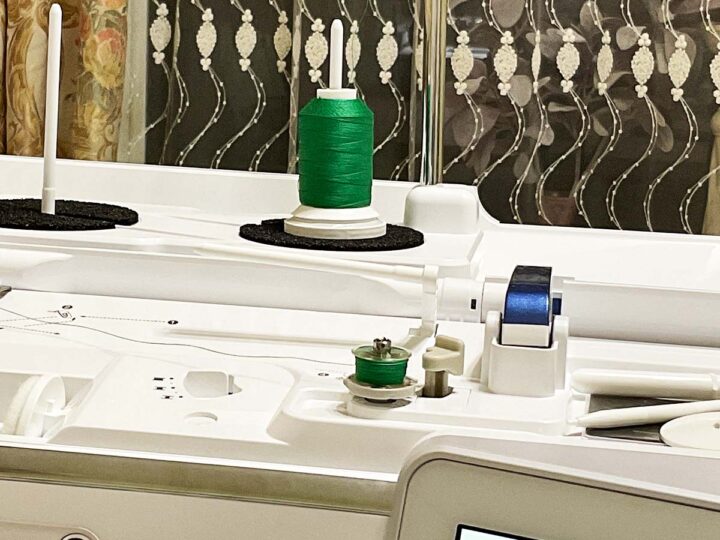
I used green embroidery thread for the whole project, 100% cotton.
The thread will be visible on the back of the bib, so fill the bobbin (actually 2 bobbins) with the same thread! I use 2 bobbins for the project.
Step 3
Hoop water-soluble stabilizer for the in-the-hoop embroidery project
I see that it’s usually recommended to use 2 layers of water-soluble stabilizer for in-the-hoop embroidery projects (I guess it is because one layer can be easily cut by mistake).
But I like to use only one layer of water-soluble stabilizer for baby bibs because 2 layers would produce too much residue after washing out the stabilizer. It shouldn’t be a clear stabilizer (like film), use the other kind.
I use this wash-away stabilizer H2O Eau Gone White FSL 15-inch x 25 Yard Roll. Wash n Gone – Wash Away – SuperStable Embroidery Stabilizer Backing
This stabilizer is a complete wash-away stabilizer, it dissolves easily in water and fibers hold stitches very well.
It’s really important to hoop stabilizer correctly so it has proper tension and doesn’t move within the hoop at all. Otherwise, you’ll never be able to achieve desired results. So take your time, place the stabilizer, make some small adjustments if necessary and tighten the hoop.
The stabilizer should be very taught in your hoop at all times. If it becomes stretched with too much handling of the hoop during embroidery you might have problems with alignment which would lead to gaps or bubbles between stitches.
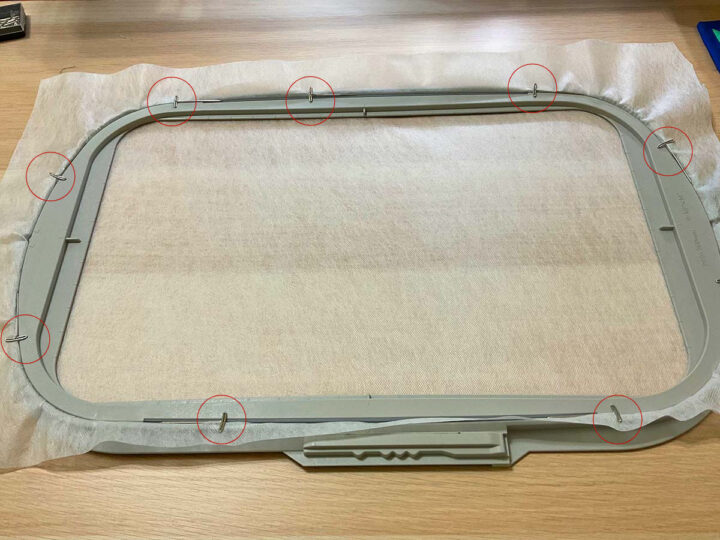
I learned that I can use t-pins to hold the stabilizer in the hoop better. So I usually do it as you can see in the image below.
✅ Related tutorial: Types of sewing pins and their uses: all you need to know about straight pins for sewing
Step 4
Make a placement stitch for the baby bib
Start the first step of the embroidery design and make a placement stitch on the stabilizer. Just push a button and the machine will do it automatically.
Step 5
Stitch bib fabric and batting to the stabilizer
Place very thin cotton batting and bib fabric on top of the hoop and run the next step of the in-the-hoop embroidery design. The machine will stitch the bib fabric and batting down onto the stabilizer.

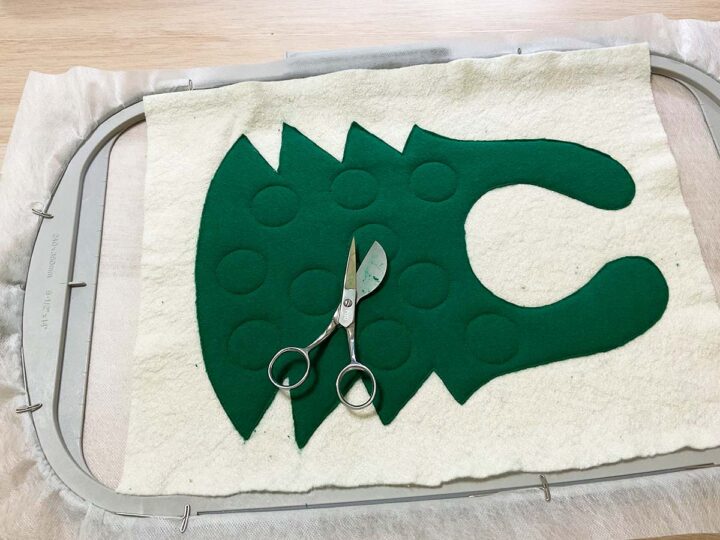
Step 6
Cut out the cotton flannel fabric
Remove the hoop from the machine, but of course don’t unhoop your work, LEAVE YOUR WORK IN THE HOOP. Cut out the fabric (don’t cut the batting yet) to the shape of the bib all the way around.
For this, I am always using my duckbill scissors – a pair of funny-shaped scissors with a wide flat blade and a slightly angled handle so that your hand is lifted from the fabric while you cut. With these scissors, you can trim fabric very close to stitches without the worry of ruining your project, thanks to the flat paddle blade.
Return the hoop to the machine.
✅ Related tutorial: Duckbill Scissors: What They Are And How To Use Them
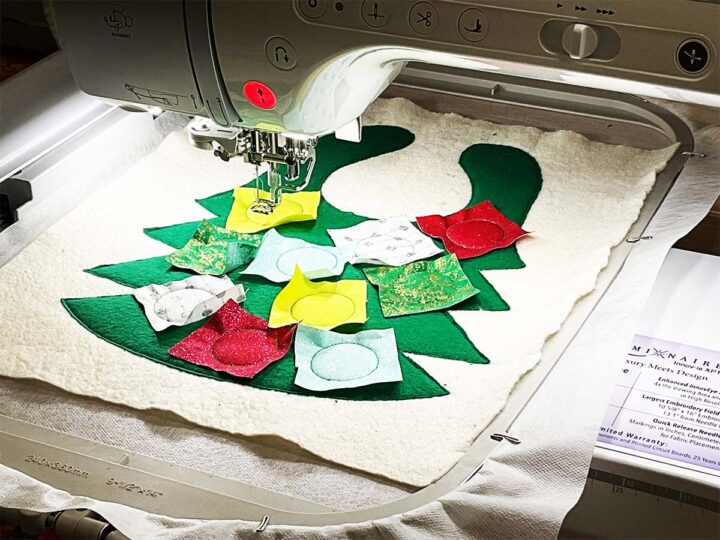
Step 7
Make appliques
Lay different color fabric pieces over their placement lines making sure the lines are covered and run the next 5 steps of the in-the-hoop embroidery design. You may want to lower the speed of your embroidery machine for this. Be careful placing the fabric and keep your fingers away from the needle.
Step 8
Cut out the applique fabrics
Remove the hoop from the machine, and cut out all the applique fabrics to the shape of the circle. Use duckbill scissors again.
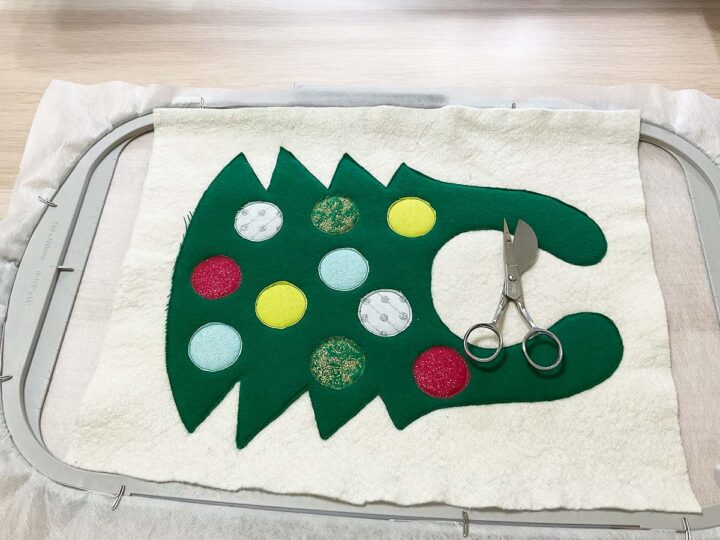
Step 9
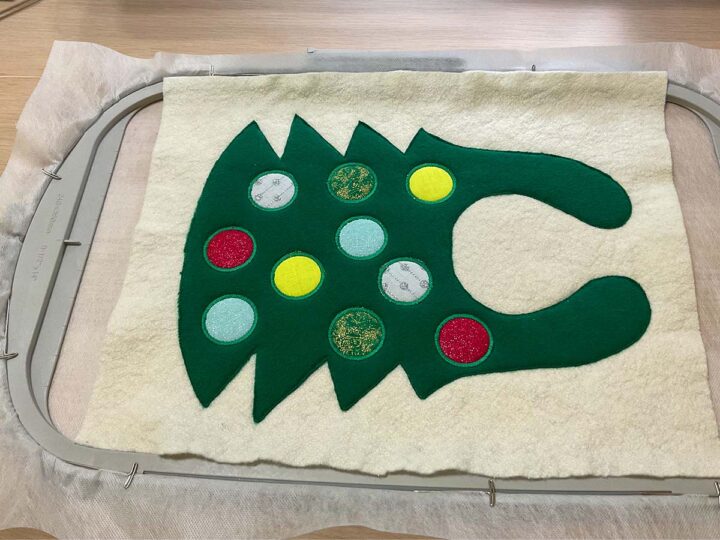
Finish the appliques on the baby bib with satin stitches
Return the hoop to the machine and run the next step of the design that will finish the circles.
Step 10
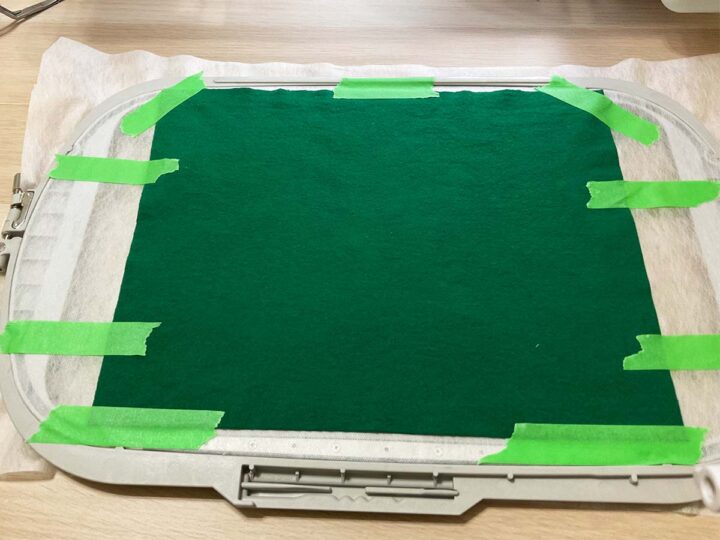
Place the cotton fabric for the back of the baby bib
Remove the hoop again and place the cotton flannel fabric (cut to a rectangle 11” x 14”) under the hoop making sure that the fabric covers the bib completely. Verify that the fabric lies perfectly flat under the hoop. I usually use painter’s tape to hold the fabric in this case.
Return the hoop to the machine and run the next step of the design attaching the back fabric to the bib.
Step 11
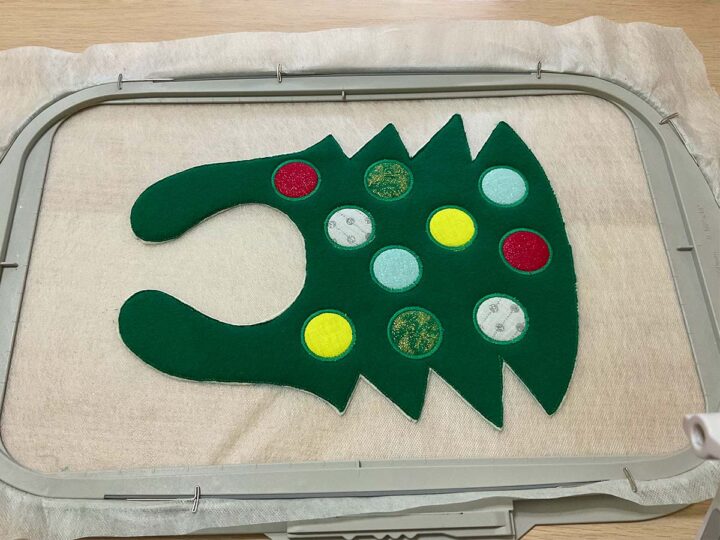
Trim the batting and the back fabric
Remove the hoop from the machine and cut out the back fabric from the back of the hoop all the way around, using the outline stitch as a guide as close to stitches as possible. Also, trim the batting from the top of the hoop. This will ensure your satin stitch edges don’t have any visible fluffy edges. Be careful not to cut water soluble stabilizer in the hoop.

Step 12
Finish the fabric Christmas tree baby bib in the hoop
Run the last step of the design finishing in the hoop baby bib embroidery.
Once you have completed the design, cut away the excess water soluble stabilizer.
Wash the baby bib in warm water, preferably in the washing machine. You need to get rid of all the water-soluble stabilizers that are left inside of the bib. Otherwise, your bib will be very stiff. The washing machine will remove all the residue for sure. Press the bib with a hot iron on the wrong side when dry, use a pressing cloth.
Step 13
Install KAM snaps for the baby bib closure
Now we need to make a closure for this baby bib. I like to use plastic snaps known as KAM snaps. They are really easy to apply, available in a variety of colors, and are recommended by many to use for baby bibs. The great thing about KAM snaps is that they make a very easy and secure closure and also look so cute!
They’re available at most fabric stores and come with a starter kit that includes the tool to install KAM snaps. You can also easily find them online.
A plastic KAM snap set contains four tiny pieces. See the image below for an idea of what they look like. The one set has four parts: two caps (with tiny prongs) that are visible on the outside of the garment and two backings that are relatively flat: one socket and one stud.
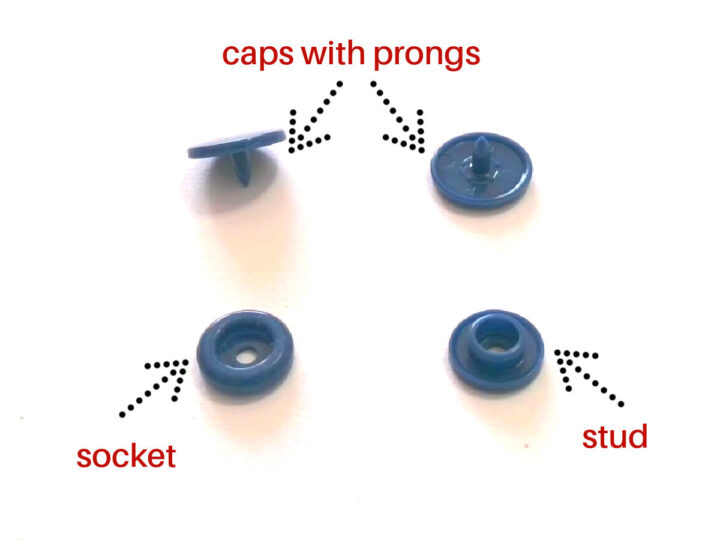
We’ll just need one set for the baby bib. I could go with contrasting colors, but for this baby bib, I’d pick something that matched the bib color. So the child would have a harder time playing with it. If you install them correctly, the snaps are almost impossible to remove, and you’ll need special equipment to do that. However, just to be sure, I’d use snaps of the same color as the bib fabric.
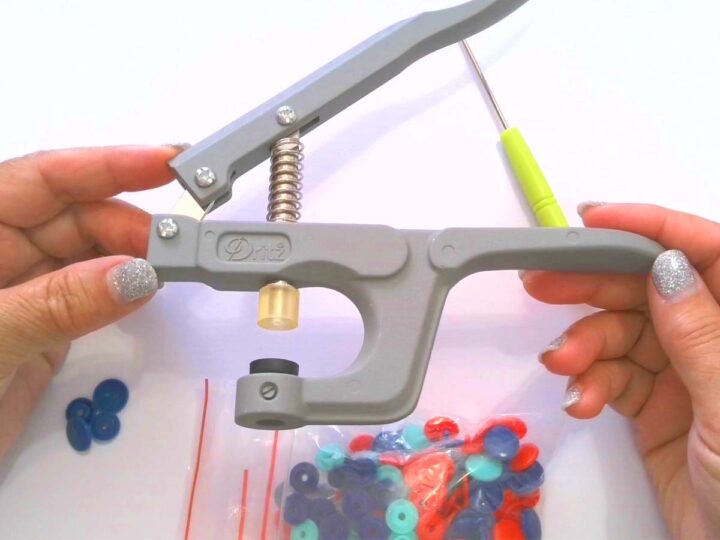
You will need special pliers to install the KAM snaps.
Here is how to install the KAM snaps on the baby bib.
Decide on your snap placement. Using an awl, make a small hole in the fabric where you want to place your snaps. It’s better to pierce both ends of the baby bib at once. Don’t make the holes big, they should be only as big as the cap prongs.

Push the cap from the front side of the bib to the back through the hole. Place the stud piece onto the cap prong from the back side of the bib. Take the pliers and position them as you see in the image below.
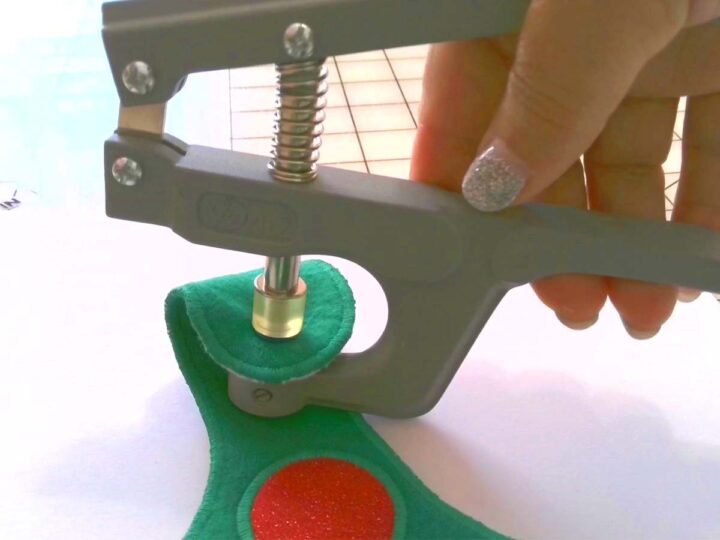
The cap should go on the black die tray (the size of the cap) and the stud should be placed under the clear rubber head.
Make sure both parts of the snap (the cap and the stud) sit correctly in the pliers without any portion of the cap or stud sticking out beyond its edges.
Hold the pliers so that they are sitting on the table (not in the air) and press the pliers firmly for a few seconds.
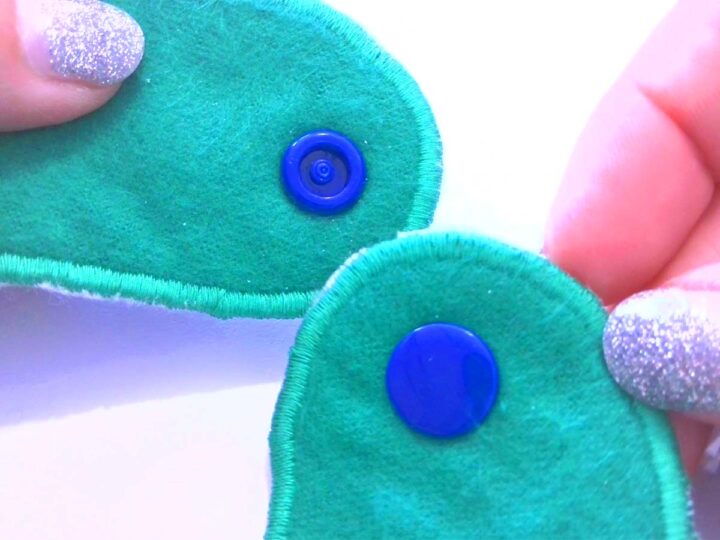
Remove the fabric between the pliers; the prong has been flattened, keeping the stud secured in the position.
Repeat the process on the other side of the bib, installing the second part of the snap but this time use a cap and a socket piece.
This is what your finished pair of plastic snaps should look like.
Did you find this tutorial helpful? If so, save this pin (see below) on your sewing board so you can come to this tutorial later when you are ready to make this in the hoop embroidery project: fabric Christmas tree baby bib, and follow me on Pinterest for more tips, tutorials, and inspiration!
latest posts
- What Do You Call a Person Who Sews? I Asked My Readers and Got 1,408 Opinions
- DIY Round Purse: PDF Sewing Pattern and Detailed Instructions
- Mini Wonder Clips By Clover: Useful Sewing Tool Or Just Another Notion?
- Non-Slip Grips For Quilting Rulers: A Small Notion With A Useful Job
- Fabric Eraser for Sewing: What It Removes and When to Use It
- What Is The Best Thread For Sewing Machine Projects? Let’s Find Out!
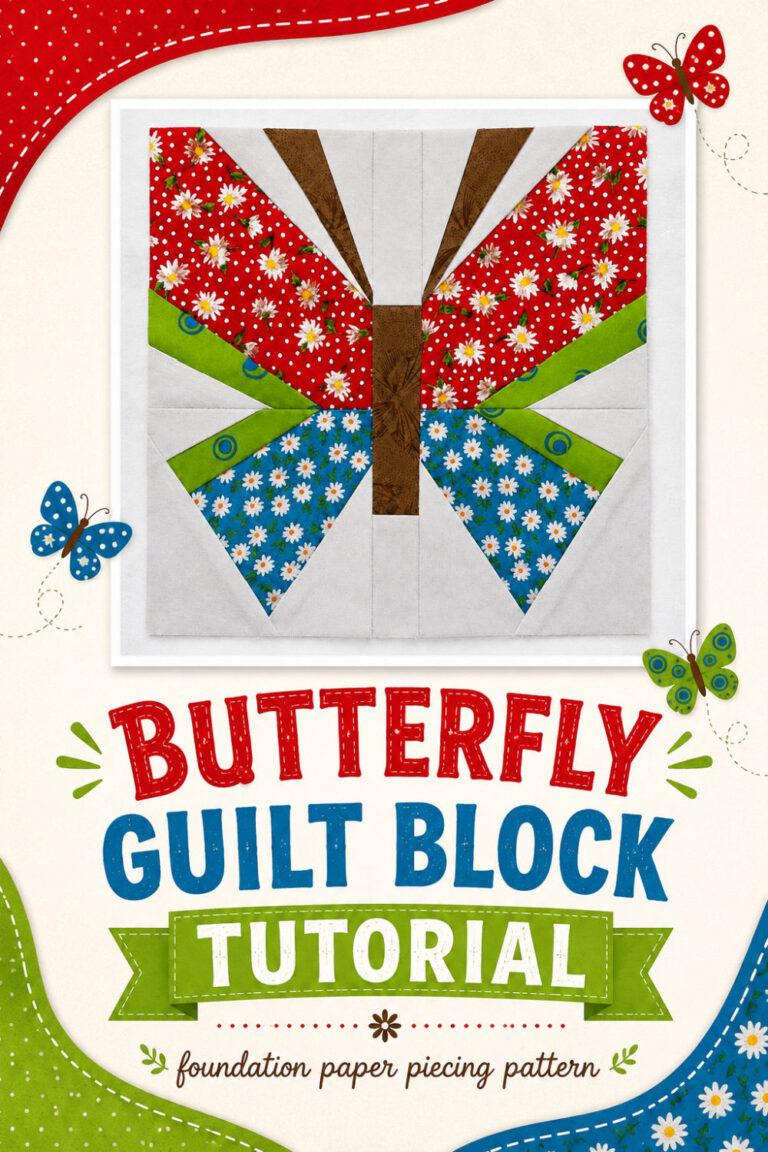
- Butterfly Quilt Block Tutorial – Foundation Paper Piecing
- How To Sew Quilt Squares So The Corners Match
- Sewing With Fork Pins: How They Help With Pattern Matching, Slippery Fabric, And Seams