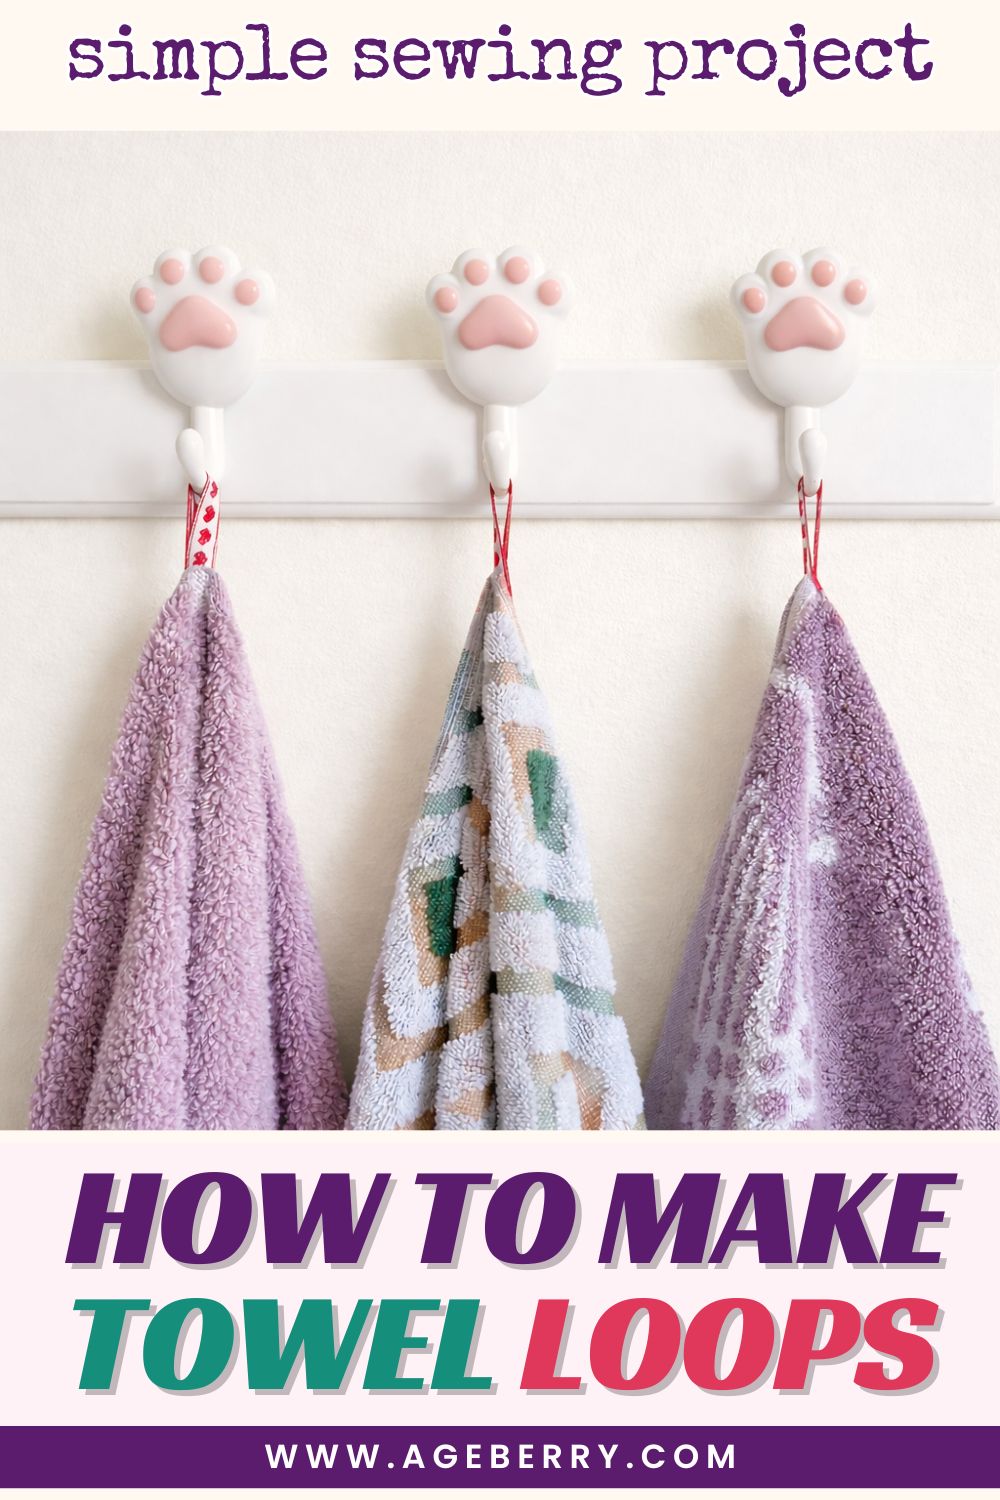
How To Make Towel Loops: Simple Stay Put Towel Ideas
This tutorial is about sewing a small hanging loop onto a bath towel—and yes, it’s as useful as it sounds.
I had a whole stack of new bath towels sitting there, all needing loops. The ribbon was ready. The sewing machine was right next to them. And still, I kept putting it off for months. The project felt almost too simple, which somehow made it easy to delay. There was always something more urgent to sew.
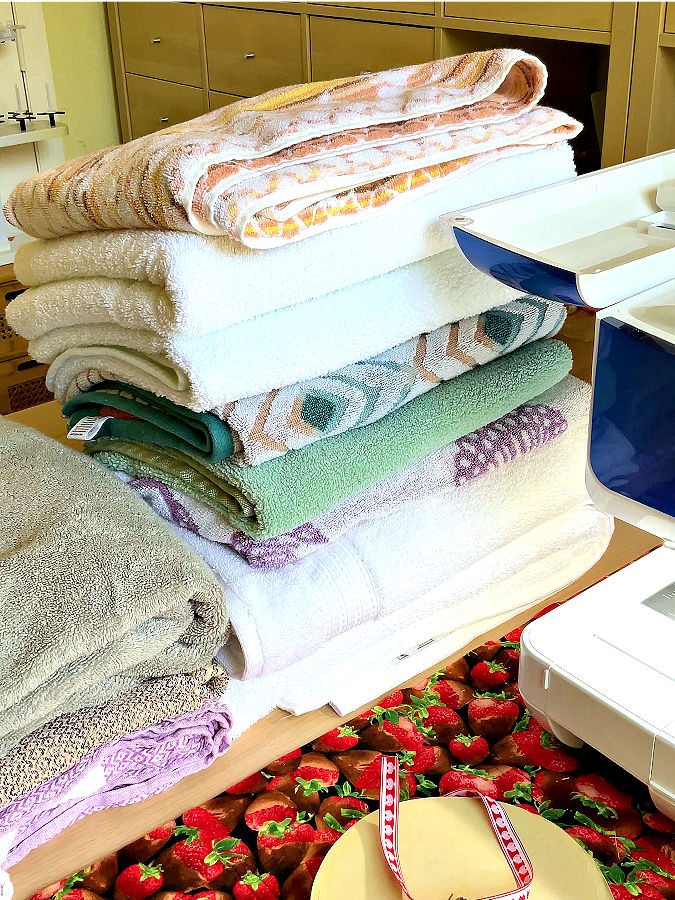
Towels without loops tend to create problems in any bathroom. They slide off hooks, end up bunched on the floor, and need to be rehung again and again. It’s fine once or twice, but not when it turns into a daily routine. A towel that won’t stay put never dries properly and always seems to be in the way.
Once I finally sat down and did it, the whole thing took far less time than I expected. One towel led to another, and before I knew it, the entire pile was finished. At that point it felt obvious—this needed to be a tutorial. It’s practical, quick, and uncomplicated, and it fixes a problem most bathrooms quietly live with. A very annoying problem.
This isn’t a decorative statement. It won’t draw attention or try to look fancy. But the towels stay on the hook, dry properly, and stop turning into a small daily annoyance. Sometimes that’s exactly what a sewing project should do.
Note: Some of the links on this page are affiliate links. This means I will receive a commission if you order a product through one of my links. I only recommend products I believe in and use myself.
What You’ll Need
- Ribbon – Choose something strong and flat.
- Towels – Any size will work.
- Sewing machine – A decorative or zigzag stitch works well here.
- Sharp needle – A fresh needle helps when sewing through thick layers.
- Thread – White or matching thread.
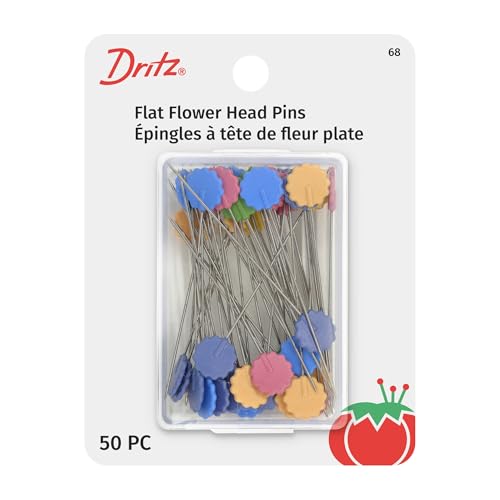
- Pins – To hold things in place.
I always recommend using good quality notions; saves a lot of time and aggravation. I used flat head pins (and I recommend them) because they are easier to see in the thick pile of the towel. Also the needle I used was Schmetz universal 90/14.

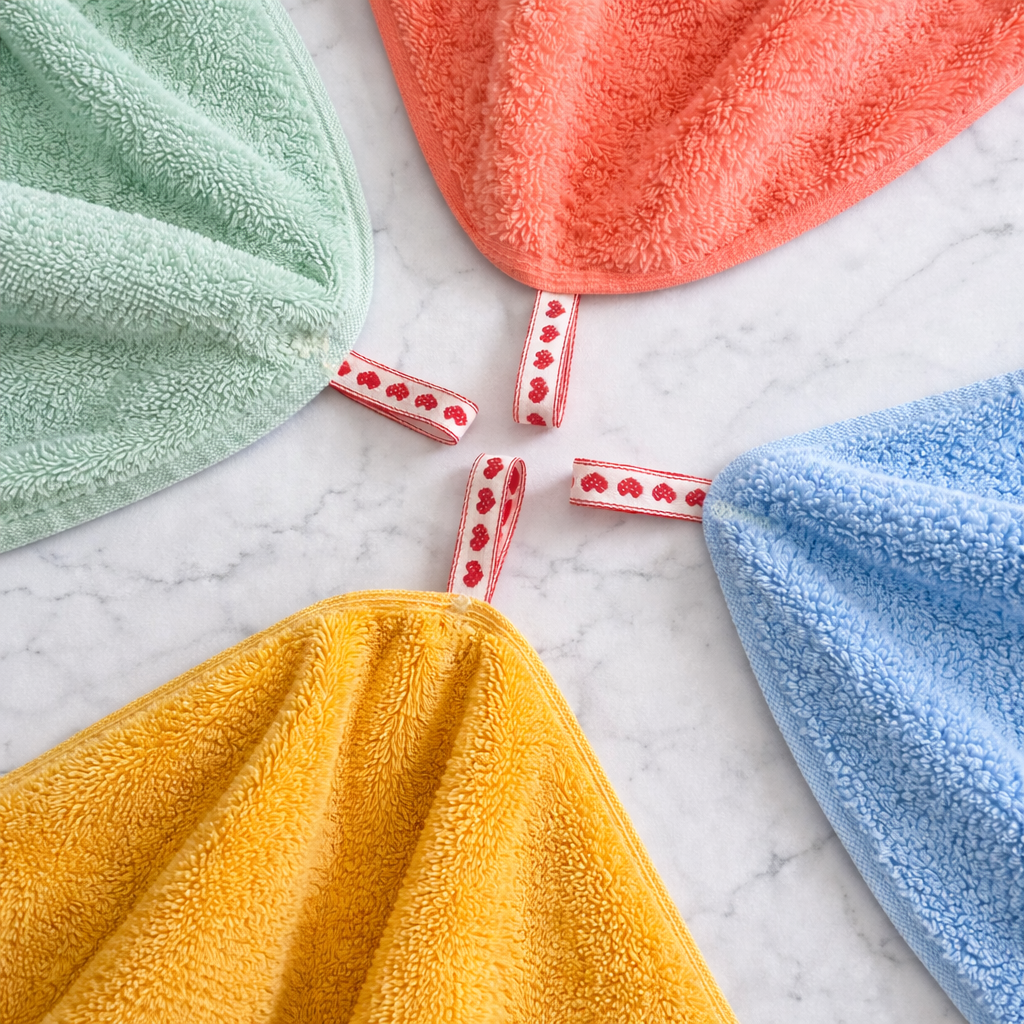
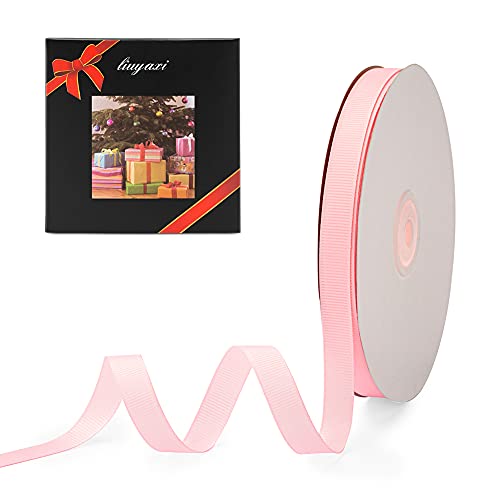
Choosing the Right Ribbon
The ribbon does the hard work here, so the choice matters.
Good ribbon qualities:
- Sturdy and tightly woven so the loop holds weight
- Flat with no embroidery or raised texture
- Not too wide (⅜ or 1/2 inch works well)
- Low-fray edges so it stays neat after using
Grosgrain ribbon is a reliable option. Satin tends to be slippery and wears out faster. Decorative ribbons with metallic threads or heavy embroidery look interesting but do not hold up well as a bathroom towel loop.
Color is flexible. Matching ribbon blends in. Contrasting ribbon makes the hanging loop easier to spot, which helps kids hang towels back up.
Below are some ribbons I considered.


✅ Related tutorial: How To Make In The Hoop Towel Topper With A Hanging Loop (Free Design)
Step-by-Step Instructions
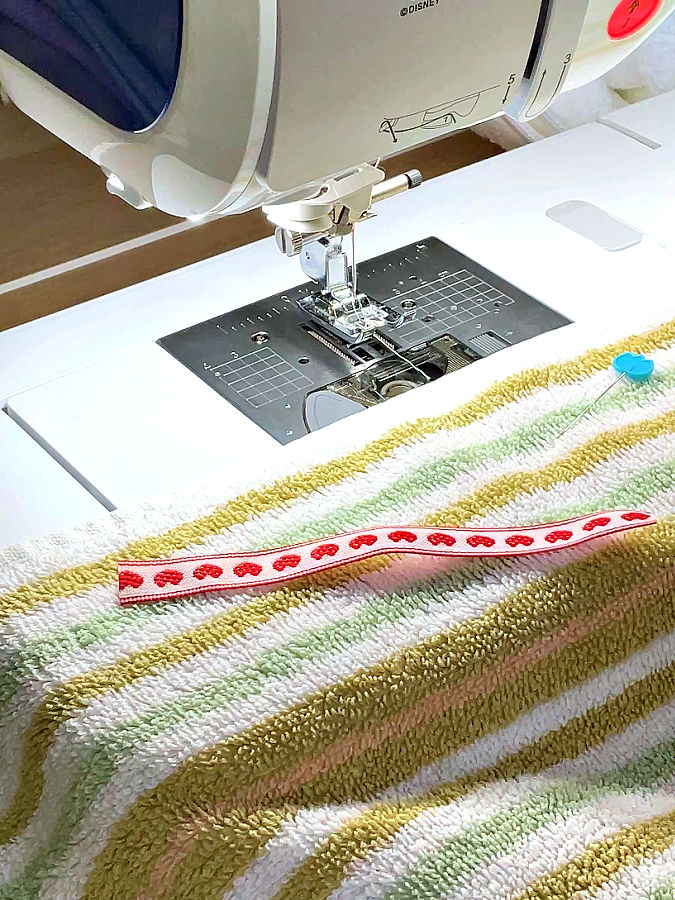
Step 1. Set Up Your Machine
Use a wide decorative stitch if you have one—it looks nice and adds extra security. I used this honeycomb stitch.
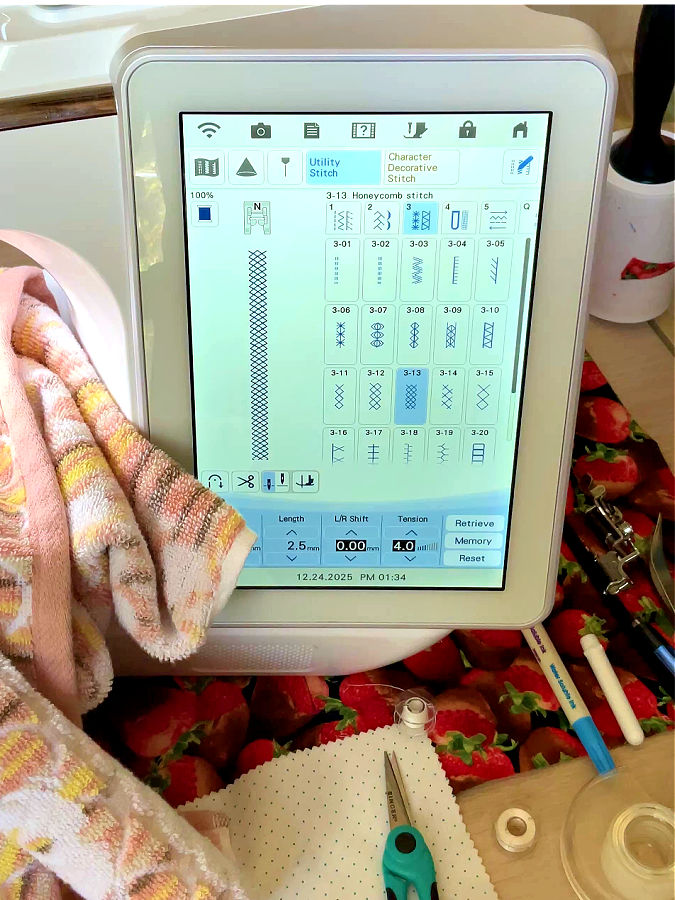
✅ Related tutorial: Decorative Sewing Machine Stitches: Ideas, Projects and Inspiration
If not, a zigzag stitch does the job just fine.
Install a new sharp needle. You’ll be sewing through terry cloth and folded ribbon, which can be tough on dull needles.
Thread your machine with strong polyester thread (something that blends with the towel).
Step 2. Cut and Fold the Ribbon
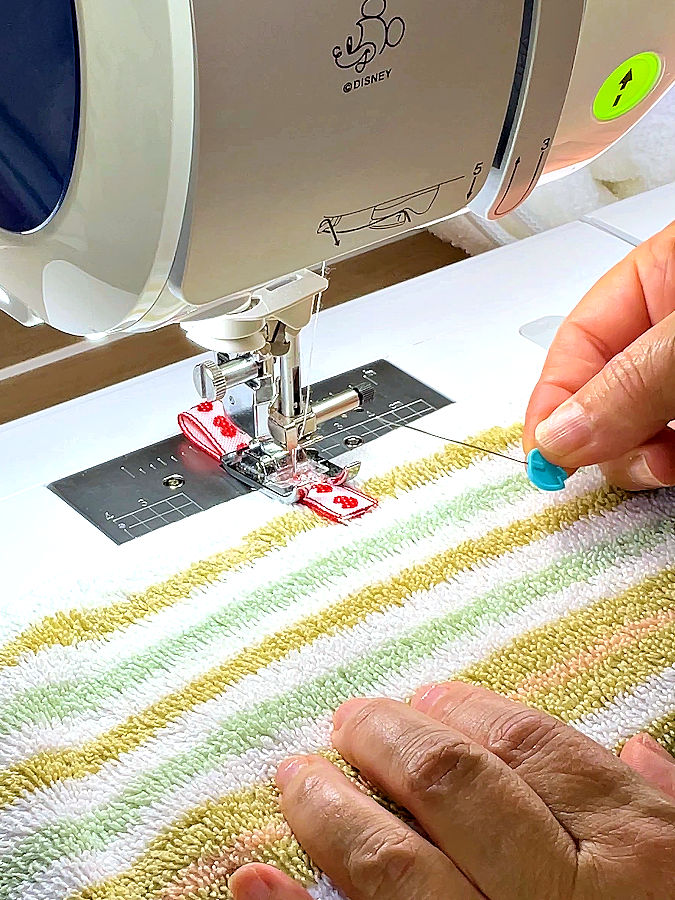
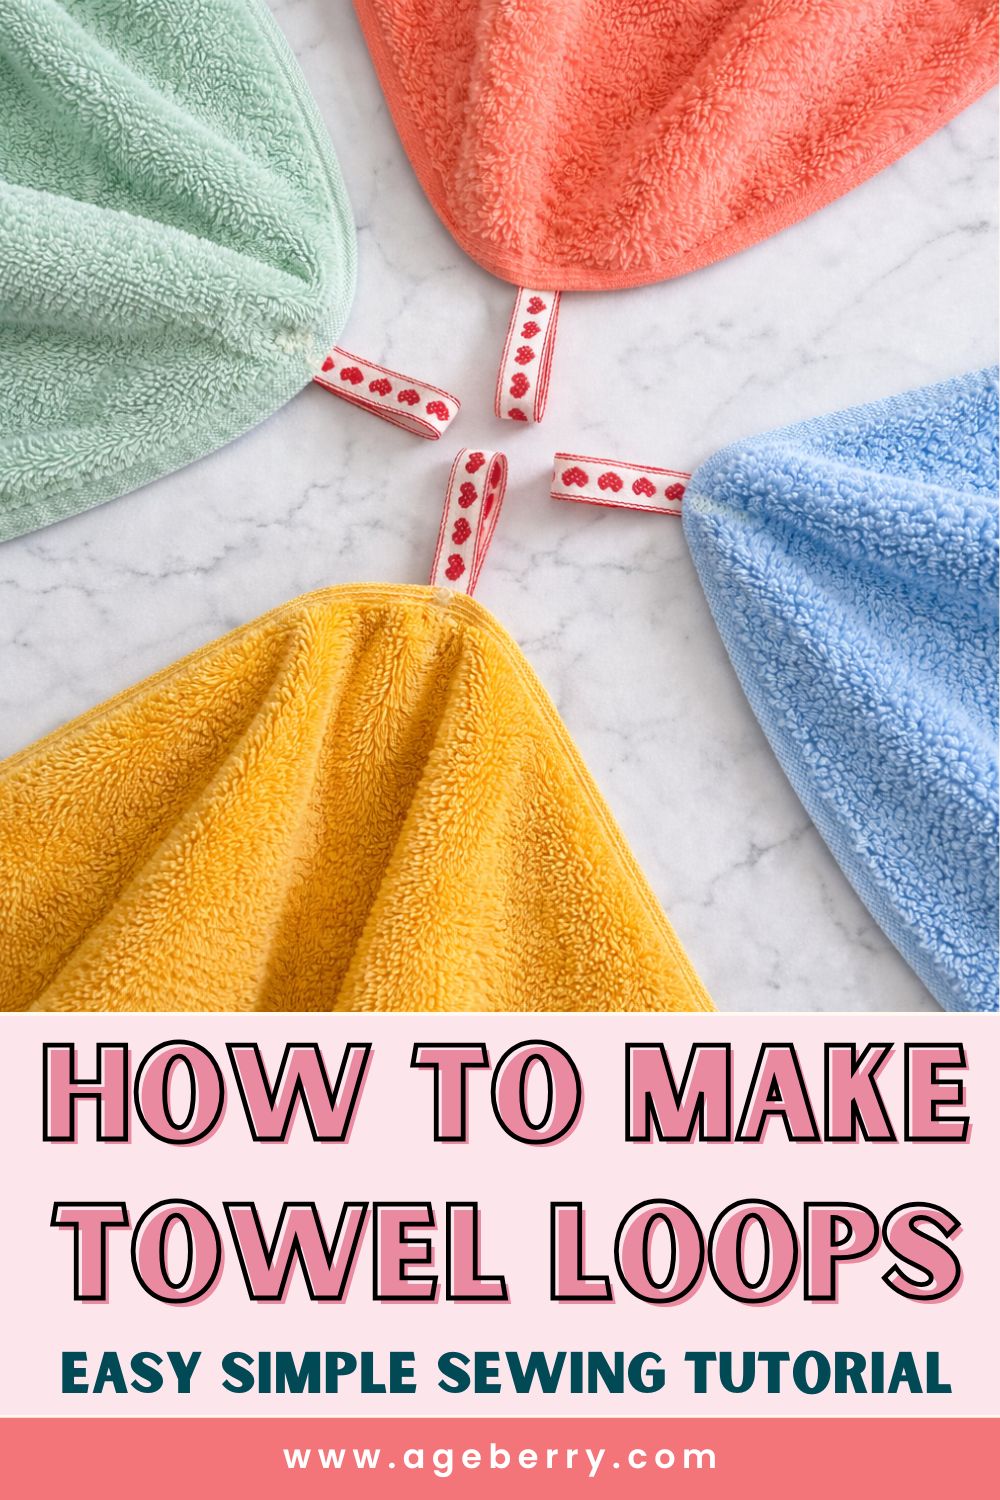
Cut a piece of ribbon about 5.5″ to 6″ long (14 – 15cm). Fold it in half so the ends are even, forming a loop. Pin the ends together.
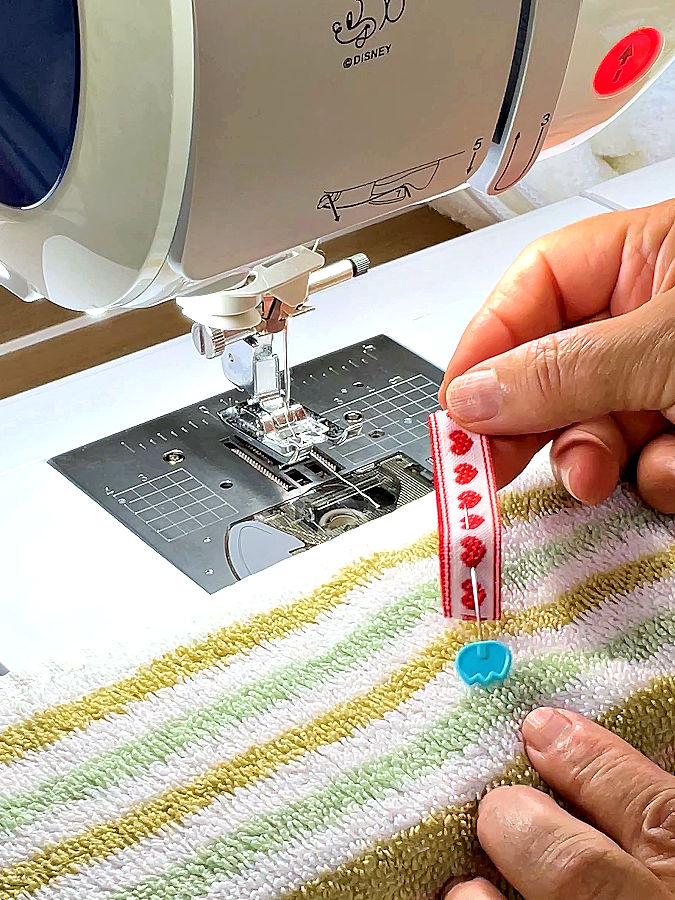
Step 3. Pin the Loop to the Towel
Find the center of one long edge of the towel.
Pin the ribbon loop there, with the raw edges facing down toward the towel. The folded end should point up, forming the loop.
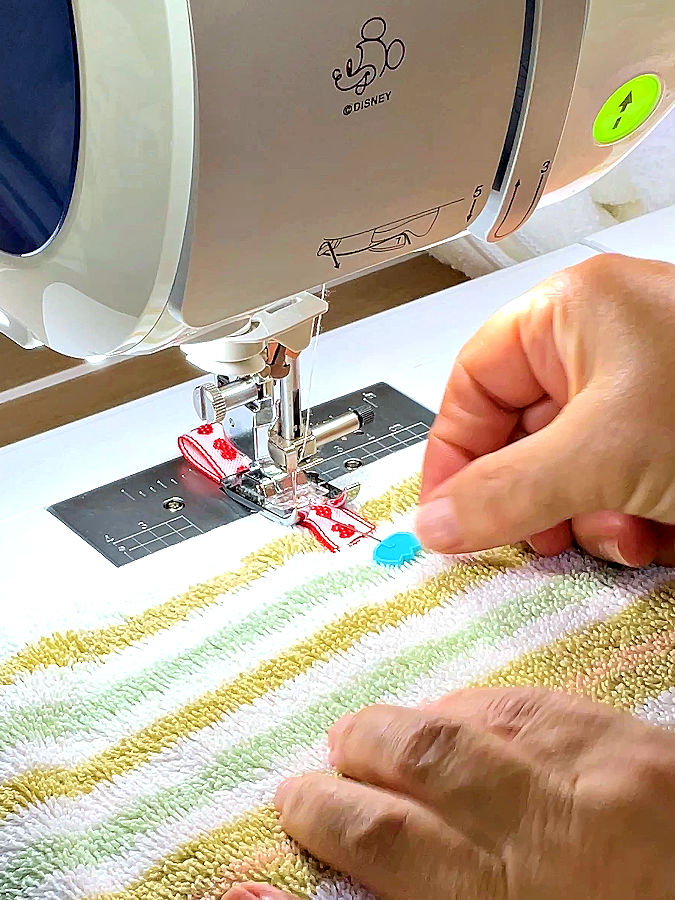
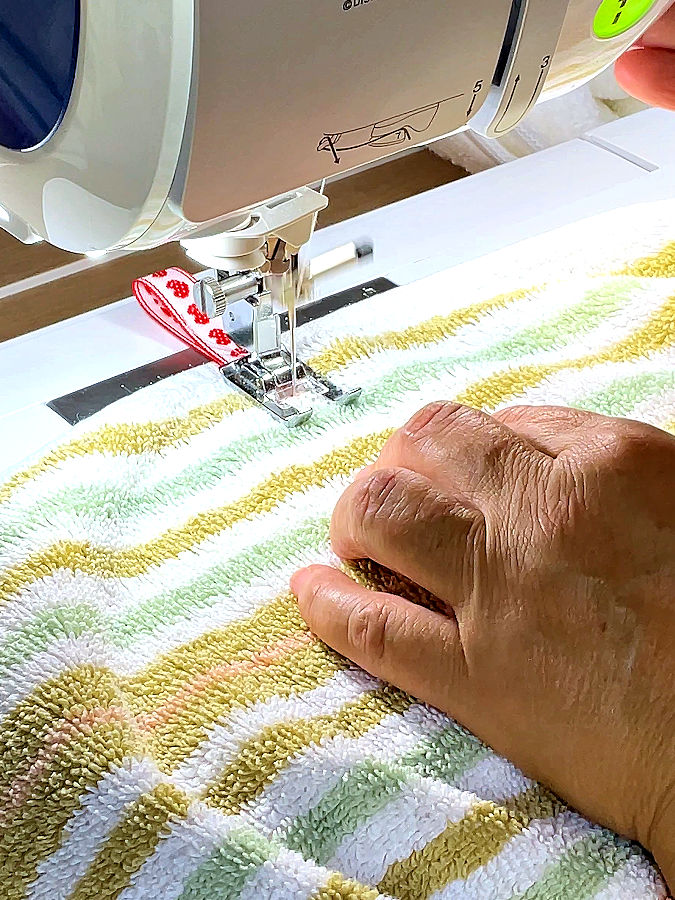
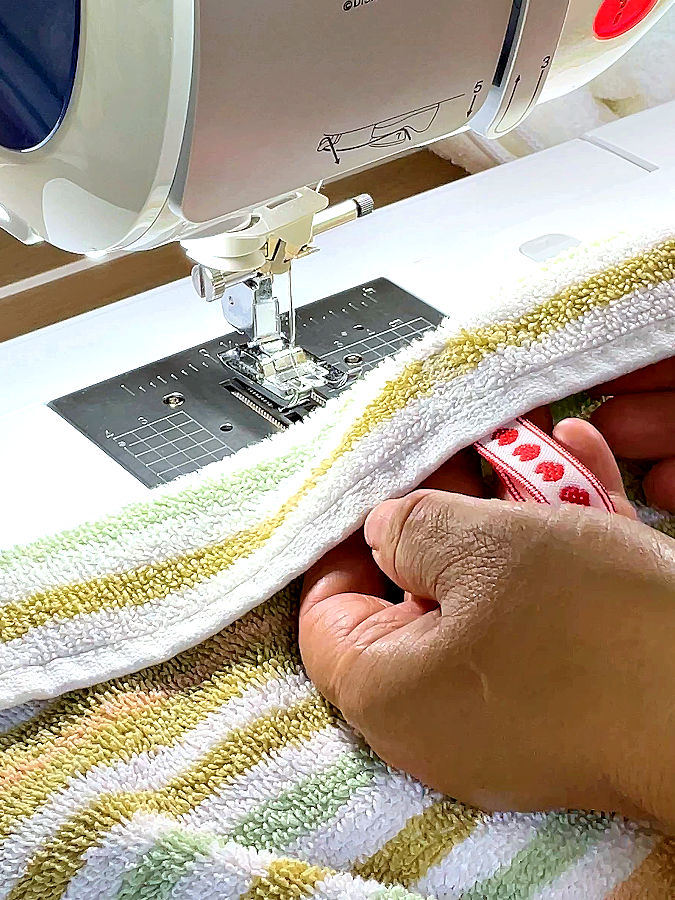
Step 4. Stitch It Down
Place the towel under the presser foot so the ribbon edges are lined up where your needle will go. Remove the pin right before you start sewing.
Stitch past the raw edge of the ribbon to prevent fraying.
✅ Related tutorial: How to Stop Fabric from Fraying: 21 Reliable Techniques to Try Today
The wide decorative stitch will cover almost the whole width of the ribbon. But if you prefer to use a zigzag stitch you will want at least two lines of stitching across the loop.
Step 5. Trim the Threads
Snip any threads and check the back to make sure it’s secure. And just like that, you’re done.
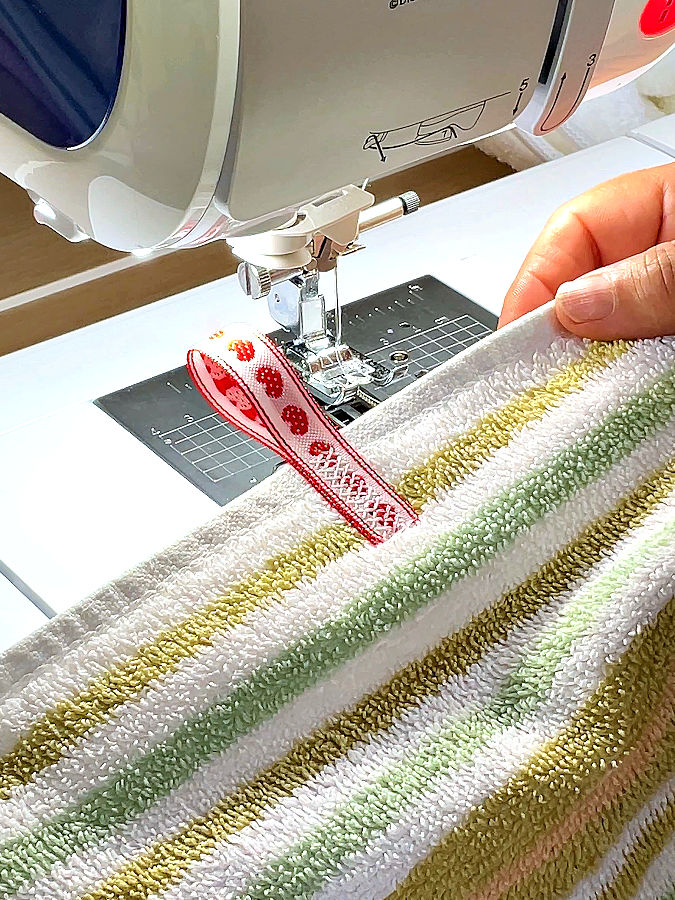
Is it pretty? Maybe not. But it’s very useful. This little detail may not win style points, but it wins every time in practicality. On terry cloth, the stitching practically vanishes, as you can see in the image below.
Do you need hanging loops for your towels? What am I saying! Of course you do. If so, I suggest save this pin (see below) on your sewing board so you can come to this tutorial later when you are ready to make them, and follow me on Pinterest for more tips, tutorials, and inspiration!
latest posts
- What Do You Call a Person Who Sews? I Asked My Readers and Got 1,408 Opinions
- DIY Round Purse: PDF Sewing Pattern and Detailed Instructions
- Mini Wonder Clips By Clover: Useful Sewing Tool Or Just Another Notion?
- Non-Slip Grips For Quilting Rulers: A Small Notion With A Useful Job
- Fabric Eraser for Sewing: What It Removes and When to Use It
- What Is The Best Thread For Sewing Machine Projects? Let’s Find Out!
- Butterfly Quilt Block Tutorial – Foundation Paper Piecing
- How To Sew Quilt Squares So The Corners Match
- Sewing With Fork Pins: How They Help With Pattern Matching, Slippery Fabric, And Seams