Fixing Sewing Mistakes: How to Repair a Damaged Corner Seam
Sewing accidents happen to everyone, no matter how careful or experienced the sewist is. Fixing sewing mistakes is simply part of sewing. In this guide, I’ll show you how to repair a damaged corner seam and save the piece instead of starting over.
How Does This Sewing Accident Happen?
A neatly turned corner can go wrong in seconds.
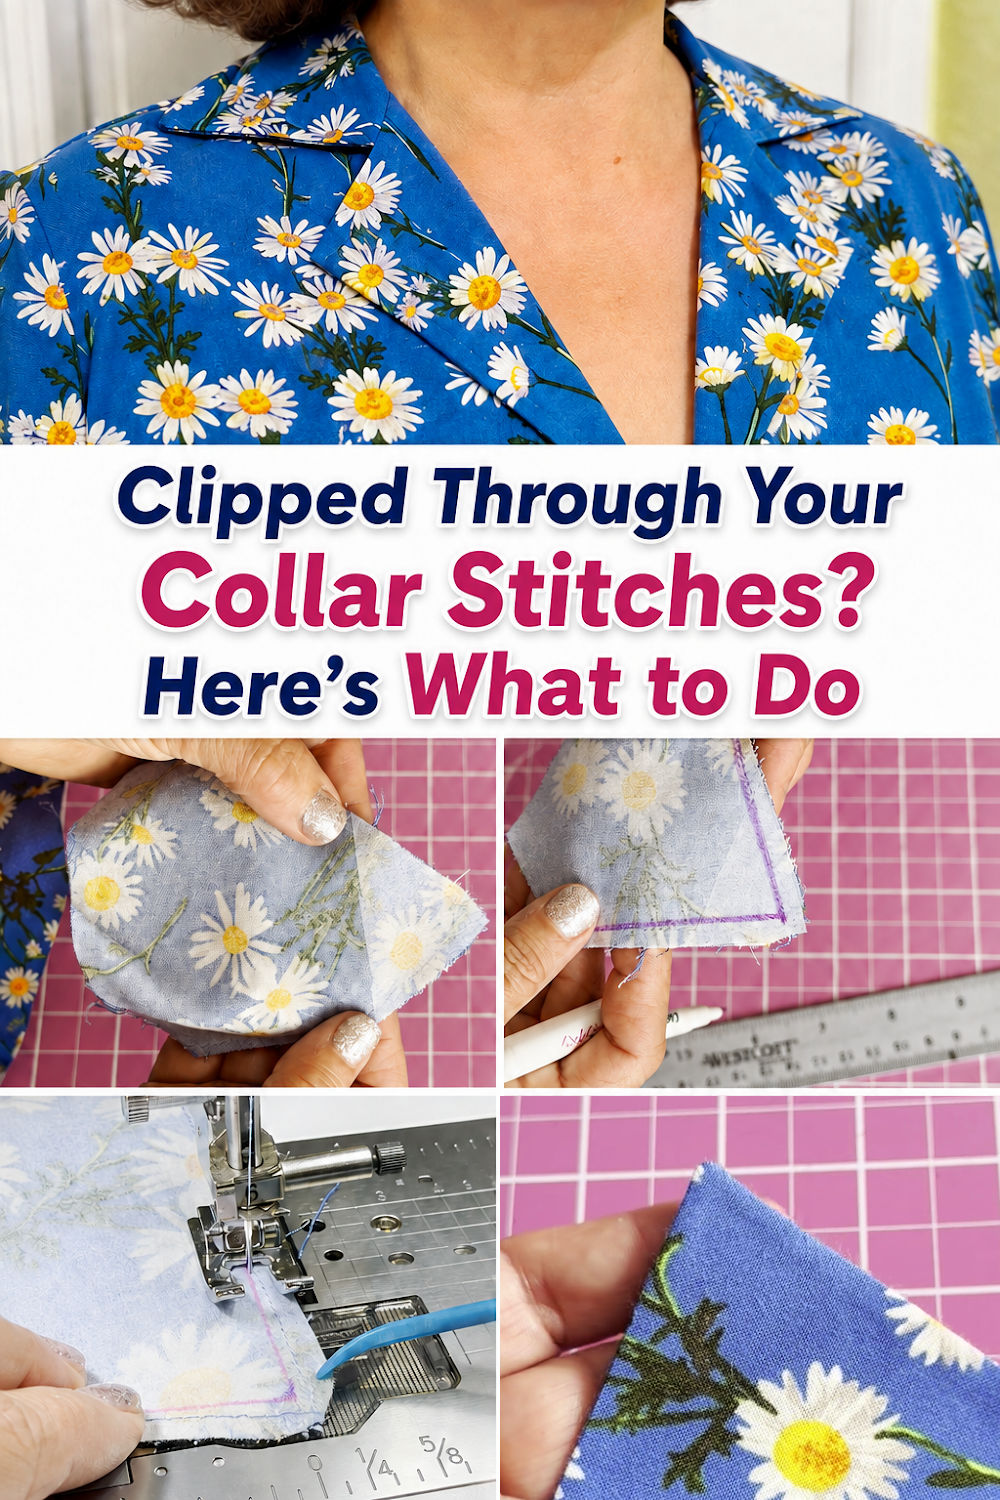
That happened while I was making the collar for a blouse. I trimmed the seam allowance very close to the stitching at the collar point. I did not cut through the stitches, so everything still looked fine from the wrong side.
The trouble started when I turned the collar right side out.
When I pushed the point turner into the collar, the tool pressed against the weakened area and went through the corner.
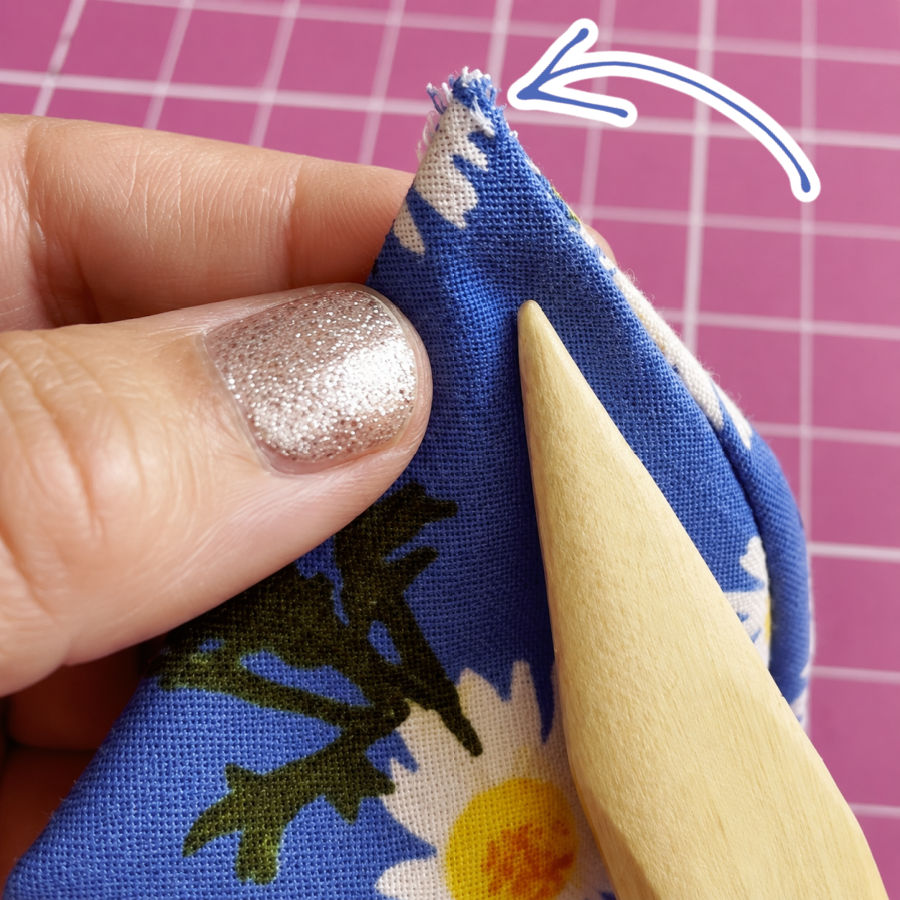
It is easy to think that a sharper push will create a sharper point. Unfortunately, it may create a hole instead.
Prefer to read without ads?
I created a PDF version of this guide for anyone who likes to keep sewing guides saved, printed, or easy to read without ads. It includes the same helpful information in a simple format you can download and use whenever you need it.
The PDF is available in my shop for a small fee. It’s a nice option if you want to support my work and keep this tutorial close to your sewing machine.
This problem can also happen when scissors accidentally clip through the stitching while the corner is being trimmed. The causes are slightly different, but the repair is very similar.
Fortunately, I did not have to cut and sew a new collar. The repair worked, and I finished the blouse and a matching skirt.
This can happen on many sewing projects, not only collars.
The same problem may appear on:
- Cuffs
- Pocket flaps
- Waistband ends
- Bag flaps
- Straps
- Pillow covers
- Fabric baskets
- Placemats
- Facings
- Any enclosed piece with a pointed or square corner
✅ Related tutorial: Basic sewing techniques: How to sew corners and curved seams
Step 1: Turn the Corner Back to the Wrong Side
Stop pushing or pulling as soon as you notice the damage.
Carefully turn the corner back to the wrong side. Smooth the fabric layers and place them in their original position.
Do not stretch the opening. The remaining fabric may already be weak.
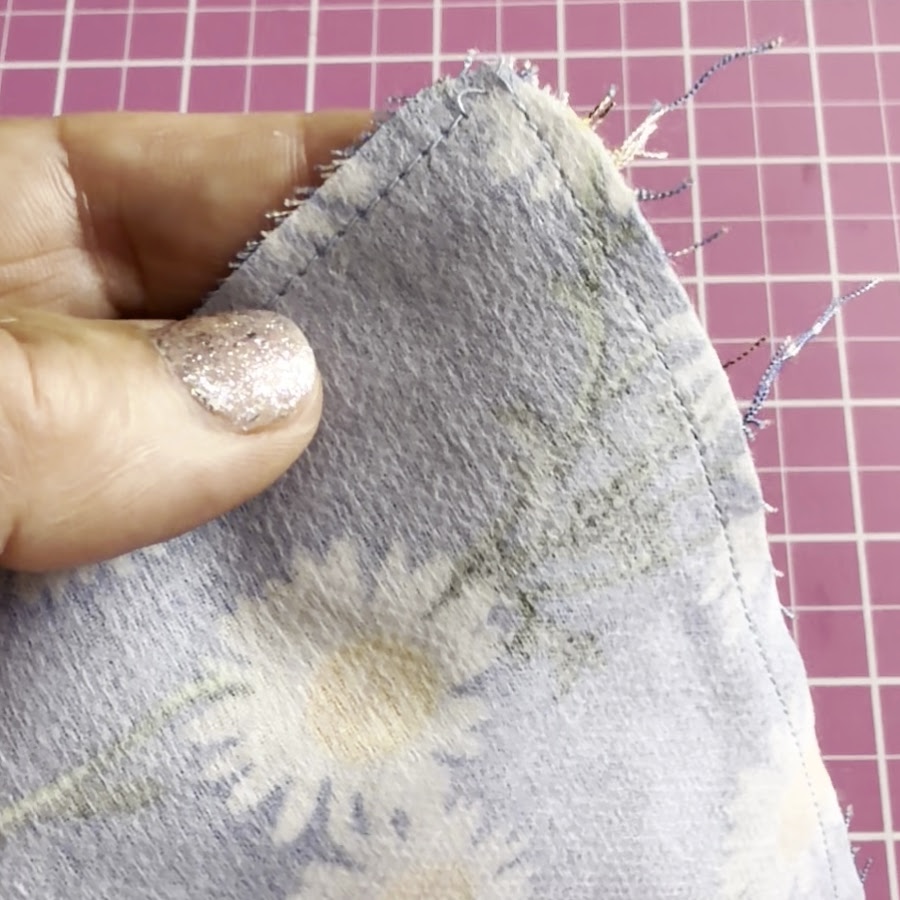
Look closely at the damaged area and try to determine what happened.
Check whether:
- The thread was cut.
- The fabric was cut beyond the stitching.
- The seam allowance was trimmed extremely close.
- The point turner pushed between the stitches.
- The fabric was punctured or frayed.
- The original seamline is still secure on both sides of the damage.
This inspection will help you decide how far inward the new seamline needs to be.
Note: Some of the links on this page are affiliate links. This means I will receive a commission if you order a product through one of my links. I only recommend products I believe in and use myself.
Step 2: Reinforce the Damaged Area
Fuse a small piece of lightweight interfacing to the wrong side of both fabric layers that form the corner. For a collar, that means the upper collar and undercollar. For another project, reinforce both pieces of fabric that are sewn together at the damaged corner.
✅ Related tutorial: Essential Sewing Tips: How to Apply Fusible Interfacing Correctly
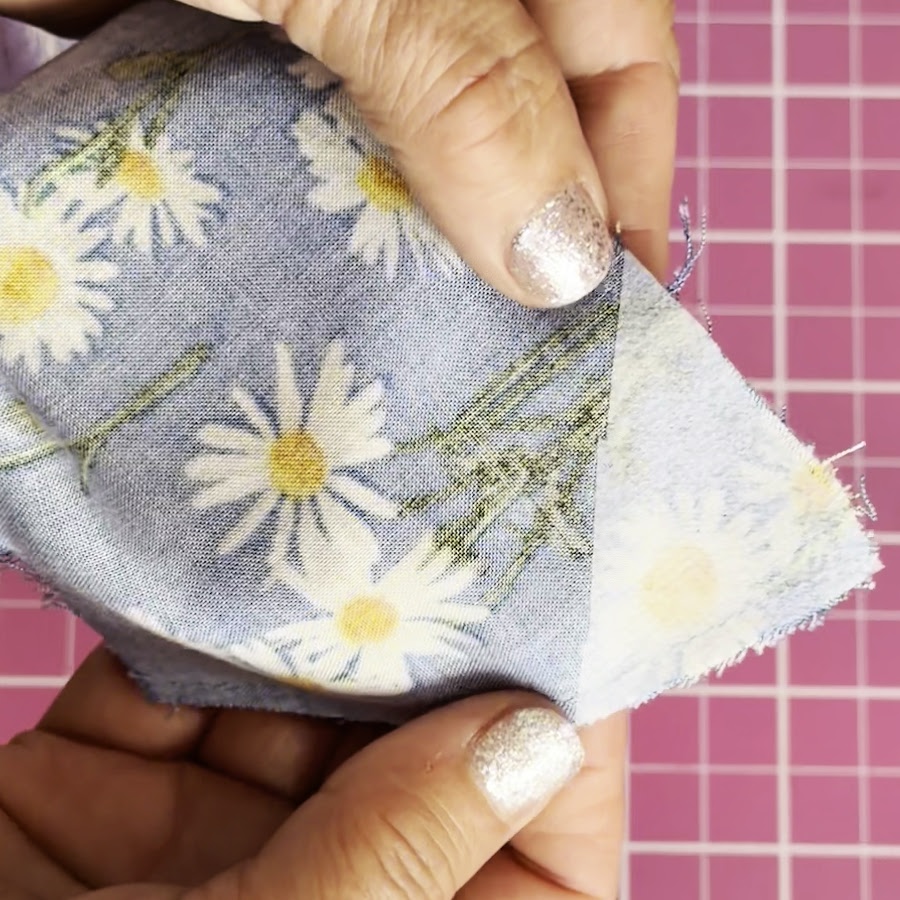
Place each interfacing patch over the weakened area. Use a pressing cloth if necessary, especially when working with delicate or heat-sensitive fabric.
Allow the fabric to cool before moving it.

Fuse the patches separately—do not fuse the two fabric layers together. This gives both sides of the corner more support before you mark and sew the new seamline.
The upper collar had already been interfaced, so I fused the small reinforcing piece directly over the existing interfacing at the damaged corner.
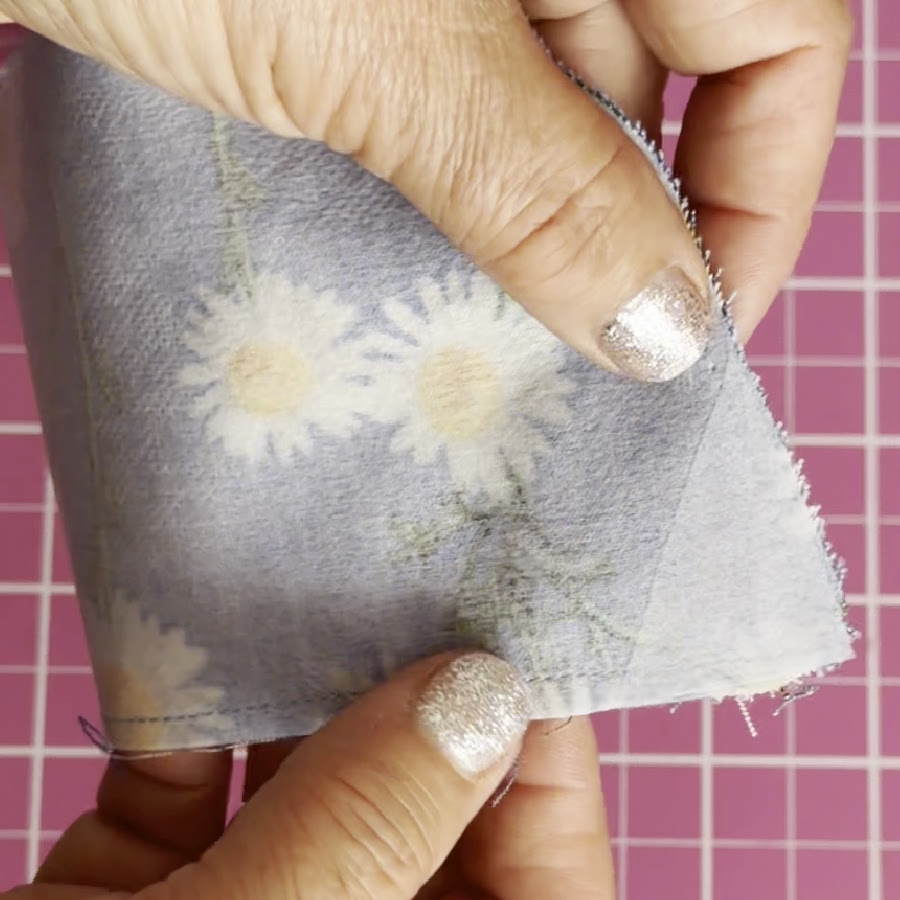
Step 3: Mark a New Seamline
A small damaged area can usually be repaired when there is enough fabric available to move the stitching line slightly inward.
The original seamline is no longer the safest place to sew. The new line must pass through undamaged fabric.
Using a removable fabric marker, draw a new stitching line approximately 1/8 inch inside the original seamline near the damaged corner. I used an air erasable marker for this.

✅ Related tutorial: Your Guide For Choosing The Best Quilt Marking Pens For Every Project
You do not need to move the entire seam inward.
Start the new line about 2 inches before the damaged area. Gradually move it inward, make a corner, and then blend it smoothly back into the original stitching line.
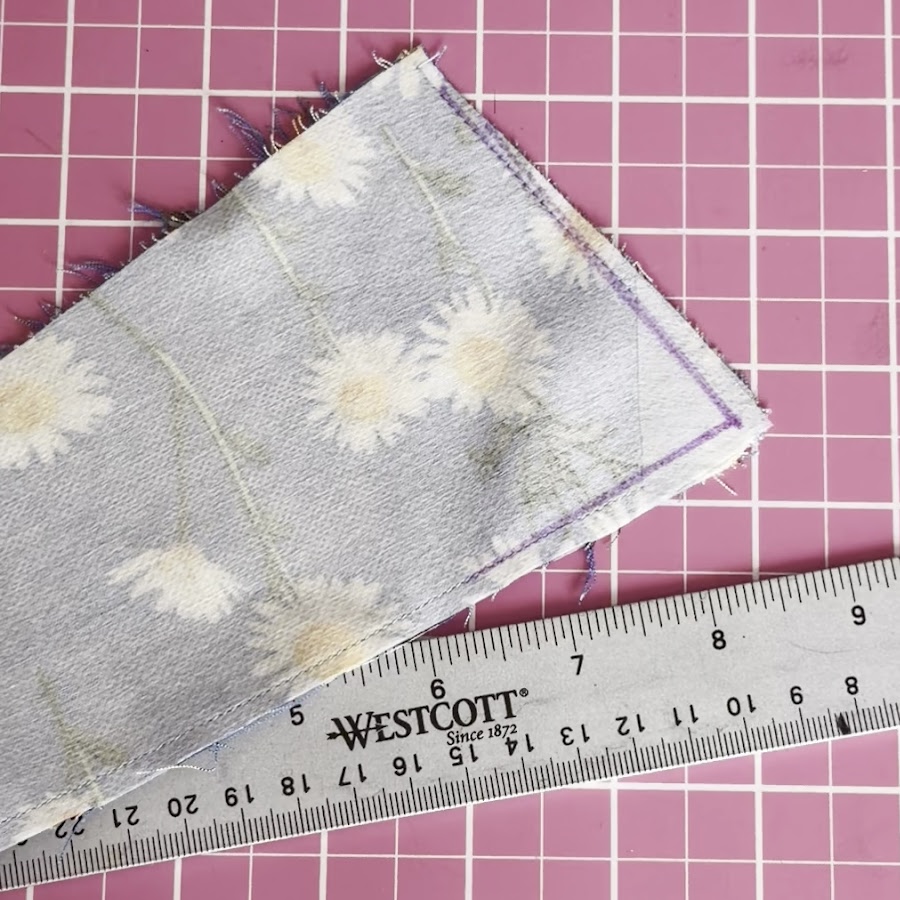
Avoid creating a sudden angle or step between the old and new seams. A smooth transition will look much better after the piece is turned.
The repair may make the corner a little shorter or less pointed. But that is usually not noticeable.
However, symmetry matters on collars, matching cuffs, pocket flaps, and other paired pieces. If you change one side, you may need to adjust the opposite side too.
Step 4: Check the Shape Before Sewing
Take a moment to look at the new line.
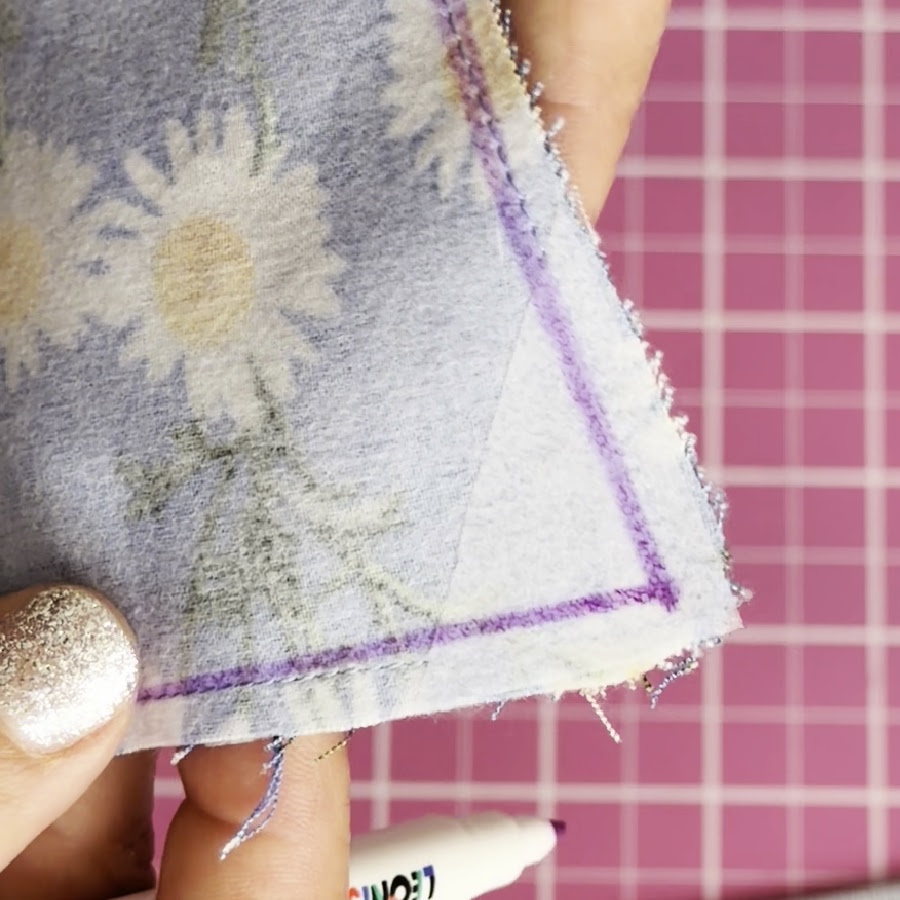
Ask yourself:
- Is the entire damaged area outside the new seamline?
- Does the new point look balanced?
- Does the line blend gradually into the original seam?
- Will enough seam allowance remain after stitching?
- Is the new corner still large enough for the project?
It is easier to change the marked line now than after sewing and trimming.
Step 5: Stitch the New Seamline
Set the sewing machine to a short straight stitch.
For many light- and medium-weight woven fabrics, a stitch length of about 1.5 to 2 mm works well.
Short stitches help reinforce the repaired area and make it easier to follow the new line around a small corner.
Do not set the stitch length extremely short. Too many needle holes close together may weaken delicate fabric.
Begin sewing on top of the original stitching about 2 inches before the damaged section.
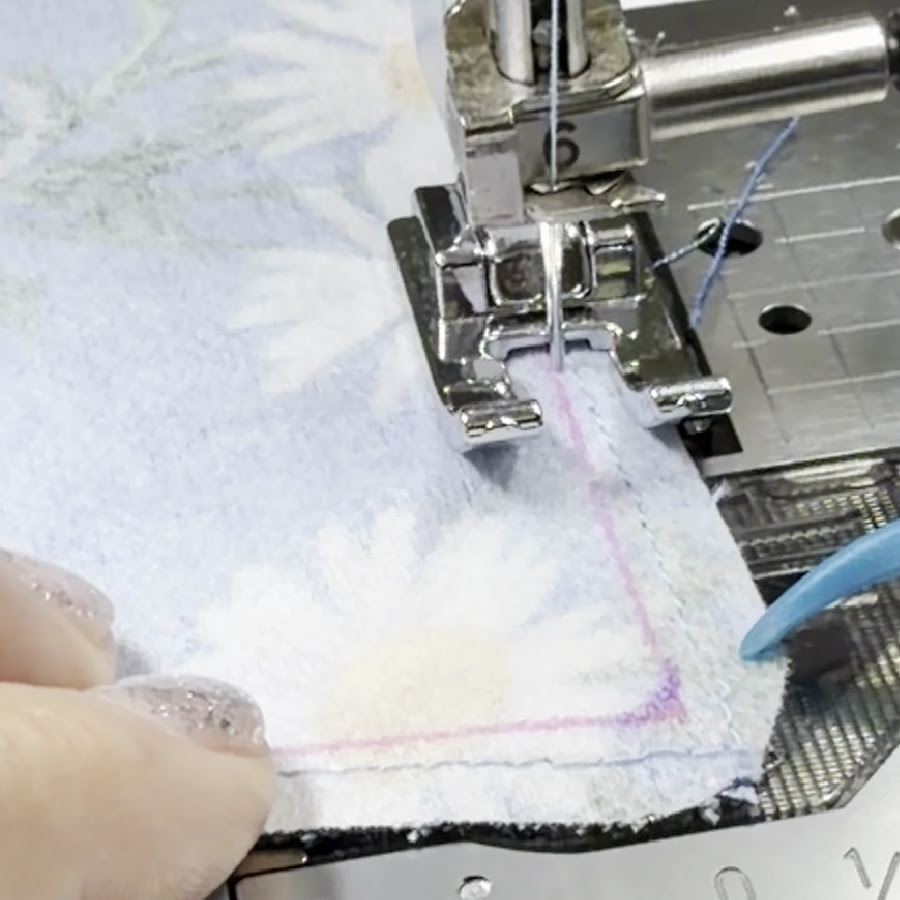
Follow the marked line as it moves gradually toward the inside.
I used an open-toe presser foot for this step. The open front gave me a clear view of the marked line, so it was much easier to stitch accurately around the corner. An open-toe foot is helpful but not required. A regular presser foot will also work as long as you can clearly see and follow the marked line.
✅ Related tutorial: Presser Foot Guide: How To Use An Open Toe Presser Foot
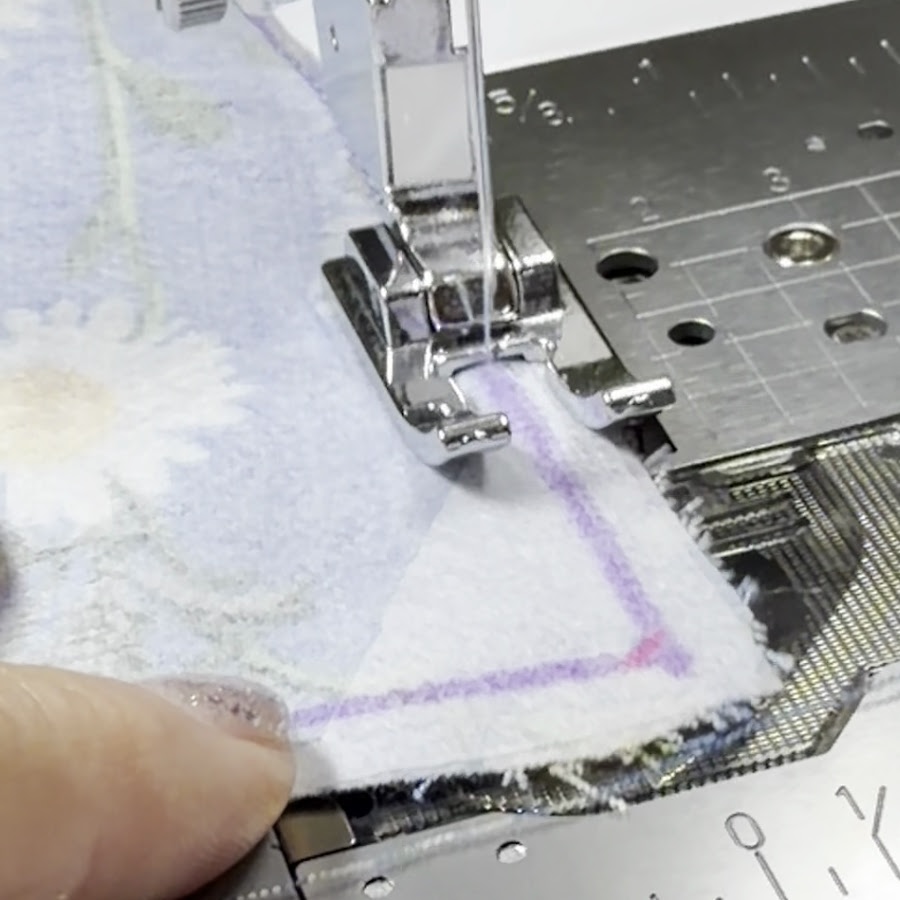
Sew slowly as you approach the corner.
When you reach the point:
- Stop with the needle down.
- Lift the presser foot.
- Pivot the fabric.
- Lower the presser foot.
- Continue along the other side.
After passing the damaged area, guide the new stitching back toward the original seamline.
The repaired seam should completely bypass the damaged section. The new stitches must be anchored in secure fabric on both sides.
Step 6: Adjust the Opposite Corner When Symmetry Matters
My repair was on a collar, so I could not consider only the damaged side.
Moving the seamline inward changed the length and angle of that collar point slightly. Even a small difference could become obvious when both collar ends were visible near the neckline.
I measured the repaired point and marked a matching line on the opposite end of the collar.
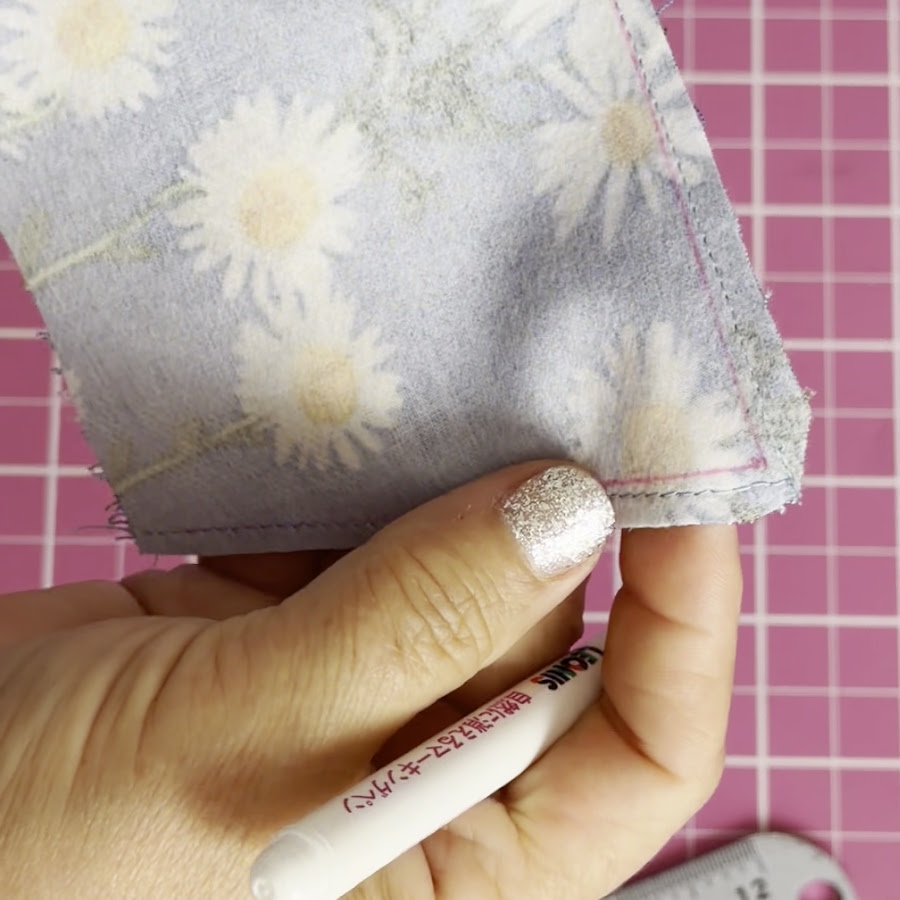
The second point was not damaged so I didn’t need to add an interfacing piece. I restitched it only so the two collar points would match.
A single corner on a bag or pillow may not need this adjustment but on a collar this is a must.
Step 7: Trim the Seam Allowance Carefully
Do not trim the corner immediately.
First, examine the stitching carefully.
Make sure:
- The new seam passes inside the damaged area.
- Both fabric layers are caught securely.
- The new line blends smoothly into the old seam.
- The fabric has not shifted.
- There are no puckers.
- The point has the shape you intended.
Once you are satisfied with the new seam, trim the excess fabric outside the stitching.
This is the moment to slow down.
Leave a small amount of seam allowance beyond the new stitching. Do not cut directly beside the thread.
For a pointed corner, trim across the tip to remove bulk, but keep the scissors safely away from the new seam.
Several small cuts are safer than one large cut.
You can also grade the seam allowances if the layers are bulky. Trim one layer slightly narrower than the other so the seam does not form a thick ridge after turning.
The point does not need to be trimmed down to almost nothing.
Step 8: Turn the Corner Right Side Out Again
Turn the piece right side out.
Begin shaping the corner with your fingers. Gently roll the seam between your fingers and ease the fabric toward the point.
Then use a blunt point turner if needed.
Do not push hard.
Support the outside of the corner with your fingers while gently pressing from inside. This gives you more control and helps prevent the tool from going through the seam again.
Stop when the corner looks neat.
Do not keep pushing in an attempt to make it perfectly sharp. A slightly soft point is better than another hole.
Never use scissors, a seam ripper, a knitting needle, or another sharp object to push out a corner.
Step 9: Press the Corner
Press the corner with the heat setting recommended for the fabric. Use a pressing cloth if necessary.
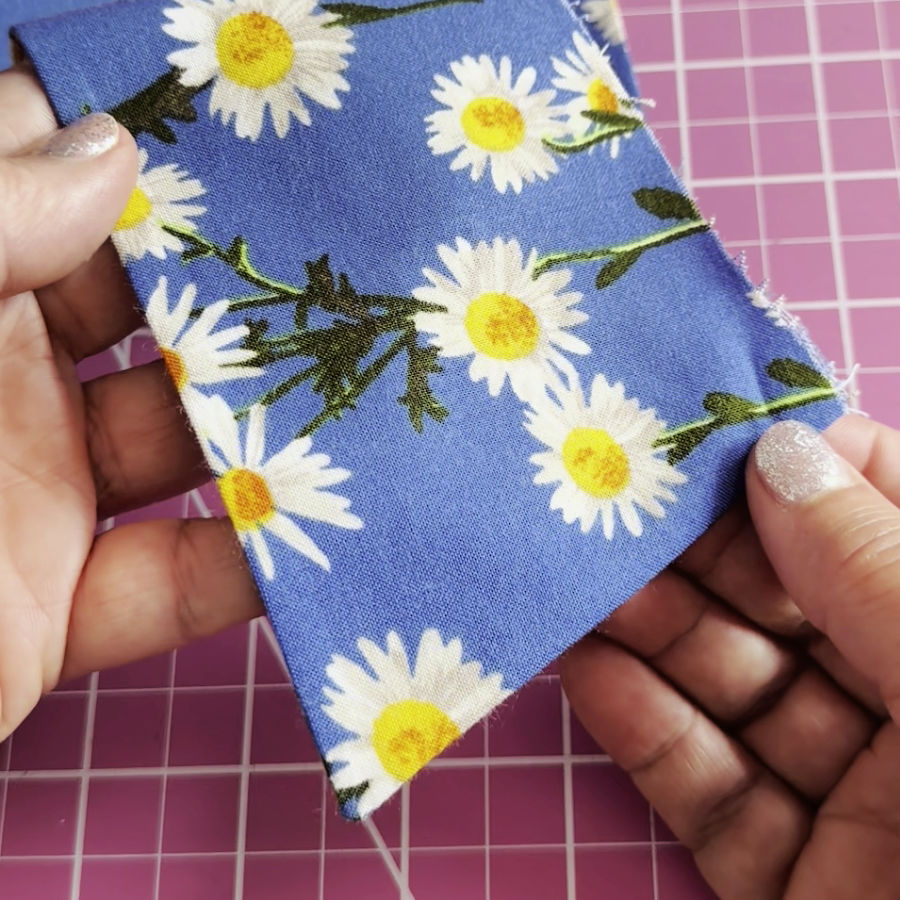
Do not drag the iron across the point. Press, lift, and reposition it.
Allow the corner to cool before handling it.
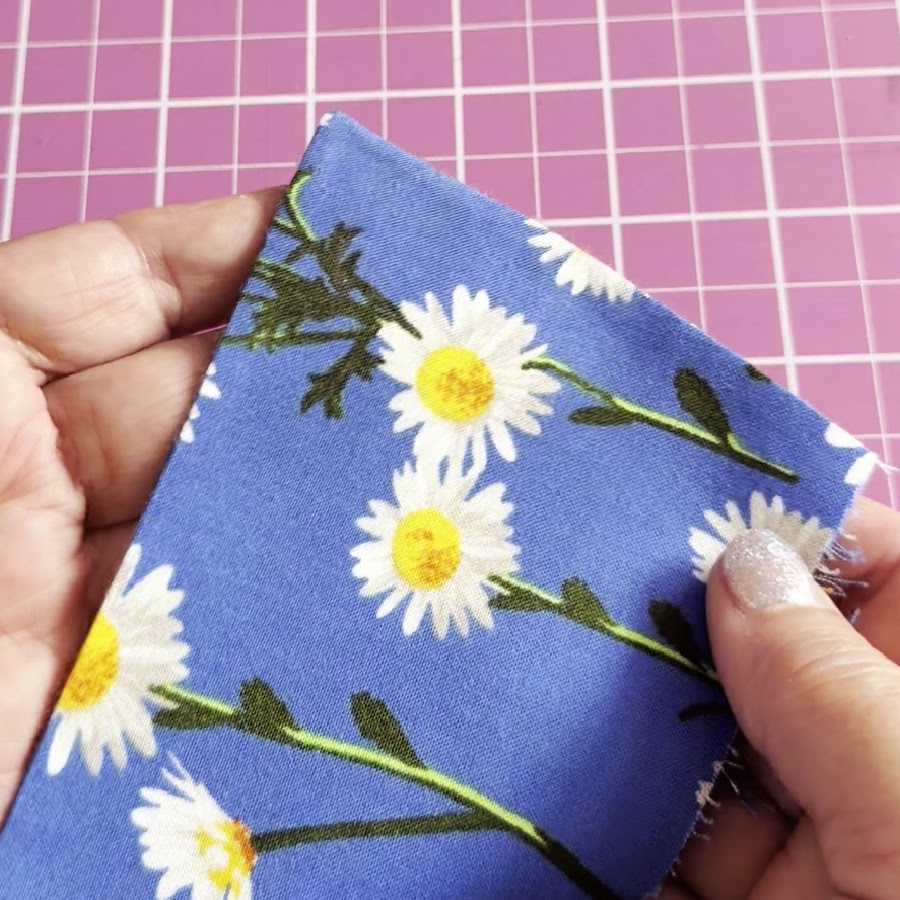
Compare the repaired point with the opposite side and make sure they look balanced.
How to Avoid Damaging a Corner Next Time
Corners need careful trimming, but more trimming does not always create a better result.
Try these precautions:
- Use small, sharp scissors.
- Keep the stitching line visible while trimming.
- Leave a little fabric beyond the stitches.
- Trim in several small cuts.
- Grade bulky seam allowances before trimming the tip.
- Shape the corner with your fingers first.
- Use a blunt point turner.
- Support the corner from the outside.
- Push gently and a little at a time.
- Stop when the point looks neat.
- Do not force the tool farther into the corner.
You can always trim a little more if the corner is still bulky. You cannot replace the fabric after it has been cut away.
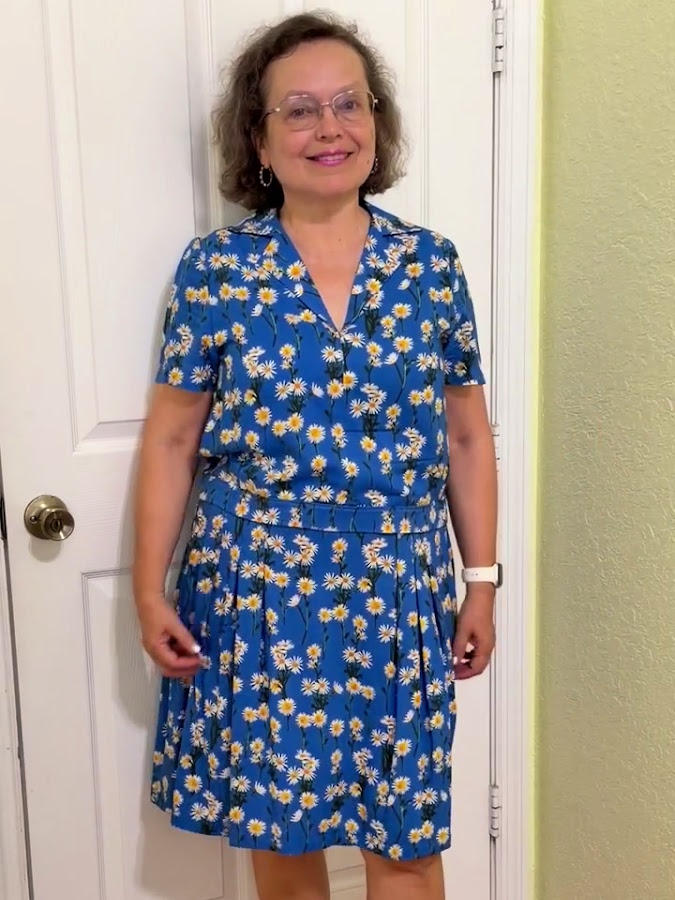
The Finished Blouse and Skirt
The repaired collar turned out well.
After I adjusted the opposite point, the two ends looked balanced. The repaired area was hidden inside the collar, and the small change to the seamline was not noticeable.
I finished the blouse and made a matching skirt from the same blue daisy fabric. Both pieces fit well, and the collar looked perfectly normal on the finished blouse.
A damaged corner can look like the end of the project, especially after the piece has already been cut, interfaced, stitched, and trimmed.
But it is often repairable.
Did you ever have to repair a damaged corner? Did you use this method, or do you have another tip? If so, please share, we can only learn from experience – ours or not.
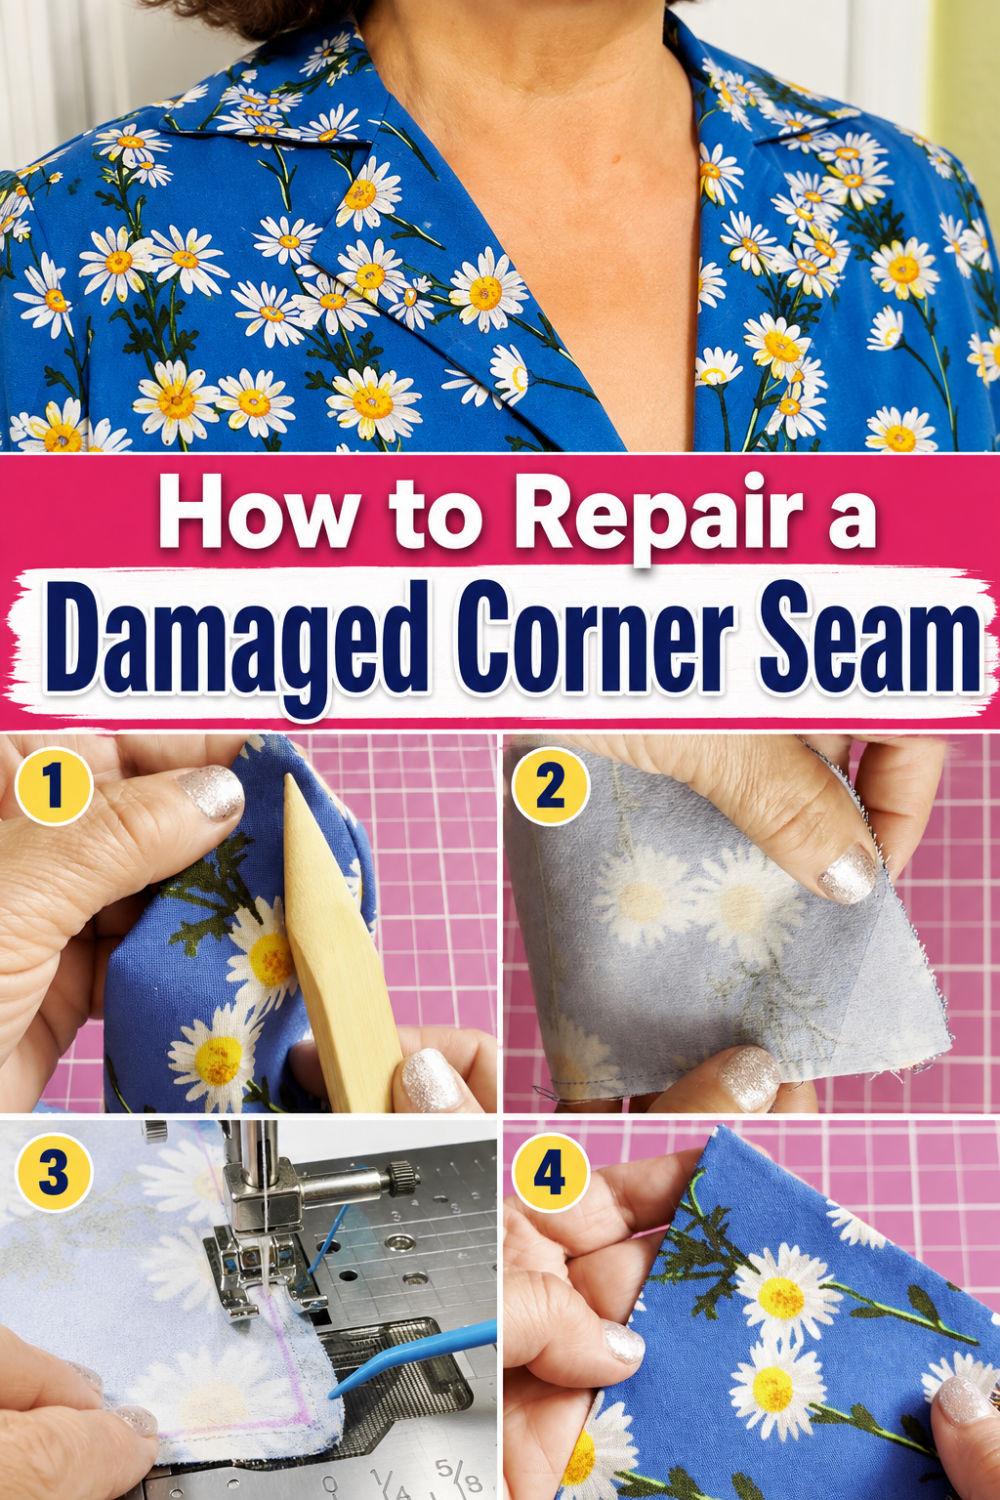
Save this pin to your sewing board on Pinterest so you can find this repair tutorial when you need it. And follow me on Pinterest for more sewing tips, fixes, and tutorials.

latest posts
- 10 Easy-to-Miss Features on Sewing Supplies You Should Be Using
- Twin Needle Sewing: My First Try Was a Mess, But Here’s What Worked
- 10 Rules That Made Me a Better Sewist
- How to Make a Lightweight Summer Neck Scarf with a Lettuce Hem
- What Sewists Hate About Sewing: Common Complaints and Practical Fixes
- Knit Presser Foot: How It Works, How to Use It, and My Sewing Tests
- How to Sew Neat Mitered Corners at Acute Angles
- Sewing Machine Needle Organization: A Clever System I Tried
- DIY Car Armrest Organizer: Sewing Tutorial