Envelope Pillow Cover Tutorial for Beginners: Easy DIY with Just Two Seams
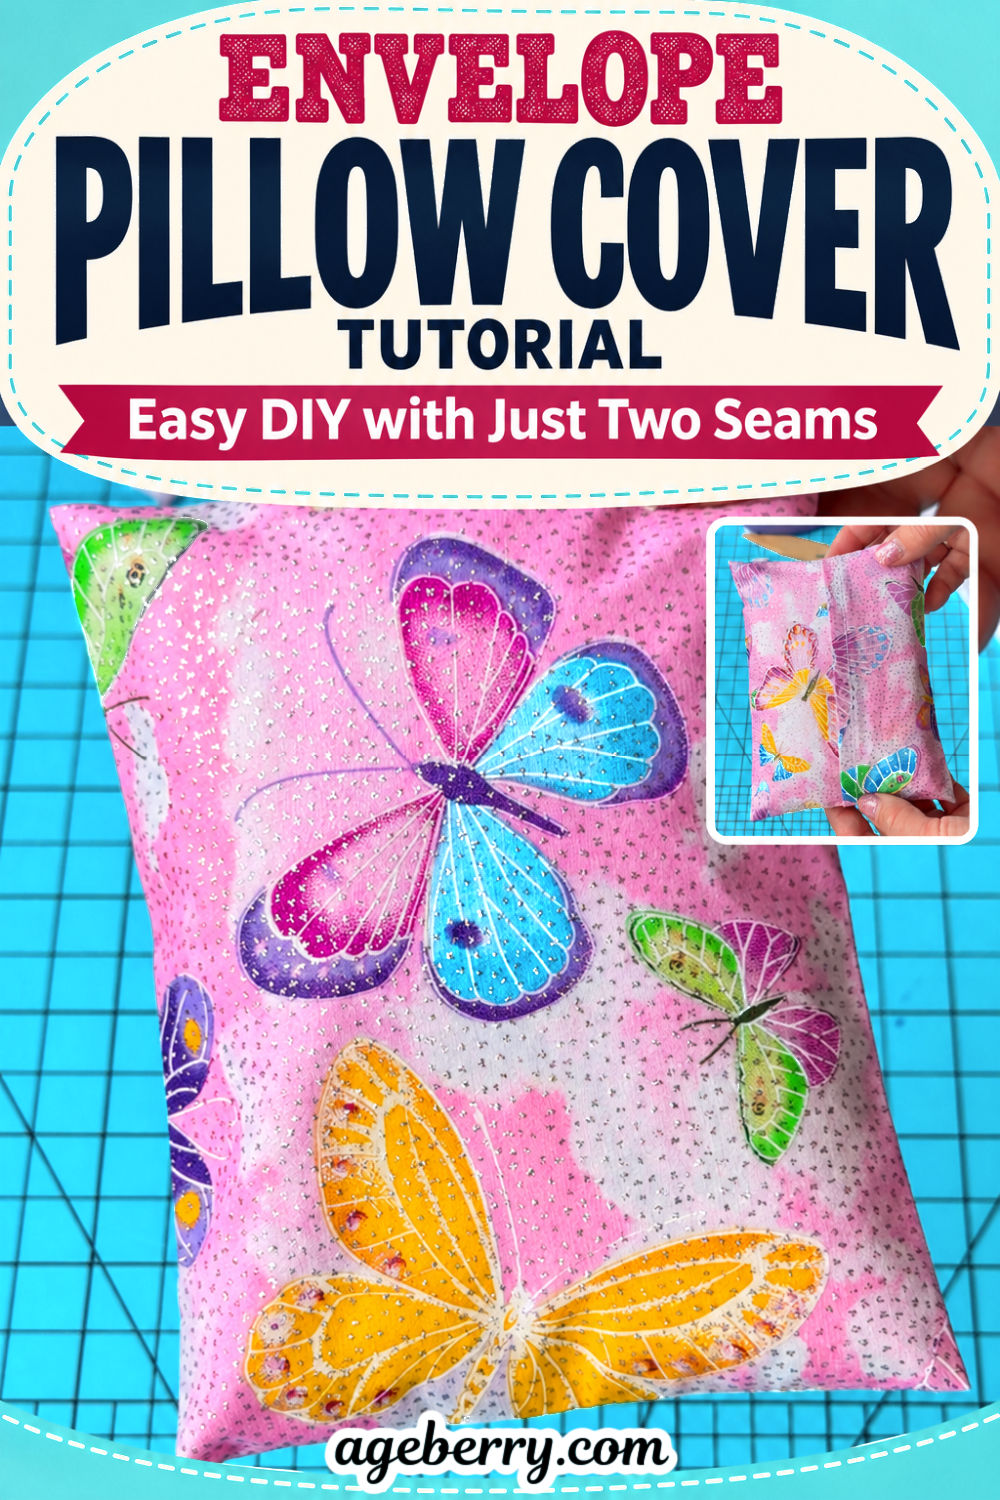
In this tutorial, I’ll show you how to sew an envelope pillow cover from one rectangle of fabric. This is the easiest pillow cover you can make. There are two hems, two seams, and an overlapping opening at the back. There’s no zipper and there are no buttons.
I made a mini version for this tutorial so you can see the whole piece as I fold it, and I’ll show you how to calculate the cutting measurements for your own square or rectangular pillow.
After all the bags I’ve sewn lately, a pillow cover sounds like a nice change. How many bags can one person use? I’m getting dangerously close to sewing a bag just to hold all the bags I’ve already made. So this time, I’m making a pillow cover.
Prefer to read without ads?
I created a PDF version of this guide for anyone who likes to keep sewing guides saved, printed, or easy to read without ads. It includes the same helpful information in a simple format you can download and use whenever you need it. But wait! As a bonus, you will also get the printable PDF version of the article Invisible Stitch by Hand – A Couture Sewing Technique for Silk Garments!
The PDF is available in my shop for a small fee. It’s a nice option if you want to support my work and keep this tutorial close to your sewing machine.
Why Sew Pillows? 6 Good Reasons
Here are 6 good reasons to put the bag patterns away for a while and sew pillows and pillow covers instead.
1. It’s the cheapest home makeover there is
Repainting a room takes a weekend, three trips to the hardware store and a small argument about the color. A new sofa costs more than your sewing machine. New pillow covers take an afternoon, and the room looks different by dinner. It’s the biggest change for the least effort, and nobody has to move furniture.
2. Pillows set the mood of a room
Pillows are the mood ring of home decor. Soft blues and greens make a room feel calm. Mustard, rust and red make it feel warm and cozy. Crisp white with a bold print says “I have my life together,” even if the sewing room says otherwise. Your couch stays the same. The pillows decide whether the room feels like a garden in full bloom, a snowy weekend getaway, or a vintage farmhouse.
3. You keep the insert and change the cover
This is the best part. You buy a good pillow insert once, and after that you only make new covers. Cozy plaid in winter. Florals in spring. Something festive in December. Covers fold flat and store in a drawer, so you can swap the whole mood of the house as often as the seasons change. Or as often as you buy new fabric. Which is probably more often.
4. You finally use up the fabric stash
You know that gorgeous fabric you bought? That half yard left over from a project three years ago? Pillow covers are where those pieces finally get to live. They need just a little fabric, so even small remnants can turn into something you’ll actually see every day, instead of something you just pet once a year when you reorganize the shelves.
5. You can sew them from natural silk
Silk is my favorite fabric, and pillows are the perfect excuse to use it. It has a soft glow that no polyester can copy. It’s a natural fiber, so it breathes and stays pleasant to the touch, cool in summer and never clammy. It’s also smooth and gentle on your skin and hair, which matters if your face ends up on the couch pillow during a Sunday nap. Just try to find a real silk throw pillow in a store. The price tag will make you suddenly very interested in learning to sew pillows. And the best part is that one pillow needs only a small piece of silk. That’s a luxury you can actually afford, and a removable cover makes caring for silk much easier.
✅ Related tutorial: How to sew a fitted sheet (from 100% silk fabric)
6. Store-bought pillows cost way too much
The other day I came across Christmas throw pillows on Amazon. They had very pretty cottage village prints, 18 by 18 inches. The price was $55, plus shipping. For one pillow. That’s when this article started. Store-bought covers are the wrong size, the wrong color, or priced like furniture. When you sew your own, you pick the exact fabric to match your couch, your curtains, or that odd armchair that no standard size fits. And handmade pillows make great gifts. Unlike bags, everybody has room for one more pillow.
So grab your fabric, clear off the cutting table (yes, move the bags), and let’s make some pillows.
Note: Some of the links on this page are affiliate links. This means I will receive a commission if you order a product through one of my links. I only recommend products I believe in and use myself.
What you’ll need
- Fabric of your choice. Quilting cotton is easy to work with, and you can also use natural silk, linen, fur, velvet, vinyl, or home décor fabric. For a porch or patio pillow, use outdoor fabric.
- A square or rectangular pillow insert, or a pillow you’d like to recover
- A ruler, a fabric marker, a point turner, and other regular sewing tools and notions


Step 1. Measure your pillow and cut one rectangle from your fabric
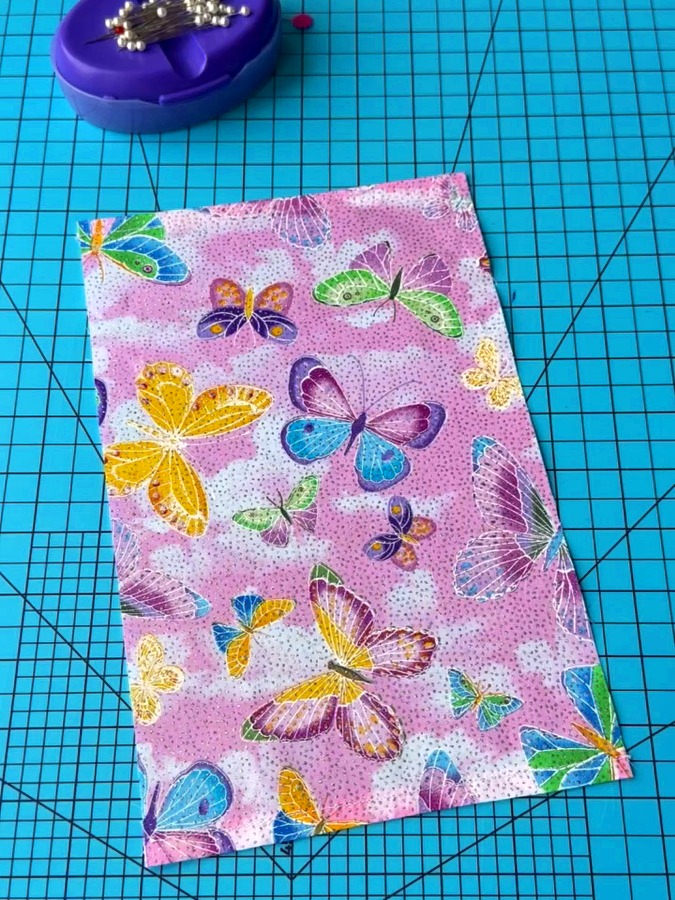
Start with the width and height on your pillow insert’s label. If there’s no label, lay the pillow flat and measure across the middle in both directions, from one outer edge to the opposite edge. If you want to copy the fit of an existing cover, take it off the pillow, smooth it flat, and measure its width and height from edge to edge.
Use those two measurements as the finished size of your new cover. Then decide which way you want the envelope opening to run across the back.
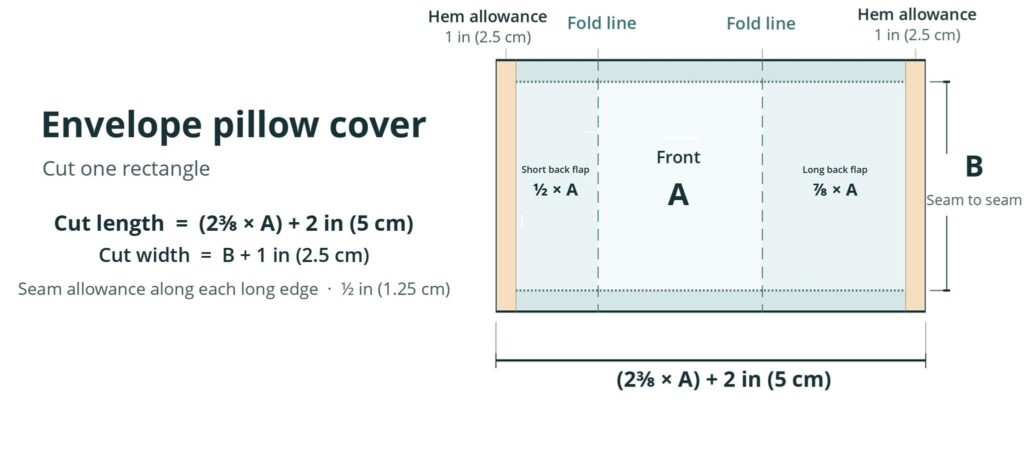
- A is the measurement across the opening. On the new cover, this will be the distance from one fold to the other.
- B is the measurement along the opening. On the new cover, this will be the distance from one side seam to the other.
For a square pillow, A and B are the same. For a rectangular pillow, decide which way you want the opening to run. Use that dimension as B and the other dimension as A.
Cut one rectangle using these measurements:
- Cut length = (2⅜ × A) + 2 in (5 cm). 2 ⅜ = 2.375
- Cut width = B + 1 in (2.5 cm)
Keep the cut very straight. If the rectangle is uneven, the flaps won’t line up when you fold them.
Along the length of the rectangle, the front measures A, the short back flap measures ½ × A, and the long back flap measures ⅞ × A. The extra 2 in (5 cm) gives you enough fabric to hem both ends. The extra width gives you a ½ in (1.25 cm) seam allowance along each long edge. Use inches or centimeters throughout.
Step 2. Hem the two short ends
A double-fold hem works best, because these edges show at the back of the pillow and get handled every time you change the insert.
✅ Related tutorial: How to Sew a Hem: The Best Techniques for Any Project
Lay the rectangle wrong side up. At one short end, fold the raw edge ½ in (1.25 cm) toward the wrong side and press. Fold it over by the same amount again to enclose the raw edge, then press.
You can make these hems wider or narrower. I prefer a slightly wider hem here because it gives the edges of the envelope opening a little more body. If you change the hem width, adjust the cut length in Step 1 to allow for both folds at each end.
Set your machine to a slightly longer straight stitch for topstitching. Stitch close to the inner folded edge to secure the hem. Repeat at the other short end. These two hemmed edges will form the envelope opening.
✅ Related tutorial: How To Topstitch | 17 Topstitching Tips Every Beginner Should Know
Step 3. Mark the folds and overlap the flaps
Lay the hemmed rectangle flat, right side up. Starting at one finished hem, measure ½ × A toward the center and mark the first fold. From that mark, measure A farther along the fabric and mark the second fold. The space between those marks is the front of the cover.
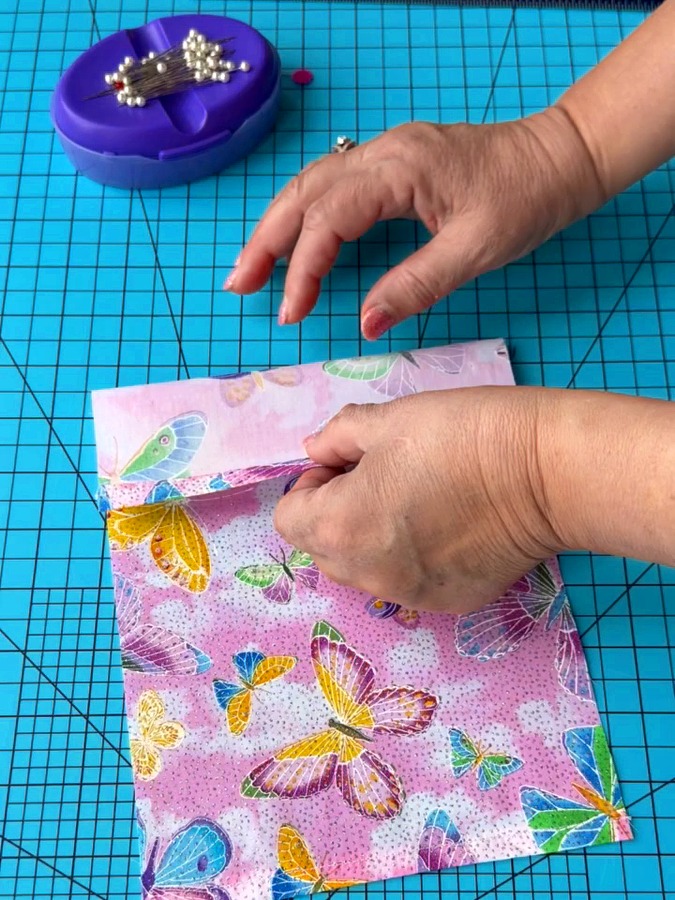
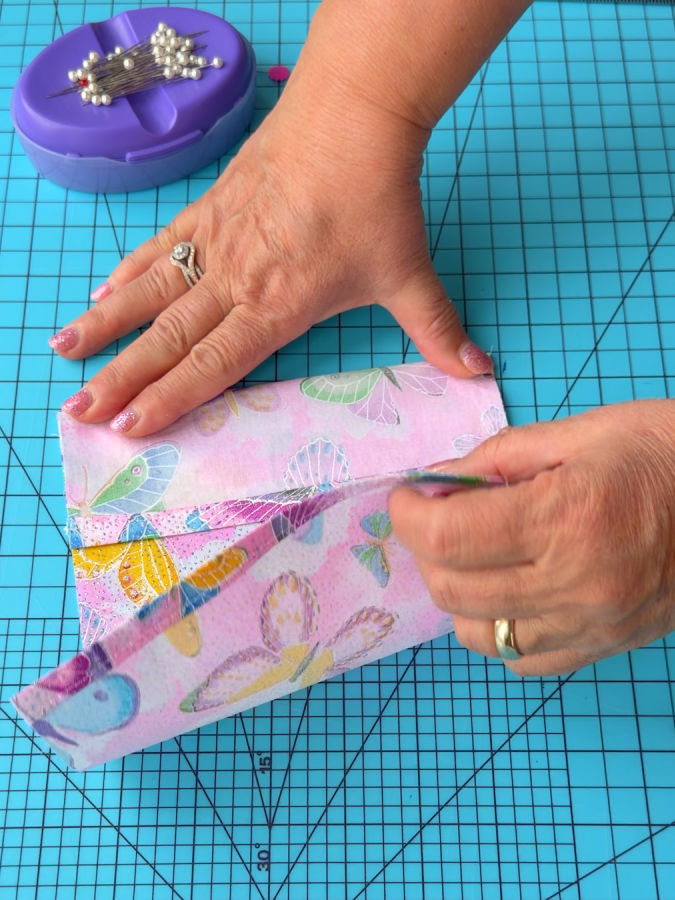
Fold the short flap inward at the first mark. Then fold the long flap inward at the second mark so it overlaps the short flap. The right sides of the fabric should now be inside. Check that the folded edges are A apart and that the raw edges line up on both sides. Pin or clip those raw edges, including where the two flaps overlap.
Step 4. Sew the two side seams
Sew along each pinned raw edge with a ½ in (1.25 cm) seam allowance (but have in mind that on this sample I used a narrower 3/8-inch seam). Stitch from one fold all the way to the other, catching both flaps where they overlap.
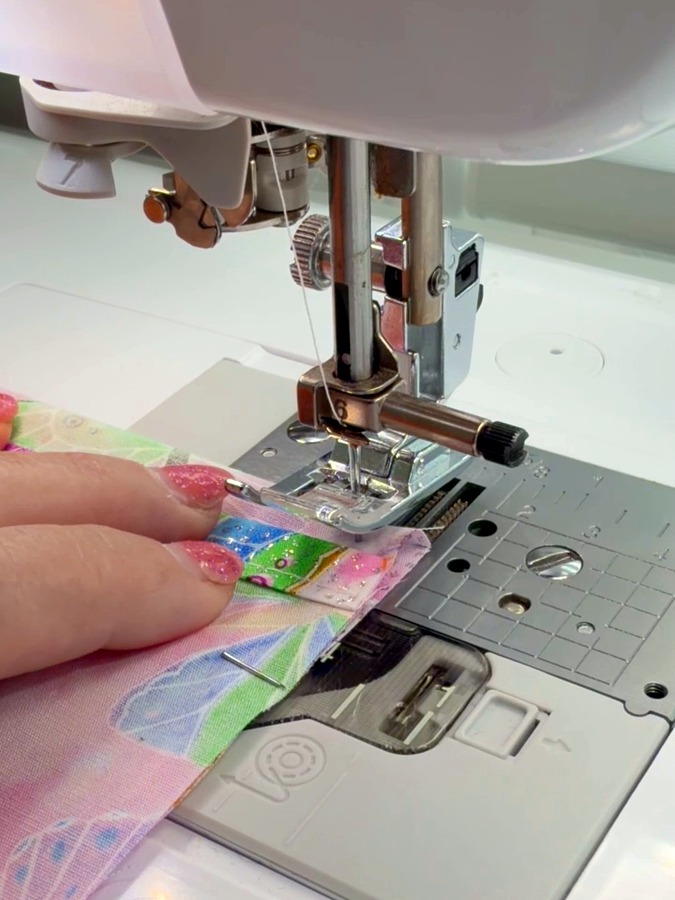
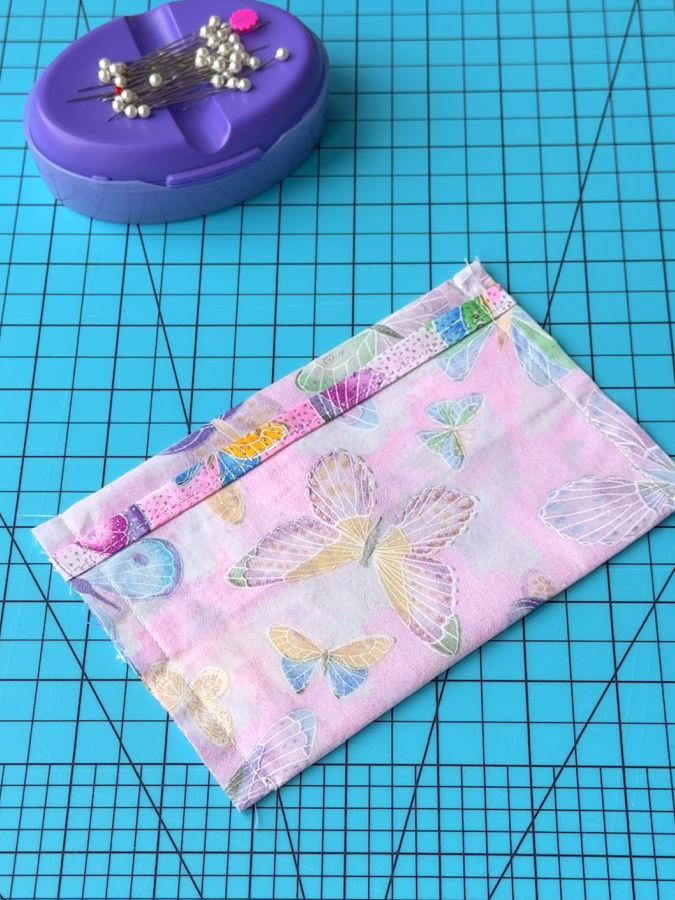
Backstitch at the start and end of each seam. Also sew back and forth over the spot where the flaps overlap. That spot takes all the pulling every time you push the insert in, so give it extra stitches.
Trim the corners diagonally, leaving a little fabric between the cut and the stitches. This removes bulk, so your corners will be sharp instead of round and lumpy.
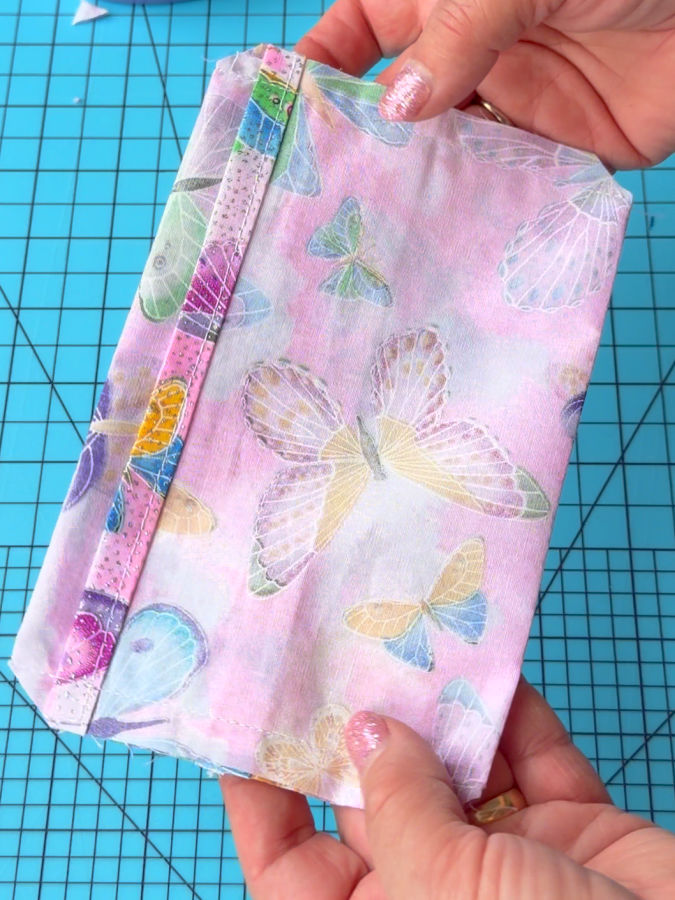
I left the raw edges unfinished on the small sample I made for the article. On your cover, finish the raw edges along both side seams with a serger or a zigzag stitch to keep the fabric from fraying.
✅ Related tutorial: How to use overcast presser feet for sewing overcasting stitches
Step 5. Turn the cover and insert the pillow
Reach through the envelope opening and turn the cover right side out. Gently push out all four corners with a point turner. Go slowly. If you push too hard, the point will come straight through the fabric, and then you’ll need to repair it.
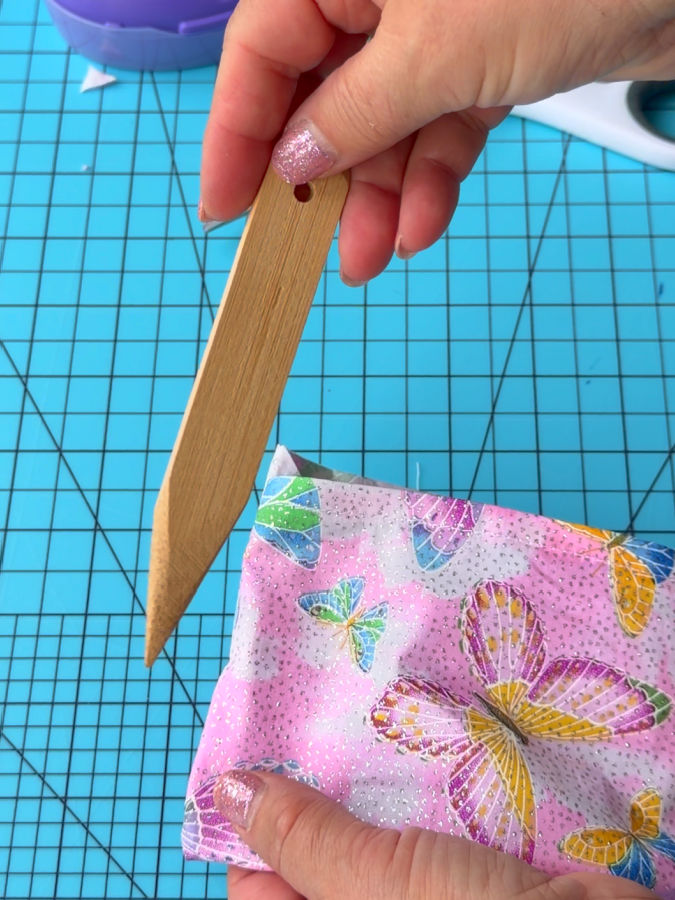
Then press the empty cover. The front should be smooth, with no seams. The back has the two hemmed flaps overlapping neatly across the middle.
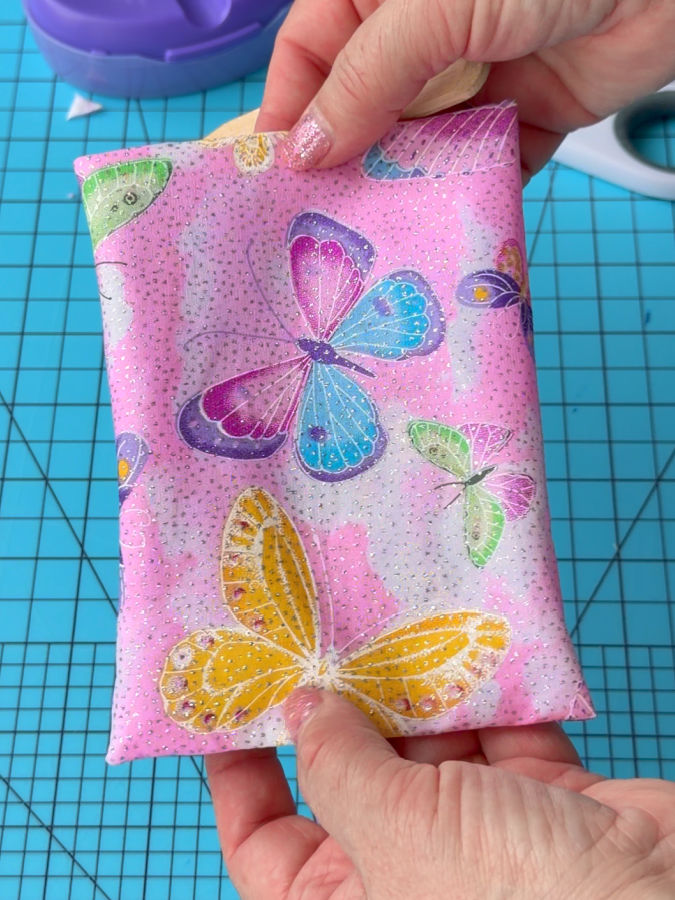
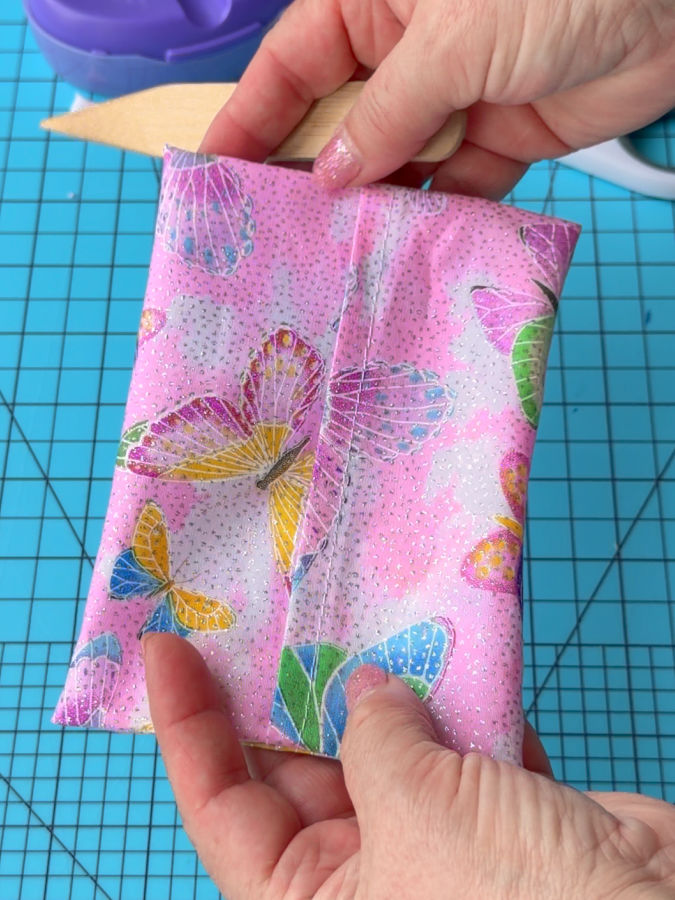
Slip one end of the pillow insert under a flap. Compress the other end just enough to tuck it under the opposite flap. Adjust the insert so it fills all four corners, then smooth the overlap flat.
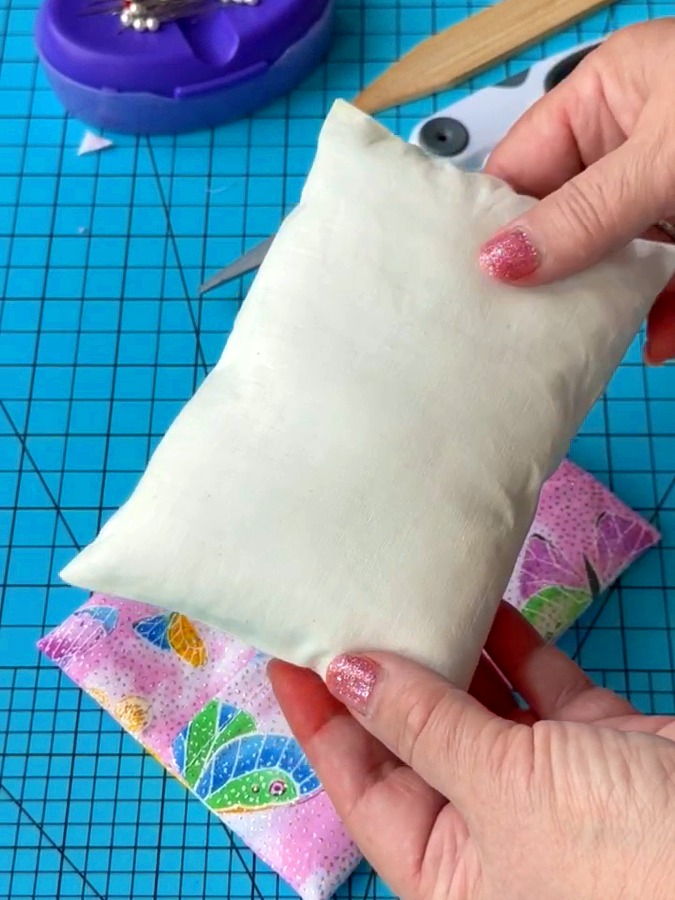
Your pillow is ready for the couch. And when you get tired of the fabric, all it takes is a new rectangle.
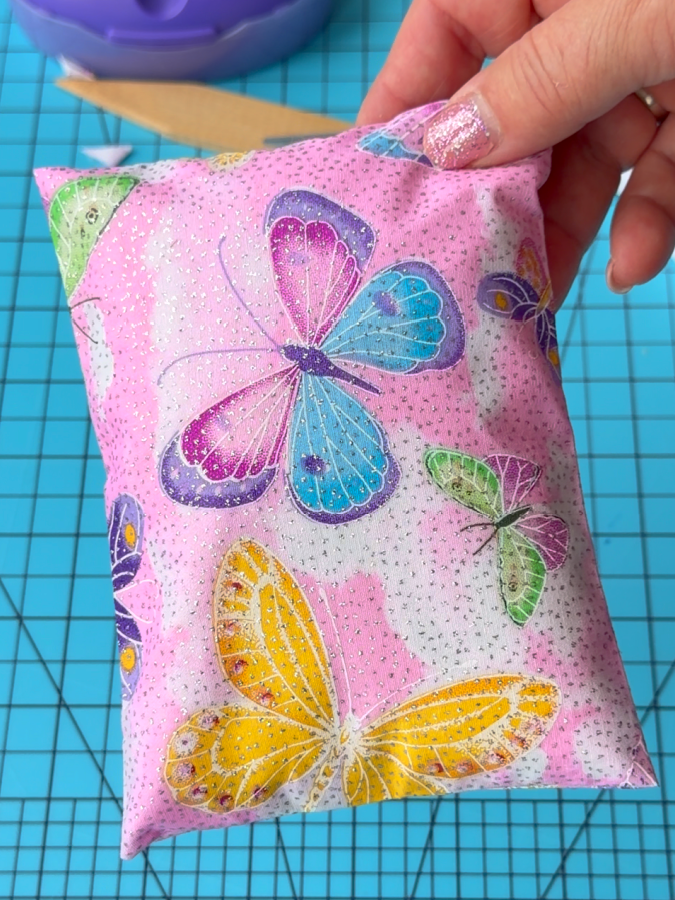
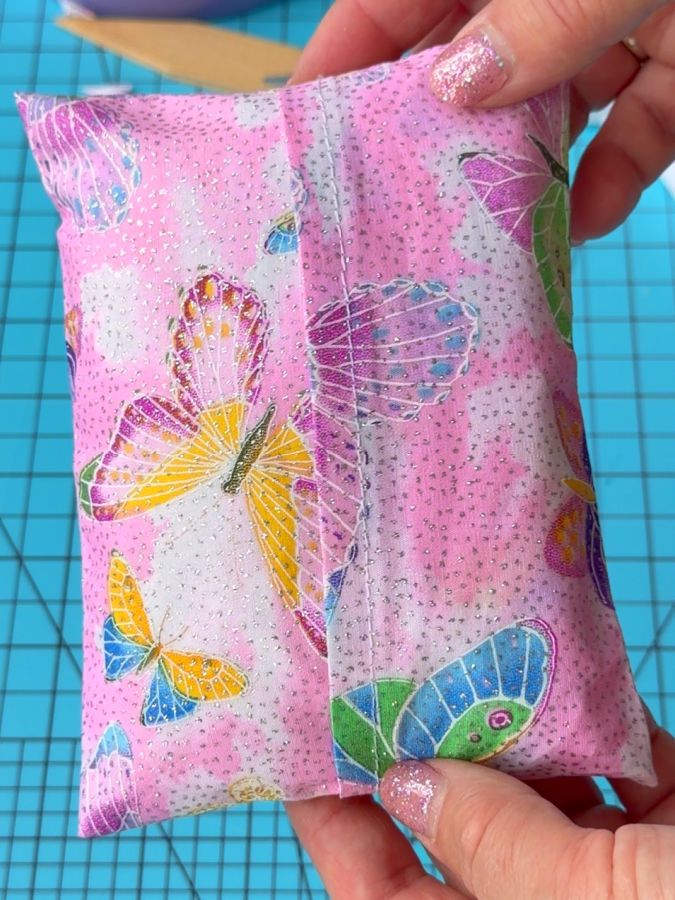
I also used this technique for full size bed pillows, it works quite well there too.
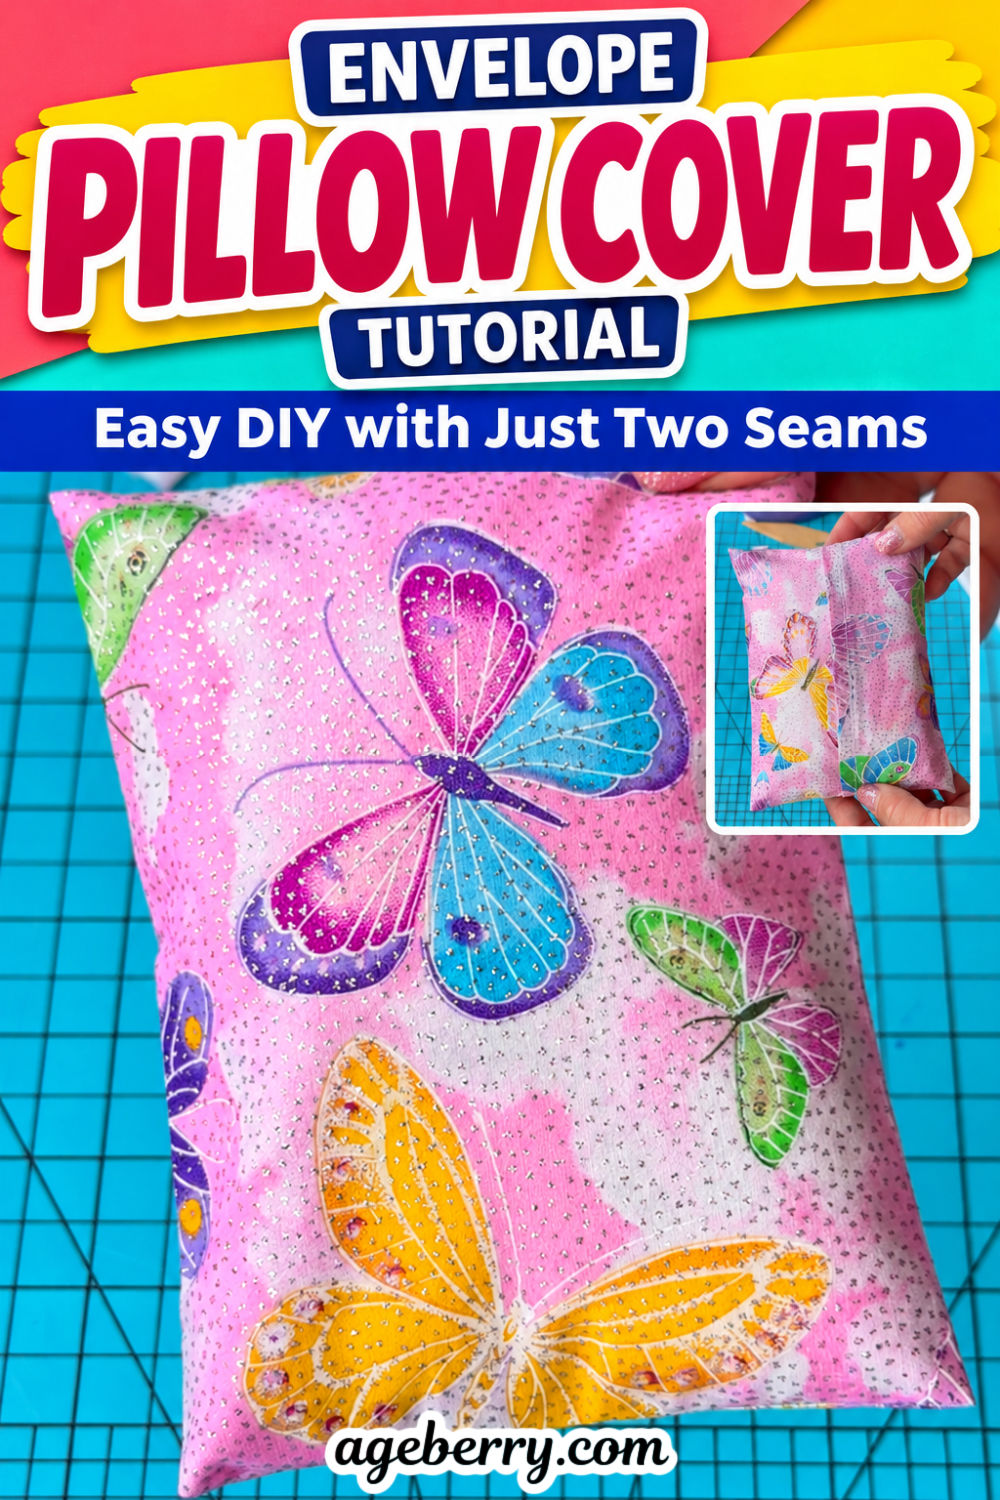
Have a pillow that could use a new cover? Save the pin below to your sewing board so you can come back to this envelope pillow cover tutorial when you’re ready to sew. And follow me on Pinterest for more sewing tips, tutorials, and project ideas!

latest posts
- Envelope Pillow Cover Tutorial for Beginners: Easy DIY with Just Two Seams
- Easy Christmas Sewing Project for Making Fabric Gift Bags in Different Sizes
- Secrets to Sewing with Difficult Fabrics: Tips for Perfect Results
- How to Add a Fabric Insert to a Hemmed Edge: The Wrap-and-Turn Trick
- The Little Triangle Trick for Clean Hem Corners
- 25 Little Sewing Habits That Make Your Work Look Better
- How to Sew a Pointed Fabric Zipper End Tab
- 15 Sewing Machine Parts You See All the Time — But Probably Ignore
- Adjustable No Buckle Elastic Belt DIY: Sewing Tutorial