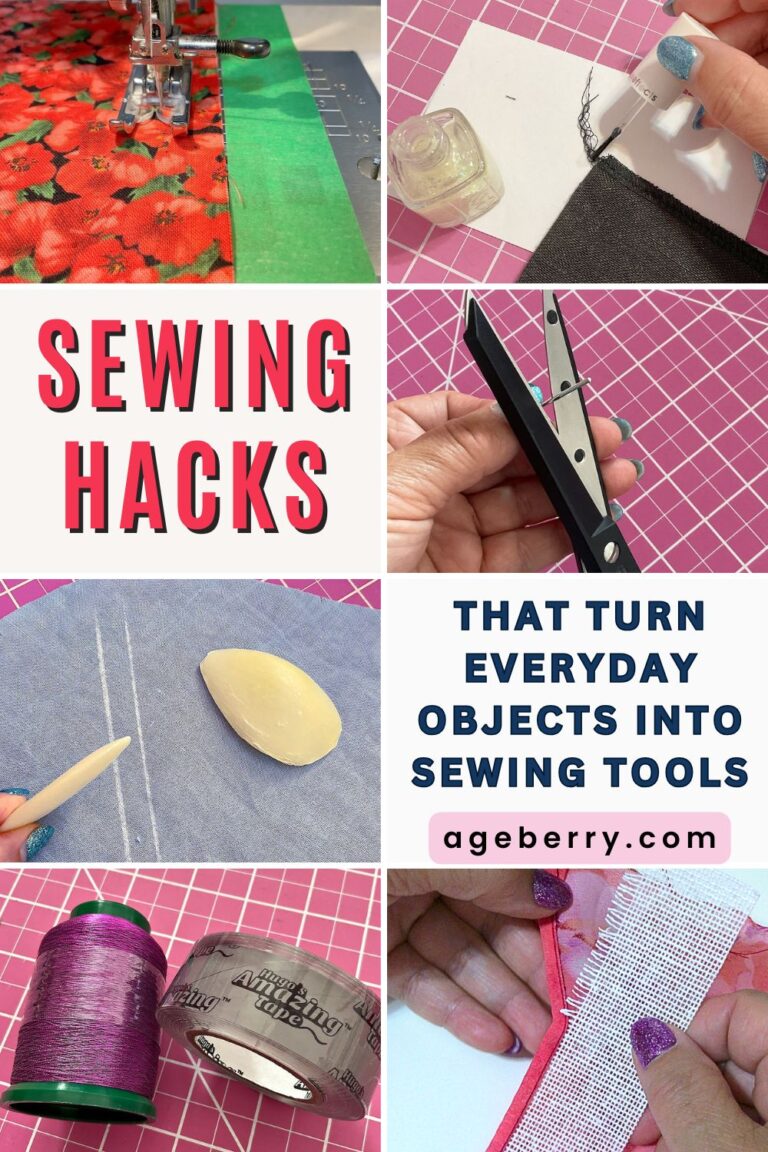
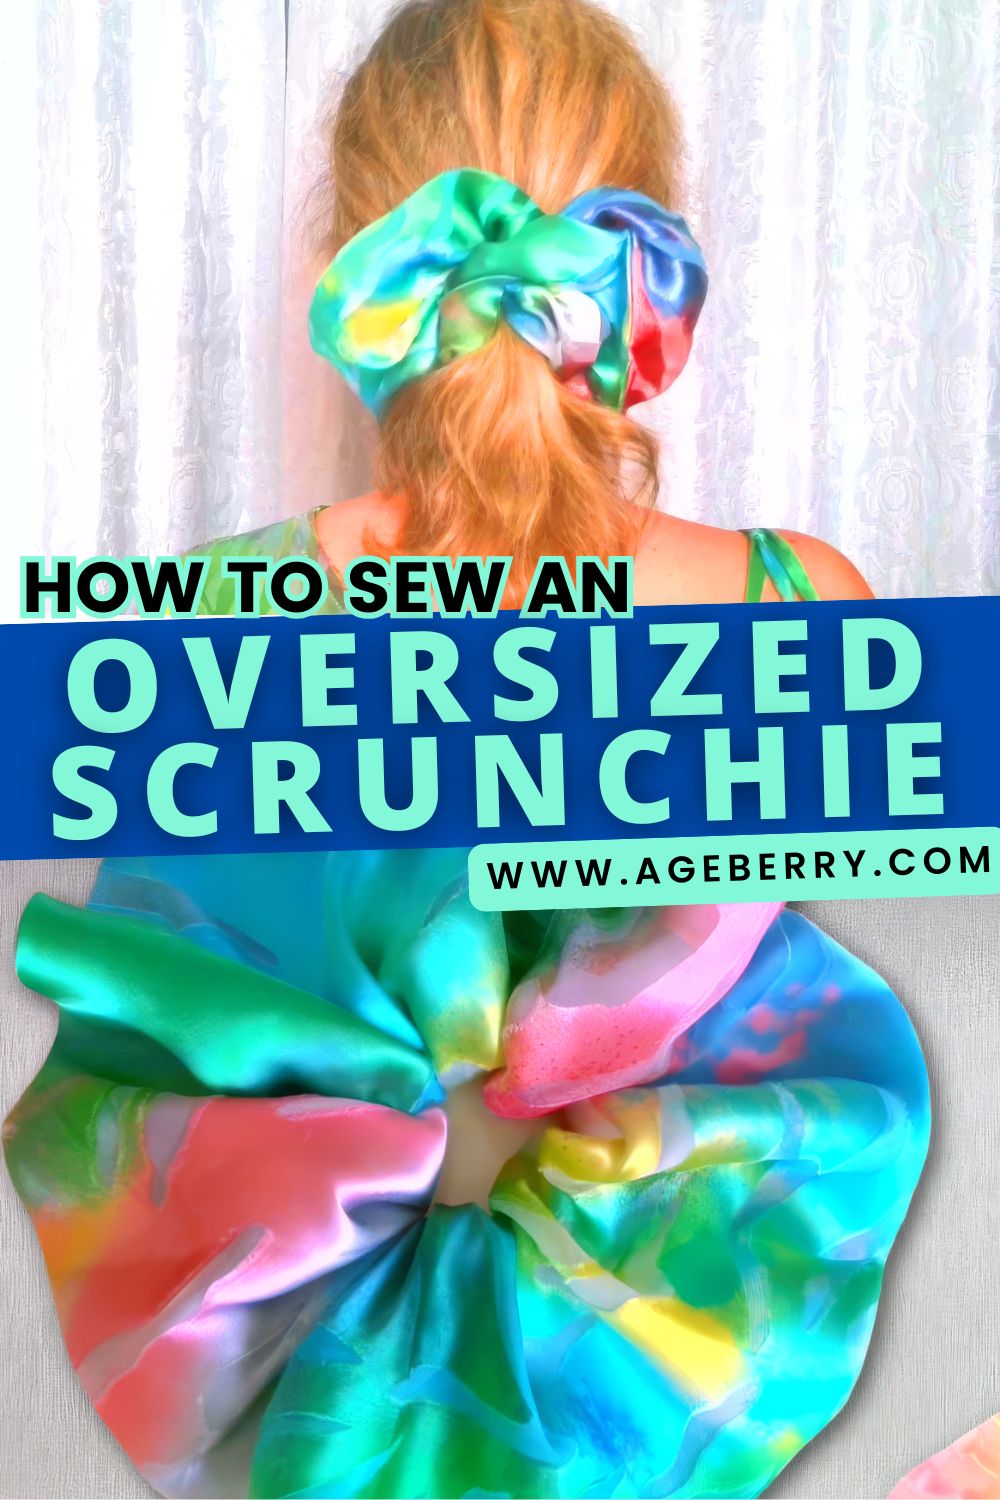
Oversized Scrunchies DIY: Step-by-Step Sewing Tutorial for Stylish Hair Accessories
Oversized scrunchies are the newest trend in hair accessories. They look like a luxury items, but they’re not hard to make yourself. You can easily create your own oversized scrunchie with just a few simple steps.
Plus, making them yourself means that you get exactly what you want – whether it be color, fabric, or size – without having to settle for something else from the store.
It’s also fun and satisfying when you see the finished product in front of you. Once you try making one, we guarantee that you will want to create more for yourself or as gifts for friends and family members.
It’s also very rewarding because you will have something unique that nobody else has!
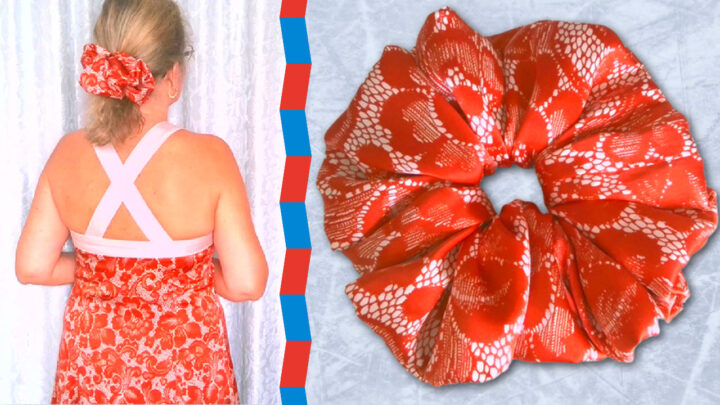
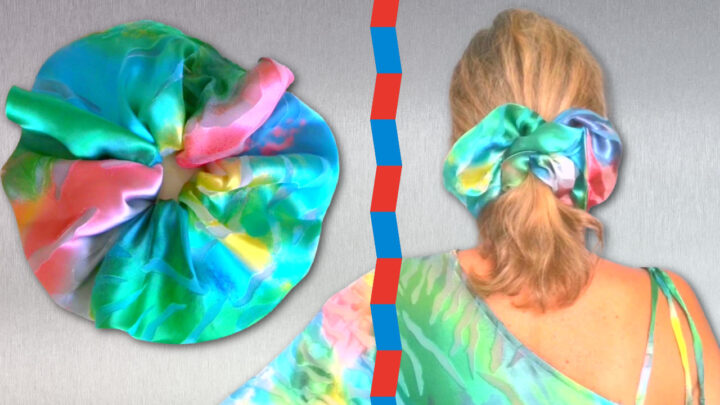
I made a few of them for different outfits.
Here are the step-by-step instructions on how to make an oversized scrunchie for yourself or someone special. Now I will show you the most common way and it’s different from what I described in my previous tutorial – Fabric Craft Tutorial: How To Make Scrunchies DIY
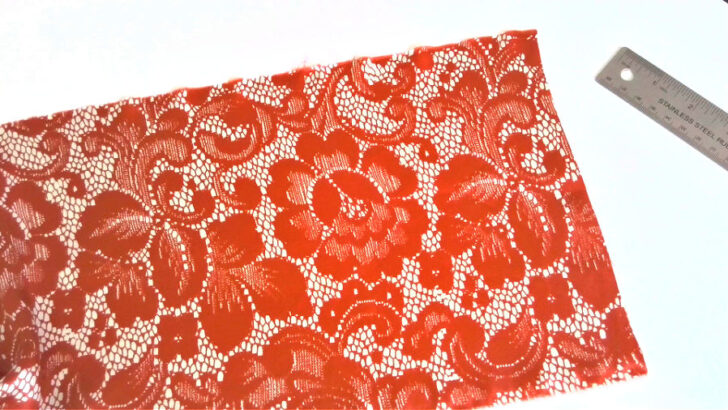
First of all, choose the fabric that you like most – cotton, silk satin, or velvet are great choices. I am going to use 100% silk fabric that was left after I made these dresses.
Step 1. Prepare Your Sewing Machine
Use an 80/12 or 75/11 Universal needle. Insert a new needle if you are not sure how worn out the needle is. Check if it’s not bent.
✅ Related tutorial: How To Choose The Right Sewing Machine Needle For Your Project
Choose a straight stitch and check all the settings.
The stitch length should match your fabric thickness, if you are using medium-weight fabric put the stitch length to 2.5 mm.
Set the right tension and check it on a scrap piece of the same fabric you are using for your scrunchie.
Thread the machine with good-quality thread that matches the fabric colors.
✅ Related tutorial: What Is The Best Thread For Sewing Machine Projects? Let’s Find Out!
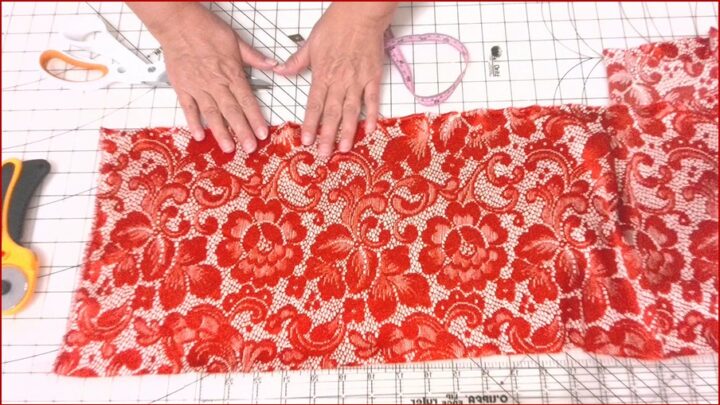
Step 2. Cut the Fabric for the Oversized Scrunchie
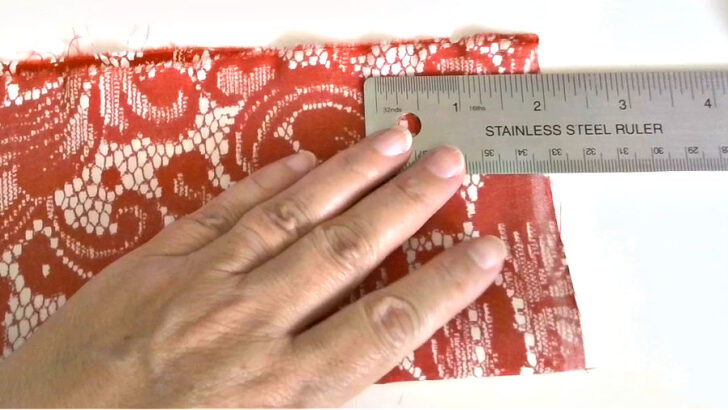
Cut one rectangle from the fabric of your choice 40 inches by 9 inches.
There are a few ways to cut a rectangle from fabric.
First of all, you can make a paper pattern/template – use a ruler to measure the sides carefully and draw straight lines with a pencil. Cut along the lines with scissors to create your template.
Press your fabric with an iron to remove wrinkles. Ensure the fabric is completely flat and free of folds or bumps. This step is important for accuracy.
Lay your fabric flat on a large surface like a cutting table. Place your paper template on top of the fabric. Align it with the grain of the fabric to prevent twisting or skewing. Pin the template to the fabric to keep it in place.
Use a fabric marker or tailor’s chalk to trace around the edges of the paper template.
Once the shape is marked, remove the template and cut along the lines using fabric shears or a rotary cutter on a cutting mat.
Using a paper template makes it easy to ensure your fabric rectangle is the perfect size and shape for your oversized scrunchie.
But you can also use a ruler to mark the dimensions of the rectangle directly onto the fabric. Start by marking a 40-inch-long edge. Then, measure 9 inches perpendicular to this edge and mark the opposite side of the rectangle. Connect the marks with straight lines using a fabric marker or chalk.
If you have a cutting mat with grid lines and a rotary cutter, you can use them to cut a fabric rectangle. This will allow you to cut a perfect rectangle without needing to draw the shape first. Place your fabric on a cutting mat with grid lines. Measure and align the edges of the fabric with the mat’s grid for precision. Make sure everything is straight. Use the rotary cutter and a ruler to cut the straight lines of the rectangle.
Whichever method you choose, take your time to ensure all sides of the rectangle are even.
✅ Related tutorial: How to cut fabric straight | 8 Easy Ways Explained
My size for an oversized scrunchie made from lightweight silk fabric is 40 inches long and 9 inches wide, but you can adjust this based on your preference or the look you’re going for.
The beauty of making your own scrunchie is the ability to customize it. For instance, if you want a slightly smaller yet still oversized scrunchie, you could cut your fabric to 35 inches long and 8 inches wide. This will still result in an oversized scrunchie, just not quite as large as the 40×9 inch version.
Feel free to experiment with different sizes to find what works best for you. The longer and wider your fabric rectangle, the fuller and more dramatic your finished scrunchie will be. Conversely, smaller dimensions will give you a less voluminous scrunchie.
Step 3. Sewing Long Edges Together
Fold the rectangle in half lengthwise right sides together. Secure the fold with pins.
Start stitching at about 2 inches from the one edge and end the seam at 2 inches from the other edge. You can mark the beginning and the end with pins or fabric markers so that when you go to your sewing machine you remember where to start and stop.
Seam allowances are 3/8 inch.
Secure the seam with backstitching.
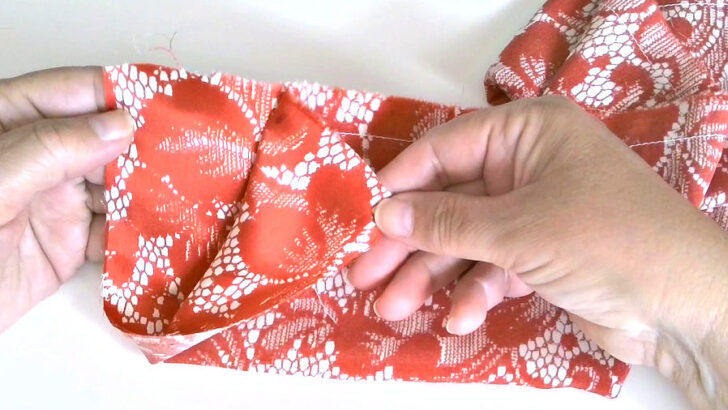
Step 4. Sewing Short Ends Together
Now you have a tube of fabric. Turn it right side out. As we are making an oversized scrunchie, it’s easy to turn the tube just by hand.
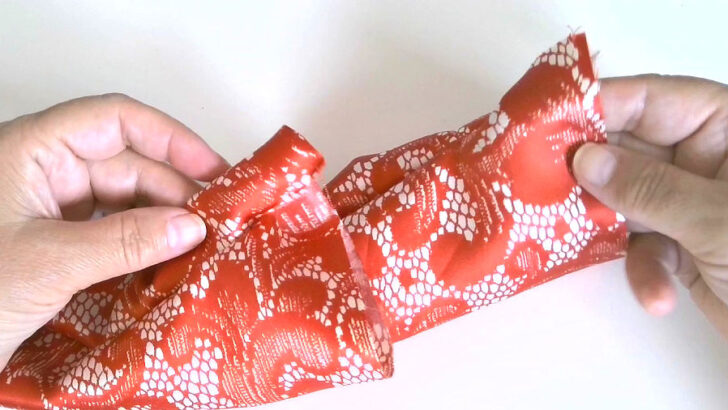
Line up the short edges of the tube and pin them right sides together. We need to sew the two sides together. Seam allowances are 3/8 inch.
Iron the seam when you are done stitching.
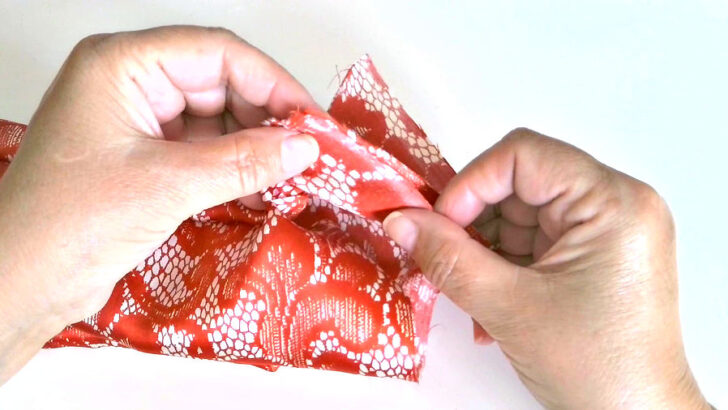
Step 5. Inserting Elastic
To give your scrunchie its signature gathered look, you’ll need to insert the elastic into the fabric tube. Using a safety pin is an easy way to guide the elastic through.
Cut a strip of elastic about 7 or 8 inches long. I used a 7″ strip. Usually, you should be able to twist the scrunchie twice around your hair. If your hair is thick you might want to use a longer strip. If you have a hair band compare the length of your elastic with the length of the hair band but don’t forget that you will need to overlap the ends of the elastic to sew them together.
How wide is the elastic? I used 3/8 inch elastic, but ¼ inch and ½ inch wide elastic can be used.
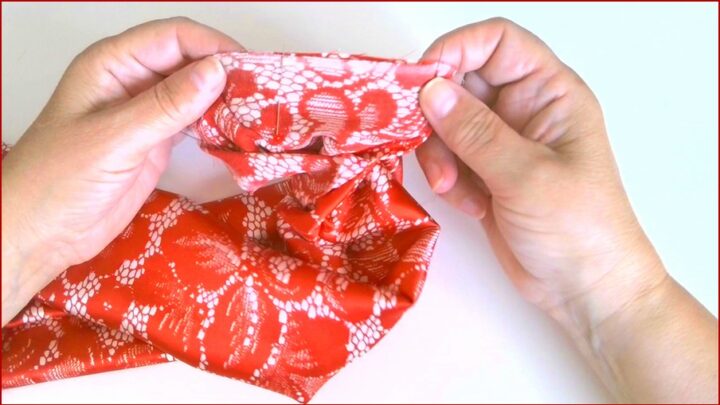
Take a sturdy safety pin and attach it securely to one end of the elastic. This will serve as your guide to pull the elastic through the fabric tube.
Usually, I secure another end of the elastic strip with a pin so I don’t lose the elastic as I feed it in. When you are finished, both ends will be accessible through an opening in the tube.
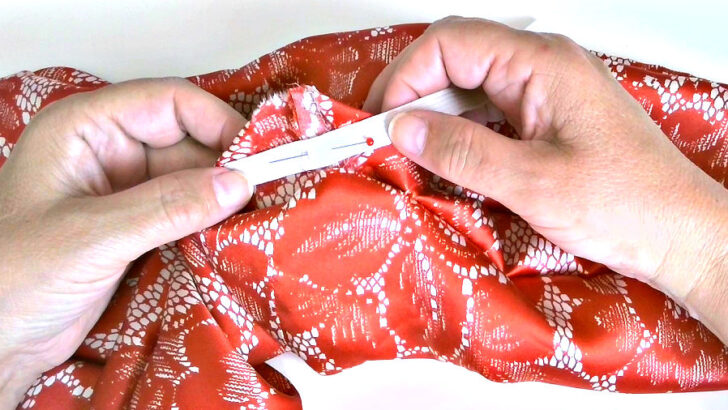
Insert the safety-pinned end of the elastic into the opening of the tube. Gently push the safety pin forward, scrunching the fabric as you go. Keep feeding the elastic through until the safety pin emerges from the other end of the tube.
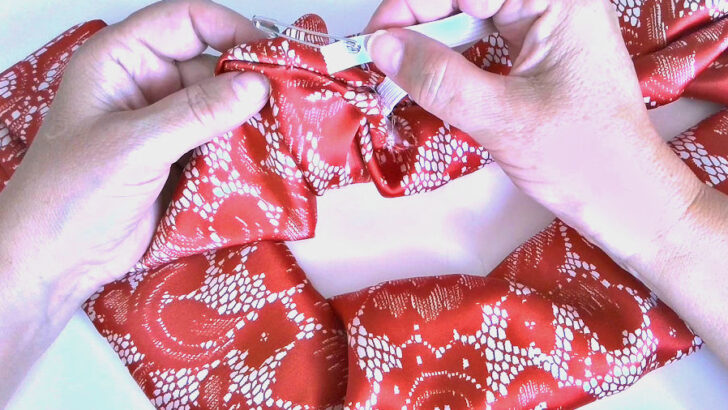
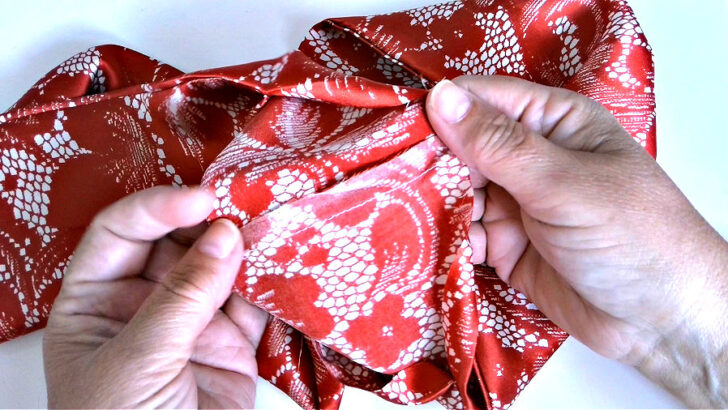
Take the two ends of the elastic and tie a knot or overlap the ends of the elastic and sew them together on the machine or by hand. The elastic should not come apart when you use the scrunchie, so the ends must be properly sewn or tied together.
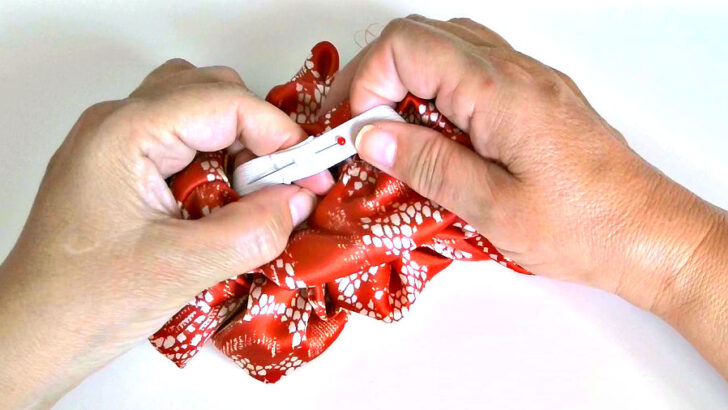
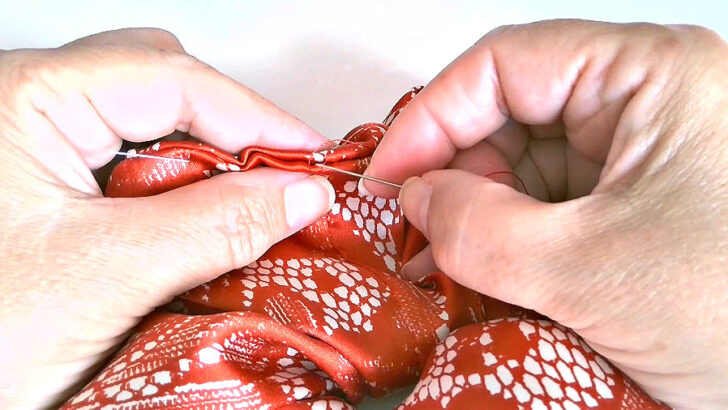
Step 6. Sewing the Opening Closed
After inserting the elastic, it’s time to close the small opening in your scrunchie. Hand-sewing with an invisible ladder stitch is the perfect technique for this step.
Fold the raw edges of the opening inward so they align with the seam. Use a few pins or clips to hold the opening closed as you sew.
Thread a hand-sewing needle with a thread that matches the color of your fabric.
✅ Related tutorial: Invisible Stitch Tutorial: How To Fix A Tear (+ Sewing “Blind” Hems)
But it’s also possible to sew the opening using your sewing machine.
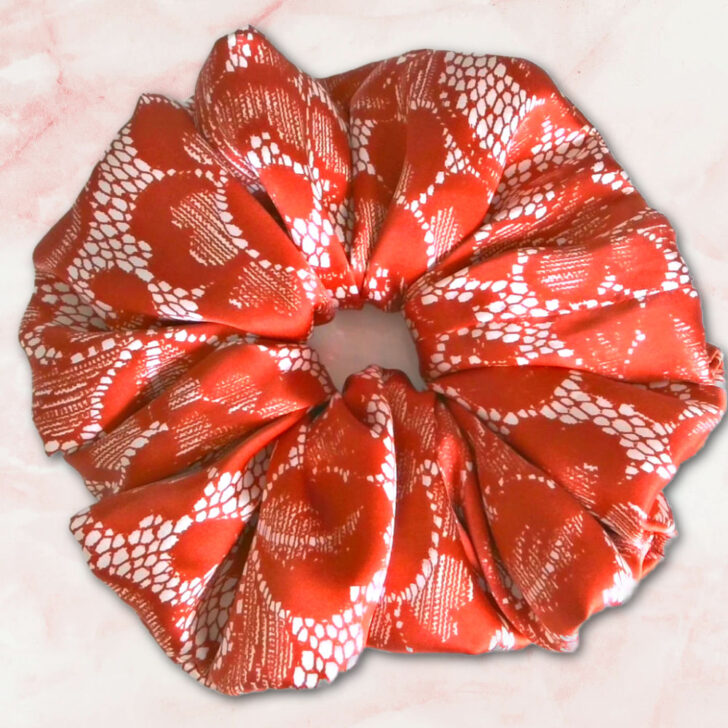
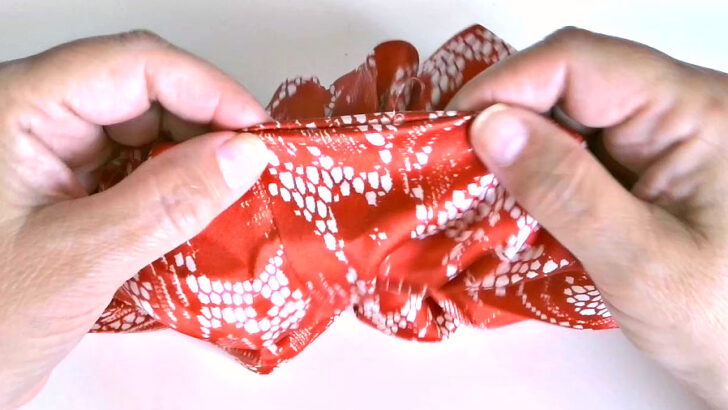
Your oversized scrunchie is now complete. Slip it around your ponytail, bun, or braid to create a playful statement. The soft gathers of fabric make it comfortable to wear while giving your hair a trendy, voluminous look. Be proud of your handmade scrunchie, and enjoy the compliments that are sure to come your way!
Did you find this tutorial helpful? If so, save this pin (see below) on your sewing board so you can come to this tutorial later when you need this information on how to make a scrunchie, and follow me on Pinterest for more tips, tutorials, and inspiration!

latest posts
- Butterfly Quilt Block Tutorial – Foundation Paper Piecing
- How To Sew Quilt Squares So The Corners Match
- Sewing With Fork Pins: How They Help With Pattern Matching, Slippery Fabric, And Seams
- How Much Fabric Do I Need? 21 Helpful Tips For Calculating Fabric Yardage
- Easy Simple Sewing Project: Fabric Jar Opener
- DIY Oven Mitts: Step-by-Step Sewing Tutorial
- Easy DIY Potholder: New Design
- Tailor’s Clapper: What It Does, Why It Works, And How To Use It Right
- Heat Resistant Batting for Sewing: What It Is, How It Works, and What Makes a Difference