
How to Match Seams Perfectly: Step-by-Step Tutorial
Today, we’re focusing on an essential sewing skill: creating perfectly matched seams.
This tutorial was born from the cries of some confused sewists dealing with my tiered skirt project. “Help!” they said. “How on earth do we match all these seams?” I heard you, and I’m here with a simple solution.
You see, for projects like tiered skirts, where multiple seams meet many times, precision isn’t just important – it’s the difference between “chic” and “eek!”, between looking like a fashion maven and looking like you got into a fight with your sewing machine (and lost).
This technique is easier than convincing your cat to leave your threads alone. It’s so simple, you’ll be matching seams in your sleep. So, are you ready to become the seam-matching wizard?
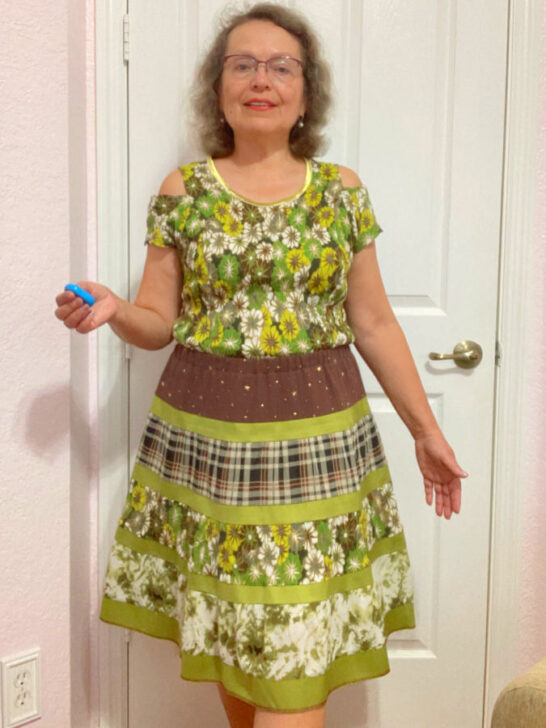
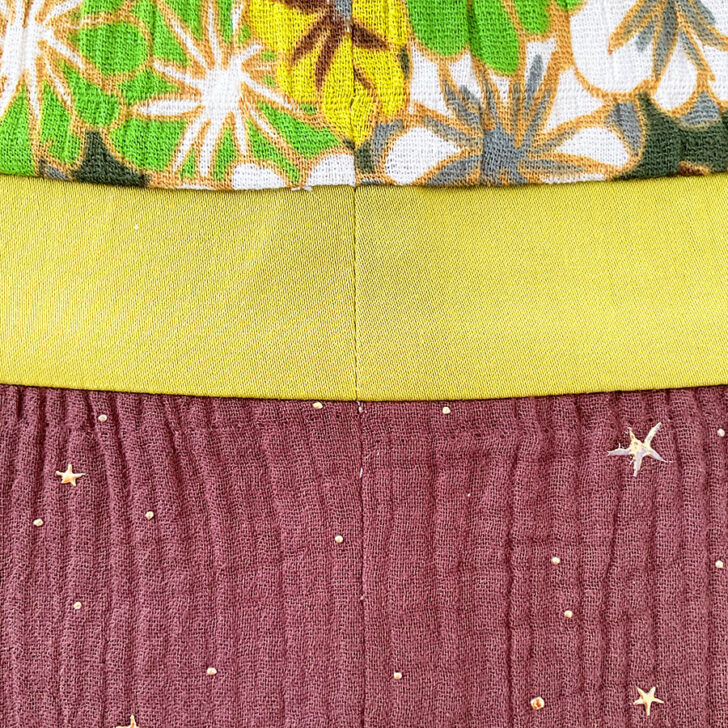
Oh, here is my tiered skirt I am talking about. It’s like a layer cake, but way more wearable. For all the details on how to whip up this ruffly wonder, just go over to this tutorial link – How To Make A Tiered Skirt: Free Pattern And Step-By-Step Instructions.
Part 1. How to Match Seams on Woven Fabrics When the Seams Are Pressed to One Side
This technique is used for seams that are pressed to one side.
✅ Related tutorial: Pressing Matters: 15 Common Ironing Mistakes to Avoid
Step 1. Press Seams
Press the seams of the two pieces in the same direction like your life depends on it (well, your fashion life kind of does). You need to set the seams for better accuracy during sewing.

Note: Some of the links on this page are affiliate links. This means I will receive a commission if you order a product through one of my links. I only recommend products I believe in and use myself.
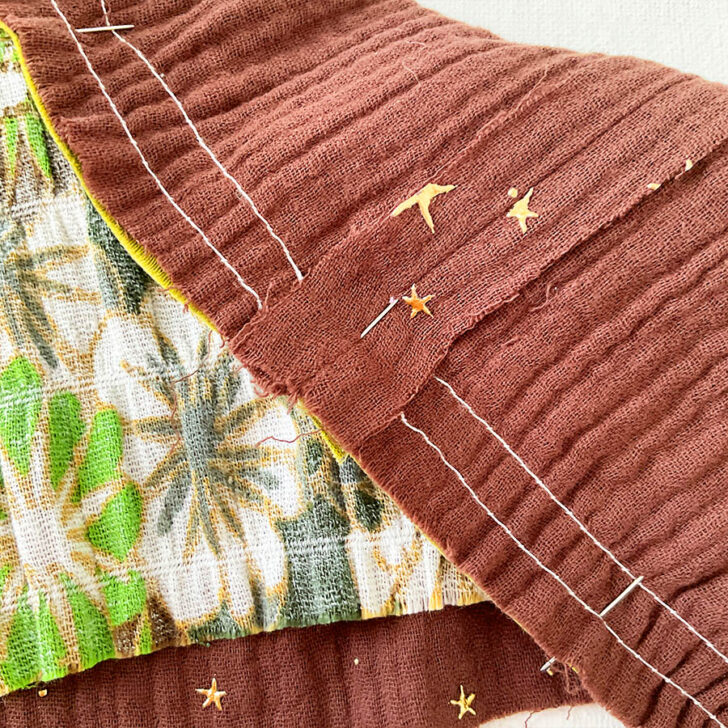
Step 2. Pin the Seams
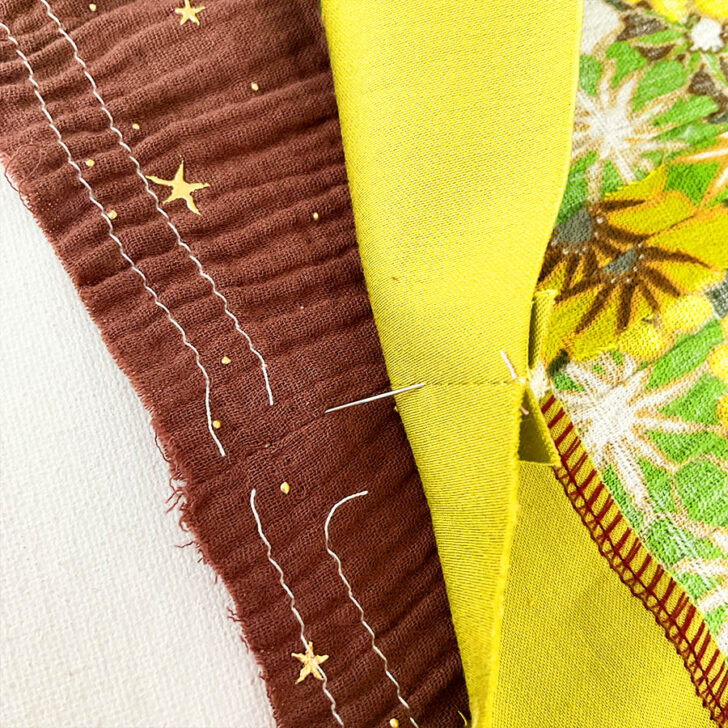
Take a pin and insert it exactly into the seam line. Repeat this step for the matching seam on the second fabric piece. Always use sharp quality pins!

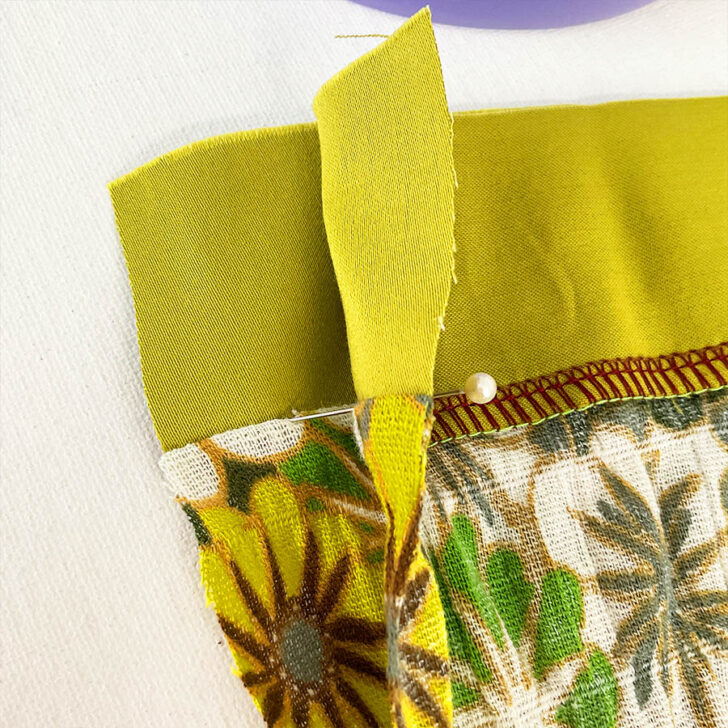
Push the pin back through the first fabric, ensuring it is inserted precisely into the seam line. This creates a stable connection between the two pieces.
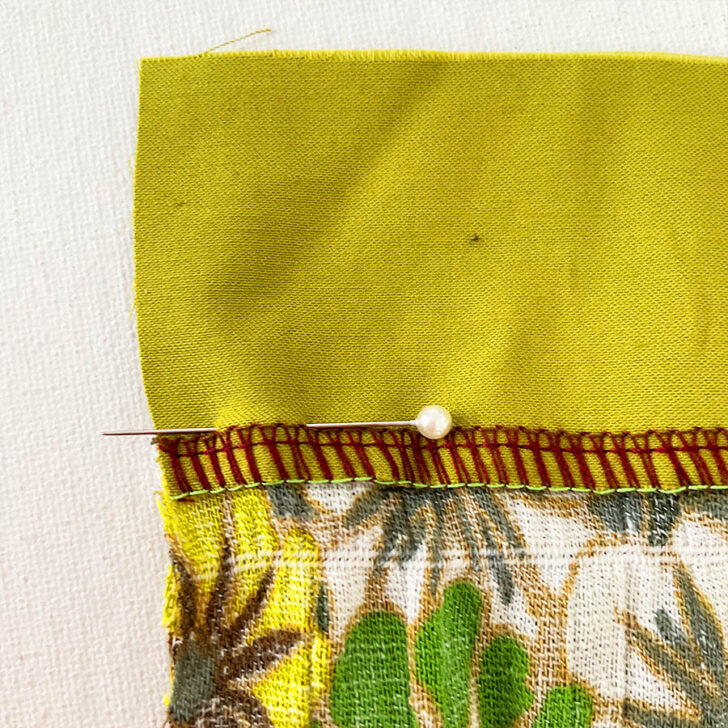
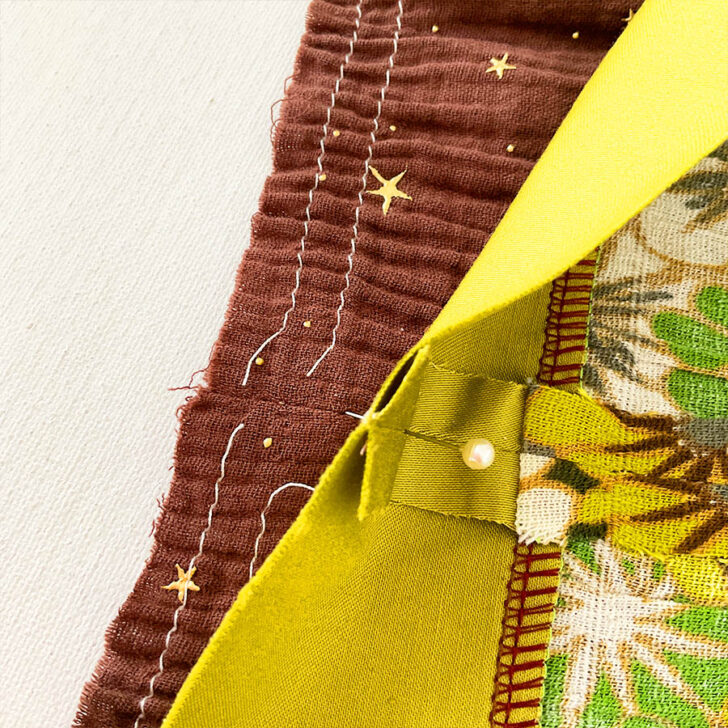
Here is the back of the fabric, where you can see the pin inserted precisely into the seam line.
✅ Related tutorial: Types of sewing pins and their uses: all you need to know about straight pins for sewing
Add more pins around the seam for security.
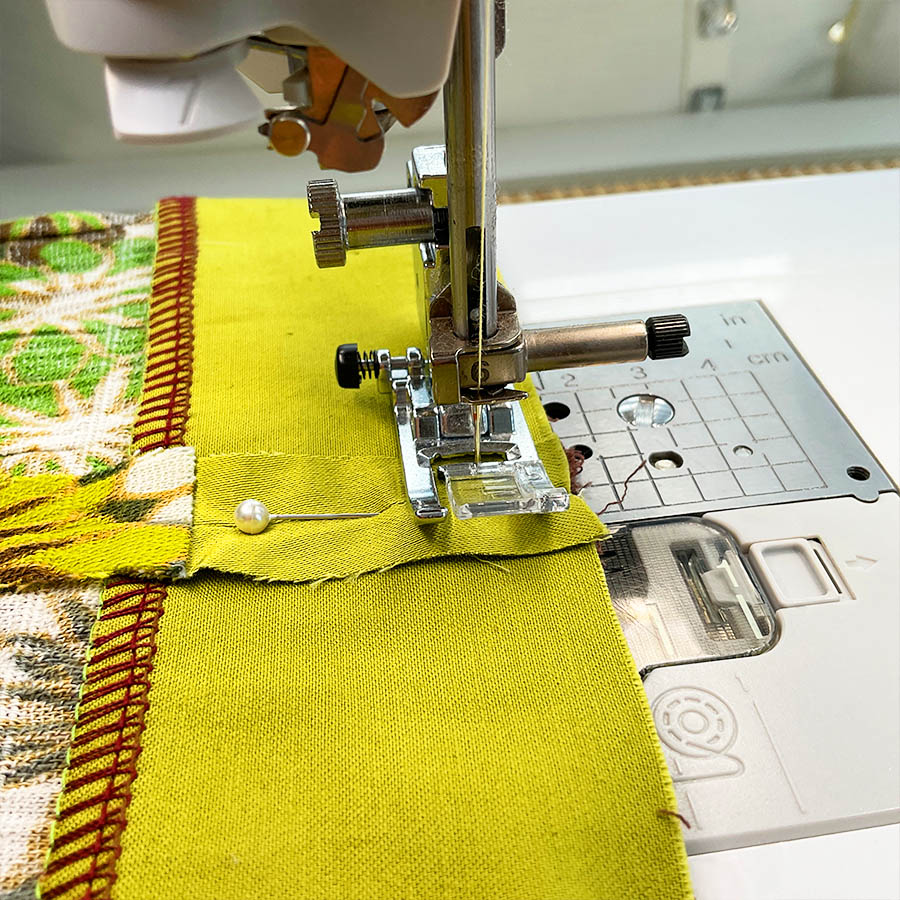
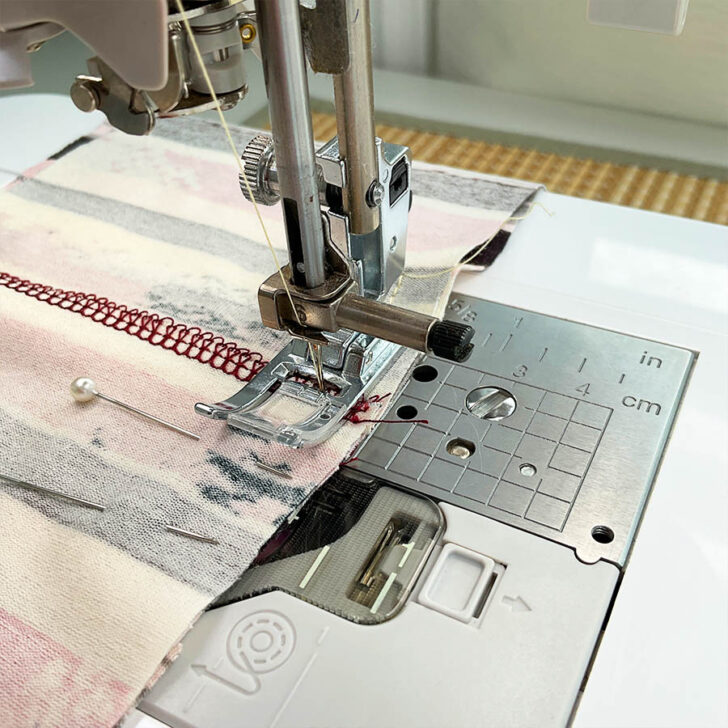
Step 3. Sew Slowly and Steadily
Take the pinned fabric to your sewing machine. Adjust your machine settings for your fabric and use an appropriate thread.

For this tutorial, I’ve used contrasting thread to make the stitches easier to see. Typically, I would match the thread to the fabric.
Stitch directly over the seams at a slower speed, removing the pins only when the presser foot is very close.
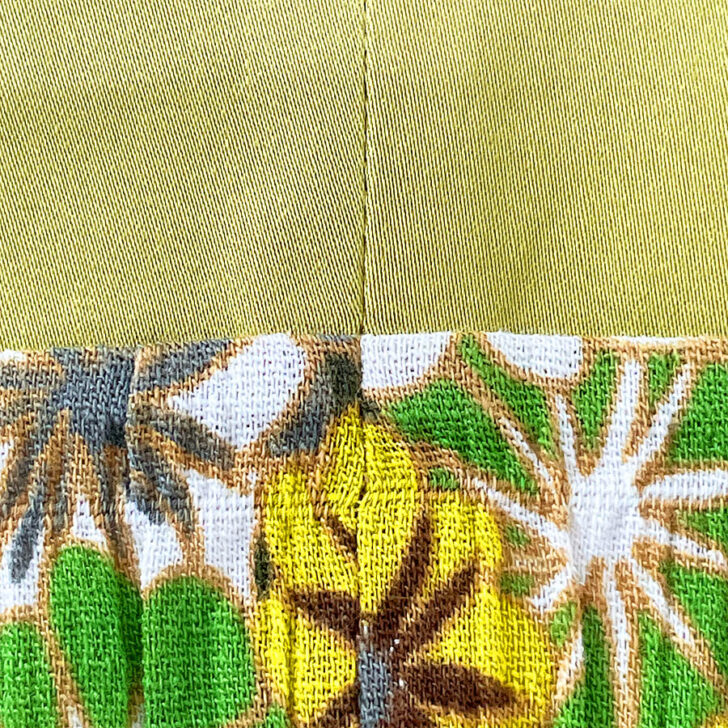
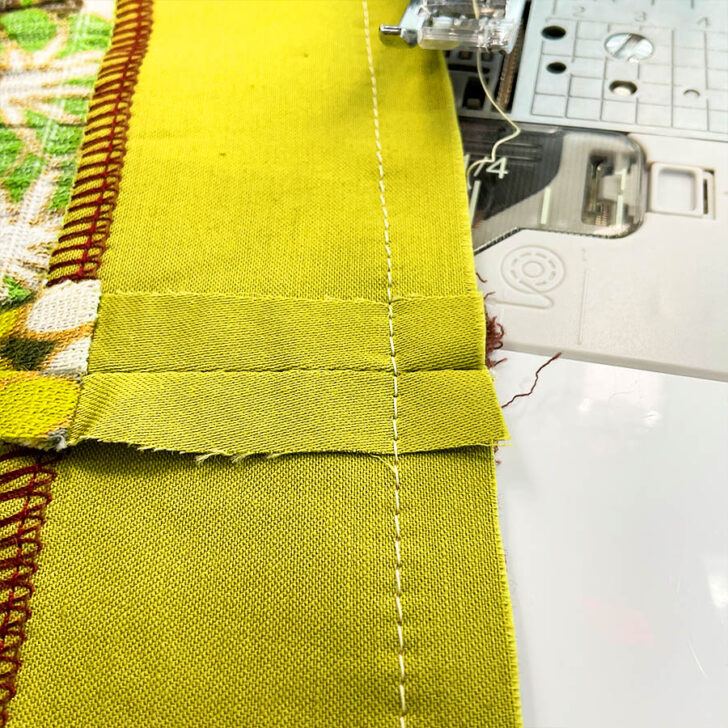
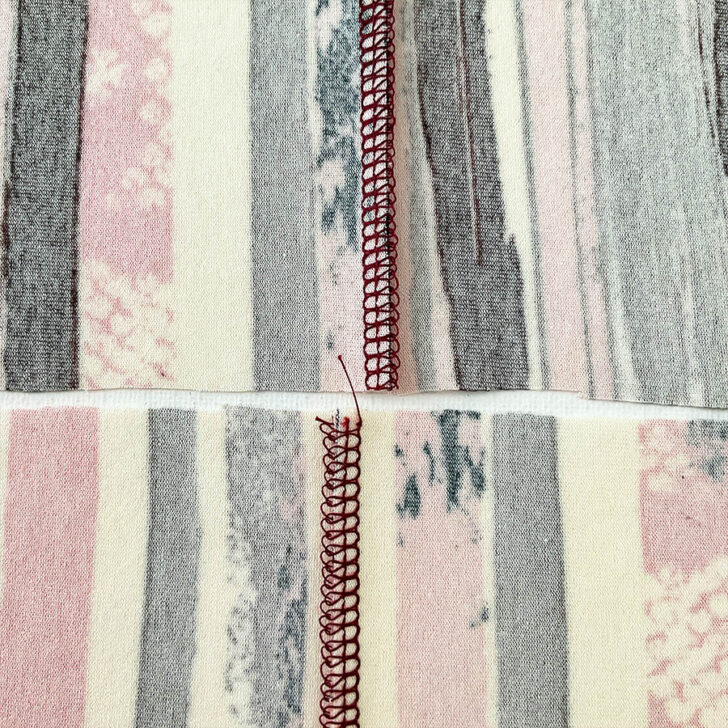
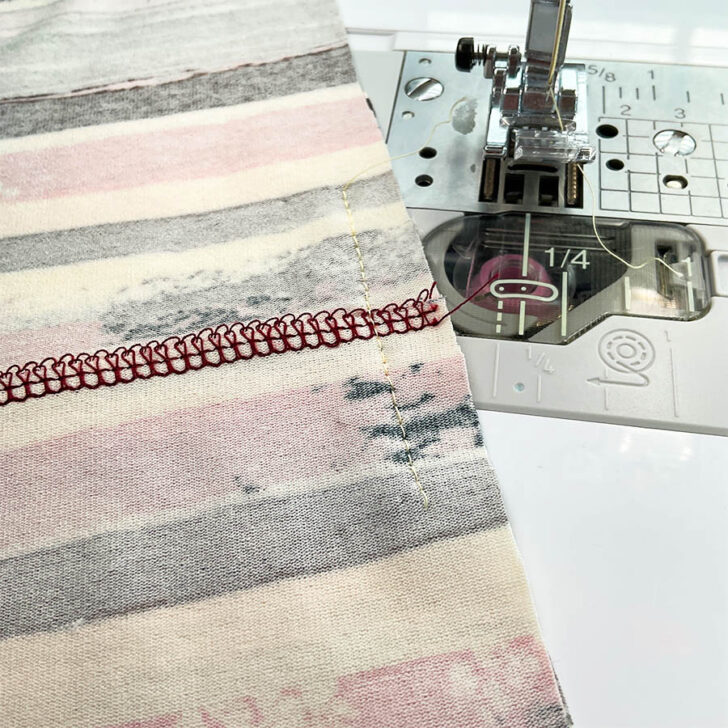
This is the stitch I made. Now, let’s see if the seams align properly.
Let me remind you – slow and steady wins the race… and also perfectly matches seams!
Once sewn, press the new seam in the same direction.
Part 2. Open Seams on Woven Fabrics
If your seams are pressed open, follow this slightly different method for the same flawless finish. It’s like the cousin of the previous method – related, but with its own quirks.
Step 1. Press Seams Open
Press those seams open like you’re ironing out the wrinkles in your life. Flat and smooth is the name of the game.
✅ Related tutorial: How to Get Rid of Stubborn Wrinkles and Creases
Step 2. Align and Pin
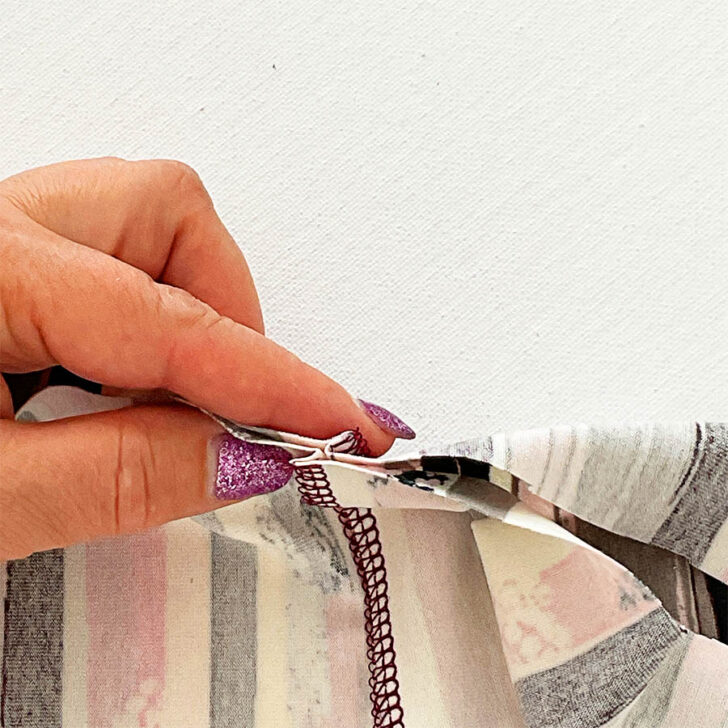
Align the seams and pin with the precision of a neurosurgeon. Insert a pin through the stitch line of one piece and into the stitch line of the other.
Carefully bring the pin back through the first piece to ensure it aligns perfectly with the stitching. Secure the fabric with additional pins around the seam.
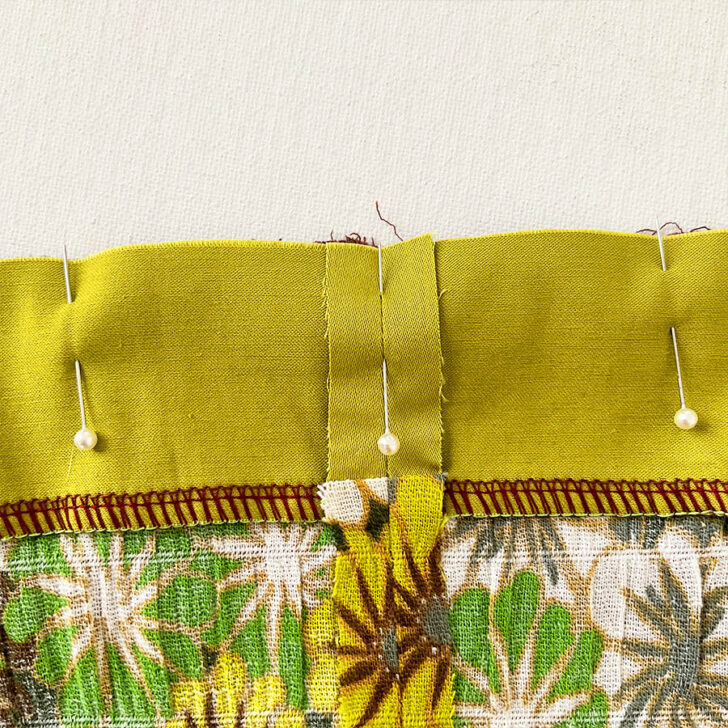
The pin seen in the back of the fabric is positioned exactly in the seam line. This is very important for matching seams perfectly.
Step 3. Sew with Precision
Set your sewing machine as needed for woven fabrics. Sew with the focus of a cat stalking a laser pointer. Slow, steady, and utterly fixated on that perfect stitch line.
Remove pins just before the needle reaches them.
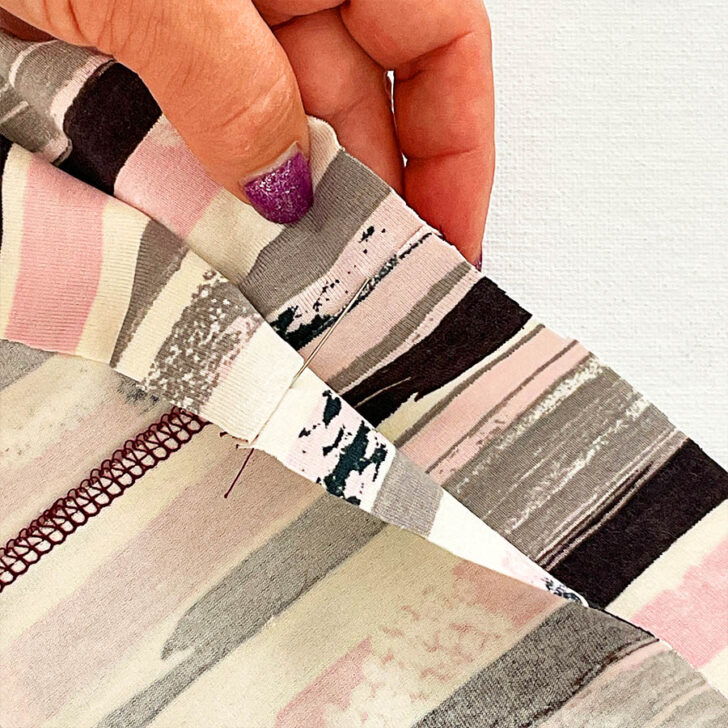
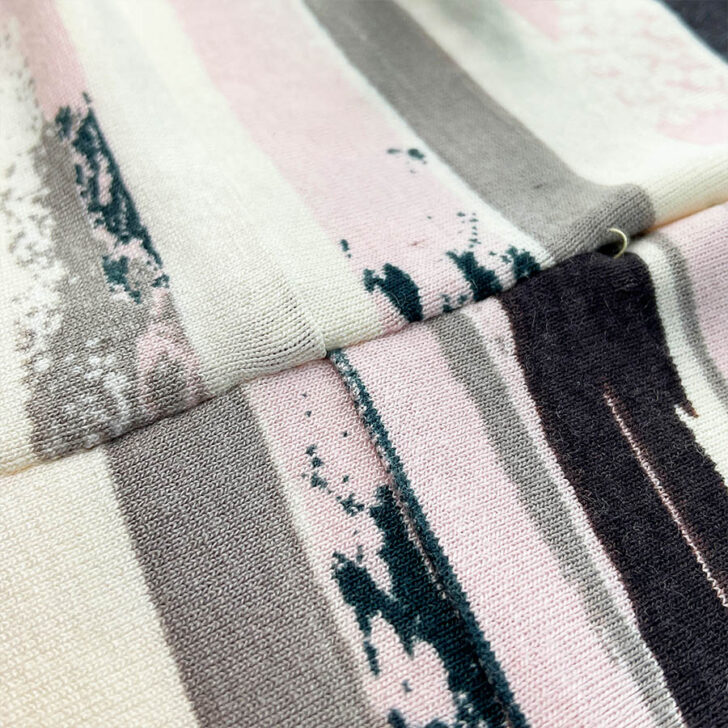
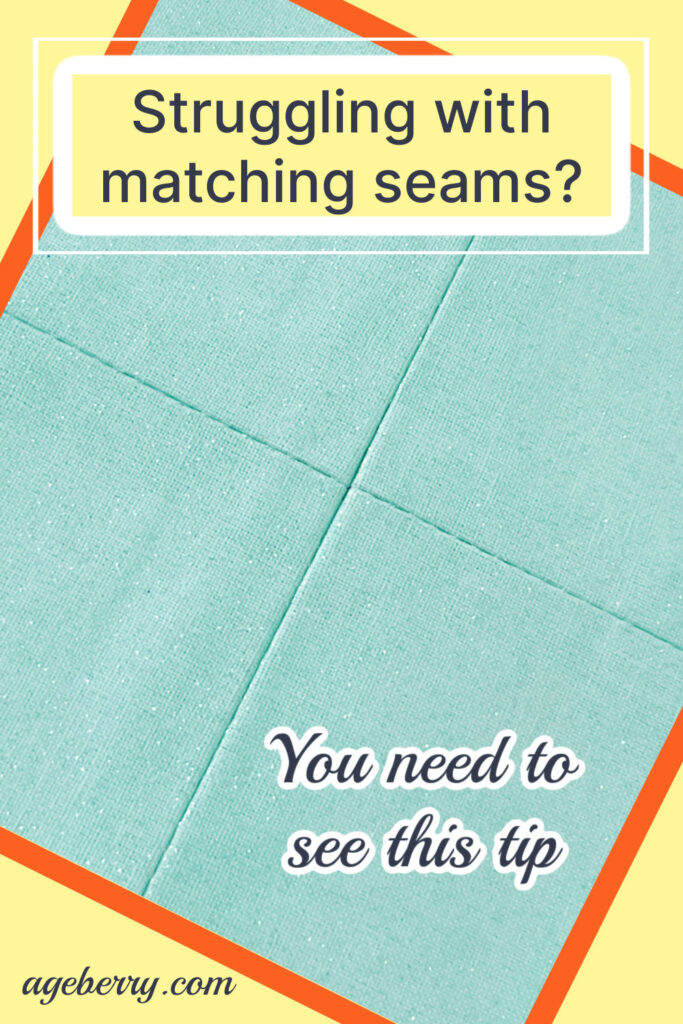
As you can see in this image, the seams are matched perfectly. This is very important for achieving a polished look in the final garment.
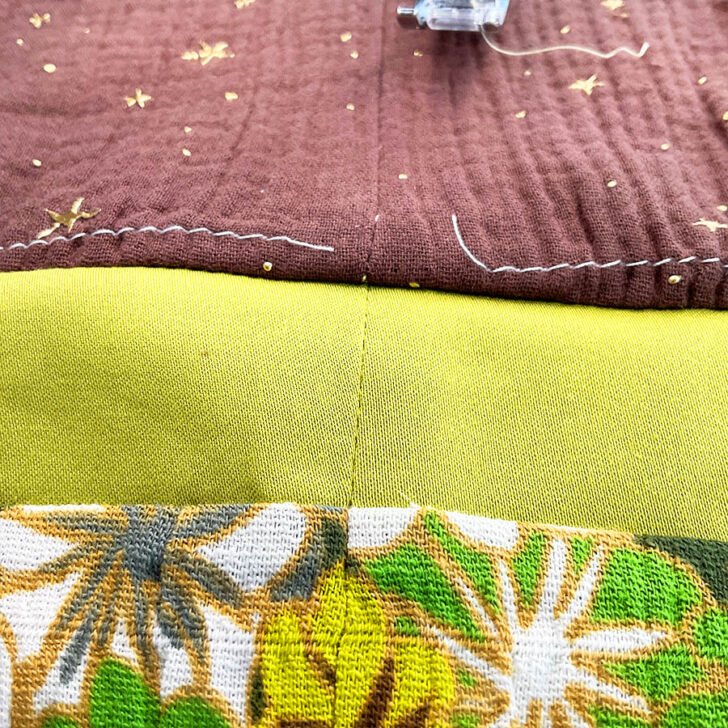
Press the new seam flat to achieve a professional finish.
Part 3. The “Stretchy Situation” Solution
Knit fabrics present a unique challenge due to their stretchiness, but this technique makes it manageable.
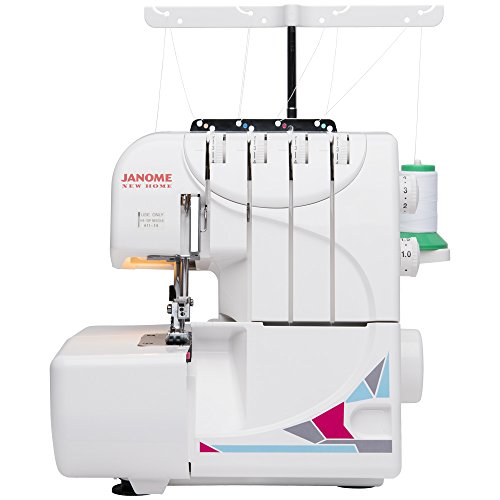
Working with stretchy knit fabrics and serger seams can be as tricky as trying to wrangle a slippery noodle. These fabrics have a mind of their own, always stretching under the serger presser foot.
Now, I’ve had a love-hate relationship with this particular knit fabric I’ve chosen for this project today. I stumbled upon this rayon fabric that was so irresistible, I just had to buy 6 yards of it. You know, for “future projects.”
✅ Related tutorial: All About Sewing Knit Fabric
Well, turns out the future came knocking faster than expected. Before I knew it, I’d whipped up not one, not two, but SIX different garments with it. Talk about a one-fabric wardrobe. I guess you could say I really got my money’s worth, huh?
Here in this image, you can see two of my rayon creations. At least I’m consistent… consistently wrapped in the same fabric.

So, now let me show you how to make those stretchy seams play nice.
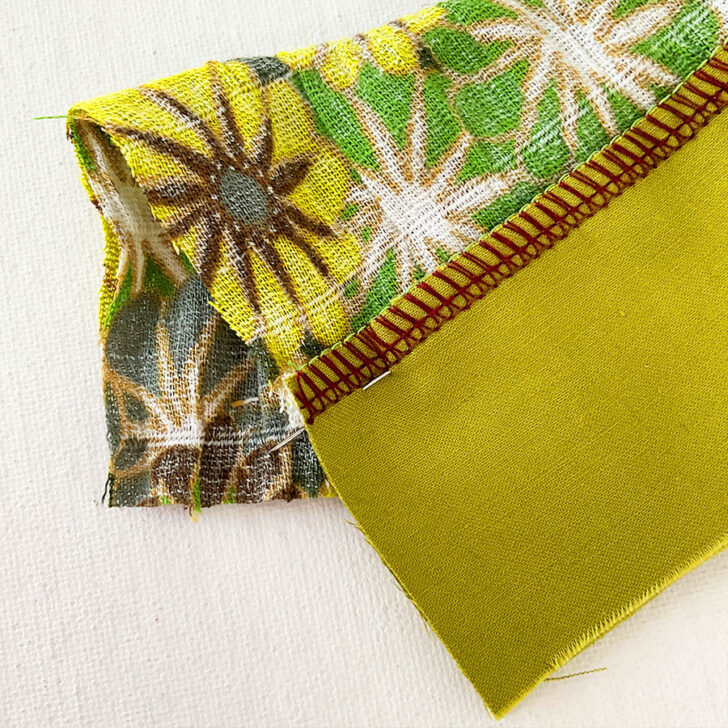
Step 1. Press Seams in Opposite Directions
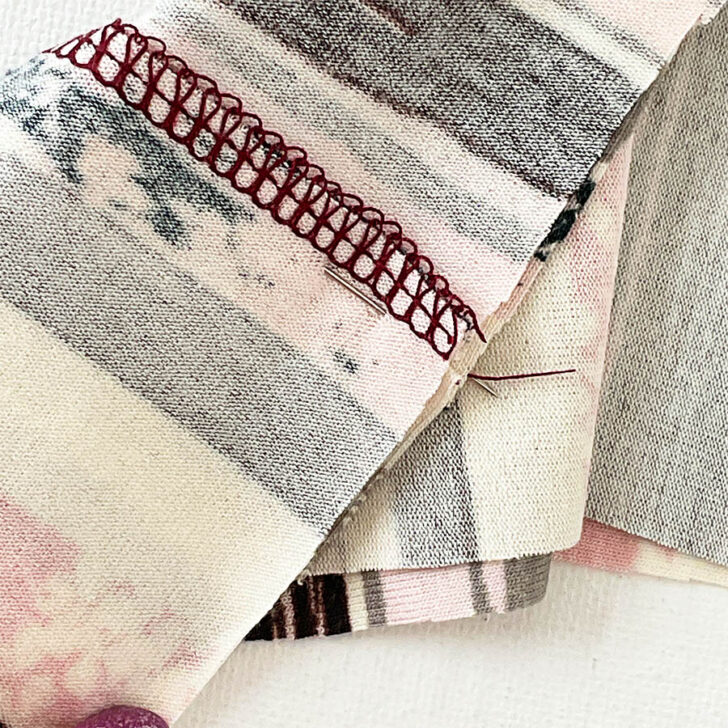
Instead of pressing both seams in the same direction, press them in opposite directions. This “nesting” should create a secure lock between the layers, reducing slippage. It’s like a fabric yin and yang (ha-ha) – opposites attract and create perfect harmony.
Step 2. Pin with Care
Take a pin and insert it exactly into the seam where the left needle of the serger stitched. Repeat this step for the matching seam on the second fabric piece.
Push the pin back through the first fabric, ensuring it is inserted precisely into the seam line. This creates a stable connection between the two pieces.
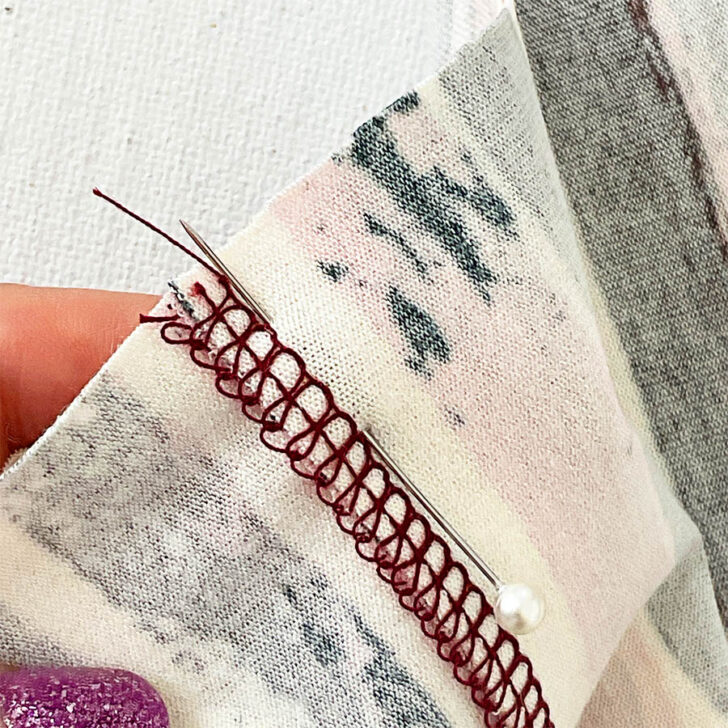
This pinning step is critical to keep the fabric aligned as it stretches. Add more pins around the seam for security.
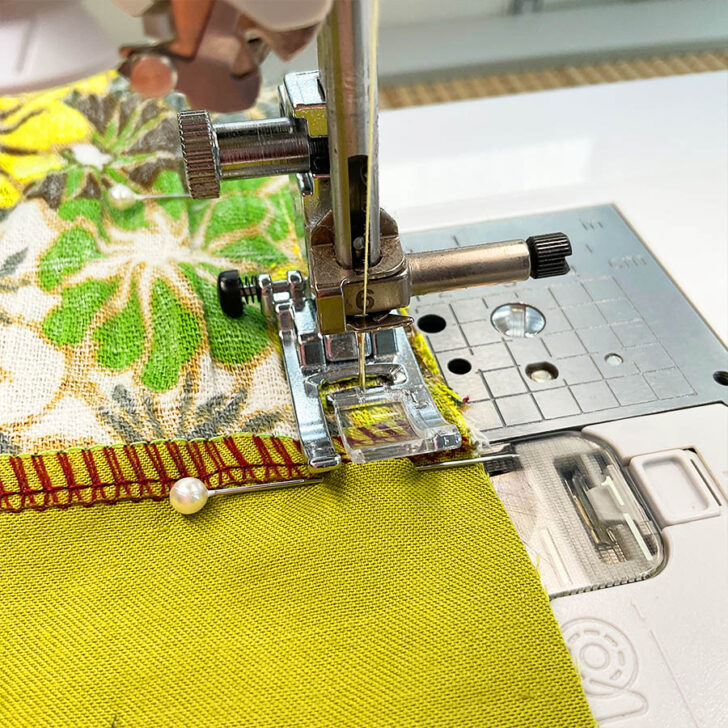
Step 3. Baste First
Take the fabric to your sewing machine and set the stitch length to 3 mm.
Adjust the tension to zero to create a temporary basting stitch.
✅ Related tutorial: Basting Stitch: Why, When And How To Baste In Sewing
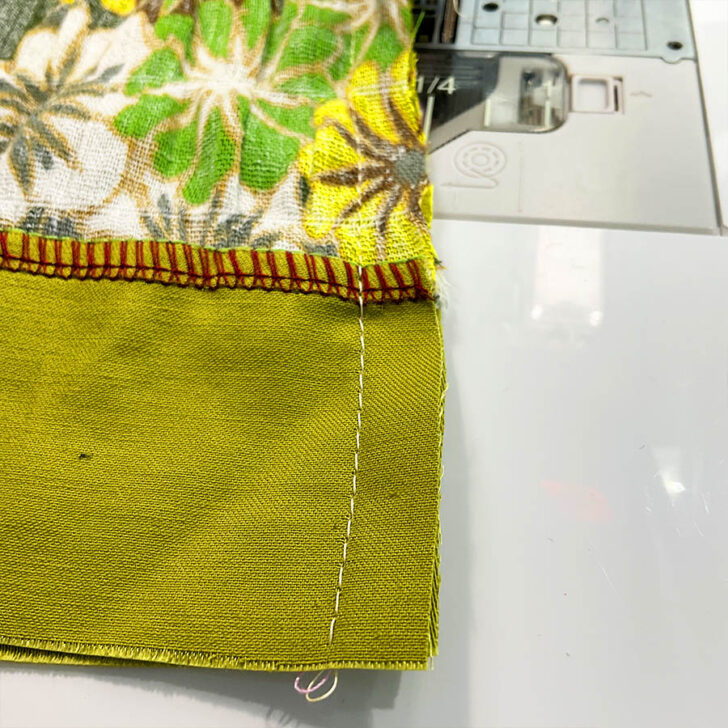
Sew over the seam slowly, checking alignment as you go. Remove pins as you approach them.
Don’t sew a long stitch at this point. Instead, focus on stitching just a few inches around the seam area. This short section of stitching allows you to verify the alignment accuracy before completing the entire seam on your serger.
✅ Related tutorial: 30 Essential Sewing Tips for Beginners Learning to Use a Serger
Step 4. Check and Finish with Your Serger
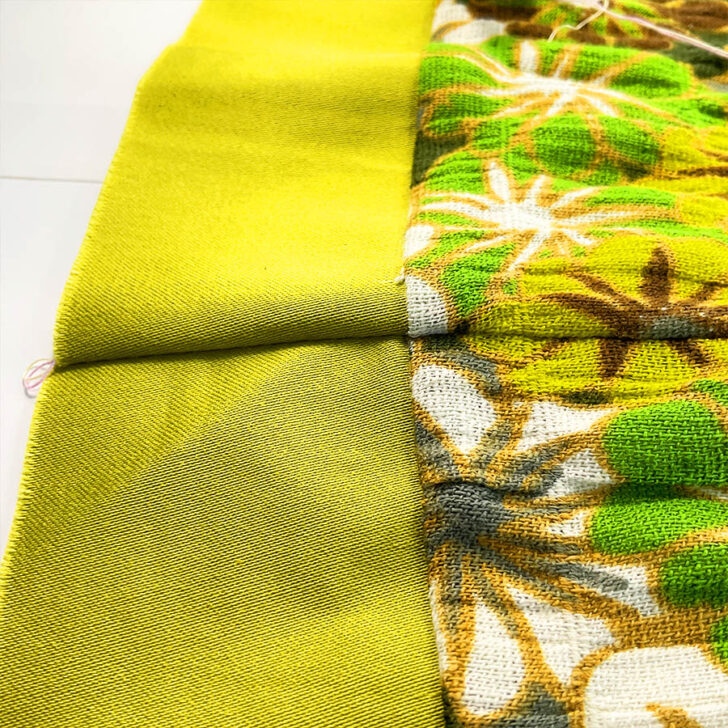
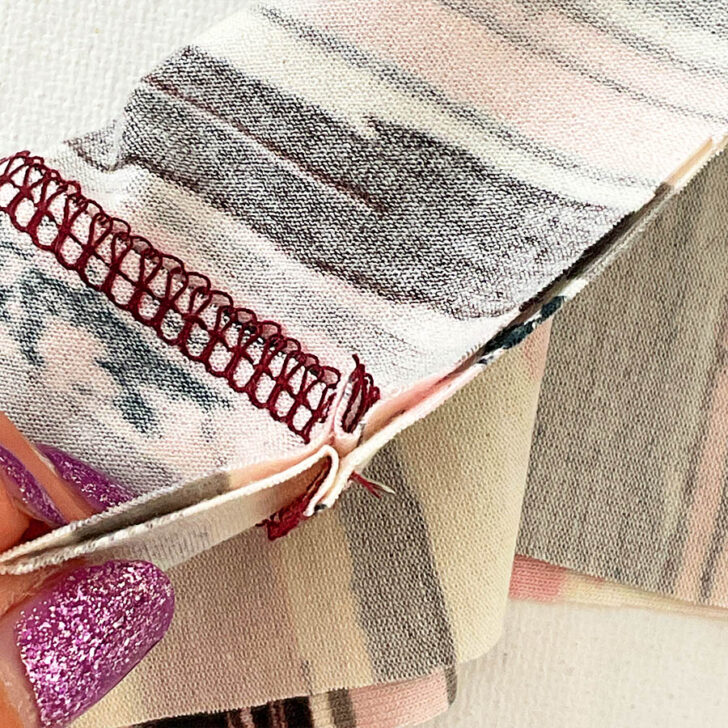
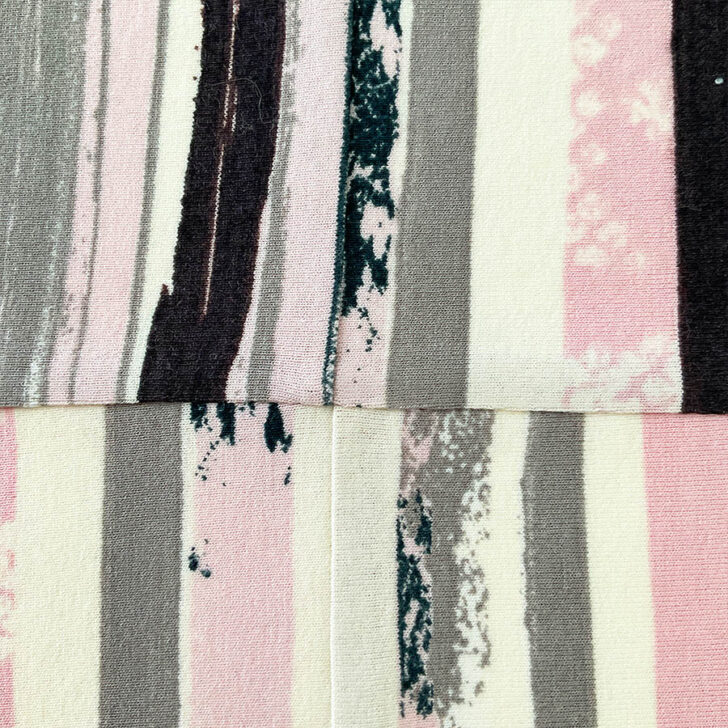
Examine the seams to ensure they match perfectly.
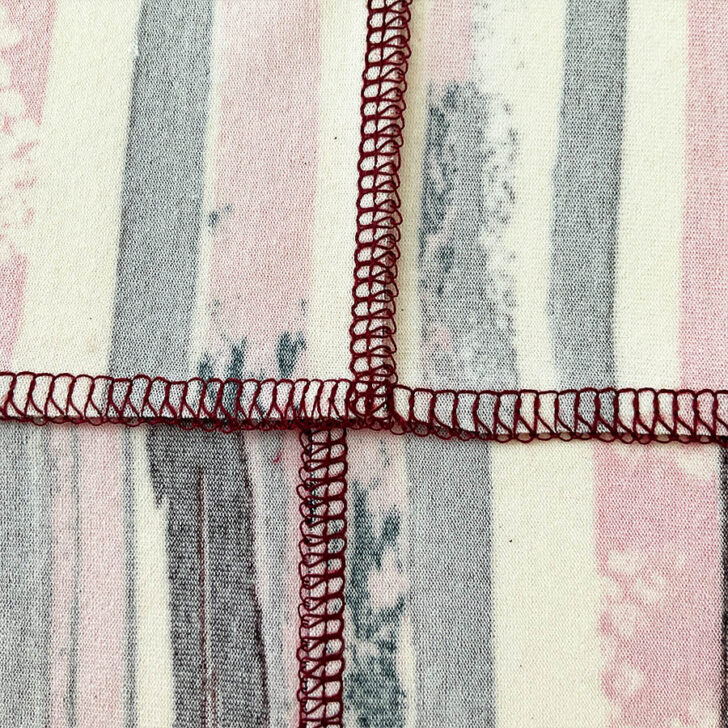
You’re the director of this fabric performance, and it’s time for the grand finale. Once satisfied, sew the final seam using a 4-thread overlock stitch on your serger. Align the serger’s left needle with the straight basting stitch as a guide.
Afterward, remove the basting thread and press the seam in one direction.
Quick Note
Ok, now I need to mention that this isn’t a real project. I’m just playing around with a scrap piece of knit fabric to show off this technique.
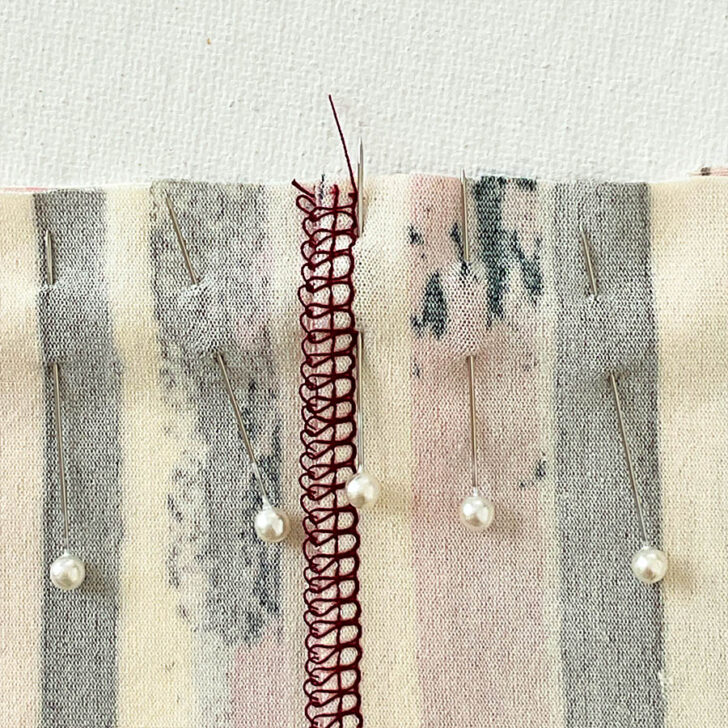
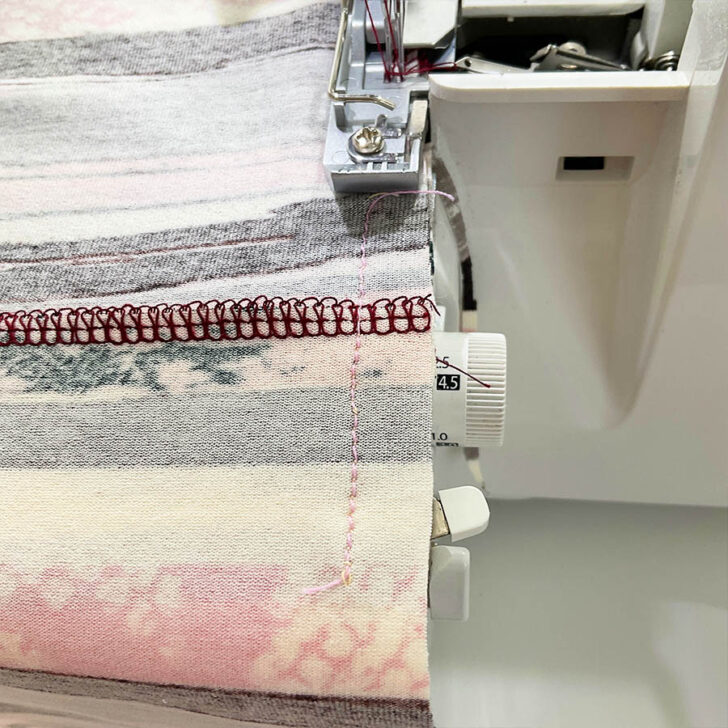
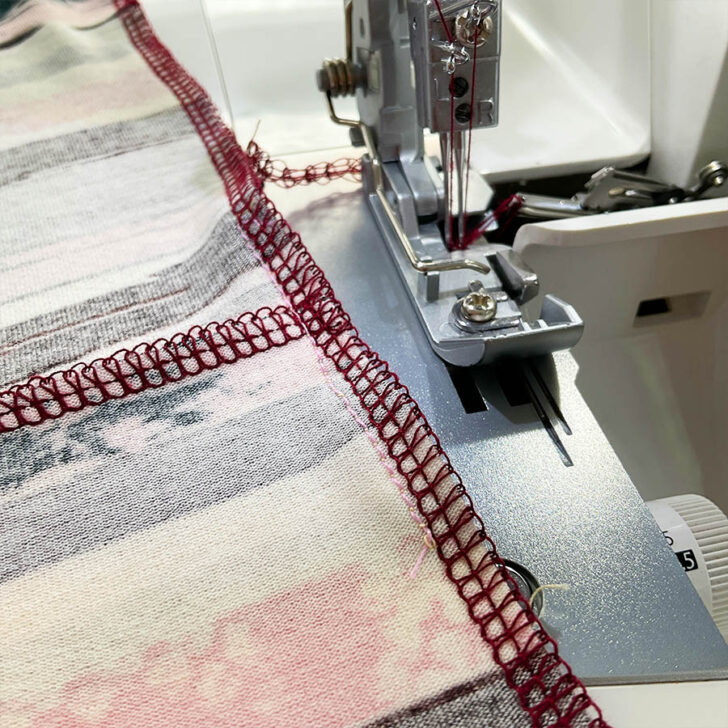
Did you spot the sneaky serger situation that’s going on here? I was in such a rush to film this seam-matching magic that I didn’t give my serger settings a second glance. Oops!
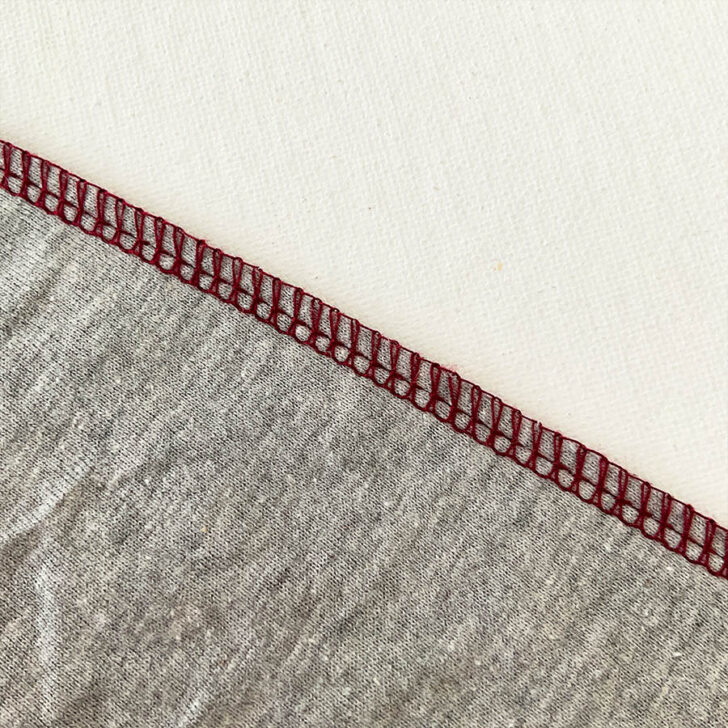
Take a look at those stitches – see how the thread’s going over the fabric edge? But this is an easy fix.
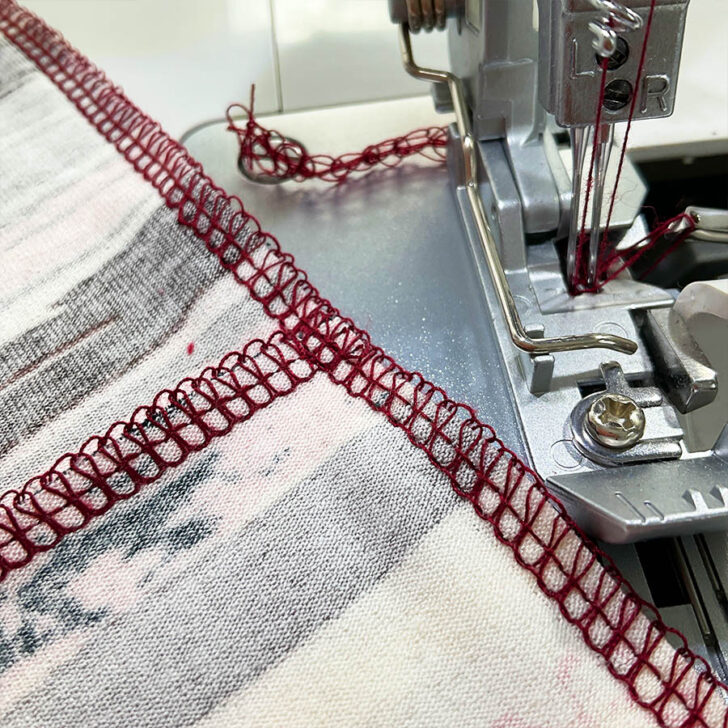
With a flick of the wrist (okay, maybe a little more effort than that), I increased the stitch width. That’s it. In this image, you can see the improved 4-thread serger stitch that’s as correct as a perfectly pressed seam.
Wrapping It Up
The secret to seam perfection is now yours. With these tips, you’ll be stitching up perfectly matched seams in no time. Now go forth and create seam-ingly impossible perfection!
So, we’ve just tackled how to match seams in garment construction. What about quilts, where you might need to match hundreds of seams? I’ve got an interesting tutorial on this very topic too.
And here’s a little teaser – you’ll never guess what surprising thing I use to match seams in quilts. Head over to the tutorial to uncover this unexpected quilting hack. It’s a game-changer that’ll have you looking at your quilts in a whole new light.
Curious? Check it out here: How to sew quilt squares together (step-by-step tutorial)
Have tips or techniques of your own? Share them below – I’d love to hear from you!
Now that you know this sewing trick, why not check out more helpful sewing hacks I’ve shared? You can find them here – Time-Saving Sewing Shortcuts That Help You Sew Smarter, Not Harder
If you found this guide helpful, don’t forget to save the pin provided below to your sewing board on Pinterest. This way, you can easily return to this article when you need this information on matching seams. Following me on Pinterest will keep you updated with more useful tips, tutorials, and inspiration for all your projects. It’s a great way to stay connected and inspired throughout your sewing journey.


You did a great job explaining matching seams thanks
I really enjoy your tutorials on all the sewing subjects you share with us. Your information with the pictures are extremely helpful. Thank you for all the time and effort you put into this for all of us. Keep up the wonderful work you to do help us make sewing a pleasure again.
Thank you! I hope you will let me know too if you have observations, suggestions or simply there is something you thin k can be improved.