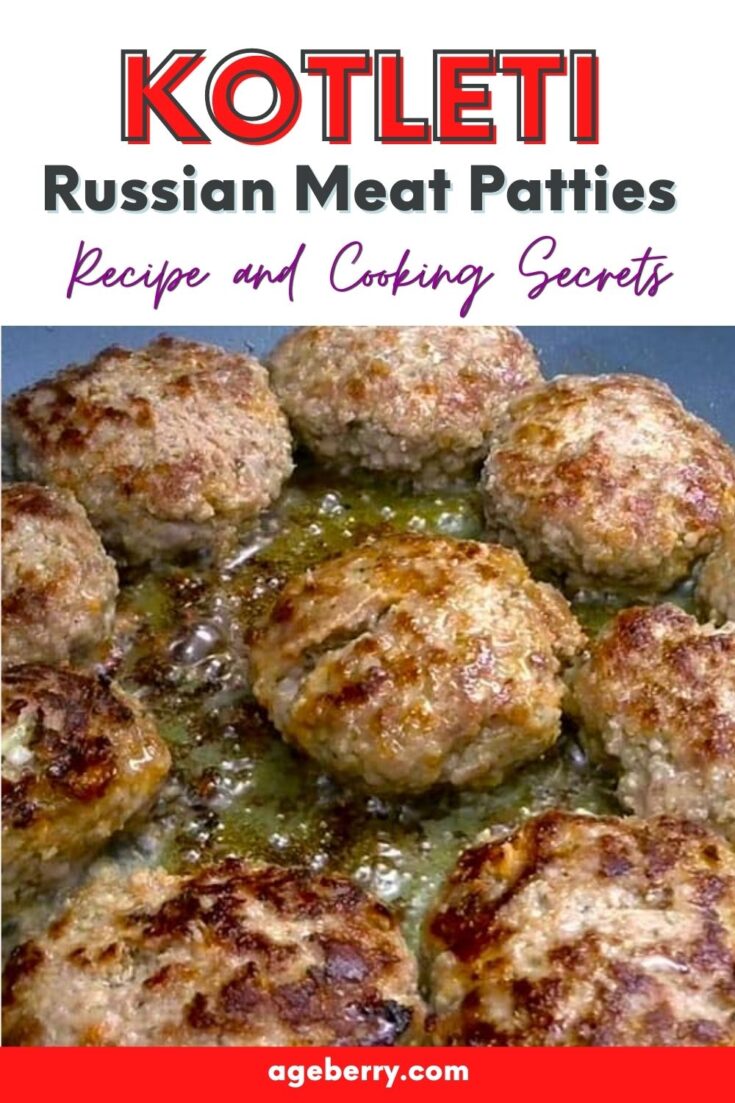
Russian meat patties Kotleti {a recipe and cooking secrets}
In this post, I will show you how to make delicious pan-fried Russian meat patties Kotleti (aka Kotletki). This meat dish is also popular in Romania. How do I know that? My husband is Romanian! In the Romanian language, they are called Chiftele. In English, they are sometimes called Russian-style meatballs, or Russian mini burgers.
Well, those translations are, and are not, correct.
They are correct in the sense that the Kotleti {tefteli/chiftele} are made out of meat (mostly) and they kind of have a round shape like a flat ball (again, mostly). But they are definitely not what in the USA is known as “meatballs”.
Meatballs are quite well known in the USA, to the point where you can go to any supermarket and buy them in various packages, or to any Subway (and other fast food places) and buy a meatball sandwich, or to any Italian restaurant (again, there are many of them) and have meatballs with your choice of pasta and your favorite sauce. But these are different.
The Russian/Romanian Kotleti are pan fried, not boiled. You might think this makes them unhealthy; well, not really. I didn’t say “deep fried”, did I? Read further, you might have a surprise.
Also, these meat patties (Kotleti) are mostly meat, but not 100% meat, and there is also no rule restricting the meat to any particular type. The recipe can use veal, beef, turkey, or chicken mixed or not with pork.
I usually like to use beef and pork in equal quantities, but I have made the dish with other types of meat (all of the ones mentioned above) with very good (read: tasty!) results.
Ok, let’s not beat around the bush: let’s go to the meat of the problem!
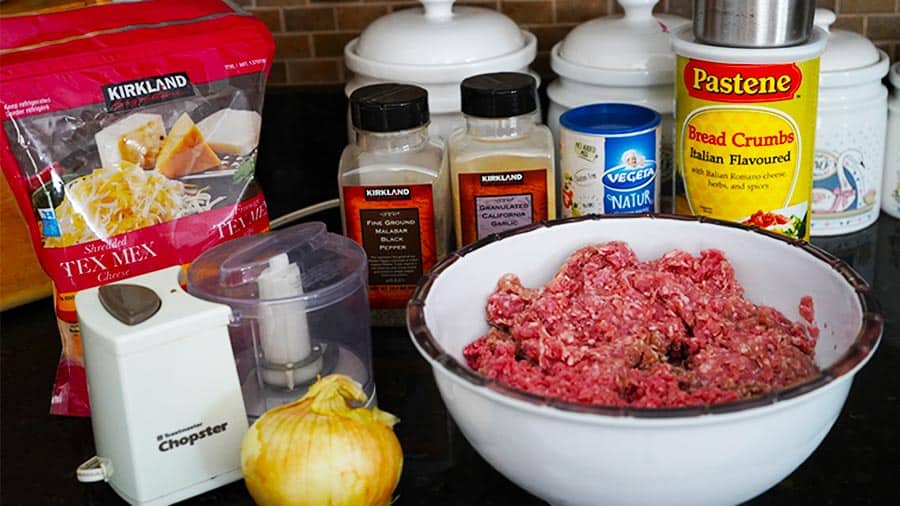
Ingredients for the Russian meat patties kotleti
| Lean Ground Pork | 1.5lb (700g) | |
| Lean Ground Beef | 1.5lb (700g) | |
| Breadcrumbs | 1 ½ cups | Plain or flavored |
| Eggs (raw, whole) | 1 or 2 | When I feel like |
| Large onion | Chopped very fine | |
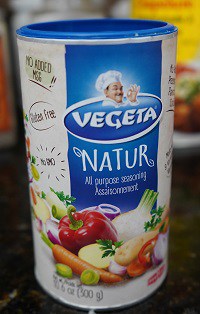
| Vegeta | 1 ½ teaspoon | Non-GMO non-MSG |
| Grated cheese | 1 cup | Optional |
| Pepper | Fresh ground, to taste | |
| Garlic (dry powder) | To taste | |
| Beef stock, low salt | 1 cup | |
| Salt | ½ teaspoon, to taste | |
| Oil; enough to cover the skillet bottom, not much | 3 – 4 tablespoons | Olive oil, sunflower oil, corn oil – any oil |
Note: Some of the links on this page are affiliate links. This means I will receive a commission if you order a product through one of my links. I only recommend products I believe in and use myself.
Notes:
- I recommend using organic ingredients or as close to them as possible
- You don’t have to use eggs; entirely optional. The taste has not changed significantly. However, if the composition is too liquid, do use eggs, these will help at frying time when the eggs will bind the Kotleti better.
- I use whatever oil I have handy. I usually use sunflower oil because it is non-GMO but I have used olive oil and corn oil. I am not a big fan of canola oil.
- I only use Vegeta (dry vegetable seasoning) but there are other similar brands out there; use whatever brand you have handy. I recommend the use of non-GMO non-MSG brands.
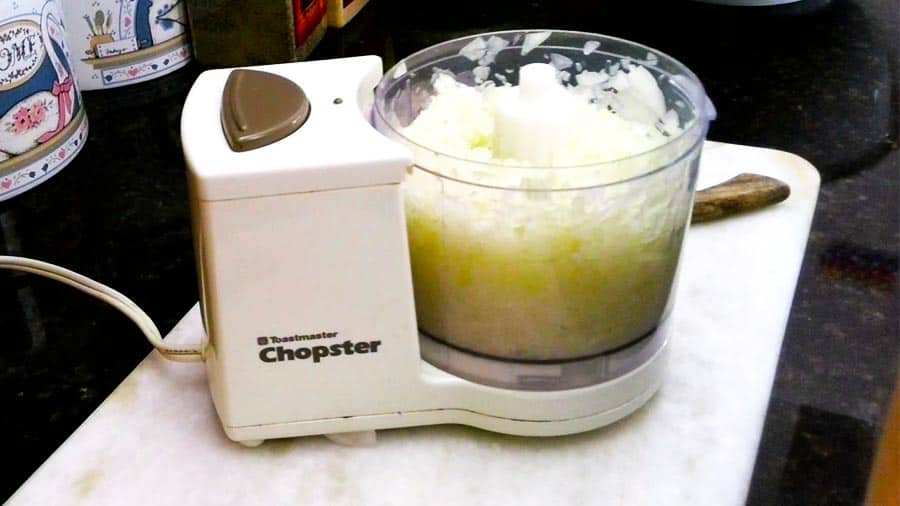
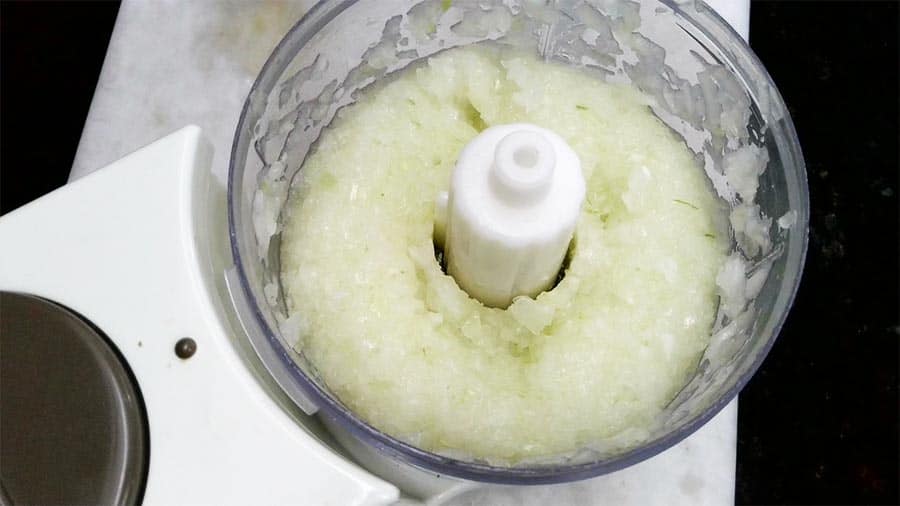
- I use a chopper to cut the onion very finely. I recommend it; the finer, the better.
Variations for the Russian meat patties kotleti
Substitute:
- Some chicken, veal, or turkey instead of beef
- 3-4 slices of white bread, soaked in water; drain the liquid after; instead of breadcrumbs. Don’t use extra liquid if you use soaked bread.
- Chicken stock or water if beef stock is not available.
- Crushed garlic instead of dry garlic powder
Add:
- Romanian version: carrots and potatoes (half boiled, diced or raw, grated)
- Paprika (sweet or hot, as you wish; beware: changes the taste)
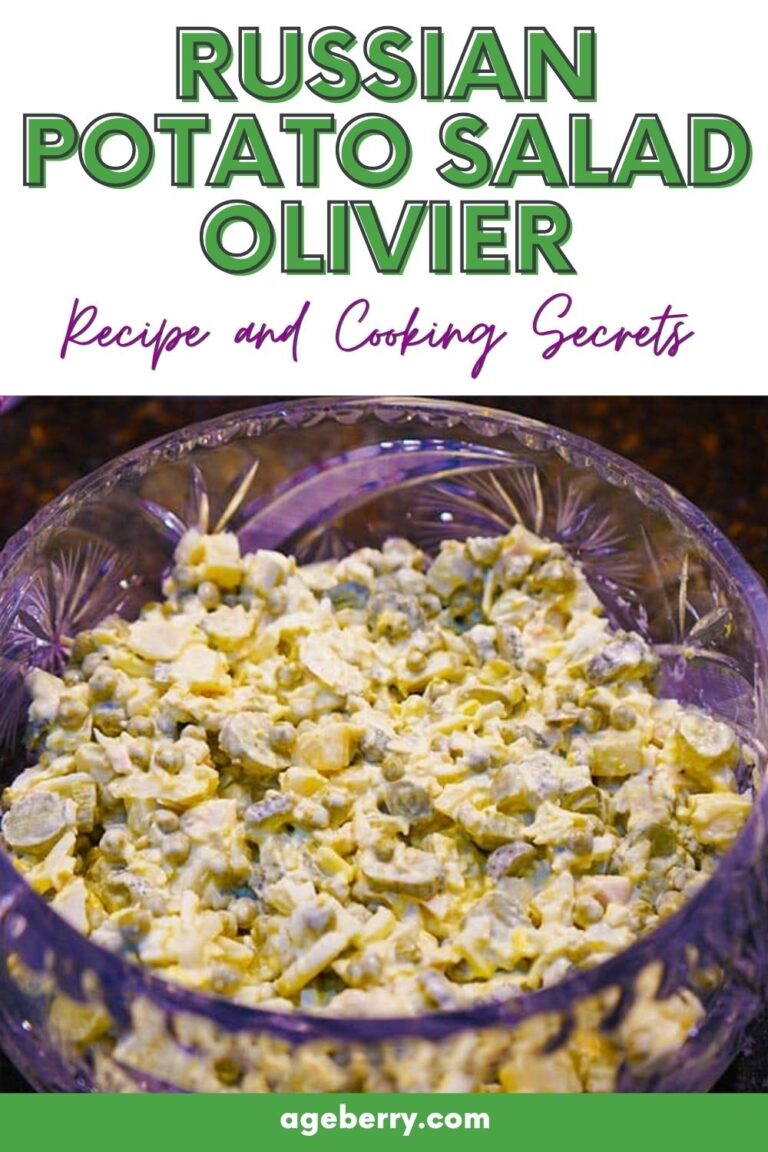
✅ Related post: Russian potato salad Olivier (aka Olivye) – recipe and cooking secrets
How to make Russian meat patties Kotleti
Step 1
Place ground beef and ground pork in a big bowl. The bowl needs to be large enough to take all ingredients.
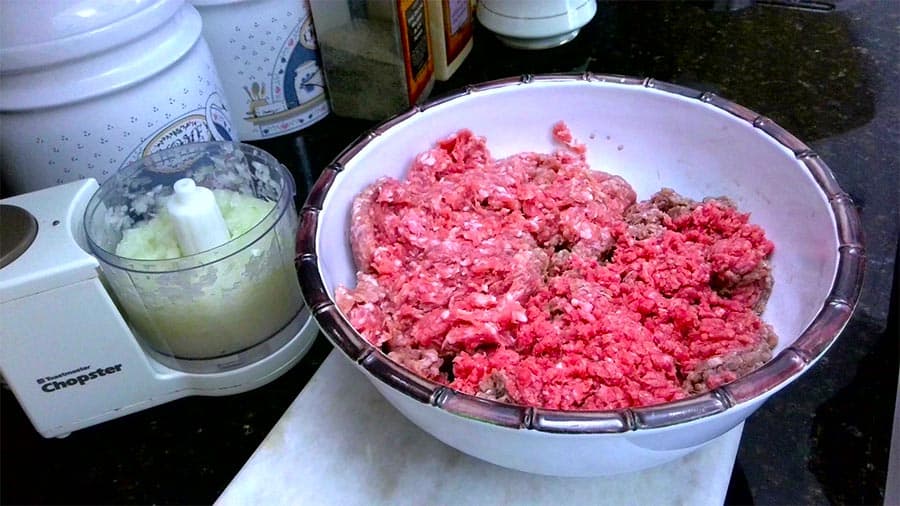
Cut the onion – just a few small pieces to put in a chopper. Use a chopper to cut the onion very finely.
Add the cut onion to the meat.
Step 2
Add to the bowl – breadcrumbs, Vegeta, salt, pepper, beef stock, and grated cheese.
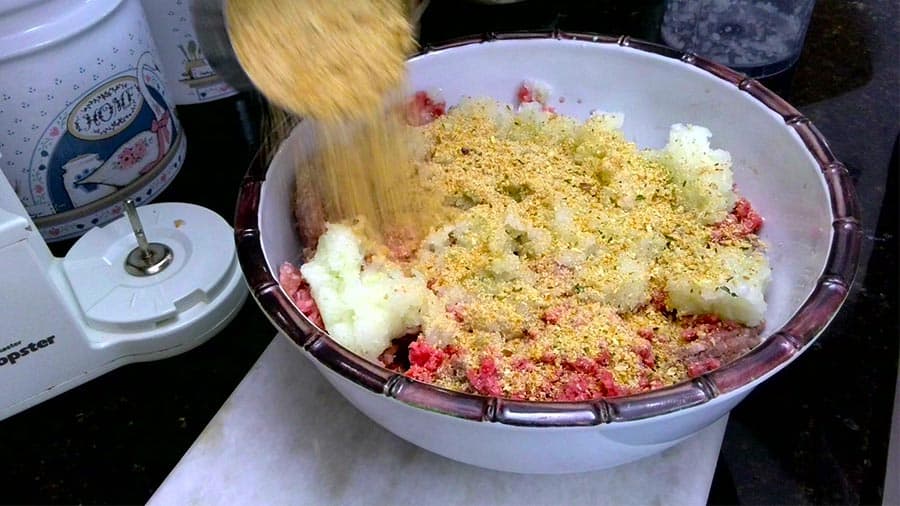
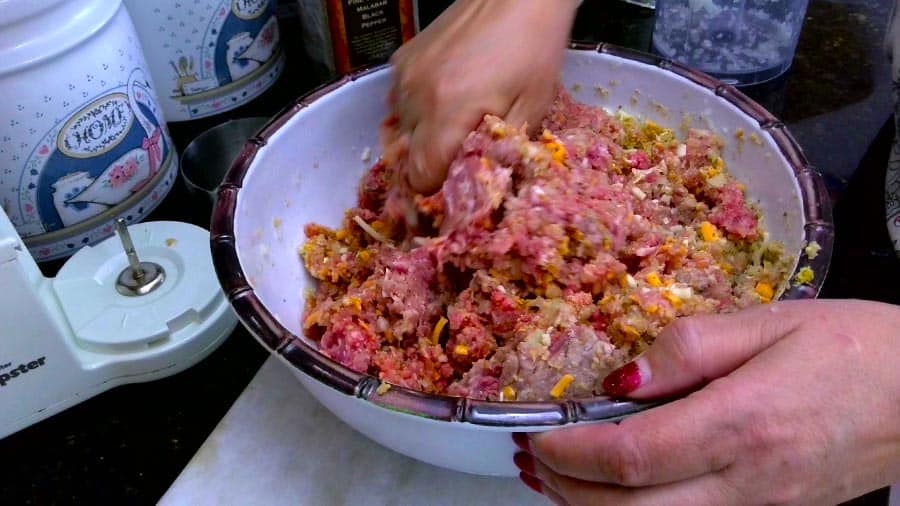
Mix everything in the bowl.
You don’t have to use the full cup of liquid from the beginning, you can add three quarters for example, and see how easy it is to mix. If the mix is not mixing easily, add all the liquid. But be careful here, the resulting mixture must not leak any liquid or “flow”; it has to be solid. When you shape a ball from it and leave the ball on the counter, the ball will maintain its shape.

I usually mix everything by hand; a habit I guess. There is nothing that says you can not use a mixer like the one in the image here (the kind that is used to mix the dough, not an egg beater), if that is what you prefer.
Step 3
Fry one meatball in a very small pan to test the taste so you can check if you have enough salt in the mixture.
For this make a meatball about 2-3” (5-7cm) in diameter, perhaps slightly larger. Flatten it by hand until the flattened ball is about ¾” thick; it will be slightly thicker in the middle but try to make it as flat as possible, same thickness all over.
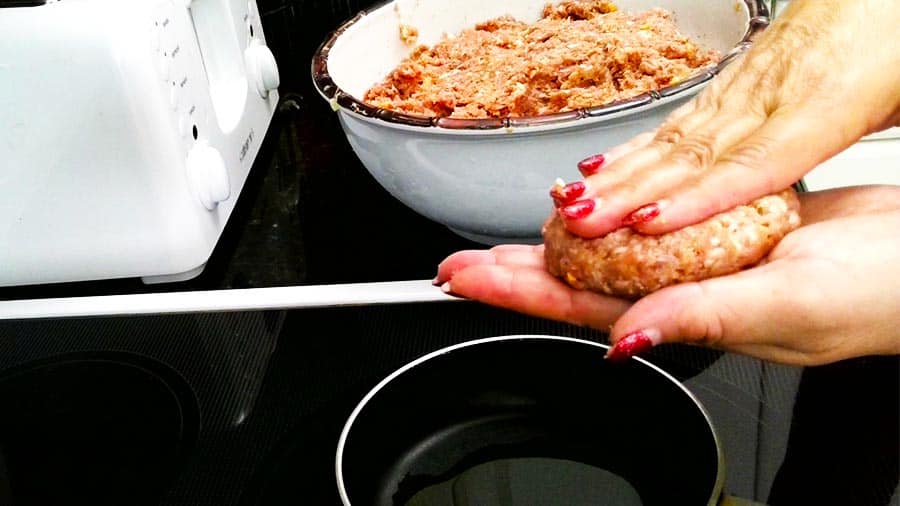

Place one spoonful of oil in a small frying pan (5”) and heat it up. When the oil is hot (it sizzles when you put the meatball in), place the meatball there and fry on high heat for 2 minutes on each side.
Then turn the heat to low and cover the pan, then cook on low heat for another 8-12 minutes, 4-6 minutes on each side. Look at the meatball, if it does look like it burns, lower the heat and turn it over.
The initial high heat will lock in the juices of the meat and the actual internal cooking will take place during the longer low heat phase.
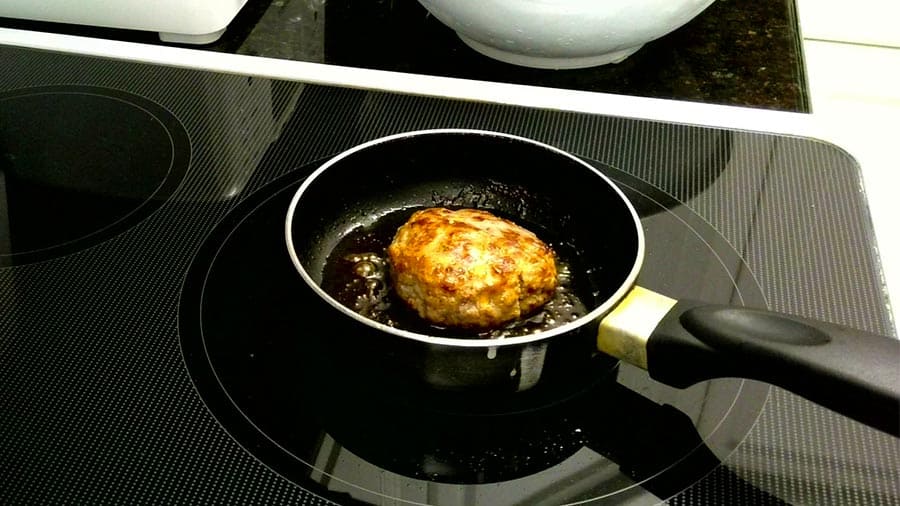
After about 12 minutes of slow cooking the meat is ready; break the meatball in half, there should be no pink spots or raw-looking spots inside. If there are, back to cooking it goes.
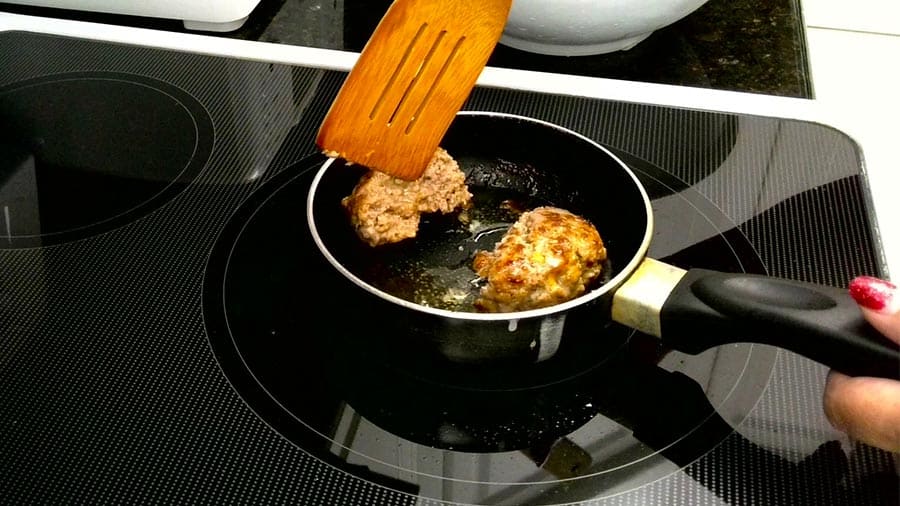
BEWARE: pork meat must be cooked thoroughly, it’s very dangerous to eat partially cooked pork meat. If you have any doubt, err on the side of caution and cook the meat patty some more.
When the Kotleta is done, set it aside to cool down (hot things taste differently) and in a couple of minutes when still warm but not hot, taste it. The purpose of this exercise is to tell us if we need more spices (but mostly salt) and if we do, now is the time to add them to the mixture, and give it a final mix.
We are now ready to cook the remaining mixture.
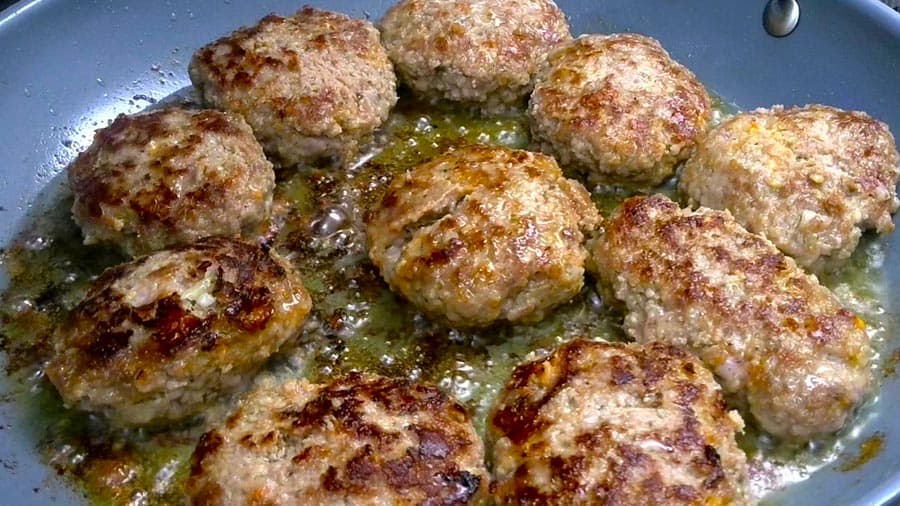
Step 4 – Frying the Russian-style meat patties kotleti
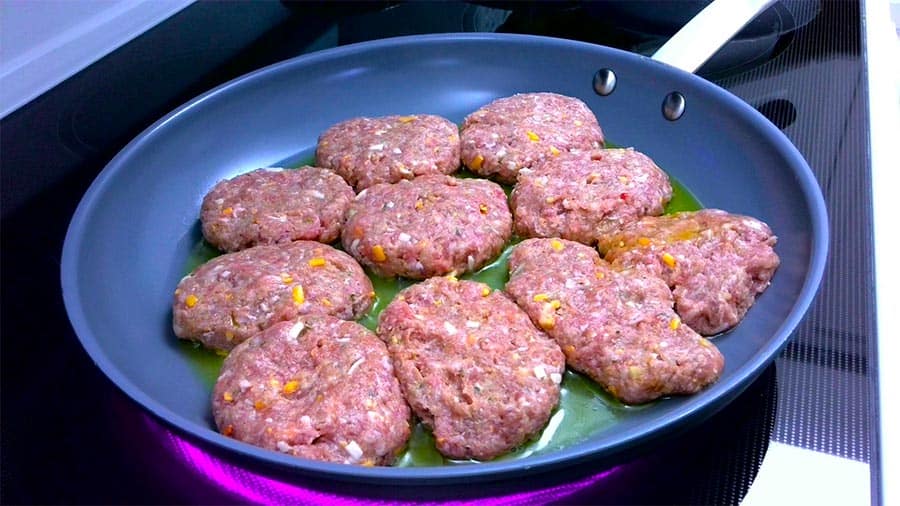
Prepare a number of flattened meatballs and place them on a plate or flat surface; they will not stick to the hand nor to the plate, and they will slide easily. It is good to have them already prepared before placing them in the pan to fry, otherwise, they will cook differently.
Use a larger frying pan, in my case I used a 12” pan which accommodates easily 10 to 14 meat patties Kotleti.
Put oil on the pan, heat it and repeat the cooking procedure from above: place in it as many flattened meatballs as will fit, without overlapping, then fry them for 2 minutes on each side (flip after 2 minutes), high heat.
Then cover, and cook for another 12 minutes, 6 on each side. Make sure the meatballs are neither burned, nor undercooked; now we know better how long to cook, after the trial, but still the two pans are not identical so there might be differences in cooking time.
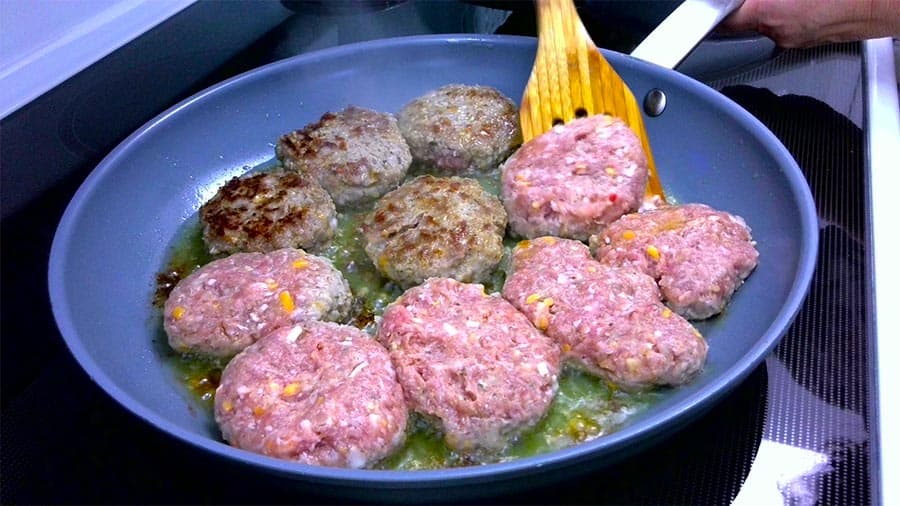
After the frying is done the remaining liquid in the pan contains most of the oil and some fat from the meat; almost nothing was absorbed by the meatballs while frying since there was not so much, to begin with.
For this particular batch, I used olive oil; the aroma around the kitchen was something difficult to resist!
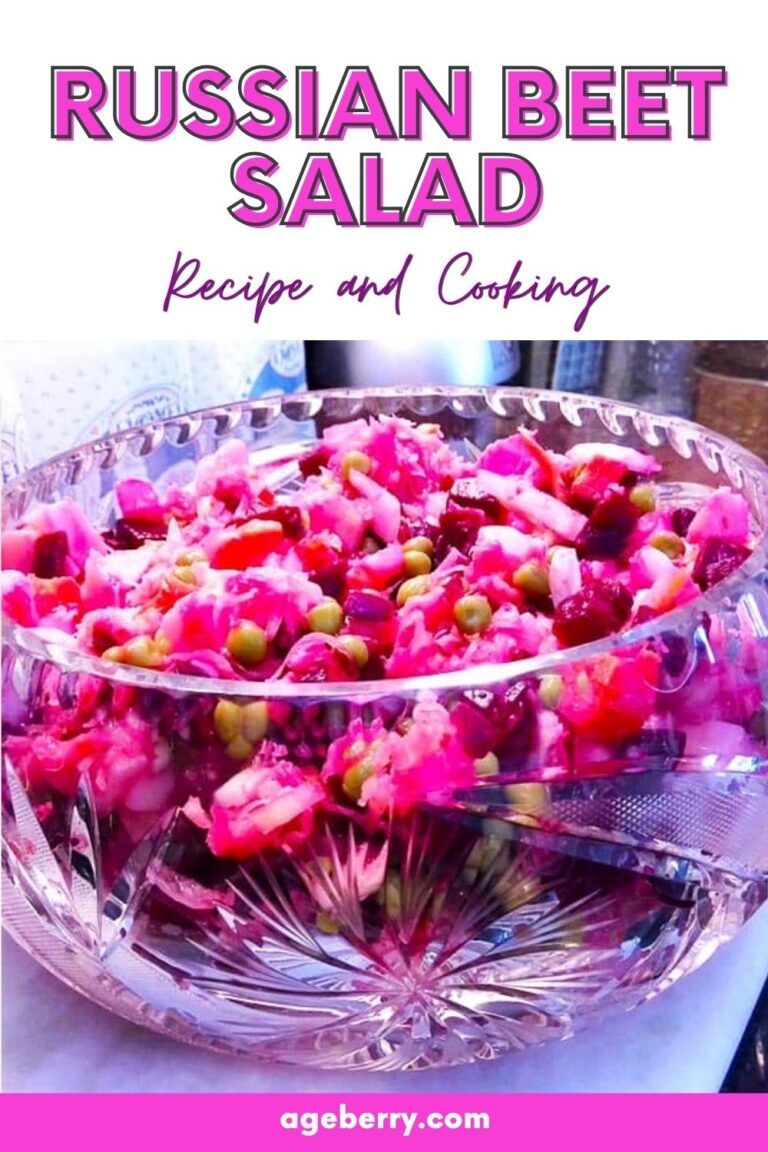
✅ Related post: Russian Beet Salad {vinaigrette, Russian vinegret}
Step 5. Eating!
No need for any how-to here, is it?
Serving the Russian meat patties kotleti
The best way to eat the meatballs is when they are fresh from the frying pan. Place them on a plate, allow them to cool down a couple of minutes, and serve while still warm with your favorite side – be it mashed potatoes (with or without gravy), a house salad, home fries, or some rice pilaf with vegetables, or even some pasta with your choice of sauce, or some sauteed beans – the possibilities are endless.

Do you know what an excellent side dish is for our meatballs? The Russian vinaigrette, which I presented before. It looks excellent, and it tastes very good. Unfortunately, that vinaigrette dish has a huge issue in my home: it does not last! So by the time I was ready with the meatballs, the vinaigrette was only a memory.
The meatballs served fresh are very juicy, you will be literally able to see the juices inside the meat when you break it. A regular burger becomes dry immediately after it gets cold; these Russian meat patties Kotleti do not. Partly because of the addition of liquid, partly because it’s a bit thicker than a regular burger (about twice as thick in the end), the Kotleti don’t lose their juiciness immediately and they can be stored in the fridge and reheated easily. I don’t recommend reheating it repeatedly, it really loses taste, but once it’s ok.
A very frequent companion for the meatballs so prepared is the hot mustard. In Russia (and in fact the whole of Central and Eastern Europe) the mustard prepared with hot horseradish is very common, and it goes very, very well with these meatballs.
Another way of eating the Kotleti is as a snack, between two pieces of bread. Cut a Kotleta in half with a sharp knife, smear two pieces of bread (it can be from the toaster) with hot mustard, place the halves of Kotleti inside, and cover with the second piece of bread (up to you if you want again mustard), and voila! A quick sandwich. You can add a thin slice of cheese, in Russia they would use aged cheese (Gouda, Swiss, whatever you have), in Romania they would use mostly feta cheese, but it tasted good both ways, believe me.
You can also make smaller meatballs, and if they are small (1”, or 2.5cm in diameter) you don’t really need to flatten them to cook well. If you prepare them like this, you can stick a toothpick in them and present them as standalone snacks, or topped with a piece of pickled cucumber, pickled mushroom, or half of an olive. It makes a very interesting party platter. But I do recommend serve separately the hot mustard for anyone who wishes to taste it.
The serving size for me is one to two Kotleti which translates into about 4oz (120g); one meatball is about 2oz (60g). For someone who does a lot of physical work, or a younger person, two times that amount is not really exaggerated, especially since you will add the side dish to your meal.
There is no wrong way of eating these!
Remember: everything tastes better IN MODERATION.
Final remarks
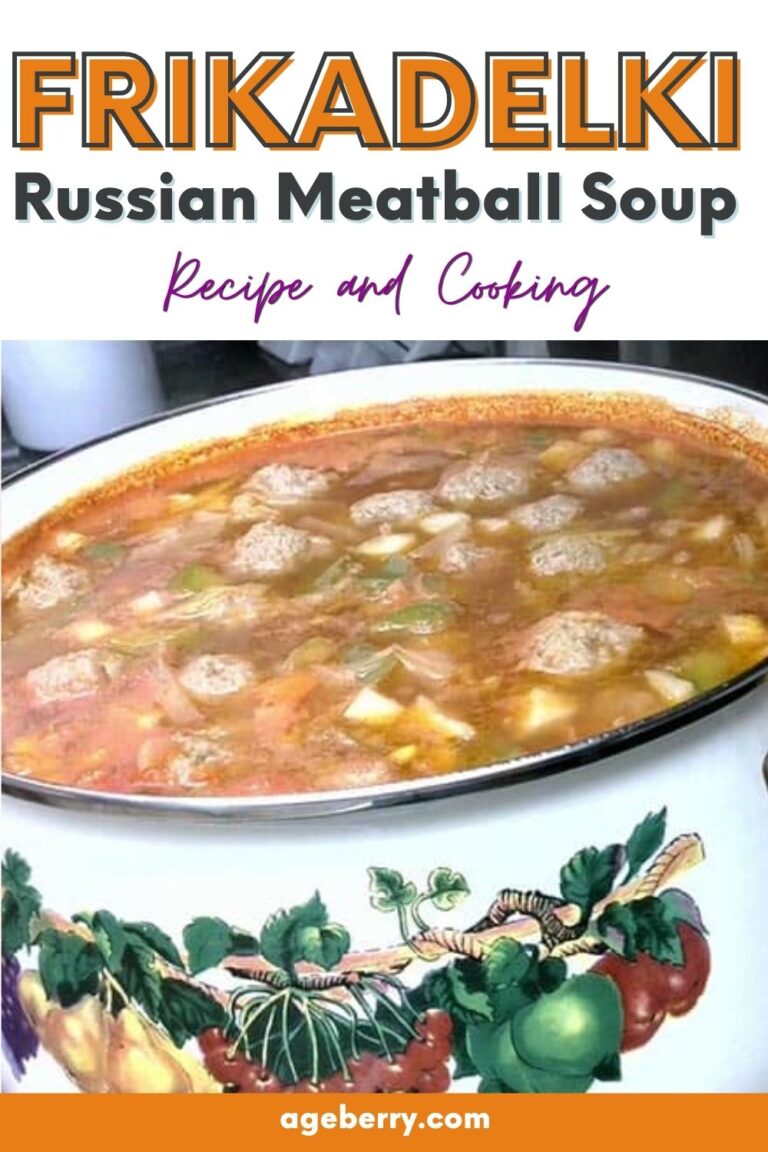
When preparing the meat for Kotleti I always prepare more than I intend to fry. Why? Because the meat so prepared, with a very small addition, can be used to make the so-called Frikadelki (in Romanian perișoare) which are the base for a kind of soup that is also very popular in Eastern Europe and Russia. And of course, I can vouch for it: it is also very tasty! But more about that soup in a future article.
For now, it’s enough to note that after I mixed the final spices, I set aside about ⅓ of the composition and I freeze it for later use.
Of course, you can freeze it, or leave it in the fridge for one day, in order to fry more the next day, so the Russian meat patties Kotleti will be fresh.
Up to you.
Did you find this recipe helpful? If so, save this pin (see below) on your food board so you can come to this tutorial later when you are ready to cook the Russian meat patties Kotleti, and follow me on Pinterest for more tips, tutorials, and inspiration!
latest posts
- What Do You Call a Person Who Sews? I Asked My Readers and Got 1,408 Opinions
- DIY Round Purse: PDF Sewing Pattern and Detailed Instructions
- Mini Wonder Clips By Clover: Useful Sewing Tool Or Just Another Notion?
- Non-Slip Grips For Quilting Rulers: A Small Notion With A Useful Job
- Fabric Eraser for Sewing: What It Removes and When to Use It
- What Is The Best Thread For Sewing Machine Projects? Let’s Find Out!
- Butterfly Quilt Block Tutorial – Foundation Paper Piecing
- How To Sew Quilt Squares So The Corners Match
- Sewing With Fork Pins: How They Help With Pattern Matching, Slippery Fabric, And Seams