
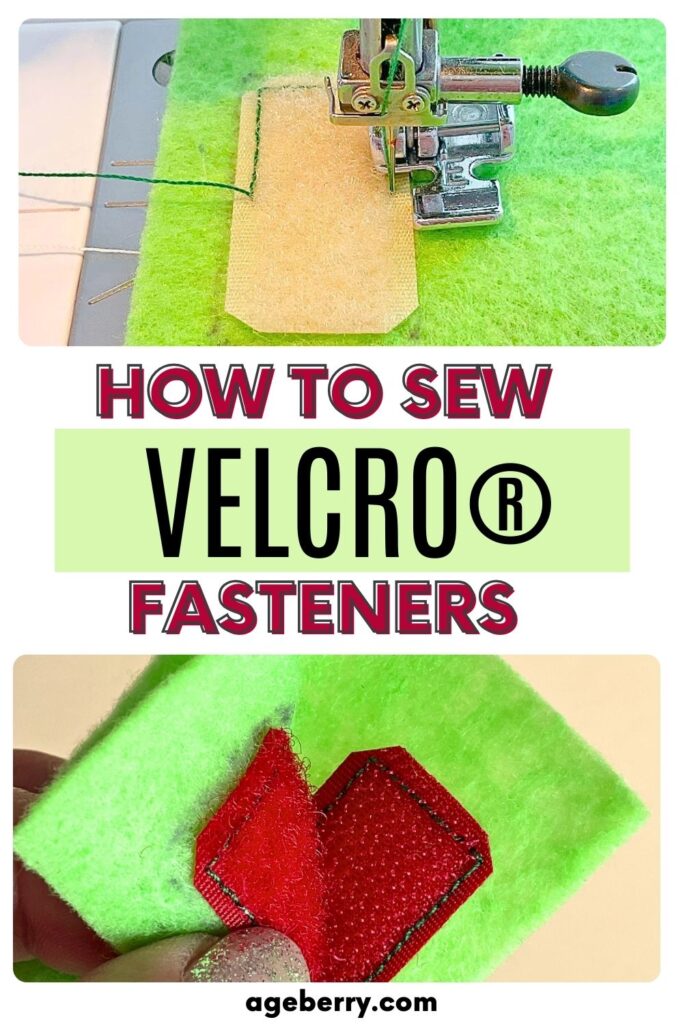
How to Sew VELCRO® the Right Way: 23 Tips That Actually Work
In this guide, I want to share 23 practical tips on how to sew VELCRO®. Wondering why it’s in all capital letters? That’s because VELCRO® is a brand name—it’s the original hook-and-loop fastener created decades ago, and it’s still widely used today.
Over time, many people have come to use “Velcro” as a general term for all hook-and-loop fasteners. But technically, VELCRO® Brand refers to products made by the official company. There are also many generic versions available. In this tutorial, when I say VELCRO®, I’m using the actual brand name. If I refer to other versions, I’ll simply call them hook-and-loop fasteners.
VELCRO® Brand fasteners behave differently from the fabrics you’re used to. They’re thick, textured, and can challenge even a well-tuned sewing machine. This guide includes 23 helpful tips to sew these fasteners more easily—whether you’re adding them to garments, bags, accessories, or kids’ projects. From choosing the right materials to stitching and finishing, I’ll walk you through what works best and what to avoid.
Section 1. Choosing the Right Fastener
#1. Choose the Right Type of VELCRO® Brand Fasteners for Your Project
Before you stitch a single line, take a moment to get familiar with the different types of VELCRO® available. Choosing the right type sets the tone for the rest of your project. If you start with the wrong one, you might find yourself frustrated with skipped stitches or bulky seams. A little planning here can save time and give you better results.
Here are the most common types you’ll come across.
Sew-On VELCRO® Brand Fastener
This is the go-to option for most sewing projects. It has no adhesive or heat-activated backing, which makes it ideal for machine stitching. There’s no risk of sticky residue on your needle, and it comes in several widths and colors. You can easily trim it to fit your design.
This type is soft and flexible enough for clothing, but strong enough for bags, soft books, and household items. It’s also washable and holds up well to repeated use.


Adhesive-Backed VELCRO® Brand Fasteners
Some VELCRO® Brand products are specially designed to stick directly to fabric without sewing. Two popular options are VELCRO® Brand Sleek & Thin™ Stick On Tape and VELCRO® Brand Sticky Back for Fabrics. These products feature a peel-and-stick adhesive that works well even on lightweight and delicate fabrics.


They’re soft, flexible, and designed to feel comfortable against the skin. These adhesive fasteners create a strong bond and can even withstand washing and tumble drying on low heat.
However, these products are intended for no-sew applications. You should not sew by machine through adhesive-backed fasteners. The adhesive can gum up your needle, cause skipped stitches, and leave residue in your machine. If you’re working on a project that requires stitching, stick with the sew-on versions instead.
Iron-On VELCRO®
It has a heat-activated backing and can be fused to fabric with an iron. It saves time and doesn’t require stitching, but it’s probably less secure than sewing and may not hold up with heavy use or frequent laundering.

VELCRO® Strips
Strips are available in rolls or pre-cut pieces. They are versatile and easy to use. You can cut them to any length. Use them in garments, home décor, and craft projects.

VELCRO® Dots, Ovals, and Squares
These pre-cut shapes are ideal for quick fixes or small projects. They come in an adhesive version. They’re handy for pockets, closures on small accessories, or doll clothes.

VELCRO® Brand vs. Generic Hook-and-Loop Fasteners
While VELCRO® Brand is the original and most recognized name, many generic versions of hook-and-loop fasteners are available on the market.
Generic options are often more affordable and come in similar forms—such as sew-on, adhesive-backed, and iron-on. They can be used just as effectively for most sewing and craft projects. Choose the version that fits your budget and your project needs. Both branded and unbranded types can work well, depending on your preferences.


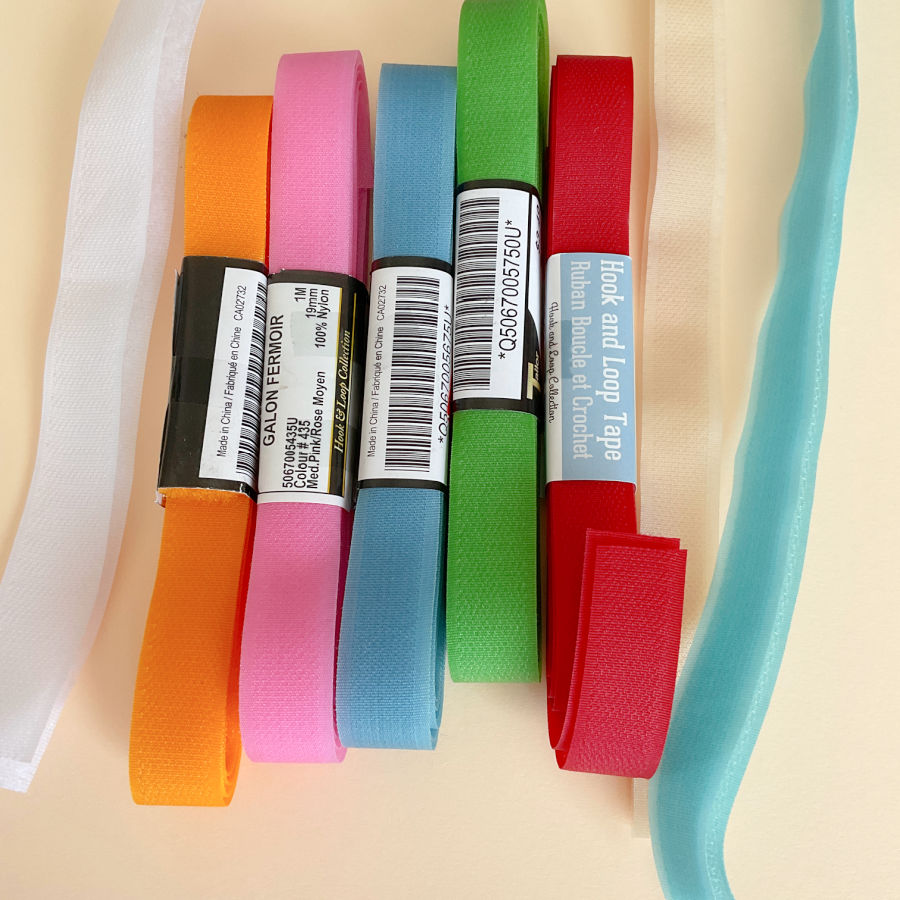
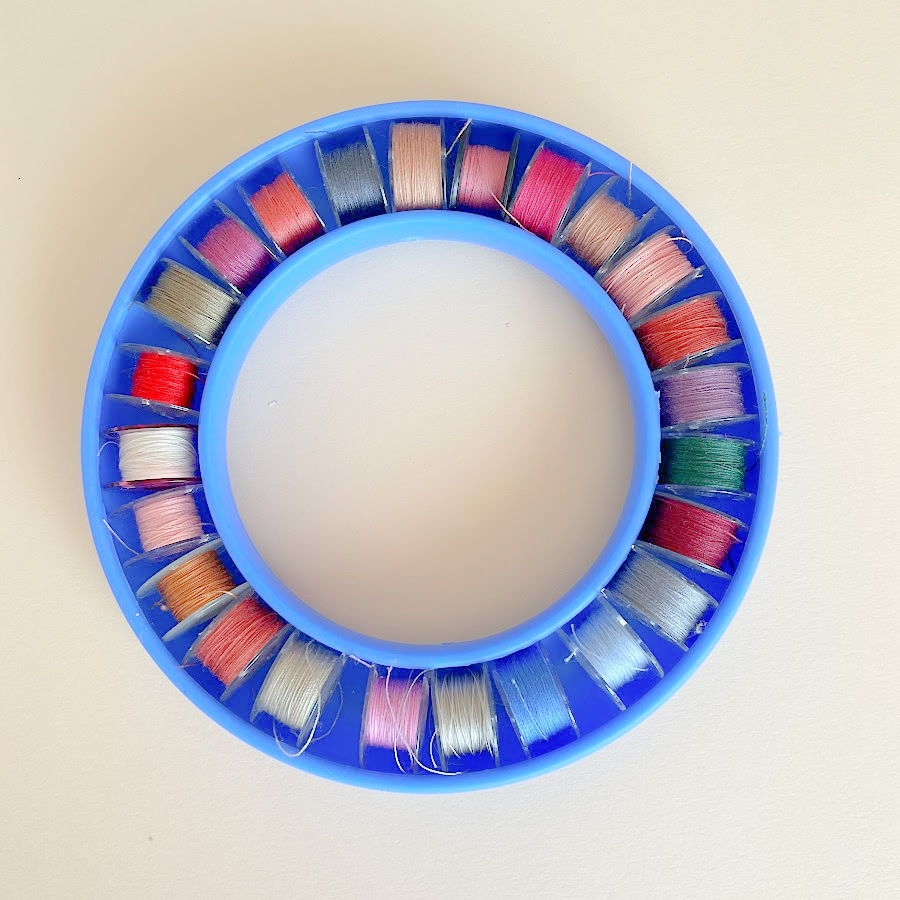
Different Colors of Hook-and-Loop Fasteners
Hook-and-loop fasteners are not just black or white anymore. You can find it in a variety of colors to blend with your fabric or add a playful contrast.

#2. Choose a Fastener Weight That Matches Your Fabric
Hook-and-loop fasteners come in different thicknesses. Lightweight VELCRO® (called Sleek and Thin for Fabrics) is softer, more flexible, and easier to sew onto delicate fabrics like cotton, tulle, or quilting-weight materials. It lays flatter and creates less bulk in seams.

Heavier VELCRO® is thicker and stiffer. It works better for sturdier fabrics like denim, canvas, or upholstery materials. This type is ideal when you need a strong hold – on bags, outerwear, or storage accessories.
If the fastener feels too bulky for your fabric, it can cause puckering or break your thread. A good rule is to match the feel and flexibility of the VELCRO® to the fabric it will be attached to.
#3. Select Fastener Colors That Work With Your Project
Hook-and-loop fasteners are available in more than just black and white. You can find it in a variety of colors, which opens up design possibilities beyond just function.
If you want the fastener to blend in, choose a color that matches your fabric. This works well for garments or projects where you want the closure to stay out of sight. On the other hand, using a contrasting color can make the fastener a design feature. This is a fun approach for children’s clothing, bold accessories, or playful home items.
There’s no right or wrong here. It depends on your project and your style.
Section 2. Preparing Your Materials
#4. Mark Placement Clearly
Accurate placement is key when sewing VELCRO® Brand fasteners. Each side of the hook-and-loop pair must line up properly when the closure is fastened. If they don’t, the closure won’t hold evenly or might feel bulky in the wrong spot.
✅Related tutorial: 15 Creative Ways to Mark Fabric for Sewing Projects
Use a fabric marker or chalk to mark the position for both sides. Here’s a simple way to get it right:
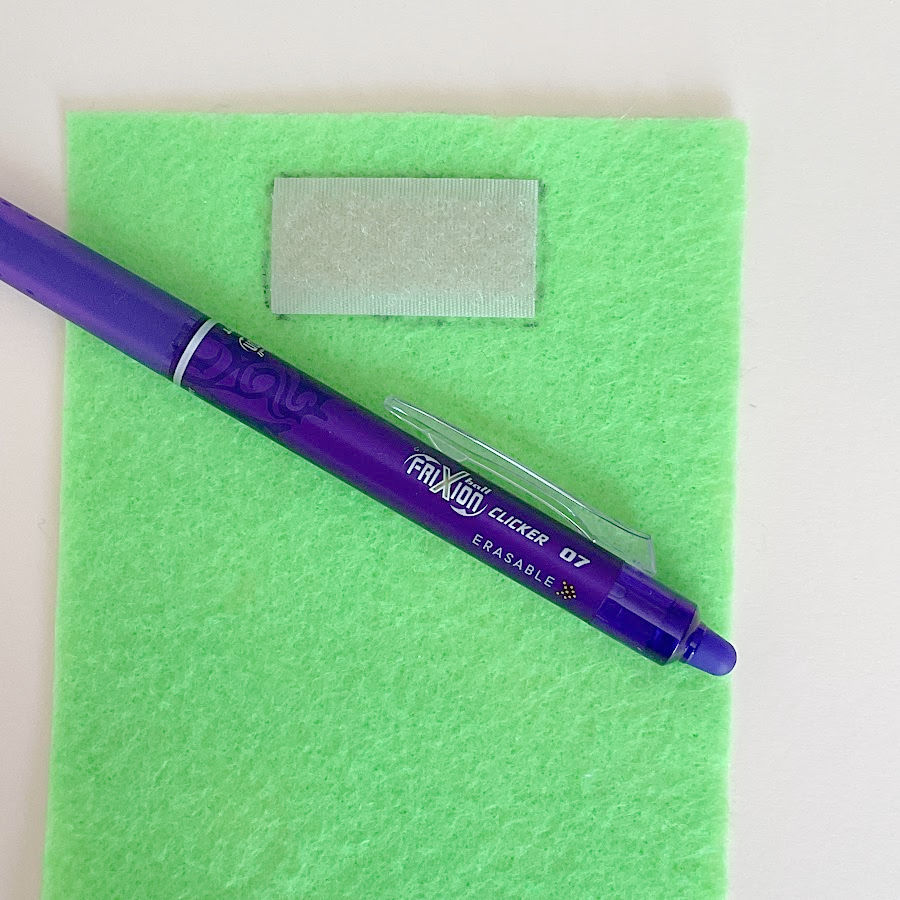
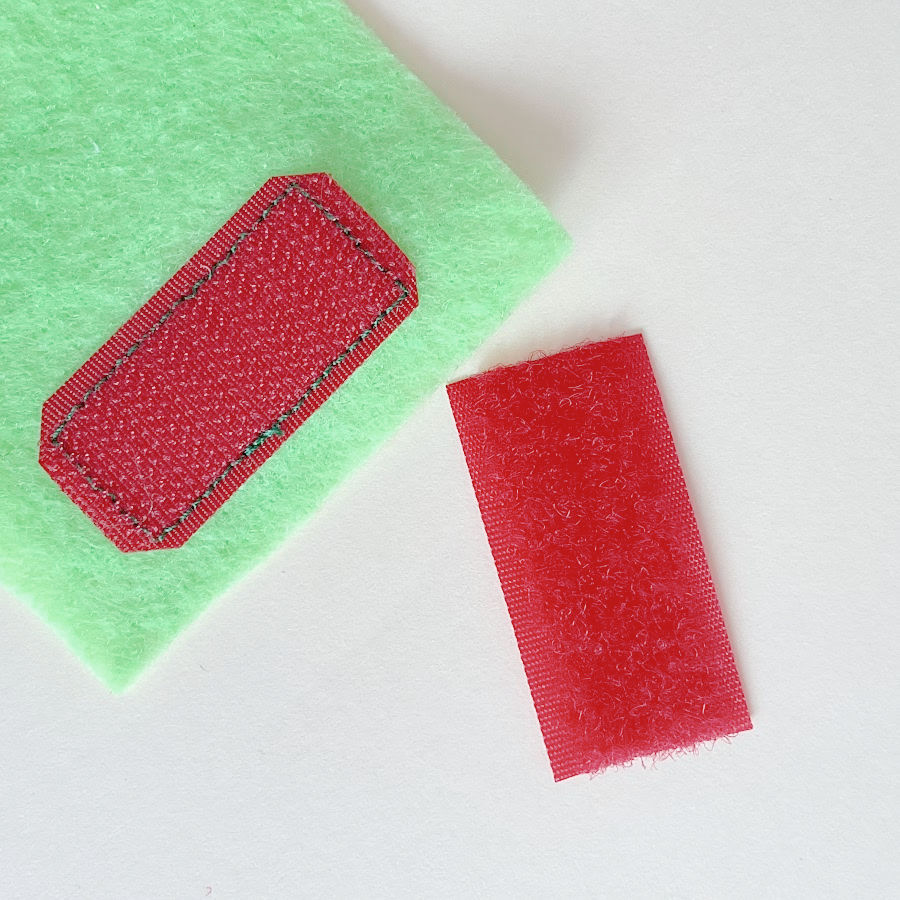
- Begin by positioning and securing the loop side (the soft side) onto your fabric. This side usually faces the body in garments and often sits on the outer flap in bags or accessories. I usually use a Frixion pen for marking fabric. It’s heat-erasable, so the lines disappear with a warm iron.
- Once the loop side is marked, press the hook side (the scratchy side) onto the loop side so the two pieces are fastened together.
- With both sides fastened together, fold or close the fabric the way it will be used—for example, close the bag flap, overlap the garment edges, or press the corners together on a soft book page. Let the fabric fall naturally into place so there’s no pulling or distortion.
- Once the fabric is closed and everything is aligned, open the fastener and unfold the fabric keeping the hook side attached. Use a fabric marker to trace around the hook side directly on the fabric.
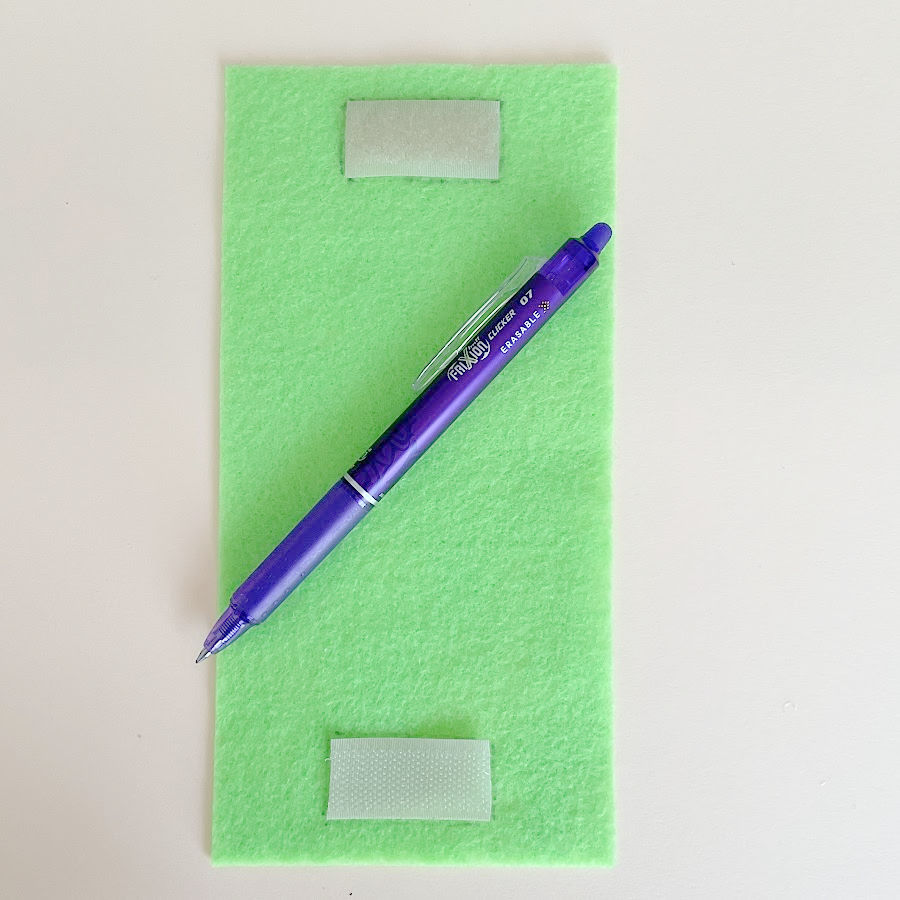
- Now, you can place the hook side exactly where you marked and sew it down. This ensures both sides will meet up correctly when the fastener is in use.
#5. Cut the VELCRO® Fastener if Necessary
VELCRO® Brand fasteners come in various widths and shapes, but they don’t always match your project perfectly right out of the package. Sometimes you’ll need to trim the fastener to get the right fit.
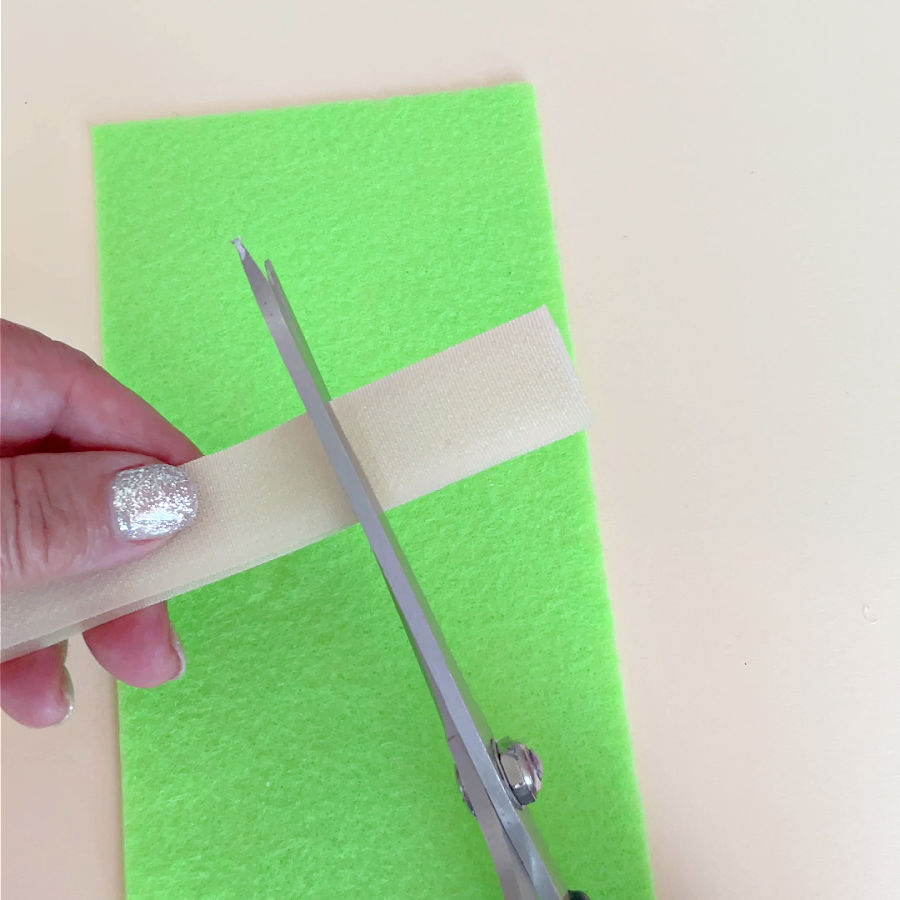
You might also want to round off the corners. This prevents the fastener from curling up at the edges and makes it more comfortable in wearables, especially around the neckline, cuffs, or children’s items.
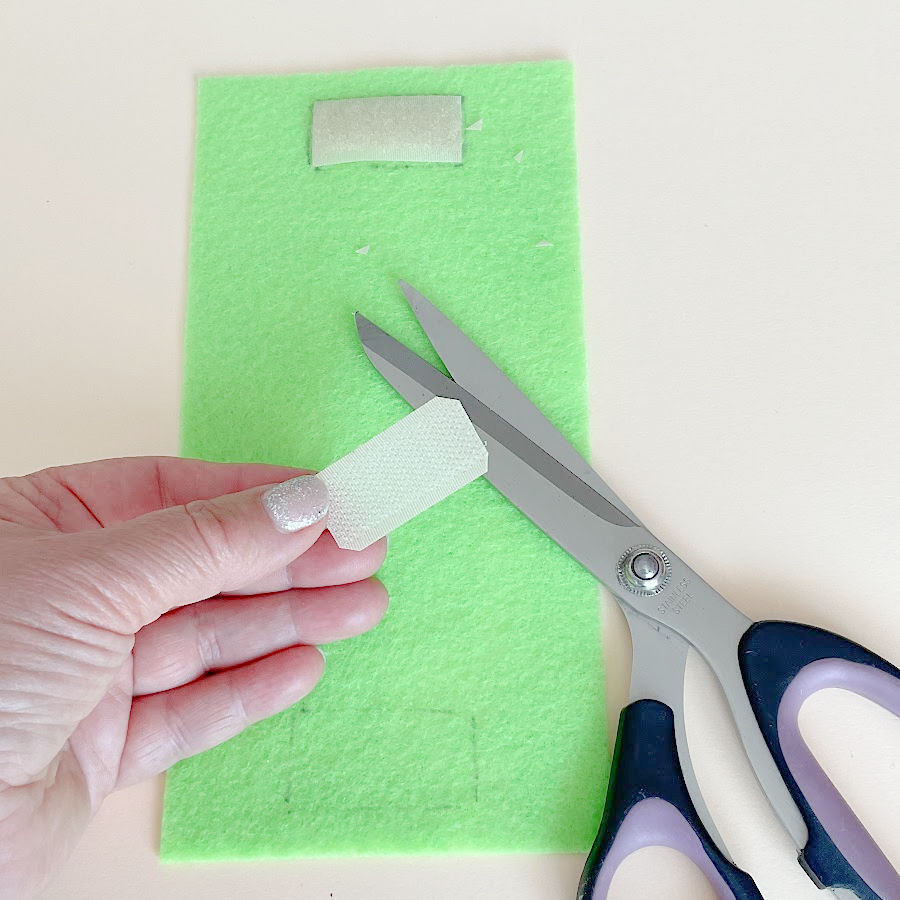
For small items like doll clothes, accessories, or soft books, you may need to cut the fastener into tiny pieces. Just be sure to use sharp scissors and cut cleanly to avoid fraying or rough edges.
Taking a few seconds to trim your fastener to the right size helps it blend into your design and function better long term.
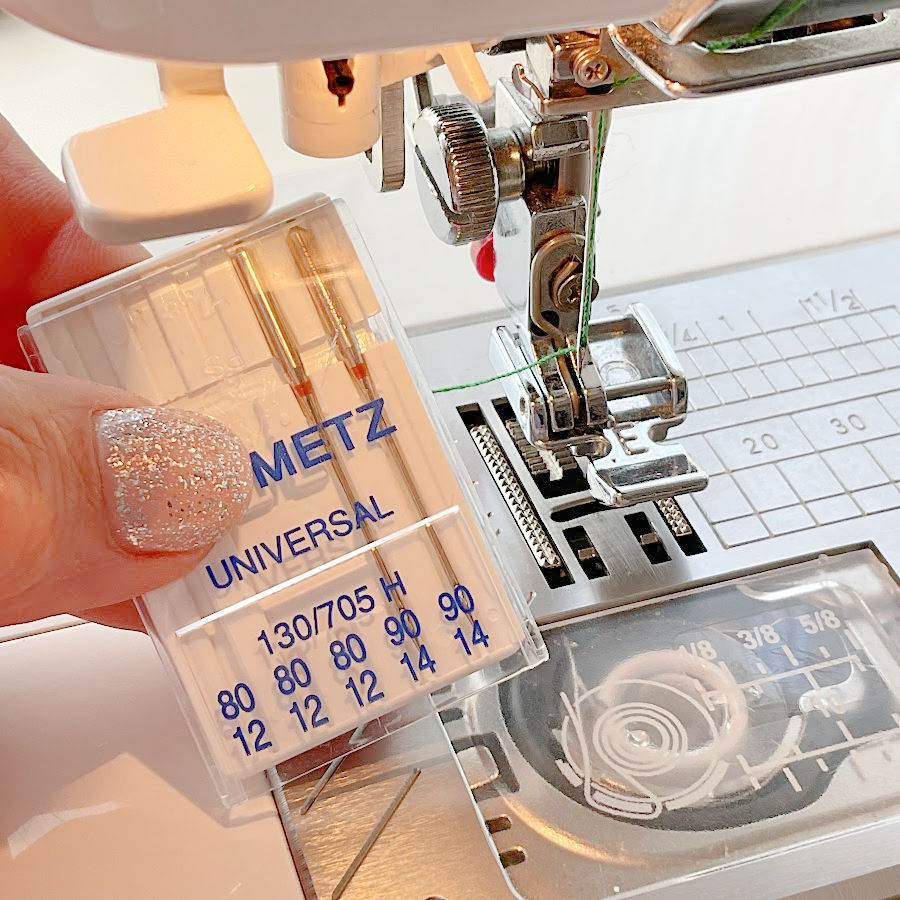
#6. Get a Strong Needle
Hook-and-loop fasteners are thicker and denser than most fabrics. A standard needle can bend, break, or skip stitches when trying to punch through the stiff hook side. I usually use a heavier Universal needle size 90/14 or 100/16 or even a jeans needle for tougher projects.
✅ Related tutorial: 19 Types of Sewing Machine Needles and What They’re Used For
These needles are sharper and stronger. They help pierce through both the fastener and your fabric layers without damage to the machine or frustration to you.
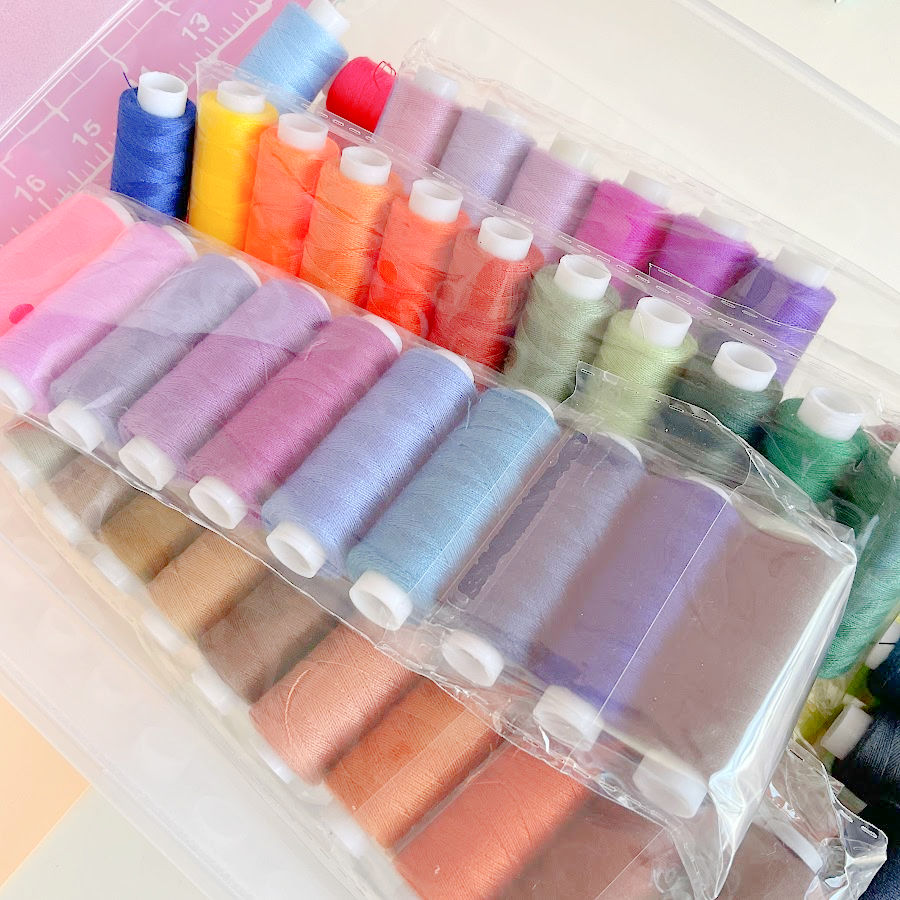
#7. Get Strong Thread
Sewing VELCRO® Brand fasteners puts extra stress on the stitching line, especially when the fastener is pulled open and closed many times. A weak thread may snap or fray, which can cause the fastener to come loose from the fabric.
✅ Related tutorial: What Is The Best Thread For Sewing Machine Projects? Let’s Find Out!
Choose a strong polyester thread instead of cotton. Polyester thread has more give and better durability. It handles repeated wear and holds up well under tension, which is exactly what a hook-and-loop closure needs.
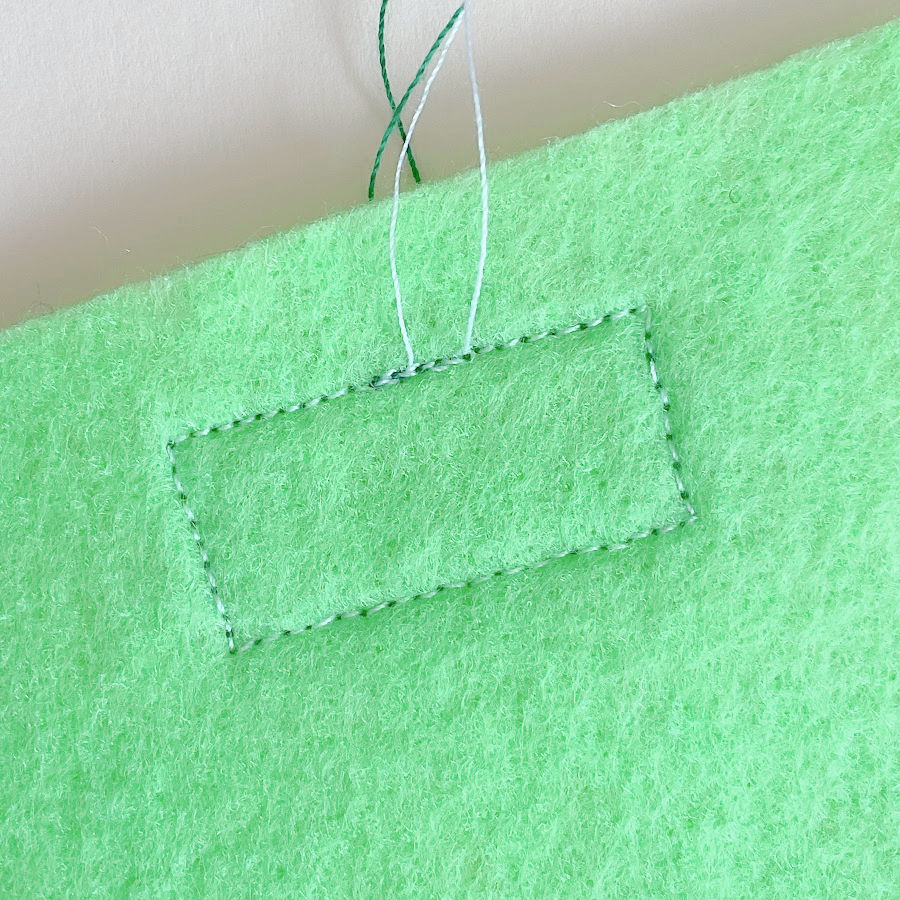
#8. Choose the Proper Thread Color
Thread color might seem like a small detail, but it’s important for the finished look of your project. When sewing VELCRO® Brand fasteners, consider how visible your stitching will be—on both the fastener and the fabric.
If your fastener is stitched on top of the fabric where both sides are seen, try using two different thread colors:
- Match the needle thread (top thread) to the fastener.
- Match the bobbin thread to the fabric.
This helps the stitching blend in with both layers.
✅ Related tutorial: Top Bobbin Thread Holders and Organizers
Section 3. Stabilizing Before Sewing
Before stitching VELCRO® Brand fasteners to your fabric, it helps to secure them in place. These fasteners can shift, curl, or stretch your fabric during sewing, especially when sewing the thicker hook side. Stabilizing them before you sew can make your stitching more accurate.
Here are several ways to keep your fastener where it belongs.
#9. Use Pins for Lightweight Fasteners
If you’re sewing a thinner or more flexible hook-and-loop fastener, standard sewing pins can do the job.
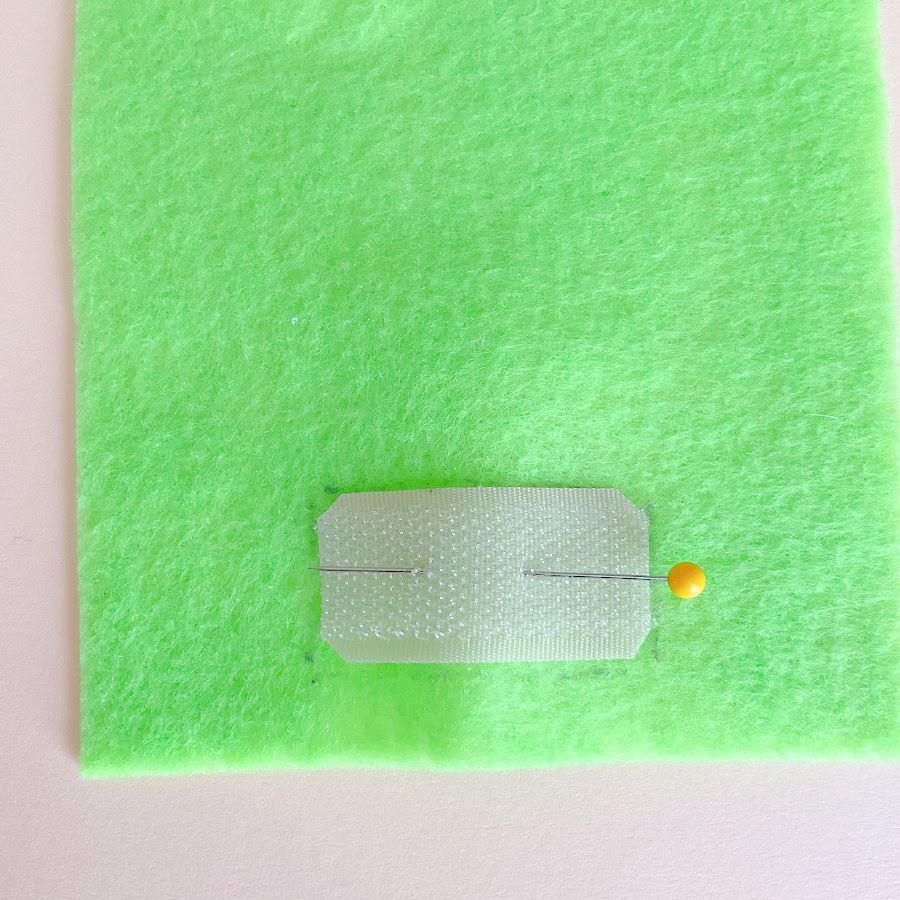
However, avoid using pins on heavier fasteners. They can be difficult to push through the thickness and pins can bend.
✅ Related tutorial: Types of sewing pins and their uses: all you need to know about straight pins for sewing
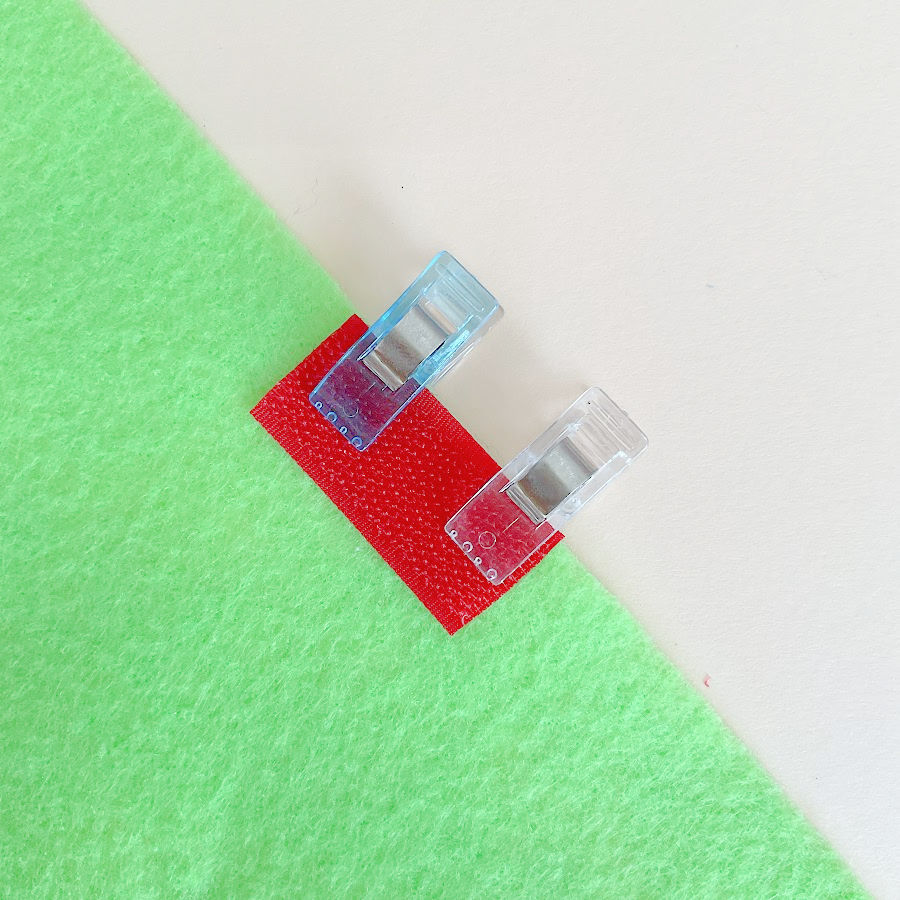
#10. Use Sewing Clips at the Edge
When you’re attaching a fastener near an edge, clips can be more effective than pins. Clips hold the fastener securely without shifting, and there’s no risk of warping the fastener or distorting your fabric. But you will need to take them out before sewing – and then the pieces may shift.
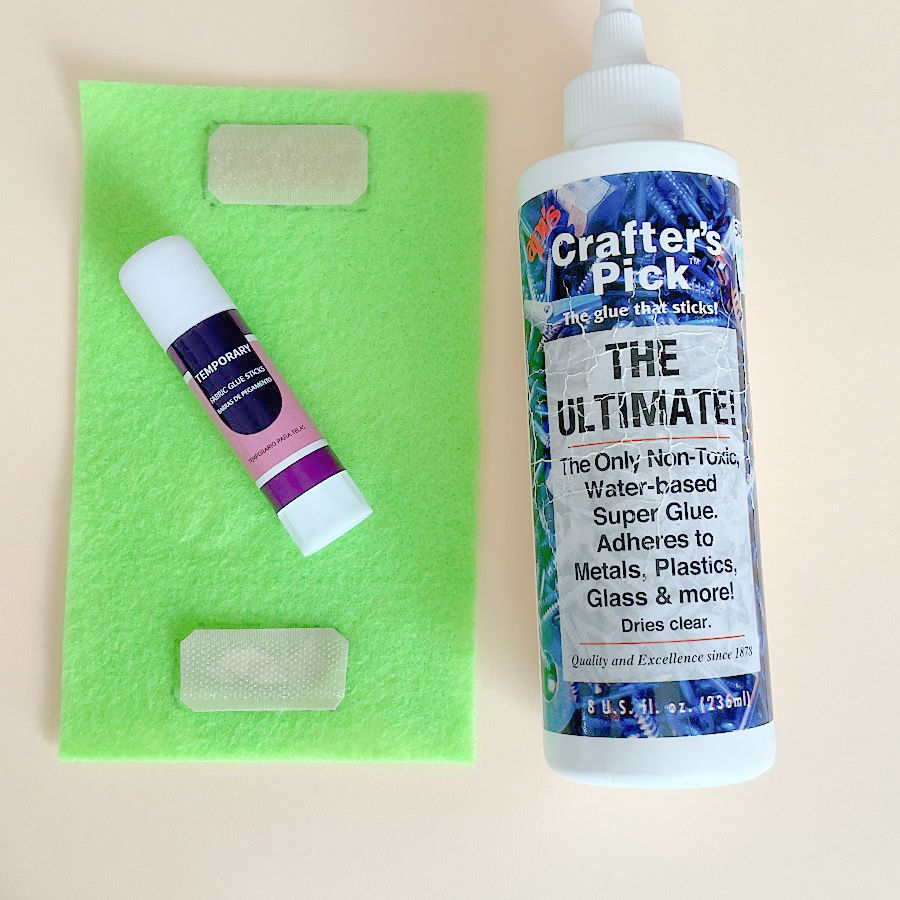
#11. Use Fabric Glue
Try a Fabric Glue Stick
I prefer using a fabric glue stick to secure the fasteners. A washable fabric glue stick is a low-mess option that holds your fastener in place long enough to sew. Lightly apply glue to the back of the fastener—but avoid the edges. Keeping glue away from the stitching line helps prevent your needle from picking up sticky residue.

Use a Drop of Washable Liquid Fabric Glue
A small dot of liquid fabric glue works too, especially if the fastener is being placed in the middle of a panel rather than on an edge. As with glue sticks, avoid the outer areas where your needle will pass through.
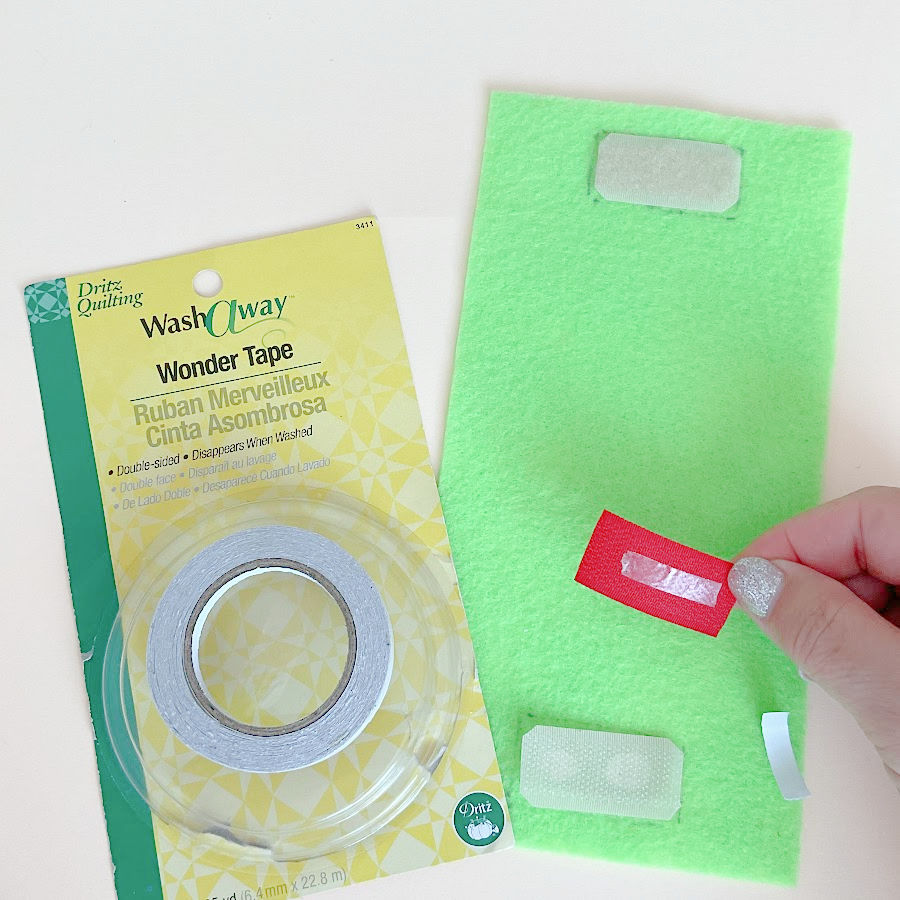
#12. Use Double-Sided Wonder Tape
This is a sew-through tape that temporarily holds fasteners in place. Wonder Tape won’t gum up your needle, and it washes away after the first rinse. It’s a reliable alternative when clips or pins aren’t ideal.
Section 4. Sewing Machine Tips
Sewing through VELCRO® Brand fasteners takes a little more planning than stitching regular fabric. The added thickness, especially on the hook side, can challenge your machine if you’re not prepared.
#13. Stitch Settings
Use a straight stitch (most of the time) when sewing VELCRO® Brand fasteners.
The right stitch length depends on the weight of your fastener and the fabric you’re attaching it to:
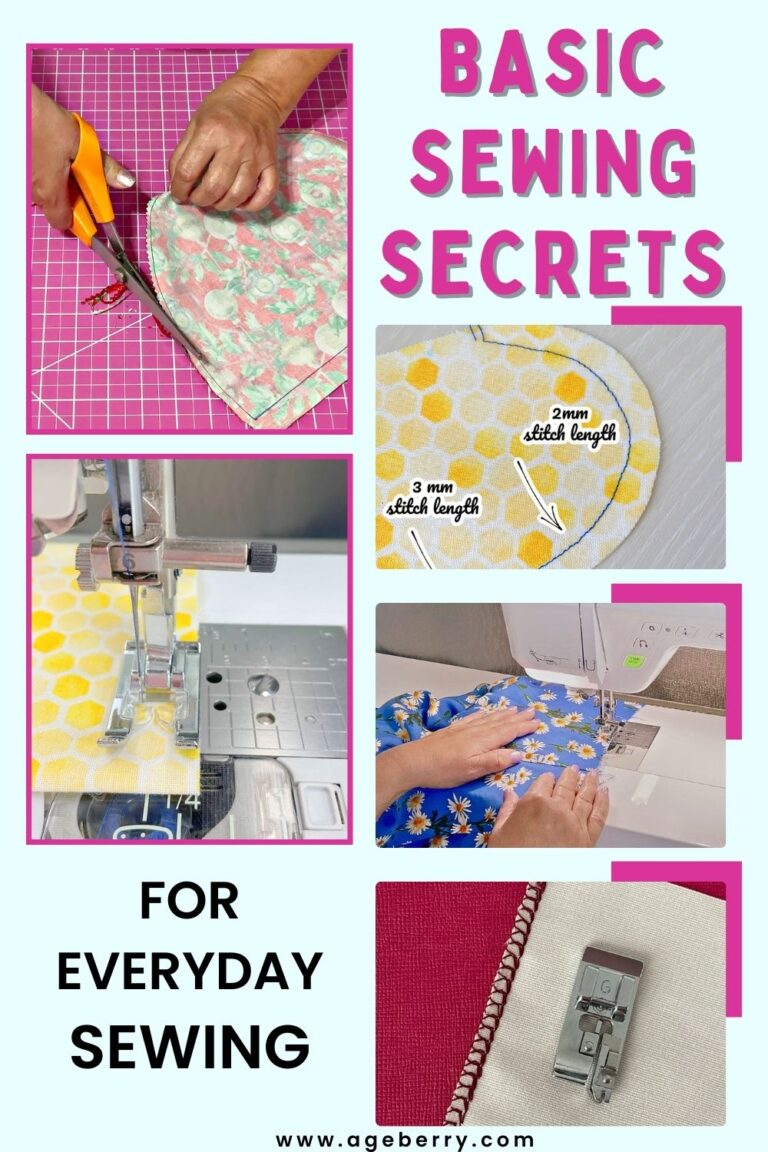
- For lightweight hook-and-loop fasteners, try shortening the stitch length slightly to 2.0 mm. This gives more control and helps the stitches hold onto thinner material more securely.
- For heavier fasteners, go with 2.5 mm stitch length. This helps your needle move through the bulk more smoothly and keeps the seam looking even.
There’s a balance to find. Short stitches can cause puckering and make it harder for the feed dogs to move the fabric. But if the stitches are too long, especially on bulky fasteners, you might get skipped stitches. Test on a fabric scrap first. Find the length that works best for your specific combination of fastener and fabric.
If you’re attaching hook-and-loop fasteners to knit fabric, it’s better to switch to a small and narrow zigzag stitch. Knits stretch, and a straight stitch may break under pressure. A narrow zigzag gives the seam some flexibility. Position the stitch so that the zig lands on the fastener and the zag lands on the fabric.
#14. Adjust the Tension
Proper thread tension is important when sewing VELCRO® Brand fasteners, especially if you’re using different colors for the top and bobbin threads—which is common when you want the stitching to match both the fastener and the fabric (if they are different colors of course).
Check that your tension is balanced so the threads meet in the middle of the fabric layers. If the tension is off, the bobbin thread may pull through and show on the top of the fastener, or the top thread might show through on the underside of the fabric. This can look messy.
To test your tension, sew a sample on a scrap piece using both your fabric and the fastener. Adjust until the threads meet invisibly between the layers.
#15. Use a Zipper Foot
A zipper foot isn’t just for zippers—it’s also a great tool for sewing VELCRO® Brand fasteners. The narrow shape allows you to sew very close to the edge of the fastener without the bulk of the foot pushing it out of place.
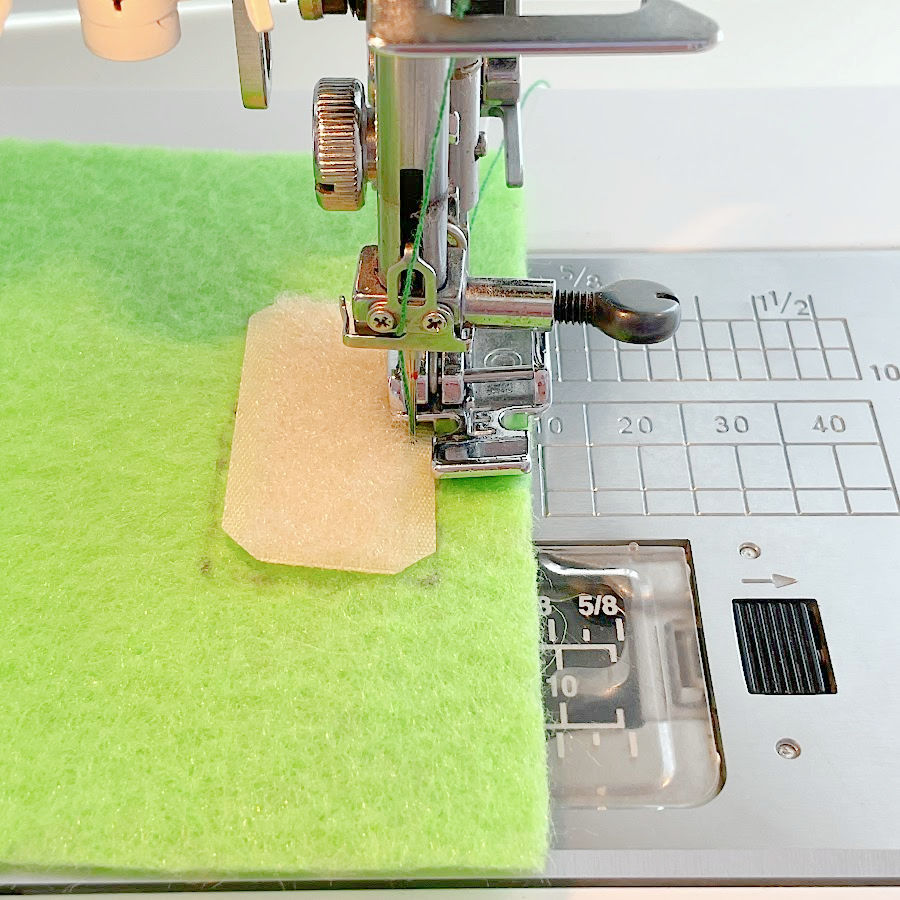
Since most fasteners have a 2 mm flat border around the hooks or loops, a zipper foot helps you position your needle right along that edge with precision. You can keep your stitching neat and even without sewing into the textured center, which can cause skipped stitches or uneven seams.
A regular presser foot may ride up onto the fastener or prevent you from getting close enough to the edge. With a zipper foot, you can control exactly where your needle goes, which is especially helpful when you’re working on thick fabrics or layered seams.
But keep in mind: a zipper foot is made for straight stitching only. You can’t use a zigzag stitch with it. If you’re sewing a VELCRO® fastener to knit fabric and need to use a zigzag for stretch, switch back to your regular presser foot for that part.
#16. Sew Slowly
Take your time. Sewing through VELCRO® fasteners, especially the hook side, can cause your needle to resist or drag. Start slowly by turning the handwheel manually for the first few stitches. This gives you more control and helps the needle pierce through the thickness without bending or skipping.
Continue to sew slowly, especially over the starting and ending points. A steady pace reduces the chance of needle breakage and helps maintain even stitching.
#17. Backstitch Strategically
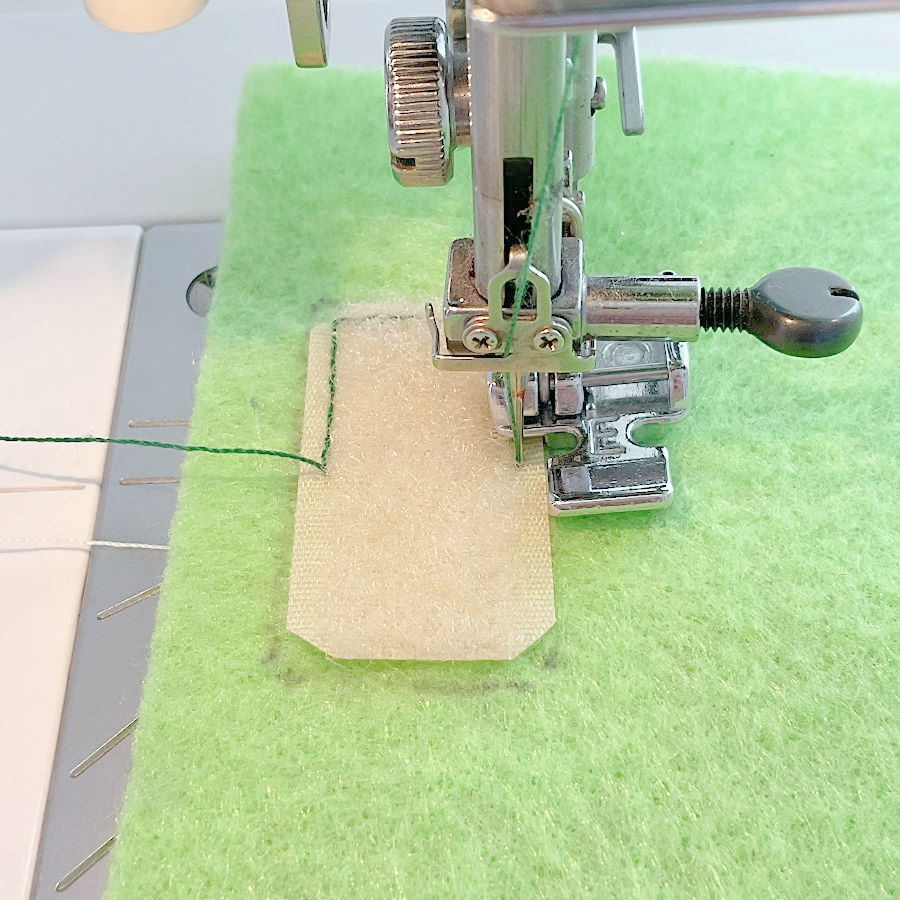
Backstitching is important to keep your stitches from unraveling, especially since hook-and-loop closures are pulled open and closed repeatedly. I usually don’t backstitch at the beginning of a stitching line. Instead, I stitch forward over the first few stitches to overlap them, then backstitch about 1/4 inch to secure the thread. You can see how this looks in the image.
That said, avoid excessive backstitching, especially in the same exact spot, since it can create too much bulk and make the area stiff.
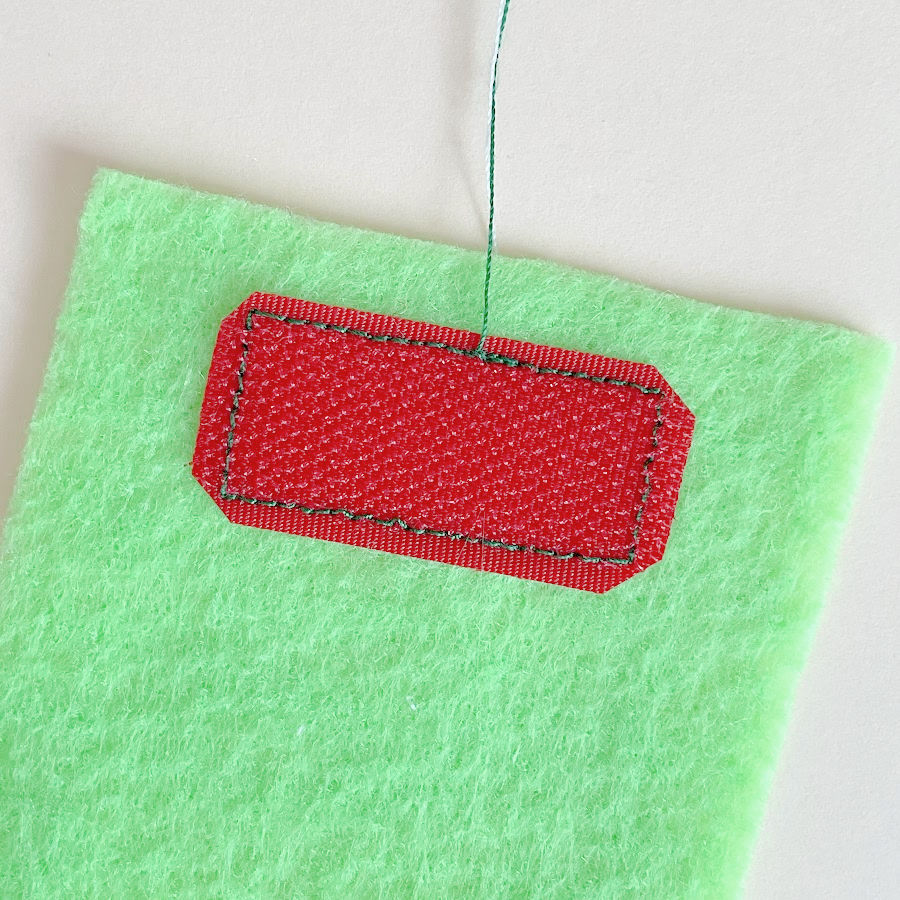
#18. Stitch Around the Edge
Most sew-on VELCRO® Brand fasteners are designed with a small flat border—usually about 2 mm wide—that runs on two sides of the tape. This area has no hooks or loops, just smooth backing. It’s there for a reason: it gives you the perfect spot to sew without interfering with the closure itself.
Use that flat edge as your stitching guide. Sew as close to the inner edge of this border as possible. This keeps your seam neat and secure without stitching into the hook or loop surface.
Start your stitching at the center of the longest side. Then, sew around all four edges with a straight stitch. This helps hold the fastener evenly and prevents curling at the corners.
If your fastener is quite big, you can sew an ‘X’ through the center. This adds stability to the middle section and helps prevent lifting or bubbling, especially on large or frequently used closures.
Section 6. Troubleshooting & Finishing
#19. Press Your Stitches—Especially on the Fabric Side
After sewing VELCRO® Brand fasteners in place, press your stitches on the fabric side. This step helps set the stitches into the fabric, flattens any slight puckering, and gives your project a more finished look.
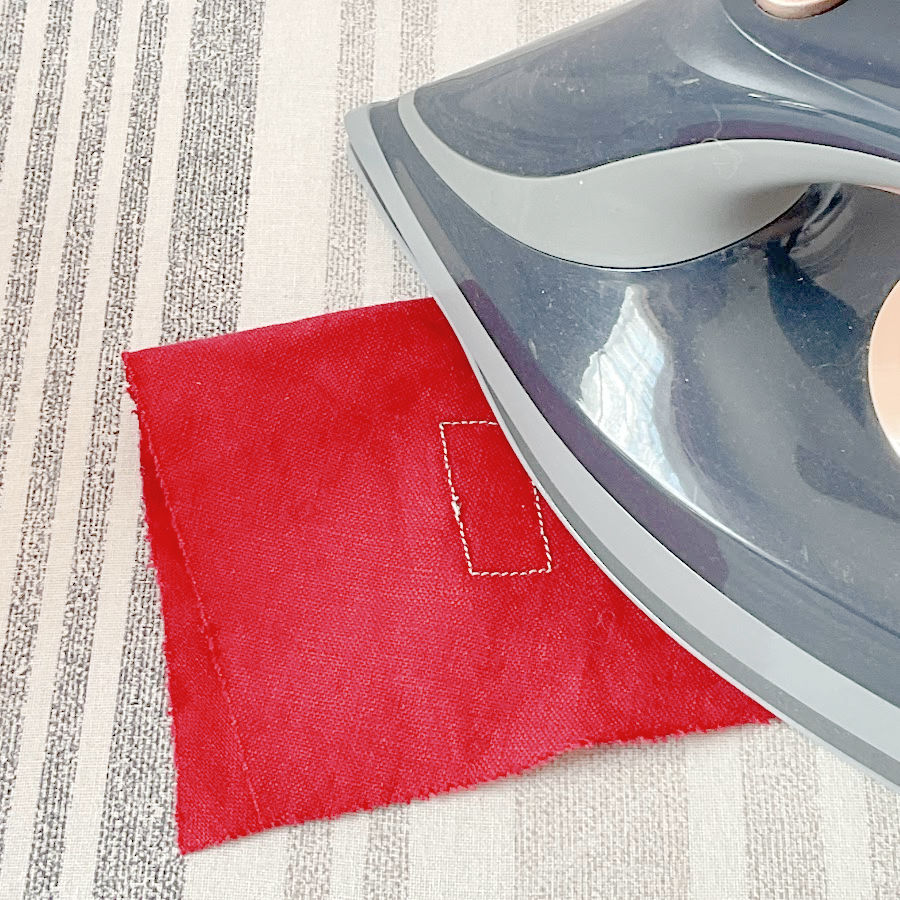
The hook-and-loop side usually can’t be pressed directly with an iron. The heat can melt or distort the plastic hooks and loops. So, avoid pressing the fastener itself unless you use a pressing cloth and a low setting—and even then, only with care.
Focus your pressing on the fabric side of the seam. Use a warm iron and a bit of steam to smooth out any tension lines created during stitching. Pressing helps the seam settle into the fabric, making it look cleaner and feel more comfortable, especially on clothing.
Always finish your work with a press—it’s one of those little habits that makes a difference in your sewing.
#20. Position the Loop Side for Comfort
When you’re sewing VELCRO® Brand fasteners to garments, comfort matters just as much as function. To avoid irritation, always place the loop side—the soft side—facing the skin. The hook side—the scratchy side—should face away from the body.
This small detail is important, especially on clothing like cuffs, collars, or children’s wear. The soft loop side feels smooth against the skin, while the rough hooks can scratch or snag if placed the wrong way.
#21. Test Before Final Stitching
Before you sew the VELCRO® Brand fastener onto your actual project, always test your setup on fabric scraps. Use the same fabric, thread, fastener type, and settings you plan to use on the final piece.
Testing on scraps allows you to check:
- Stitch length and tension
- Needle strength and thread durability
- Whether the fabric shifts or puckers
- If the stitches land cleanly on the flat edge of the fastener
This quick step helps you fine-tune everything before sewing the real thing. It also gives you a chance to see how your machine handles the thickness and how the fastener behaves when stitched.
Skipping this test can lead to skipped stitches, broken needles, or seams you need to unpick.
#22. Trim Threads Carefully
After stitching your VELCRO® Brand fastener in place, take a moment to trim any loose threads—especially around the hook side. Long or stray threads can easily get caught in the hooks. Over time, this can make the fastener look messy and reduce how well it grips.
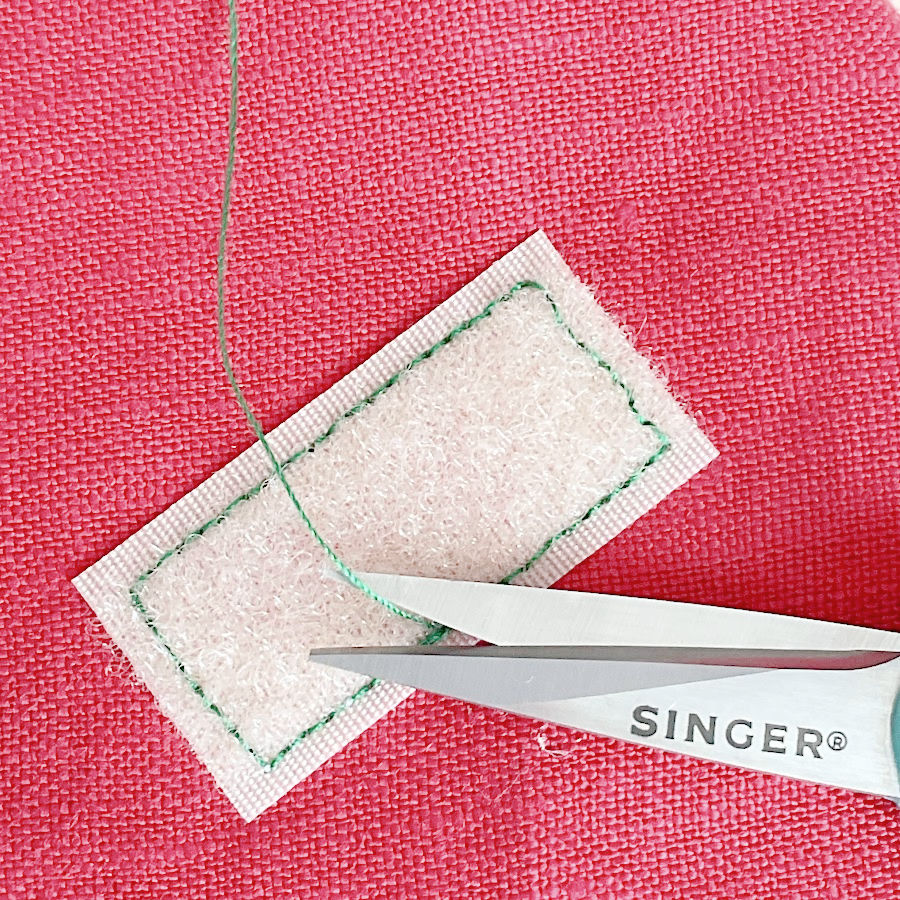
Use small, sharp scissors to snip threads right at the surface. Check both the top and bobbin sides of your seam. Don’t accidentally cut your stitching or fabric.
#23. Always Close Fasteners Before Washing and Drying
Before placing your project in the washer, make sure the VELCRO® Brand fasteners are closed. This simple habit protects both the fastener and the surrounding fabric.
An open fastener can catch on other garments, pull at threads, or gather lint in the hooks. Closing it helps keep the fastener clean and reduces wear on both the tape and anything it might snag during the wash.
The same goes for the dryer—close the fastener first to avoid heat damage or tangling.
Section 7. How to Sew VELCRO® by Hand
To be honest, I don’t recommend sewing VELCRO® by hand. The fasteners—especially the hook side—are stiff and tough to work through with a regular needle. You’ll need a strong, sharp needle, and even then, it takes a bit of muscle to get it through the material.
Stronger needles are often thicker, which means they can leave visible holes in the backing of the fastener, especially on the hook side.
That said, hand sewing VELCRO® can be done, and there are situations where it’s necessary—like when a sewing machine isn’t available.
Here are a few additional tips (check the 23 tips above though) that make the process a little more manageable.
- Use a thimble or silicone finger pad to help push the needle through without hurting your hand.
- Choose a sharp, heavy-duty needle, but not so thick that it damages the backing. Test on a scrap first if you’re unsure.
- Pre-pierce the holes if needed: you can use a tailor’s awl to start the stitch points, especially on the hook side.
- Use heavy-duty hand sewing thread made of 100% polyester. It needs to hold up to the stress of repeated use.
- If you’re working on a visible area, try to keep your stitches small and even so they look good on the fabric side.
Hand sewing VELCRO® might not be quick or easy, but with a little patience and the right tools, it’s definitely doable.
Did you find this sewing tutorial on how to sew VELCRO® useful? If yes, why not save this pin to your Pinterest board? That way, you can easily return to the article whenever you need a refresher on sewing VELCRO®. And for an ongoing stream of handy tips, tutorials, and all sorts of creative inspiration, make sure to follow me on Pinterest.

Wow! All these years I’ve been doing it wrong and wondered what to do to make it look right. This is THE BEST instructions that I’ve ever read in regard to Velcro in general. Lots of information about the different types as well as how to sew it. Thank you so very much!! I’ve just subscribed and look forward to learning more.