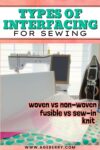
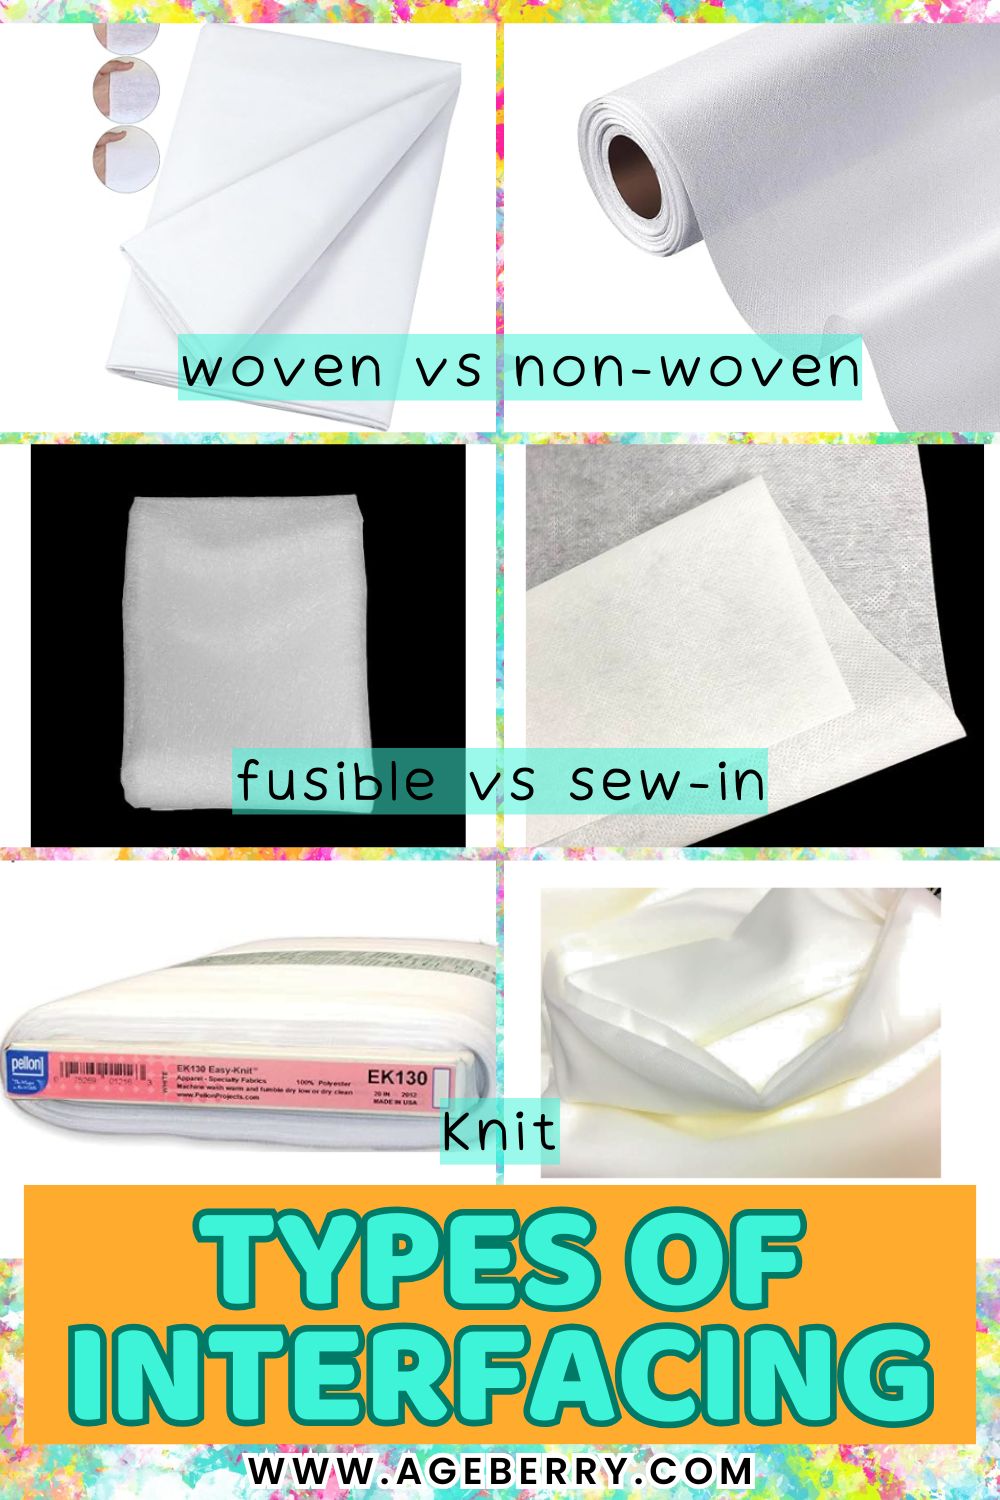
Types of Interfacing Explained: Woven, Non-Woven, Knit, Fusible, and Sew-In
Interfacing used to feel like a small, quiet corner of the sewing store. Now it can feel like a wall of nearly identical white bolts that all promise “structure,” but each one behaves in its own way. That shift matters, because confusion rarely comes from a lack of information. It comes from too many similar choices.
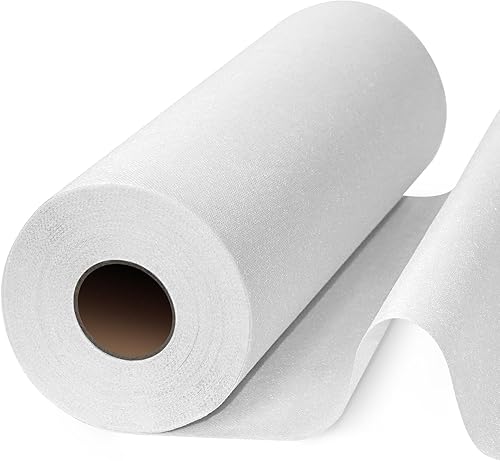
Today, shelves and websites stay packed with interfacing. Two options can look almost identical on the bolt and still act very differently once you cut, press, and stitch. Online shopping adds another layer of trouble. Photos flatten texture and thickness, and product titles often cram multiple terms into one line.
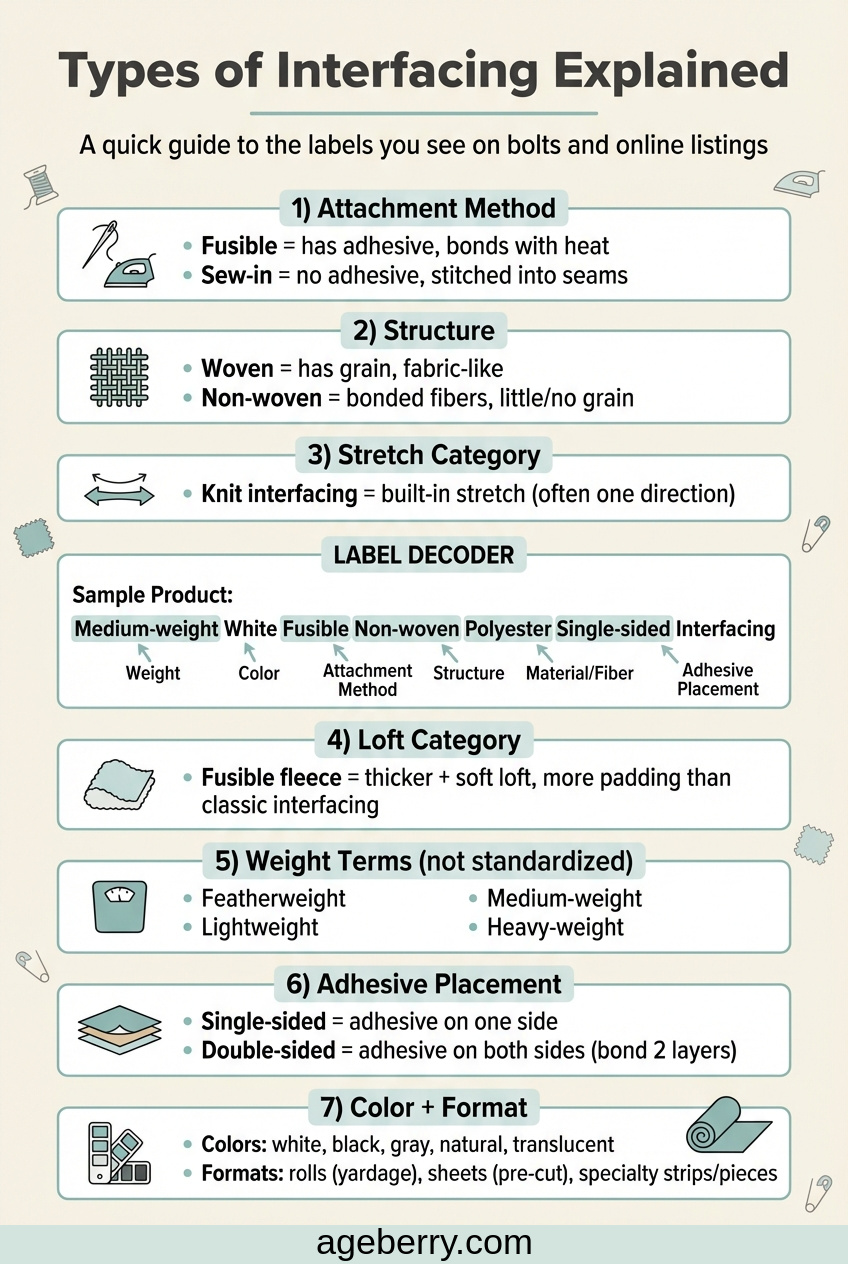
I clicked an Amazon listing for interfacing and got this masterpiece of a title: “PLANTIONAL Medium Weight White Iron-On Non-Woven Fusible Interfacing: 11.6″ x 30yd Medium Weight Non-Woven Interfacing Iron On Polyester Single-Sided Interfacing for DIY Crafts Supplies.”
That title is not a product name. It reads like a full résumé. It stacks weight (medium), color (white), method (iron-on/fusible), structure (non-woven), fiber (polyester), and adhesive placement (single-sided) in one breath.
After reading it, you either feel very informed or you start wondering if you just accidentally opened a college textbook mid-sentence. It also makes the point crystal clear: people need to understand interfacing types because these labels are not “extra details.” They are the identity card of the product, all at once.
This guide sorts interfacing by the main ways it gets labeled, sold, or described. It does not tell you what to pick for collars, bags, or waistbands. It gives you a map of the category system, so the words on the shelf start to make sense.
Fusible vs Sew-In Interfacing
This is the first classification most sewists notice because it determines how the interfacing attaches to fabric.
Fusible interfacing usually has adhesive on one side. Heat activates that adhesive so the interfacing bonds to the fabric. The adhesive can look like tiny dots, a fine grain, or a smoother coating, depending on the product.
Some products have adhesive on both sides. That type bonds two layers together.

Sew-in interfacing has no adhesive. It stays in place because you stitch it into a seam, tack it, quilt it, or secure it through construction steps.
“Fusible” does not tell you if it is woven, non-woven, or knit. It only tells you how it attaches. You can buy woven fusible, woven sew-in, non-woven fusible, non-woven sew-in, and knit fusible.
Most home sewists rely on fusible interfacing because it works beautifully with the fabrics that show up in everyday sewing: quilting cotton, cotton lawn, poplin, many linens, broadcloth, denim, and a lot of blends.
It also suits the kinds of projects people sew at home, such as shirts, simple dresses, skirts, pants, waistbands, plackets, facings, cuffs, collars, bag linings, and zip pouches.
Fusible gives quick, even support. It helps fabric hold its shape and it helps small areas behave, especially edges and corners. It also feels approachable because it uses a tool every sewist already owns, an iron, and it adds structure without extra stitching steps.
✅ Related tutorial: How to sew quilt squares together (step-by-step tutorial)
Sew-in interfacing shows up more in tailoring and couture-style construction, where the maker wants control without heat, or where the fabric refuses to cooperate with glue.


Examples of projects where sew-in interfacing often appears:
- Tailored jackets and coats (fronts, chest pieces, lapels, collars).
- Velvet garments where an iron-on can crush the pile, so sew-in support makes more sense.
- Lace, net, and open weaves where fusible glue can show through or seep to the right side.
- Heat-sensitive materials like vinyl, where pressing heat can cause damage.
✅ Related tutorial: Interfacing vs Stabilizer: What’s the Difference and When to Use Each
Woven vs Non-Woven Interfacing
This classification describes how the interfacing itself is built. It matters because construction affects drape, stability, fraying, and how it responds to stitching.
Woven Interfacing: The Fabric-Like Choice
Woven interfacing behaves exactly like fabric because, well, it basically is fabric. Think of it as a lightweight cotton woven into a tight structure. This type respects grainlines just like your main fabric does, which means you need to match the grain direction when you cut it out.
Why choose woven interfacing? It moves and drapes like your garment fabric. For delicate materials like silk or fine cotton, woven interfacing is often the best choice because it adds body without creating stiffness. Your collar stays crisp without feeling cardboard-like. Your facing holds its shape without looking rigid.
Woven interfacing comes in both fusible and sew-in versions. The fusible type has tiny adhesive dots on the back that melt when you press it with heat. The sew-in version has no glue and simply gets stitched in place alongside your fashion fabric.


The trade-off? Woven interfacing costs more than non-woven, and it requires you to pay attention to the grainline. If you’re in a hurry and don’t want to fuss with grain directions, this might not be your best option.
✅ Related tutorial: How Fabrics Are Made – And Why It Matters
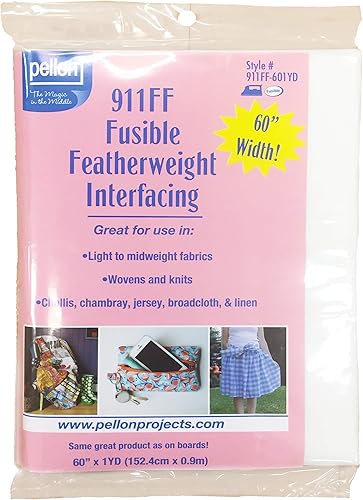
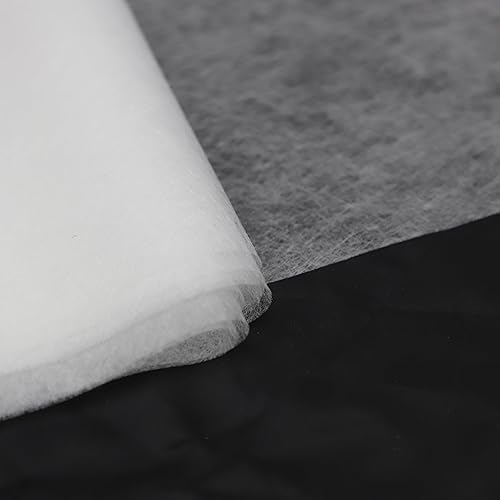
Non-Woven Interfacing: The Paper-Like Workhorse
Non-woven interfacing feels like a cross between fabric and paper. It’s made by bonding fibers together rather than weaving or knitting them. This construction means it has no grainline, so you can cut it in any direction without worrying about grain alignment.
Non-woven interfacing is forgiving. It’s also affordable and widely available at nearly every fabric store. Beginners often reach for non-woven interfacing because it’s simple to use and hard to mess up.
The catch: Non-woven interfacing tends to feel stiffer and more paper-like than woven versions. If you use it on a delicate fabric, you might end up with a collar that feels stiff rather than soft. For garments meant to flow and move, this can create an unintended rigidity.
Non-woven interfacing works wonderfully for bags, structured accessories, and projects where you want pronounced body and support. It’s also the go-to choice for craft projects and quilting.
For everyday garments, lightweight to medium-weight non-woven options provide enough structure without completely changing how your fabric behaves.

Knit Interfacing: The Stretchy Solution
Knit interfacing, also called tricot interfacing, uses a knit construction rather than a woven grid or bonded fiber sheet. This construction gives it stretch, particularly in the crosswise direction. If your fabric has stretch, knit interfacing helps it maintain that stretch instead of losing it to a rigid layer underneath.
✅ Related tutorial: How To Sew Knit Fabric | 23 Expert Tips For Beginners
Think of knit interfacing as the solution to a common problem: you’re working with a stretchy jersey or knit fabric, and you need reinforcement in areas like button plackets or waistbands. Regular woven or non-woven interfacing would restrict that stretch and make the finished garment feel uncomfortable. Knit interfacing lets your fabric move naturally while still providing the support you need.
Most knit interfacing comes as fusible only, though sew-in versions exist. The stretchy quality means you can use it on both stretch and non-stretch fabrics. Many sewers keep knit interfacing in their stash because of its versatility. It works for lightweight button bands, it supports knit fabrics without sacrificing their properties, and it creates a softer hand than heavier options.

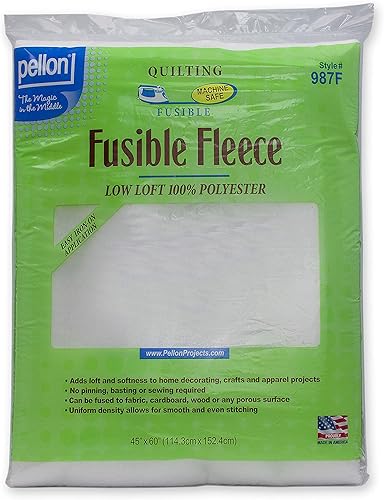
Fusible Fleece: The Softest Member of the Interfacing Family
Fusible fleece steps in when fabric needs structure and softness at the same time. It is a non-woven interfacing with a layer of low-loft fleece on one side and adhesive dots on the other. When pressed with heat, those adhesive dots melt and bond the fleece permanently to your fabric. The result feels thicker and cushioned, but not stiff.
Think of it as a blend between traditional interfacing and batting. It gives shape and padding in one layer. This makes it an easy choice for bags, quilted jackets, fabric bins, and home décor projects.
Fusible fleece adds body and a light, padded feel. It prevents a bag from collapsing, keeps a placemat smooth, and makes a quilted jacket feel cozy. It works beautifully for:
- Tote bags and backpacks
- Quilted panels and home décor
- Padded cases for electronics
- Fabric baskets and wall hangings
It holds its shape, yet the fabric still feels soft. Traditional interfacing stiffens fabric, but fusible fleece adds comfort. That subtle difference matters when you want something structured but touchable.

Weights of Interfacing
Weight terms describe how dense and supportive an interfacing feels.
A lightweight fabric needs lightweight interfacing. A heavier fabric can handle medium or firm interfacing. Think of weight like a partnership—your fabric and interfacing should work together rather than fight each other. When interfacing is too heavy, it overwhelms delicate fabric and makes it stiff. When it’s too light, it won’t provide enough support.
For example, if you’re making a blouse from lightweight cotton like voile or lawn, use lightweight interfacing. Your collar will stay crisp without feeling like cardboard.
If you’re making a structured bag or a heavily used waistband, medium or firm interfacing provides the support you need.
Most interfacing comes in three weight categories: lightweight, medium, and firm. Some brands offer extra-fine or featherweight options for the most delicate fabrics.
Featherweight or extra fine
Featherweight usually indicates very light support. It can look semi-sheer or very thin. It can add subtle stability without changing the feel much.
Lightweight
Lightweight usually steps up from featherweight. It can support small areas without turning them board-like.
Medium-weight
Medium-weight often provides noticeable structure. It can hold shape more strongly and can change drape.

Heavy-weight
Heavy-weight usually provides firm structure. It can feel stiff, and it can affect how seams and folds behave.
But I noticed that weight terms are not standardized. Two brands can label different products as “medium weight.” Even within one brand, “medium” can feel different across woven vs non-woven vs knit.
Weight labels help, but they do not guarantee equivalence.
Single-Sided vs Double-Sided Interfacing
This classification focuses only on where adhesive exists. It does not describe construction, stretch, or weight. Obviously, this makes sense only for fusible interfacing.
Single-sided
Single-sided interfacing has adhesive on one side only. This is the most common style for fusible interfacing.
Double-sided
Double-sided interfacing (often sold as fusible web or bonding web) has adhesive on both sides. This type often functions as a bonding layer between two fabrics.
If a package just says fusible interfacing, assume one-sided unless it clearly says double-sided.
✅ Related tutorial: Fabric Eggs DIY: Quick Easter Craft Decorations From Scraps
Interfacing Colors
Color can change how the finished project looks, especially under light fabrics.
Interfacing can be bright white, soft white, charcoal, grey, true black, beige/natural, or semi-translucent. Some look nearly invisible until placed over fabric.
Color exists because interfacing can show through. It can also influence the fabric’s tone. A bright white layer under ivory fabric can shift the look. A dark layer can shadow through lighter fabric.
Two interfacings can be the same color and still differ in opacity. Opacity depends on fiber content, thickness, and finish. This is why “white” alone does not tell you much.
Interfacing colors stay boring on purpose. Most of the time, interfacing needs to disappear inside a project, not decorate it. That one goal pushes manufacturers toward white, black, gray, and natural instead of blue, red, or prints.


White (or natural) works under light fabrics. Black works under dark fabrics. Gray lands in the middle for many medium tones. Those three cover the practical cases.
There is another reason manufacturers rarely make colorful interfacing. Interfacing already comes in woven, non-woven, and knit versions, with multiple weights, fusible and sew-in options, and different widths. Add ten fashion colors and stores would need an extra aisle just to stock “the same interfacing, but in teal.”
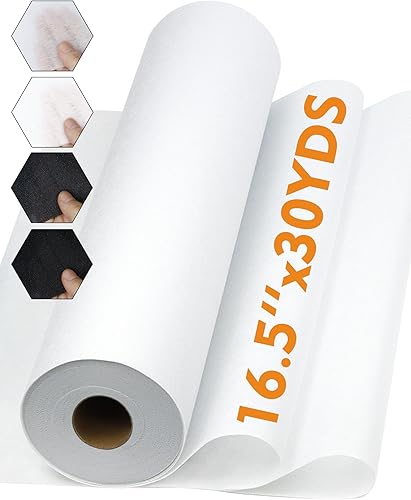
Interfacing Formats: Rolls, Sheets, and Other Forms
Format describes how the interfacing is sold. It does not change what the interfacing is, but it can influence how people think about it.
Interfacing often sold on rolls. Rolls allow you to buy continuous length. This works well when you need long pieces or want to cut large pattern sections.
Many fabric shops sell interfacing from bolts like fabric. Garment sewists often buy it this way because it matches how fabric gets sold.
Interfacing also comes as sheets, which means you get pre-cut sizes instead of yardage. This shows up a lot in craft stores and online bundles, especially for smaller projects where you only need a little. Sheets feel convenient because you do not need to measure and cut from a long piece.

You will also see other formats that look nothing like a bolt. Some interfacing comes as pre-shaped pieces for common areas, and some comes as narrow tapes or strips meant to reinforce edges. Specialty bonding products can look like a thin web rather than fabric. All of these formats can change how people perceive the product, but the key point stays the same: format tells you how it is packaged and sold, not what type of interfacing it is.
Why Interfacing Types Overlap
One interfacing can belong to multiple categories. Interfacing labels stack because they describe different properties. One product can be “woven,” “fusible,” “lightweight,” “single-sided,” “black,” and “sold by the yard” all at the same time. None of those labels cancel the others. They just describe different traits.
Interfacing sits at the intersection of textile construction and product marketing. Labels come from what it is made of, how it attaches, how it feels, and how it is sold. That creates overlap by design, not by accident.Once you sort labels into buckets—attachment, structure, stretch behavior, loft, weight, adhesive placement, color, and format—the shelf stops looking like a blur of white rectangles. Once you understand these basics, you can walk into any fabric store with confidence and pick exactly what you need.
Did this article help explaining the differences between the various types of interfacing? If so, save this pin (see below) on your sewing board so you can come to this tutorial later when you need this information, and follow me on Pinterest for more tips, tutorials, and inspiration!
I also added a PDF version in case you want to save it to your device or print it for reference – download it here.
latest posts
- 25 More Smart Sewing Shortcuts for Better Results With Less Effort
- 25 Sewing Shortcuts That Make Sewing Easier and More Efficient
- Types Of Sewing Machine Feet And Their Uses
- The Interfacing Cutting Guide: Methods, Folds, and Seam Lines
- Steam or Dry Heat for Fusible Interfacing: Which Actually Works
- Essential Sewing Tips: How to Apply Fusible Interfacing Correctly
- Types of Interfacing Explained: Woven, Non-Woven, Knit, Fusible, and Sew-In
- Fabric Eggs DIY: Quick Easter Craft Decorations From Scraps
- Stuffed Bunny Sewing Pattern And Tutorial (Free Download)