Angel Ornament DIY: A Small Scrap Project That Teaches Big Sewing Skills
My neighbor’s daughter recently told me she wanted to learn to sew, and she asked me what would make a good first project. I thought about it for a second and said, ‘How about angels? These little fabric scrap angels I like to make for a Christmas garland—they’re simple, fun, and full of sewing opportunities.’

This angel DIY project is perfect for building sewing confidence. It teaches how to work with a printed pattern, choose coordinating fabrics, press seams correctly, and sew curves—which can be a little tricky for beginners, but are so satisfying when they come out smooth.
You’ll also get practice with topstitching, working with seam allowances, and turning corners cleanly. And since it uses small pieces, there’s no pressure to be perfect. You can make several and get better with each one.
Now, about the angels themselves…
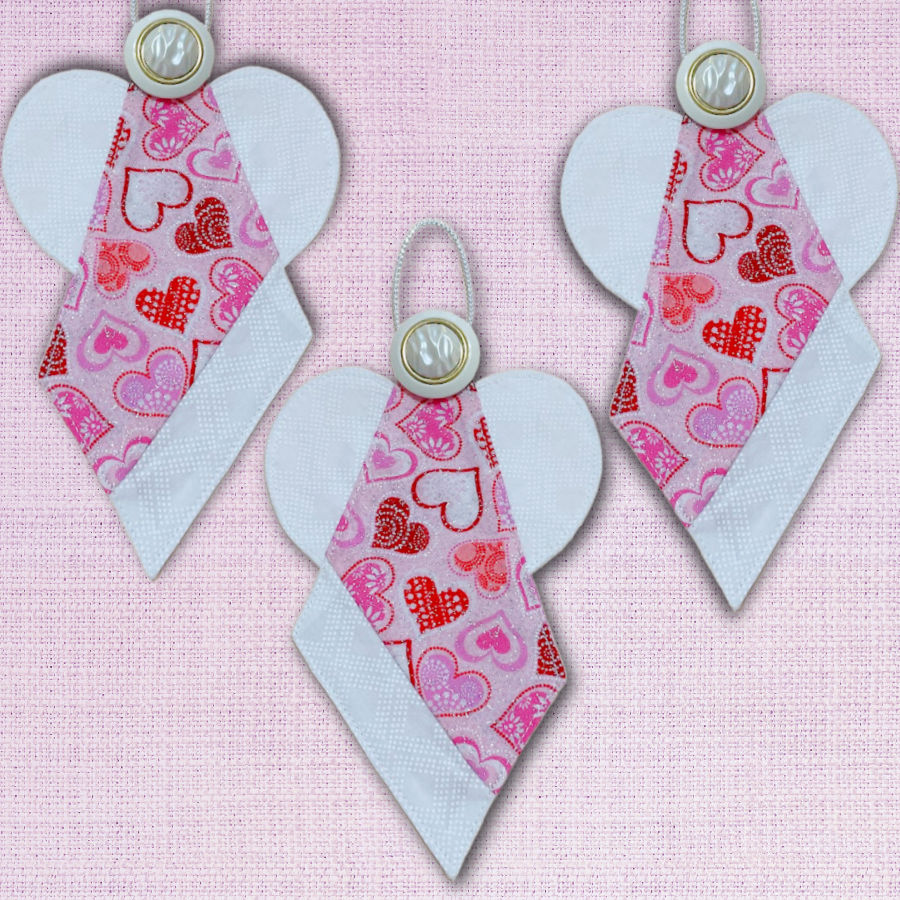
In this sewing tutorial, I’m sharing how to make sweet little angels from fabric scraps. The idea came from an image I saw in my Facebook group a few years ago —this exact one.
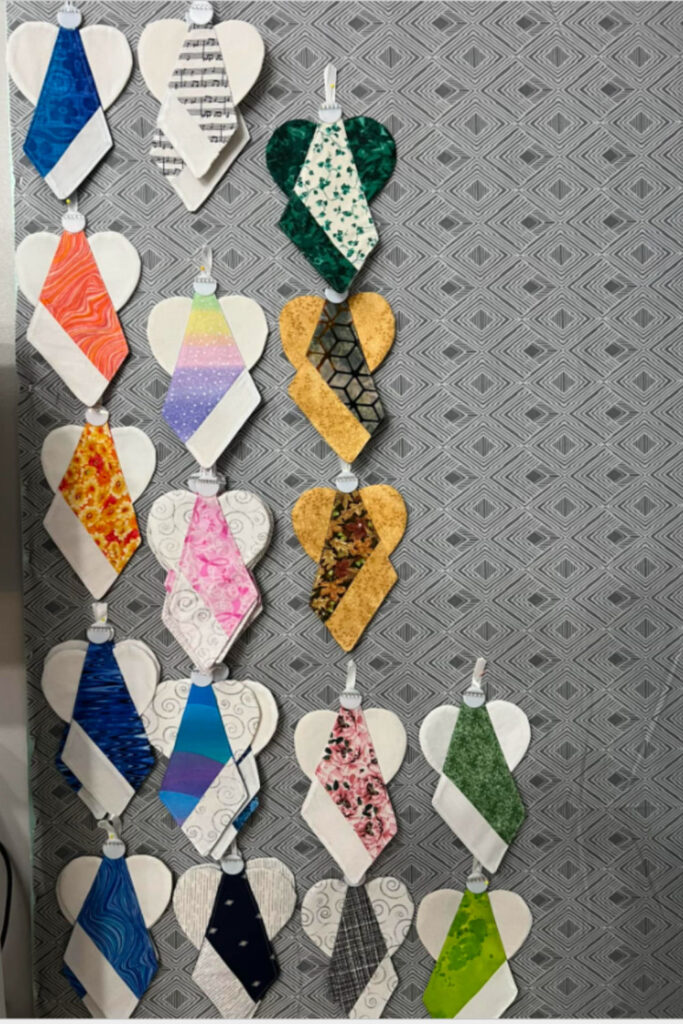
You see that each angel features a mix of colorful prints for the body and crisp white wings, all finished with a loop for hanging. The variety of colors and textures is what makes the display so eye-catching—every angel has its own personality, yet they look so sweet together.
There’s something really heartwarming about seeing so many small scraps turned into something meaningful and pretty. It’s the kind of image that makes you pause, smile, and think, I want to make those.
So, the post quickly filled up with comments. Everyone seemed to love them, myself included.
The photo wasn’t mine—it was shared by another member—but I couldn’t stop thinking about it. These angels are simple, soft, and full of handmade charm. You can hang them on a Christmas tree, tie them to gifts (instead of bows), or add them to a garland. They make lovely keepsakes too.
There wasn’t a pattern with the post, so I decided to sketch one myself. I appreciated that the design didn’t need much fabric, making it perfect for leftovers.
It gave me a reason to dip into my scrap basket, and before long, I had a little collection of these fabric angels. Now I’m showing you how to make them too—because I know you’ll enjoy sewing them just as much.
This is not my first angel ornament; but it is certainly one that is much easier to make!
✅ Related tutorial: DIY Christmas Angel Ornament
Note: Some of the links on this page are affiliate links. This means I will receive a commission if you order a product through one of my links. I only recommend products I believe in and use myself.
What You’ll Need
Here’s what you’ll need to make your own flock of fabric angels:
- Fabric scraps – Printed cottons work beautifully for the body. You’ll need both patterned and white fabric.
- Lightweight interfacing – Just enough for the body to give it a bit of structure.
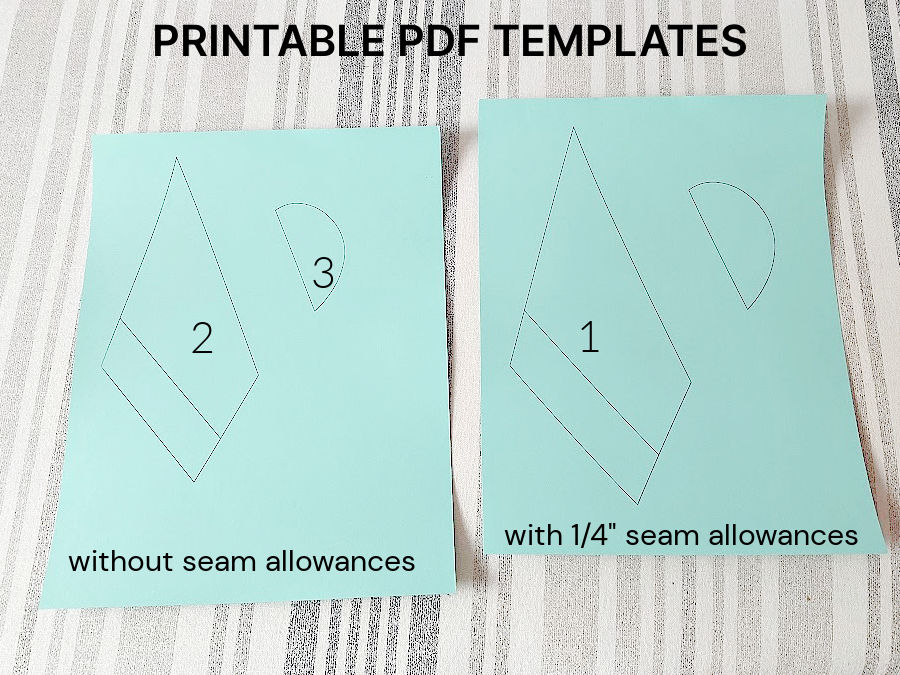
- Templates – You’ll use three: one for cutting the body, one for the wings, and one for stitching lines.
- Frixion pen – For marking fabric with lines that disappear with heat. A true sewing room favorite.
- Ribbon – A short piece for each angel so they can be hung.
- Small buttons – These will become your angel heads. Pick ones that suit your fabric choices.
- Pinking shears – To trim the wings after stitching for a neat curved edge.
- Point turner – Optional, but helpful for getting nice crisp corners.


Before you begin, print the templates on medium-weight cardstock—not regular printer paper. The sturdier cardstock makes it easier to trace around the shapes cleanly, especially when you’re making several angels at once. It also holds up better through multiple uses, so your lines stay consistent from one angel to the next.

The templates in PDF format are free for newsletter subscribers. You’ll find them in the Resource Library on my site. Just use the password you received in your email to access and download them.
Step 1. Prepare Your Fabric Strips
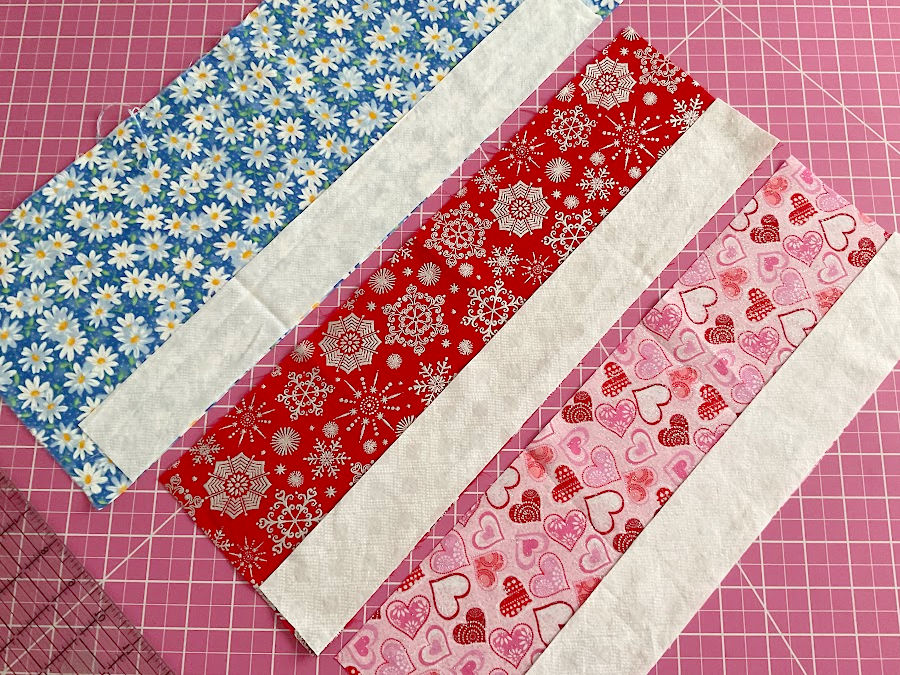
First, gather your printed fabrics and plain white fabric for a nice contrast.
- From the printed fabric, cut rectangles 16 inches long by 5 inches wide.
- From the white fabric, cut rectangles 16 inches long by 2 inches wide.
Tip: Carefully cut one side very straight for neat assembly.
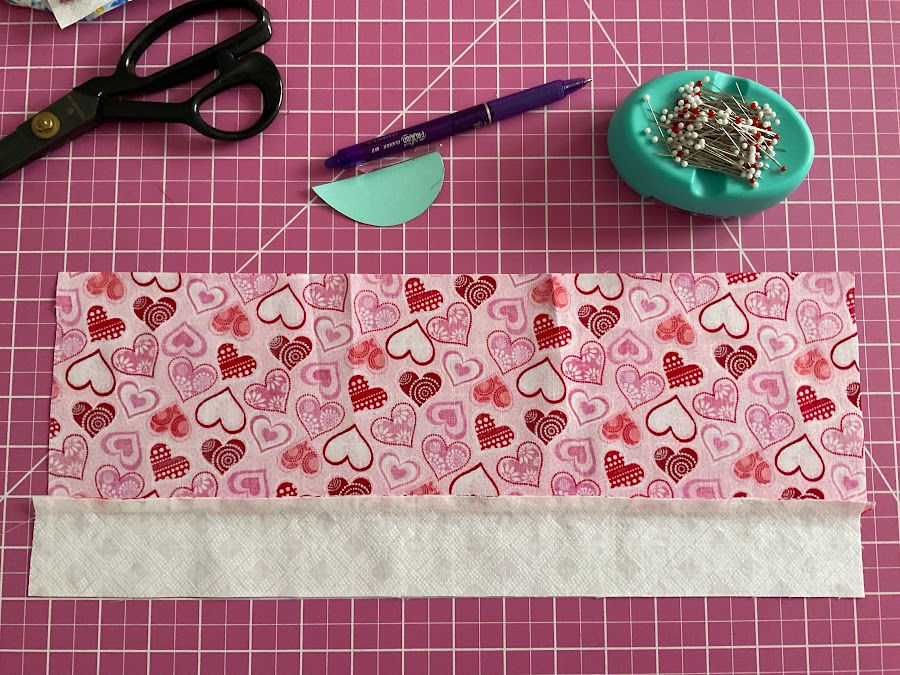
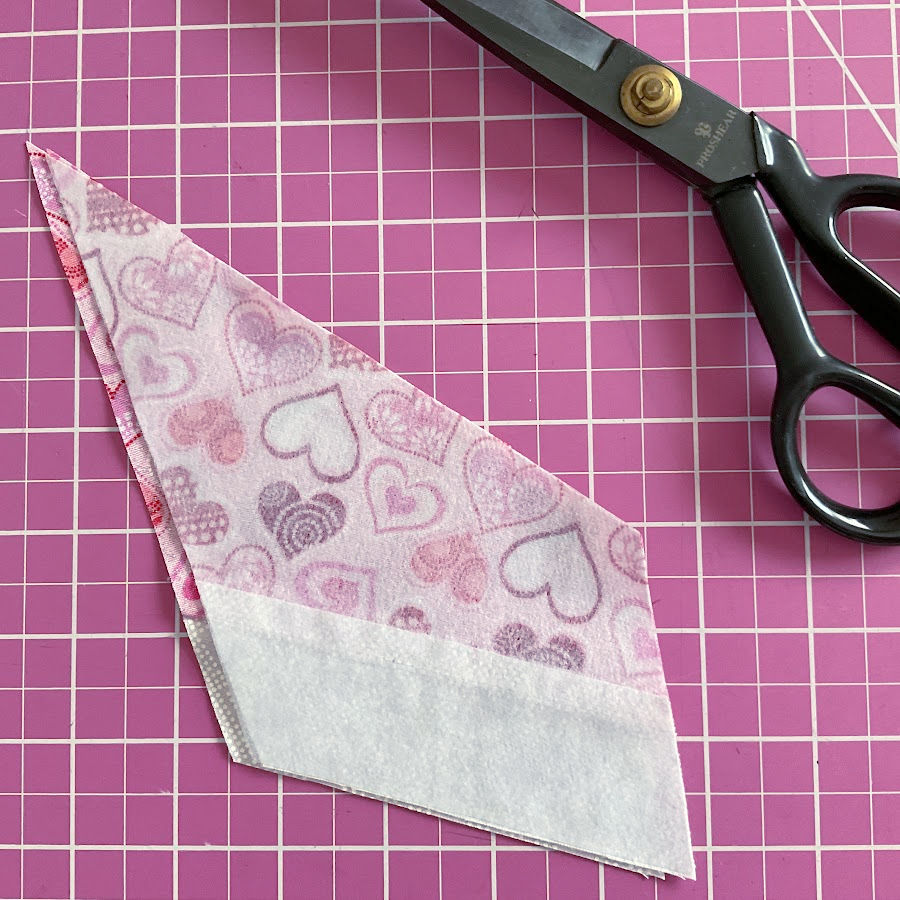
Next, sew the white strip to the printed fabric rectangle along the long edge.
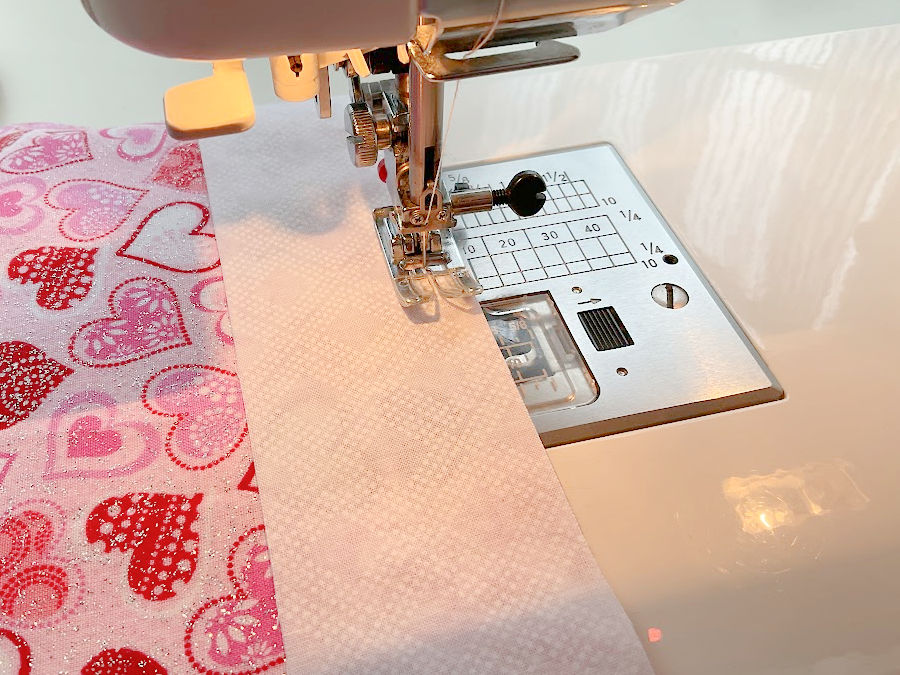
Press the seam, then press the seam allowance toward the printed fabric.
You can certainly cut separate pieces of the angel’s body (the printed fabric shape and the white strip separately) to save fabric. In this case, you’d sew them together afterward for both the front and back of the angel.
However, because I decided to create multiple angels simultaneously, I found it faster and easier to sew the white strips onto the printed fabric first, and then cut out the individual angel shapes.
Sewing Skills Practiced In Step 1
This step develops fabric preparation skills—measuring and cutting accurately, which is essential for sewing. You’ll also practice piecing fabrics together and pressing seams properly, including pressing seam allowances in the correct direction. These are foundational skills that affect how well the final project looks and holds together.
It also introduces the skill of cutting fabric in a straight line—a simple but important habit that helps avoid distortion and keeps all pieces aligned throughout the sewing process.
✅ Related tutorial: The Ultimate Fabric Cutting Guide: Tips, Tools & Techniques for Every Project
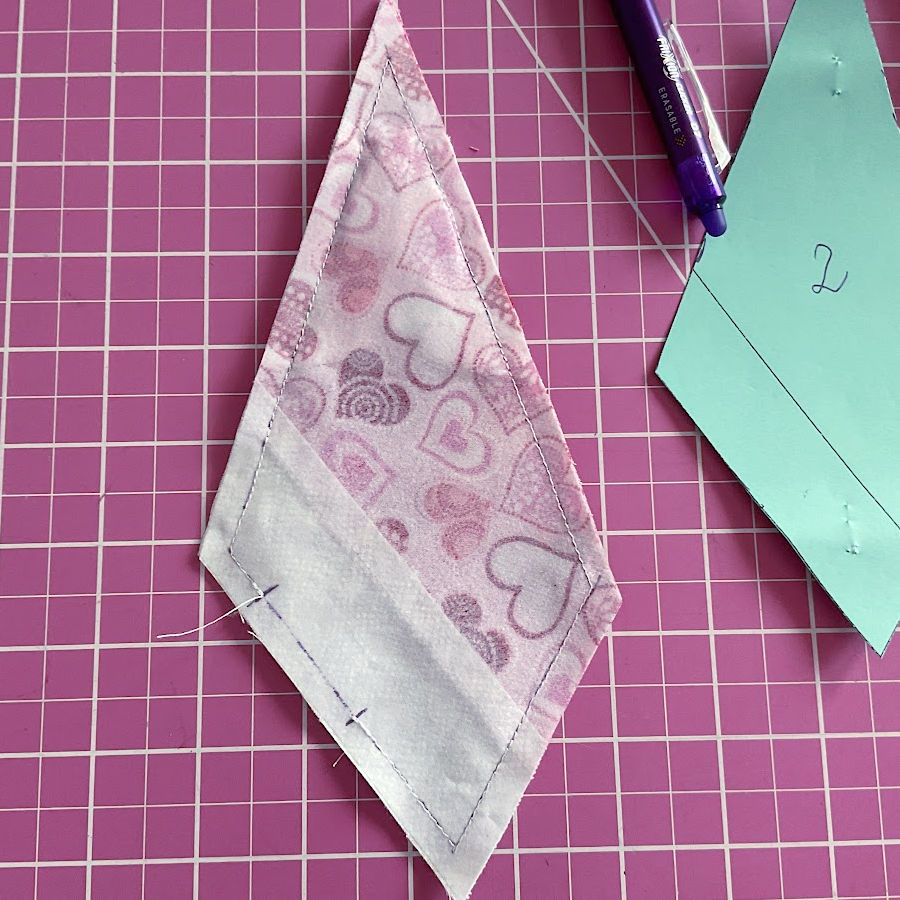
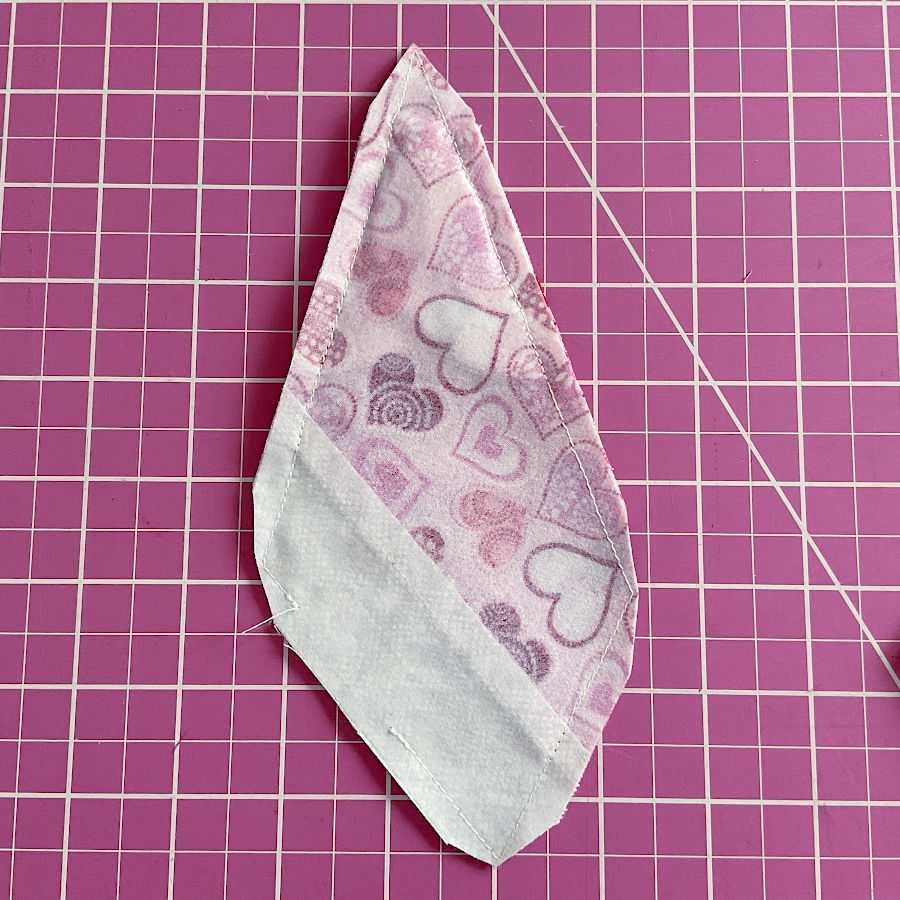
Step 2. Cut Out the Angel Body
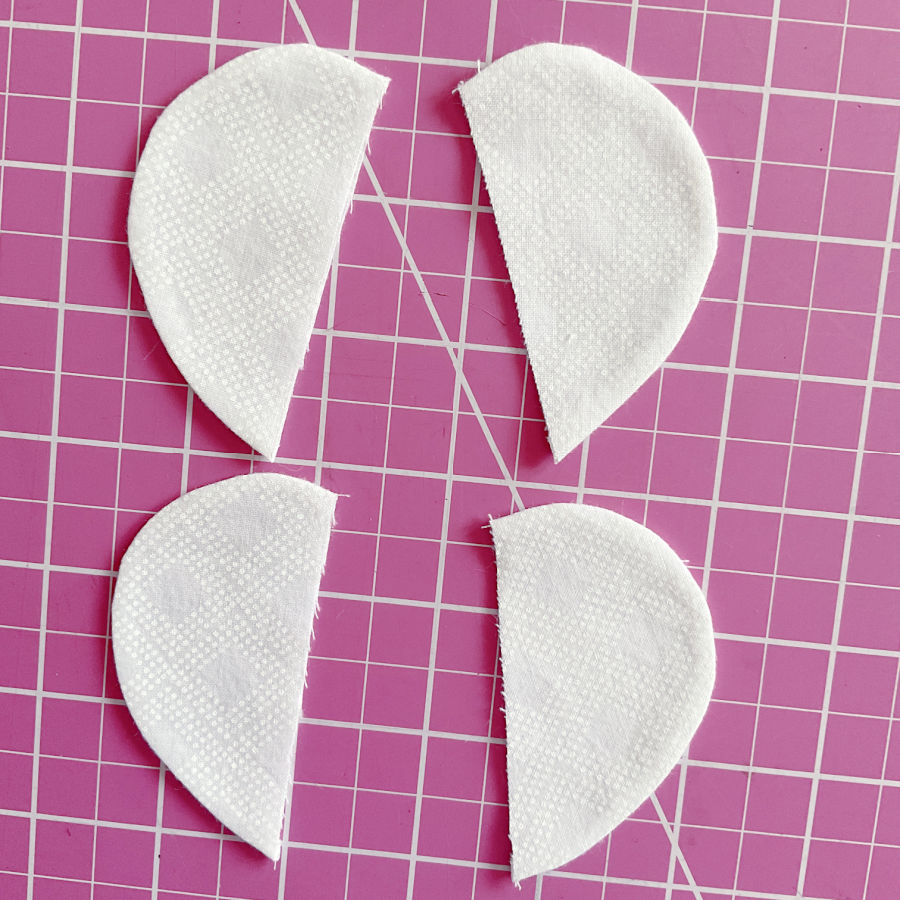
Fold this sewn piece in half, aligning the short ends. Right sides together. Using Template 1:
- Place the template onto the folded fabric.
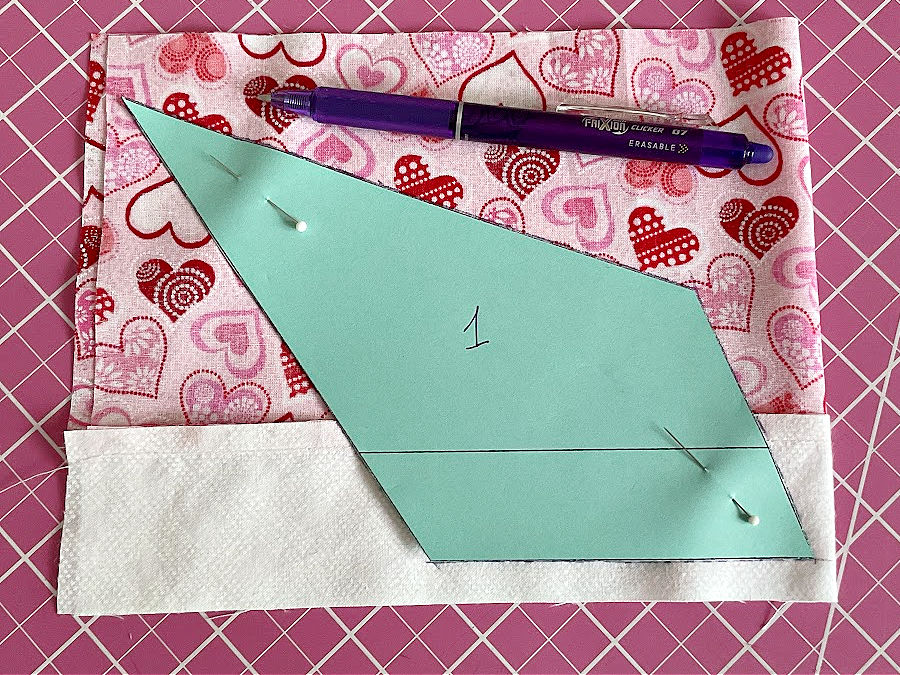
- Trace around the template using a Frixion pen to mark the shape.
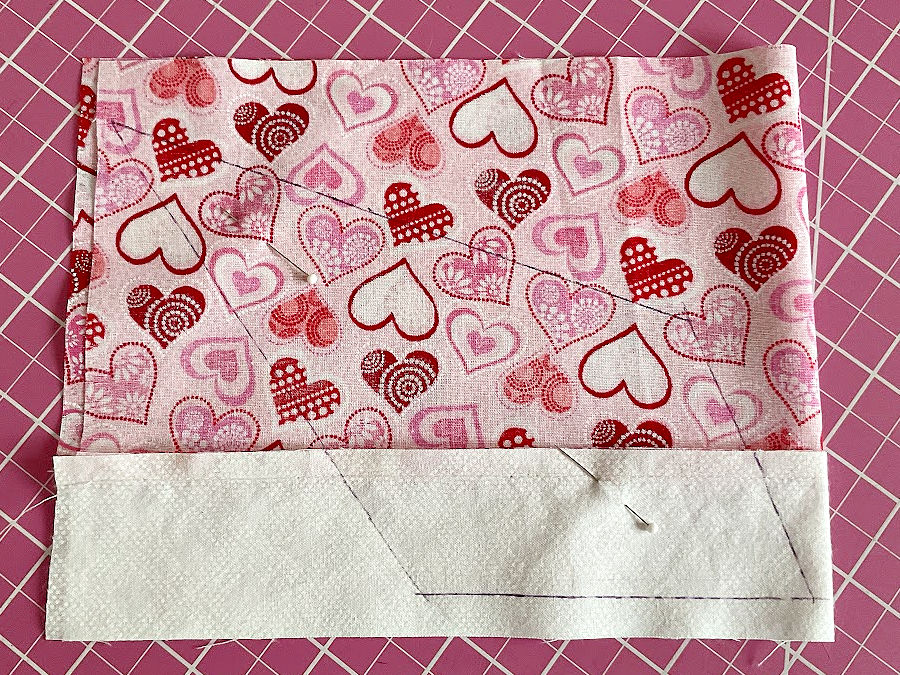
- Carefully cut along your drawn lines.
Now you have two identical pieces (front and back) for the angel.
I like to use Frixion pens for sewing projects. They create clear, precise lines, which makes cutting and sewing easier. And then – simply touch your fabric with an iron, and the ink completely disappears. Frixion pens also provide better accuracy. Just a quick tip: always test your Frixion pen on a small scrap of fabric first.

Sewing Skills Practiced in Step 2
This step develops template use and fabric marking skills, which are important for creating consistent shapes in any sewing project. It also reinforces cutting accuracy when working with layered fabric, and builds confidence in using removable fabric markers like Frixion pens.
Tracing and cutting mirrored pieces from folded fabric introduces basic principles used in garment sewing and pattern layout.
Step 3. Making the Wings
Take a piece of white fabric for the wings.
- Fold the fabric right sides together.
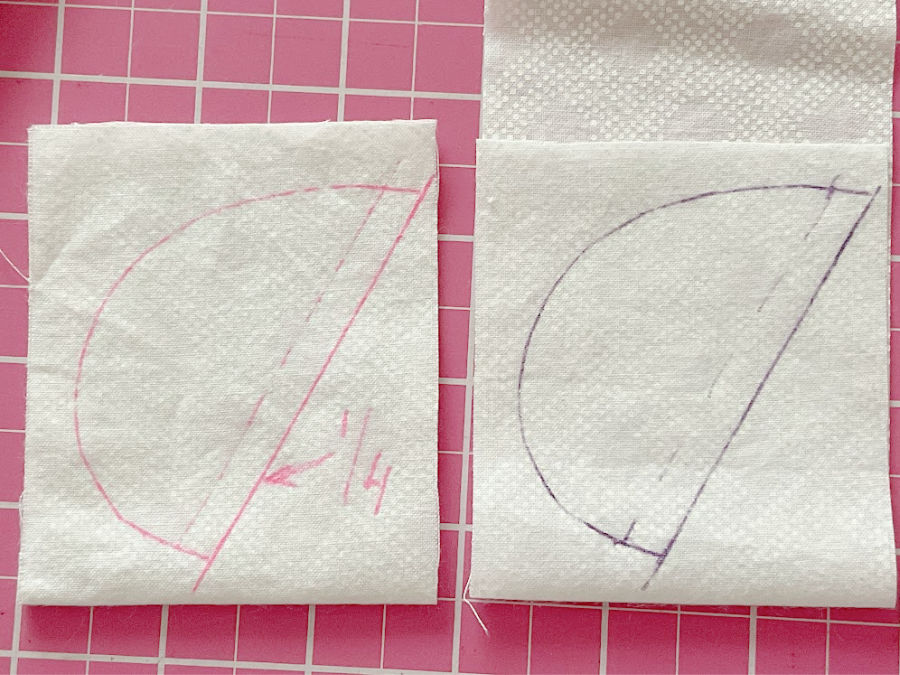
- Using Template 3, draw the wing shape onto your fabric. Important: The curved line is the stitching line.
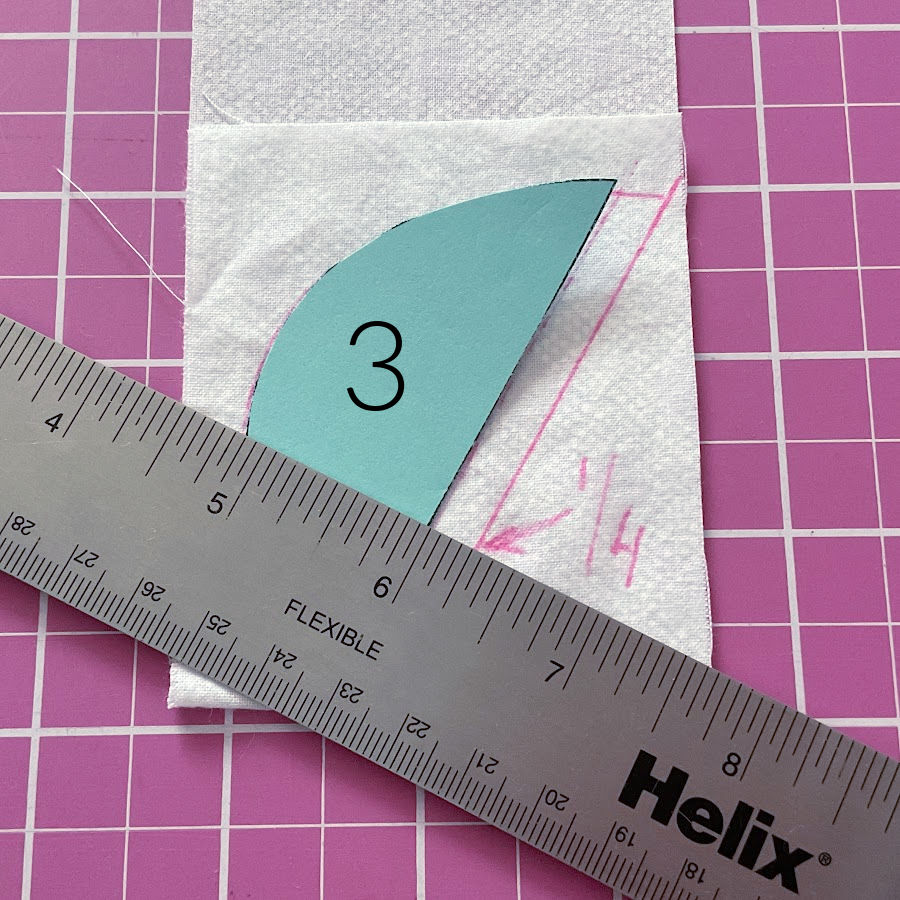
- Add a ¼-inch seam allowance to the straight line of the wing shape and draw it clearly – this will be the cutting line.
- Secure the layers with a pin.
Move now to your sewing machine.
- Sew carefully along the curved line (stitching line).
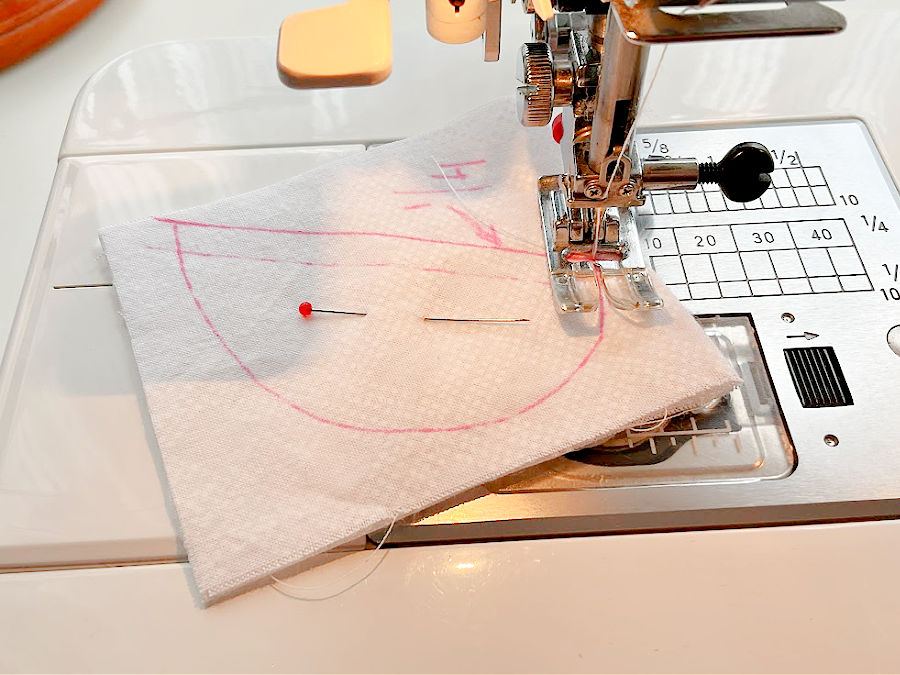
- After sewing, press the seam.
- Using pinking shears, trim close to the stitched curved edge. This helps the wings lay flat and look neat once turned.
- With regular fabric scissors, cut along the drawn straight line.
Turn the wing right side out, smooth it, and press. Do the same steps to create the second wing.
Sewing Skills Practiced in Step 3
This step introduces several important techniques: working with curved stitching lines, adding and understanding seam allowances, which is essential for accurate construction; and trimming seam allowances around curved seams to reduce bulk.
It also reinforces the skill of turning sewn pieces right side out and pressing for shape, both of which are key to achieving a clean finished look.
Step 4. Cut and Attach Interfacing
Using Template #1, trace and cut interfacing pieces for the angel body.
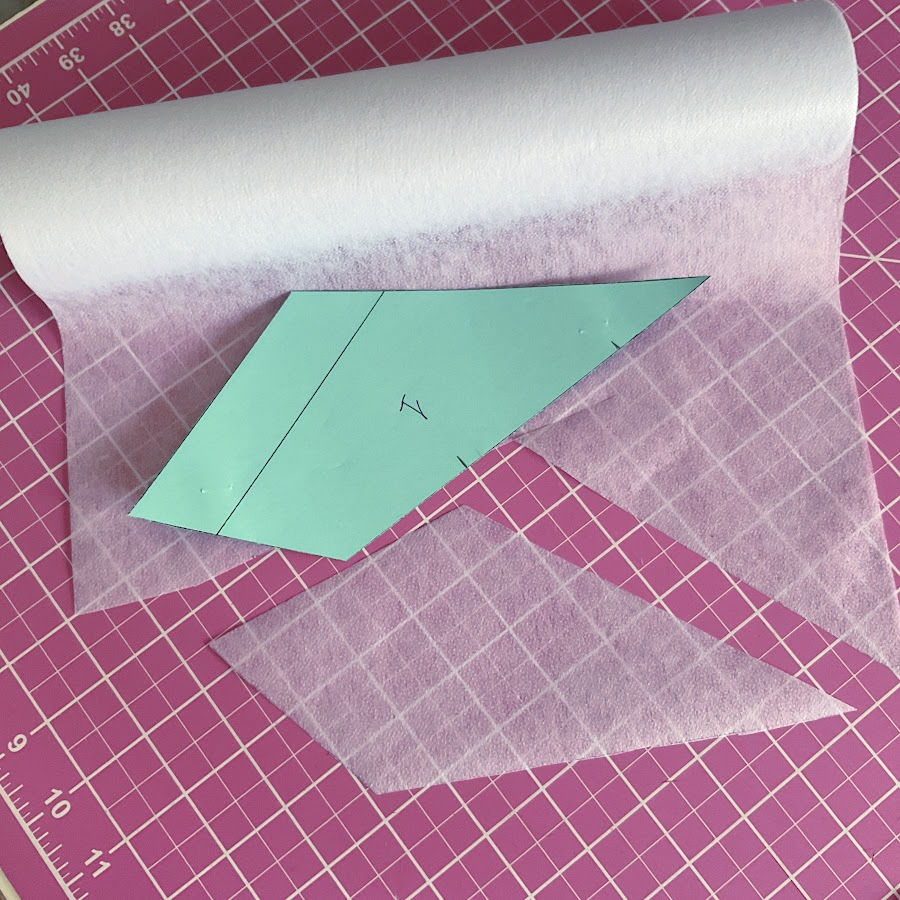
Carefully align the interfacing with the wrong side of one of the angel body pieces. Press gently with your iron to secure the interfacing firmly in place. This adds just the right amount of stiffness.
Sewing Skills Practiced in Step 4
This step is a nice way to get familiar with using interfacing, which is often used in both clothing and craft projects to give fabric a bit more shape. It also helps with cutting fabric following a template, and builds comfort with pressing carefully—a key habit for all kinds of sewing.
These are great beginner-friendly skills, especially for kids learning to sew, because they involve handling different materials and getting used to how fabric changes when it’s pressed and stabilized.
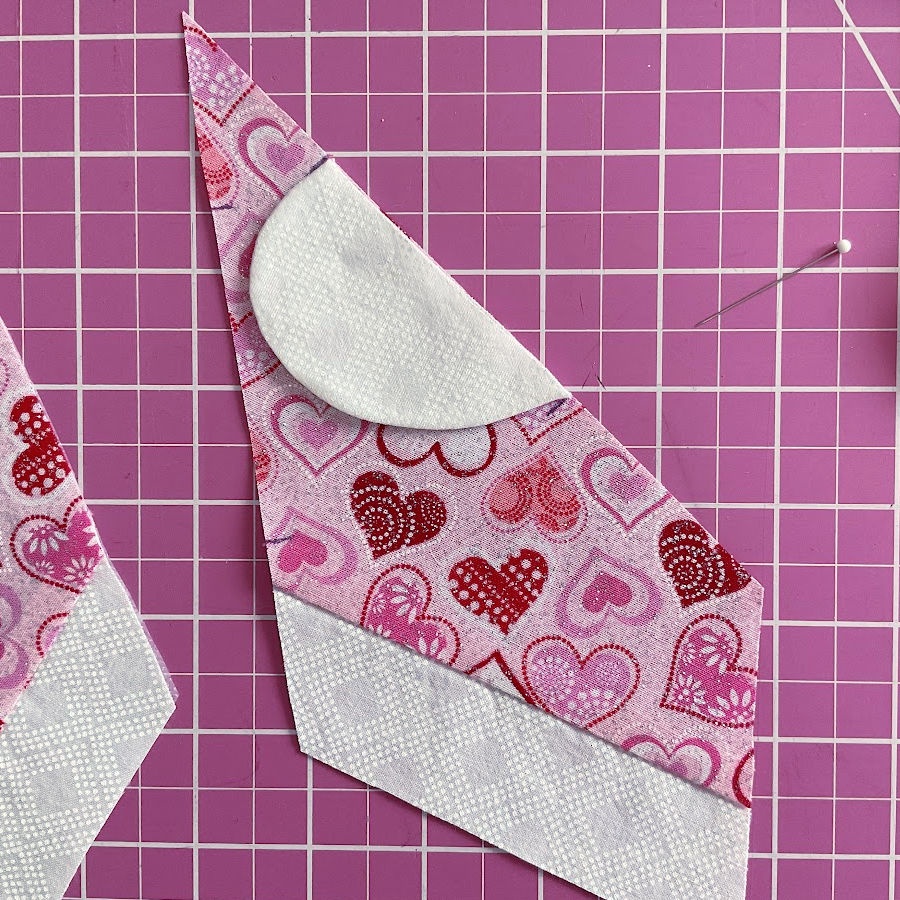
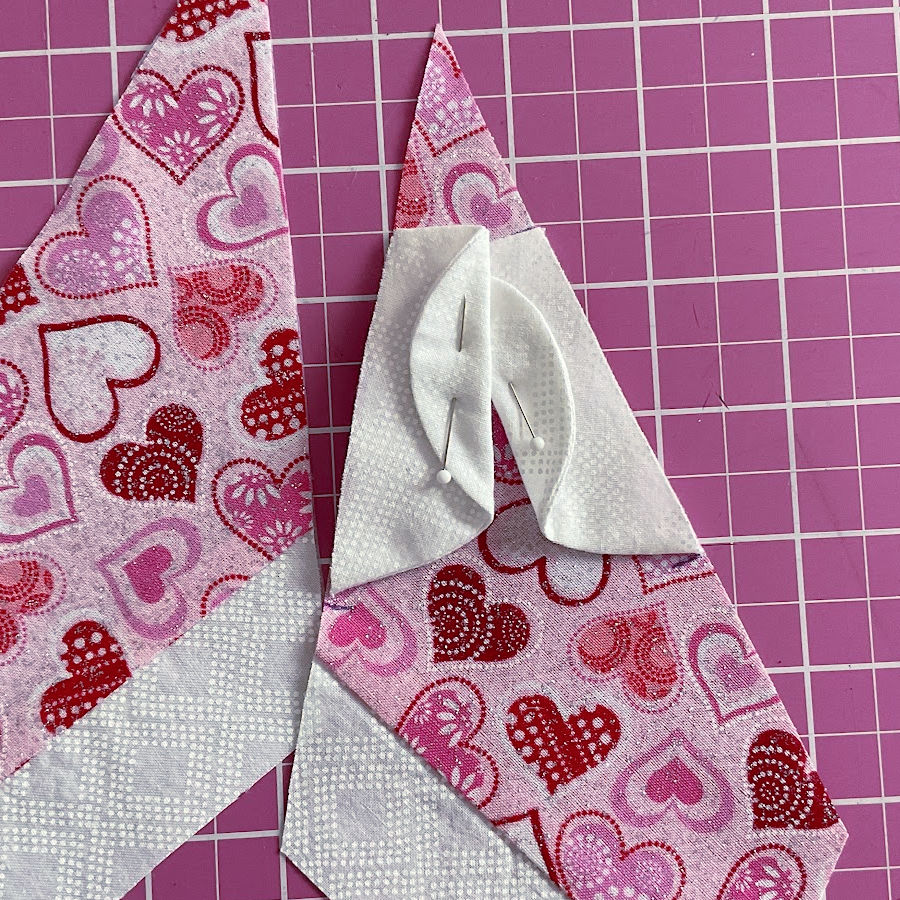
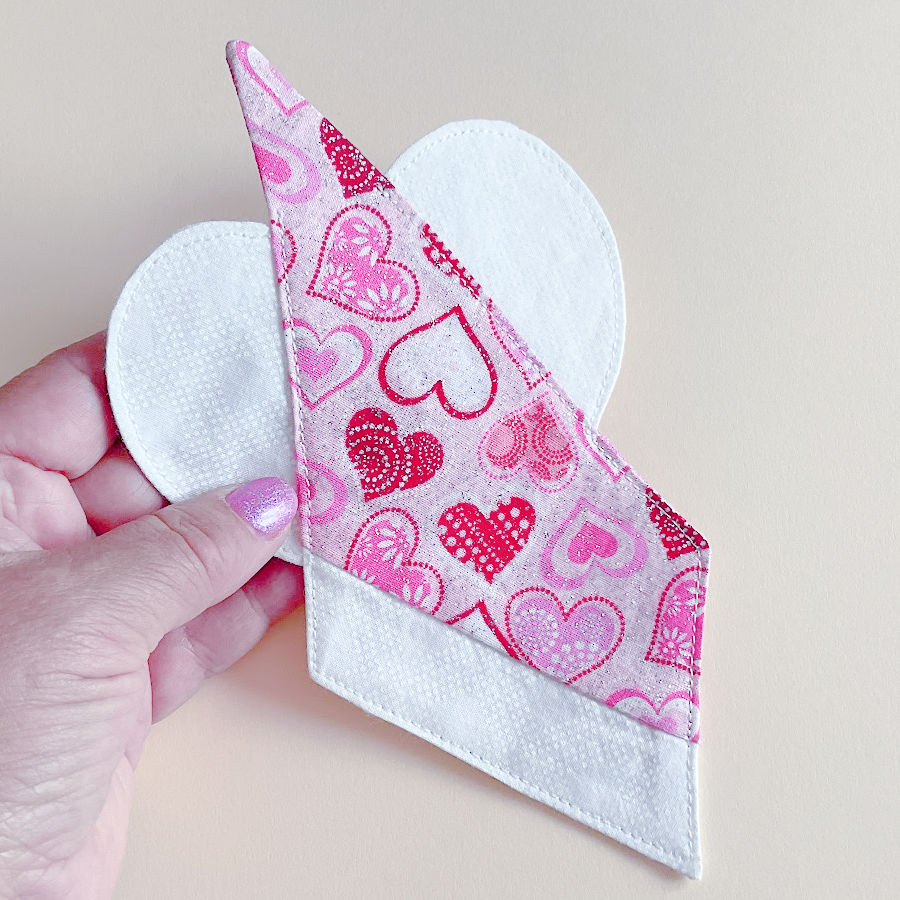
Step 5. Position the Wings
Lay one angel body piece on your work surface, right side up. Place the prepared wings onto this piece, aligning the edges of each wing with the edges of the angel body. Make sure the wings are positioned symmetrically and secure them in place with pins so your angel doesn’t accidentally take flight before you’re ready.
Sewing Skills Practiced in Step 5
This step is a good chance to practice layering fabric pieces and paying attention to fabric direction—right sides together and how everything lines up. It also builds pinning skills, which are simple but really important for keeping things steady while sewing.
Kids learning to sew will start to see how little details like even placement and matching edges make a big difference in the final look. It’s also a gentle introduction to thinking about symmetry when assembling parts.
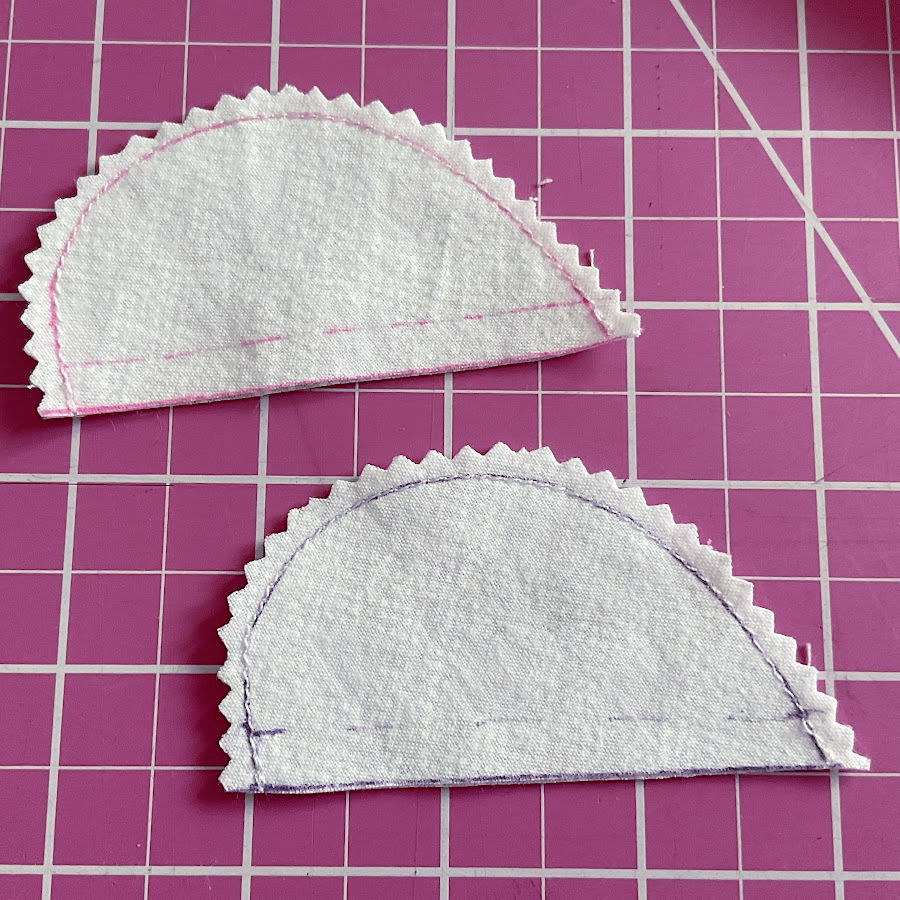
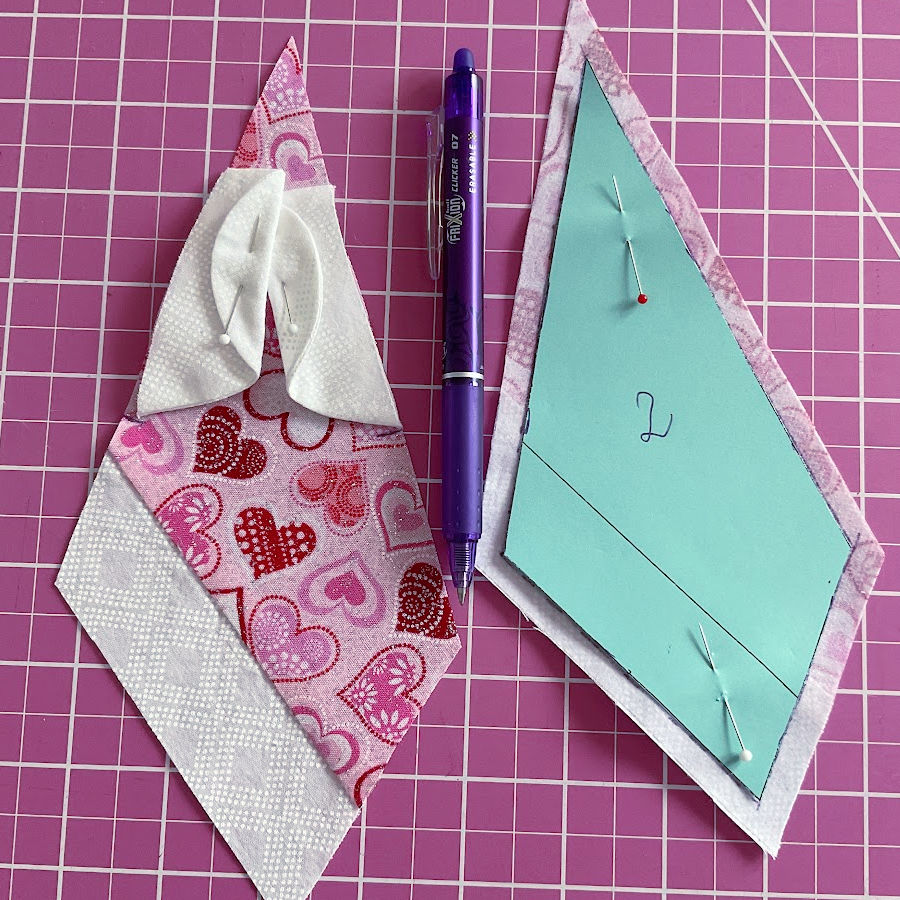
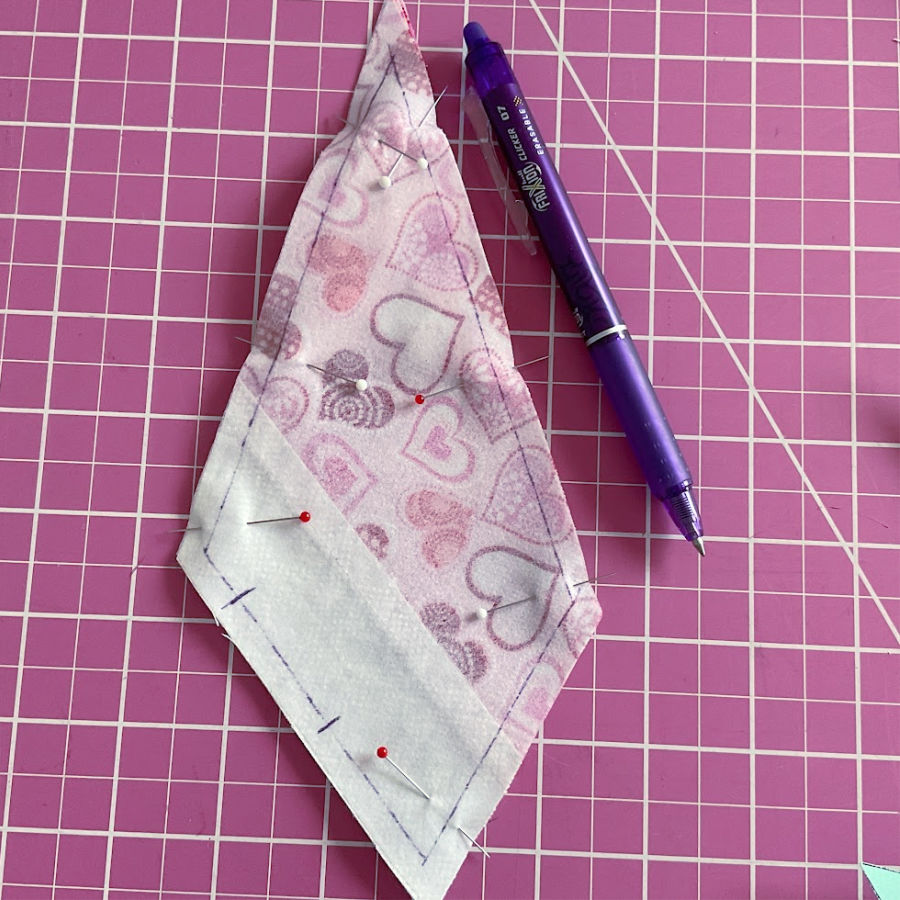
Step 6. Mark Stitching Lines
Next, grab Template #2. This template indicates the stitching lines for the angel. Using the Frixion pen, carefully trace the stitching lines onto your fabric. Mark an opening of approximately 1.5 inches along these lines. This gap is necessary for turning the angel right side out later.
Sewing Skills Practiced in Step 6
Here, the focus is on marking seam lines with precision, which helps improve control when sewing later. It also introduces the idea of leaving an opening for turning, a small but important concept used in many sewing projects like pillows or soft toys.
For kids or beginners, this step teaches how templates guide sewing lines and why planning ahead—even just marking a small gap—can make the whole process smoother.
Step 7. Sew the Angel Together
Carefully stitch along the lines you just marked. Take your time, especially around corners. Remember to leave the 1.5-inch opening unstitched. Press gently to flatten your seams.
Sewing Skills Practiced in Step 7
This step gives practice with sewing on a marked line, which builds control and accuracy—especially useful when working on curves and corners. It also reinforces the habit of stopping and starting at the right places, like leaving an opening for turning.
For kids learning to sew, this is a great way to get comfortable guiding fabric under the needle with a clear visual path, and to see how patience at the machine really pays off. Pressing afterward also encourages care and neatness in the finishing process.
Step 8. Trim and Turn Right Side Out
To help the angel hold its shape, clip the corners close to (but not through) stitching lines. This prevents bunching and helps edges lay flat once turned.
Next, carefully turn the angel right side out through the small opening. Use a point turner to neatly push out corners and edges. Press thoroughly to create a crisp, neat shape.


Sewing Skills Practiced in Step 8
This step is all about finishing techniques that help make a project look polished. Clipping corners teaches why removing bulk in seam allowances matters, especially when turning shapes right side out.
Turning through an opening helps build patience and attention to detail—two big wins for kids learning to sew. Using a point turner introduces a helpful tool and shows how little adjustments can really improve the look of the final shape. And once again, pressing brings it all together with a clean, crisp finish.
Step 9. Topstitch for a Professional Finish
Topstitch around the entire edge of the angel. This stitching closes the opening neatly and provides a finished look. Stitch carefully, keeping an even distance from the edge to maintain a tidy appearance. Think of it as the sewing equivalent of putting icing on a cake.
✅ Related tutorial: How To Topstitch | 17 Topstitching Tips Every Beginner Should Know
Sewing Skills Practiced in Step 9
Topstitching is a great skill to develop early—it teaches how to sew close to the edge with a steady hand and helps improve control and consistency at the machine. It also shows how stitches can be both functional and decorative.
For kids learning to sew, this step builds confidence with visible stitching and reinforces the idea that even the last steps matter. It’s a satisfying moment, too—seeing the whole project come together with that final line of thread.
Step 10. Attach the Head and Hanging Loop
To finish the angel, cut a small length of ribbon and tie a knot, forming a loop. Fold down the pointed end at the very top of the angel to position the ribbon neatly for hanging. Secure the loop in place, and then sew a small button at the front for the angel’s head. Every angel needs personality, and your button choice just became the cutest little face ever.
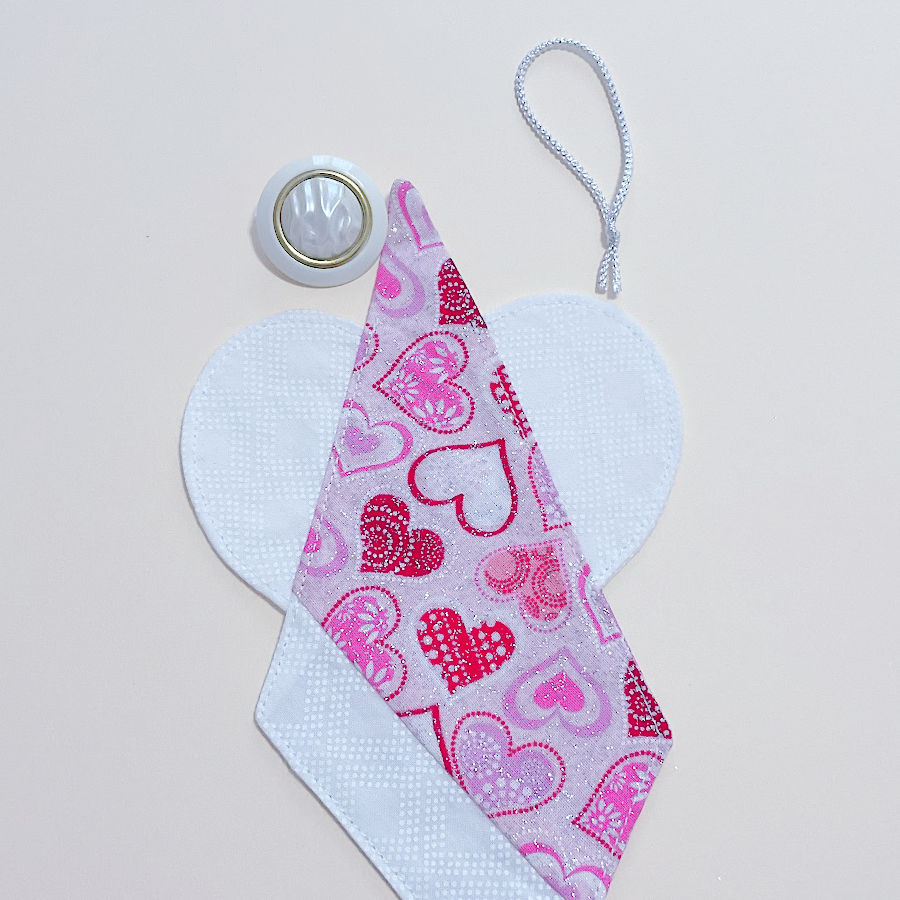
Congratulations! Your charming fabric angels are now ready!
Sewing Skills Practiced in Step 10
This final step adds some fun and creativity. It introduces basic hand sewing, which is useful for attaching small elements like buttons and embellishments. It also reinforces the idea of functional finishing, like adding a loop so the angel can be hung.
Kids practicing sewing will enjoy choosing buttons and ribbons, which encourages decision-making in design. Plus, it’s a great reminder that little details make a big difference.
Don’t stop at just one angel—really, one by itself looks a little too simple. But make a few, line them up or hang them together, and suddenly they become something special. Their charm comes from being part of a group, each one just a little different, like a tiny handmade choir. And while they’re lovely for Christmas, they aren’t only for the holidays. These angels can hang in a sewing room, brighten up a bedroom, or be part of a thoughtful handmade gift any time of year.
If you’re teaching someone to sew—whether it’s a child, a teen, or an adult—this is a wonderful place to start. It covers real sewing skills without feeling overwhelming, and the results are sweet, satisfying, and worth showing off.
So, did this angel tutorial catch your crafty heart? Pin it before you forget! You’ll want it handy the next time you’re looking for a sweet little project. And while you’re pinning, come follow me on Pinterest. I post all sorts of sewing goodies that’ll keep you inspired—and maybe a little obsessed.
latest posts
- What Do You Call a Person Who Sews? I Asked My Readers and Got 1,408 Opinions
- DIY Round Purse: PDF Sewing Pattern and Detailed Instructions
- Mini Wonder Clips By Clover: Useful Sewing Tool Or Just Another Notion?
- Non-Slip Grips For Quilting Rulers: A Small Notion With A Useful Job
- Fabric Eraser for Sewing: What It Removes and When to Use It
- What Is The Best Thread For Sewing Machine Projects? Let’s Find Out!
- Butterfly Quilt Block Tutorial – Foundation Paper Piecing
- How To Sew Quilt Squares So The Corners Match
- Sewing With Fork Pins: How They Help With Pattern Matching, Slippery Fabric, And Seams