
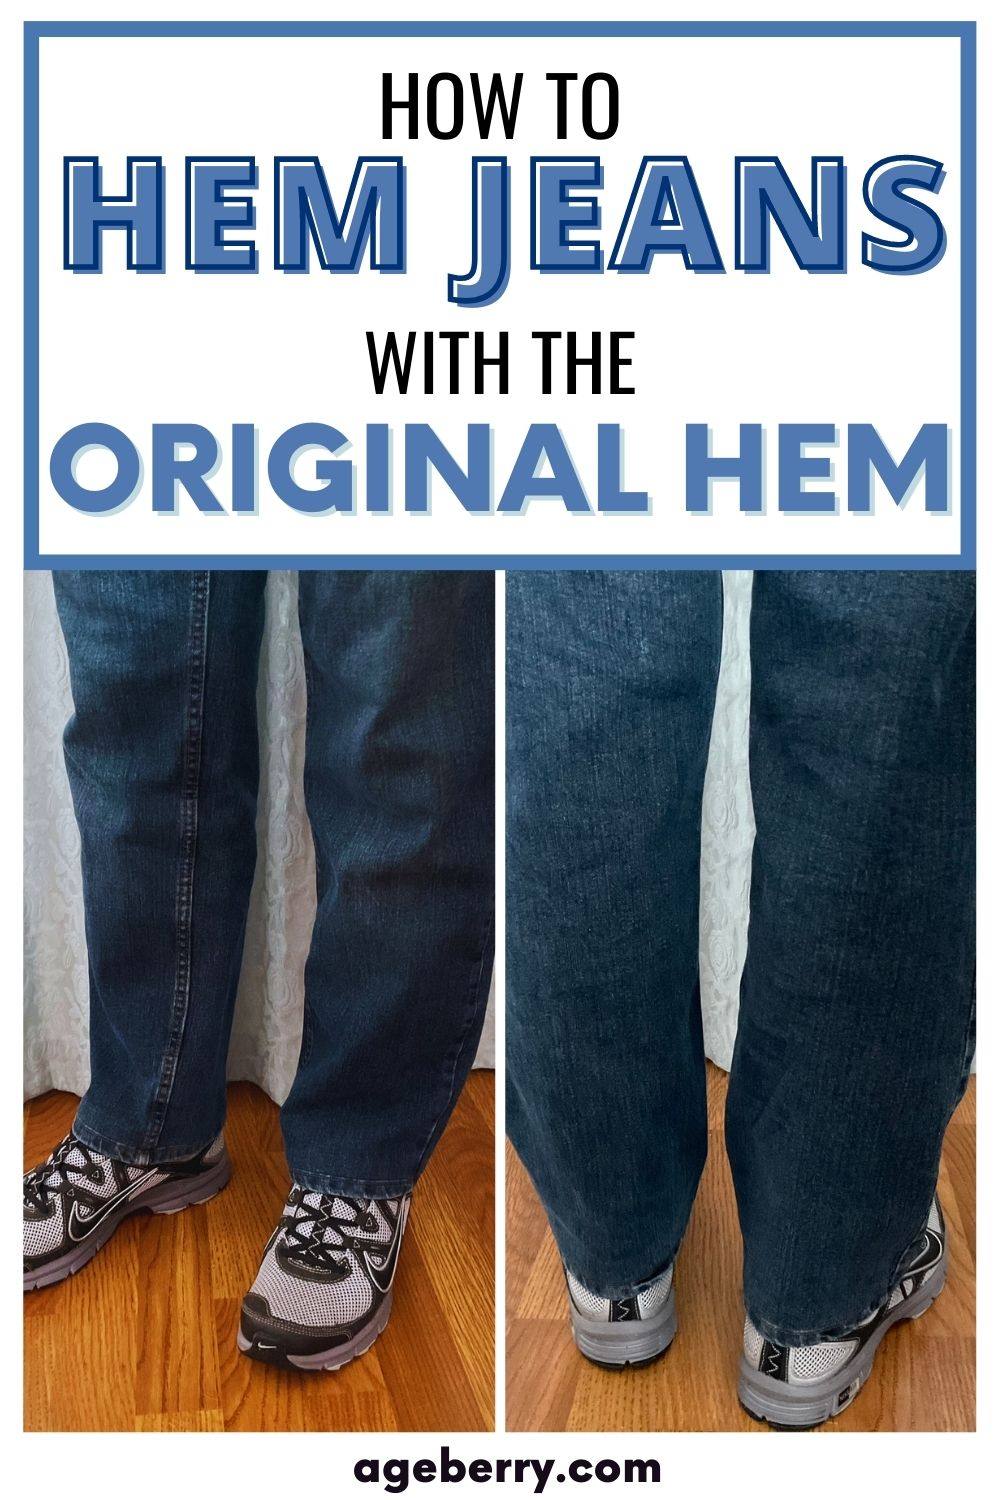
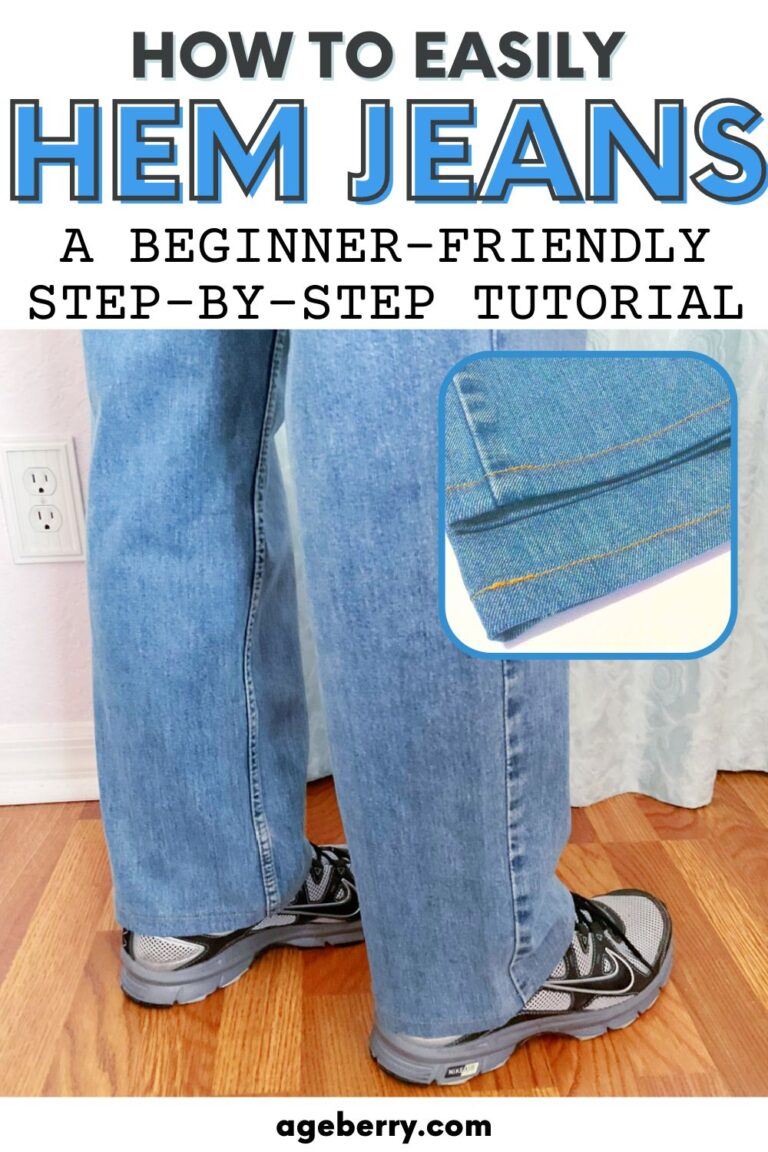
How to Hem Jeans with The Original Hem
Jeans are a wardrobe staple, but finding the perfect fit can be a challenge. Even when you find the right pair, you may still need to hem them to get the desired length. While there are many hemming techniques, hemming with the original hem is a popular choice among those who want to maintain the authenticity and natural look of their jeans. Not only does it preserve the original design and stitching of your jeans, but it also gives them a more professional look. In this article, I’ll show you how to hem your jeans with the original hem and give you tips on how to achieve the perfect fit.
Why Hem Jeans with the Original Hem?
With this technique, you’ll preserve the original hemline, maintaining a professional appearance without anyone knowing your jeans have been altered. Here are the benefits of hemming jeans with the original hem.
- Maintains the original stitching and thread color.
When you hem jeans with the original hem, you don’t have to worry about trying to match the thread color or stitching pattern, as it’s already there. This means that your hem will blend in seamlessly with the rest of the jeans, giving you a more polished look.
- Saves time and effort compared to traditional hemming methods.
Hemming with the original hem is a quick and easy process that can save you time and effort.
- Blends seamlessly with the rest of the jeans, making it virtually undetectable.
- Allows you to maintain the distressed look of the hem, which is often lost with traditional hemming techniques.
If your jeans have a distressed or frayed hem, hemming with the original hem allows you to maintain this unique feature. This can be difficult to achieve with traditional hemming methods, which often require cutting off the original hem and creating a new one.
Attention! For those who prefer visual learning, I’ve created a detailed YouTube video tutorial. This video will guide you through the steps of how to hem jeans with the original hem. It’s designed to complement my written tutorial and help clear up any confusion you might have about hemming jeans at home. So, if you like the video format, at the bottom of this post, look for a YouTube video version.
What Style of Jeans is Best to Shorten while Keeping the Original Hem?
This method works best for straight-leg jeans, rather than flared, bootcut, or tapered jeans. It is a versatile method that can be used for both stretchy and non-stretchy denim, as well as skinny or wide leg jeans.
This method is particularly effective for straight leg jeans because it allows you to keep the original hem intact, which can be difficult to recreate on flared or tapered jeans. However, with some careful measuring and marking, it is possible to use this method on other styles of jeans as well.
However, if you have flared or tapered jeans, the traditional double folded hem method may be a better option for you. So, check out my other tutorial on hemming jeans with the traditional double-folded hem.
What You’ll Need For Hemming Jeans With The Original Hem
Note: Some of the links on this page are affiliate links. This means I will receive a commission if you order a product through one of my links. I only recommend products I believe in and use myself.
Sewing Machine: A reliable sewing machine, especially a heavy-duty machine, is essential for hemming jeans. Make sure it’s in good working order and has a straight stitch function, preferably with an adjustable needle drop position.
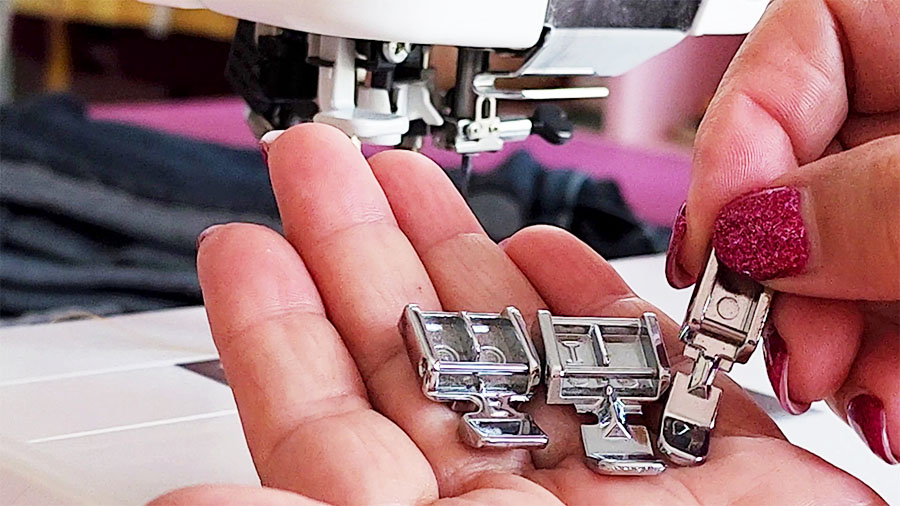
Zipper Presser Foot: Its unique shape allows you to sew very close to the seams with greater precision and accuracy. The zipper foot typically has two openings, one for the left needle position and another for the right. This allows you to adjust the needle drop position left and right, exactly where you need it to achieve the precise stitching that your project requires.
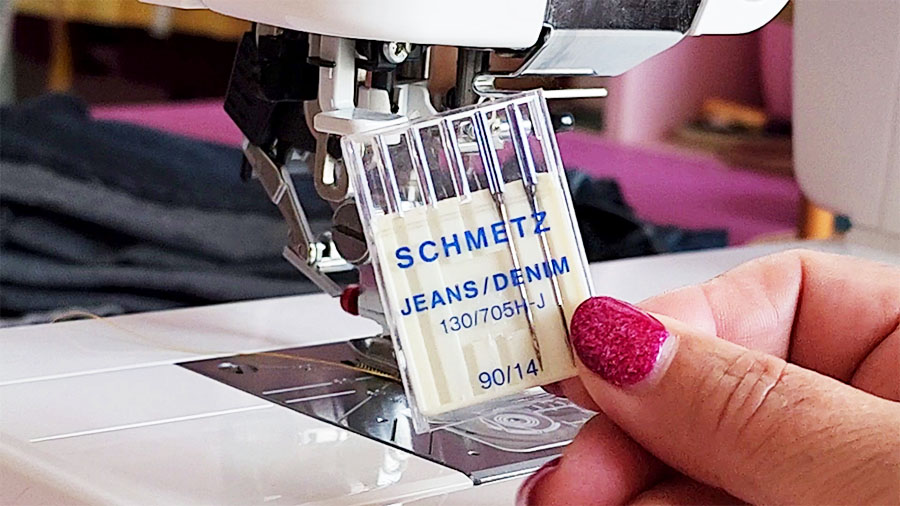
Jeans/Denim Needle: This is a heavy-duty needle designed for sewing through denim. It’s important to use the right needle size to prevent the needle from breaking or skipping stitches. Use 90/14 size or 100/16.
Ruler: It will help you to measure and mark the correct hem length on your jeans.
Chalk or Marking Pen: It’s used to mark the hemline on your jeans. Use a marking tool that is easy to see on denim fabric and one that doesn’t smudge.
Fabric Scissors: You’ll need a good pair of scissors to cut the excess fabric from your jeans after hemming.
Straight pins for sewing: They will help to hold the fabric in place, ensuring that your hem is even and straight. Choose strong pins that can withstand the thickness and weight of denim fabric. The pins need to be sharp enough to penetrate the fabric easily, but also sturdy enough to hold the layers of fabric securely in place.
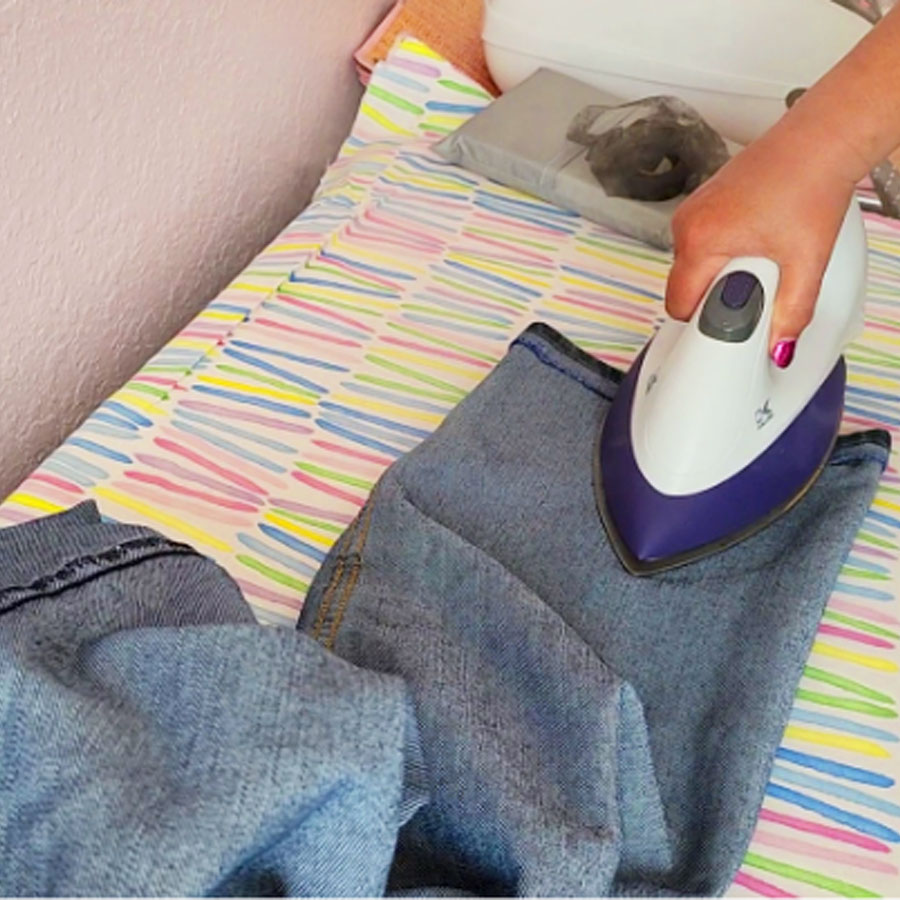
Iron: Ironing is an essential step when hemming jeans as it helps to create a sharp and polished fold, makes sewing easier, and help set the hem in place.
Sewing thread of choice: You’ll need to choose a thread color that matches the color of your jeans. Make sure to use a strong and durable thread that can withstand the wear and tear of everyday use.
How to Hem Jeans with The Original Hem
Looking for a way to hem your jeans while preserving the original hem? This step-by-step guide will show you exactly how to hem jeans with the original hem, so you can achieve a neat, professional-looking finish in no time.
Tools
- Sewing machine
- Zipper presser foot
- Jeans/denim needle
- Ruler
- Chalk or marking pen
- Fabric scissors
- Straight pins for sewing
- Iron
- Sewing thread of choice
Instructions
Step 1. Determine the Desired Length of Your Jeans
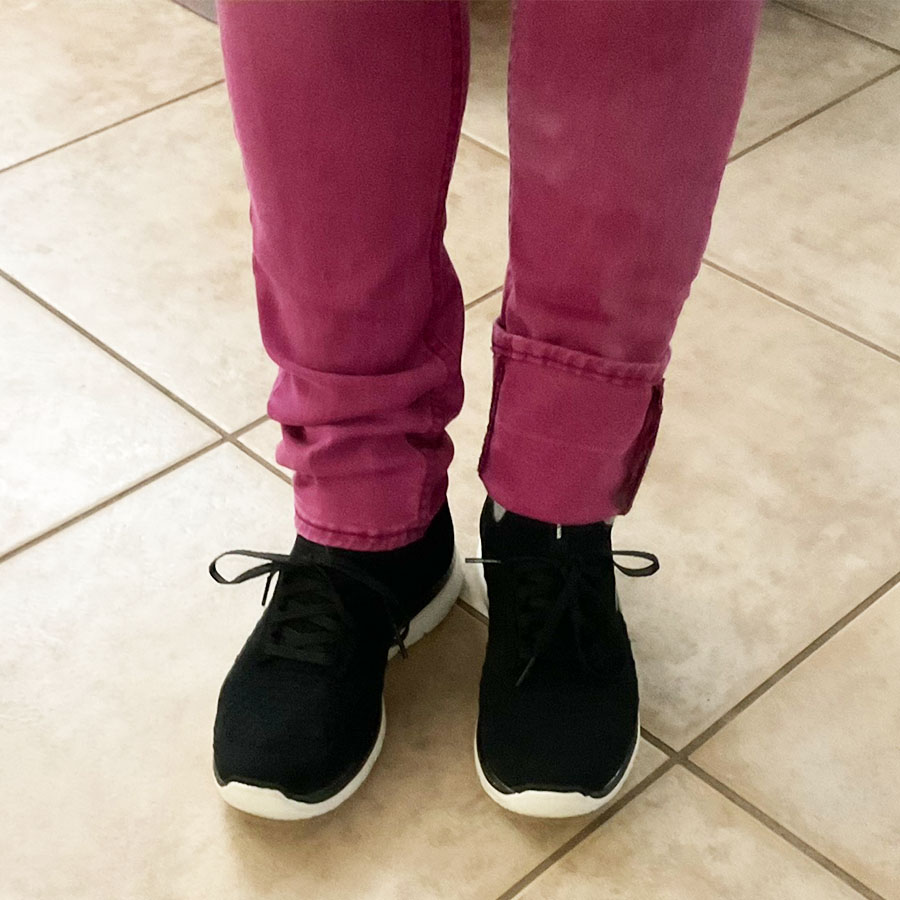
Put on your jeans, stand in front of a mirror, and fold up the bottom to the length you want. Wear the shoes you plan to wear with these jeans. Ensure the length is comfortable even when you are sitting down.
After you have determined the desired length, ask a friend to help you pin the hem in place temporarily. But you can also do it yourself because denim is a sturdy material and the folds will not unfold when you bend to pin them.
This will allow you to see how the jeans will look at the new length and make any necessary adjustments before you start sewing. When pinning the hem, check that it is even all the way around, and use strong and sturdy straight pins that can hold the thick denim fabric securely in place.
In the image below, you can see me trying on a pair of jeans in front of the mirror. I have always wanted pink jeans because it's my favorite color, but when I found a pair that I liked, they were way too long. I folded one leg of the jeans to the length I wanted, while the second leg remained unfolded. But you should fold both legs of course.
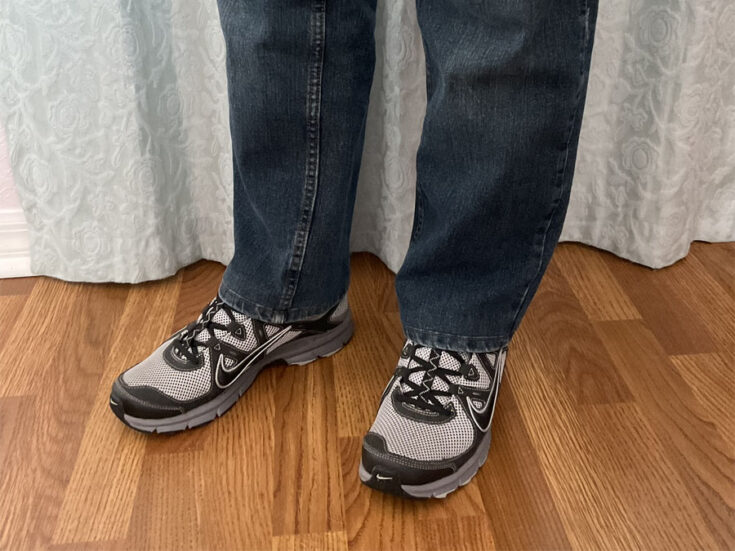
These are not the jeans that I am hemming for this tutorial. I am actually hemming my husband's jeans with the original hem. However, I forgot to take the proper image for step 1, so I took this image of me trying on the jeans instead.
Related tutorial: How Long Should Pants Be? A Comprehensive Guide To Hemming Pants
Step 2. Measure the Folded Length and Calculate a New Fold for Hemming Jeans with the Original Hem
- Take off the jeans
- Put them on a flat surface
- Mark the new fold line with chalk
- Take off the pins
- Unfold the hem
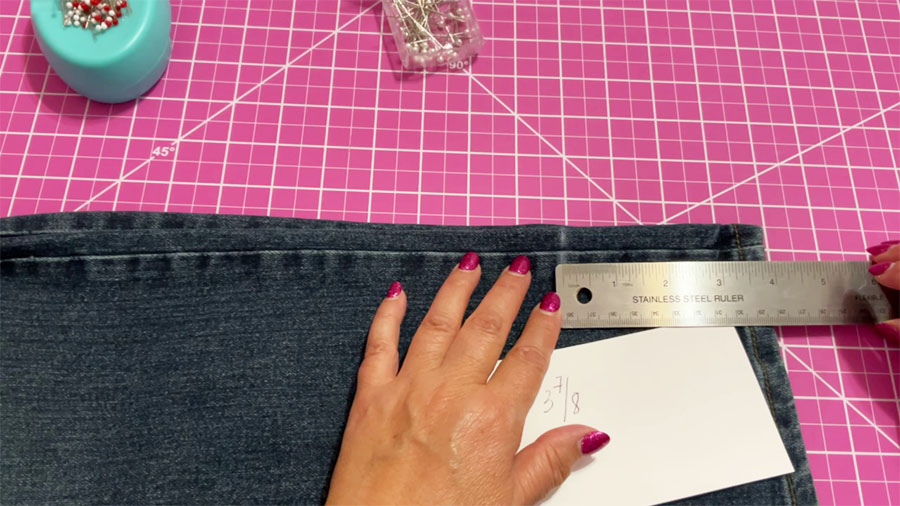
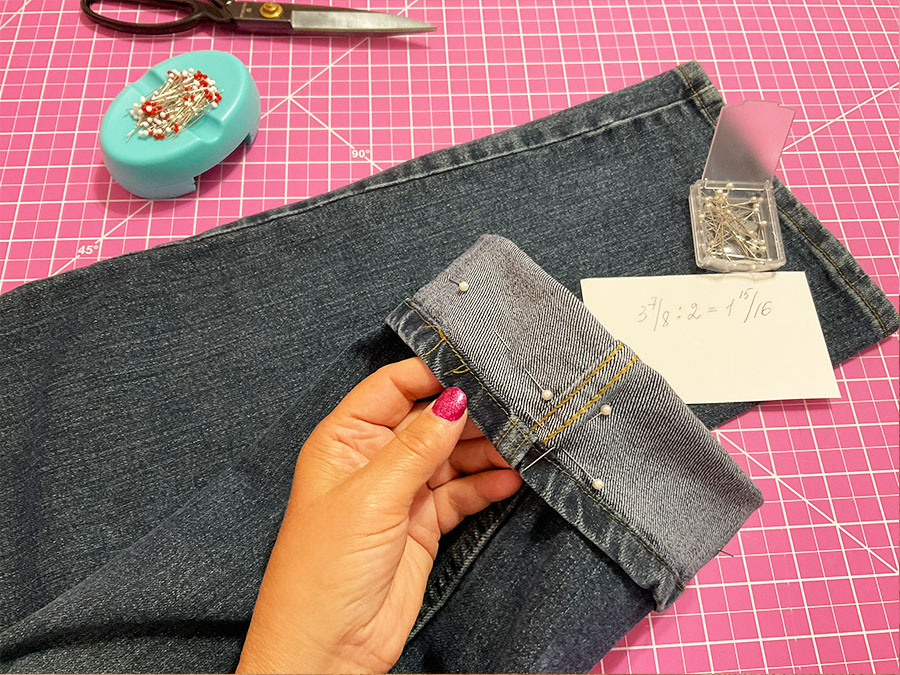
Measure the distance between the marks and the bottom of the jeans, and make sure to include the original hemline. I measured 3 ⅞” . You number will be different of course.
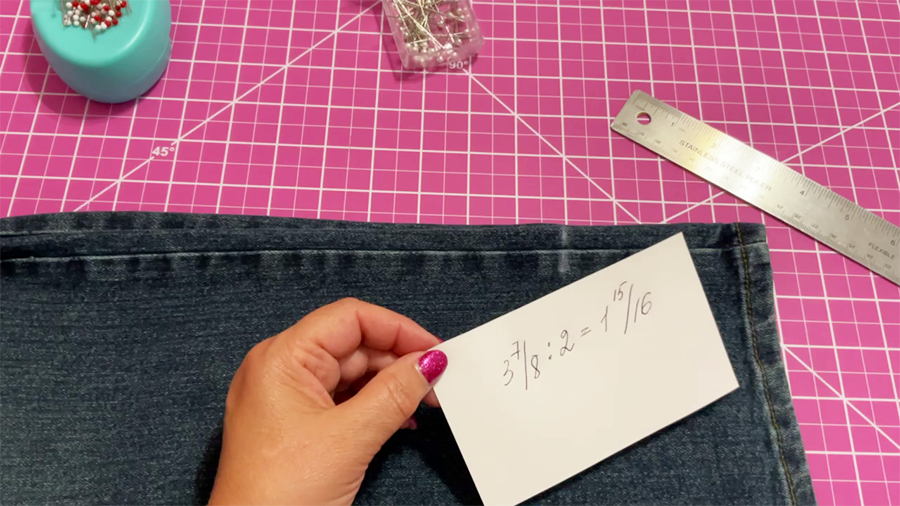
Divide this measurement in half (on a piece of paper). My number is 1 15/16”. That’s all we will need to calculate the new fold.
Step 3. Fold and Secure the New Fold
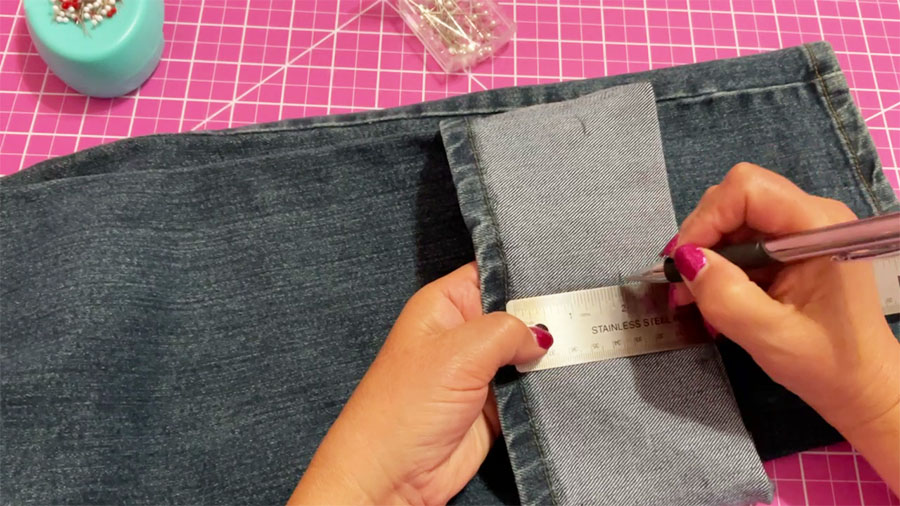
Now use this number to create a new mark: measure this distance from the inside edge of the original hem.
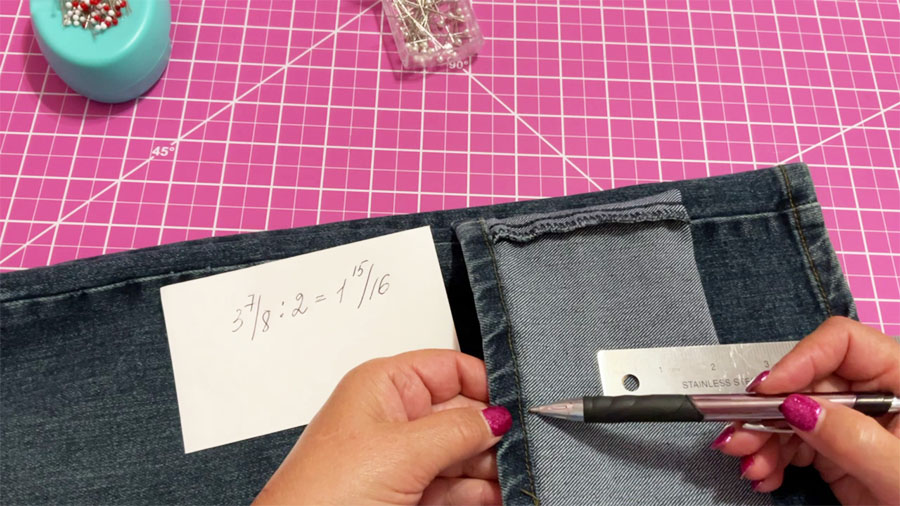
It’s very important NOT TO INCLUDE THE ORIGINAL HEM IN THIS MEASUREMENT. You need to measure this distance all the way around the leg. These new marks show the new fold line.
Fold the jeans along the marks and secure the folded section with pins.
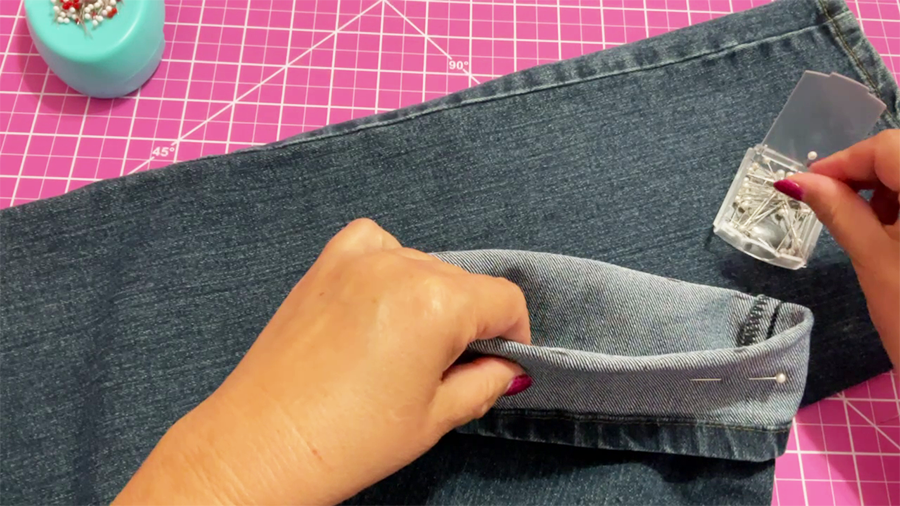
Pin the seams first - the side seam and the inside seam, and make sure that the seams match. Then, pin the fold in the middle.
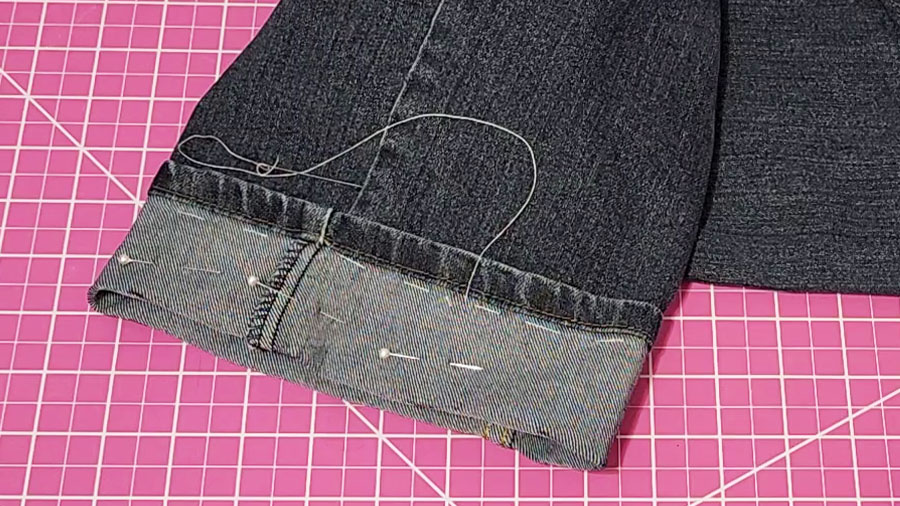
You can press the new fold to create a crisp edge before stitching.
I like to baste the new fold by hand sewing close to the inside edge of the original hem. This basting stitch is especially important to keep the seams matched so they don’t misalign under the presser foot when you sew.
Step 4. Prepare Your Sewing Machine for Hemming Jeans with the Original Hem
Install a zipper foot. There are a few types of zipper feet available, but the narrow foot is the best one to use. If you don't have a narrow foot, you can use the one you have.
Insert a special denim needle.
Next, adjust the needle drop position so that the needle will sew very close to the inside edge of the original hem. This will ensure that your stitching is as close to the original hem as possible.
Thread the machine with the thread that matches the color of your jeans, and fill the bobbin with the same thread. Adjust the sewing machine tension to ensure that the stitches are even and the thread doesn't break.
Adjust the stitch length - 3.5 is a good length for denim.
Before you start sewing on your jeans, it's a good idea to try the settings on a scrap piece of denim and make any necessary changes. This will help you get a feel for the machine settings so that the stitching looks neat and professional.
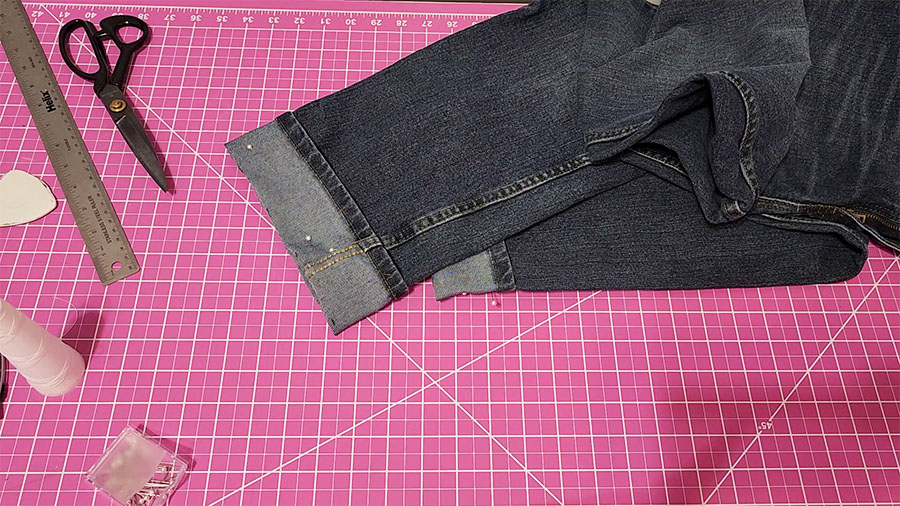
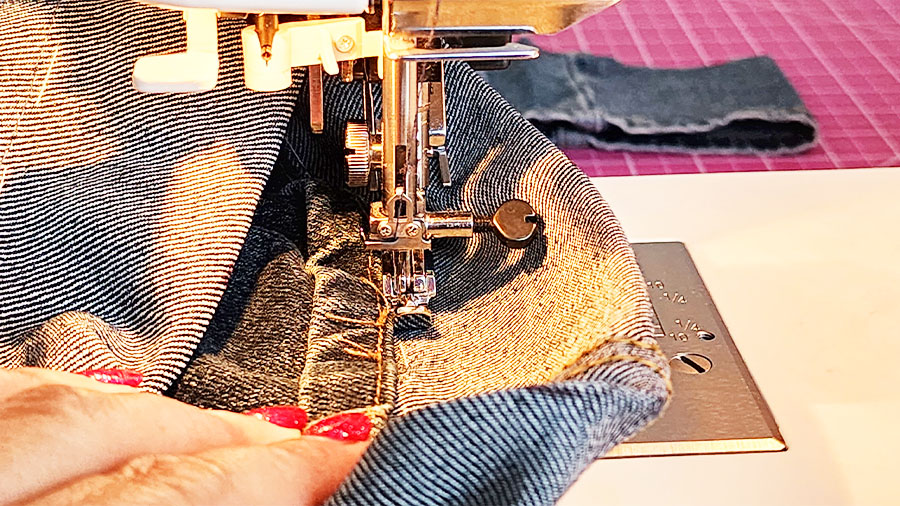
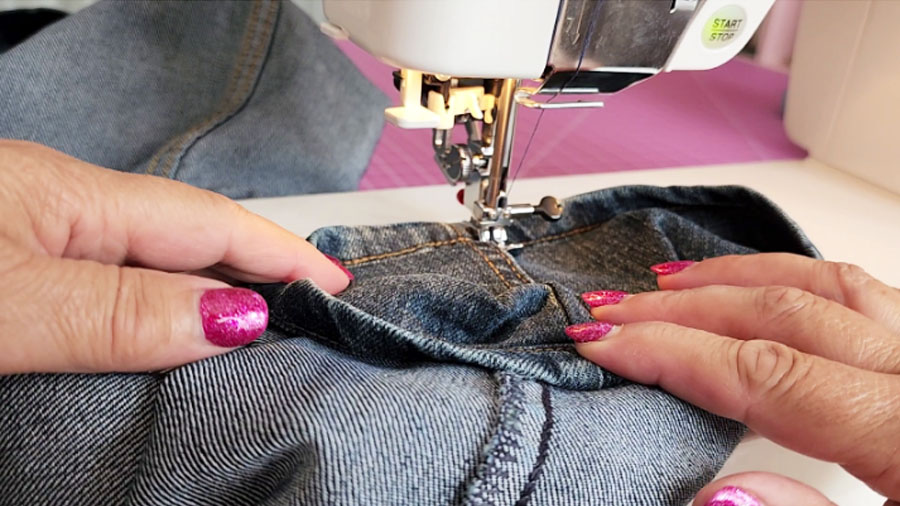
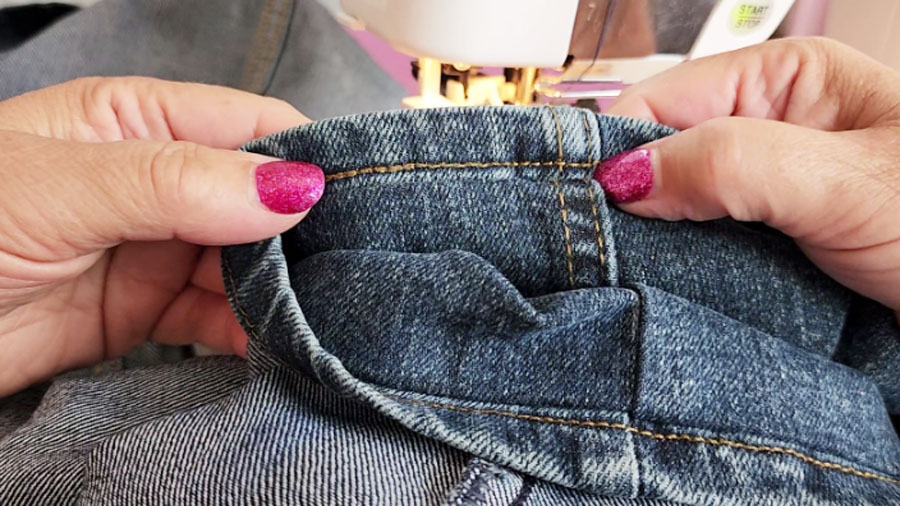
Step 5. Stitch Close to the Original Hem
Stitch as close to the original hem as possible without going into it. You can use the free arm on your sewing machine slipping the pant leg onto it.
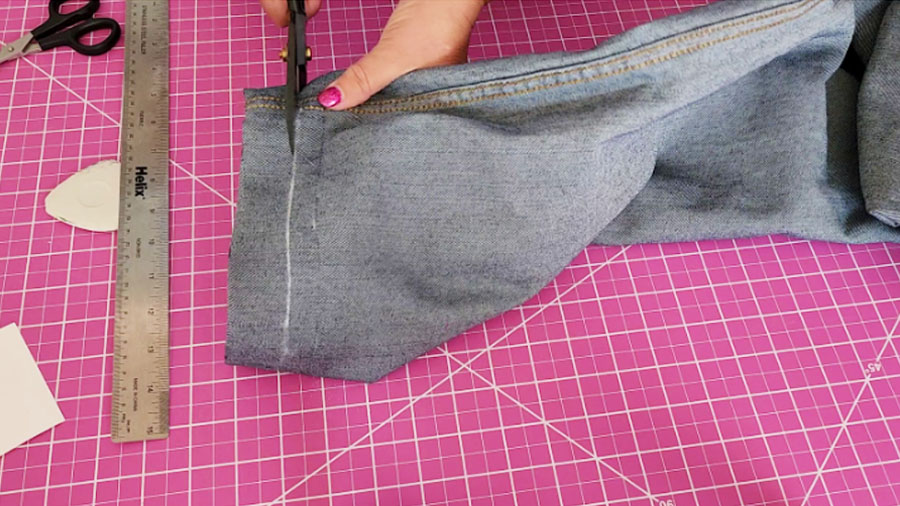
Step 6. Trim Excess Fabric and Finish the Edges
After sewing, turn the folded seam allowance inside the pant legs and try on the jeans to confirm that the new length is good. If any adjustments are needed, use a seam ripper and make the necessary changes.
Depending on the amount of fabric you had to fold for the new hem, you may want to trim the inside folded edge especially if you actually hemmed it up quite a bit. If you're satisfied with the alteration, mark a line from the folded edge, leaving about ⅝” of seam allowance, and cut off any excess fabric inside the jeans.
Step 7. Finish the Raw Edges to Prevent Fraying
There are many ways to finish the raw edges, you can read about all of them in my tutorial How To Stop Fabric From Fraying: 21 Proven Ways That Work.
For this project, I used my serger to overcast the raw edges.
 .
.
Step 8. Secure the Seam Allowance
Press the hem making sure that the seam allowances stay inside the jeans and the hem is nice and flat.
You need to keep this seam allowance in place because sometimes it might flip out as your foot comes through the bottom edge. It can be frustrating and require constant adjustment.
To prevent this from happening, there are a few things you can do.
One option is to add some machine stitches along the side seam. By sewing a line of stitches about a half inch from the edge, you can attach the seam allowance to the rest of the fabric, which will help to keep it in place and prevent it from flipping out.
Another option is to top stitch along the entire folded edge. This topstitching will keep the seam allowance in place on the inside of the leg. But I don’t like it because the seam will be noticeable, unfortunately, even if you perfectly match the thread to the color of your jeans.
You can also do some hand stitches at the side seam and inside seam areas.
Notes
With these steps, you'll have perfectly tailored jeans that still maintain their original, professional-looking hem. Your jeans will look as if they were custom-made just for you and no one will be able to tell that they have been shortened.
Recommended Products
As an Amazon Associate and member of other affiliate programs, I earn from qualifying purchases.


You May Also Like

So here is my YouTube video. Check this out if you like to see a helpful video on hemming jeans (instead of reading).

Did you find this tutorial helpful? If so, save this pin (see below) on your sewing board so you can come to the article later when you need this information on how to hem jeans with the original hem, and follow me on Pinterest for more tips, tutorials, and inspiration!
latest posts
- What Do You Call a Person Who Sews? I Asked My Readers and Got 1,408 Opinions
- DIY Round Purse: PDF Sewing Pattern and Detailed Instructions
- Mini Wonder Clips By Clover: Useful Sewing Tool Or Just Another Notion?
- Non-Slip Grips For Quilting Rulers: A Small Notion With A Useful Job
- Fabric Eraser for Sewing: What It Removes and When to Use It
- What Is The Best Thread For Sewing Machine Projects? Let’s Find Out!
- Butterfly Quilt Block Tutorial – Foundation Paper Piecing
- How To Sew Quilt Squares So The Corners Match
- Sewing With Fork Pins: How They Help With Pattern Matching, Slippery Fabric, And Seams

Excellent tutorial!
Thank you!