
Let me start with a quote: “You may turn into an archangel, a fool, or a criminal—no one will see it. But when a button is missing—everyone sees that.” ― Erich Maria Remarque

It’s SEW TRUE! Right? Actually, sewing on a button is one of the simplest sewing techniques. Everybody can learn it. And not necessarily only women, men can sew on a lost button also. And for men, a missing button is sometimes way more embarrassing than for a woman!
It is really easy but there are some small tricks you should know so that your button stays strong and looks nice.
After reading this tutorial and watching a few videos you will have a better idea of how to sew a button back on pants, on shorts, on a shirt, on a pillow, and on any other place that needs a button. There are specific issues when sewing a shank button, and differences between sewing two-hole and four-hole buttons or a reinforced button. It is even possible temporary to attach a no-sew instant button without sewing!
So read this tutorial and don’t be like the guy in this joke:
Husband and wife are dressing for a party. And husband asks – what do you think, my dear, which shirt should I wear – the one with 2 missing buttons or the one with a dirty collar?


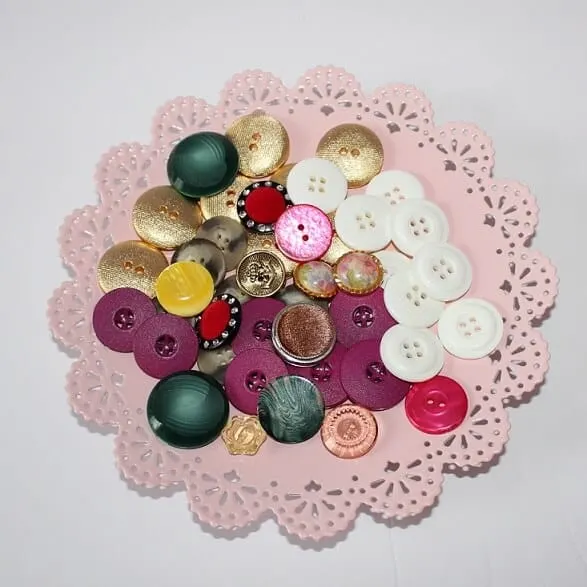
1. First of all, find a matching button
Before actually sewing on a button you will need to do some preparation. There is no problem if you manage to catch the fallen button. But if you have no idea where you lost it you have few possibilities.
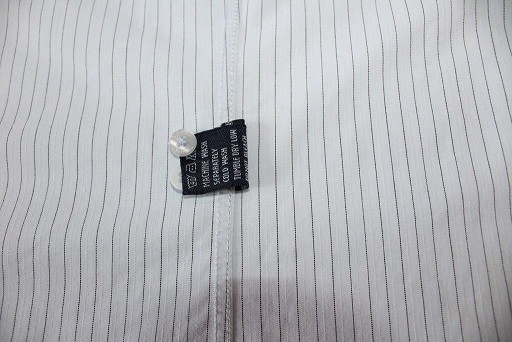
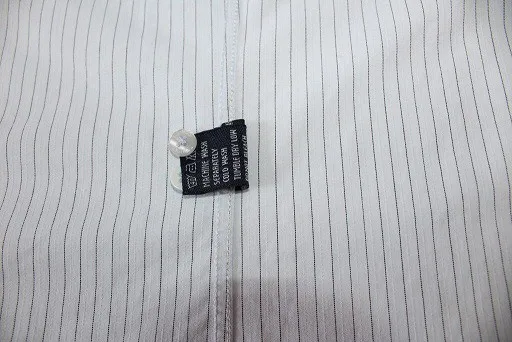
Men’s shirts usually come from stores with spare buttons. You can locate them inside your garment.
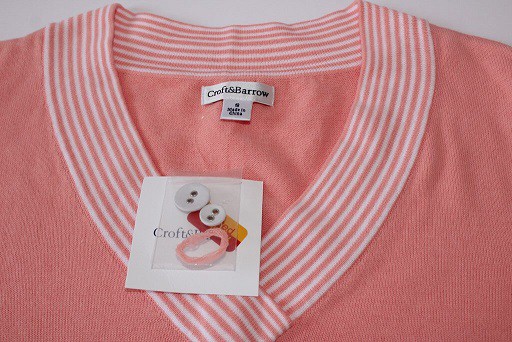

Women’s blouses and dresses often come with small plastic bags attached to the tag. And in these bags, you can find spare buttons, as well as some thread to fix the problem.
Most of the time I collect these bags (men’s buttons are usually attached in a place that is not inconveniencing you when wearing them) and I put them in a box for later use. MOST of the time, sometimes I simply detach the bag and “I will store it later”, then the bag is lost. Don’t make the same mistake. Have a small box where you collect these.
If you can’t find the spare button and can not find one like it, you can try to cut off the last button of the shirt or the blouse if you usually tuck them in and these parts of your cloth are hidden.
If you still can’t find the button, you will have to buy exactly the same or very similar button in stores, or change all the buttons, if you really like the clothing item. Beware that you will need buttons of the same size, the buttonholes will of course be the same.
And now some joke about it:


– Look here, Peter! Do you see this button in my hand? I found it in my soup!
– Oh, I am much obliged to you, sir! I was looking for it everywhere!
Note: Some of the links on this page are affiliate links. This means I will receive a commission if you order a product through one of my links. I only recommend products I believe in and use myself.
2. Prepare necessary tools
Of course, you will need a needle and a thread. For coats, leather jackets, and other outer garments you will need a bigger needle than for silk blouses and lace dresses.
If you will use a thick needle with a big eye for thin clothes you can make unrepairable holes in the garment. And with a small thin needle, you can’t go through heavy fabric. I know, it stands to reason, but needs to be said again; how many times did you start a job with the needle on hand just because it was there, already threaded? I know I did!
Now about threads. Usually, the thread has to match the color of the button or the cloth and it has to be strong enough for the button to stay forever.
When you buy thread you can check its strength right in the store, just break the end and see how easy it goes. The most used colors for store-bought clothes are black and white, so you don’t need to buy threads of all available colors just in case.
Also, the thread has to match the thickness of the fabric. Threads for coats and leather jackets should be thicker than threads for shirts, blouses, and dresses.
There are even special button sewing threads you can buy in stores; they tend to be thicker than usual thread. Sometimes, if you don’t have any thread you can use just dental floss but only for thicker fabric.


From my experience certain general purpose threads like this one here are also strong enough and therefore suitable for sewing buttons, especially cotton wrapped polyester threads. They come in all colors.

Prepare also scissors for cutting threads. A sewing pin, a toothpick, a ruler or a measuring tape, a thimble, and scotch tape are optional. It is better to use them but not always necessary.
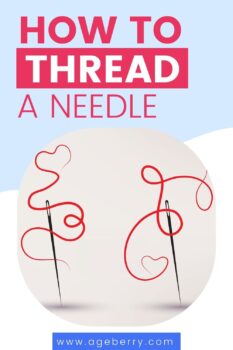
3. Thread the needle
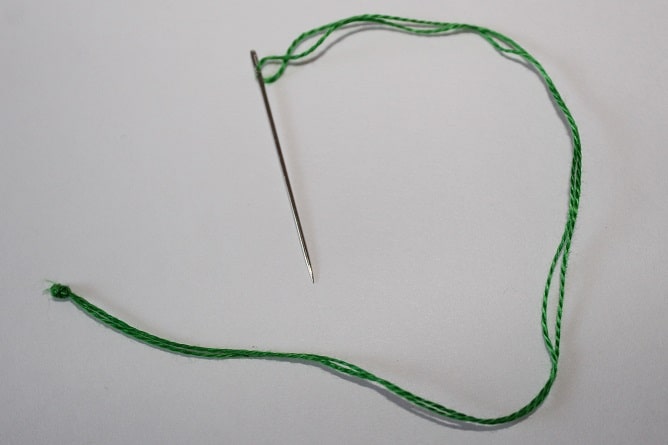
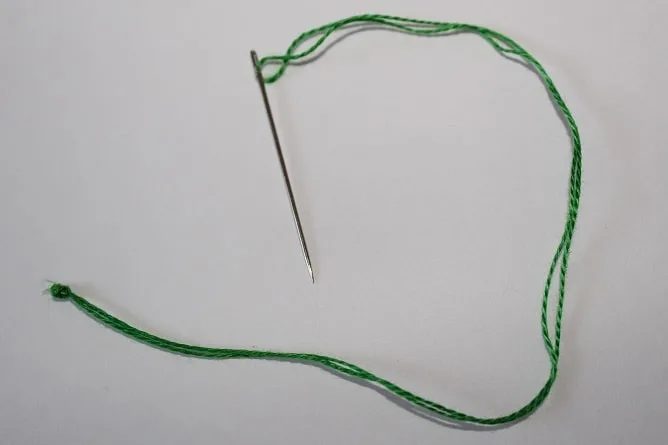
Cut the thread with sharp scissors. If you just break it with your hand, the break will result in fuzzy ends and you will have problems putting it through the eye of the needle. The length of the thread should be 60-65 cm (or 23-25 in).
Pull the thread through the needle and make it double. You will notice I used a needle threader, the thread is relatively thick.

You will need to secure the thread – just tie a knot at the end of the double thread making sure it is large enough not to slip through the fabric.

Or you can use this technique – wrap the thread around your finger, roll the thread between your fingers and pull it tight.

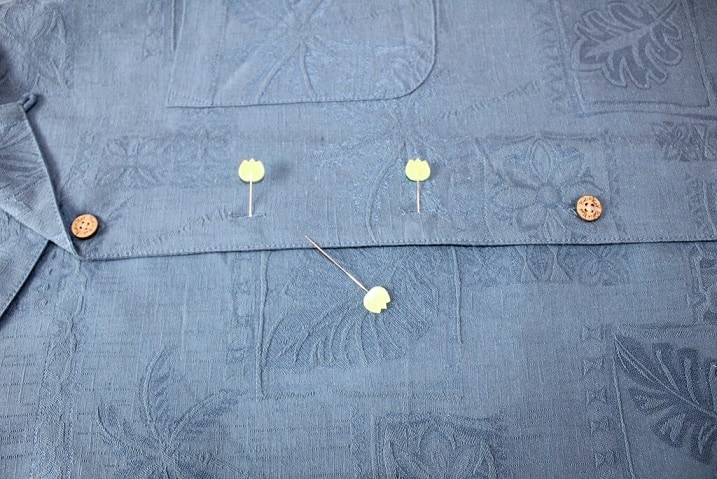
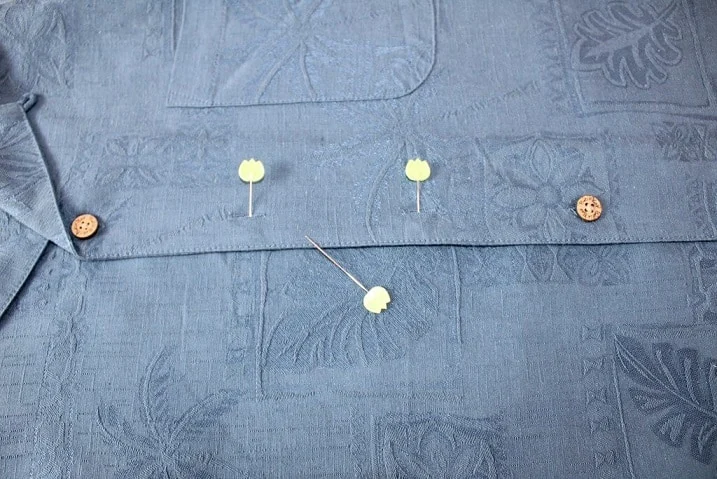
4. Position the button
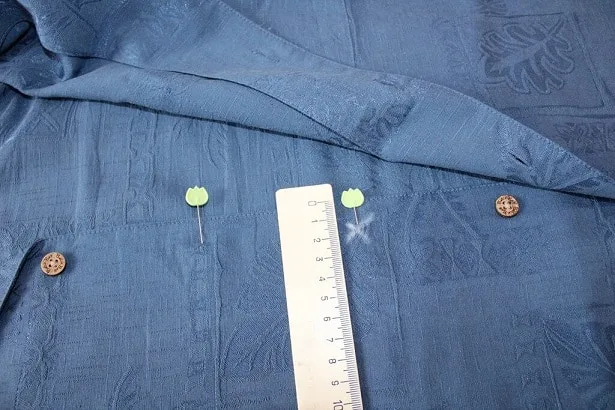
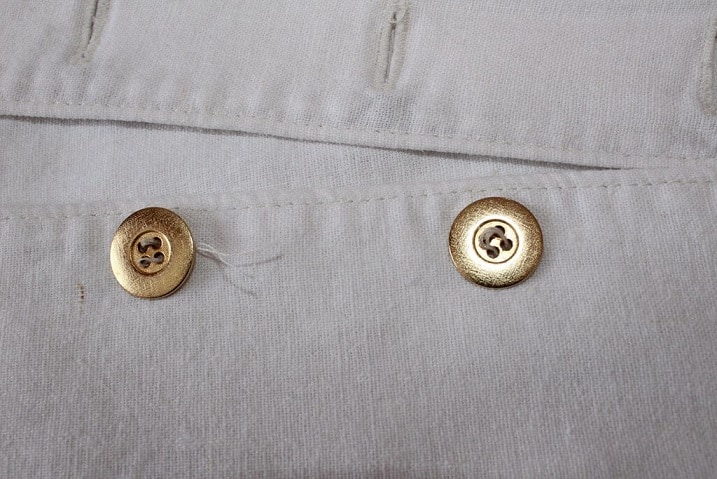
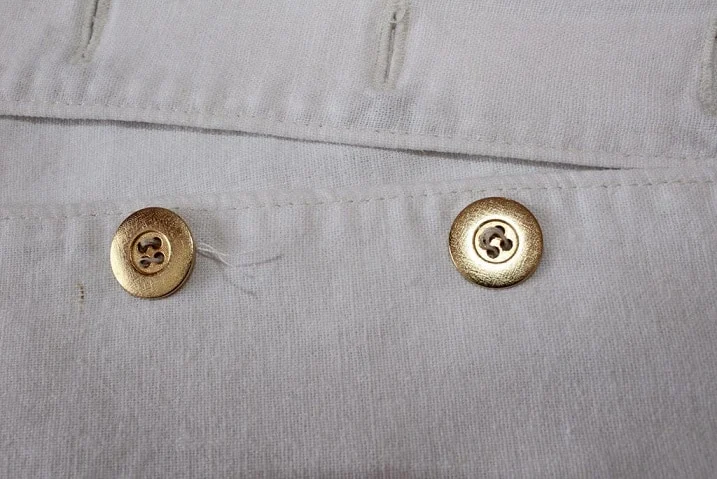
It is very important to put the button in the proper place especially if it is in a highly visible spot of the garment.
Sometimes you can see clearly where the button was previously sewn because there are traces of the original stitches.
But sometimes there is no mark left, so you will have to figure it out. How? Fasten all remaining buttons and mark the spot with a sewing pin where the buttonhole is. Now unfasten all the buttons and measure the proper distance for the button from the edge of the garment. If necessary move the pin.

5. Start sewing (see the video below)
Further instructions are good for buttons with 2 or 4 holes. For buttons without holes go to step 9 of this tutorial. Push the threaded needle through the fabric, starting on the right side of the garment so the knot is at the marked spot. This way your knot will not be seen on the wrong side and your sewing will look very neat.
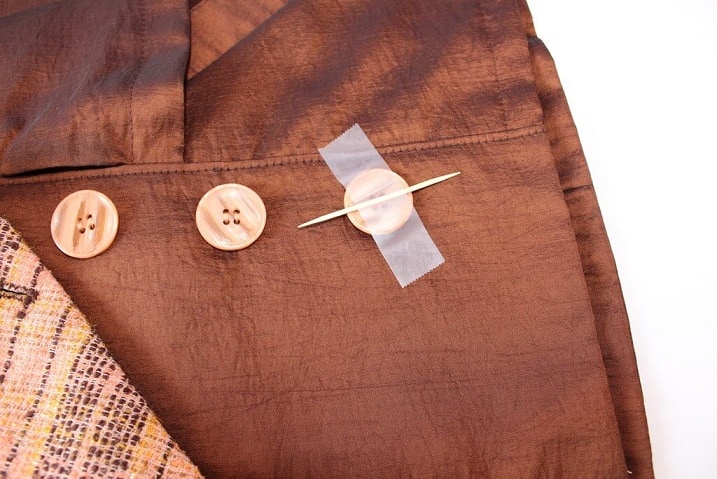
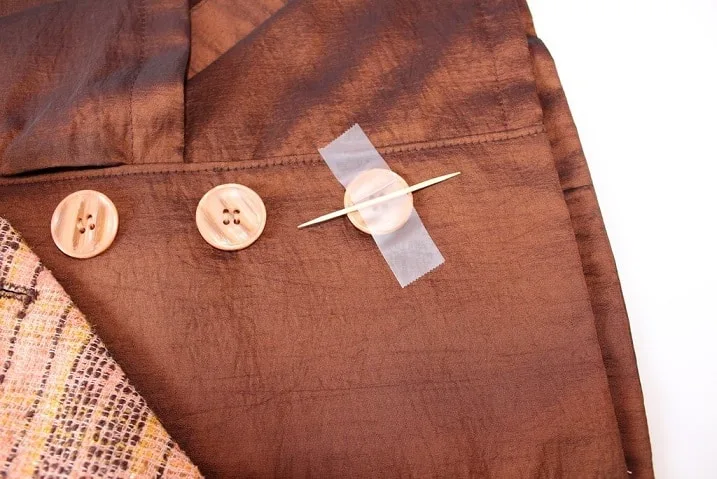
Now there are a few little secrets you can use. Put the button. Place a straight pin or a toothpick on the button between the holes. It will create some room under the button so the button will not be sewn too tight to the fabric and the fabric will not pucker.
But you have to hold the button and the pin or toothpick on it in place, so it doesn’t move. It is not really easy, especially if the button is small. So put a piece of scotch tape over it – and the button will not slip from its proper place.
Bring the needle back and push it through one hole in the button. Pull the thread taut all the way through. And now push the needle down through the next hole and through the fabric. Then just keep coming up through one hole and down through the next. Stitch through each hole 5-6 times making sure the button is securely in place.
6. Make a shank for the button
After you finish the previous step remove the tape and the pin or toothpick and come up with the needle underneath the button. Don’t go through the hole in the button anymore.
And now a very important step – wrap the thread a few times around the stitching underneath the button. This will create some kind of shank that will help the fabric of the garment to fit comfortably under it. This wrapping will also protect the stitches and help hold the button in place.
7. Secure stitches
Now take the thread back to the wrong side of the garment and make a few secure stitches to prevent the thread from unraveling.
For this make a small stitch and stop when you have a little loop to insert your needle through. Bring the needle (still threaded of course) through this loop and pull the thread tight. It will form a knot close to the fabric. You can do it twice just to make sure your thread will not come undone. Cut the thread close to the knot.

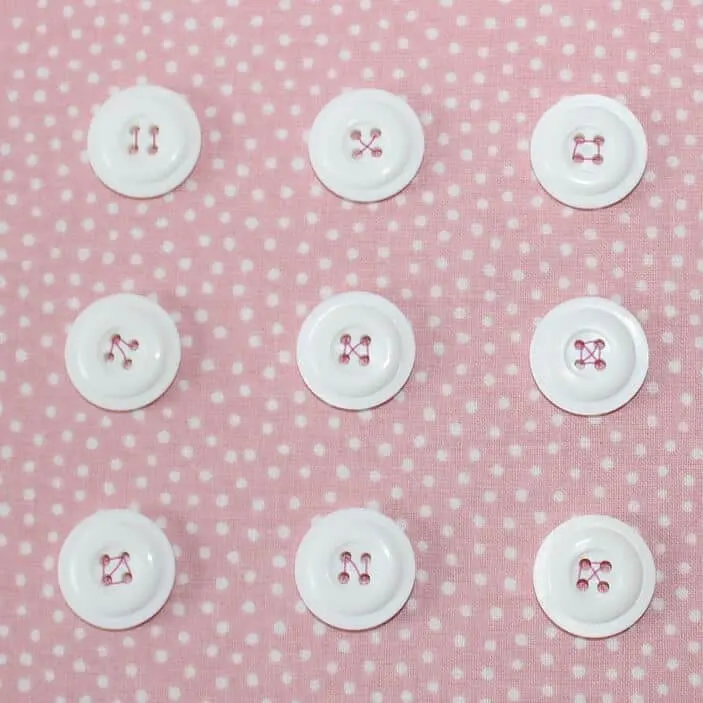
8. Sewing 4 holes buttons
If your button has 4 holes you can sew it crosswise or using parallel stitches. Remember to see how other buttons are sewn on the garment and use the same method. Below are some patterns to sew on a 4 holes button. I used a contrasting thread on purpose, in reality, you would employ the thread that is already in use for the other buttons.

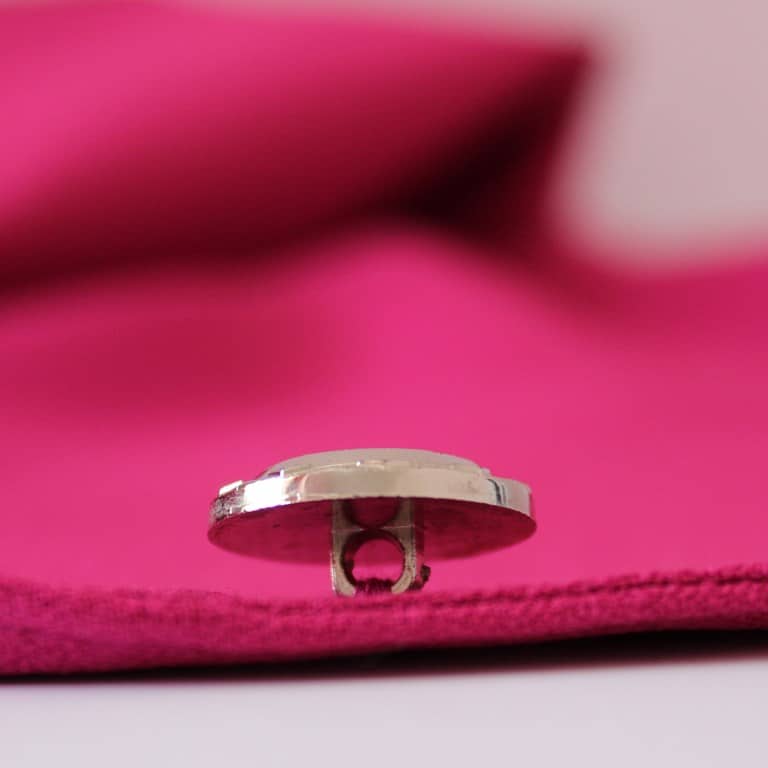
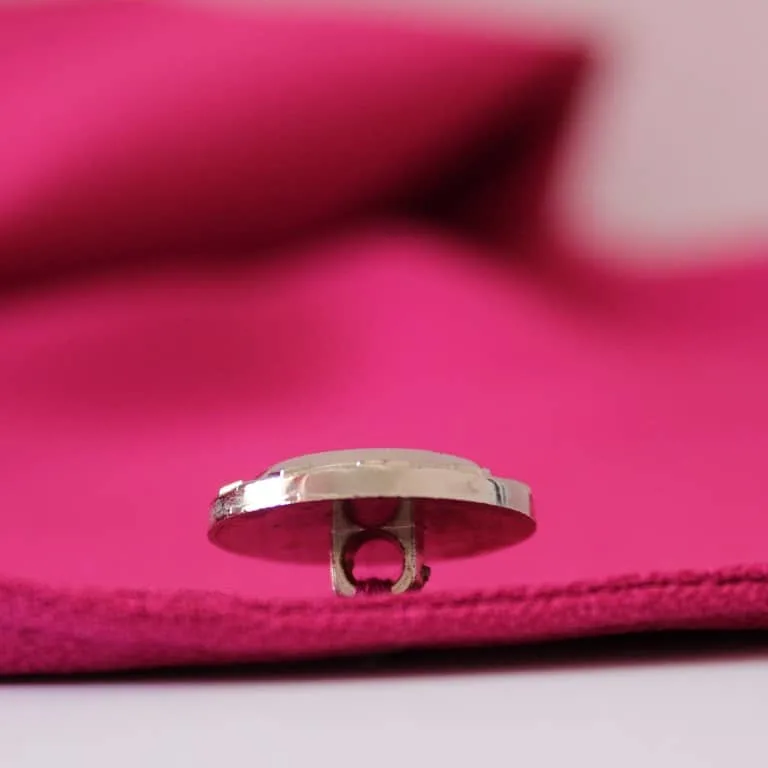
9. Sewing buttons without holes
If you replace a button without holes, it usually already has the shank. So follow these instructions.
- Push the threaded needle through the fabric, starting on the right side of the garment. This way your knot will not be seen on the wrong side and your sewing will look very neat.
- Bring the needle back and pull it through the hole in the shank of the button. Pull the thread taut all the way through. And now push the needle down through the fabric.
- Then just keep coming up and down through the fabric and through the shank. Stitch 5-8 times making sure the button is securely in place.
- Secure stitches. Take the thread back on the wrong side of the garment and make a few secure stitches to prevent the thread from unraveling. For this make a small stitch and stop when you have a little loop to insert your needle through. Bring the needle (still threaded of course) through this loop and pull the thread tight. It will form a knot close to the fabric. You can do it twice just to make sure your thread will not come undone.
- Cut the thread close to the knot.
10. No-sew instant button replacements
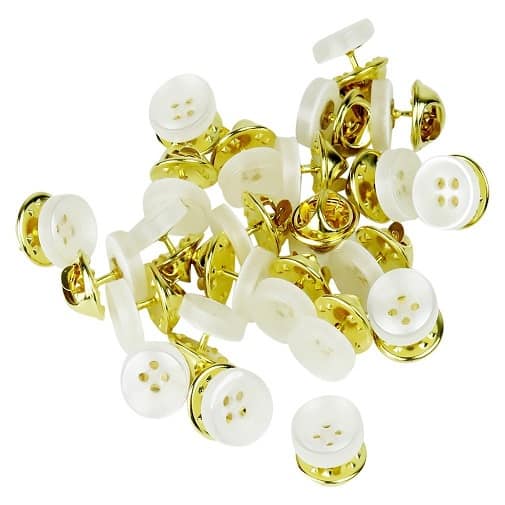

You can easily repair your clothes ( well, mostly shirts, vests and other items with small white buttons) with these no-sew instant buttons. If a button popped out from your shirt when you are at work and you have no needle and thread to sew it back on then these “emergency” buttons will help you to make it through the rest of the day without embarrassment.
Have in mind that these buttons don’t work as normal buttons would. With them, you just pin your shirt closed. They are easy to use: simply un-clip the button, place it where the button is missing and clip it back together. They pierce through the fabric easily and are removable.
These are intended for an emergency temporary fix. Don’t forget to sew real buttons in place with a needle and thread when you have time.
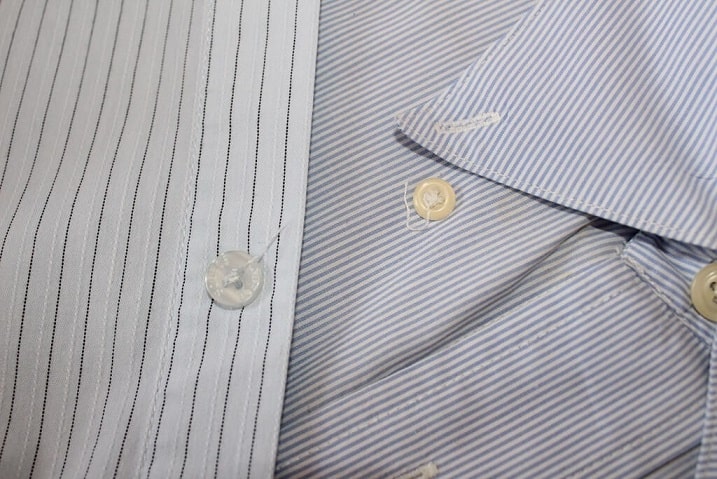
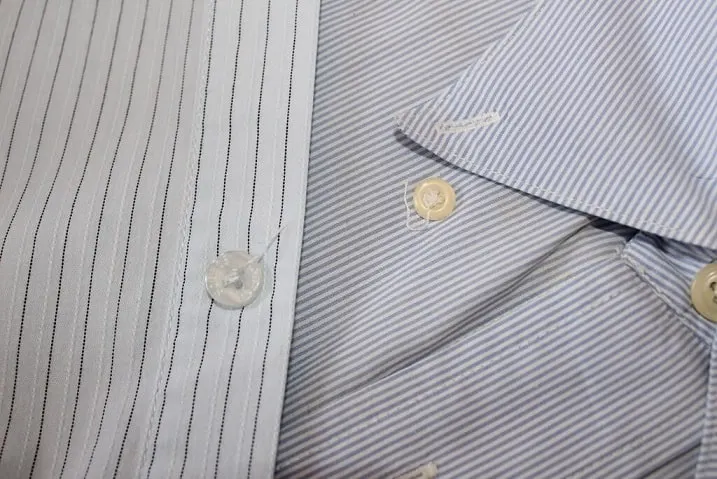
11. How to sew reinforced buttons
If you are replacing a button on your outerwear clothes (coats, leather jackets, etc.) consider adding a reinforced button to the interior of the garment. Usually, it’s used for the heavy fabric to give extra support for the closure. But sometimes we can find them in very lightweight clothes like silk chiffon. My article about sewing a winter coat shows some examples of coats, all of them have reinforced buttons of course.
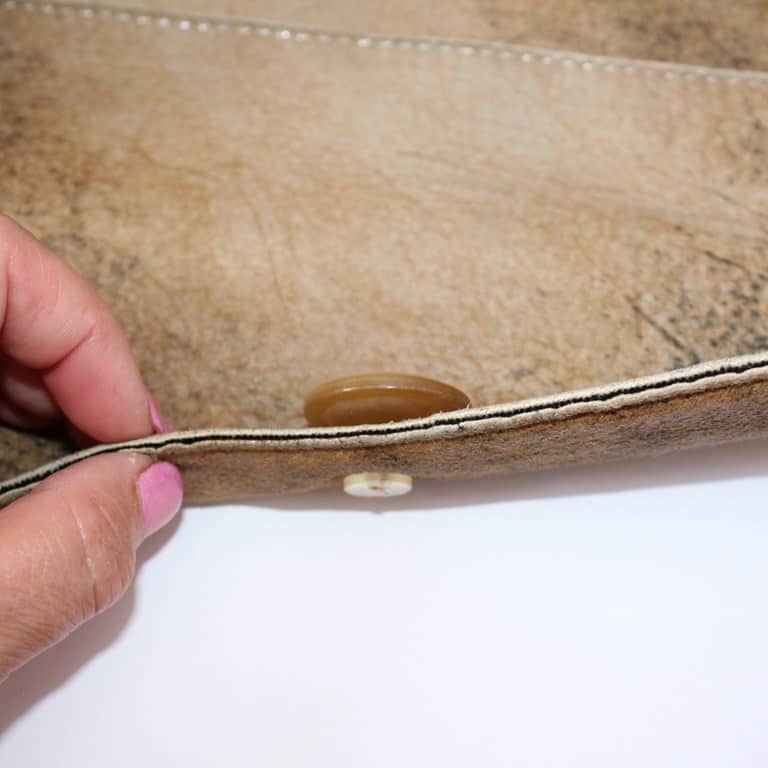

So, in this case, one button is on the right side of the garment and another button which is smaller and simpler is on the wrong side. But they are sewn together at the same time with the same thread. All the stitching is hidden and the only visible threads are on the buttons. There are special clear reinforced buttons you can buy but you can use any flat small button with 2 holes for this purpose.
They are quite easy to sew but you have to follow a few tips. First of all, pull the thread tight all the time after each stitch so no loops can be seen on any side of the garment and the two buttons are tight against each other.
It is also tricky to secure stitches in this case. Do it on the interior side to finish with a knot. Bring the needle between the fabric and the reinforced button, then make a loop around the button and pull the needle through the loop to form a knot. Repeat twice and cut the thread.
11. Additional tips for button sewing
Use double thread when threading your needle because if you make it single you will have to make many more stitches to secure the button in place.
If you are changing all the buttons on your garment make sure the size of the buttons is matching the buttonholes. They have to be the same size or just a little bit bigger than previous buttons on the garment (buttonholes may get larger with use). If you will put smaller buttons they will slip through existing buttonholes and unfasten the garment.
Sometimes you have to fix a button that didn’t pop out yet but is loose so you can save yourself from future embarrassment. In this case, you can cut the thread completely or put new stitches above existing ones.
Sometimes we buy a good quality garment but with badly put buttons. Manufacturers usually sew buttons by machine, not by hand, and they have big volumes. So from time to time, we can see loose threads coming out of the buttons. So fix the buttons before you wear the garment.
You can change all the buttons on the garment even if they are secure and don’t threaten to get loose. There are so many beautiful buttons in stores! Mass production usually doesn’t use buttons with shanks, because they can’t be sewn by machine. So if you want to add some glamour to your blouse or dress – embellish your garment with new buttons.
If your button came off with a piece of fabric (leaving a hole) you will need to fix the garment first. Usually, it happens with heavy winter coats, leather jackets, and jeans. Look online, there are plenty of tutorials about how to mend clothes.
The main mistake when you are sewing on a button is that you don’t pay attention to what stitches form on the wrong side of the garment.
But it is important also because the wrong side can be often seen for example when you unfasten your coat and the wind blows that part of the garment with buttons. And if you have a bunch of stitches going in all directions, it doesn’t look nice. So when you sew on a button pull needle through the same puncture on the fabric all the time.
Moreover, the knot that you made at the beginning of sewing should stay on the right side of the garment, this way it will be hidden under the button.
Another mistake when you sew on flat buttons with 2 or 4 holes is that you put it too close to the fabric and don’t leave enough wiggle room for the button to make a shank.
If the fabric of your garment is very light and delicate like silk chiffon you can make big holes in the fabric which obviously doesn’t look nice. To avoid this take a very thin and short needles and thin thread. You can also thread the eye of your needle not with a single but with double thread. This way your needle will have 4 threads and you will have to go through the holes only twice to secure the button.
The color of the thread should be the same as your button color, and if you are replacing a lost button you will have to look at the other buttons and choose the same shade so the new thread matches the others.
If you gained weight and need to move a button on your pants or skirt, make sure that this will not put too big pressure on the zipper. Otherwise, the zipper may pop out from the continuous extra force and your pants or skirt will not be usable anymore. Here is a joke: “I can say this about the person who created jeans with buttons – he didn’t drink beer”.
Do you want more jokes about buttons?
One girl is talking to another: I noticed if I don’t fasten the 3 top buttons of my blouse I don’t need to wear mascara and eyeshadow.
With each unfastened button a woman breathes easier but a man – harder
A woman said to her husband after looking in a fashion magazine: “Current popular trend for men is to wear shirts without buttons!” “Yes? It means I am fashionable already for 15 years!”
In the end, I can tell you – be patient! Keep practicing! You will have to make your own mistakes in order to learn. Sewing buttons might not be the most pleasant part of sewing, but it often is the most necessary!
If you can sew on a button (and after reading this tutorial you certainly can do it), you can SEW!
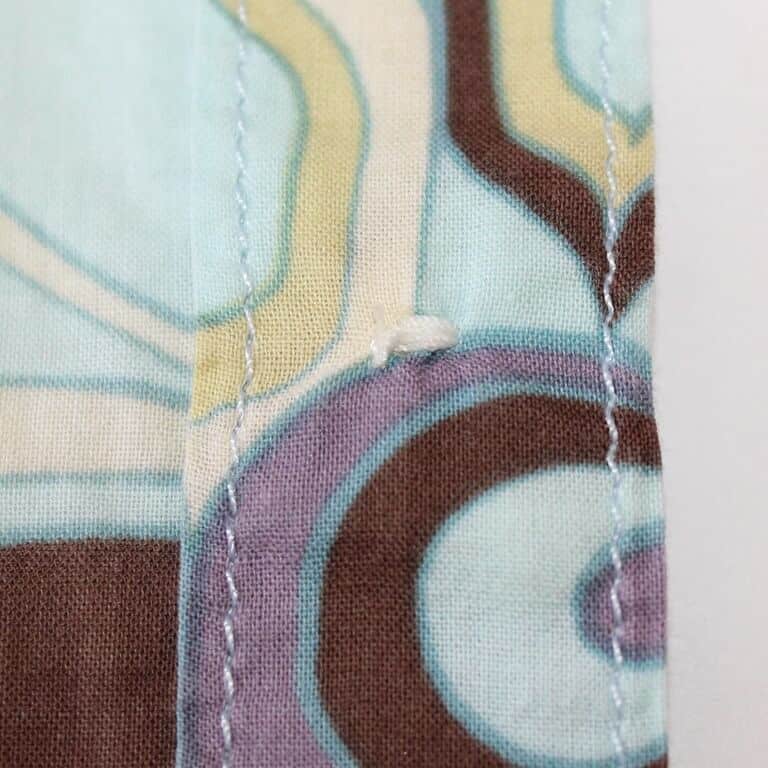
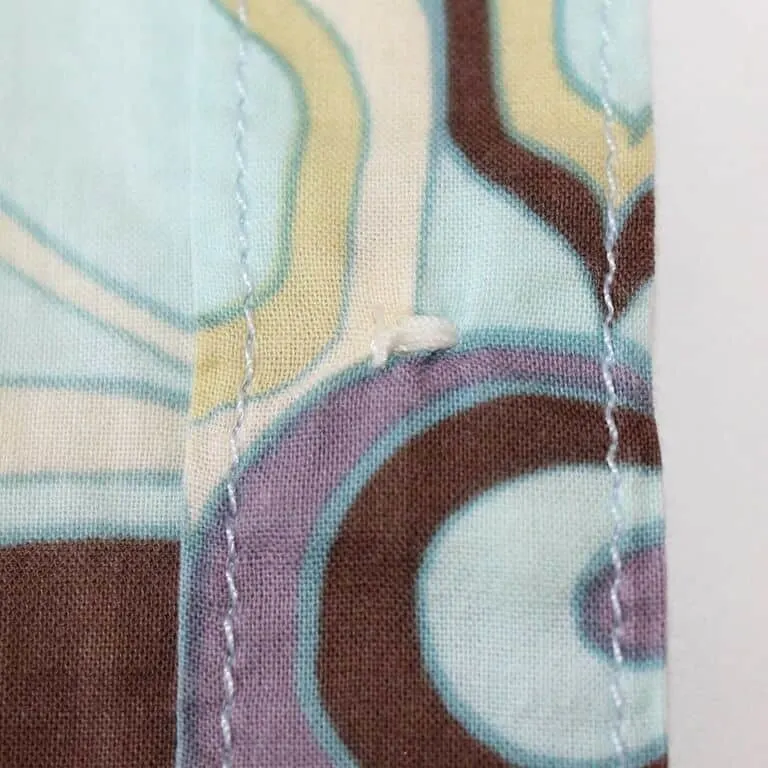
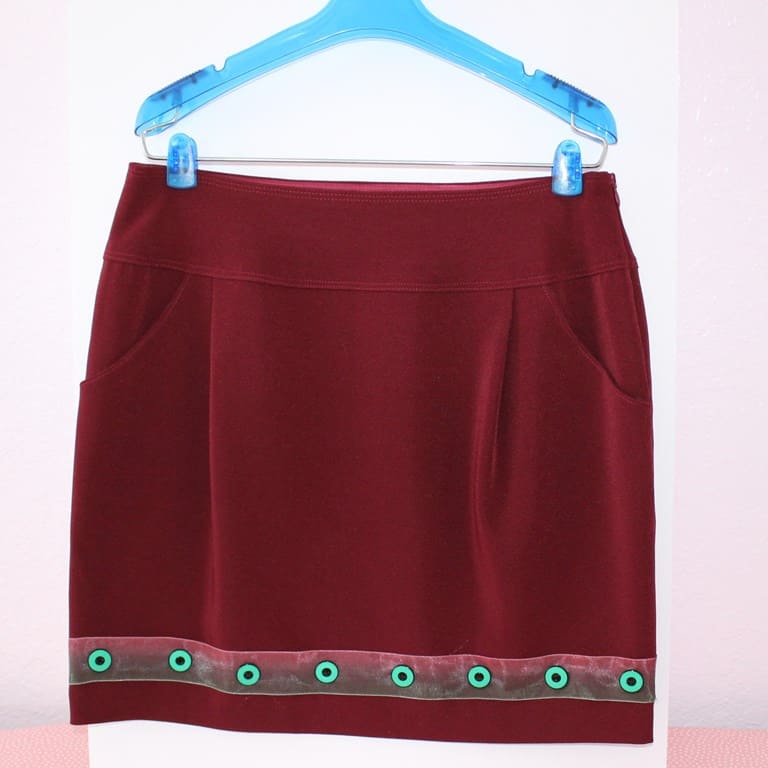
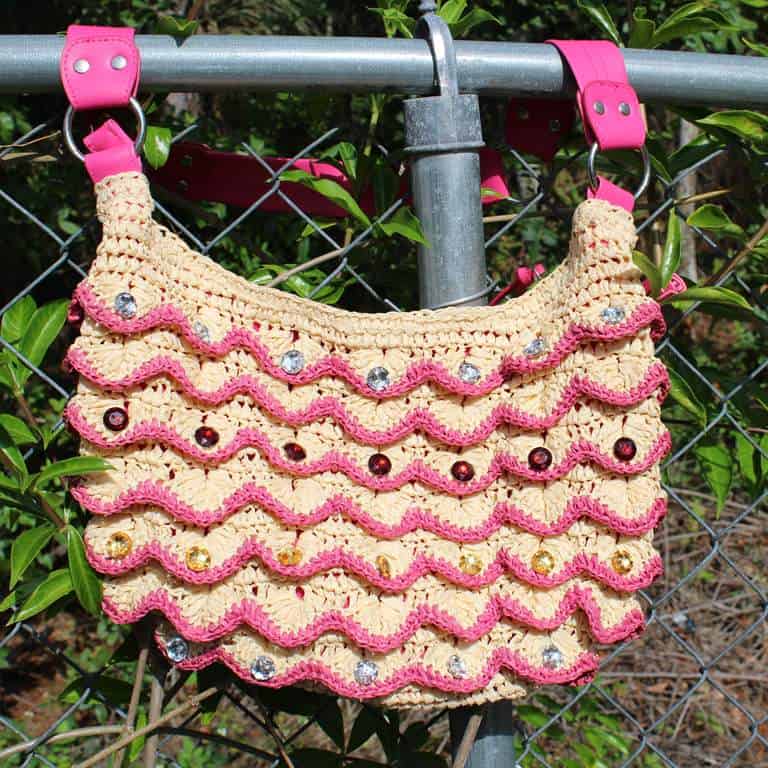
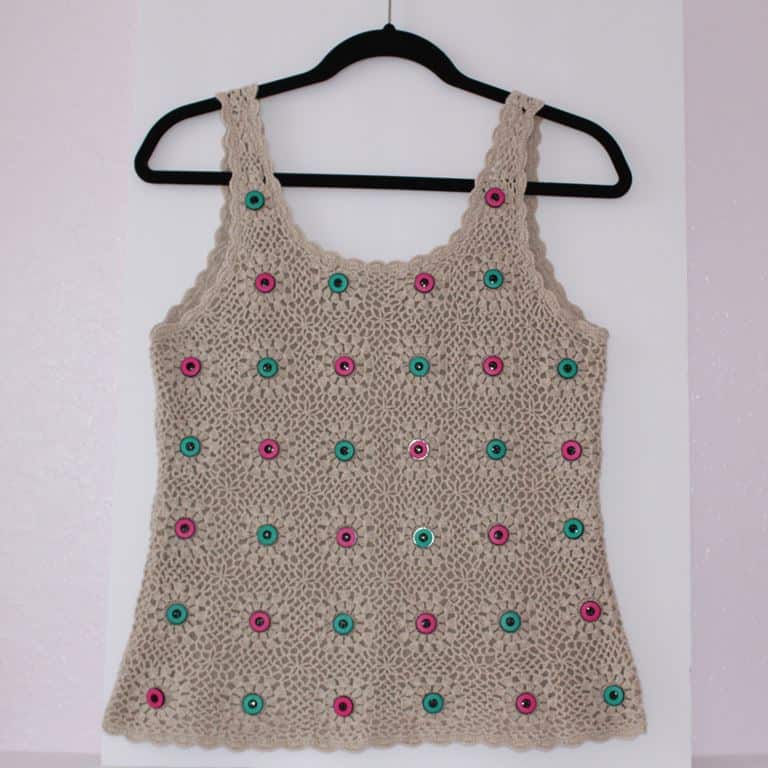
So why not try this page to see what can be done with buttons beyond the functional: Easy sewing projects with buttons and see what you can create. Look at the images below:


Did you find this tutorial helpful? If so, save this pin (see below) on your sewing board so you can come to the article later when you need this information on stay stitching , and follow me on Pinterest for more tips, tutorials, and inspiration!


Do you have any questions? Can you add something to the topic? Would you like to know how to sew buttons with a sewing machine? How to make buttonholes? Say something in the comments below.
latest posts
- Ever Tried This on Your Serger? This Differential Feed Feature Will Amaze You
- Ditch My Sewing Machine? Not in This Lifetime!
- Adorable DIY Needle Book | Easy Tutorial for Beginners
- Master the Seam Ripper: Your Ultimate Guide to Precision Stitch Removal
- Think You Know Zippers? This Installation Guide Might Surprise You
- Why Does Your Seam Ripper Have a Red Ball? Discover Its Purpose!
- Topstitching Troubles? This Simple Trick Will Turn It Around Instantly!
- How to Sew Shirring: A Step-by-Step Guide to Elastic Thread Gathering
- Are Self-Threading Needles Really Useful?
