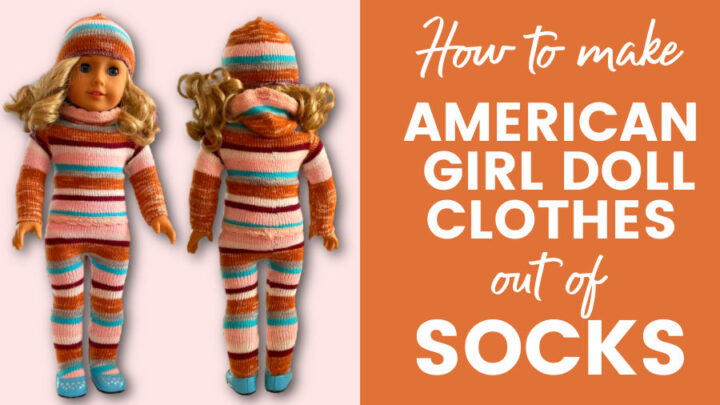
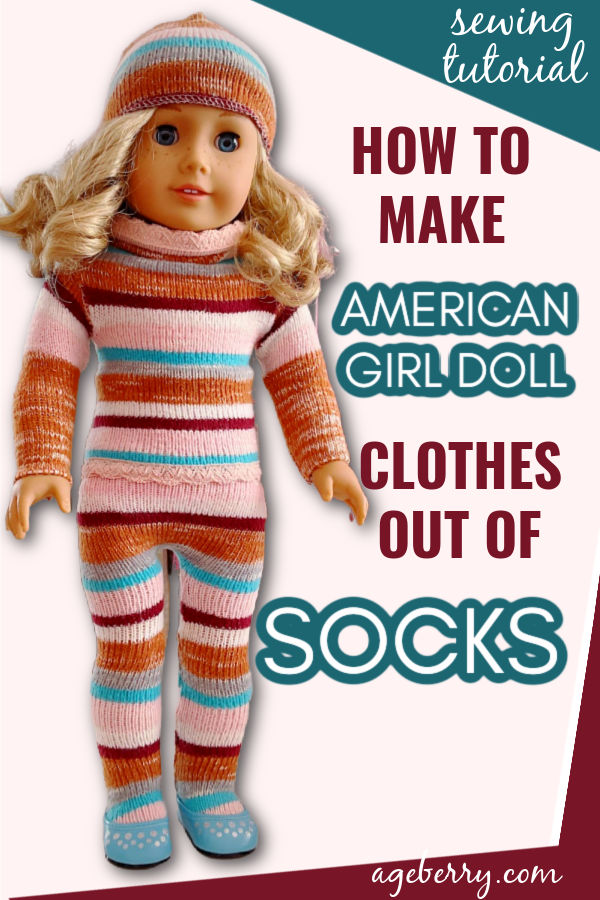
How To Make American Girl Doll Clothes Out Of Socks
In this video sewing tutorial, I will show you how to make American Girl doll clothes out of socks. First of all, we will make tights, and then a hoodie and a beanie. And all you need for this is a pair of knee-high socks. These clothes will fit any 18” doll.
You don’t need a young girl to have a doll! In every woman, there is still somewhere the young version who loved the doll. Why do we play with dolls? Perhaps it is the maternal instinct, who knows? But the reality is, we do love dolls.
Yes of course if you DO have a young girl around, then the subject of dolls becomes a necessity!
When my daughters were small I often needed to make new things for their dolls as fast as I could. You see, dolls can’t wear the same outfit every day! And regular socks always came to the rescue. I could easily make a whole new wardrobe, from tights to a fashionable sweater.
American Girl clothes are not cheap and outfits and accessories can really add up very quickly. But homemade American Girl doll clothes are very easy and fast to make and they cost next to nothing. And if your daughter will help you to sew it so much the better!
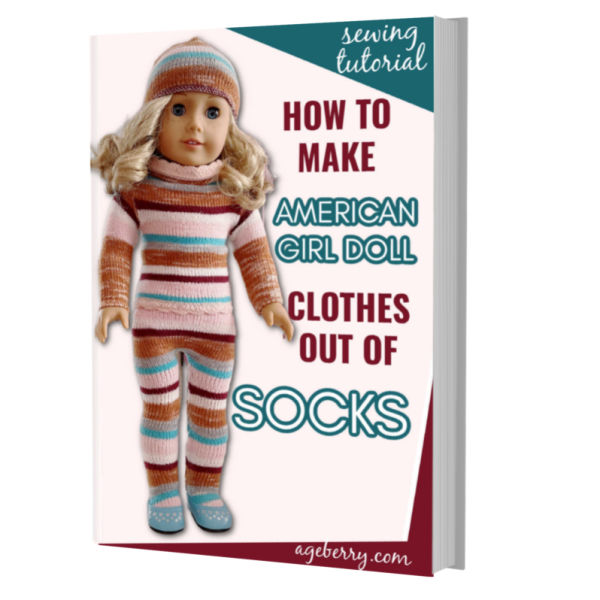
I have all information that you need for making American Girl doll clothes out of socks here in this tutorial. But it is a long read. If it’s more convenient, you can purchase the PDF file for only $5. It has the full tutorial (including pictures) and there are no ads. This way you can print it out and it will be available for you to refer to anytime you want.
(Click on the book below to purchase).
Note: Some of the links on this page are affiliate links. This means I will receive a commission if you order a product through one of my links. I only recommend products I believe in and use myself.
American Girl is an 18” doll (45cm) and many versions are available on Amazon and everywhere else. For example, this doll American Girl Maryellen Doll is very nice, or this one American Girl – Joss Kendrick.
Unlike a Barbie doll, the American Girl’s size is perfect for cuddling and I have frequently seen young girls doing exactly that. Of course, there are many 18” dolls but also like Barbie, young girls have an uncanny ability to select (and prefer) the brand name doll from the rest! Why is American Girl better than the other 18” dolls? Again, we don’t know, but the reality is that it is.
My advice is: if you plan a gift for someone you love, and she likes dolls, stick with the brand name. It is a safer bet.
Now let me show you the process step by step so you too can make an awesome fall outfit for your American Girl out of socks.
What you’ll need
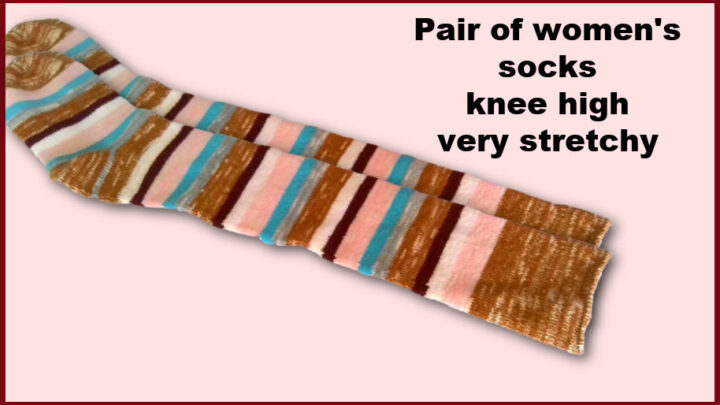
- Pair of women’s socks
- Serger
- Serger thread
- Piece of decorative elastic (optional)
- Regular sewing notions
The outfit is showing the capabilities of a serger in a unique way. There is not much sewing to do, but the characteristics of the material make it almost impossible to do it with a regular sewing machine. If you do not have a serger, you may be interested in my article Serger Buying Guide.
What Are The Best Socks For Making American Doll Clothes?
The best socks to use are knitted woman-size knee-high socks that are very stretchy. But man dress socks can also be used. I prefer women’s socks because they are more colorful. Also, the doll will not mind if your sock is polyester, the doll doesn’t sweat so you can really choose the socks based on color rather than wearability. I found very few socks I could wear, but plenty that is good for doll clothes!
But no compression socks (which are very popular right now) even if they are knee-high. I think they are too small for the American Doll and we want to dress her comfortably!
DIY American Girl Doll Clothes: American Doll Tights Out Of Socks
Step 1
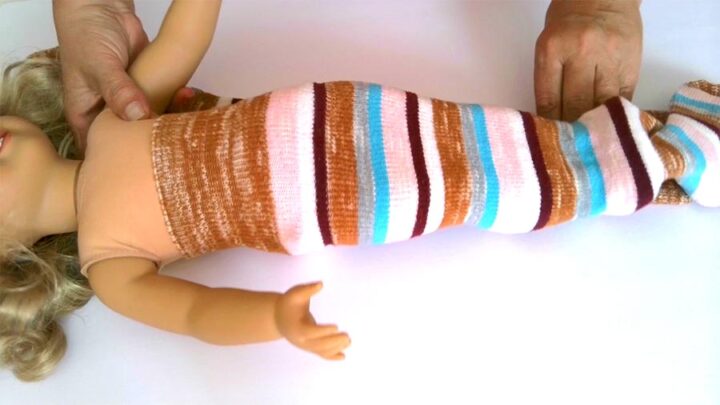
We’ll start with the doll tights. Pull one sock onto the doll so that the top of the sock reaches the doll’s waist and the heel of the sock is right on the back. `
Don’t stretch the sock a lot. Try to put on the doll as much of the sock as you can but without any folds and gathers. Leave the sock on the doll for half an hour, to allow it to relax. During this time you can prepare your serger and threads.
After the sock was on the doll for some time mark where you should cut the sock for the bottom of the foot. Mark also crotch level using a pin. Or if you have socks with stripes as I do, just remember the stripe that goes to the crotch. I think this is a case of “do what she says, not what she does” because it is definitely better to actually mark the material.
Take the sock out.
Step 2
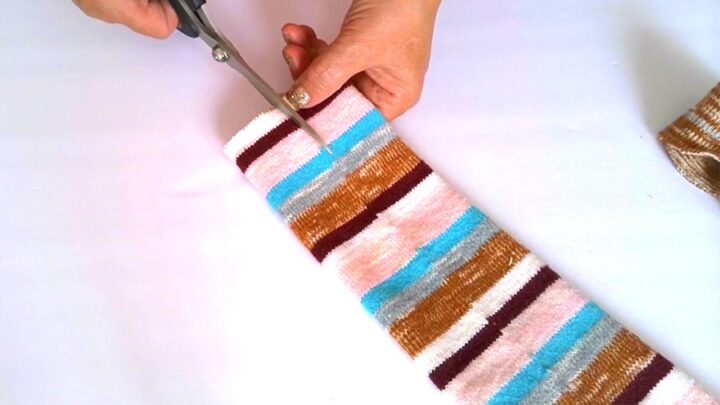
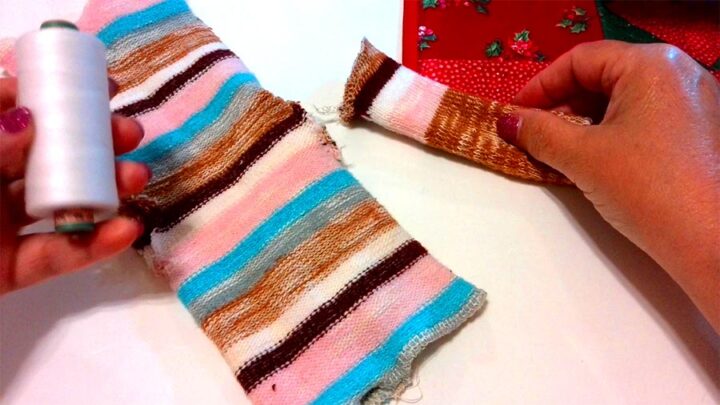
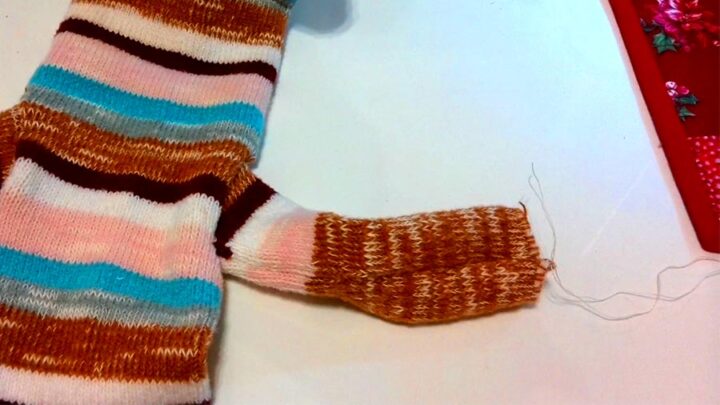
Fold the sock so the heel is in the back and the front folded line is right in the middle.
Cut the bottom of the sock and cut the top tube part of the sock along the front folded line until you reach the pin or other mark you made like you see in the image below.
Make the cut a little bit wider at the crotch area. Cut a very small line (3mm, ⅛”) left, then right, then cut the extra material left in the middle (you can see the material in the image below).
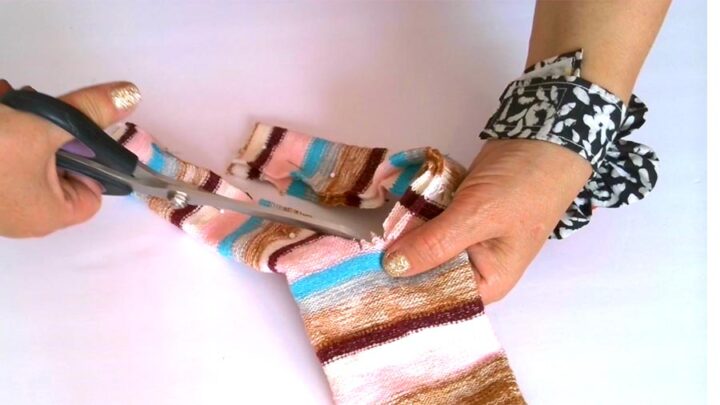
Pin the parts of the socks preparing them for stitching. Each side will become one leg of the tights.
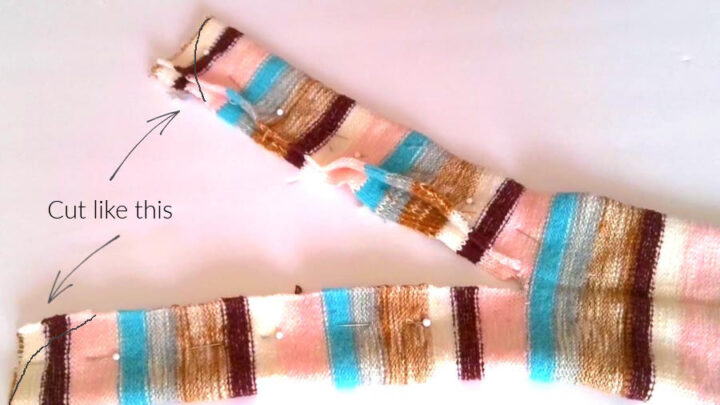
Cut the curved line for the feet as in the image above where I showed the cutting line. Both sides need to be cut, symmetrically. The tights cut like this will completely dress the doll’s feet.
✅ Related article: Serger vs. sewing machine
Step 3
Prepare your serger if you didn’t do it before: change the needle, thread the serger with matching the sock colors threads.
Use 4 thread 2 needle regular serger stitch. Stitch width is about ¼” (6mm). Try the stitch on scrap pieces of socks first.
For this project (if you have a machine with differential feed) it’s good to put the differential feed settings a little higher (1.5, normal is 1) so the seam doesn’t stretch.
Why use a serger? This serger stitch is perfect for the stretchy knit fabric of the sock. It has two rows of straight stitches so they will make the seams strong and durable. And the serger will overcast the raw fabric edges at the same time.
Step 4
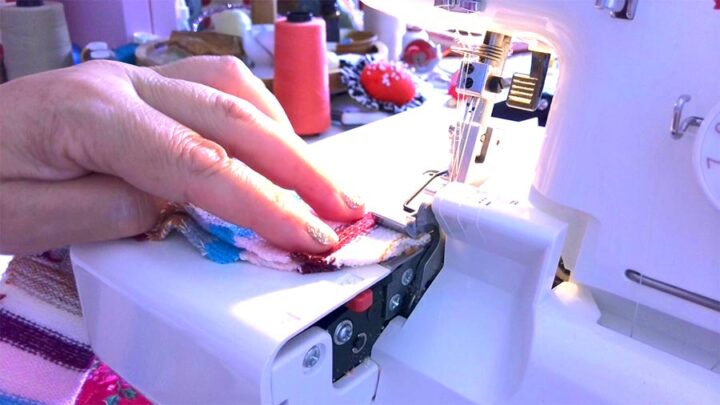
Stitch the sock. You will need to make only one stitch this time starting at the bottom of one leg, going around to the crotch, and ending at the bottom of the other leg.
Step 5
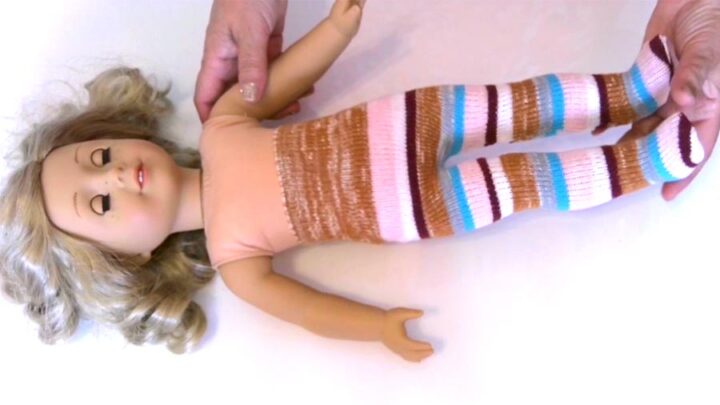
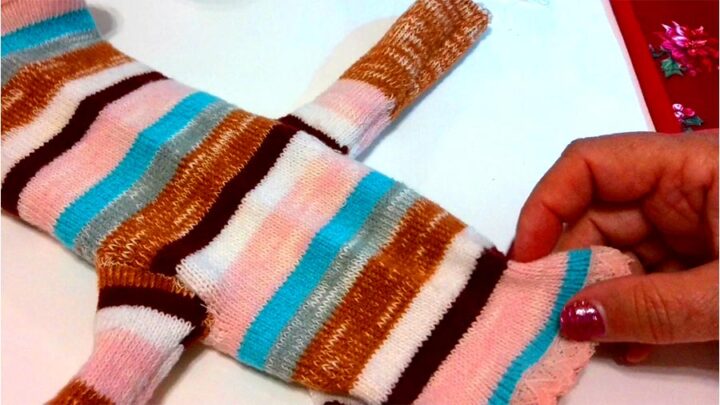
Turn the tights right side out and put them on the doll. The tights are done!
DIY American Girl Doll Clothes: American Girl Hoodie and Beanie
Step 6
We will now use the pair of socks used in making the tights to make the hoodie and the beanie.
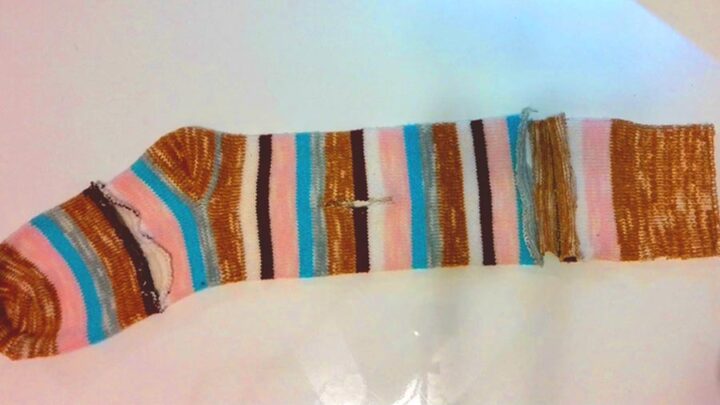
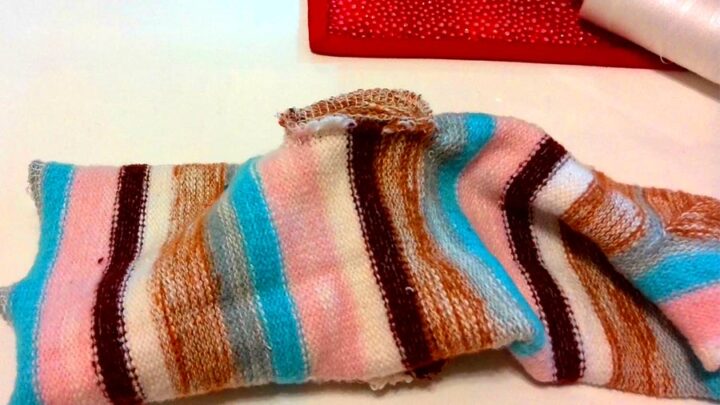
We will cut the sock in three and the image above shows it. The top part of the sock with one finished edge from the factory goes for the sleeves. For the top part, we will cut at the sides too, we need two sleeves. The length of the doll’s arms will give you the length to cut.
The toe end of the sock goes for the beanie.
The middle of the sock goes for the bodice. Cut two holes for inserting the sleeves – somewhere in the middle. You need to cut the holes for the sleeves at this point even if the sleeves are not ready yet because if you decide to try the hoodie on the doll you can not do it without these holes.
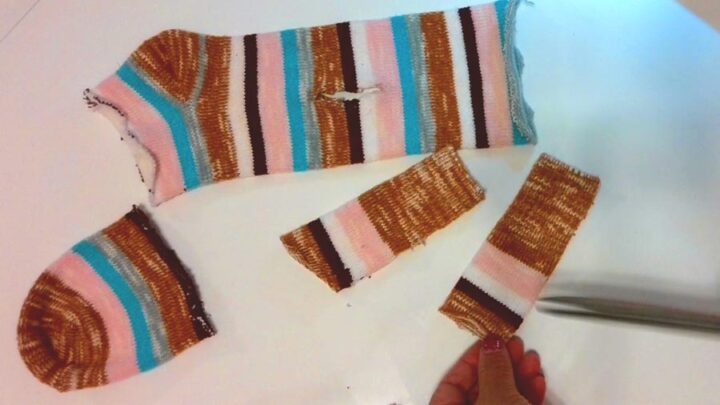
The image below shows all final cut pieces.
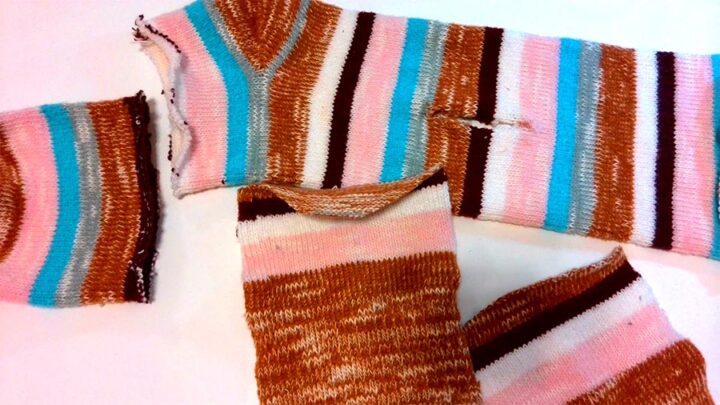
The sock is not symmetrical so the part with the heel will be the upper part of the hoodie because it has the heel. The hood is formed by the heel of the sock.
When you cut, cut along the stripe if possible, in a single layer, don’t cut through both layers because it will be very difficult if not impossible to cut straight both layers. Knitted socks stretch and shift.
When cut into three pieces, the sock forms a bodice with a hood, sleeves, and a beanie. The sleeve part will again be cut in two as in the image.
You will notice that I made an oblique cut on the two pieces that will become the sleeves. This is necessary because the sleeves will attach to the body of the hoodie at an angle, not at 90 degrees. The angle is not really important. I estimate about 30 degrees.
Step 7
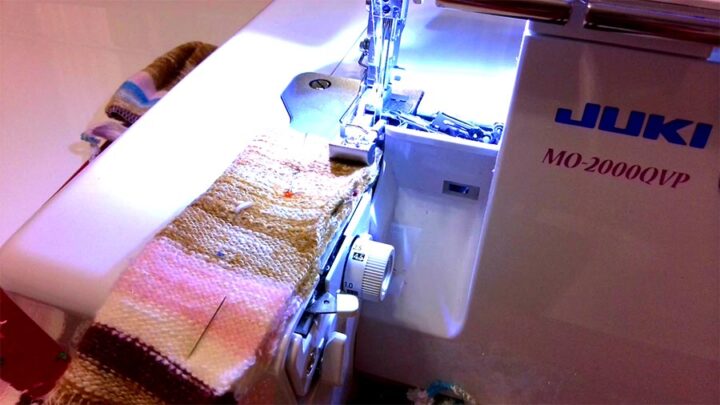
Finishing fraying edges. The serger here is irreplaceable, the knife allows it to have a neat cut and a straight edge. Very difficult to make this on a regular sewing machine! Do not cut a lot of the fabric with the serger knife at this point, just enough to straighten the material (less than 1mm or 1/32”, if possible).
✅ Related tutorial: Sewing thread types and uses
Normally I would use the free arm to sew the edges of the tube but here the sock is small so a free arm would probably not help. Finish all edges. I use a 4 thread 2 needle regular stitch ¼” wide (6mm).
Step 8
Sewing sleeves.
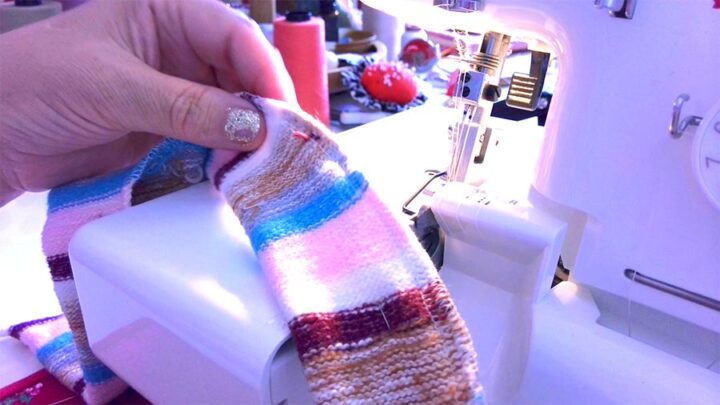
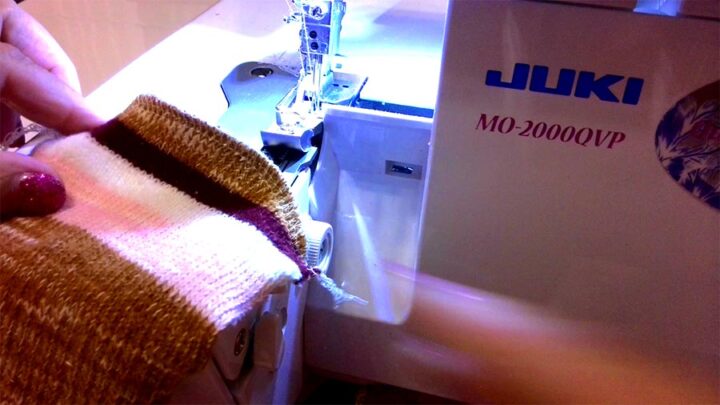
The sleeves need to be made tubes first, and we do that again with the serger. Sew on the wrong side (fold right side to right side), again cut as little from the material as possible.
We have to sew sleeves to the bodice by hand sewing. This is where the angle cut I mentioned before comes in and because we hand sew and fit manually, the exact angle is not really important. Besides, the material is very flexible and forgiving.
All sewing here will be done on the wrong side.
Step 9
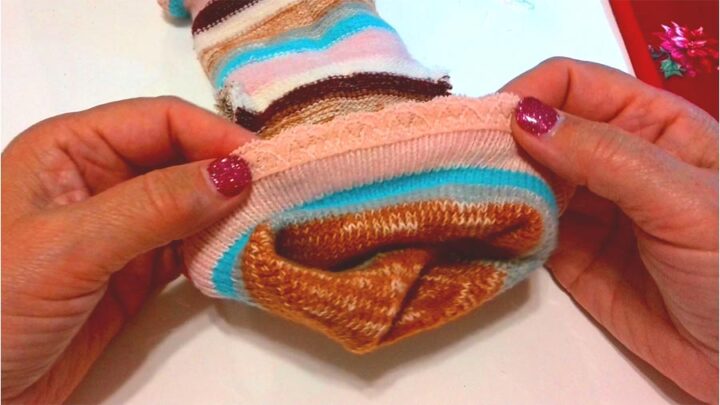
Sew decorative elastic over edges. Use your regular sewing machine now (not a serger). Use one of the stretch stitches of your sewing machine. I apply the elastic both at the top and the bottom of the hoodie. My elastic is double-sided, it completely covers the edge of the material.

✅ Related tutorial: Types Of Stretch Stitches On A Sewing Machine And When To Use Them
Step 10
This is the easiest step! Nothing to do, really. I didn’t bind the beanie, I just left it with the serger overcasting stitches. They look very good and perform the exact function I expected.
If you want to, you can sew or apply manual embellishments to the beanie; I chose not to, the sock was colorful enough and the doll looks very good without. Besides small items may become loose and become choking hazards for small kids, better be careful.
Step 11
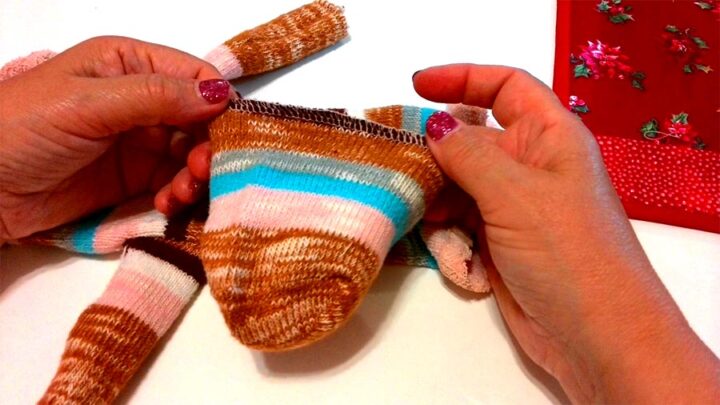
We have now to hide and secure the thread tails from the sleeves. We need to finish the sleeves nicely and also prevent unraveling. You can’t just cut the thread tails here because the stitch can unravel. You have to secure the ends of stitches.
I am manually making knots using the leftover threads like in the image below. However you can use any method to secure the thread tails, perhaps use a needle and sew and knot the tails that way. I think it is easier to simply unravel the loose thread stitch and manually tie the tails.
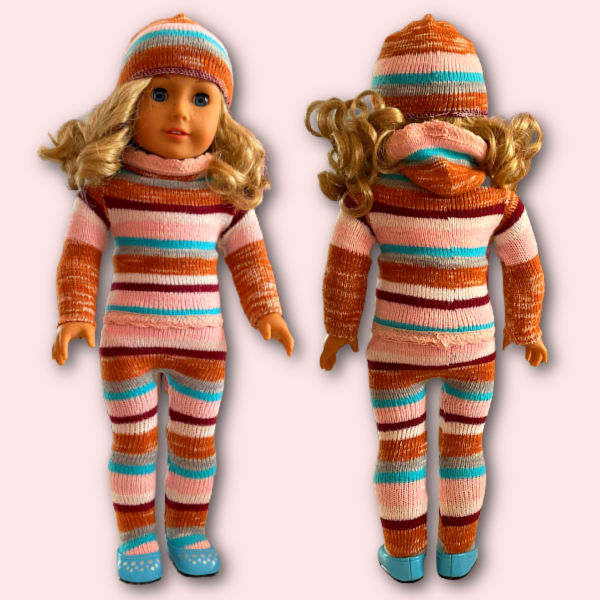
And now the hoodie and the beanie are ready!
Put it on the doll. Start with the hoodie, put in from the bottom, not through the head. The fit of the outfit will vary, depending on the amount of stretch available. I think it looks very cute. And possibilities are endless because we always have so many choices with sock designs. Using the same procedure with a different pair of socks will give a completely different outfit.
Did you find this tutorial helpful? If so, save this pin (see below) on your sewing board so you can come to this tutorial later when you are ready to Make American Girl Doll Clothes Out Of Socks, and follow me on Pinterest for more tips, tutorials, and inspiration!
latest posts
- Corset Pressing Board for Sewing: What It Does and How I Use It
- 7 Essential Tools and Settings for Sewing Denim on a Regular Sewing Machine
- That Purple Thang: 10 Smart Ways to Use This Weird Little Tool
- 20+ Reasons Your Sewing Machine Thread Keeps Breaking (+ Solutions)
- Dresden Plate Quilt Block: 4th of July Fireworks
- How To Sew Curves the Easy Way Using a Curve Master Presser Foot
- 30 Sewing Hacks That Turn Ordinary Items into Useful Sewing Tools
- Seam Allowances in Sewing Patterns: What They Are and How to Use Them
- What Do You Call a Person Who Sews? I Asked My Readers and Got 1,408 Opinions