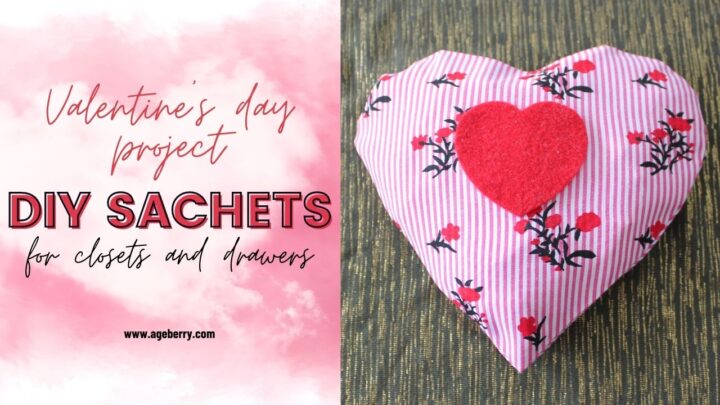
DIY sachets: how to make lavender sachets for closets and drawers
If you like to sew you know that there are always so many small fabric pieces left but it is a pity to throw them away. After all, often these are very beautiful, high-quality fabrics and lace, right?
Of course, scrap pieces can be used in many different ways. You can easily make lovely useful little things for yourself and even as small presents for your friends. As for me, I use them often to make sachets.
What is a sachet?
It’s “a small scented cloth bag filled with herbs, potpourri, or aromatic ingredients.” (https://en.wikipedia.org/wiki/Sachet).
They are great to use in linen drawers, closets and cupboards, and even in cars. And if you make sachets yourself it’s an awesome way to use all those pretty fabric scraps.
I really like different pleasant scents and I like to get linens from the closet with a light rose fragrance, for example.
I encounter the fact that high-quality scented sachets are not easy to find.
I want a sachet that has a really pleasant scent and it is long-lasting and not faded three or four days after using the package.
Often sachets have some kind of chemical and very harsh scent. A pleasant floral scent is not easy to find. I am often disappointed in sachets purchased in stores.
I suggest that you make a sachet yourself from all those beautiful fabrics that sewists always have in considerable quantities and make a wonderful fragrant filler that will be pleasant to you. And most importantly, the aroma will not fade in five days.
You can choose the size and shape of the DIY sachet yourself, based on the size of the fabric that is available. You can even use very small trimmings and stitch them together, creating interesting effects. You can also decorate with embroidery if you want.
The shape can be round, square, heart, or triangle. Anything you like.
In fact, you just need to sew a small bag.
There are a lot of good ideas for an aromatic sachet’s filler on the Internet, but most often they are based on rice and essential oils, which quickly disappear and sachets cease to smell nice.
Let me show you how I make long-lasting DIY sachets.
So, I made Valentine’s day sewing project – this fancy table runner, and some fabric was left but not enough for anything big – just some scrap. I used this fabric from that project.
I made a heart-shaped bag from my fabric. The widest part of that heart is about 5 ¼ “.
Sew all around – don’t leave an opening for turning it out.
Start stitching somewhere on the side, don’t start in the middle up or down.
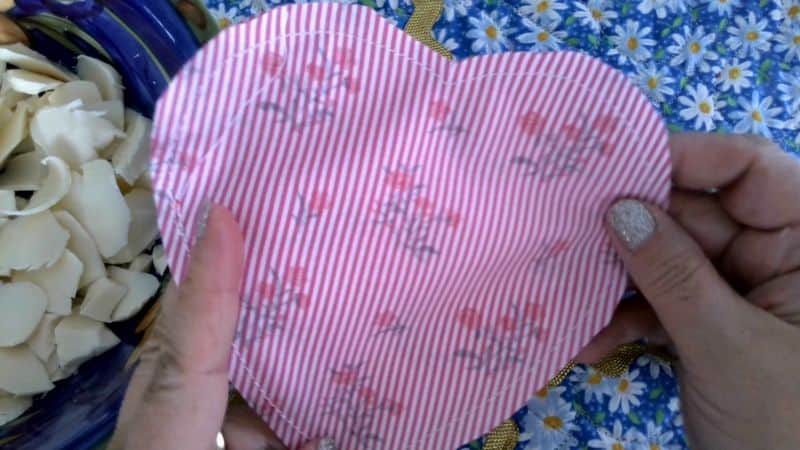
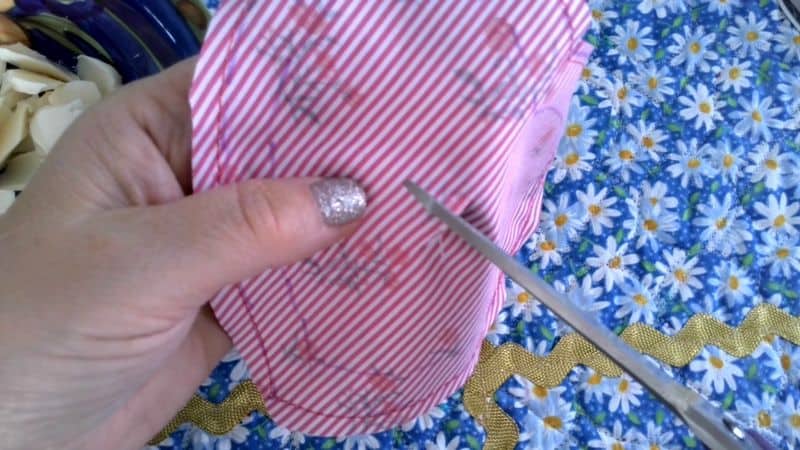
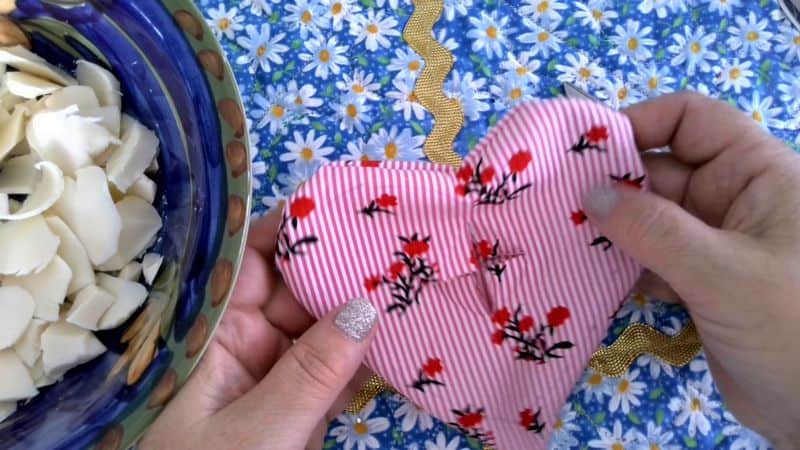
Separate the fabric layers and make a small cut as you see in the image below exactly in the middle of the heart.
This opening should be enough for turning the piece out. Turn the piece out and PRESS it.
How to make a sachet filling
I remember my grandmother was always putting soap in the closet and drawers. So why not use soap for a sachet? The smell isn’t offensive or overpowering usually and the release of the smell is gradual and lasts a very long time, which is not always true if you use essential oils or potpourri mixes.
You can always find some great scented soap. Of course, I know some soap smells awful and some don’t smell at all.
But there are soaps with a really nice scent – like Rose, Lavender, Jasmine, Raspberry, or even Spiced Rum (which makes your clothes smell like a clean pirate!). Some examples are below but there is a large selection of scented soaps both online and in stores.
Note: Some of the links on this page are affiliate links. This means I will receive a commission if you order a product through one of my links. I only recommend products I believe in and use myself.


Choose wisely! Do what smells good to you.
As for me, I decided to use lavender soap and make lavender sachets. The lavender scent is fabulous. It also repels moths and mosquitoes and my 90-years old father is using it as a sleep aid – he places my lavender sachets near a pillow.
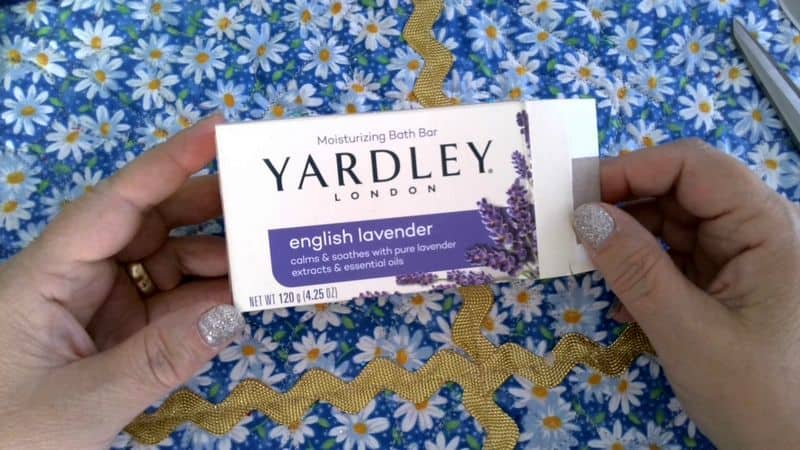
But how do we cut the soap? You see, if you want to cut it you have to heat the soap a little – just put it in a microwave for 25 seconds for a regular-size bar. If you cut it just as it is it will crumble with small very fine shavings. We don’t want that.
Take a dish, and a knife and cut the soap after heating it in the microwave. The small pieces will fill the bag easier and the scent will last practically forever.
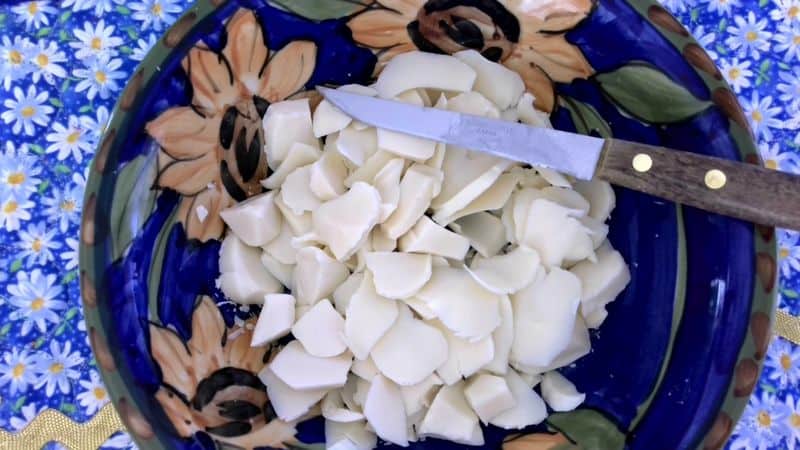
Now fill the bag with these soap pieces.
What to do with the opening?
Just use a piece of felt applique with adhesive on one side – I bought these felt hearts in a dollar store, but any craft store will have something like this.
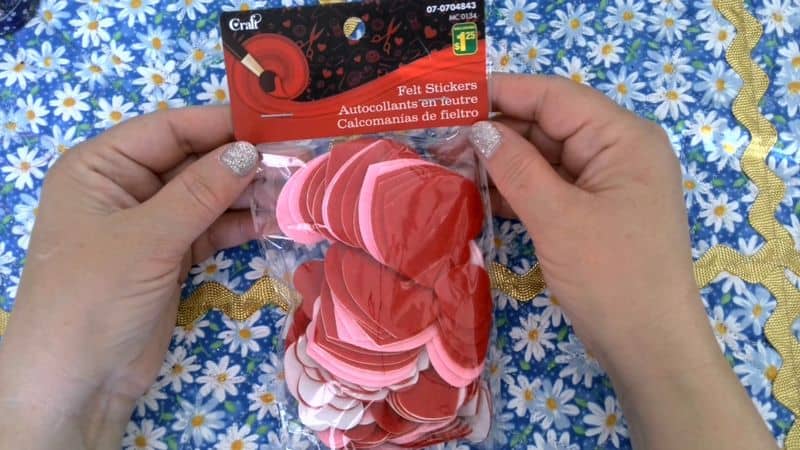
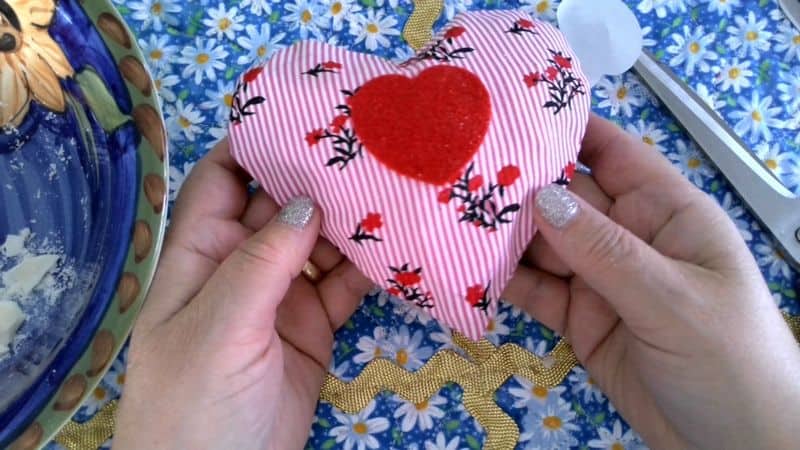
Ok, my sachet is ready and I can use it now. The linen will have such a lovely scent! Or I can package it as a gift. These DIY sachets make a perfect gift for any occasion.
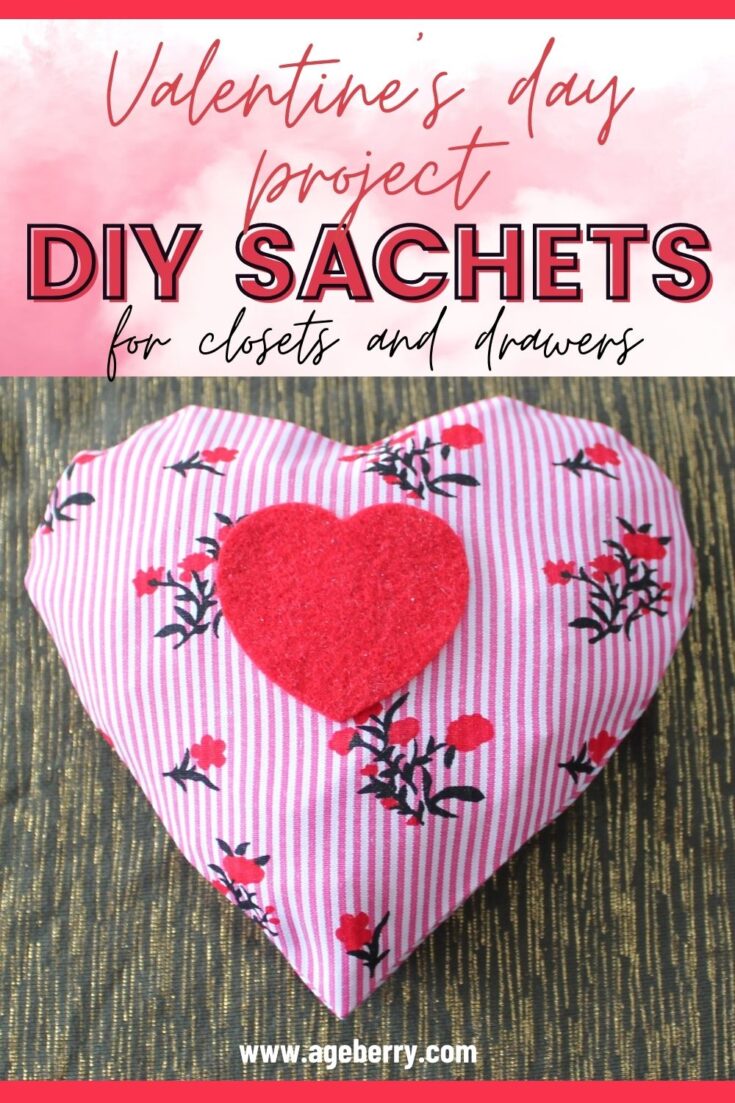
Did you find this tutorial helpful? If so, save this pin (see below) on your sewing board so you can come to this tutorial later when you are ready to make DIY sachets, and follow me on Pinterest for more tips, tutorials, and inspiration!
Ready to take the next step in your sewing journey? Check out more step-by-step tutorials from my site and don’t forget to share!


latest posts
- 10 Easy-to-Miss Features on Sewing Supplies You Should Be Using
- Twin Needle Sewing: My First Try Was a Mess, But Here’s What Worked
- 10 Rules That Made Me a Better Sewist
- How to Make a Lightweight Summer Neck Scarf with a Lettuce Hem
- What Sewists Hate About Sewing: Common Complaints and Practical Fixes
- Knit Presser Foot: How It Works, How to Use It, and My Sewing Tests
- How to Sew Neat Mitered Corners at Acute Angles
- Sewing Machine Needle Organization: A Clever System I Tried
- DIY Car Armrest Organizer: Sewing Tutorial