
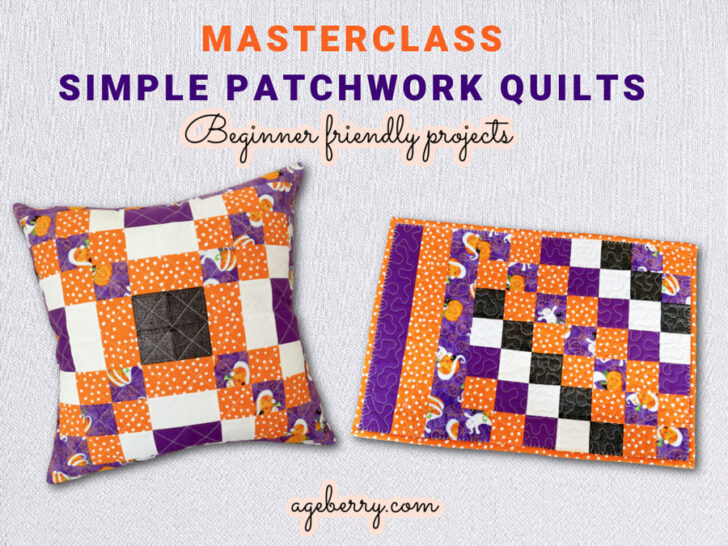
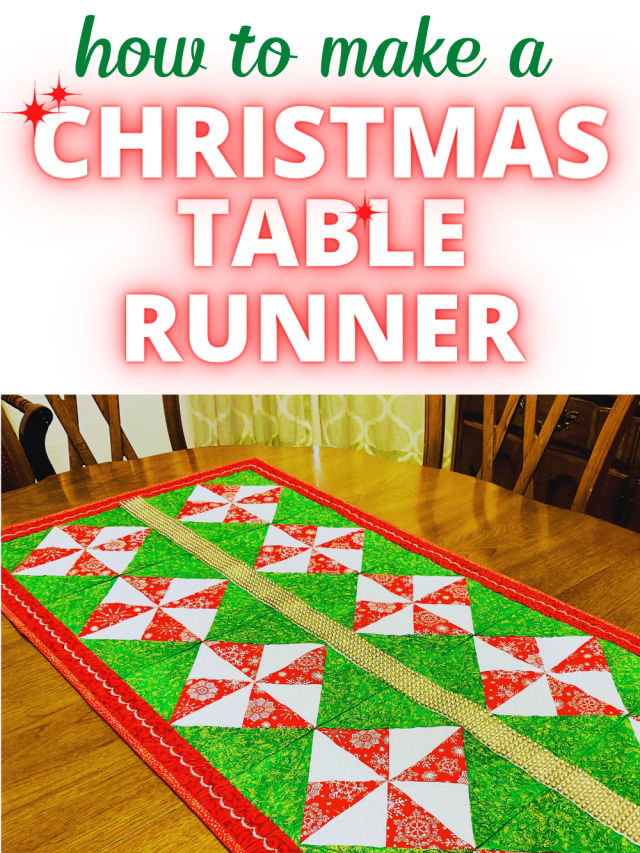
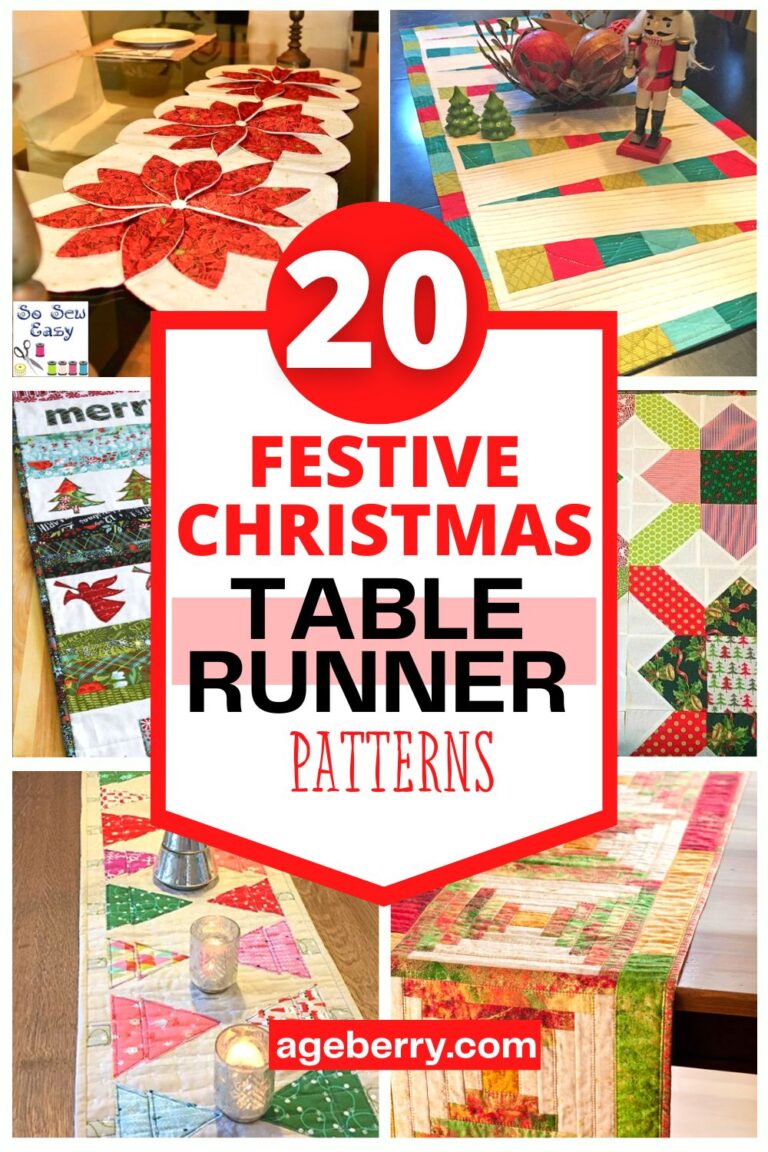
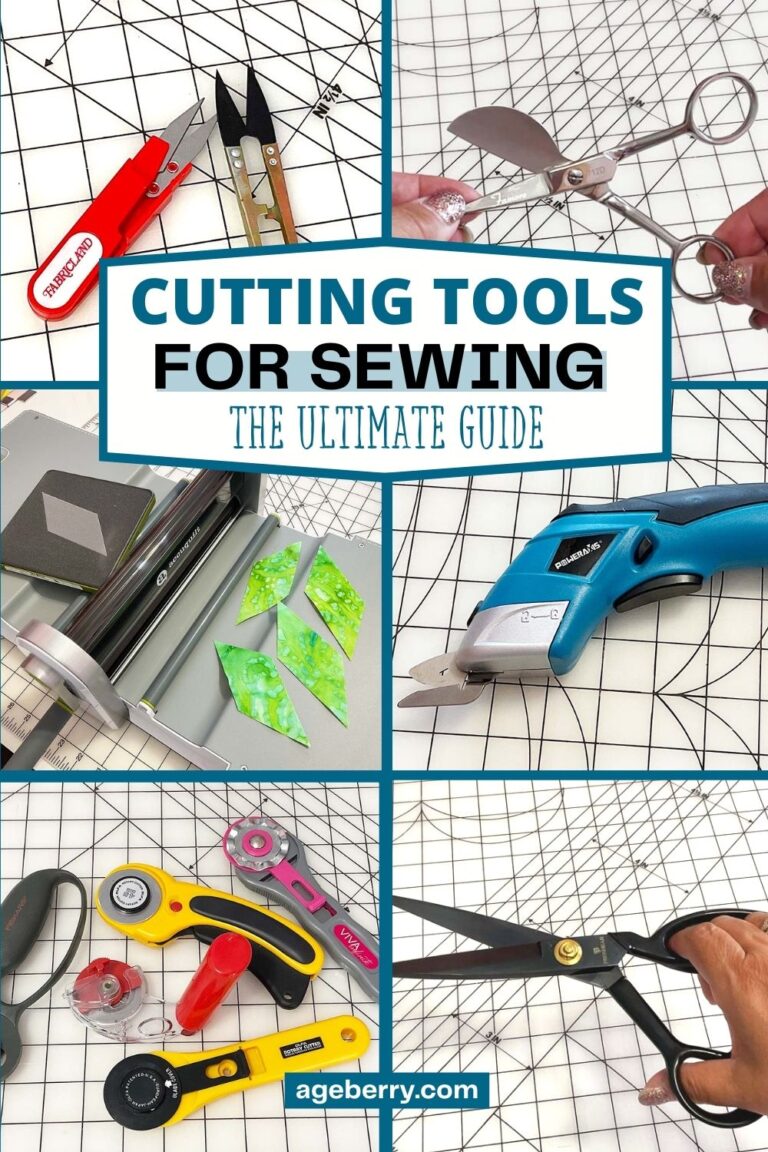
Simple Patchwork Quilts
Have you ever started a quilting project, only to become frustrated and abandon it after spending hours cutting all these small fabric shapes? Wouldn’t it be amazing if there was a way to make quilt-making quicker and more enjoyable?
What if I told you that there are techniques and tools available to streamline the process and make quilting fun again?
Imagine the satisfaction and pride you could feel completing beautiful quilts in a fraction of the time. Don’t let the monotony of traditional quilting techniques hold you back from creating stunning projects. Let’s explore ways to revolutionize and invigorate our quilting processes.
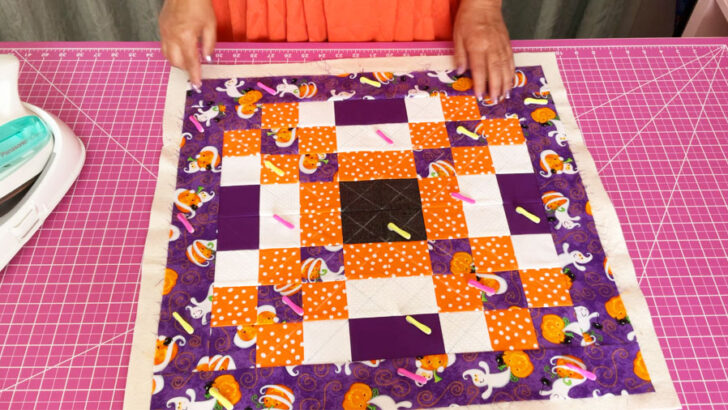
I have designed this masterclass to be perfect for beginners, with easy projects like a patchwork pillow and placemat. But don’t be fooled by their simplicity; these projects will teach you the basics and set you up for success with more complex designs. They will not win awards at quilt shows, but they are cute and practical.
Even with these 2 simple patterns, you can make your projects truly unique. Depending on the fabrics you choose, your quilt can reflect your unique style and personality. The fabric you choose can set the tone for the whole quilt – whether you want it to be bright and cheerful or calm and soothing.
Don’t miss out on this opportunity to enhance your skills and add some personal flair to your home décor – enroll in my class today!
This class will help you make 2 simple patchwork quilts from start to finish. You’ll learn how to quickly cut your fabric, piece the quilt tops together, bind the quilt, and add finishing touches. It’s a great way to get started with quilting, and the best part is that you can take each step one at a time.
In this masterclass, I’ll be introducing you to some of my favorite sewing tools that have helped me to speed up my workflow. You’ll be surprised at how much faster and easier sewing can be with the right tools. From Wonder pins to fabric cutting machines, these tools will help you to complete your projects more quickly and with professional-looking results.
After taking this class, you’ll have completed two quilts that you can be proud of and you’ll have all the skills and techniques you need to tackle more advanced quilt designs.
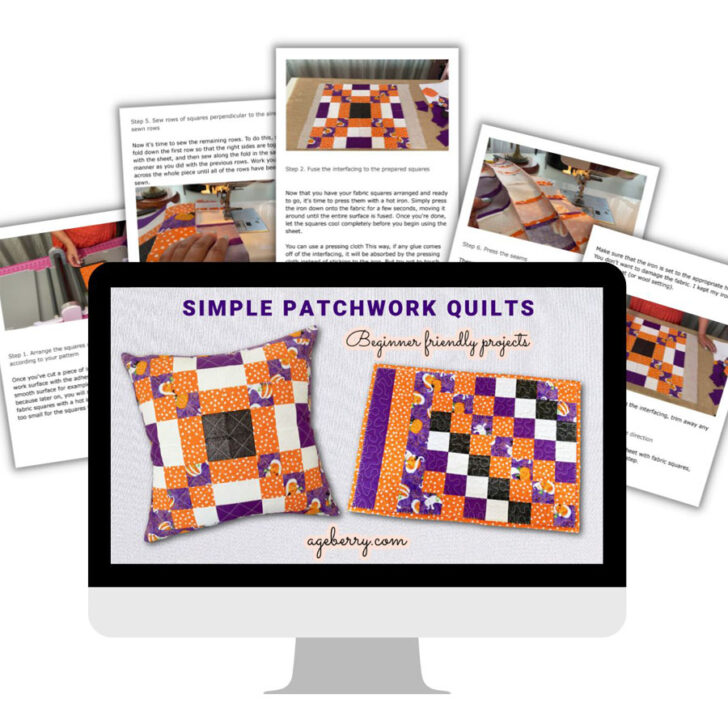
Masterclass Breakdown
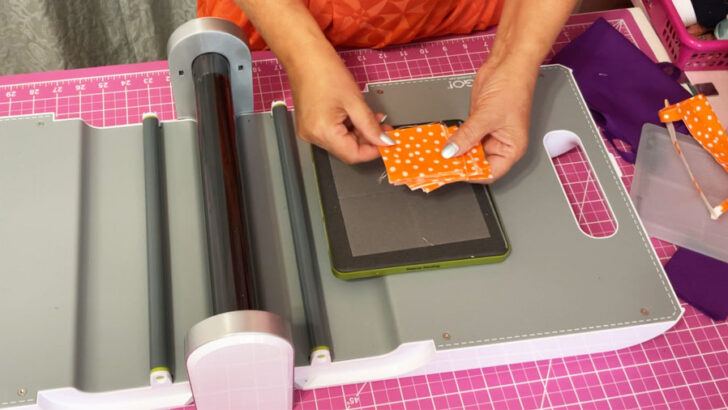
#1. Cutting Quilt Squares
Cutting all the fabric for a quilt is a process that can be very time-consuming. Trying to cut out evenly shaped squares with a rotary cutter can be very difficult – you may spend hours cutting and still have uneven squares. Even if you take your time and are careful with your measurements, it’s likely that your squares will not be exactly the same size – 1/8 inch here, 1/8 inch there. This can really throw off the look of your quilt and make it difficult to piece together.
Would you like to easily cut 24 perfect squares in one minute? This is where the AccuQuilt Go fabric cutter comes in handy.
If you’re looking to speed up the process of cutting quilt shapes, an AccuQuilt Go fabric cutter is a great investment. This tool can save you hours of work in the long run. I will show you how to use the machine. Additionally, the AccuQuilt Go machine produces clean and precise cuts.
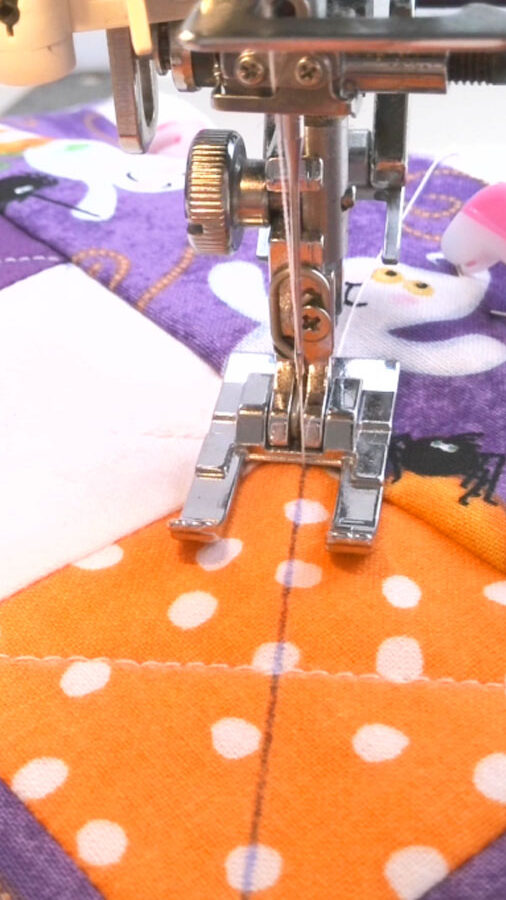
#2. Sewing Quilt Squares Together – few people know about this incredible technique
Sewing quilt squares together can be a tricky business, especially if you’re new to quilting. It’s important to make sure that all of the squares are aligned correctly and that all of the points match up. If even one square is off, it can throw the whole quilt off balance.
In this masterclass, I will show you a new way to sew quilt squares together that is quick and easy, and ensures that all of the squares are lined up perfectly. You’ll be surprised at how simple it is, and you’ll wonder why you never learned this technique before.
This new method is much faster than traditional methods, and results in a neater, more professional-looking quilt. So whether you’re a beginner or a seasoned pro, this class is sure to teach you something new.
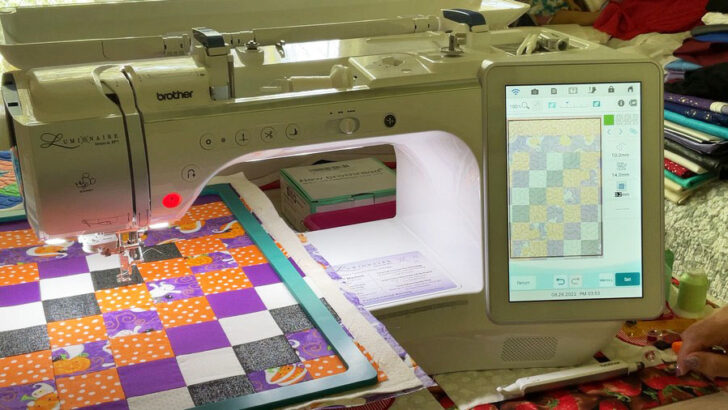
#3. How to Baste a Quilt
There are many different ways to baste a quilt and make a quilt sandwich, and each has its own benefits and drawbacks. In this masterclass, I will show you some new tools that you can use to speed up the process. Basting brings together the quilt top, batting, and backing, and holds them in place so that they will not shift during quilting. By using the right tools, you can make the process easier and faster.
In this masterclass, I will not be showing you how to quilt the pillow sham and placemat in great detail.
However, I will show you what methods and materials I use to mark quilting lines.
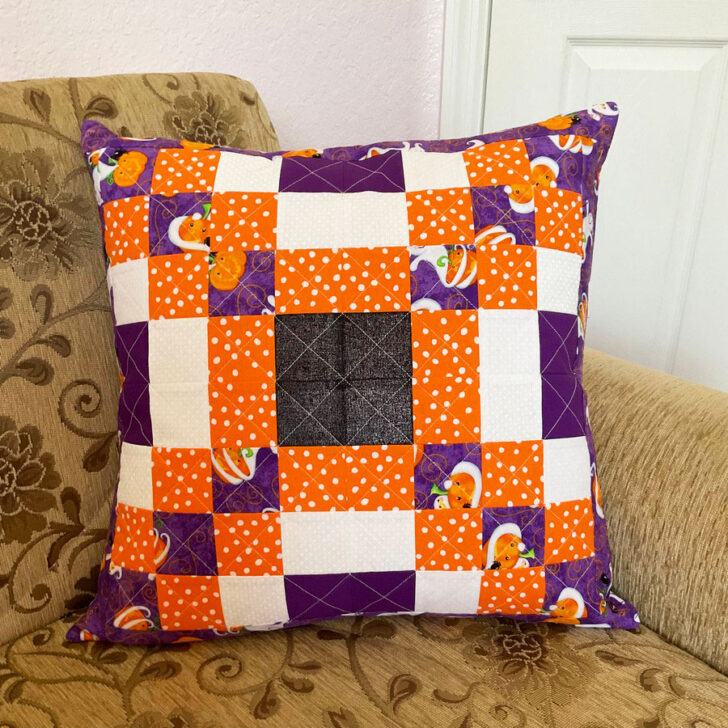
For the pillow sham, I simply used a regular sewing machine to quilt (straight line quilting). Anyone can do this type of quilting. I will show you what presser foot is great for this.
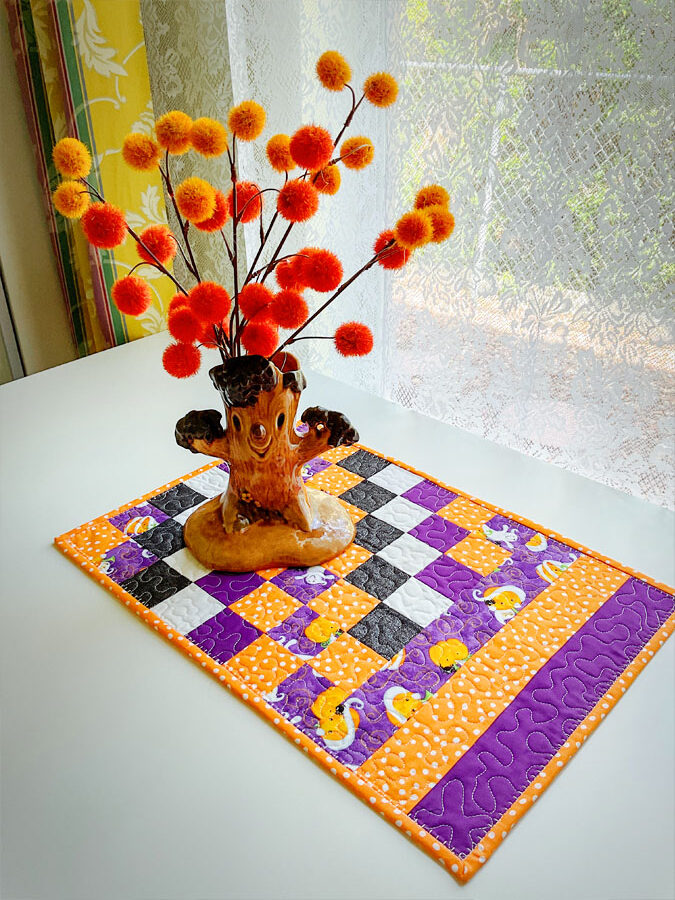
For the placemat, I used my embroidery machine to create stippling stitches. These two methods are just examples of what you can use to quilt your own projects. Ultimately, it is up to you to decide what methods and materials you want to use. Whichever method you choose, just make sure that you are comfortable with it.
#4. How to Sew a Pillow Sham
In the next module, I will show you how to sew a pillow sham. I’ll explain how to sew an invisible zipper, and how to use French seams to finish the pillow. You can use these skills for many different sewing projects.
#5. How to Bind a Quilt
Quilt binding is both an art and a science. While there are many different ways to bind a quilt, some methods are better suited for different types of quilts. In this masterclass, we will explore the best way to bind a quilt with perfect mitered corners so that it looks professional and polished.

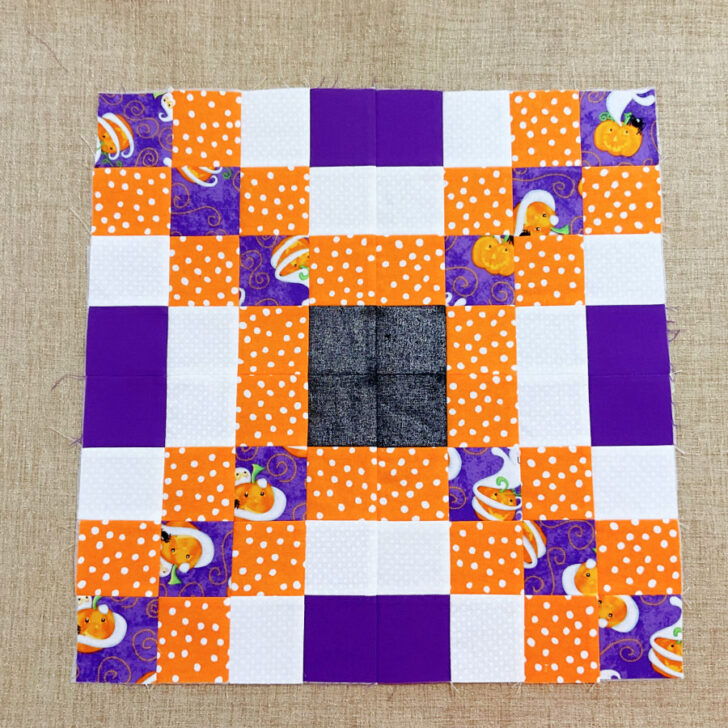
After completing this masterclass you should have a beautiful pillow sham and placemat, similar to the ones pictured below. With a little time and effort, you can easily create these two items that will add beauty and function to your home.
FAQ
Yes. This masterclass is for everybody who want to learn new quilting and sewing techniques. It is designed not only for beginners but also for people who already make quilts from time to time and would like to know more.
After enrolling you will have unlimited access to this masterclass for as long as it exists online. You can use it on a desktop computer, tablet, or iPad.
At a normal step, the masterclass can be completed in a few days. Regardless, you have access for life so you decide when you start and when you finish, or perhaps you may want to come back to certain parts. You can access the course at any time and you can work at your own pace.
The masterclass is hosted by a company called ThriveCart. It is an online course platform that provides hosting for thousands of courses, masterclasses, a safe payment system, plus many more features.
You will need to create an account with your email and password. The account creation is free and does not require any subscription.
It’s important to note that you will need to have a good internet connection in order to use the platform.
There is no need to download any software.
If you are unsatisfied with your purchase, contact me in the first 7 days and I will give you a full refund. Just send me an email to [email protected] and I’ll process a refund.
latest posts
- What Do You Call a Person Who Sews? I Asked My Readers and Got 1,408 Opinions
- DIY Round Purse: PDF Sewing Pattern and Detailed Instructions
- Mini Wonder Clips By Clover: Useful Sewing Tool Or Just Another Notion?
- Non-Slip Grips For Quilting Rulers: A Small Notion With A Useful Job
- Fabric Eraser for Sewing: What It Removes and When to Use It
- What Is The Best Thread For Sewing Machine Projects? Let’s Find Out!
- Butterfly Quilt Block Tutorial – Foundation Paper Piecing
- How To Sew Quilt Squares So The Corners Match
- Sewing With Fork Pins: How They Help With Pattern Matching, Slippery Fabric, And Seams

You mention beingoff 1/8″ makes a difference in a finished quilt.
to put it into perspective: Quilts have many squares, let’s use
80 for an example, 80 times 1/8 = 10. You wouldn’t want your quilt to be 10″ off. A quilter friend of mine used 1/16 and 16 squares. That’s an inch off.
Thank you; that was my point too, a 1/8″ difference may not seem large, but it accumulates. However for straight stitches even a 1/8″ variation between two adjacent blocks may be visible, depending on the design.