Easy Quilting Techniques – Step-by-Step Patchwork Quilt Tutorial
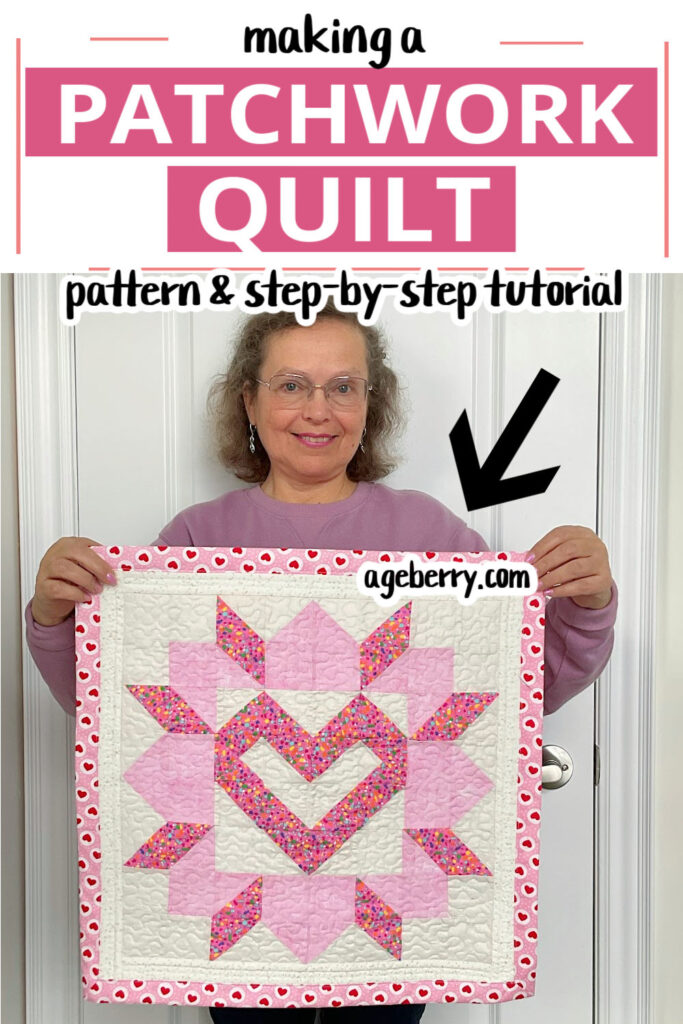
In this tutorial, I’ll walk you through the steps to create a simple patchwork quilt, using techniques that help make quilting easier and more efficient. I have been sewing since childhood, but I started quilting later in life — and now it has become a passion. I love making quilts for my home and as gifts, and I want to share that joy with you.
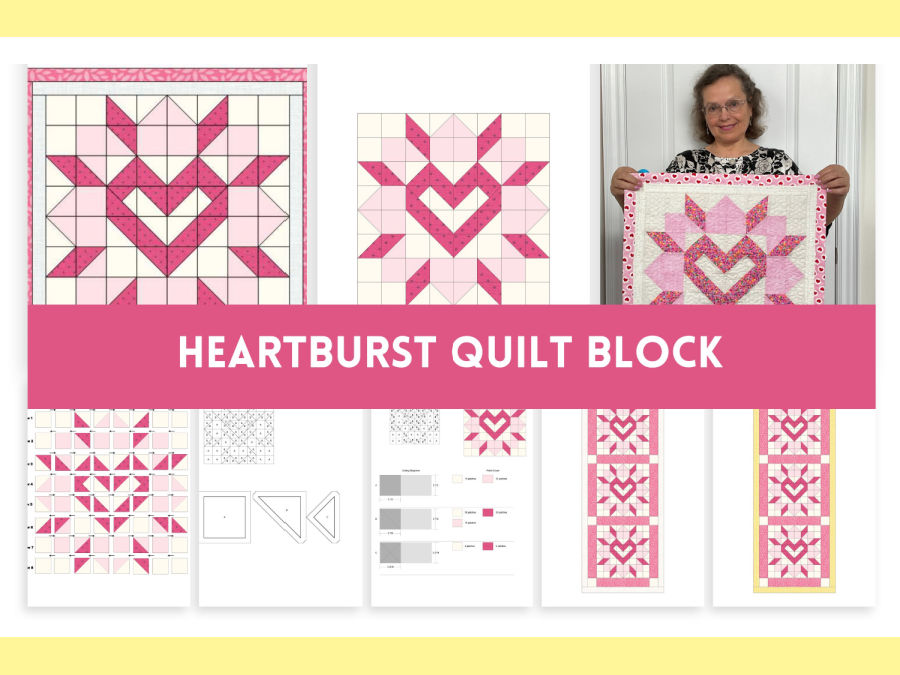
For anyone starting a new adventure, quilting might seem overwhelming at first. But it’s no harder than other sewing projects you’ve made — all it takes is a little patience. Nobody is an expert on day one! To help you get started, I’ve created a quilt block pattern, which you can use to follow along with this tutorial.

Step 1. Choose Fabric for a Patchwork Quilt
Quilting cotton (100% cotton) is the best choice for fabric. It is durable, easy to sew, and widely available in a variety of prints and textures. High-quality quilting cotton has a tight weave and a soft finish, which helps seams lay flat and ensures your quilt holds up through washing and daily use. Avoid overly stiff or loosely woven cotton, as these can fray or distort over time.
Before cutting your fabric, always prewash and press it. This step prevents shrinkage and removes any chemical finishes that might affect the way the fabric behaves in your quilt. After washing, press your fabric with an iron to remove wrinkles. A well-prepared fabric will make piecing easier and result in a better quilt.
✅ Related tutorial: Prewashing Fabric: Is It A Good Idea?
In case you wonder what “piecing” means (I did, in the beginning), it is simply the activity to put together the pieces of material which form a quilt block.
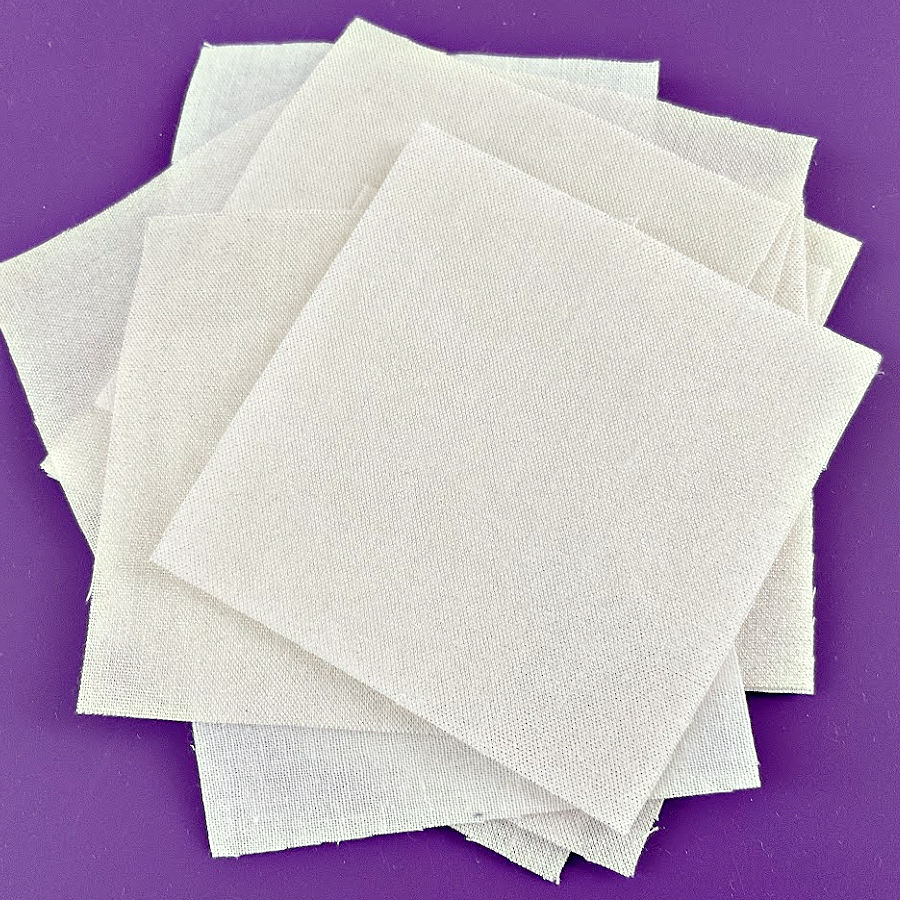
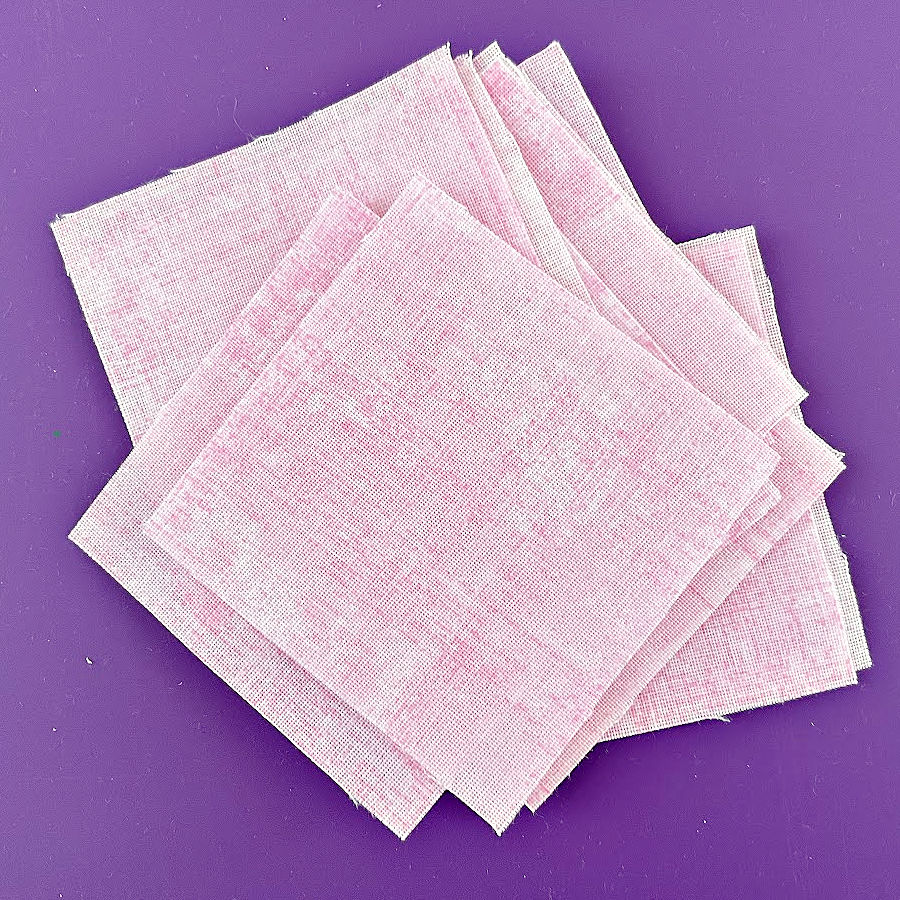
Step 2. Cut Fabric Strips and Squares
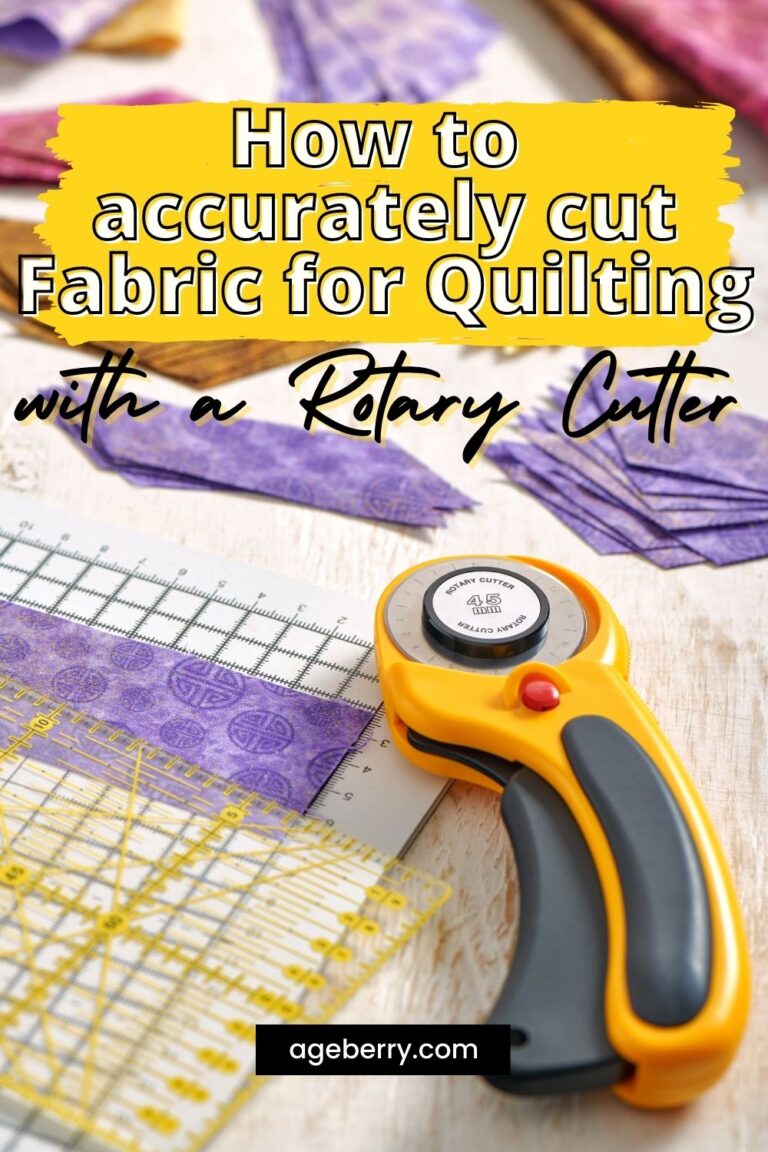
Follow the pattern measurements to cut fabric strips first. Strips help maintain accuracy and make cutting squares easier. Use a rotary cutter, quilting ruler, and cutting mat to keep edges straight and even.
Accurate cutting is crucial. Even a small mistake, like being off by 1/16 of an inch, can cause problems when piecing your quilt together.
Once the strips are ready, cut them into squares and triangles as the pattern instructs. Double-check measurements before cutting to avoid mistakes. For more tips on accurate cutting, check out my tutorial: How To Accurately Cut Fabric For Quilting With A Rotary Cutter.
Note: Some of the links on this page are affiliate links. This means I will receive a commission if you order a product through one of my links. I only recommend products I believe in and use myself.


Step 3. Make Half-Square Triangles
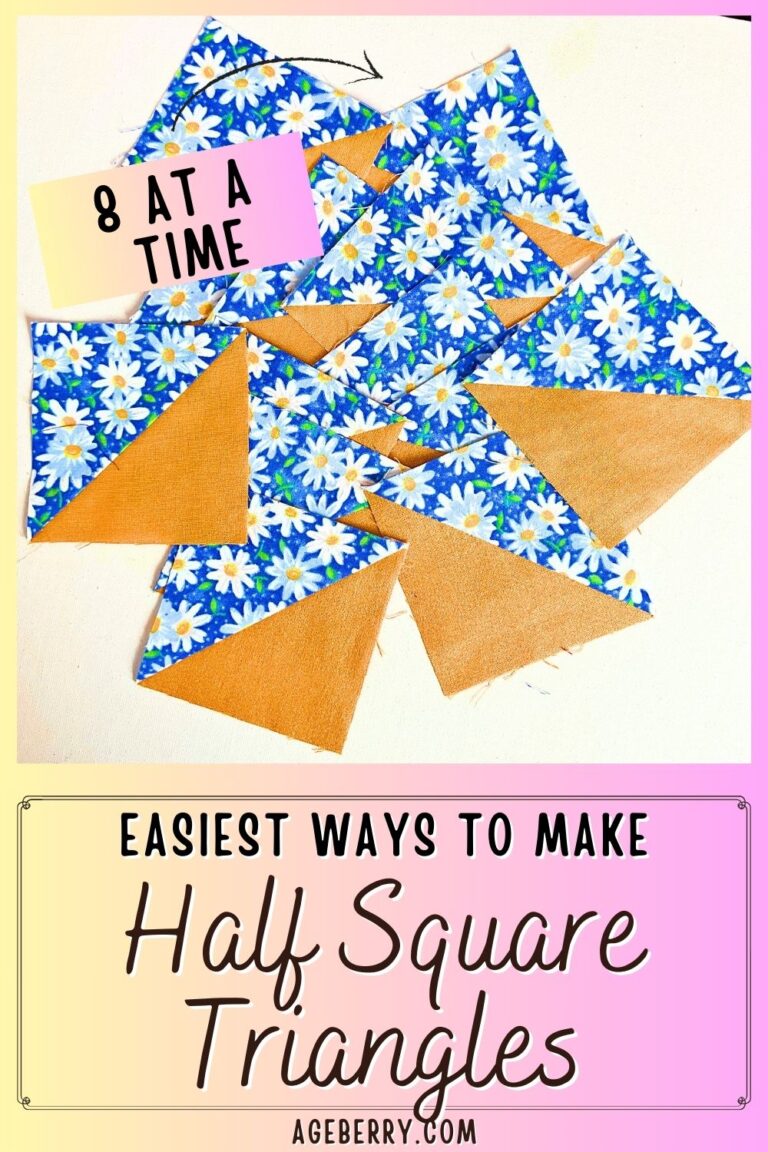
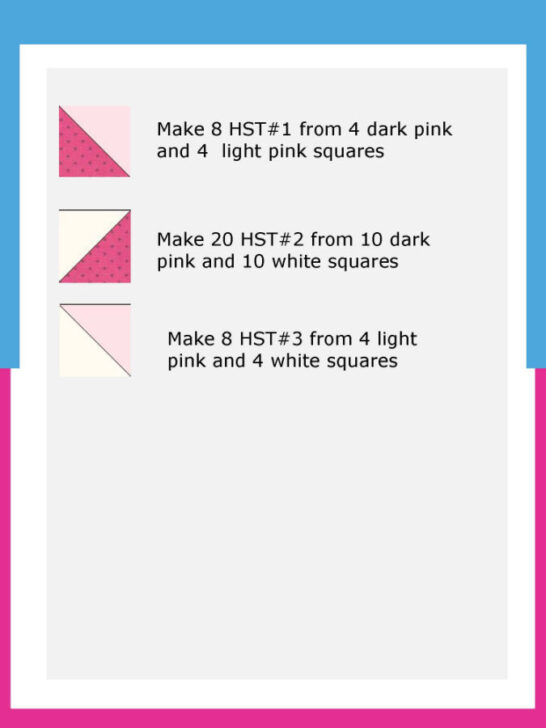
The pattern includes triangle pieces, but in quilting, many prefer using half-square triangles (HSTs) to make the process faster and more efficient. If you want to save time, you can construct the quilt using HSTs instead of cutting individual triangles.
The original pattern doesn’t include instructions for this method, so I created an additional guide to help. Below is the adjusted cutting list from the PDF pattern, which provides an alternative way to piece the quilt using half-square triangles.
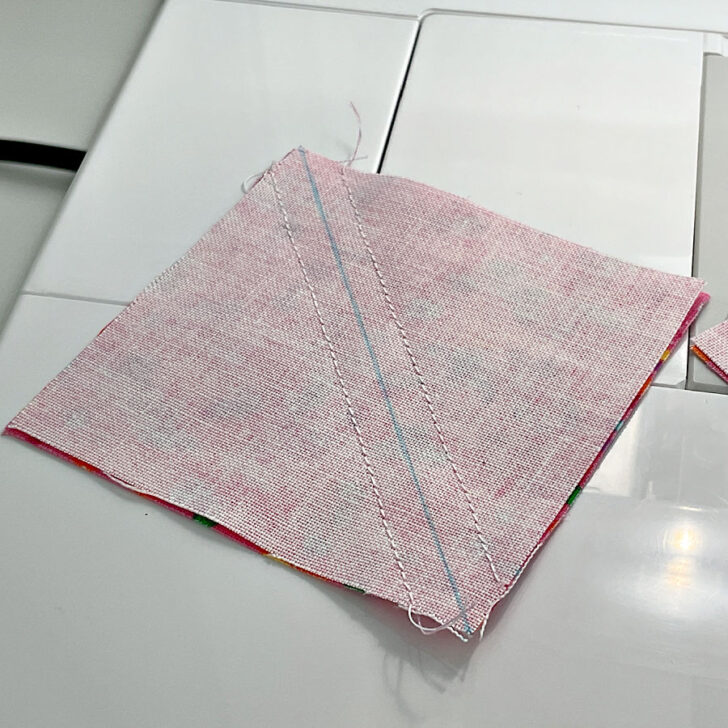
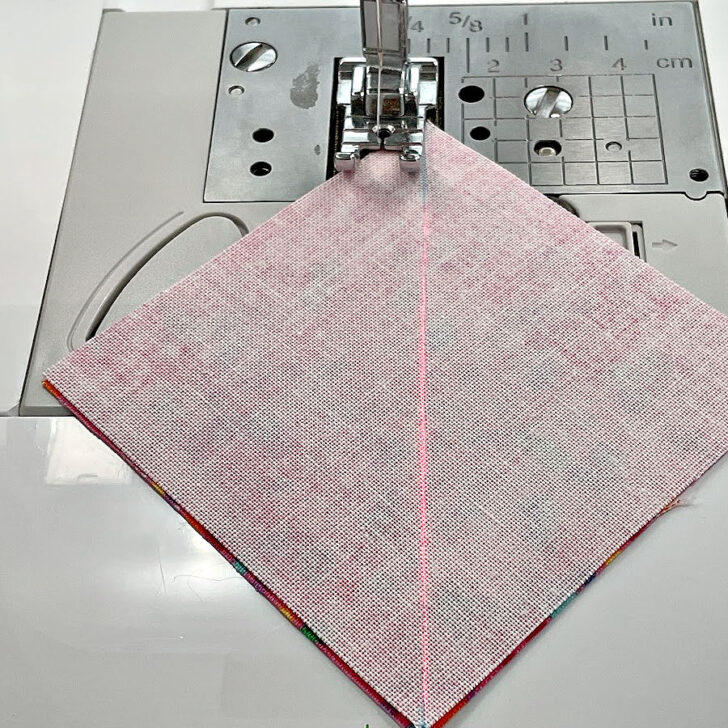
To make half-square triangles, start with two fabric squares of the same size. Place them right sides together, aligning all edges. Use a marking pen to draw a diagonal line from one corner to the opposite corner.
Sew 1/4 inch away from the drawn line on both sides. A quarter inch quilting foot can help keep your stitching even. The image below shows the result after stitching.
If you want to speed up the process, you can try using a laser guide (if your sewing machine has one) to align your stitching from point to point. It doesn’t always work perfectly, but it’s an interesting technique to test. This image shows the start of the first stitch on one side of the diagonal line.
✅ Related tutorial: Is This The Future Of Sewing? Watch The Laser Guide In Action!
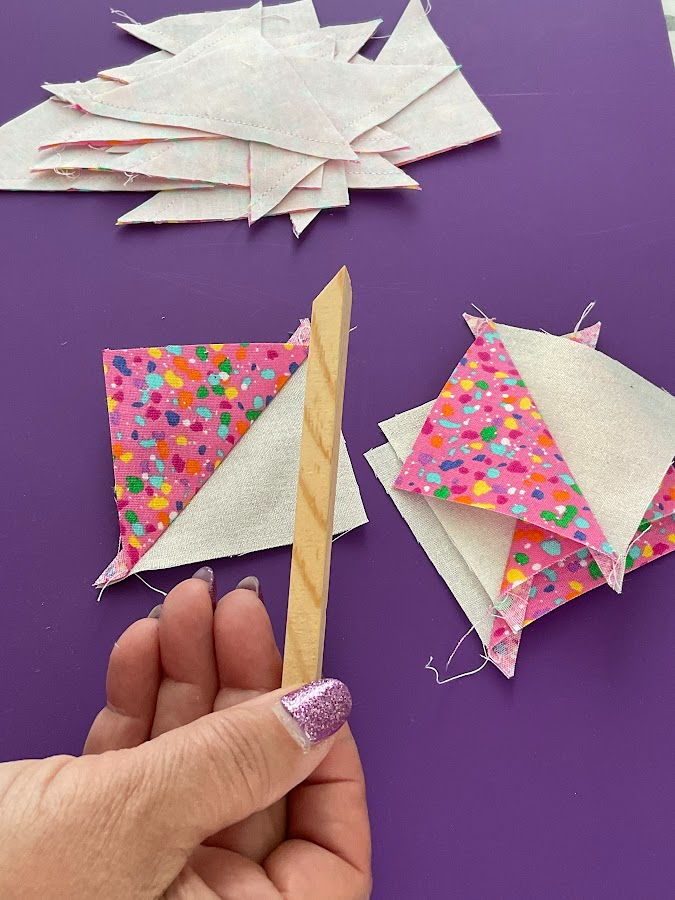
After sewing, cut along the drawn diagonal line to separate the two halves. Open each piece and press the seams to one side (darker fabric). Now you have two half-square triangles ready for your quilt.
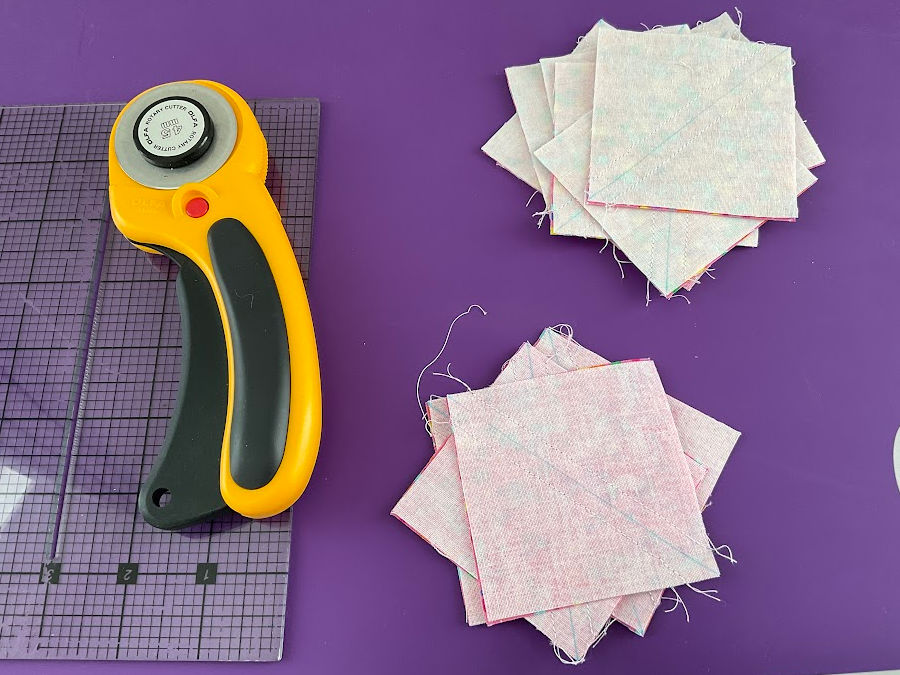
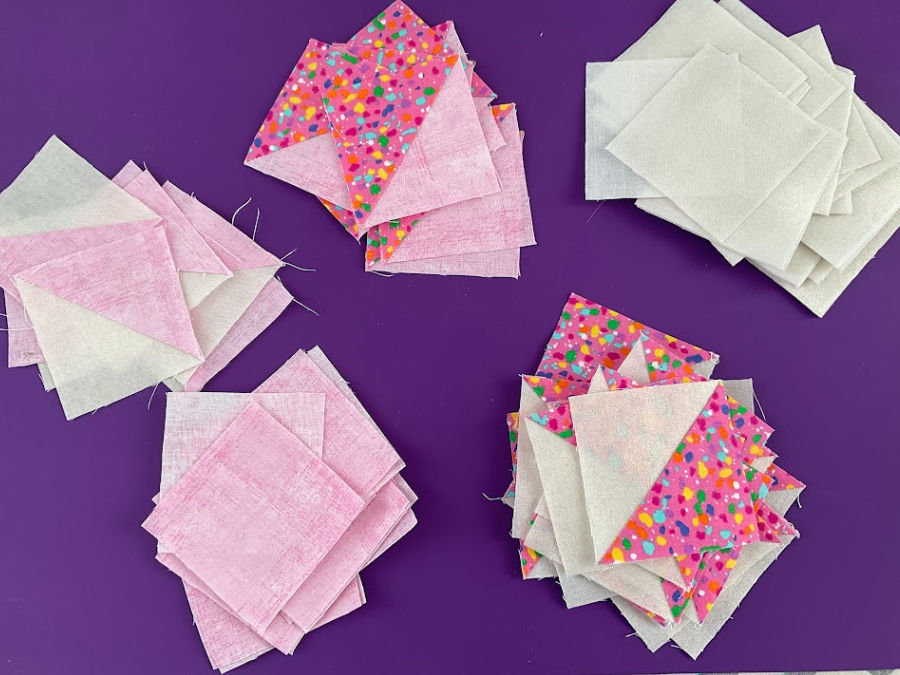
Repeat the same steps to create all the HSTs needed for this quilt. Chain piecing can save some time. This means sewing multiple pairs without stopping to cut the thread between them. Once all the pairs are stitched, cut along the diagonal lines and press the seams.
✅ Related tutorial: 7 Easy Ways To Make Multiple Half Square Triangles
Step 4. Sew the Quilt Blocks Together
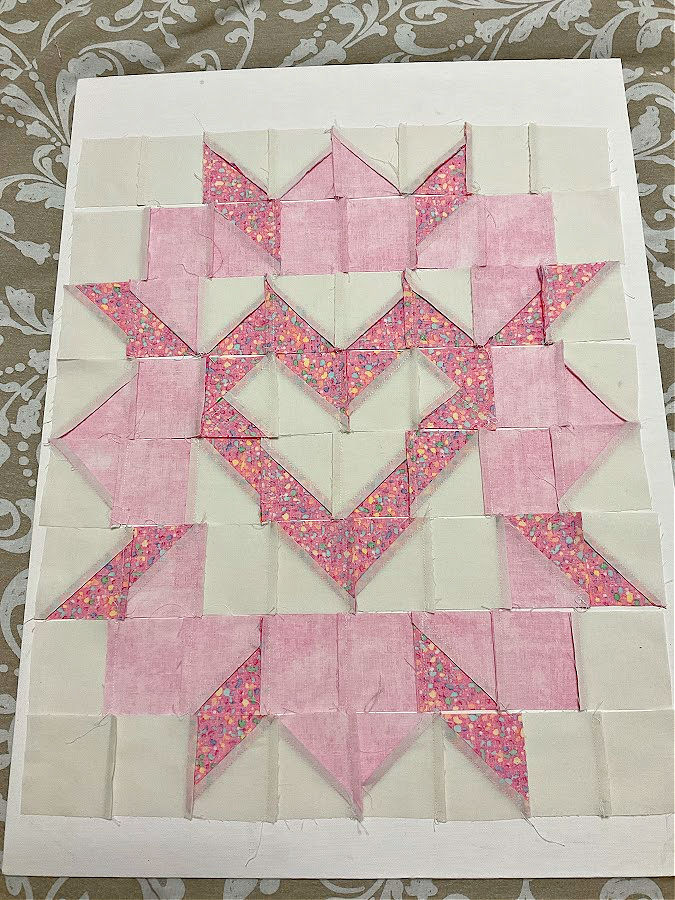
Now it’s time to piece the quilt block. Start by laying out all 64 squares in an 8 x 8 grid. Arrange them as the pattern shows, making sure the colors and prints are balanced.
To start sewing the pieces together, take the first square in the row and place it face up. Pick up the second square and lay it face down on top of the first, aligning the edges. Pin them together along the seam. At the sewing machine, stitch the seam with a consistent ¼-inch seam allowance from one end to the other. There’s no need to backstitch when piecing quilt blocks.
Open the sewn pair and place the third square right side together with the second square. Pin and sew another ¼-inch seam.
Keep adding squares one at a time until the entire row is assembled.
Repeat this process for all eight rows.

Step 5. Press the Seams
Pressing is an important step that helps the quilt lay flat and look nice. Unlike ironing, which moves the fabric back and forth, pressing is a more controlled technique. Gently lift and press the iron down on the seams rather than sliding it. A little steam can help set the fabric and make the seams crisp.
But I usually start by finger pressing the seams. This makes the final pressing with an iron easier. I like using my finger presser tool for this—it gives great results without stretching the fabric.

For this project, press all seams to one side rather than open. To reduce bulk and help the rows nest together, alternate the direction in which you press the seams. For example, press the seams in Row 1 to the right and the seams in Row 2 to the left. Continue this alternating pattern for the rest of the rows. This method makes it easier to match up seams when sewing the rows together.
Step 6. Join the Rows Together
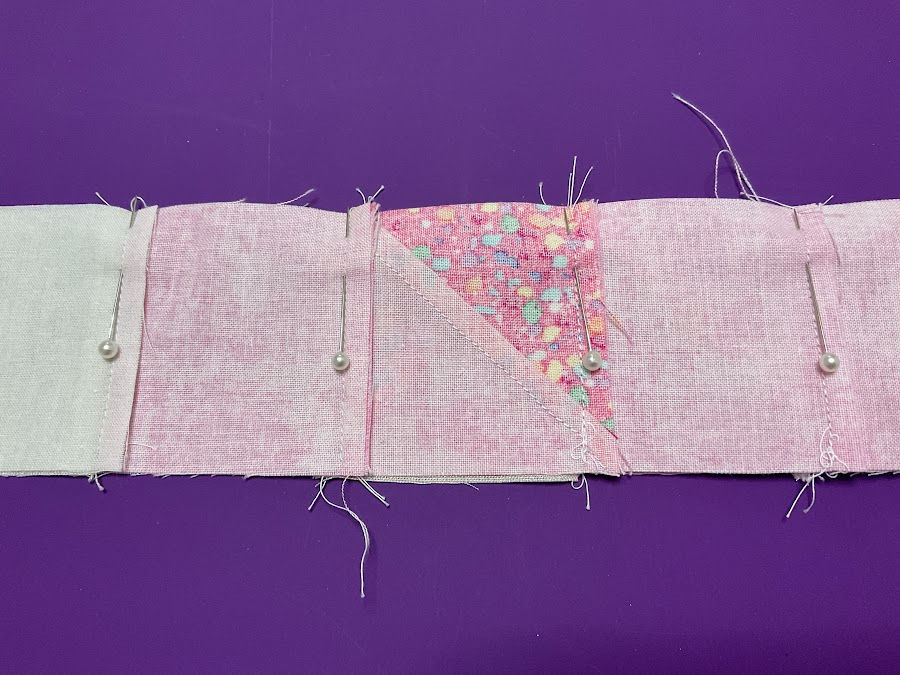
Now that all the rows are sewn and pressed, it’s time to join them. Take Row 1 and Row 2 and place them right sides together, aligning the edges. The key to getting crisp, matching points is nesting the seams. This means the seams should butt up against each other, lying flat without overlapping.
To keep everything in place, insert pins directly at each seam intersection. Pinning carefully into the exact stitch line will help your squares align neatly. If any seams feel bulky, use your fingers to adjust them so they nest tightly together.
✅ Related tutorial: How to Match Seams Perfectly: Step-by-Step Tutorial
Once pinned, sew along the edge with a ¼-inch seam allowance. Remove the pins as you sew, and be careful not to shift the fabric. After stitching, open the rows and check that the points of the squares match up. If any sections look off, you can use a seam ripper to redo that part before continuing.
Repeat this process for each row, always nesting and pinning the seams before sewing. Taking your time here will make a big difference in how your finished quilt looks.
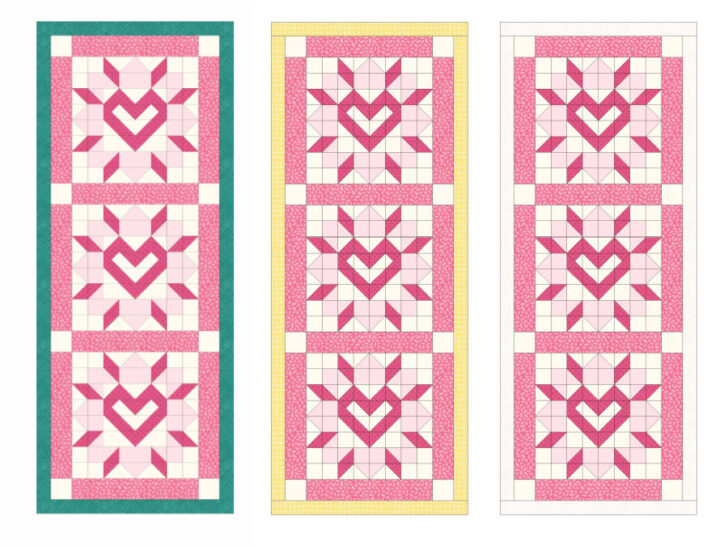
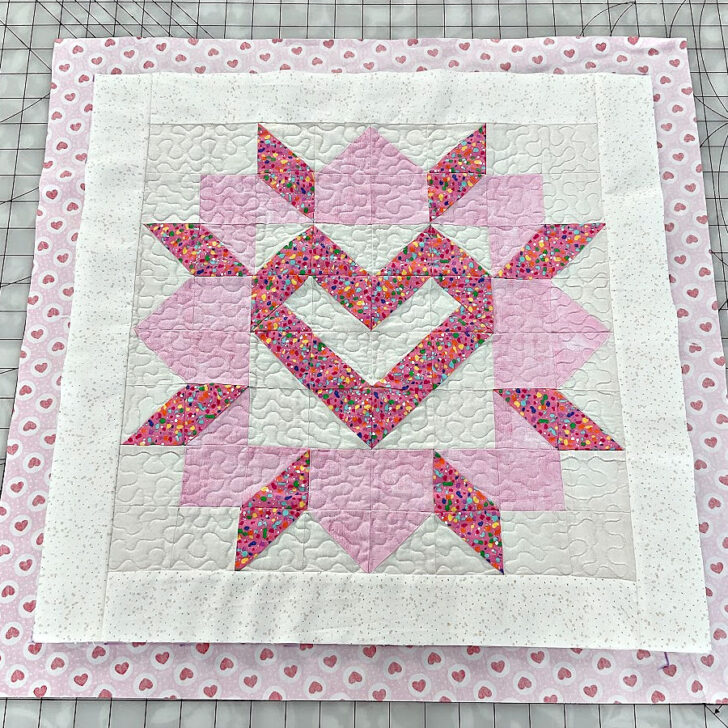
This Heartburst Quilt Block can also be used to create a beautiful table runner. I didn’t make one myself, but I wanted to show you how it would look. Here are three different design options, each featuring a unique border style. These variations give you an idea of how you can customize the quilt block to fit your space and personal style!
So, instead of making a table runner, I decided to use a single Heartburst Quilt Block with a border to create a placemat. This is another way to turn a quilt block into something practical and decorative.
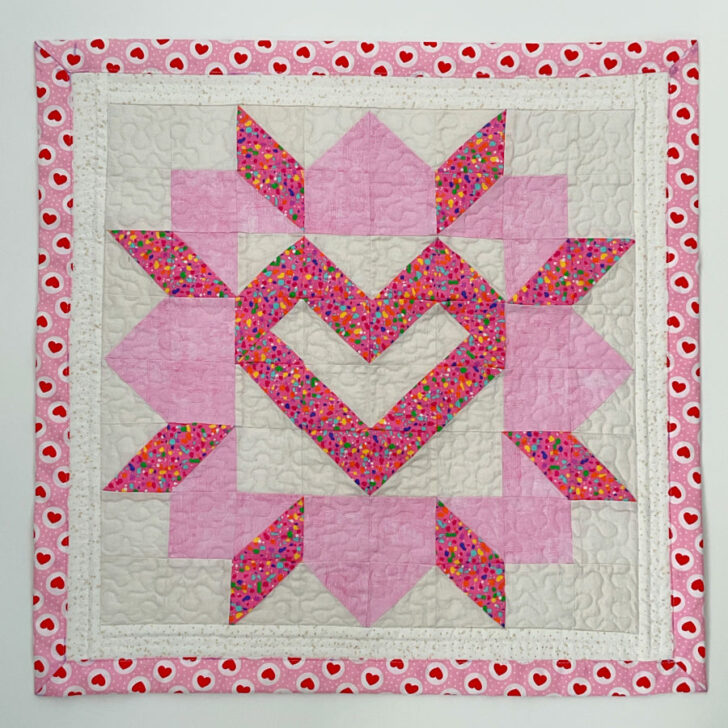
Step 7. Add the Quilt Border
To turn this quilt block into a finished quilt, you need to add a border around the edges. Borders help frame the design.
For this quilt, cut four strips, each 2 1/2 inches wide. These strips will be sewn to the outer edges of the quilt top.
Take two of the strips and sew them to the left and right edges of the quilt top. Use a ¼-inch seam allowance and press the seams outward after stitching.
Next, sew the remaining two strips to the top and bottom edges. Again, use a ¼-inch seam allowance and press the seams outward.
Once the borders are attached and pressed, your quilt top is almost complete and ready for the next step.
Step 8. Make the Quilt Sandwich and Baste
Now it’s time to assemble the layers of your quilt—this is called making a quilt sandwich. It consists of three layers:
- Quilt Top – Your finished patchwork piece
- Batting – The soft middle layer that adds warmth and texture
- Backing – The fabric on the back of the quilt
✅ Related tutorial: Quilt basting tutorial – learn different ways to baste a quilt
For this project, use very thin fabric for the backing to keep the quilt lightweight and easy to bind with self binding. Choose a smooth cotton or another soft material that won’t add bulk.
Lay the backing fabric flat on a table, right side down. Smooth out any wrinkles. Place the batting on top of the backing, making sure it’s evenly spread out.
Finally, lay the quilt top over the batting, right side up.
To keep the layers from shifting during quilting, you need to baste them together.
Step 9. Quilt the Layers Together
There are many ways to quilt, and the method you choose depends on your preference and the tools available.
Some common quilting techniques include:
- Hand quilting – Uses a needle and thread for a classic, handmade look.
- Straight-line quilting – Done with a sewing machine, stitching in straight lines.
- Free-motion quilting – Creates intricate, flowing designs using a free motion foot on a sewing machine.
- Quilting with an embroidery machine – Uses pre-programmed quilting designs to stitch patterns automatically.
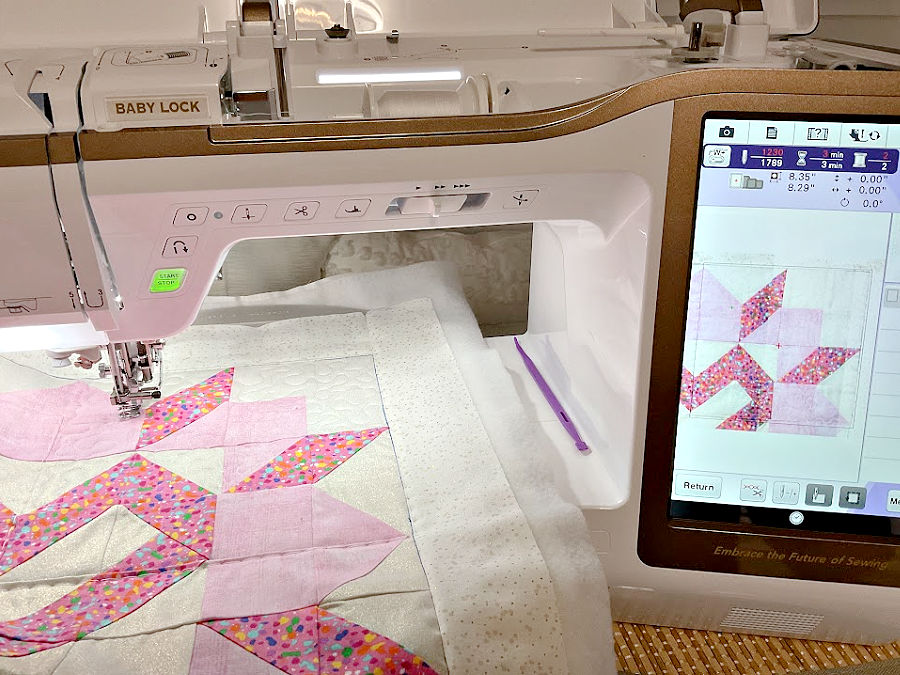
For this quilt, I’m using my embroidery machine, the Baby Lock Destiny. This method allows for precise, decorative quilting designs without much effort. If you have an embroidery machine with a big hoop (like 9 x 9 inches), you can load a quilting pattern and let the machine do the work.
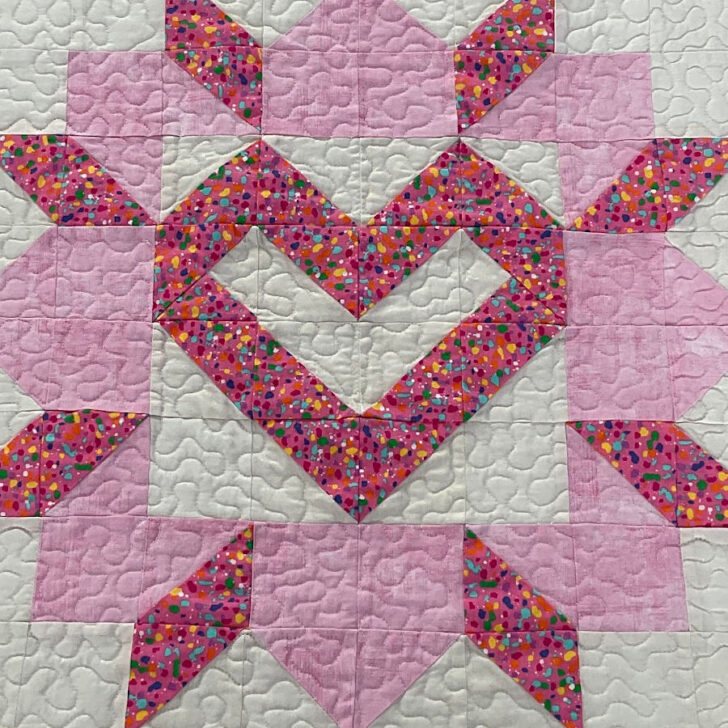
As you can see, I didn’t quilt the borders at the same time as the heart block because I wanted to show you how to do self-binding for a quilt. Since the binding process involves folding the fabric over the edges, the borders needed to stay unquilted until the self-binding was complete.
Once the quilting of the block is complete, trim any excess batting and backing fabric to match the edges of your quilt. Now it’s ready for the final step—binding!
✅ Related tutorial: Quilting with an embroidery machine
Step 10. Self-Binding the Quilt
To finish the quilt, I’m using self-binding, a method where the backing fabric folds over to create the quilt’s edge. This technique eliminates the need for a separate binding strip. I have a detailed step-by-step tutorial on how to do self-binding, which you can find here: Self Binding Quilt Tutorial: Easy Steps for Perfect Mitered Corners and a Professional Finish. Follow along for easy instructions on achieving a neat and professional finish.
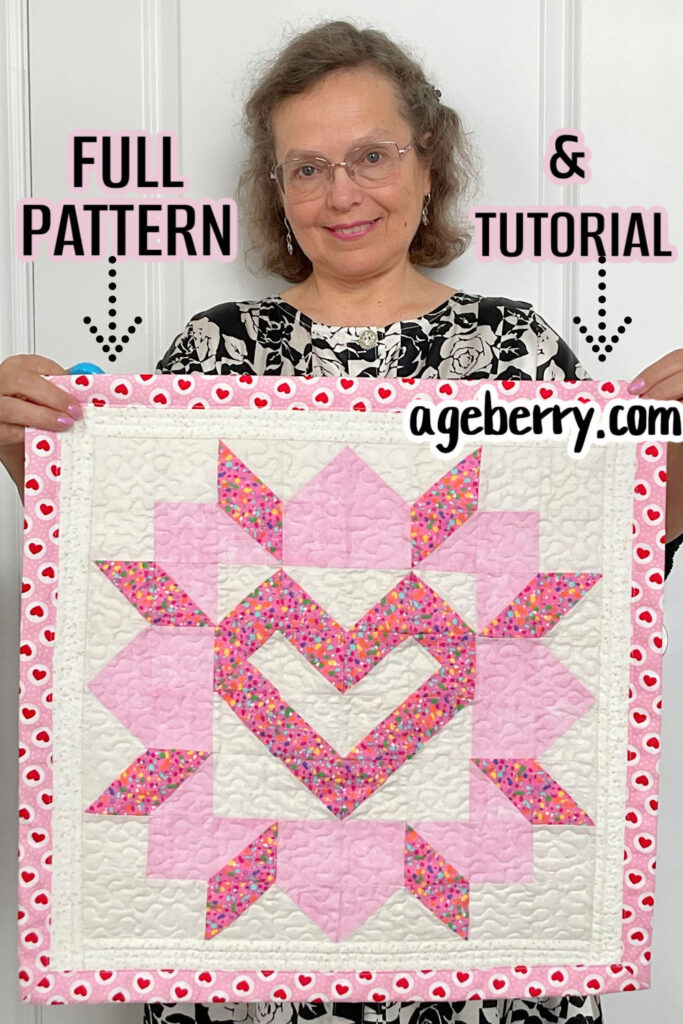
You can find my Heartburst Quilt Block Pattern in my shop for a small fee.
Did you like this article? Did it offer some useful information? Well, grab that pin below and stick it on your quilting board on Pinterest. And while you’re in a pinning mood, why not follow me on Pinterest? It’s like subscribing to a never-ending show of sewing tips, tutorials, and enough inspiration to make your sewing machine purr with excitement!
latest posts
- What Do You Call a Person Who Sews? I Asked My Readers and Got 1,408 Opinions
- DIY Round Purse: PDF Sewing Pattern and Detailed Instructions
- Mini Wonder Clips By Clover: Useful Sewing Tool Or Just Another Notion?
- Non-Slip Grips For Quilting Rulers: A Small Notion With A Useful Job
- Fabric Eraser for Sewing: What It Removes and When to Use It
- What Is The Best Thread For Sewing Machine Projects? Let’s Find Out!
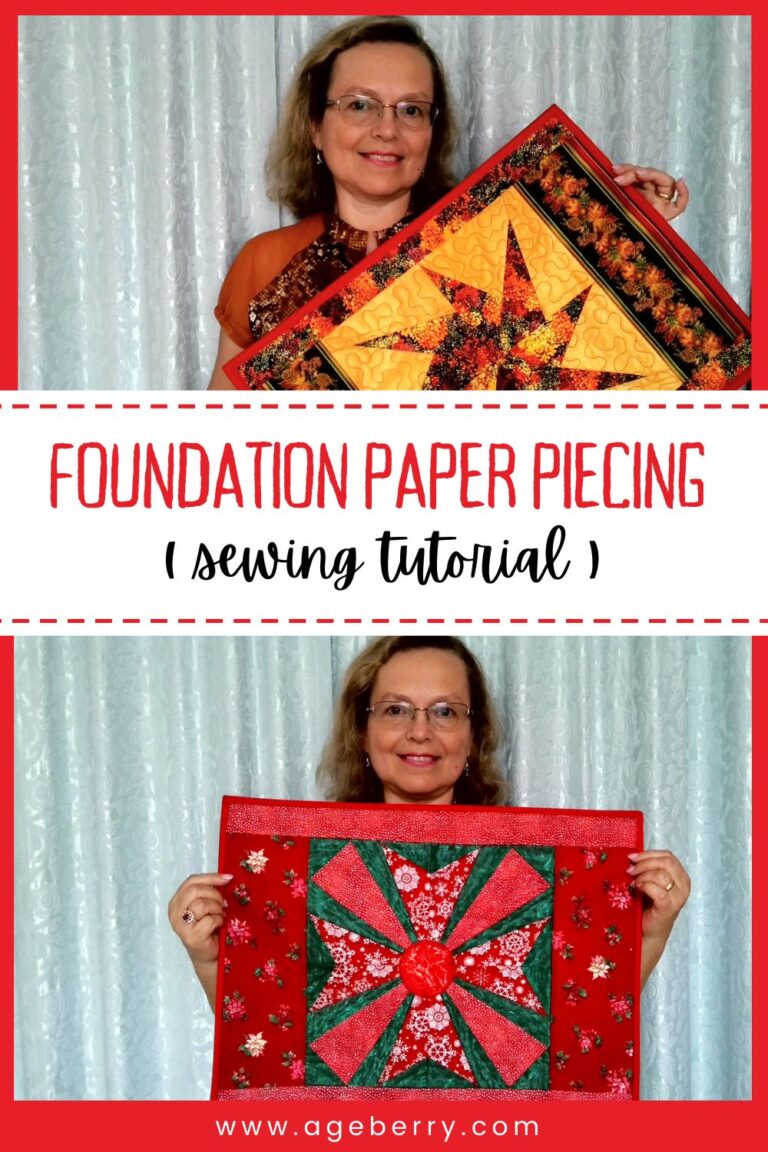
- Butterfly Quilt Block Tutorial – Foundation Paper Piecing
- How To Sew Quilt Squares So The Corners Match
- Sewing With Fork Pins: How They Help With Pattern Matching, Slippery Fabric, And Seams