How to Cover Stains on a Shirt with Visible Mending
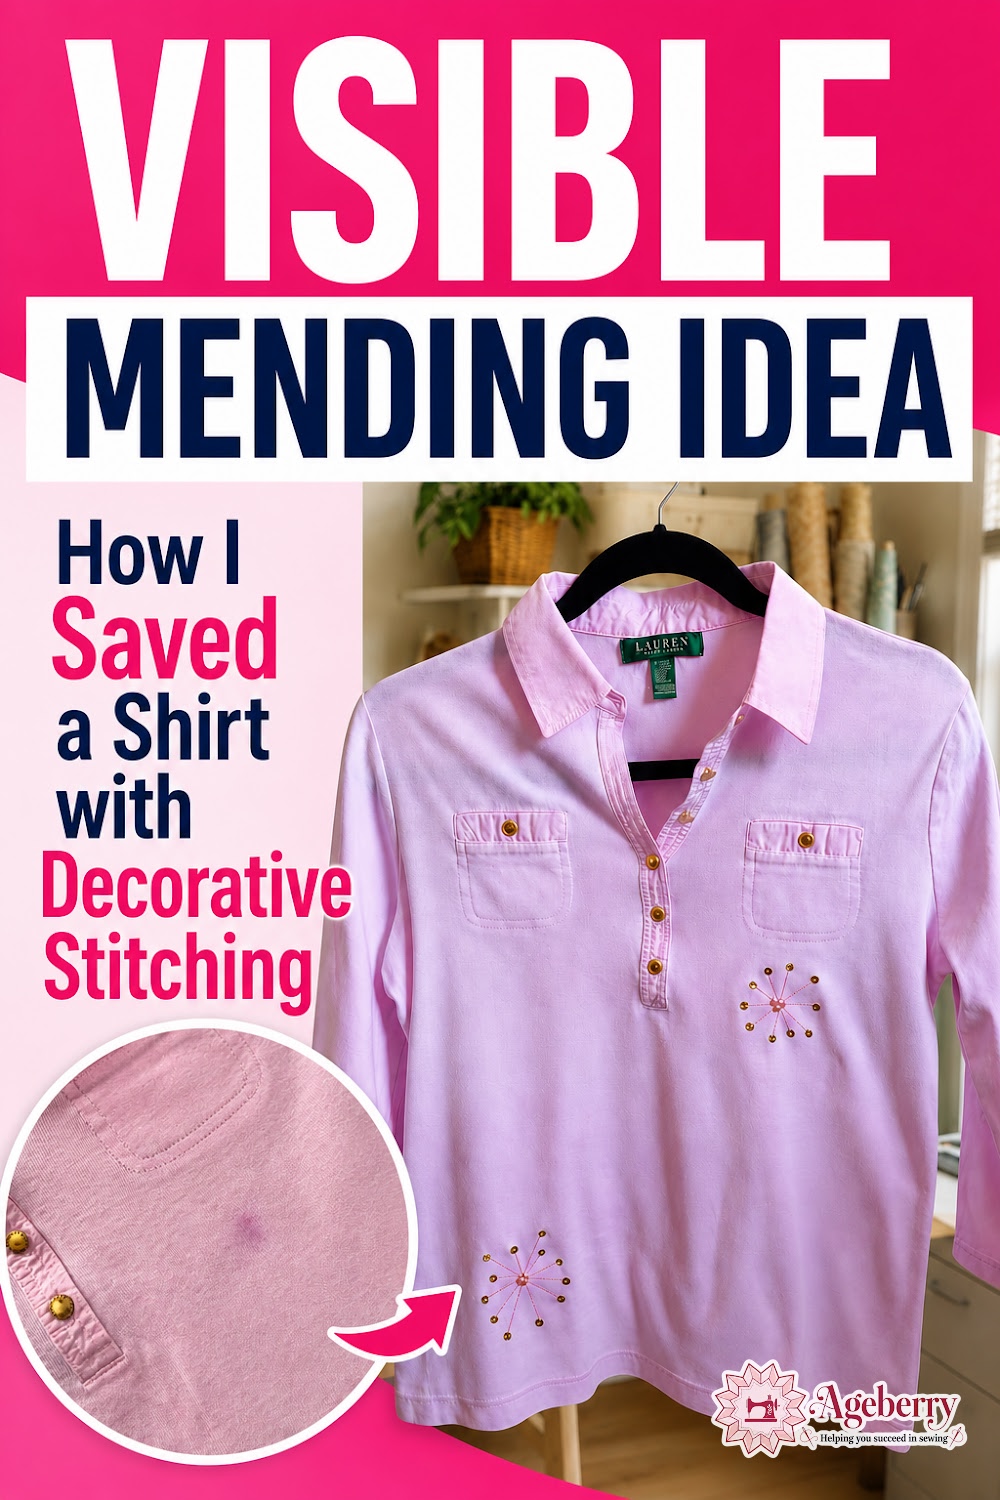
Are you interested in visible mending? This step-by-step tutorial shows how I covered two noticeable stains on a knit shirt with decorative stitching, sequins, and beads. You can adapt the same idea to rescue other stained clothes that are still worth wearing.
Prefer to read without ads?
I created a PDF version of this guide for anyone who likes to keep sewing guides saved, printed, or easy to read without ads. It includes the same helpful information in a simple format you can download and use whenever you need it.
The PDFs are available in my shop for a small fee. It’s a nice option if you want to support my work and keep this tutorial close to your sewing machine.
But first, let me explain why I needed to do this.
The shirt belongs to my daughter and was originally white. I accidentally washed it with something red. I used cold water and added color catcher sheets, as I usually do, but they didn’t work this time.
The shirt came out pink. And just when I thought “well, at least it’s an even pink“, I noticed two darker splotches sitting front and center. Not tucked away in some forgivable spot like the side seam or under the arm—no, these stains claimed prime real estate right on the front of the shirt, practically demanding attention.
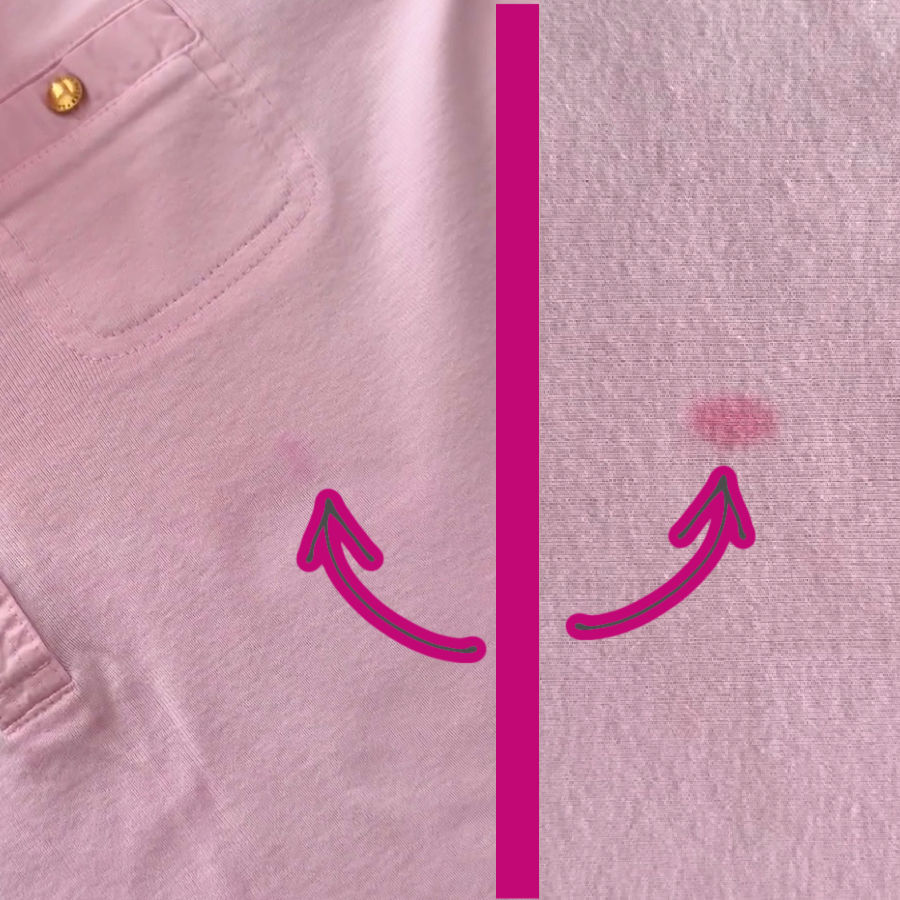
Normal me would have quietly retired this shirt to the rag pile and pretended it never happened. But this was a Ralph Lauren shirt, and my daughter loved it, which meant I couldn’t just wave the white (well, pink) flag of surrender.
So instead of admitting defeat, I decided to fight back with a needle and thread. If I couldn’t remove the stains, I would simply… make them disappear in plain sight.
Enter visible mending—the art of turning “oops” into “on purpose.” So, let me show you how to turn a laundry disaster into a design feature.
How Can You Hide a Stain on a Shirt?
There are several common ways to cover stains on clothes:
- Hand or machine embroidery
- Appliqué
- Decorative patches
- Fabric paint
- Lace or trim
- An added pocket
But my daughter is 30 years old, and she didn’t want embroidery motifs, appliqués, or patches on this shirt. Those methods can look wonderful, but many of the ideas we considered didn’t feel right for this particular top.
I needed something simple that would work with the original style of the shirt.
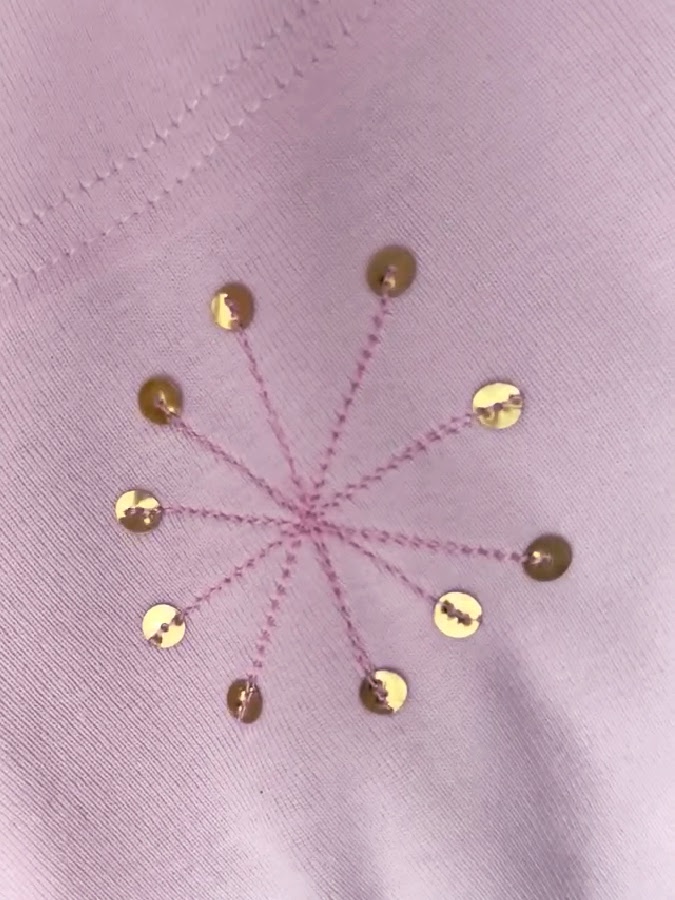
The shirt already had small gold buttons, so I decided to use gold sequins. I added radiating lines of pink stitching around each stain, with one sequin at the end of every line. Then I hand-sewed three small pink beads in the center.
The finished designs look a little like small starbursts. More importantly, both stains are completely covered.
Supplies for This Visible Mending Project
You will need:
- Lightweight fusible stabilizer or interfacing
- Machine embroidery thread
- Sequins (I used flat sequins)
- Small beads for the center of each design
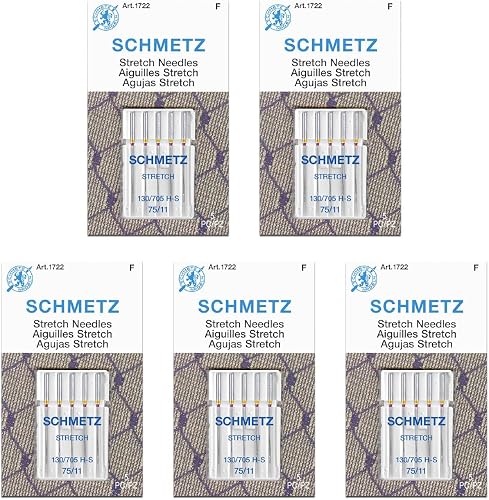
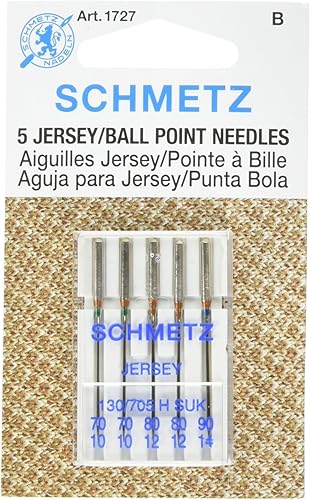
- A stretch needle suitable for knit fabric
- A removable fabric marking tool
- A ruler
- Tweezers
- A hand-sewing needle
- A pressing cloth
- A scrap of similar knit fabric for testing
I used 100% cotton machine embroidery thread in pink and gold sequins that matched the shirt’s buttons.
Note: Some of the links on this page are affiliate links. This means I will receive a commission if you order a product through one of my links. I only recommend products I believe in and use myself.
Choosing a Stabilizer for Knit Fabric
Knit fabric stretches, so it needs support before adding rows of stitching and sequins. Without stabilizer, the fabric may stretch, pucker, or become distorted while you sew.
Use a stabilizer that can be removed (not all though, just partially) after the stitching is complete.
I used lightweight fusible knit interfacing. I fused it only lightly because I knew from previous experience that I would be able to remove most of it later.
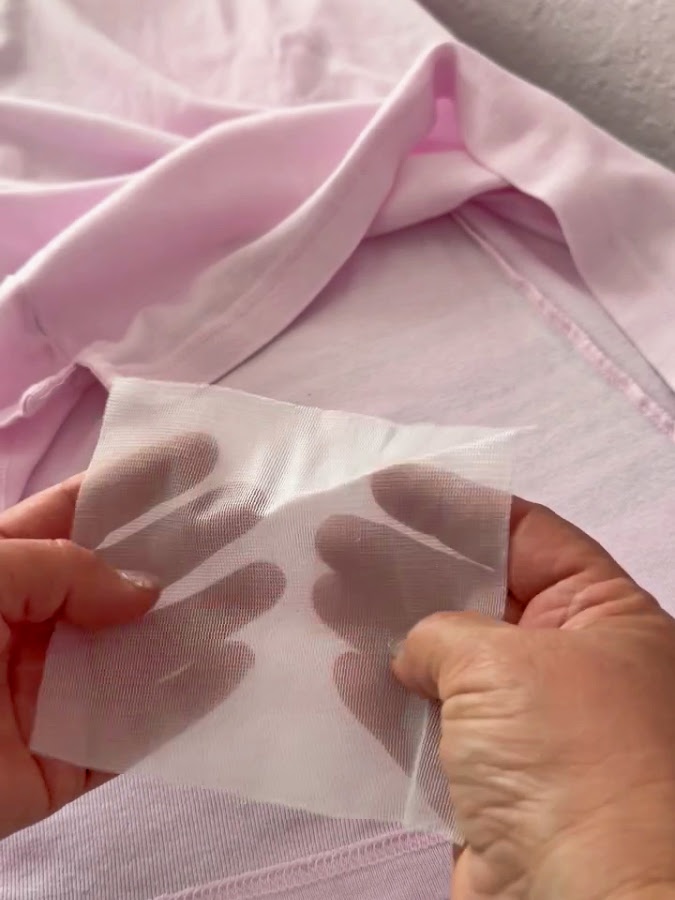


Test your interfacing on a scrap first. Fusible interfacing is normally designed to stay inside a garment. If it is fused firmly, you may not be able to remove it without stretching or damaging the knit.
If your interfacing does not release easily, don’t pull it. Carefully trim around the stitched design and leave the remaining interfacing behind it.
Step 1: Stabilize the Area Around the Stain
Cut a piece of stabilizer or lightweight interfacing slightly larger than the decorative design you plan to sew.
Place it on the wrong side of the shirt, directly behind the stain.
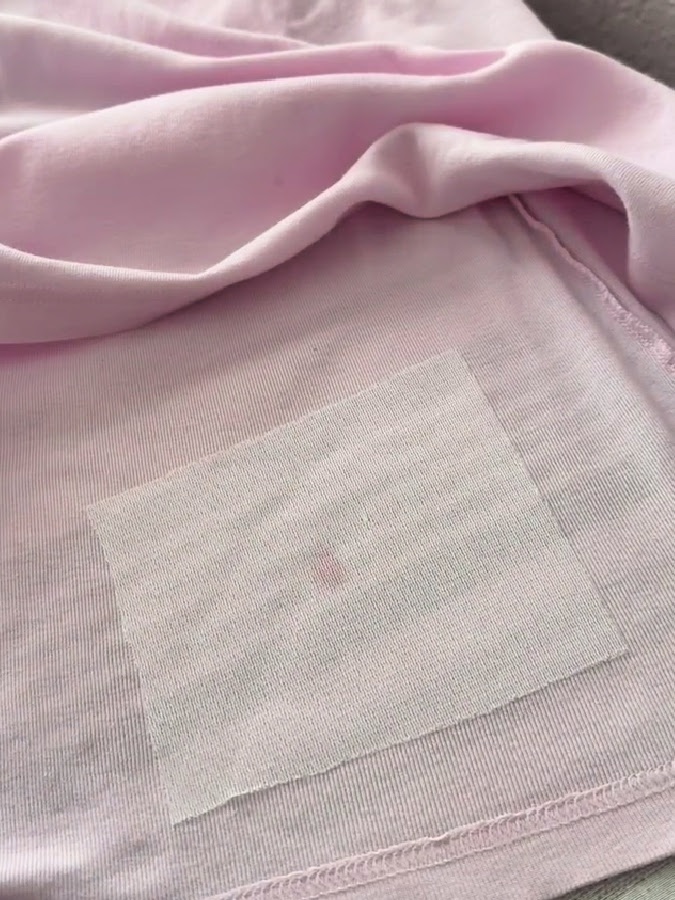
Fuse or attach it according to the type of stabilizer you are using. I fused my knit interfacing lightly so it would support the fabric while I stitched but could still be removed afterward.
Make sure the stabilizer covers the entire area around the stain, not only the stain itself.
Step 2: Test Your Machine Settings
Don’t begin sewing on the shirt yet.
Use a piece of similar T-shirt fabric with the same stabilizer or interfacing attached to the back. Insert a stretch needle and thread the machine with embroidery thread. Test your thread and stitch until the fabric stays smooth.
You may need to adjust:
- Thread tension
- Presser foot pressure
- Stitch length
- Stitch type
- Presser foot
The best settings will depend on your machine, thread, and fabric.
Testing is especially important with knit fabric. A setting that works perfectly on woven cotton may stretch or pucker a knit.
✅ Related tutorial:
How To Sew Knit Fabric | 23 Expert Tips For Beginners
Step 3: Mark the Decorative Lines
Place the center of the design directly over the stain. The stitching and beads in the middle need to cover it completely.
I used a ruler to draw several straight lines crossing through the center. The lines should radiate outward like a starburst.
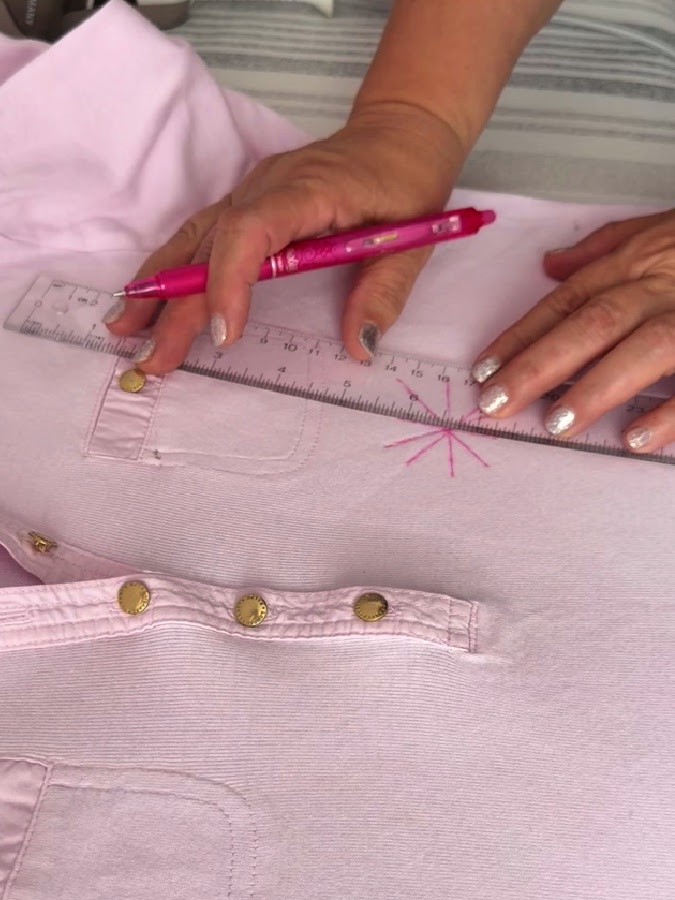
I used a Frixion pen. The markings disappeared when I pressed the fabric.


I know not everyone likes using Frixion pens on fabric. The marks can sometimes reappear in cold temperatures or leave a faint line. Use whichever removable marking tool you trust, and test it first on a hidden area.
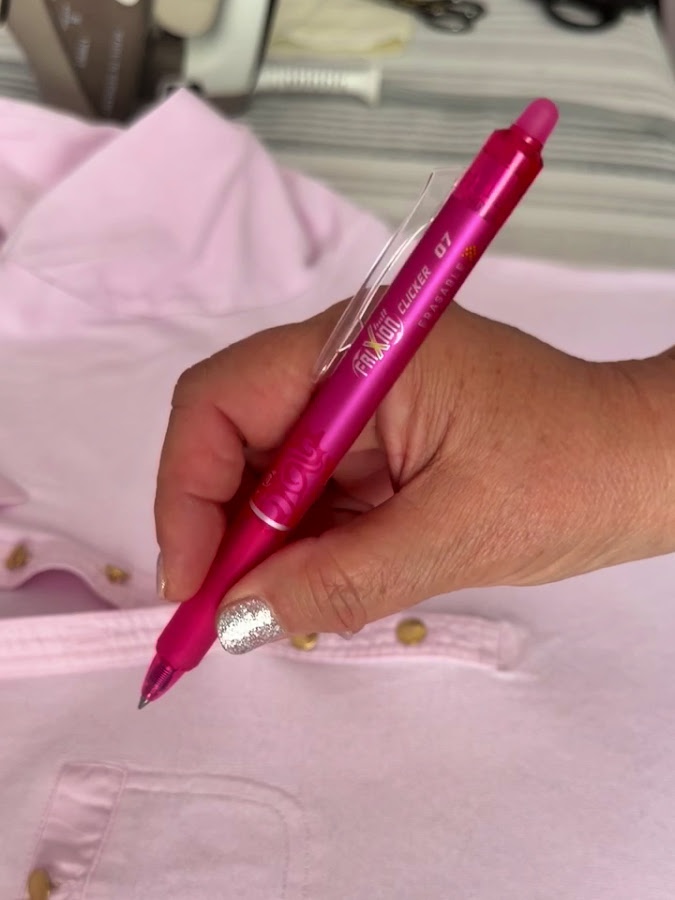
The lines do not have to be perfectly identical. You can vary their lengths slightly to create a more natural-looking design.
✅ Related tutorial: Your Guide For Choosing The Best Quilt Marking Pens For Every Project
Step 4: Sew the First Line and Add the Sequins
Begin sewing in the center of the marked design.
Follow one marked line from the center to its outer end. Stop with the needle raised and lift the presser foot.
Use tweezers to position a sequin at the end of the line. I placed the sequin directly under the presser foot and continued sewing straight across it.
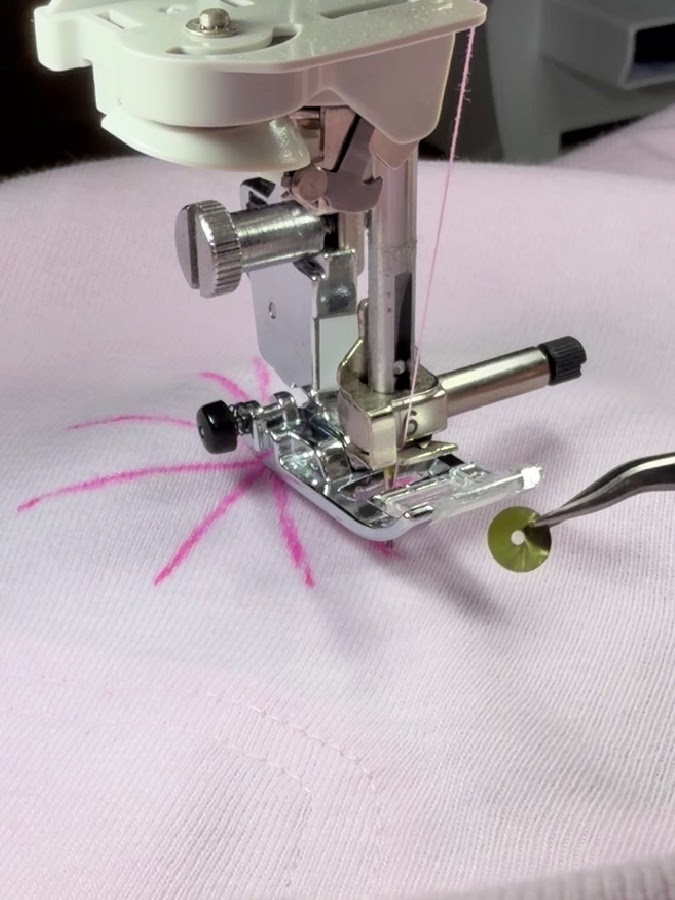


This worked well with my flat sequins, but test yours before doing it on the shirt. Some sequins may crack, and sewing through them can dull or damage the needle. Sew slowly and stop if the needle has difficulty piercing the sequin.
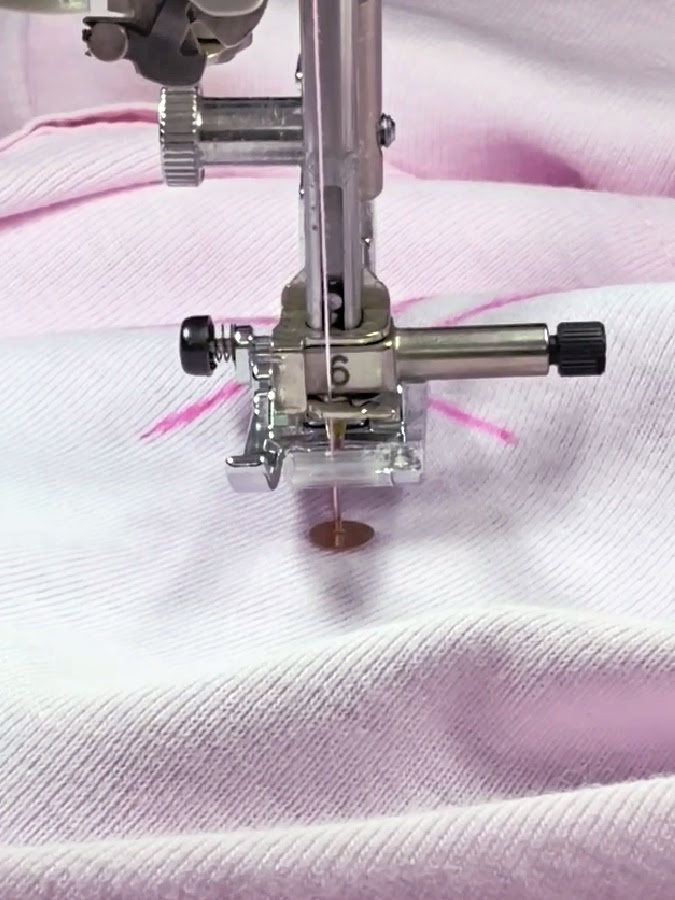
After stitching across the sequin, turn the fabric and sew directly back over the first row of stitching. Continue through the center and follow the same marked line to its opposite end.
Place another sequin at that end and sew directly across it.
Turn the fabric again and sew back over the same line until you reach the center.
Now you are ready to sew the next line.
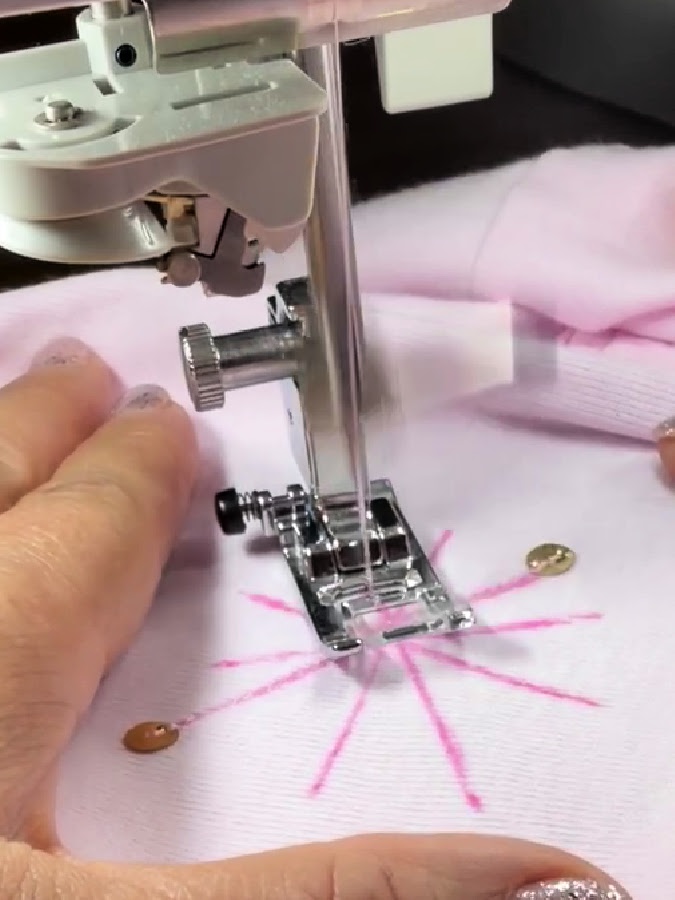
Step 5: Complete the Starburst
Repeat the same process for every marked line:
- Start in the center.
- Sew to one end of the line.
- Position a sequin and sew directly across it.
- Turn and sew back over the same stitches.
- Continue through the center to the opposite end.
- Position and sew across another sequin.
- Sew back to the center.
Continue until every line has been stitched and every endpoint has a sequin.
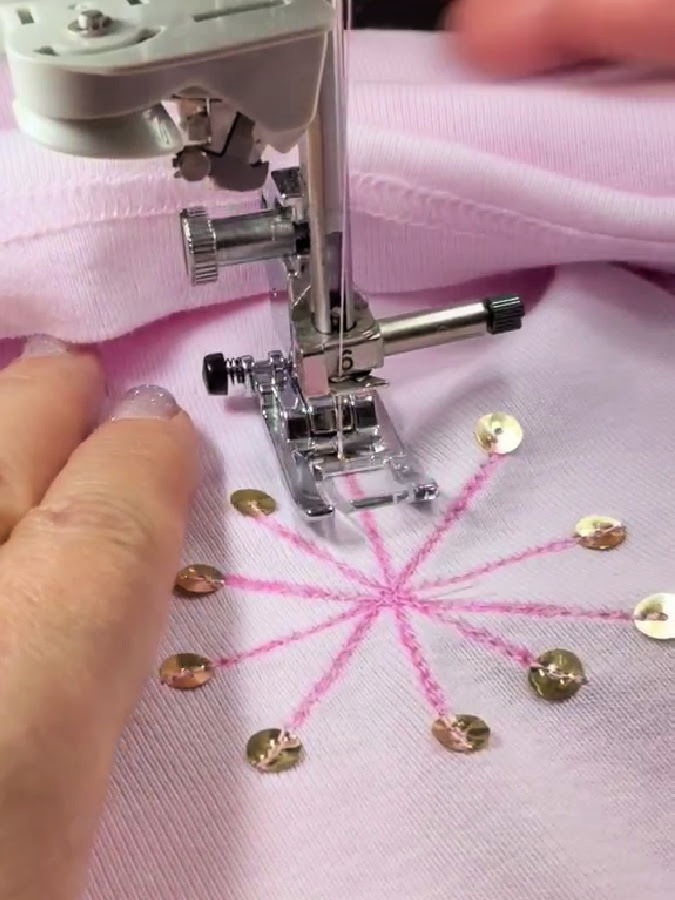
Working from the center places the densest stitching over the stain. Sewing back over the lines also makes them more noticeable and helps the design look finished.
Take your time when positioning the sequins. Tweezers make this much easier (and less dangerous) than trying to place each tiny sequin with your fingers. I know the needle is sharp, don’t ask me why I know that.
Check the needle after finishing the design. Replace it if it looks bent or damaged or if it begins causing skipped stitches.
Step 6: Press Carefully
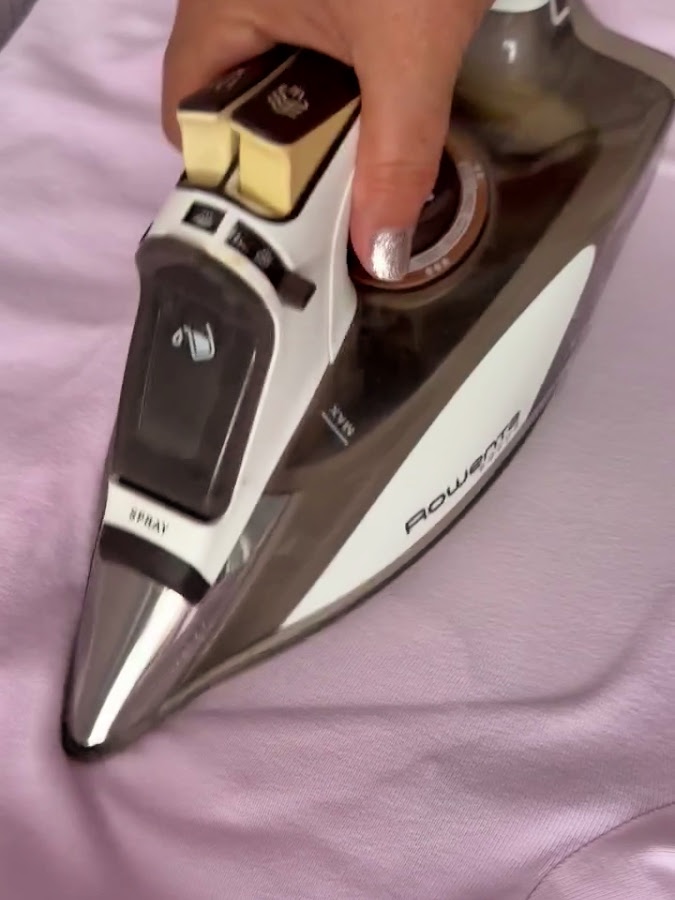
Once the first design is complete, remove the shirt from the sewing machine and press it.
Do not place the iron directly over the sequins. Many sequins are made from plastic and can melt very quickly.
Use a pressing cloth or press carefully from the back side of the shirt. I pressed mine from the back, and the heat removed my Frixion pen markings.
Check that the knit fabric lies smoothly and that the stain is completely hidden.
✅ Related tutorial: Pressing Matters: 15 Common Ironing Mistakes to Avoid
Step 7: Cover the Second Stain
Repeat the same process with the second stain:
- Add stabilizer behind it.
- Mark the radiating lines.
- Sew from the center.
- Add sequins at the ends.
- Press carefully from the wrong side.
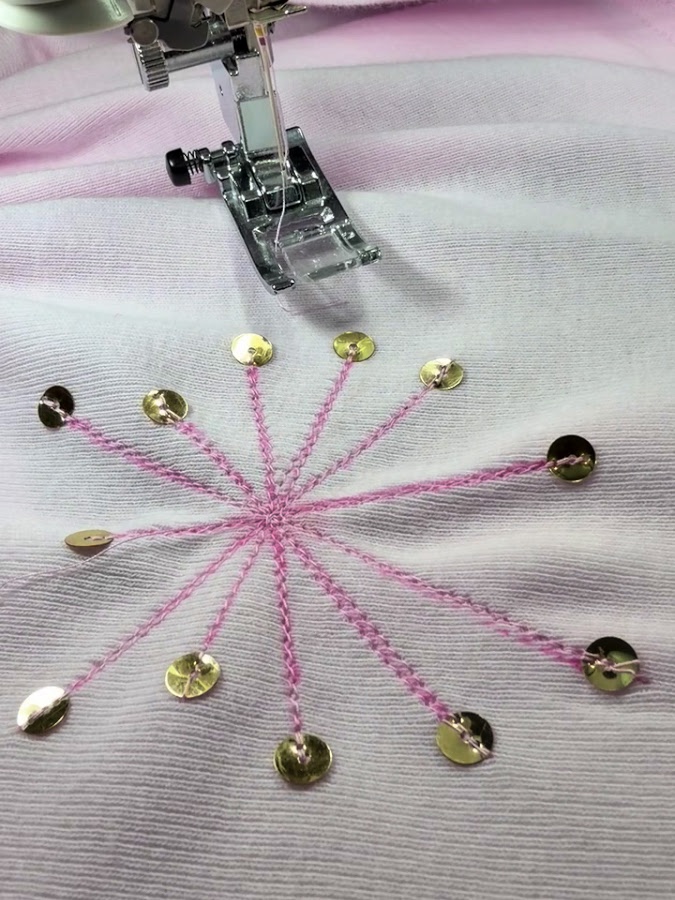
The two designs do not need to be placed symmetrically. My stains were in different areas, so I let their original positions determine where the decorations went.
Because the motifs share the same thread, sequins, beads, and shape, they still look like part of one design.
Step 8: Add the Pink Pearl Beads
After pressing, I added three small pink pearl beads to the center of each starburst.
I sewed them by hand.
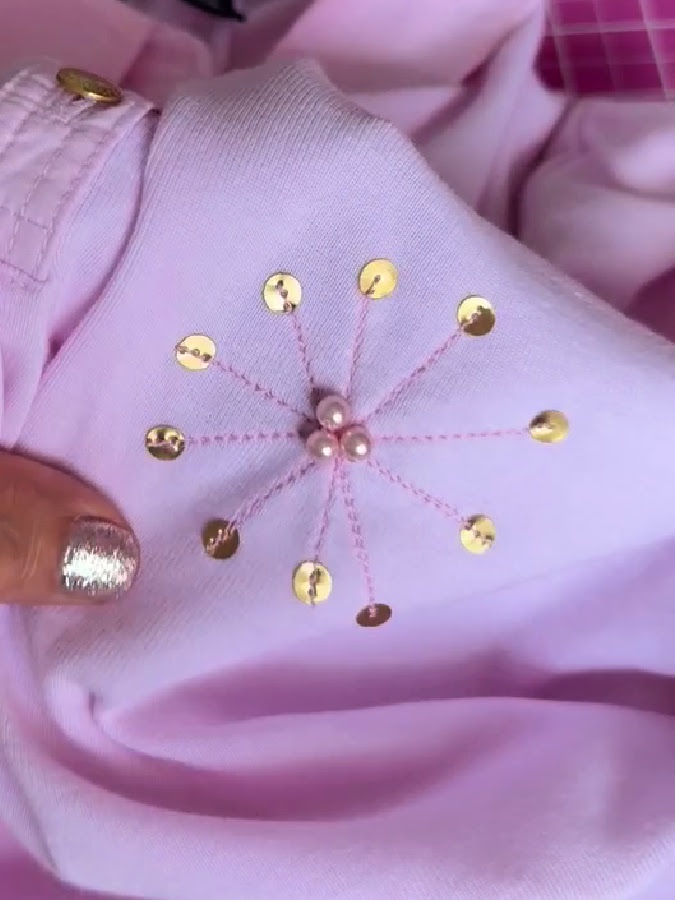
The beads cover the dense center stitching and make the design look more finished. They also add another layer over the original stain.
Secure the hand-sewing thread well on the wrong side, but don’t pull it too tightly. Tight stitches can make knit fabric pucker.
Removing the Stabilizer
Carefully remove some stabilizer (the part that’s not covered with stitches only) from the wrong side.
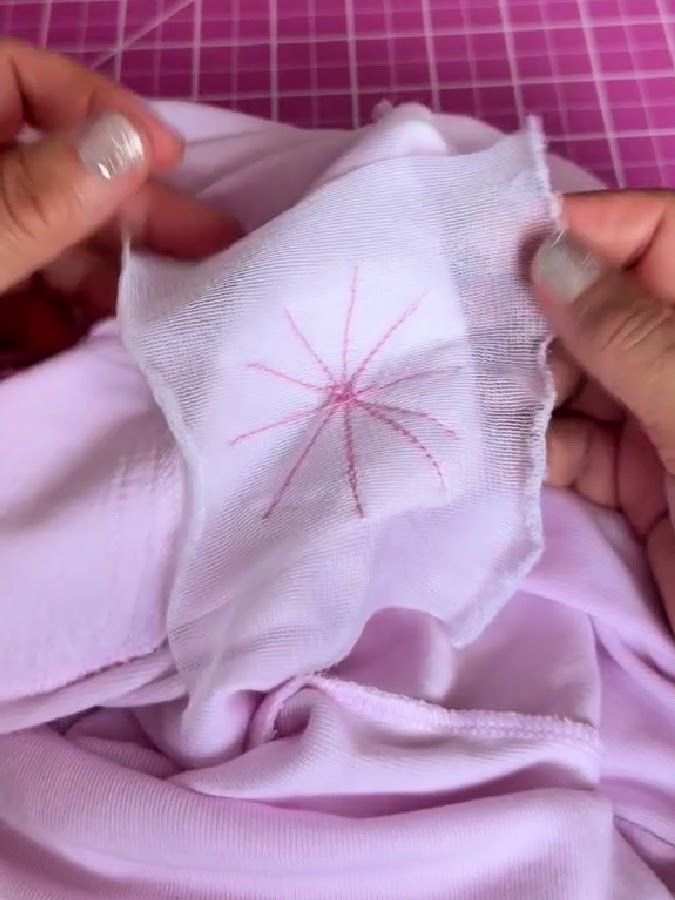
Do not tug against the machine stitching. If some interfacing remains firmly attached, trim around the design and leave a small amount behind instead of risking damage to the shirt.
Check the back for loose threads and secure them if necessary.
Caring for the Finished Shirt
Because the shirt now has sequins and beads, I would wash it more carefully than before.
Turn it inside out and place it in a mesh laundry bag. Use a gentle cycle with cold water, or wash it by hand. Air-drying will also help protect the decorations.
And since we are talking about bringing old things to a new life, perhaps you will be interested in how I repurposed an old lace curtain to make a nice (and sturdy) laundry bag: DIY mesh bag/video sewing tutorial / in the hoop projects.
Never iron directly over the sequins or beads. Press from the wrong side with a pressing cloth.
The Finished Shirt
The shirt is still pink, but now the color looks intentional. The two darker spots are hidden under decorative stitching, gold sequins, and small pink pearl beads.
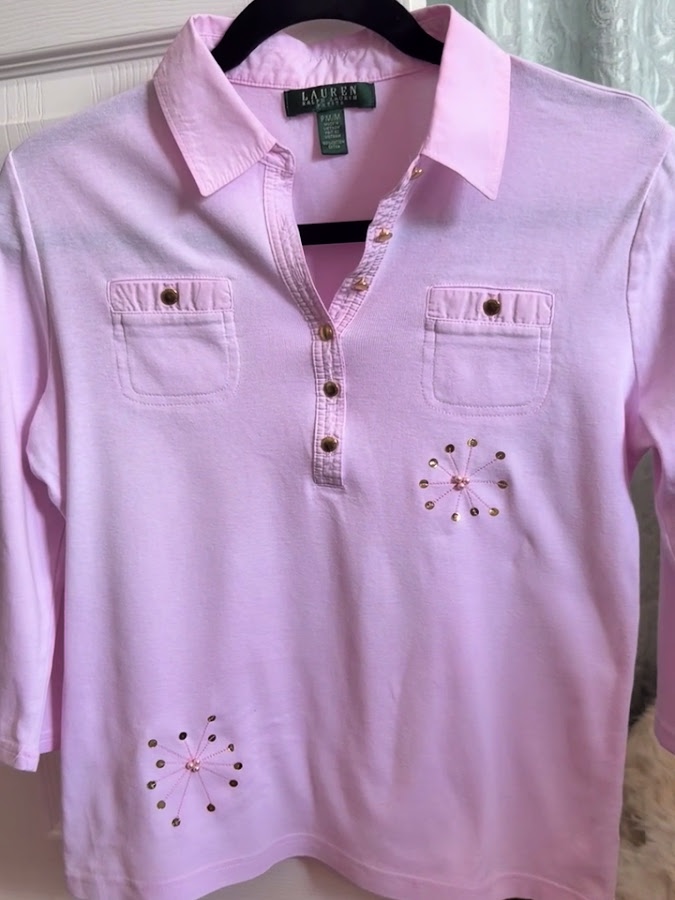
I especially like how the gold sequins coordinate with the original gold buttons. That connection helps the new decorations look as though they were always meant to be there.
This wasn’t traditional mending because the fabric didn’t have a hole or tear. But it is still a form of visible mending. Instead of trying to make the damaged areas disappear, I turned them into decorative details.
I think the shirt looks much better now—and, most importantly, my daughter can wear it again.
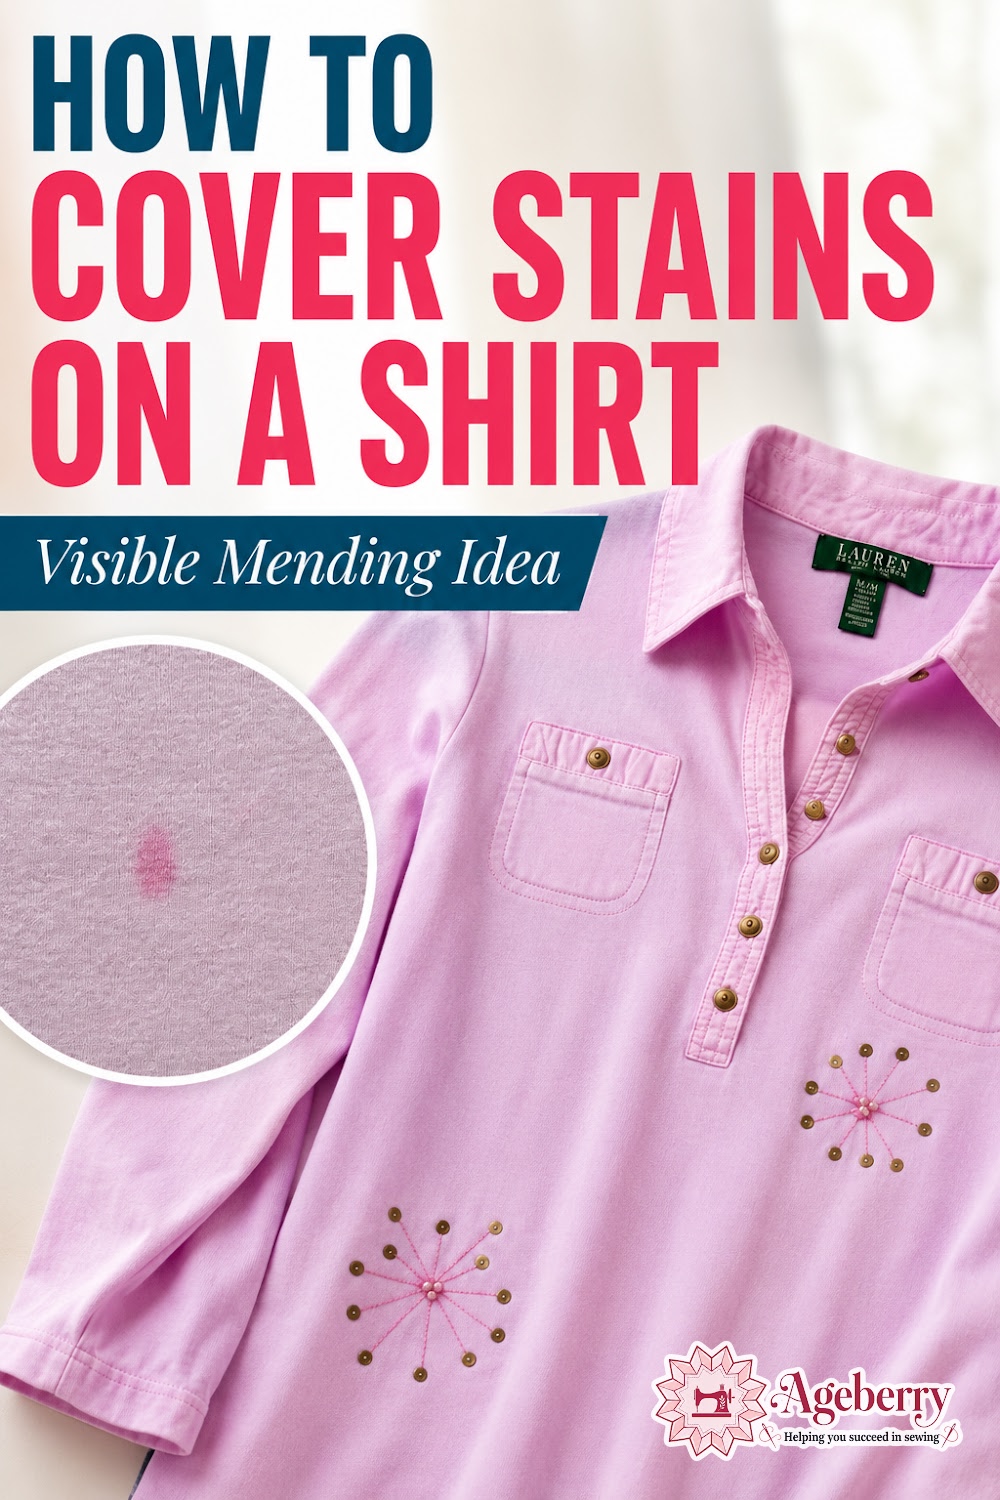
What do you think? Was this a good way to save this shirt? If so, save this pin (see below) on your sewing board so you can come to this tutorial later when you need some inspiration, and follow me on Pinterest for more tips, tutorials, and inspiration!

latest posts
- Knit Presser Foot: How It Works, How to Use It, and My Sewing Tests
- How to Sew Neat Mitered Corners at Acute Angles
- Sewing Machine Needle Organization: A Clever System I Tried
- DIY Car Armrest Organizer: Sewing Tutorial
- Easy DIY Potholder Sewing Tutorial: Better Shape, Better Grip, Smart New Design
- How to Buy a Sewing Machine (Even If You Already Have 10)
- 23 Kitchen Items That Belong in Your Sewing Room
- What Is a Sewing Machine Piping Foot And How to Use It
- Fixing Sewing Mistakes: Repair an Accidental Cut in Fabric