Tailor’s Clapper: What It Does, Why It Works, And How To Use It Right
So there I was, organizing sewing supplies inherited from my mother-in-law, when I spotted it lurking between a rotary cutter and pinking shears: a flat, unassuming piece of hardwood that looked like something that fell out of a woodworking shop, not a sewing room. No buttons, no settings, no cord, no manual written in mystery language. Just… wood.
My first thought? “Is it a paint stirrer from the hardware store?”
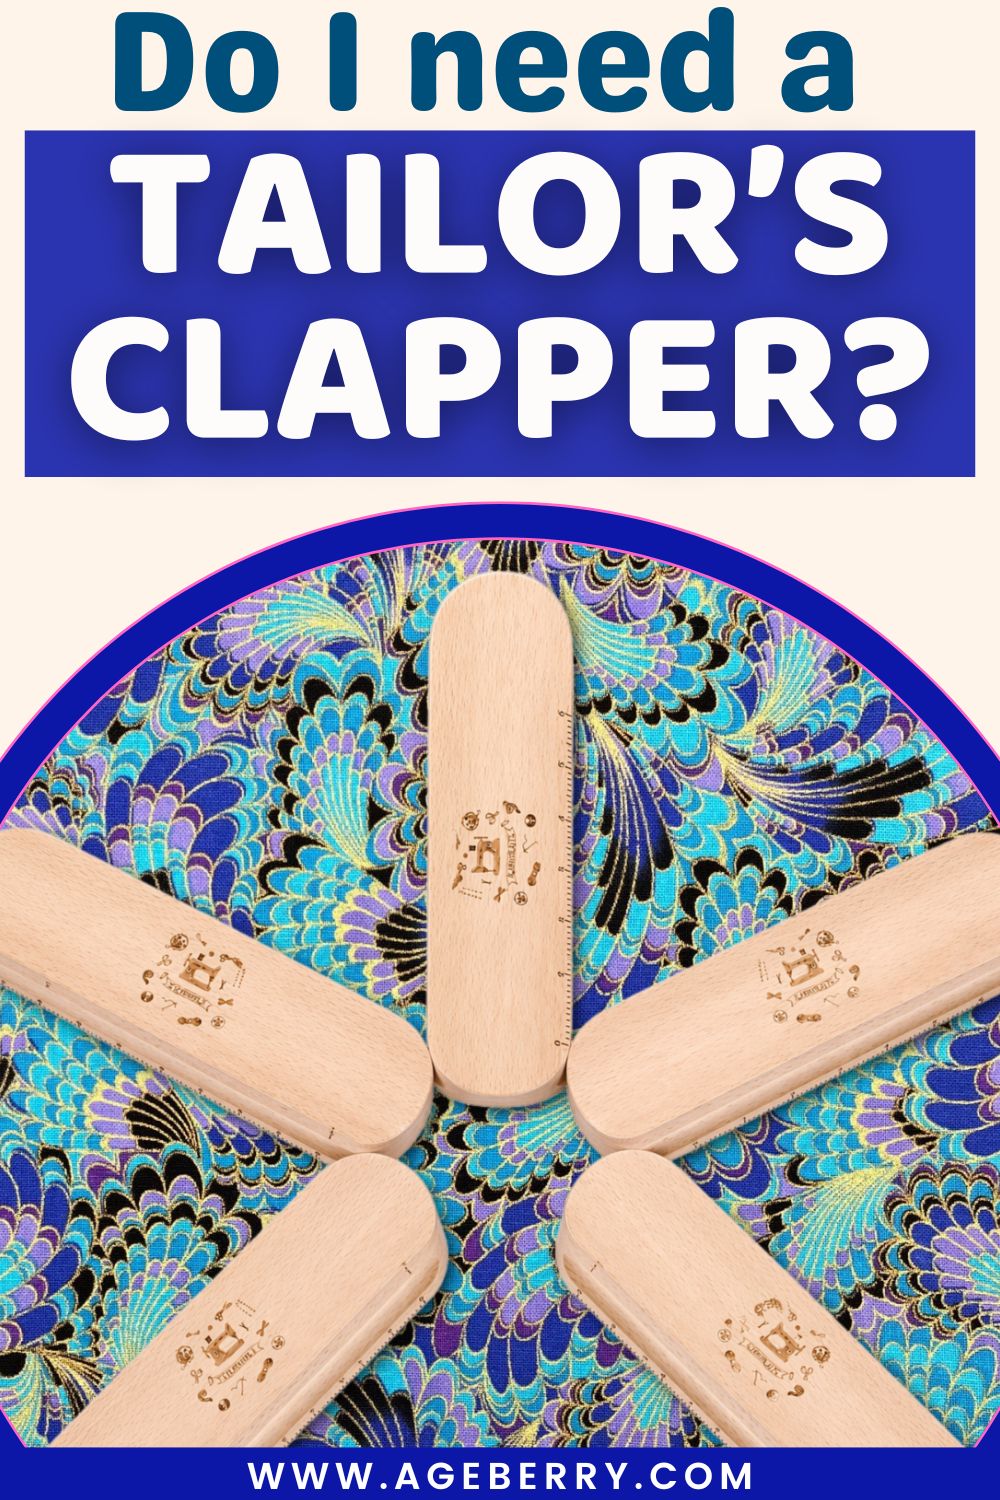
Turned out, this humble hunk of hardwood was actually a tailor’s clapper — and despite its utterly unglamorous appearance (seriously, it makes a cutting board look exciting), this thing is basically the secret weapon professional sewists have been hiding from us all along.
Here’s where it gets interesting: this simple piece of wood can do something your iron alone never could. And once you know its secret superpower, you’ll wonder how you ever pressed a seam, set a pleat, or flattened a collar without it.
So what exactly is this mysterious wooden paddle doing in our sewing rooms? And more importantly — why didn’t anyone tell me about it sooner?
What Is A Tailor’s Clapper
A tailor’s clapper is one of those tools that looks almost too simple to matter — a solid block of hardwood. But once you use it correctly, your seams start looking sharper, flatter, and more professional without extra effort or fancy techniques.
The difference isn’t subtle. It’s the kind of detail that makes a handmade garment stop looking “homemade in the bad way.”
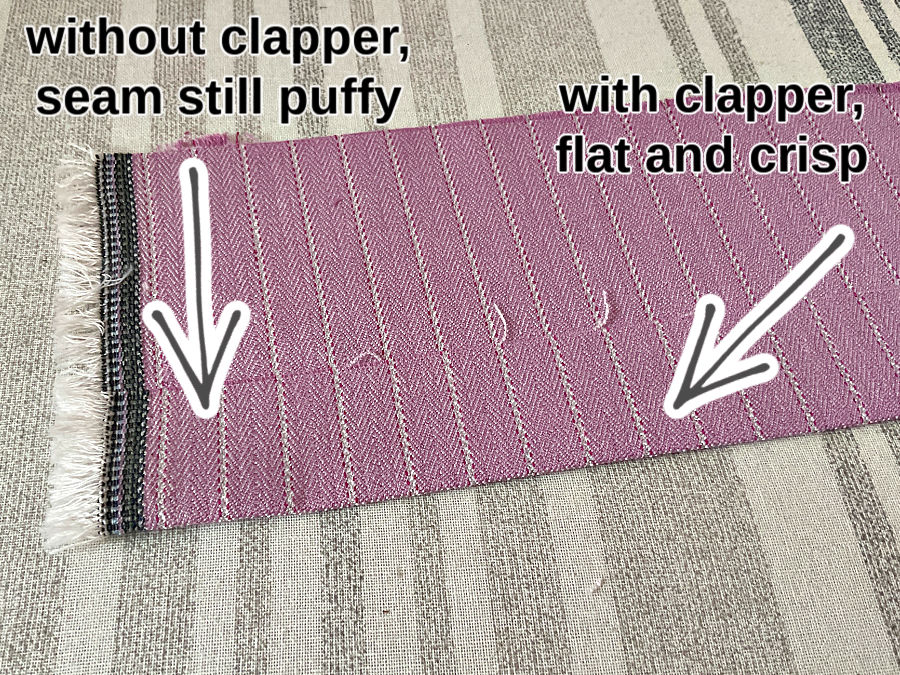
A clapper doesn’t press fabric. It helps the fabric remember the press.
The clapper’s job is to lock the press in place while the fabric cools.
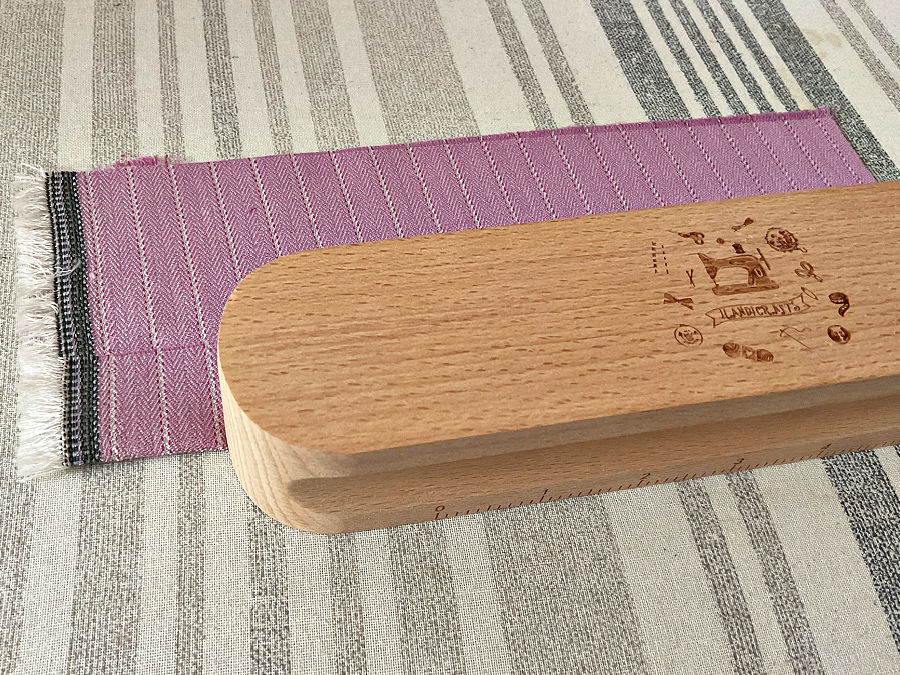
Here’s what’s happening:
- Steam from the iron softens the fibers
- Heat reshapes them
- The clapper holds everything flat while it cools and dries
- As the fibers set, the seam stays crisp instead of puffing back up
Without a clapper, fabric often relaxes as soon as the iron lifts. That’s why some seams look flat for two seconds… then quietly rise again.
When A Clapper Makes The Biggest Difference
You don’t need it for every seam. But in some situations, it’s a game changer:
- Thick seams (denim, wool, coating fabrics)
- Multiple layers (collars, waistbands, facings)
- Tailored garments (jackets, trousers, structured dresses)
- Topstitching areas where bulk shows
- Hems that won’t stay flat
If you’ve ever thought “why does this seam look bulky no matter what I do?”—this is usually the missing step.
How To Use A Tailor’s Clapper (The Right Way)
The sequence matters more than the tool itself.
Step 1. Apply steam with your iron
Press the seam with steam. Don’t rush — this is what softens the fibers.
Step 2. Remove the iron
Lift the iron away completely. Don’t slide it.
Step 3. Place the clapper immediately
Set it directly on the hot seam and press down firmly.
Step 4. Hold it there
Keep it in place for a few seconds while the fabric cools.
Step 5. Lift straight up
No sliding. You’re not ironing — you’re setting the shape.
That’s it. Simple — but timing is everything.
What Fabrics Work Best With A Clapper
Clappers shine on fabrics that respond to heat and steam:
- Wool – this is where clappers really show their value
- Cotton and linen – helps get sharp edges and flat seams
- Denim – reduces bulk at seam intersections
- Canvas and heavy blends
Less noticeable (but still helpful sometimes):
- Polyester blends (use lower heat, results vary)
Not useful:
- Very delicate fabrics that shouldn’t be heavily steamed
- Fabrics that melt or distort with heat
Pros And Cons
Pros
- Flattens bulky seams better than pressing alone
- Creates crisp edges that stay put
- Improves the overall finish of garments
- Works with your existing iron—no learning curve
- Lasts forever (it’s just wood)
Cons
- Requires steam to work well (dry pressing won’t give the same result)
- Adds an extra step (but a quick one)
- Can leave impressions if overused on delicate fabrics
- Needs proper timing (too slow and you miss the effect)
Common Mistakes (And Why Results Disappoint)
If you tried a clapper and thought “this didn’t do much,” it’s usually one of these:
- Not enough steam → fibers never softened
- Waiting too long → fabric cooled before the clapper was applied
- Sliding the clapper → defeats the purpose
- Using it on the wrong fabric → not all fibers respond the same
- Pressing instead of holding → it’s about cooling, not pressure
Do You Need One?
If you sew mostly lightweight fabrics and simple projects, probably not.
But if you:
- work with thicker fabrics
- sew garments with structure
- care about clean, professional-looking seams
this is one of the easiest upgrades you can make.
It’s not flashy. It won’t speed up your sewing. But it fixes a problem that pressing alone doesn’t solve.
Most sewing advice focuses on cutting, stitching, or tools that feel “active.” A tailor’s clapper works in the quiet part — after the seam is sewn, after the iron lifts.
That’s exactly why it gets overlooked.
But that moment — when the fabric cools — is where the final shape is decided.
And this little block of wood makes sure it stays that way.
I came to appreciate the clapper so much that I included it in all my lists of “essential equipment” a sewist needs. And I think I am right, this is one tool that never needs sharpening or any maintenance and you’ll probably buy only once and use for a lifetime.
- 17 Fantastic Sewing Tools And Notions To Boost Your Creativity
- I Switched to Wooden Sewing Tools: Are They Worth It?
- 17 Sewing Tools You’re Not Using (But Absolutely Should Be)
- The Best Sewing Tools for Slippery Fabric, Bulky Layers, and Stretchy Knits
Note: Some of the links on this page are affiliate links. This means I will receive a commission if you order a product through one of my links. I only recommend products I believe in and use myself.
Choosing A Good Tailor’s Clapper (Without Overthinking It)
Mardili Hard Wood Tailors Clapper
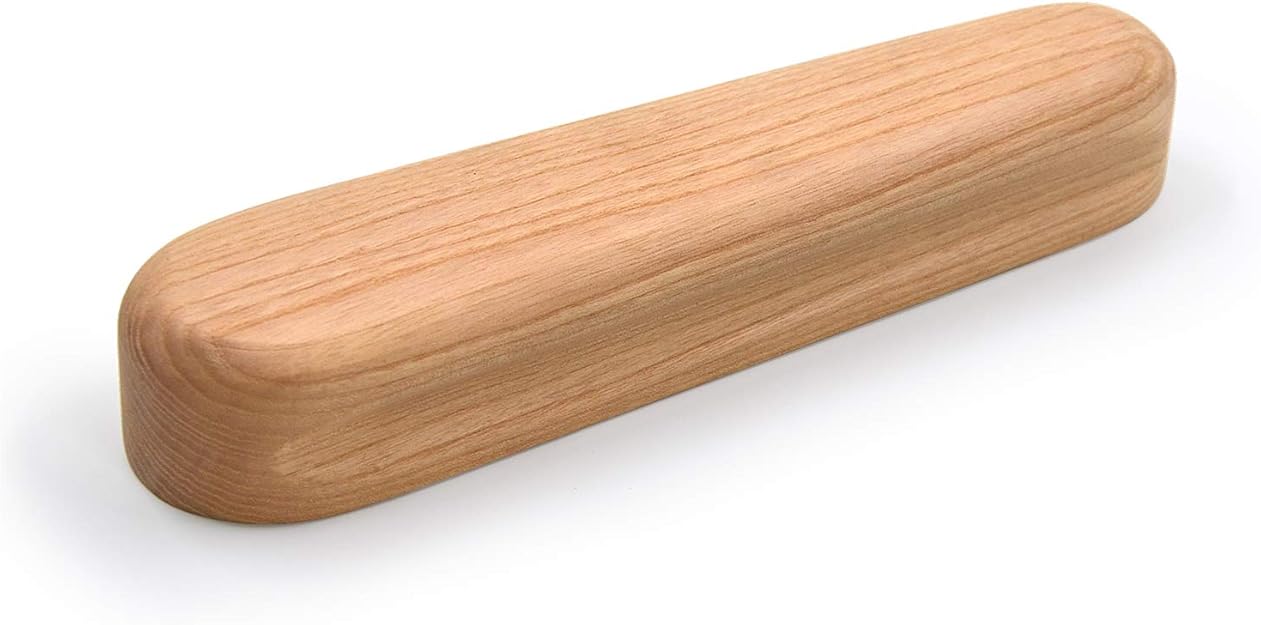
This is exactly the kind most sewists start with. It’s simple, affordable, and does the job without any extras.
This one is made from unfinished hardwood (oak). The raw wood helps absorb steam quickly, pulling moisture out of the fabric so the seam cools flat instead of puffing back up.
- It has a solid, slightly heavy feel — not bulky, but enough weight to press effectively
- The size (around 9.5 inches long) makes it easy to handle without feeling awkward
- The edges are rounded, and there are side grooves for grip, which actually helps when your hands are near hot steam
This is not a decorative tool. It’s very much a “block of wood that works.”
And based on Amazon data, it has about 1,200 five-star reviews, which is unusually strong for such a basic tool.
That usually means one thing: it does exactly what people expect.
Fteven Tailor’s Clapper

I have this exact tailor’s clapper, and it works very well.
It’s marketed as a multipurpose quilting and pressing tool, and like most clappers, it relies on unfinished wood to absorb moisture and hold heat.
The shape is simple and practical, with enough surface area to cover seam allowances and layered areas. It’s a reliable everyday option if you just want something that works without overthinking features.
Secai Hardwood Tailor’s Clapper

This one is very similar to most basic clappers you’ll find — it’s a simple block of unfinished hardwood, with a standard size – 9.5” – that works well for everyday pressing.
Like others in this category, it relies on dense wood grain to pull moisture out of the fabric and create crisp seams, especially useful for areas like hems, collars, and layered seams.
As for differences — honestly, there’s very little. Most clappers in this price range (including this one) are almost interchangeable: same size, same hardwood, same function. The only small variations you’ll notice are in wood type, weight, smoothness, and grip design (like grooves or rounded ends). In real use, they all perform nearly the same, so this one is a perfectly fine choice — but not meaningfully different from the others I’ve already listed above.
Beech Tailors Clapper (2‑piece set)

The Beech Tailors Clapper (2‑piece set) is basically the “same idea, doubled” version of a standard clapper — made from solid beech wood, left unfinished so it can absorb steam effectively and help seams cool flat.
What makes this one slightly different isn’t performance (it works the same as the others), but the two-piece set: you get two clappers instead of one, which is useful if you want one by your iron and one at another station— or just a backup.
It also has rounded ends and side grooves for grip, so it’s a bit more comfortable to handle when working quickly with steam. In terms of results, though, don’t expect magic differences —like most clappers, it flattens seams the same way as any solid hardwood version. The real distinction here is convenience (two pieces), not better pressing performance.
Savina Tailor’s Clapper

This is another classic hardwood version made from darker hardwood (probably walnut). Where it can differ slightly is in finish quality and shaping (how smooth it feels in your hand, how comfortable it is to grip, and how evenly it sits on fabric), rather than performance.
In real use, it will behave almost identically to the others I’ve listed: same technique, same results. So this one just another solid, no-frills option in a category where the differences are mostly small details, not function.
Did this guide make the tailor’s clapper seem a little less mysterious? Save the pin below to your sewing board so you can find these pressing tips again, and follow me on Pinterest for more sewing tutorials and practical tips.

latest posts
- Knit Presser Foot: How It Works, How to Use It, and My Sewing Tests
- How to Sew Neat Mitered Corners at Acute Angles
- Sewing Machine Needle Organization: A Clever System I Tried
- DIY Car Armrest Organizer: Sewing Tutorial
- Easy DIY Potholder Sewing Tutorial: Better Shape, Better Grip, Smart New Design
- How to Buy a Sewing Machine (Even If You Already Have 10)
- 23 Kitchen Items That Belong in Your Sewing Room
- What Is a Sewing Machine Piping Foot And How to Use It
- Fixing Sewing Mistakes: Repair an Accidental Cut in Fabric