
How to sew a simple scarf
In this sewing tutorial, I will show you how to sew a simple scarf from wool flannel fabric.
Fashion changes, but scarves are always relevant and at the same time practical and comfortable so it’s good to know how to sew a simple scarf, especially since it’s a very easy sewing project even for beginners.
Read this tutorial to the end, pick up the materials and get to work.

Choose the fabric for the DIY flannel scarf
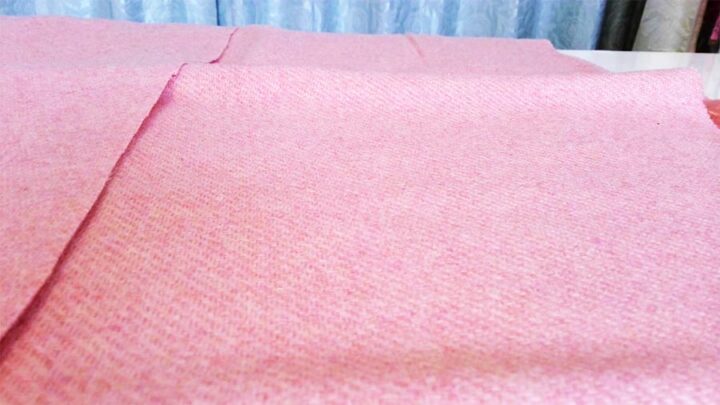
This scarf will stay very close to your neck so choose a fabric that’s good for your skin. I think flannel is the best fabric for this model, and it can be cotton or wool flannel. I decided to use wool flannel for one side and faux fur for the other. Both fabrics are very soft and will keep me warm.
✅ Related tutorial: Everything You Need To Know About Sewing With Flannel Fabric
Prepare the fabric for cutting
The flannel fabric has to be properly prepared for the project.
Cotton flannel must be prewashed in hot water because it can shrink a lot. Wash cotton flannel as you will care for the finished product. You want the shrinking to happen before you cut and sew the fabric!
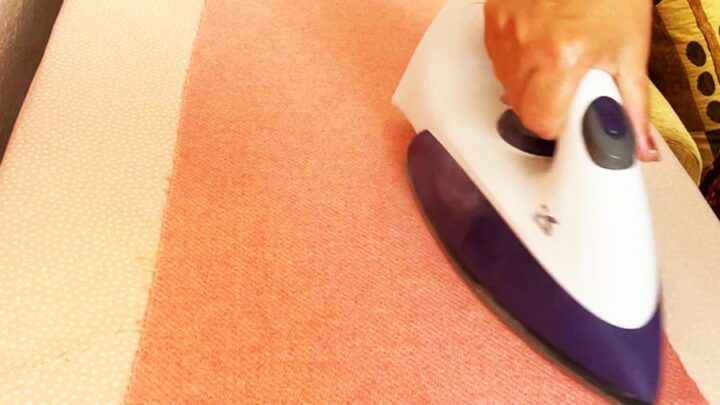
But I don’t recommend prewashing wool flannel. Wool flannel should be steamed in order to shrink. I usually do it with hot iron steam. Usually, it’s necessary to use a special pressing cloth when ironing natural wool fabric. But my wool flannel can be an exception. I didn’t use a pressing cloth this time. It’s hard to photograph the steam from the iron, but believe me, it was a lot of steam.
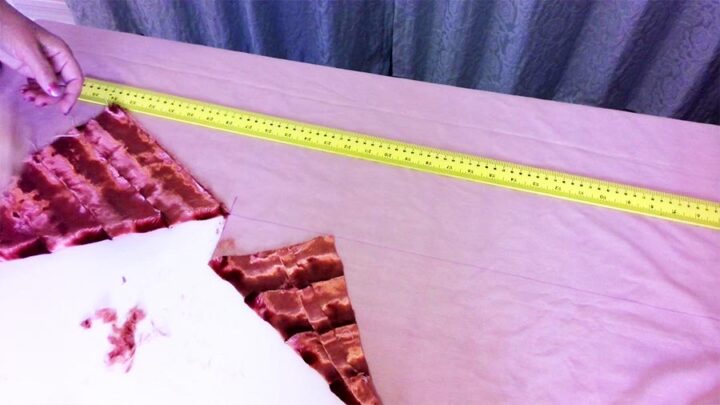
For the scarf, you will need to cut a rectangle 26-30 inches long and 7-9 inches wide (it depends on your neck measurements and the desired look of the scarf). The length and width of the scarf can vary.
For my scarf, I cut the rectangle 28 x 8 inches.
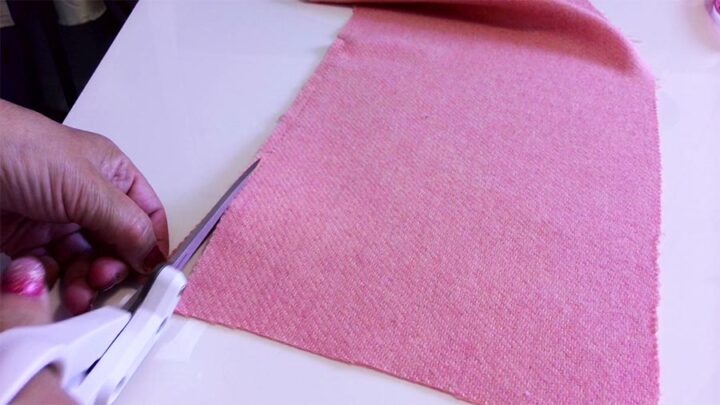
Cut a small piece of fabric with approximate measurements (so you can prepare only this piece for cutting) so later on, you can draw the correct rectangle on it. There is no point in preparing the big piece of fabric for the scarf.
Cutting the fabric for the DIY flannel scarf
You must cut your fabric straight for the scarf.
I have a detailed tutorial on how to cut fabric perfectly straight, so check it out.
But now I will show you how I cut my flannel fabric. I use a very easy method – pulling a thread.
Pick out a single thread on one selvage edge and carefully pull it.
As you pull the fabric will gather a little. Straighten the fabric and pull the thread out completely.
You will notice that it left a visible gap line. Gently cut the fabric along this “path”.
As you pull the thread it can break before you reach the selvage. Not a problem. Cut along the path till you get to the place where your thread snapped. After that choose another thread in the same line and repeat the process until you cut to the selvage.
The other fabric (faux fur) is shedding a lot when I cut it.
So I take the cut piece outside and shake it well to get rid of any loose fibers.
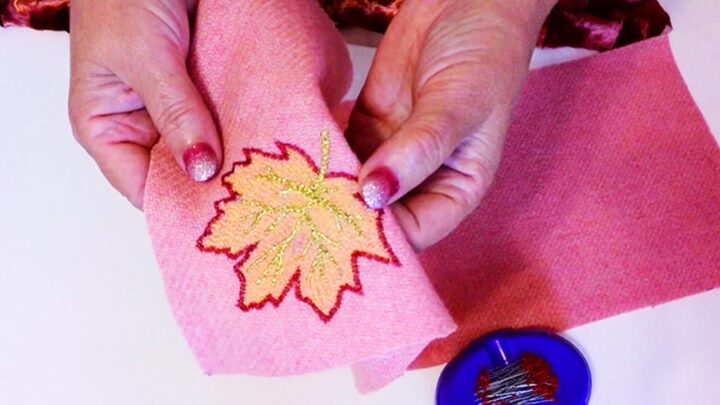
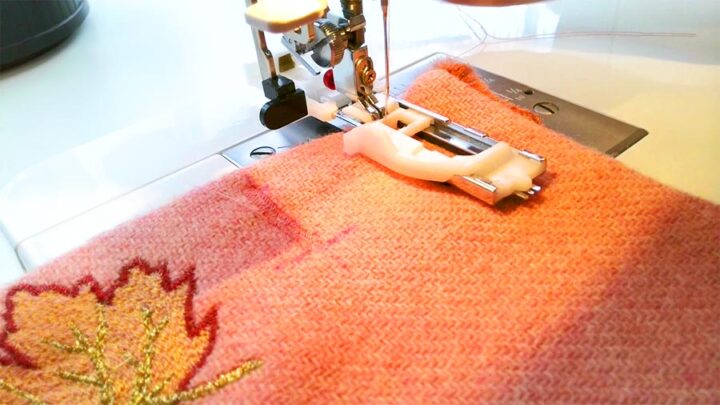
Embellish the scarf with embroidery (optional)
I decided to embroider a maple leaf in one corner of my scarf. If you would like to download the embroidery file (in any format) for your embroidery machine (that has a 5 x 7 inches hoop) you can find the file in my Resource Library. It’s free for my subscribers. The password for the library is in my emails.
Sewing the flannel scarf
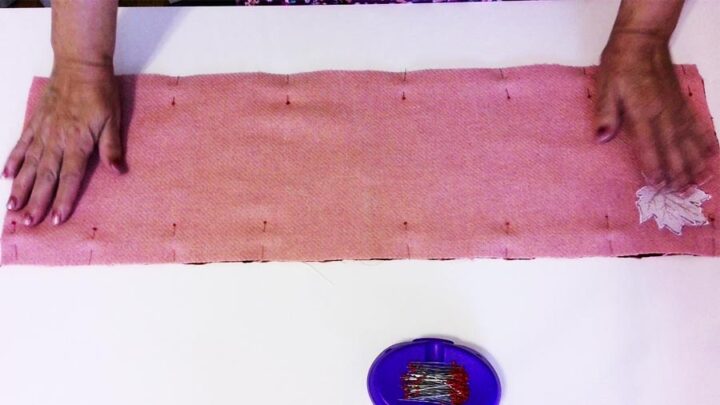
Place prepared pieces right sides together and pin them all around.
Prepare your sewing machine. Find a suitable thread and needle. Use a straight stitch, set the correct tension, and use a bigger stitch length for the thick fabric.
✅ Related tutorial: Stitch length sewing tutorial
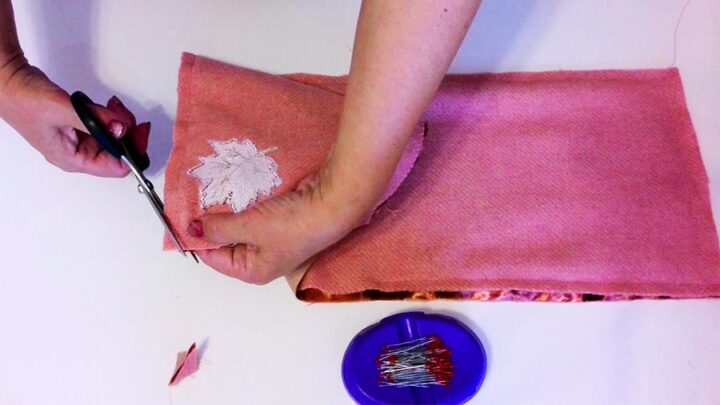
Stitch the scarf, leaving a small opening for turning it right side out. Press the seam. Cut corners close to stitches.
Turn the scarf right side out. Sew the opening by hand with a blind stitch. I have a detailed tutorial on how to sew an invisible stitch by hand, so check it out.

Press the scarf.
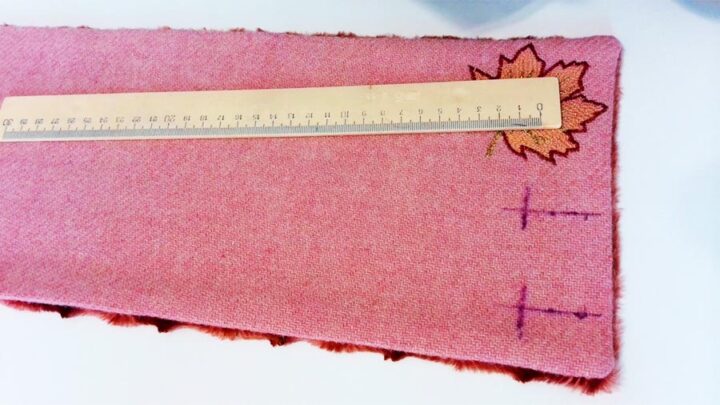
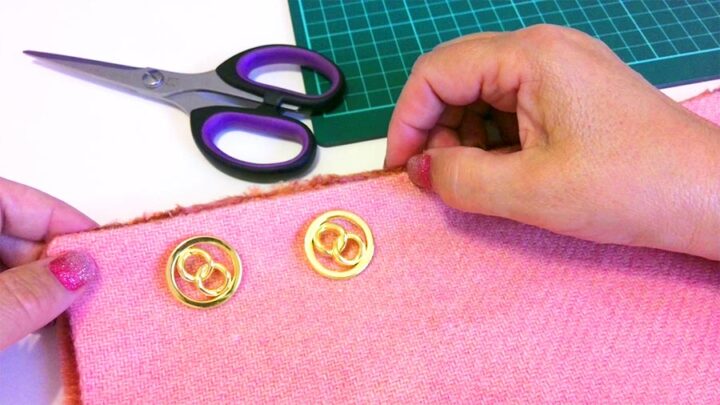
Try it on (to see how it goes around your neck) and mark 2 buttonholes.
Sew buttonholes by hand or by sewing machine.
✅ Related tutorial: How to sew a buttonhole by hand
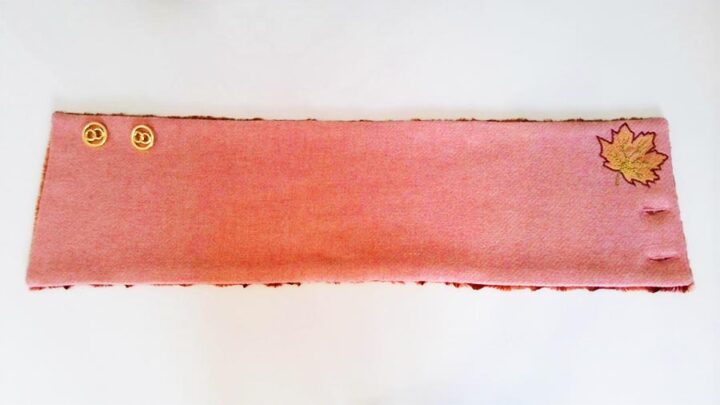
Sew two buttons on the opposite side along the long edge.
And this is what the scarf looks like.
Did you find this tutorial helpful? If so, save this pin (see below) on your sewing board so you can come to this tutorial later when you are ready to sew a simple scarf, and follow me on Pinterest for more tips, tutorials, and inspiration!

And if you would like to know how to sew this very easy beanie hat (without a pattern) I have a step-by-step video tutorial How to sew a beanie hat.
Useful Info – Sewing Machine Troubleshooting
If you own a sewing machine long enough, you’re going to have to figure out how to troubleshoot your sewing machine at some point or another. While some sewing machine problems are preventable, others are inevitable. Learn how to troubleshoot your sewing machine with my printable PDF eBook. Whether you use a traditional sewing machine or a modern computerized one, work through this ebook before thinking about a replacement or going to a service center.
latest posts
- What Do You Call a Person Who Sews? I Asked My Readers and Got 1,408 Opinions
- DIY Round Purse: PDF Sewing Pattern and Detailed Instructions
- Mini Wonder Clips By Clover: Useful Sewing Tool Or Just Another Notion?
- Non-Slip Grips For Quilting Rulers: A Small Notion With A Useful Job
- Fabric Eraser for Sewing: What It Removes and When to Use It
- What Is The Best Thread For Sewing Machine Projects? Let’s Find Out!
- Butterfly Quilt Block Tutorial – Foundation Paper Piecing
- How To Sew Quilt Squares So The Corners Match
- Sewing With Fork Pins: How They Help With Pattern Matching, Slippery Fabric, And Seams


Hiya ,
I would love to sew your scarf for a Christmas present but can’t work out the correct size /measurements, my chosen “victim” has a 15″ neck are your measurements correct for her size ?
I really look forward to your emails as they are full of inspirational ideas.
Best wishes
Wendy
My neck is 13 1/2 inches, so I think the measurements in the post will be very good for 15″ also. The scarf is up to 30″ long, 1 1/2″ is negligible.