First 10 Things You Should Do After Buying a Serger
So, you’ve just purchased a serger, and you’re eager to start working on your projects.
Perhaps you’ve been eyeing that serger/overlock machine for a while now, dreaming of all the perfectly finished edges and professional-looking seams you’ll be able to create. Maybe it’s a gift for your birthday. Or perhaps you simply couldn’t resist the temptation and decided to treat yourself (because who can blame you, really?).
Either way, you’re now the proud owner of a shiny new serger. But now what?
Maybe your serger is a basic model with just a few stitch options, or maybe it’s a fancy computerized wonder that can do everything except make you breakfast in bed (although if you find one of those, please share!). Either way, you’re probably feeling a mix of excitement and intimidation as you stare at your new machine.
Whether you’re a complete beginner or a seasoned sewing pro, there are certain steps that every new serger owner will want to take. Taking these steps will ensure that your serger is set up correctly and ready to go.
With a little bit of practice and a lot of patience, you’ll be whipping up professional-looking projects in no time.
✅ Related article: Serger vs. sewing machine
How To Set Up A New Serger
#1. Unpacking and Inspection
After purchasing your new serger, the first thing you need to do is carefully inspect the box for any signs of damage during shipping. If there are any damages, take pictures of the box and contact the seller or shipping company immediately.
Open the box carefully, making sure not to damage any of the contents inside. Remove any packing materials and set them aside.
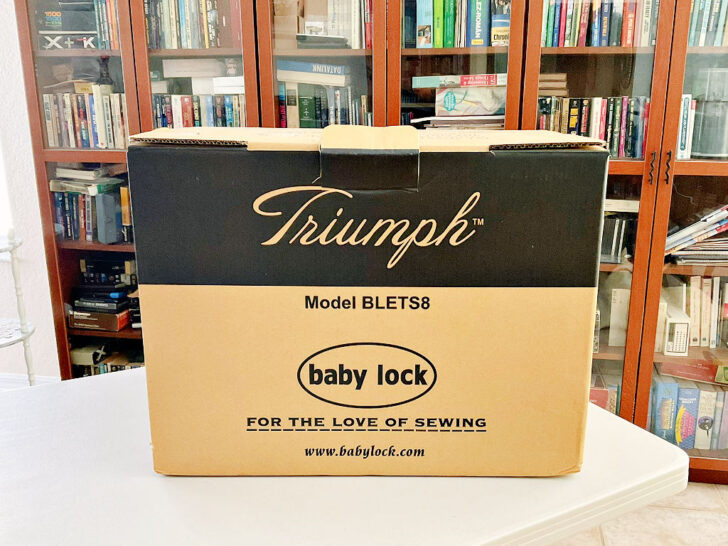
Take the serger out of the box. Remove any plastic or protective coverings from the serger.
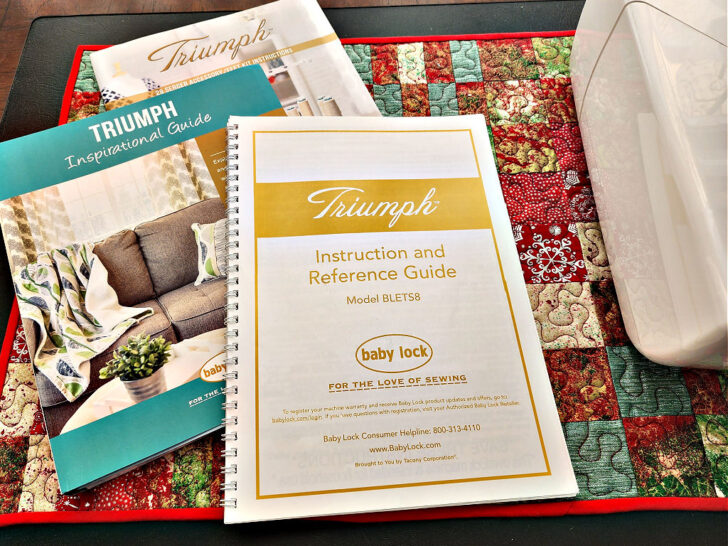
Check that all the components are included and in good condition. Your serger should come with a user manual, which will help you identify and locate all the components of the machine. But go slowly here.
The manufacturer may have included all sorts of goodies with your machine, like an instruction manual, a cover, power cords, a foot pedal, serger threads, tweezers, and spare needles. And trust me, you don’t want to accidentally throw any of those things away (ask me how I know…).
To avoid any issues, carefully go through each piece of the packaging to make sure nothing is hiding. Check all the compartments and pockets. Some components may be packaged separately and hidden in the cardboard or foam that secures the machine in its box.
If you do not find all the components, you may miss out on important features or have difficulty setting up the serger.
Make sure there are no broken or missing pieces before proceeding with the rest of the setup.
#2. Place Setting and Connection
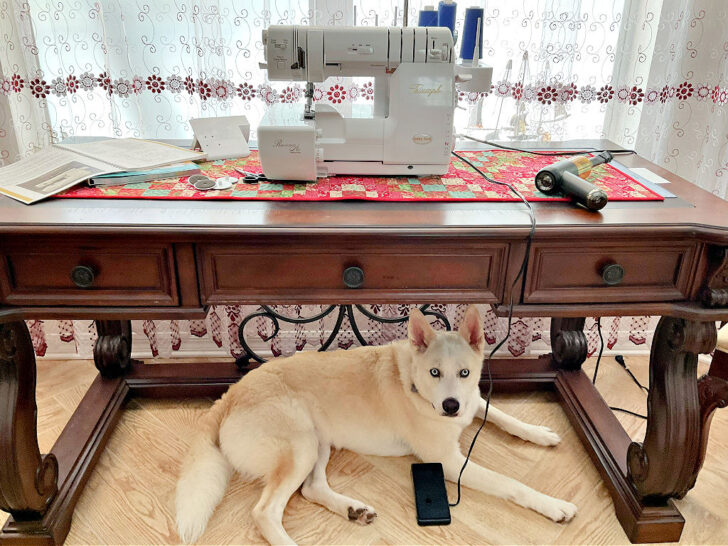
Now that your serger is out of the box, it’s time to find the perfect spot for it. You want to make sure it’s on a stable flat surface, so it doesn’t go all wobbly on you while you’re serging away.
So, find a spot that’s well-lit and has enough space for your serger and all its accessories. You don’t want to be knocking things over or tripping over stray threads while you’re working. And if you’re feeling fancy, you can even set up a little serging station with all your favorite tools and supplies.
I have an article you may find useful – Best Serger Tables: Everything You Need to Know
Once you’ve found the perfect spot, it’s time to connect your serger to the world. Grab that power cord and plug it into a nearby electrical outlet. Find the power button and turn it on. And just like that, your serger comes to life.
Now take a moment to appreciate the beauty of your new machine. You’ve come a long way, and you deserve to celebrate this moment. Let the serging adventures begin!
#3. Preparing Serger Accessories
Gather all of the serger accessories like threads, needles, tweezers, screw drivers, scissors, etc.
First things first, let’s talk about threads. Most sergers use four thread cones (or spools): two for looping underneath the needles and two to use in the needles.
Serger threads are specifically designed for use in sergers. They are usually finer than regular sewing threads and come in larger spools or cones. This is because sergers use multiple spools of thread at once, and the larger spools help to reduce the frequency of thread changes during a project.
Serger threads are usually made of polyester or nylon, which makes them stronger and more durable than regular threads. This is important because sergers work at high speeds and put a lot of stress on the threads.
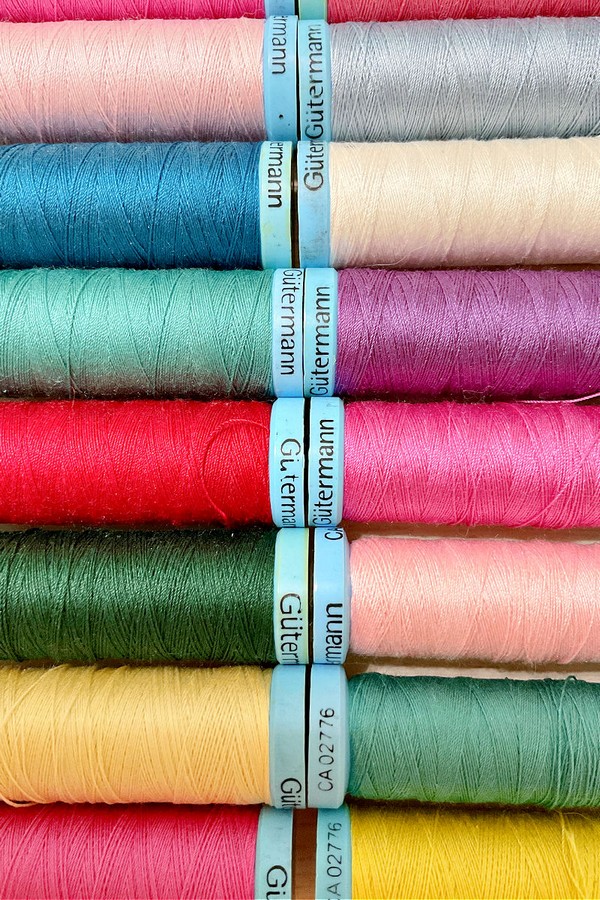
Not all serger threads are created equal. Some lower-quality threads can break easily or cause tension issues in your serger. It’s worth investing in high-quality serger threads from trusted brands like Maxi-Lock, Gutermann, and Mettler.
You can read more about serger threads in my guide – Best Serger Thread | What To Use | Brands
Next up, needles. Just like with a regular sewing machine, you’ll need to use the right type of needle for your fabric and thread. Your serger manual should have a guide on which needles to use for your serger.
Visit my guide on serger needles – All About Serger Needles.
Tweezers are also an essential serger accessory. They come in handy when threading your serger or when you need to remove small bits of thread or fabric from your machine.
You’ll need a good pair of scissors to cut thread tails. And if you’re feeling extra fancy, you can even get a pair of scissors with a cute design or fun color.

#4. Preparing Fabric to Use for Serger
You can use your serger on a wide range of woven and knit fabrics. Before starting to work on your actual project, take some scrap pieces of fabric to test your serger. Sergers are great for working with knit or other stretchy fabrics, as they create strong seams that allow for more stretch than a conventional sewing machine.
✅ Related article: Best Serger For Knits | Top Picks For Every Budget
Getting to Know Your Serger
#5. Studying the Manual
Now it’s time to open that manual and start reading.
I know, I know, manuals can be boring. But trust me, it’s worth it. Your serger’s manual contains valuable information on the correct setup, maintenance, and usage specific to your model. Understanding these details will help you get the most out of your new machine and avoid technical issues down the line.
You might even want to take notes or highlight important sections for future reference.
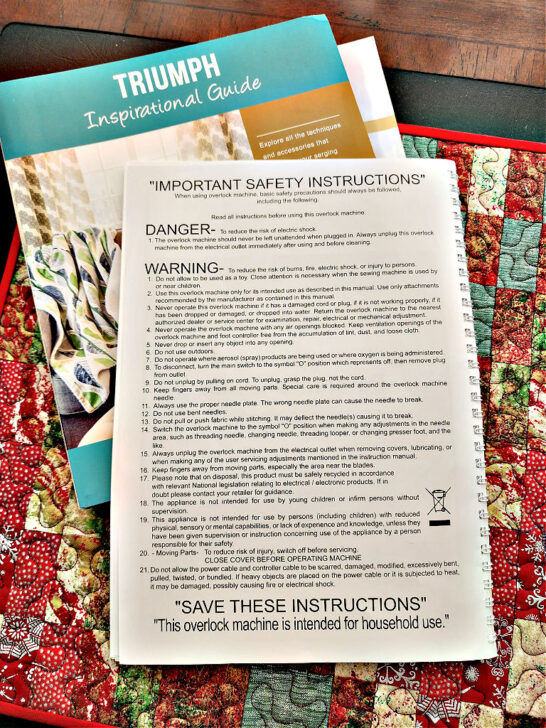
Start by reading the safety instructions in the manual. This might not be the most exciting part of setting up your machine, but it’s essential for keeping yourself and others safe while using it.
The safety instructions will likely cover topics such as electrical safety, proper use of the machine, and handling of sharp objects. Make sure you understand all of the safety guidelines before you start using your serger.
Remember, safety should always come first when using any type of machinery. Keep your fingers and loose clothing away from moving parts, and never leave your machine unattended while it’s running.
#6. Parts of a Serger
Identify the main parts of your serger.
These usually include the handwheel, tension dials, thread guides, presser foot, needles, loopers, and knives. Each part has a specific function, such as controlling thread tension, guiding threads into position, or trimming fabric edges. Take the time to learn the purpose of each component of your serger to make the most of your new machine. Refer to your manual for detailed information on each part and how to adjust them for different fabrics and stitches.
It’s common to feel overwhelmed when you first start learning about serger parts. With so many new terms and concepts to understand, it can feel like you’re learning a whole new language. Terms like “loopers,” “stitch finger,” and “differential feed” might sound like something out of a sci-fi movie. But despite the wacky terminology, serging is a fun and rewarding hobby that allows you to create beautiful and professional-looking projects in no time. So don’t be afraid to dive in and start learning the language of sergers.
#7. Types of Stitches
A serger is a versatile machine that can create a wide variety of stitches. Familiarizing yourself with the various stitch types is key to unlocking its full potential.
Some common stitches include:
Overlocking stitches – These are the stitches that most people associate with sergers. Overlocking stitches are used to sew and finish seams in one step. There are different types of overlocking stitches, such as the 4 thread 2 needles overlock stitch, the 3 thread 1 needle overlock stitch, and more.
Rolled hem stitches – These stitches are used to create a narrow, rolled hem on the edge of fabric.
Flatlock stitches – These stitches create a flat, decorative seam that’s great for sportswear and other activewear.
Different sergers have different numbers and types of stitches. Some sergers can even create decorative stitches like waves.
Refer to your manual for detailed instructions on how to set up each stitch.
| Learn your serger/overlocker |
|---|
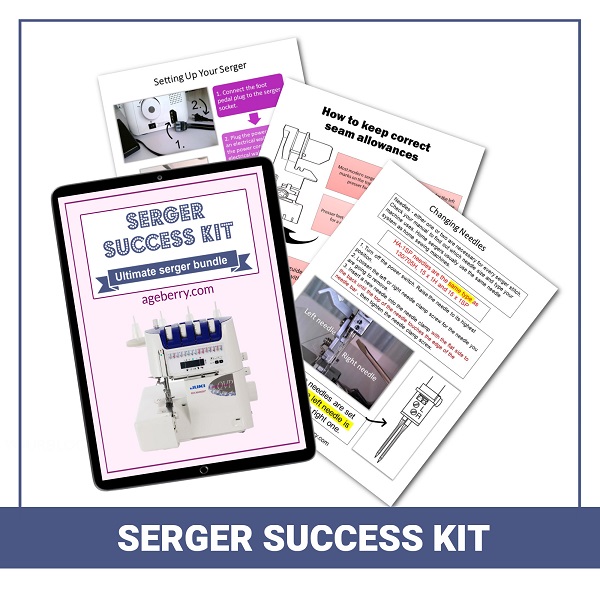
| Struggling with serger sewing? I have something to help you – a printable PDF eBook Serger Success Kit – a 90 pages eBook with serger tips, tension cheat sheets, and all the necessary info to help you master your serger. Learn how to use a serger from the comfort of your own home: how to thread a serger, what threads to use, how to choose the right serger stitches, what settings to choose, etc. Get your copy of the Serger Success Kit |
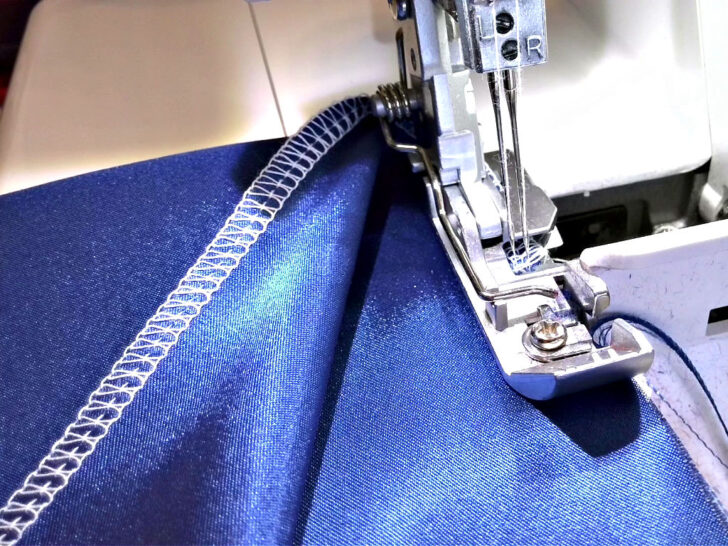
#8. Threading Your Serger
When you first get your serger, it’s important to learn how to properly thread it. In this section, we’ll discuss how to thread your serger using threads that are already there.
One helpful tip when threading a serger for the first time is to use the threads that are already there. Here are the simple steps to follow:
- Prepare the Serger: Turn off your serger and raise the presser foot to release tension on the threads. Then, carefully trim the threads close to the spool, leaving the existing threads in place.
- Choose Your New Thread: Select the new threads you want to use and tie it to the existing threads, making sure the knots are secure and small enough to pass through the threading mechanism. You can use a simple overhand knot.
- Gently Pull the Threads: Slowly pull the old thread, which will guide the new thread through the serger’s threading path. Make sure to gently guide the new thread through any tight spaces, like tension discs or loopers, to avoid breaking the thread or the knot.
- Check the Threading: Once the new thread is completely through, double-check that it has followed the correct threading path. You can consult your serger’s manual.
- Cut and Re-thread the Needles: Finally, cut the knots close to the needles, and then re-thread the needles, making sure it’s properly seated.
By using this method, you can save time and avoid having to re-thread your serger from scratch. It’s essential to follow your serger’s specific guidelines for threading, as different models may have slightly different processes.
#9. Adjusting the serger settings (tension, stitch length, stitch width, etc)
Take the time to learn your machine’s unique features and capabilities to make the most of your serger.
Adjusting the settings on your serger, such as tension, stitch length, and stitch width, is crucial for achieving the desired results on your projects. For example, adjusting the tension can help you achieve smooth and even stitches, while adjusting the stitch length and width can help you create different types of stitches and finishes.
Finding the dials or levers for adjusting the settings can be a bit tricky, as they’re often located in different places on different serger models. Take the time to familiarize yourself with the layout of your serger and where each dial or lever is located. You might even want to label each dial or lever with a sticky note to help you remember what it does.
| Serger Success Kit |
|---|
| Are you ready to conquer your serger and start using it for your sewing projects? If you feel overwhelmed by the information on the internet and just want something that’s simple but effective, this ebook is perfect. It has easy-to follow instructions and was designed with beginners in mind. The information in this ebook is broken down into simple tasks so there are no confusing instructions on how-to operate a serger. You can go at your own pace without feeling intimidated. With over 90 pages of step by step instructions, diagrams and illustrations, even beginners will be able to conquer their first project using a serger in no time at all. |

#10. Serger Maintenance
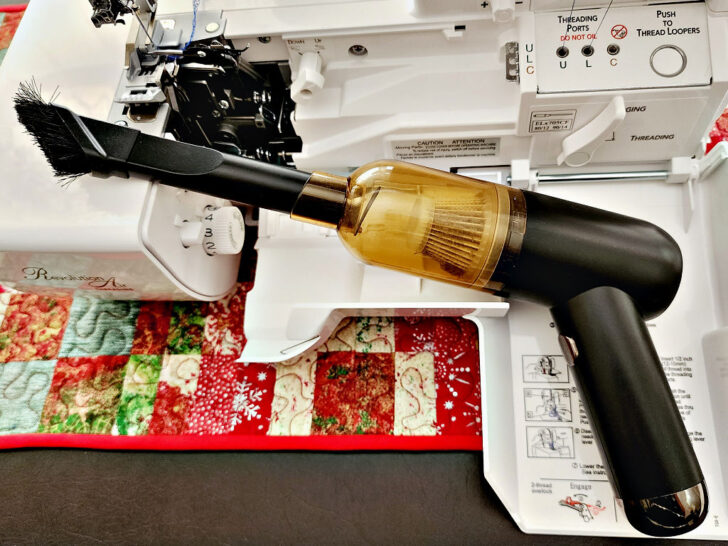
After purchasing a serger, you need to keep it in top condition to ensure it functions correctly and has a long lifespan. It is essential to routinely clean your serger. Lint and fabric debris can accumulate inside the machine, affecting its performance. Remove lint and debris after each use. You can do this by using tools like a lint brush, tweezers, and mini vacuum cleaners.
✅ Related tutorial: Choosing a Mini Vacuum for Sewing Machine
Once you’ve familiarized yourself with understanding your serger and what it can do, you’re well on your way to expanding your sewing skills and creating amazing projects. Remember, it takes time and patience to master any new tool, so keep practicing and experimenting, and you’ll soon be serging with confidence.
Did you find this guide helpful? If so, save this pin (see below) on your sewing board so you can come to the article later when you need this information on how to set up your serger , and follow me on Pinterest for more tips, tutorials, and inspiration!
latest posts
- Types Of Sewing Machine Feet And Their Uses
- The Interfacing Cutting Guide: Methods, Folds, and Seam Lines
- Steam or Dry Heat for Fusible Interfacing: Which Actually Works
- Essential Sewing Tips: How to Apply Fusible Interfacing Correctly
- Types of Interfacing Explained: Woven, Non-Woven, Knit, Fusible, and Sew-In
- Fabric Eggs DIY: Quick Easter Craft Decorations From Scraps
- Stuffed Bunny Sewing Pattern And Tutorial (Free Download)
- Sewing Machine Basics: Simple Maintenance Tips Every Sewist Should Know
- Interfacing vs Stabilizer: Is There Really a Difference?