
I think I am not mistaken when I say that at some point all sewists face the problem of hemming around a corner when two exterior raw edges are coming together at an angle. Especially at an acute angle. I didn’t find many tutorials about how to do it easily. And those that I found describe it differently than I am going to show you now.
We need to do it when we sew for example slits on skirts, curtain panels, or some triangular pieces of cloth like neckerchiefs, etc. Recently I made a silk dress without a pattern ( I put a step-by-step tutorial on how to sew it on my blog) and I needed to finish two acute corners of the dress and show everybody how to do it.


So in this tutorial, I want to demonstrate the easiest technique I use for a professional corner finish. I want to show you how to fold and sew the fabric at the corner of a hem so there is a diagonal seam from the point of the corner to inside the edge of the hem.
All measurements in this tutorial are given in centimeters. Similar measurements in inches can be found taking the approximation 1cm = 3/8”, 0.5cm = 3/16”.
Our goal is to finish the corner of a piece of fabric in a professional manner, both functional and beautiful. We intend to have seams of 1cm on both sides of the fabric.
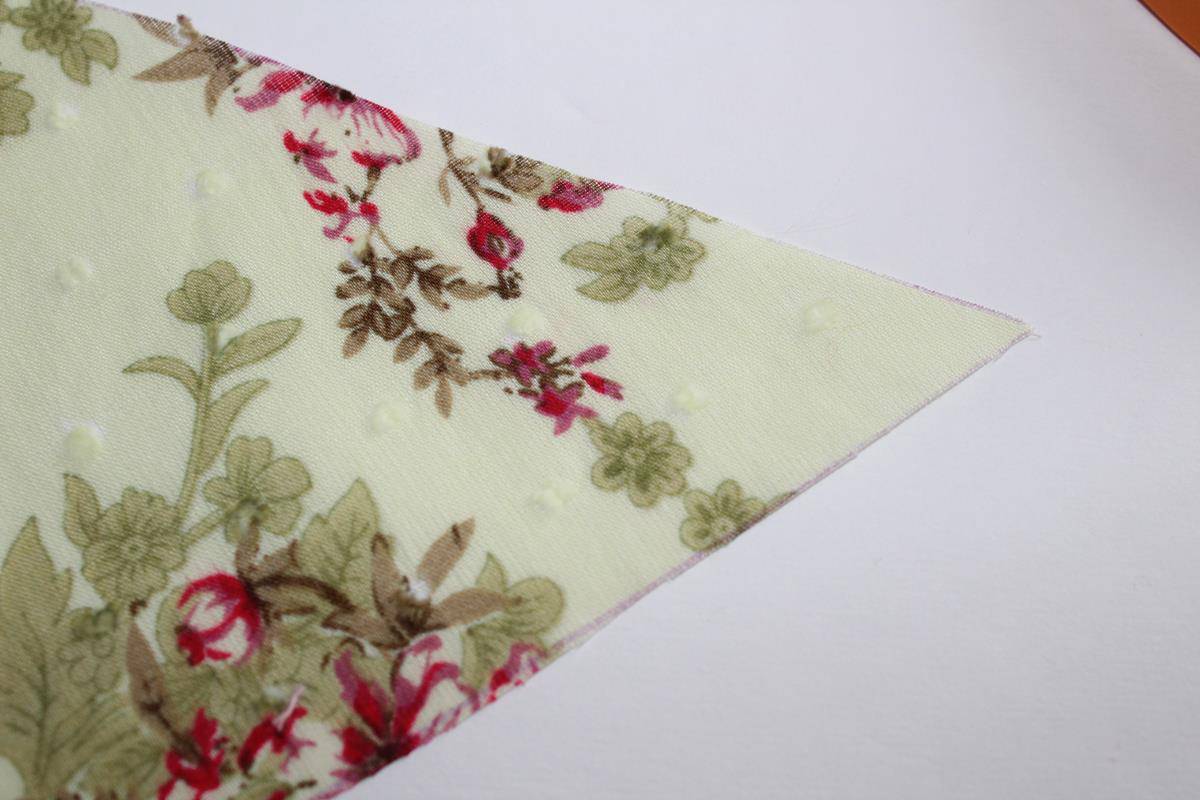
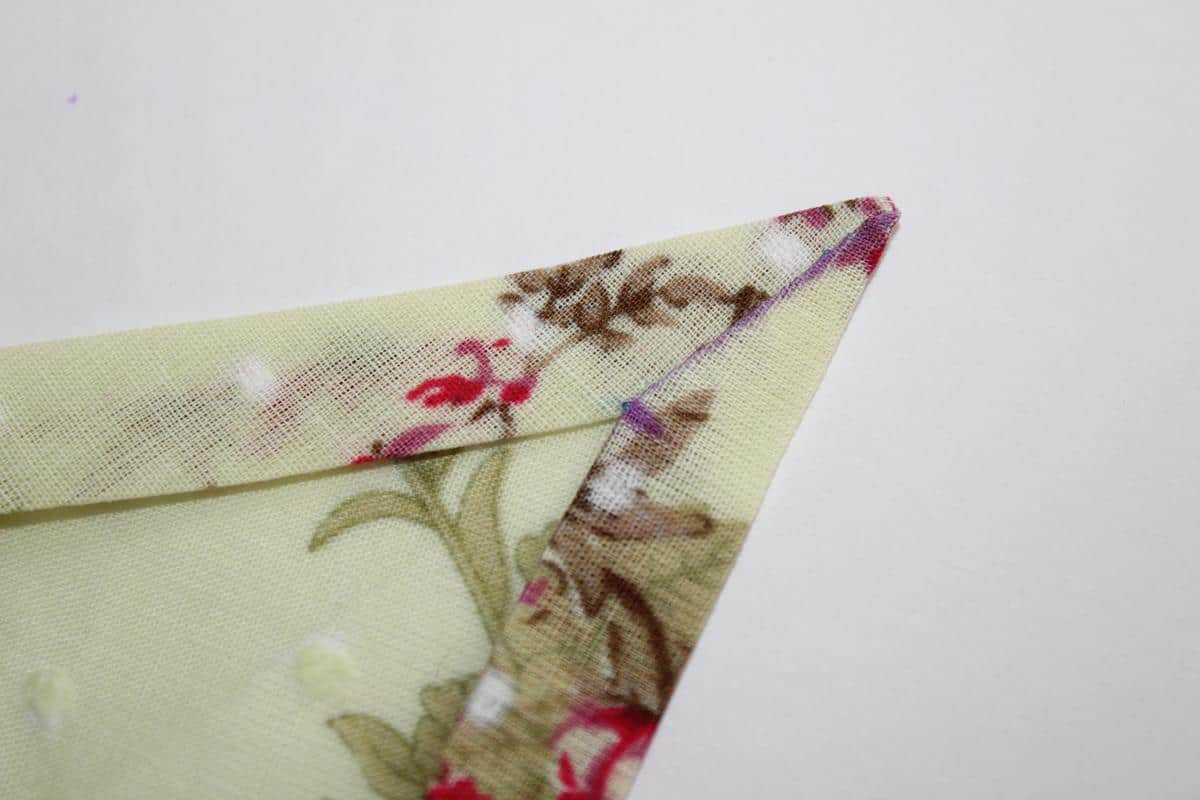
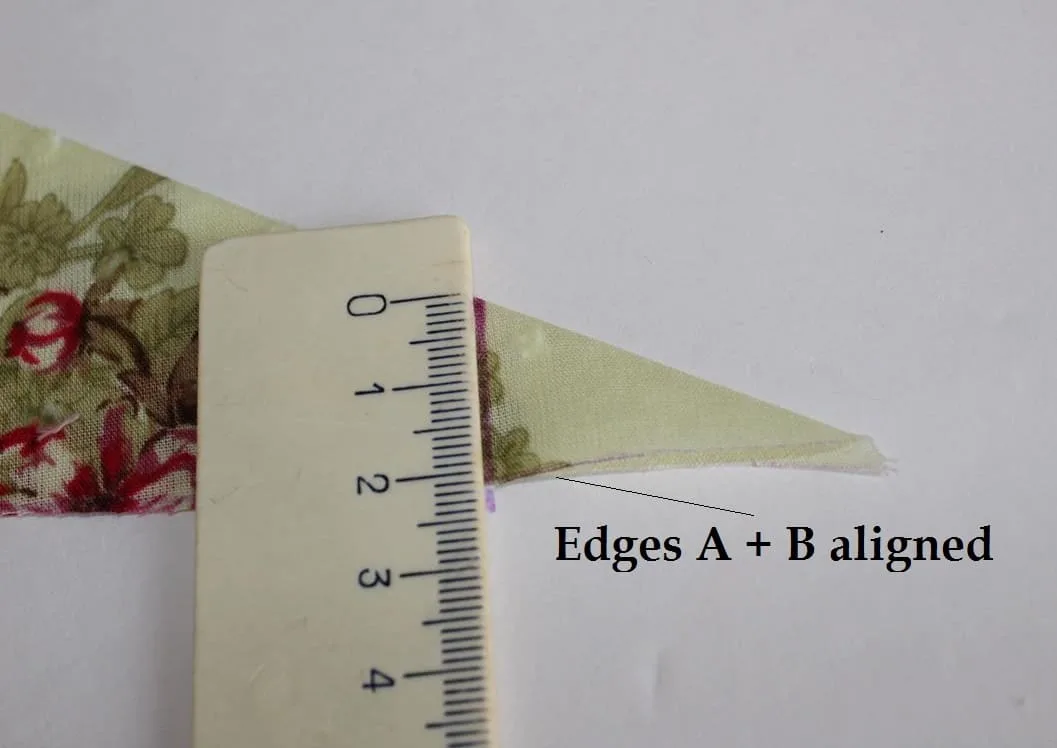
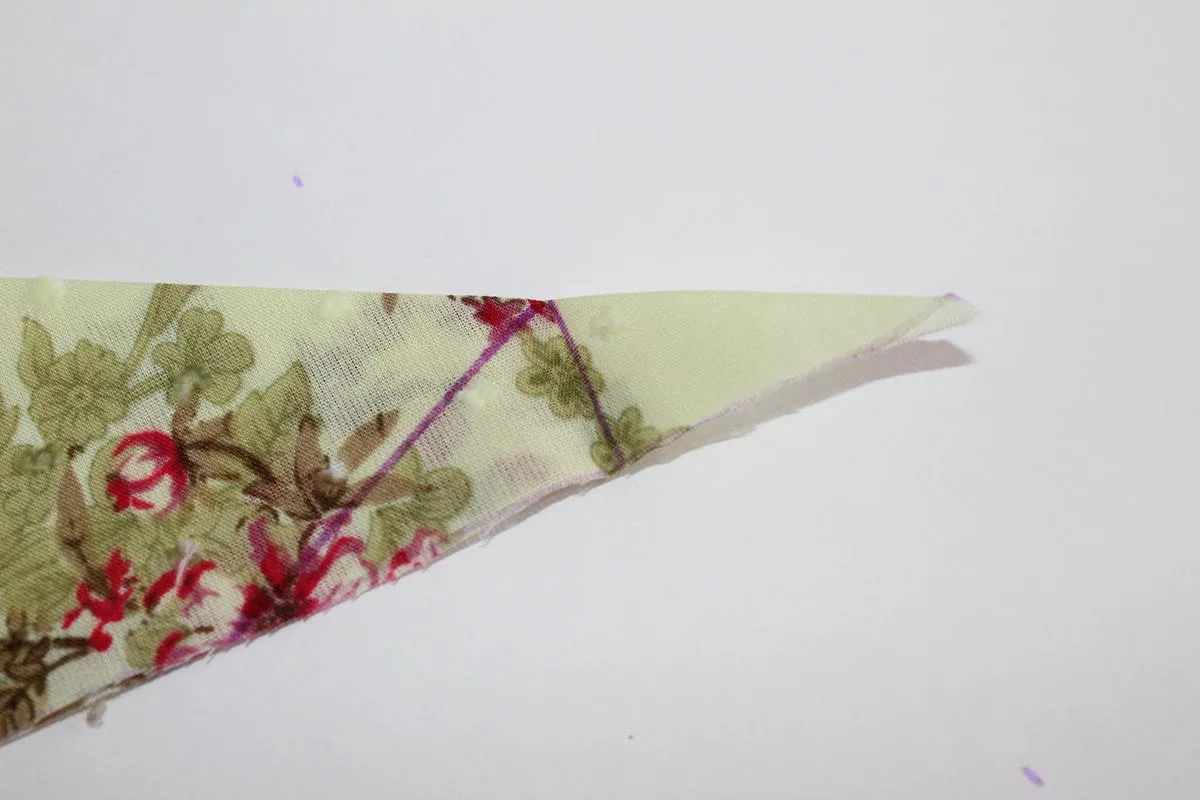
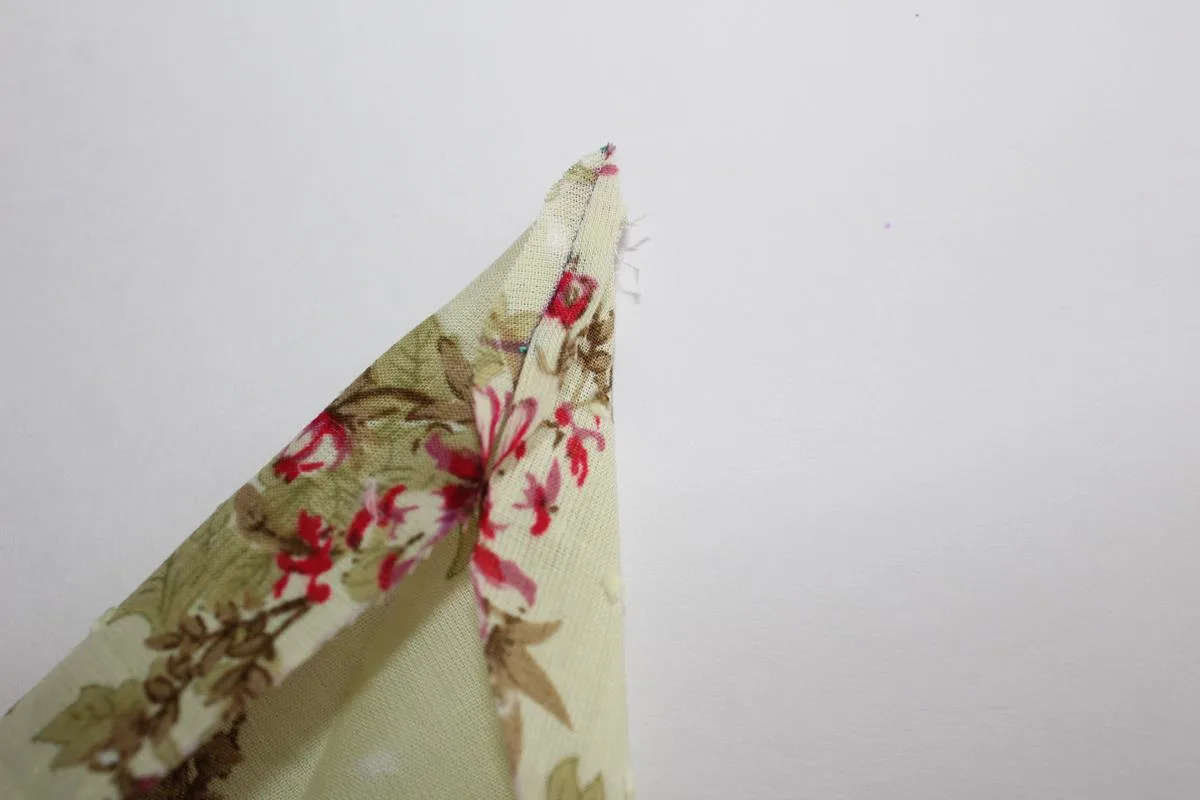
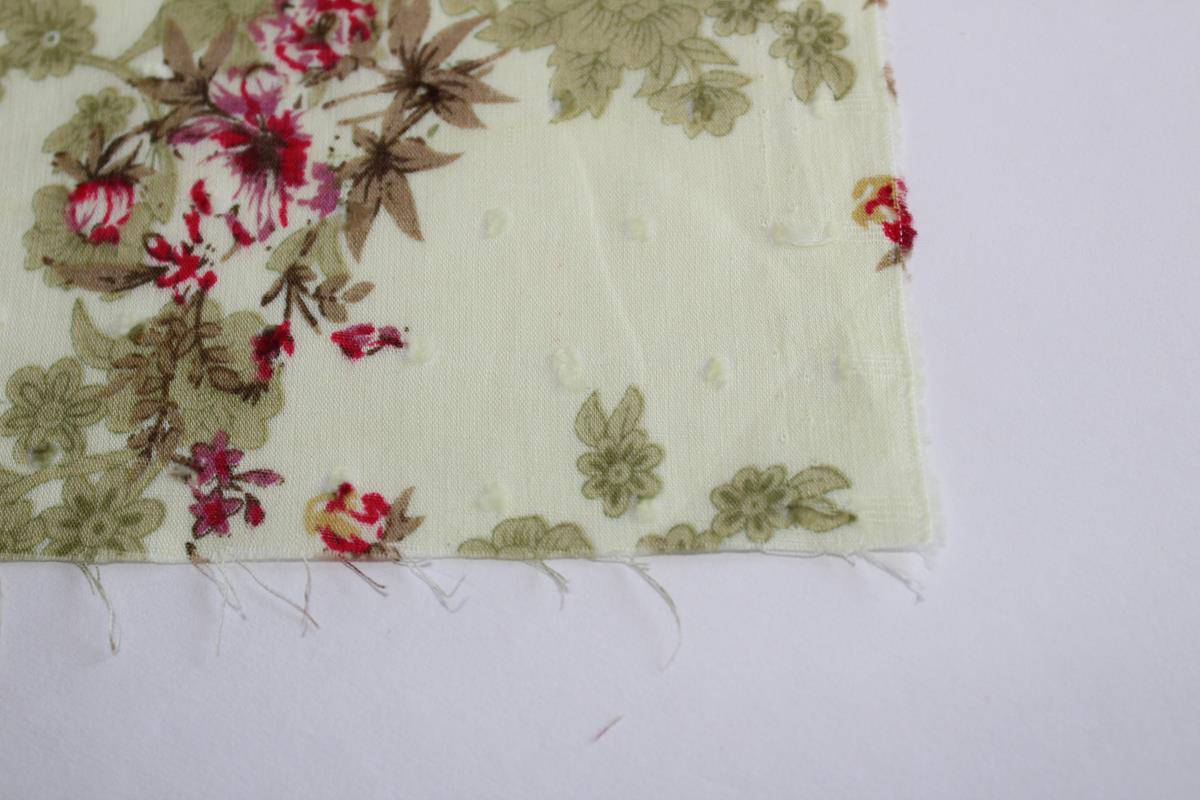
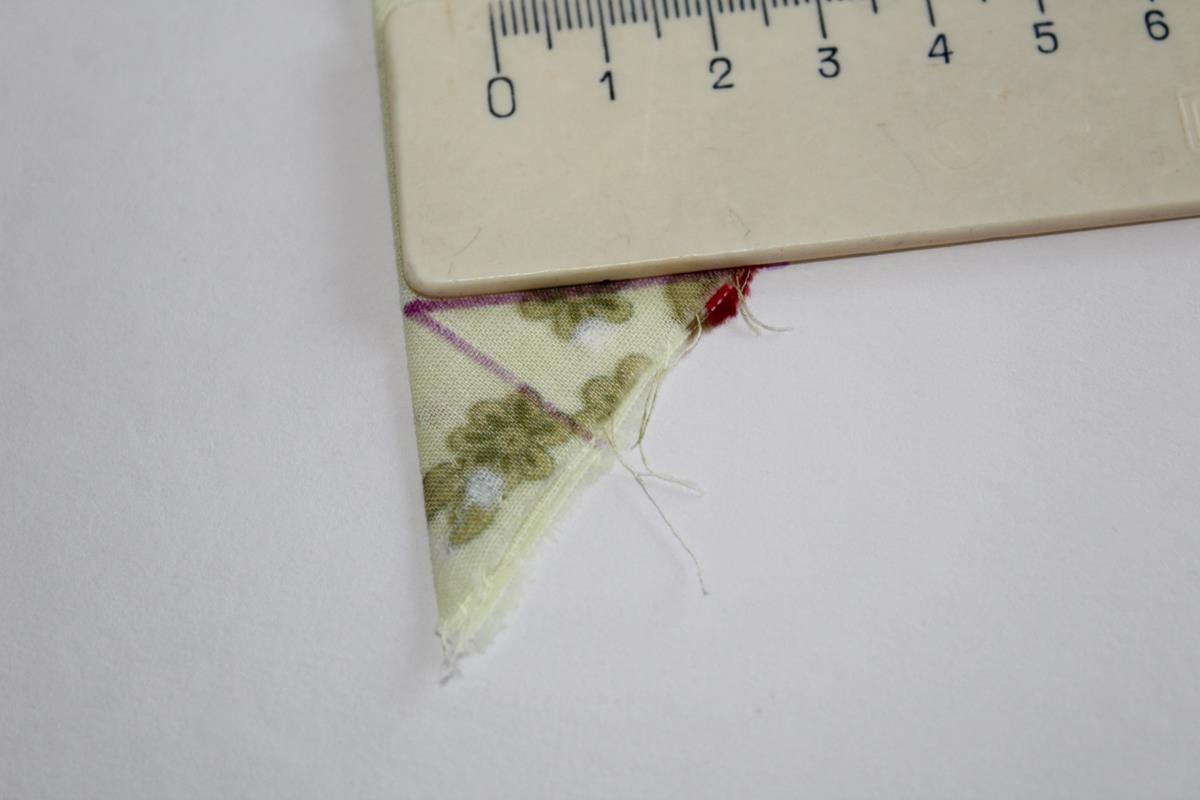
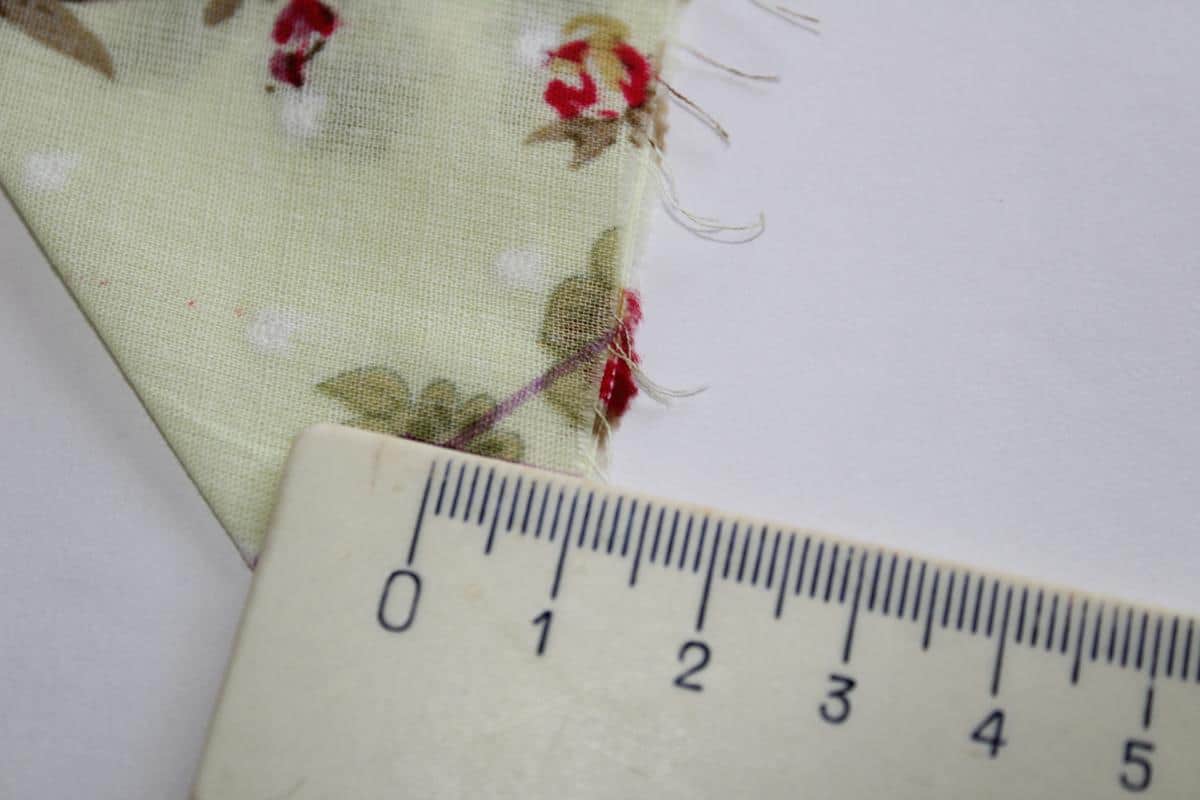
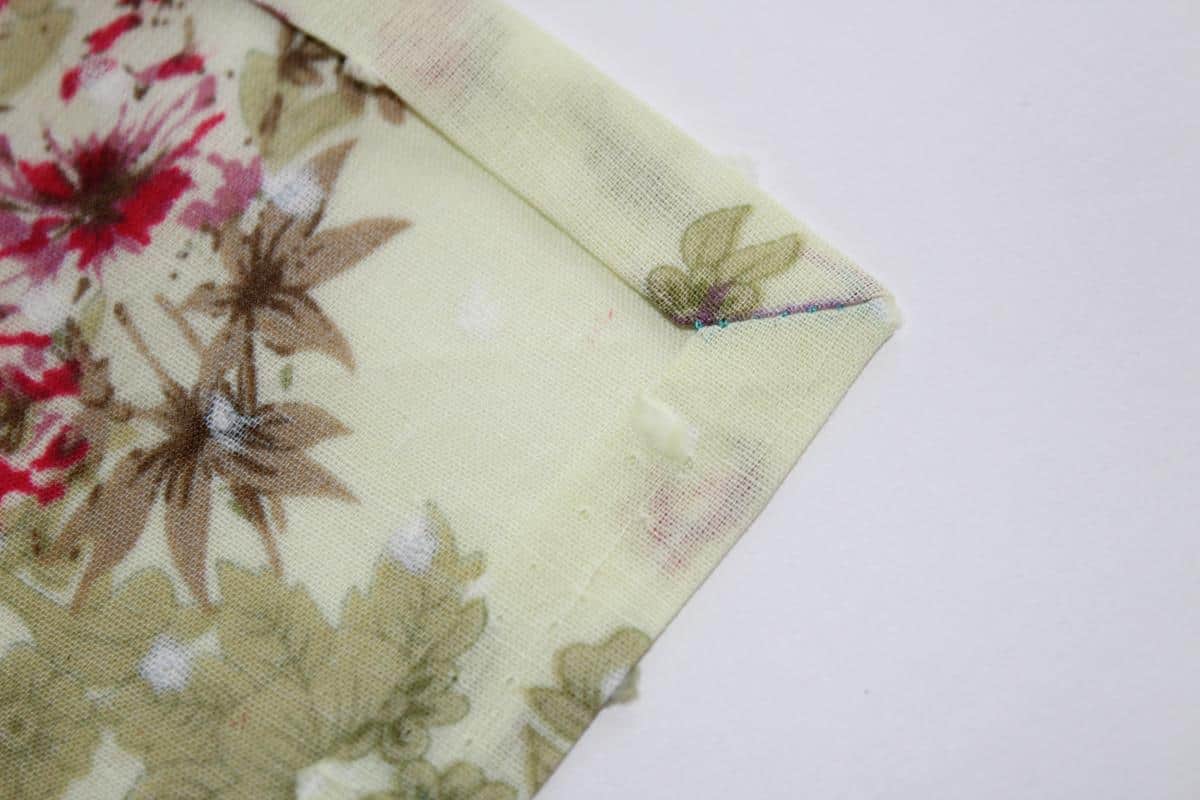
The initial piece of material is in image 1 and the final result showing the finished corner is in image 2. Below I will present the procedure step by step.
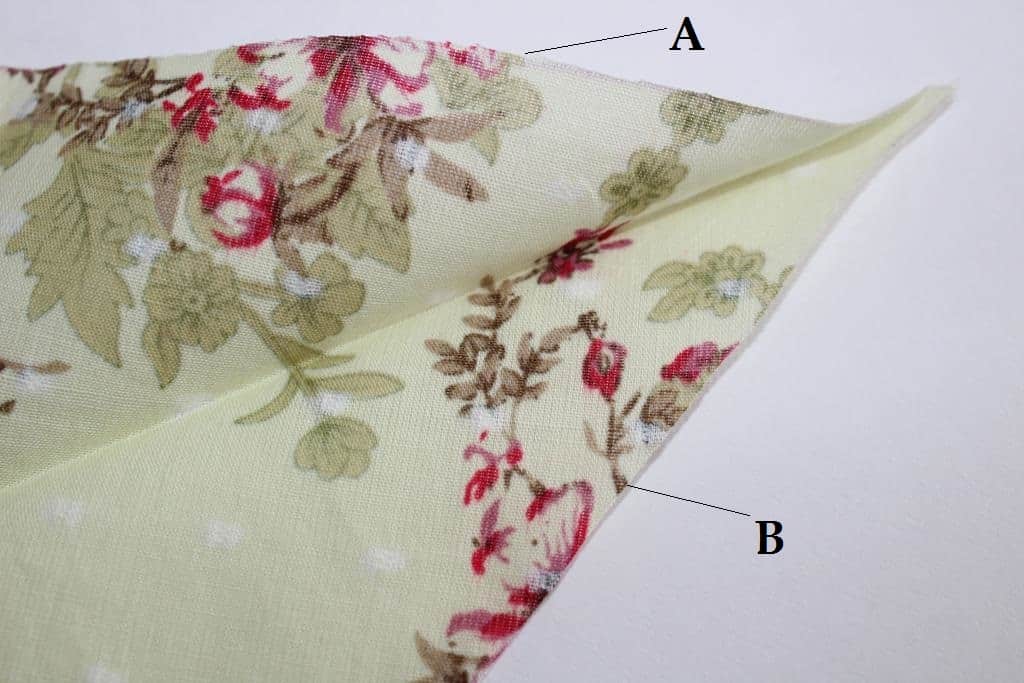
Step 1
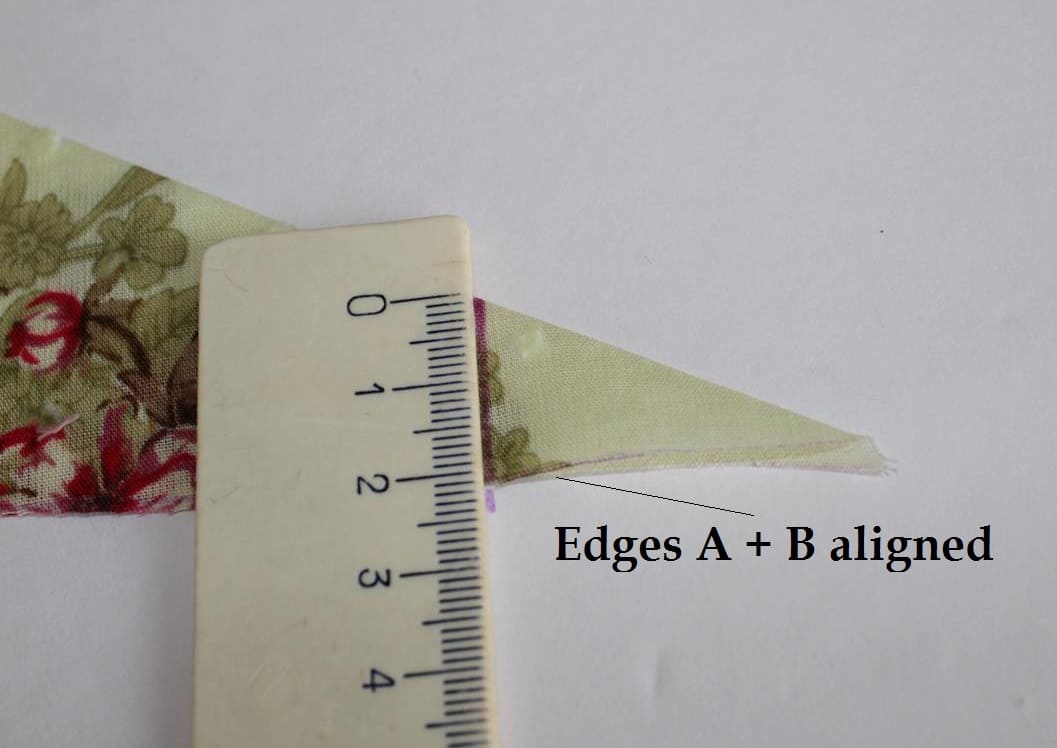
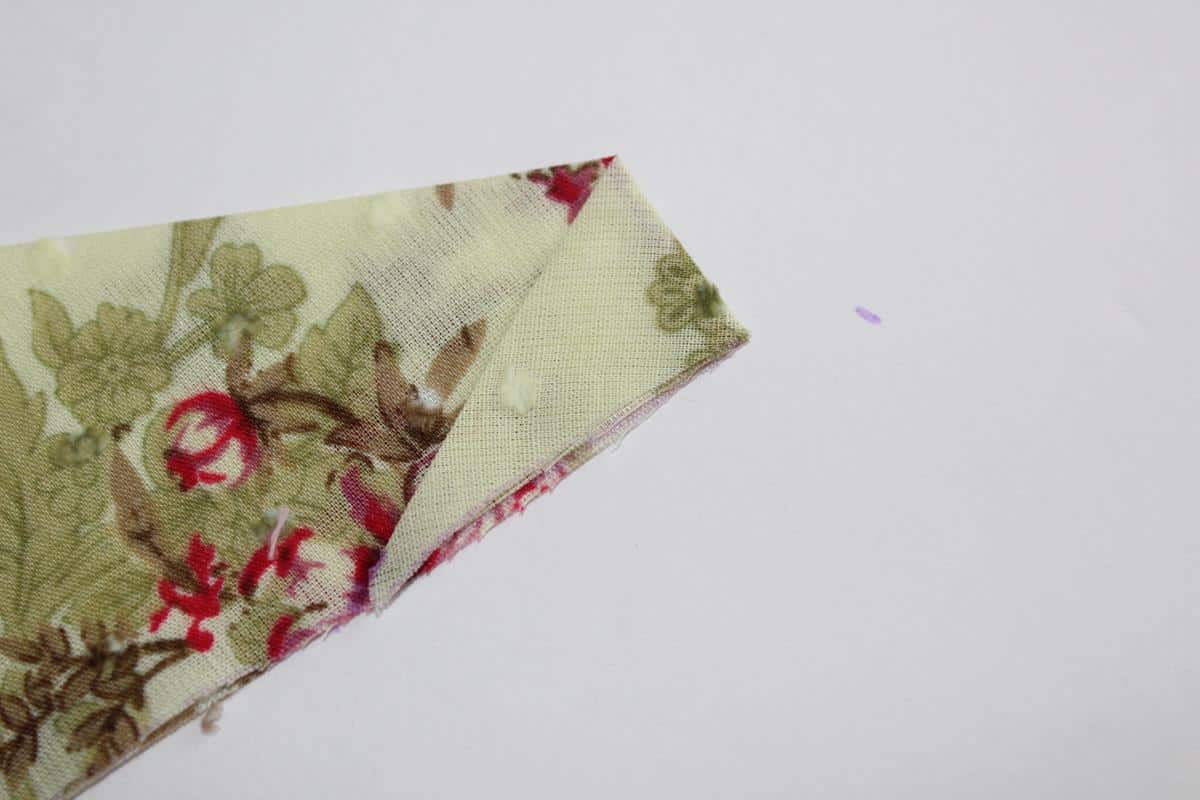
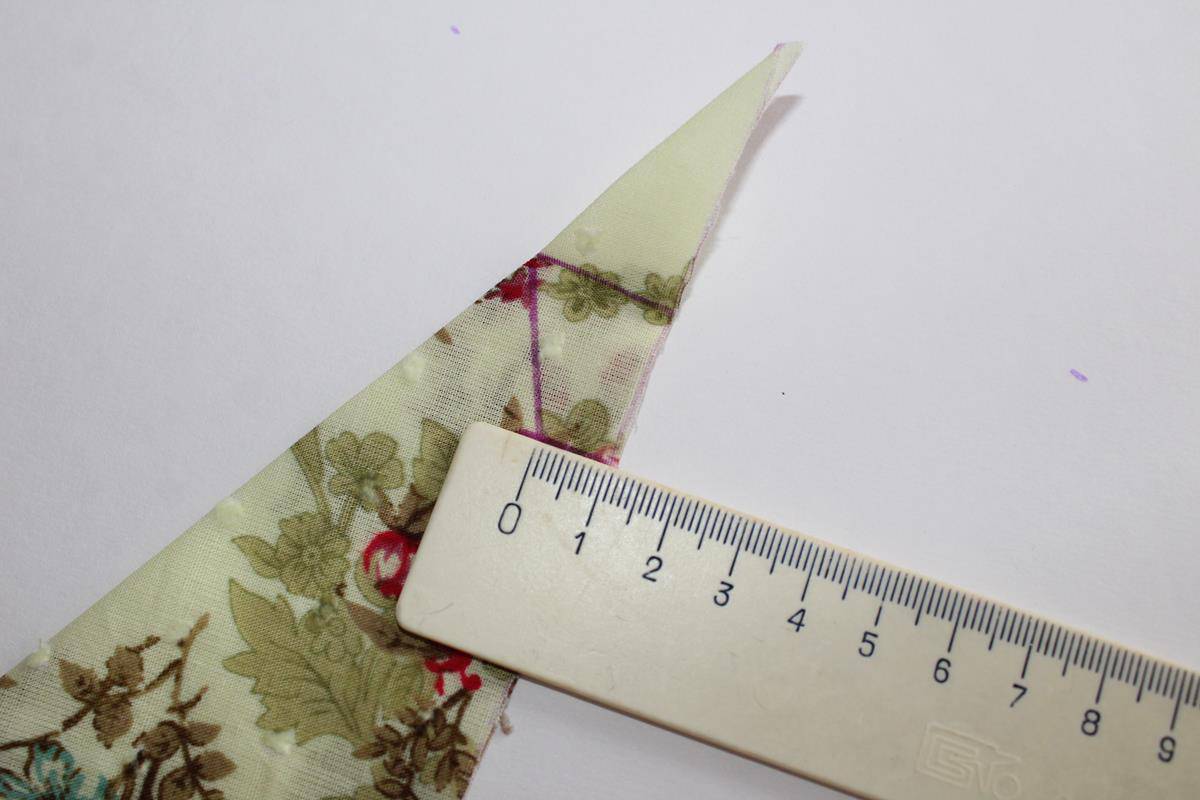
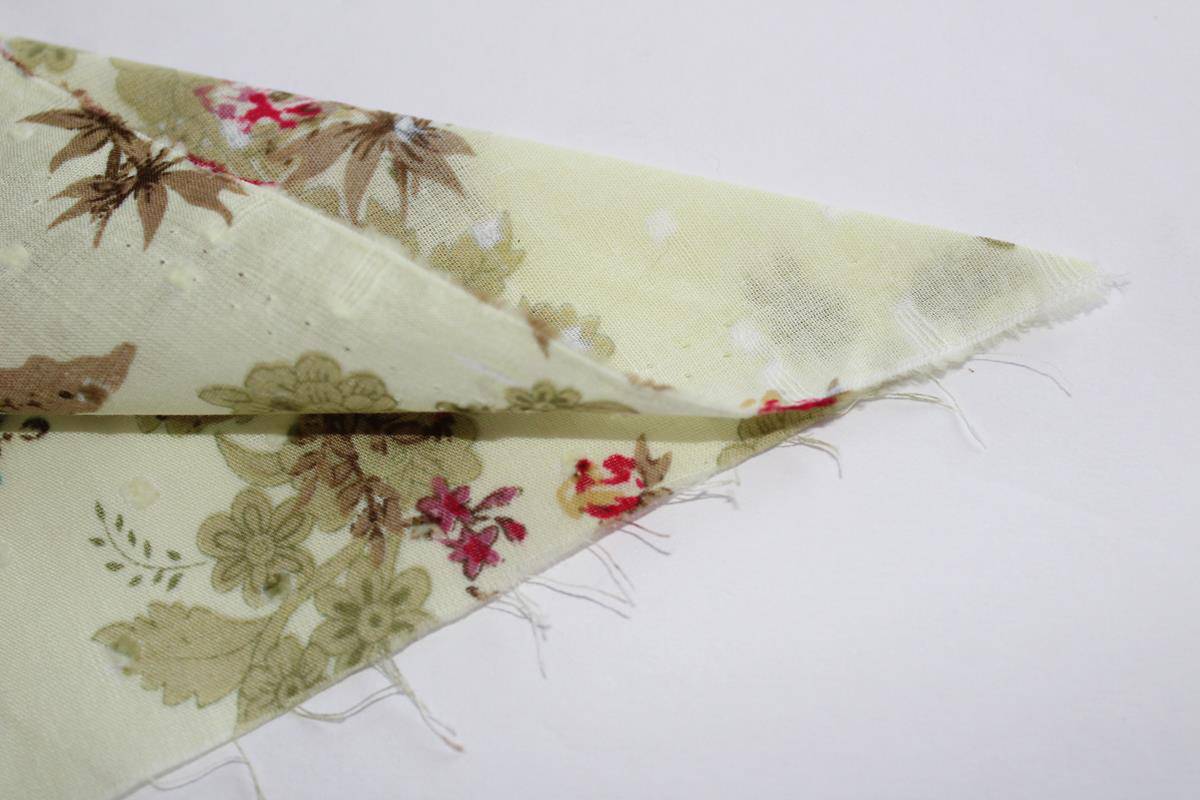
We will begin with the fabric wrong side up by folding the fabric in half aligning the two edges marked A and B in image 3 then pressing; the result is presented in image 4.

Step 2
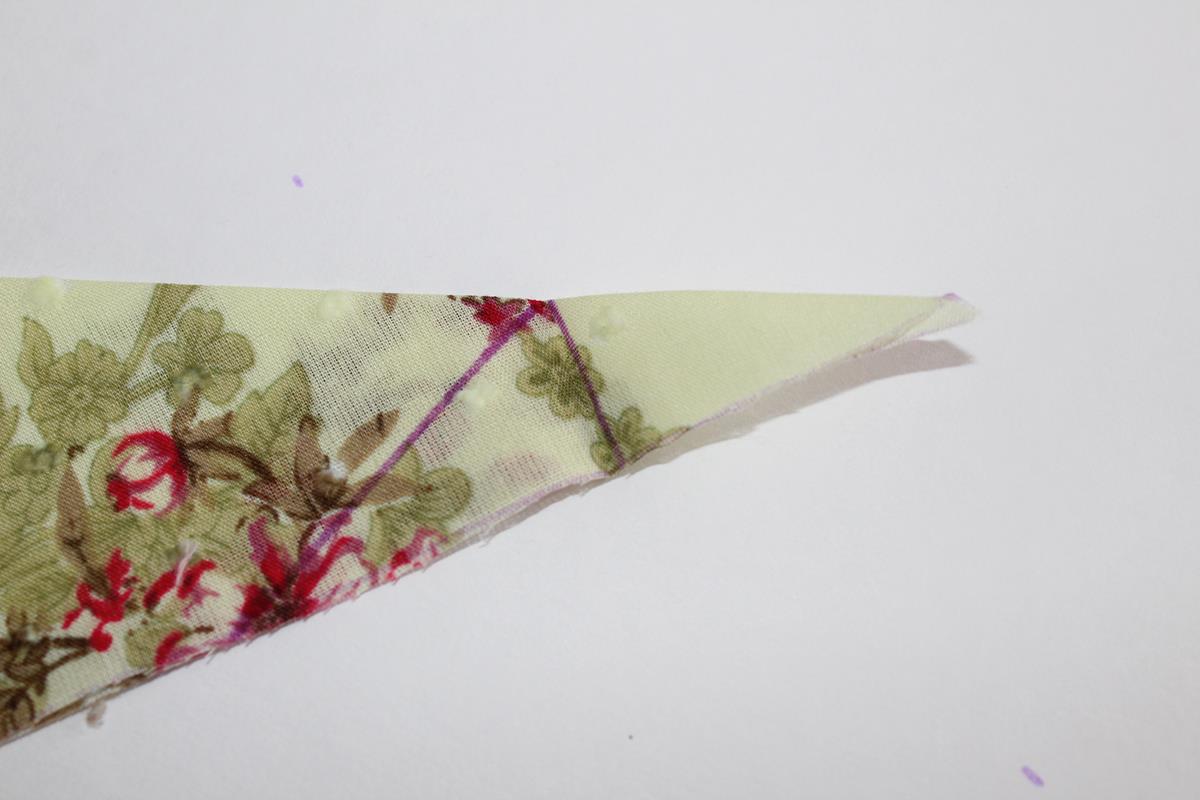
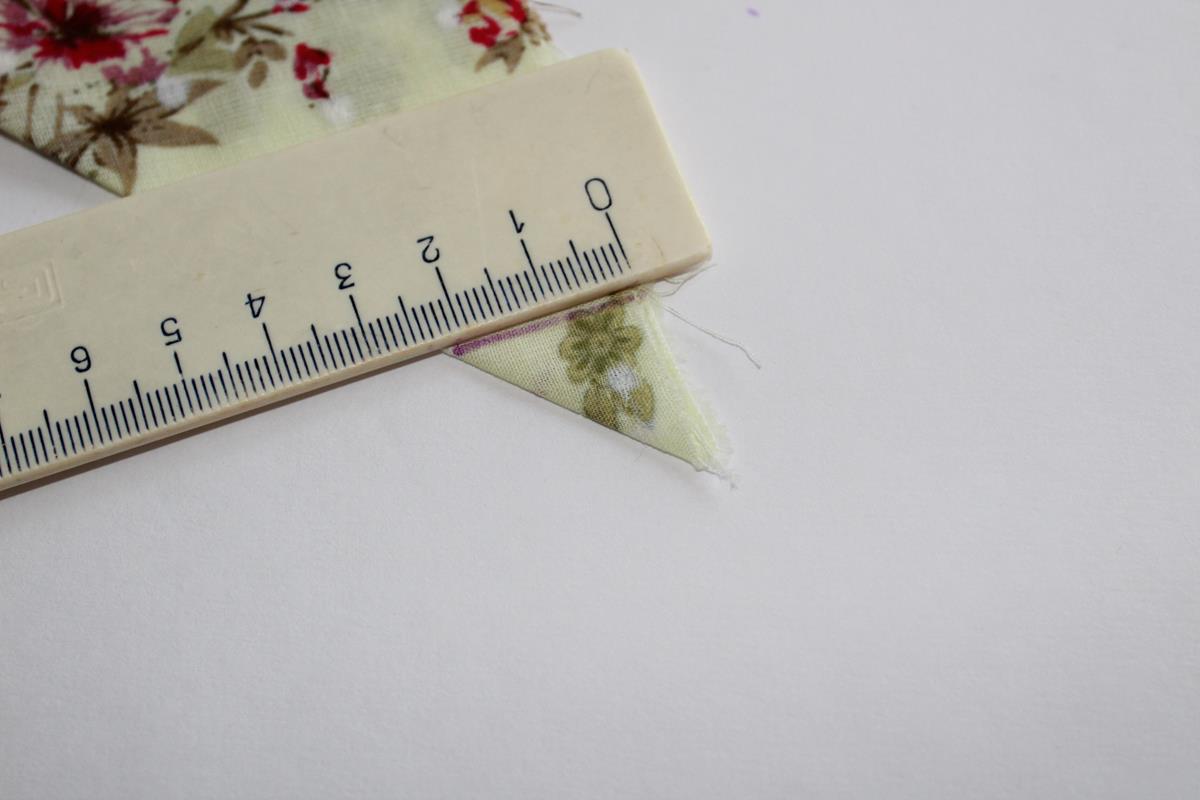
For seams of 1cm draw a line perpendicular on the edges A – B at the point where the length of that line is 2cm; scale accordingly for seams larger or smaller than 1cm. Use a disappearing marker or another marking method that will not damage or stain the fabric.
Step 3
Fold along the line drawn in step 2 aligning raw edges.
Step 4
Mark the fabric along the edge of the fabric after folding like in the image below:
Step 5
Find a spot along where the length of a perpendicular on the edges A – B to the newly drawn line is equal to the length of the seam ( 1cm in our example ). Mark that with a line.

Step 6
Stitch between points A and B as shown in the image below.
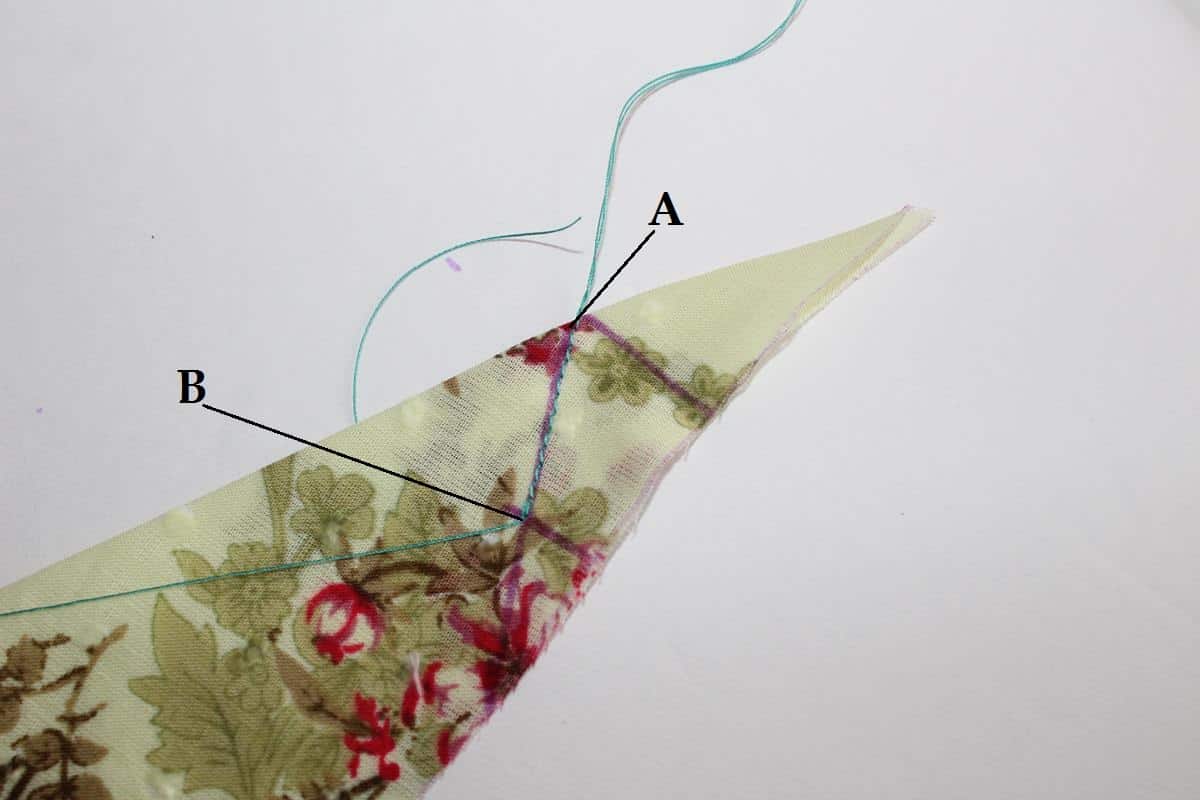

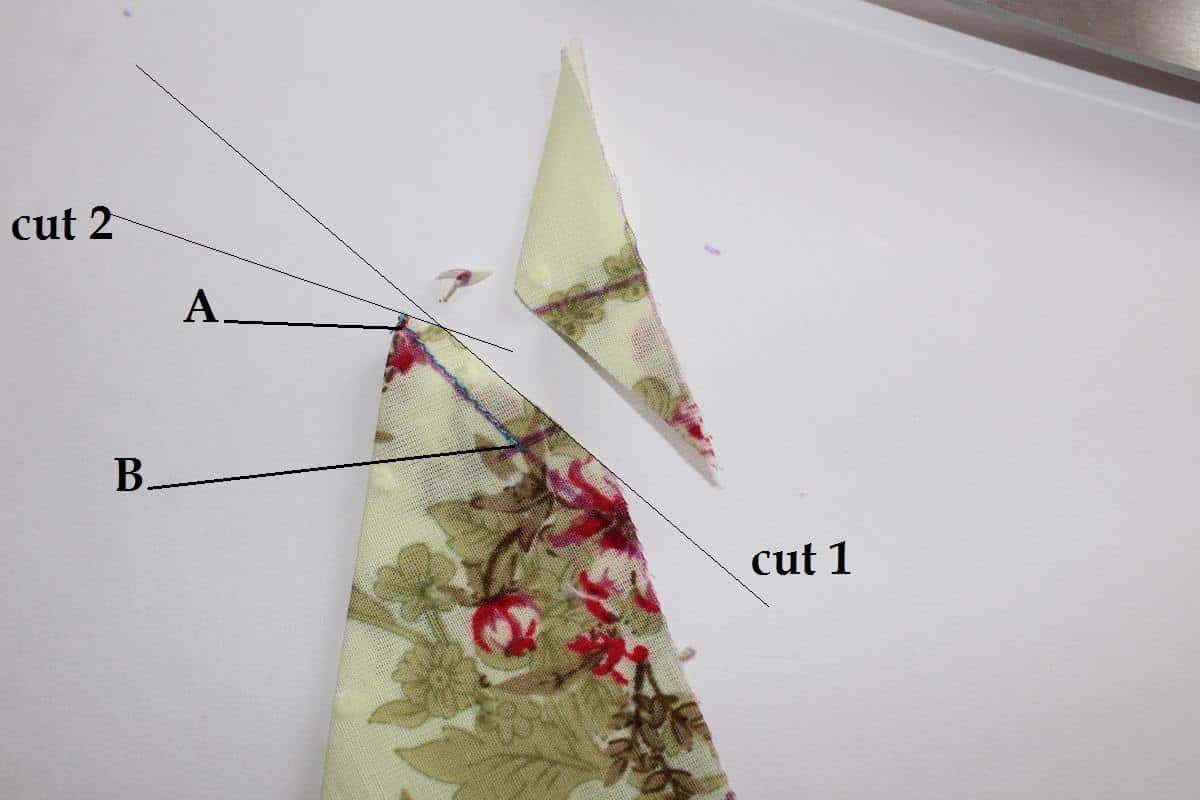
Step 7
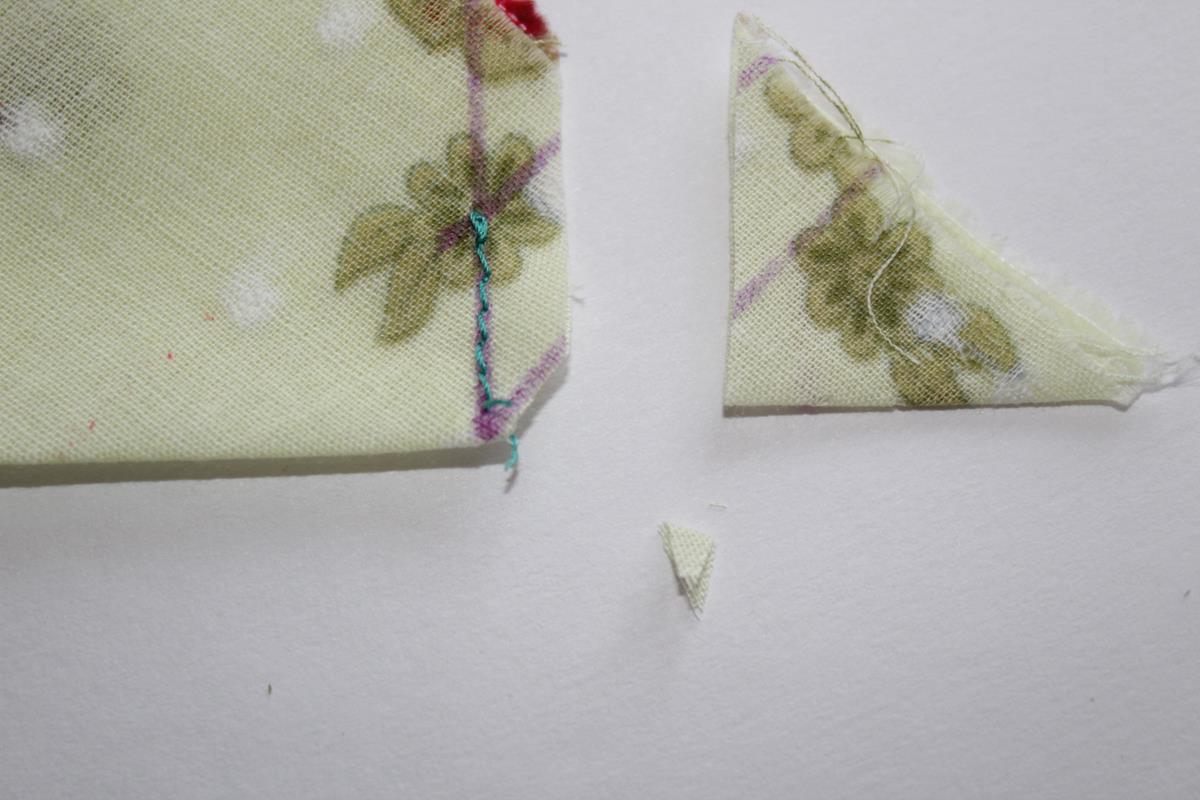
Cut the seam allowances; there are two cuts to be made as shown in the image below, first about 0.5cm from the line A – B then a small cut at the point A. Pay attention, do not touch point A or the stitch. The purpose of the cuts is to remove excess material that would make folding and pressing difficult.

Step 8
Press the seams open (not with iron though, just do it with your fingers). The shape of the corner and the final seams will become now apparent. The right side of the fabric is at this point hidden in the artificial pocket created by the stitch.

Step 9
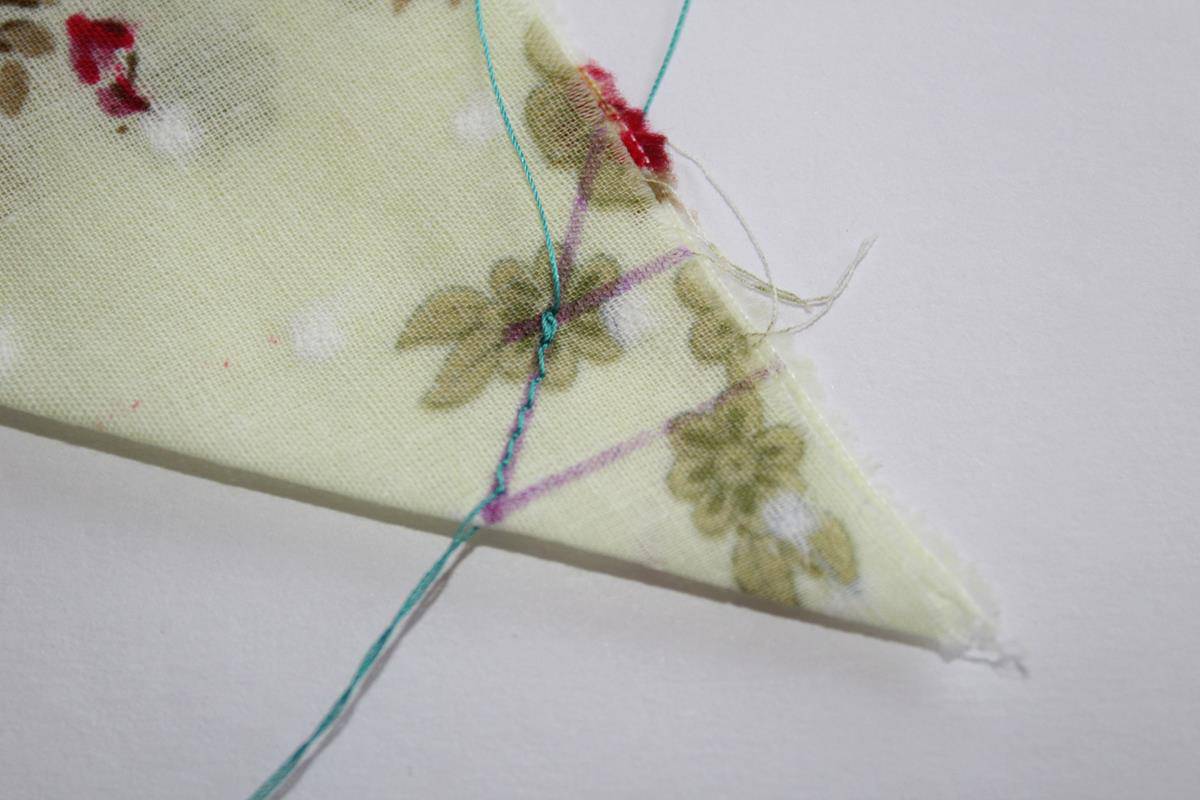
Turn the fabric inside out so that now the right side is facing out. Use a pointed object to reach the tip of the corner, in our case a bamboo stick was used. The result is shown in the image below, for reference please note the stitch done in step 7 shown by line C, points A and B.
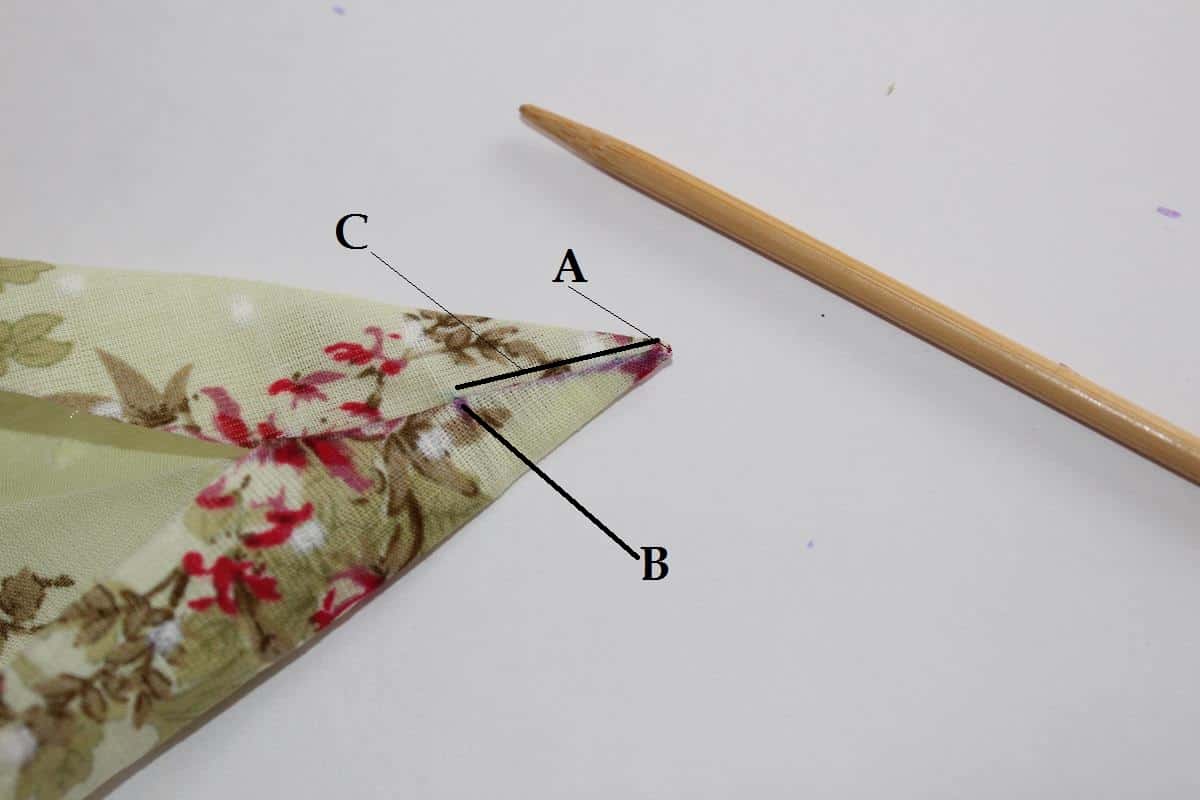

Step 10
Fold the final seams starting at point B and following a straight line. Press.

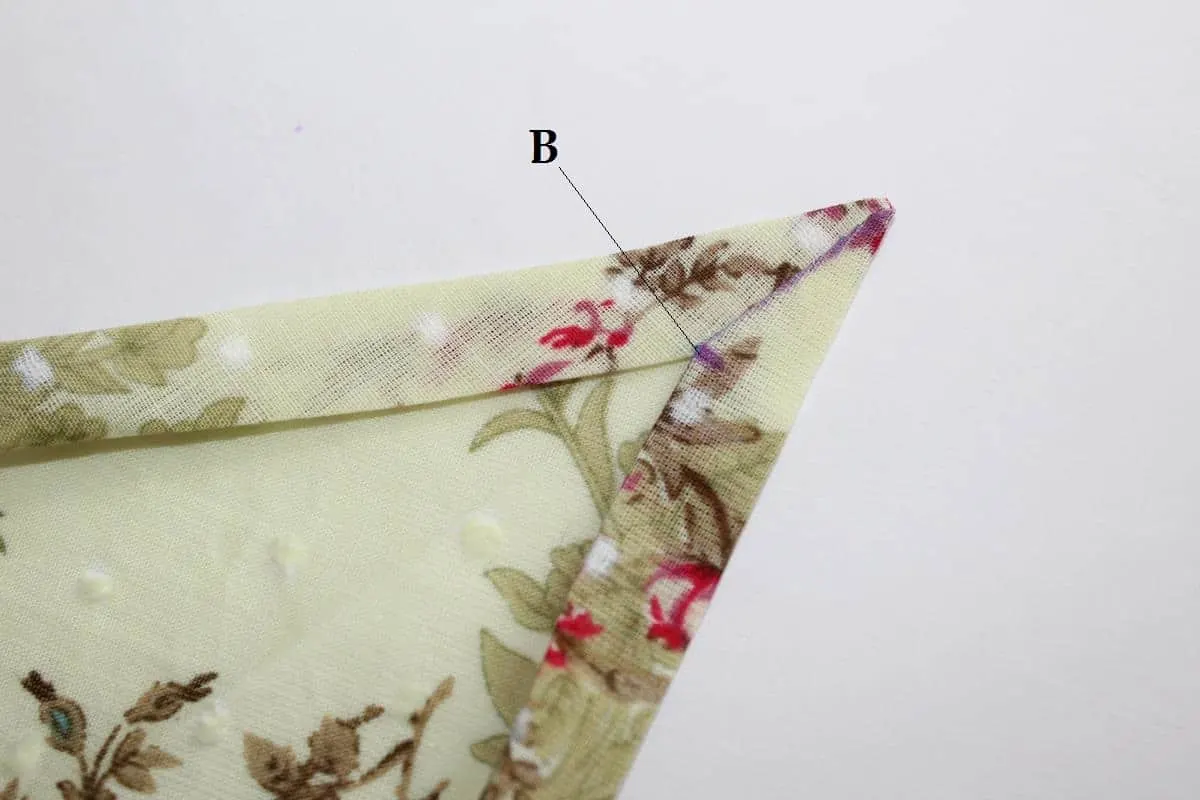
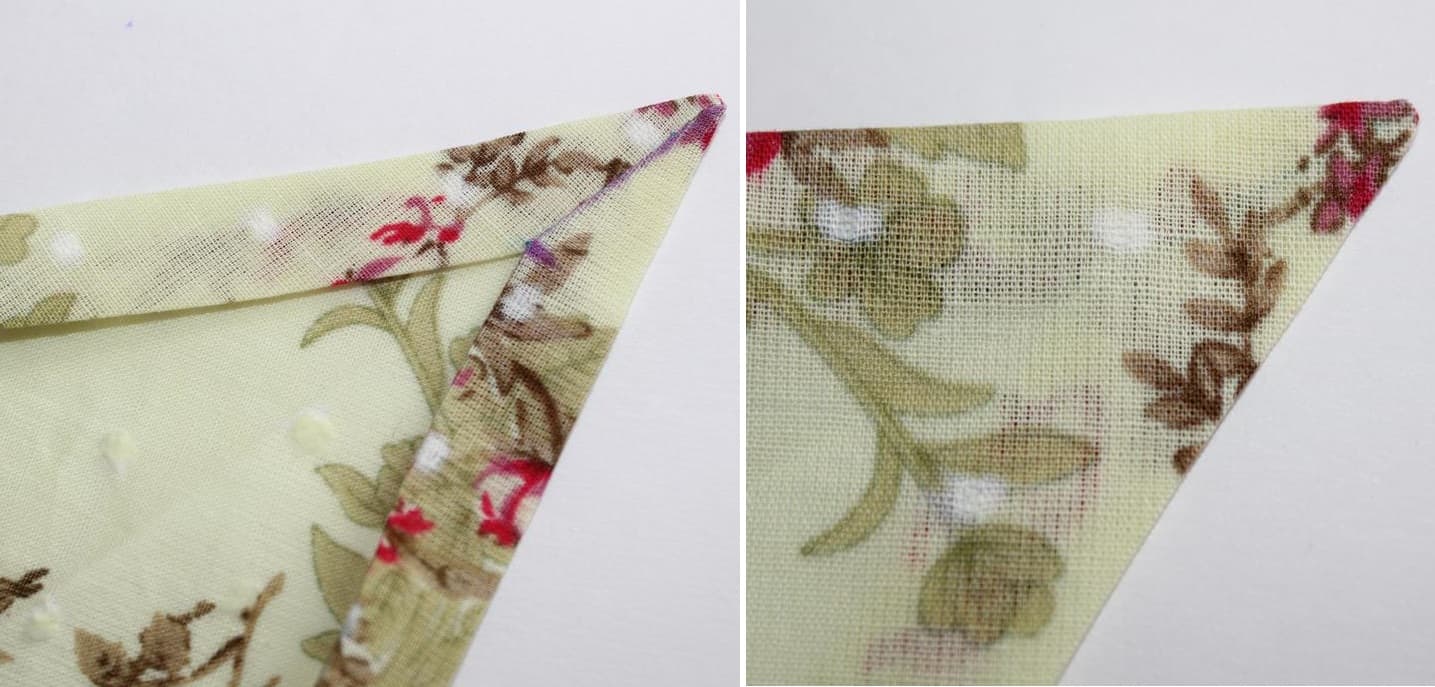
Success! The final result (back and front) is below.
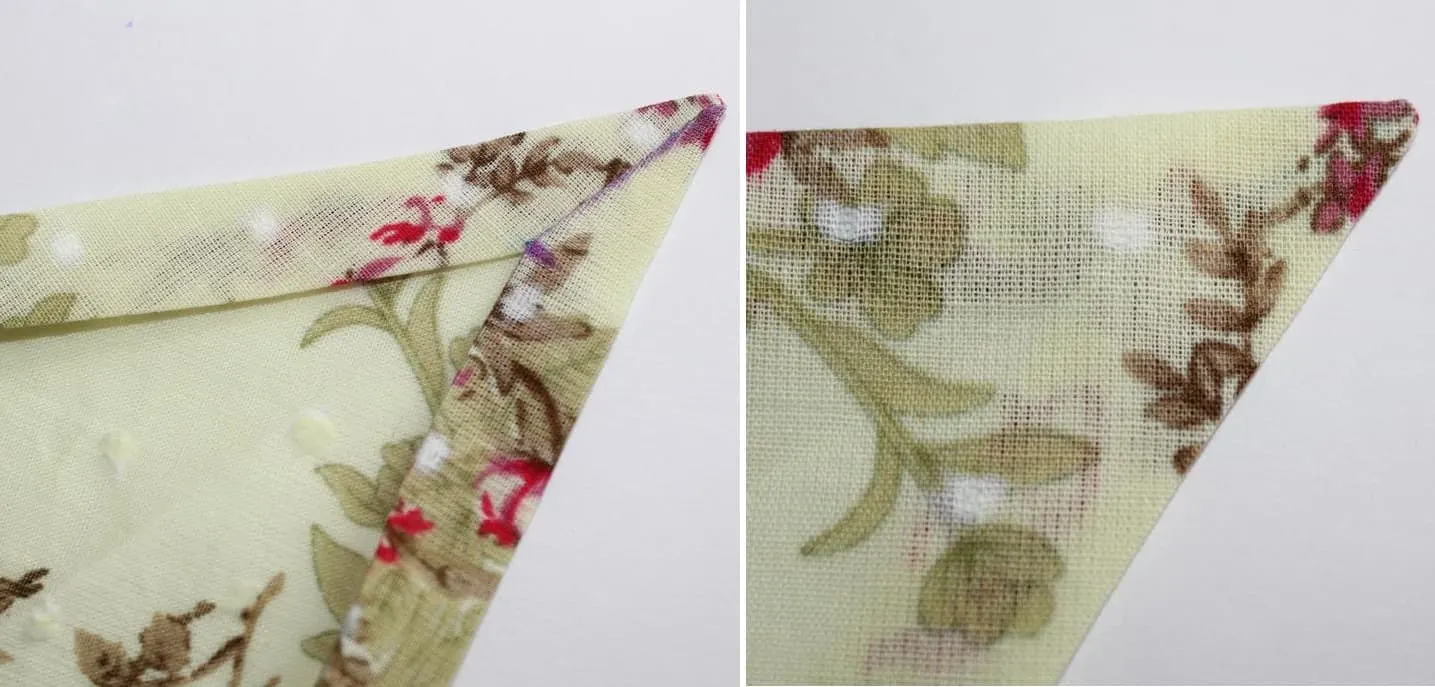
Similar work can be done with every kind of corner, acute, right, or obtuse. The following set of images will exemplify the case of a right corner, the steps are easily recognizable even if the images look a little differently.

I hope I made the description clear. But if you have some questions don’t hesitate to ask in the comments below.
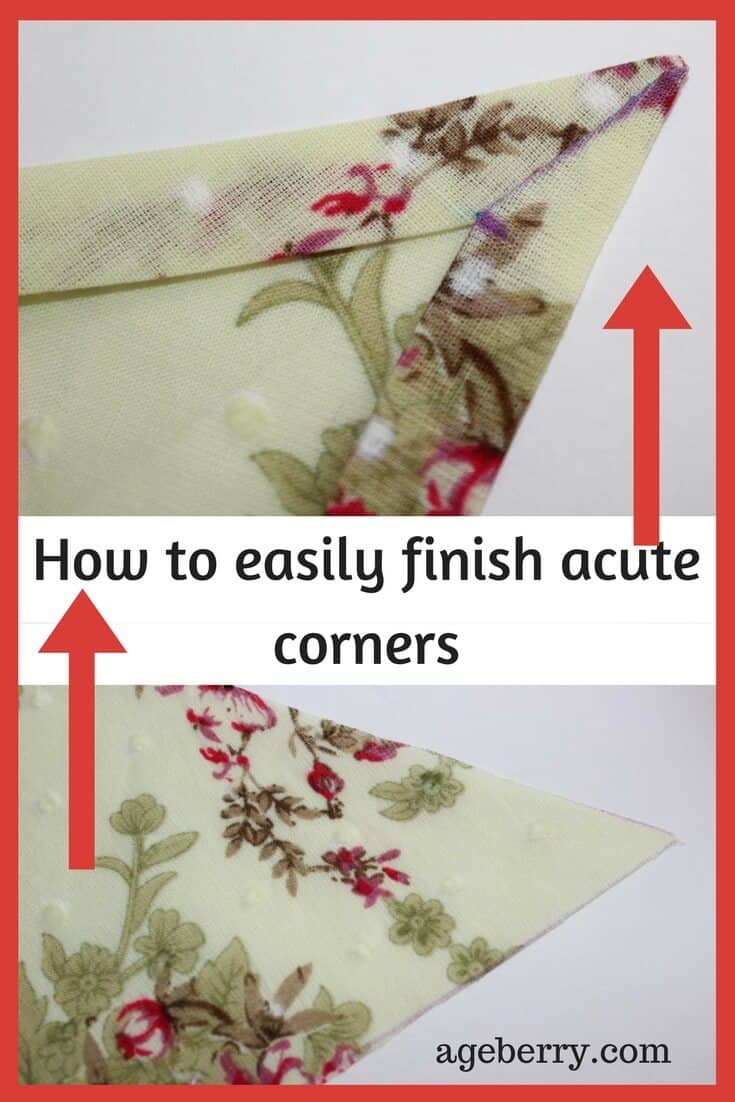
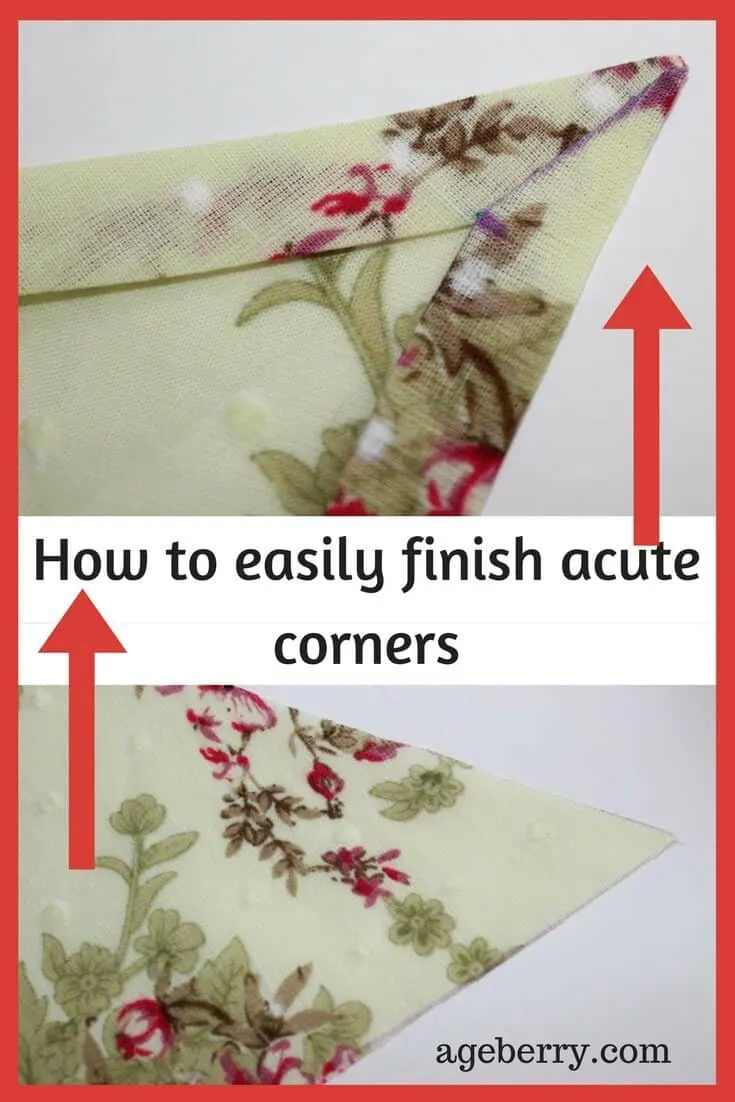
Did you like this guide? If you want to save it for future reference and to use it later when you are ready to sew, pin the image below or the first image of this article to your sewing board on Pinterest and follow me on Pinterest for more tips, tutorials, and inspiration.
latest posts
- Ditch My Sewing Machine? Not in This Lifetime!
- Adorable DIY Needle Book | Easy Tutorial for Beginners
- Master the Seam Ripper: Your Ultimate Guide to Precision Stitch Removal
- Think You Know Zippers? This Installation Guide Might Surprise You
- Why Does Your Seam Ripper Have a Red Ball? Discover Its Purpose!
- Topstitching Troubles? This Simple Trick Will Turn It Around Instantly!
- How to Sew Shirring: A Step-by-Step Guide to Elastic Thread Gathering
- Are Self-Threading Needles Really Useful?
- Amazon Spring Sale: Best Choices
