How to Buy a Sewing Machine (Even If You Already Have 10)
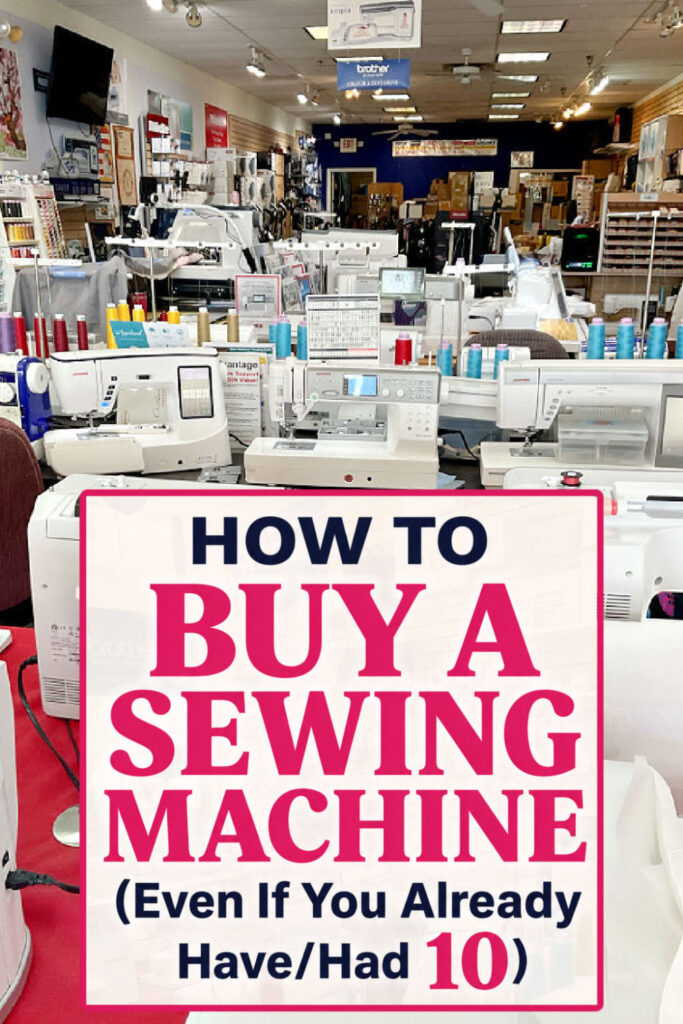
Why do we buy new sewing machines when we already own ten? I didn’t have a good answer to that question until yesterday, when I bought an eleventh. Here’s how my Friday went: dropped off a six-year-old Brother for cleaning and a tune-up, wandered the shop for thirty minutes, walked out having bought a Janome Horizon MC9450QVP (used, but in perfect order).
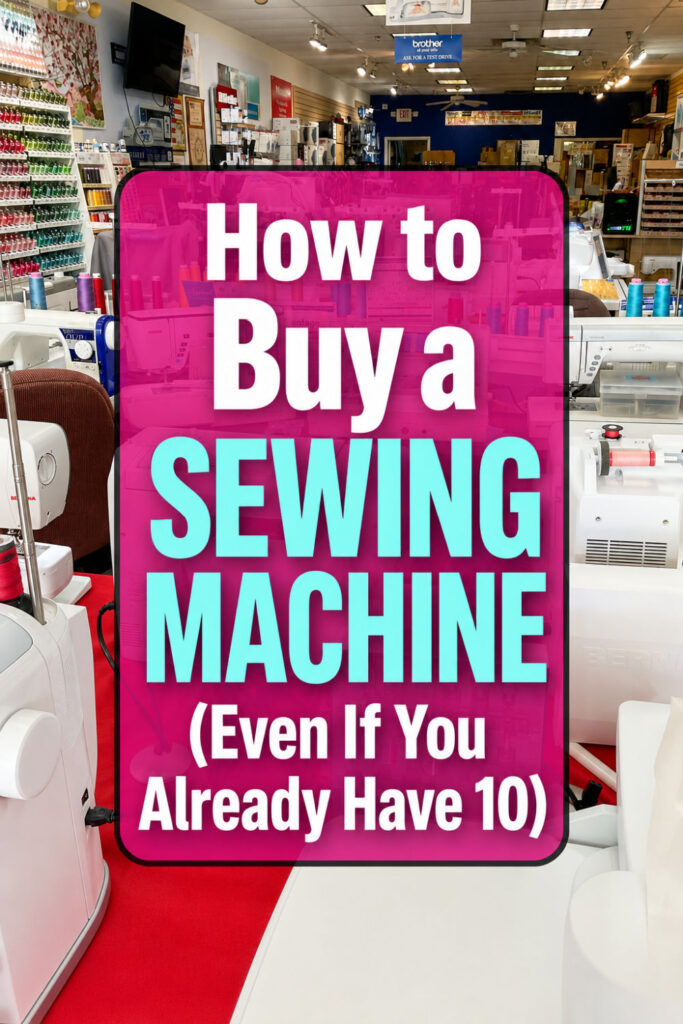
Nobody worked that hard to sell it to me. I did this entirely to myself — the way you walk into Target for toothpaste and leave with a rug, three candles, and a decorative bowl.
Why did I do this? Why does anyone do this? Here’s what I’ve learned: we don’t buy machines because we need them. We buy them the second we finally see what we’ve been missing.
Here’s the truth. Machines changed. The one from fifteen years ago still sews a straight line just fine. It also still makes you thread the needle yourself, like it’s 1997. A lot has happened since 1997.
So, let’s see what actually changed, what’s worth paying for, and where to buy the thing without getting fleeced.
Buying a sewing machine now is a little like buying a car. Lots of trim levels. Lots of upsells. A salesperson who says “smart feed system” with a straight face. Keep that in mind.
Prefer to read without ads?
I created a PDF version of this guide for anyone who likes to keep sewing guides saved, printed, or easy to read without ads. It includes the same helpful information in a simple format you can download and use whenever you need it.
The PDF is available in my shop for a small fee. It’s a nice option if you want to support my work and keep this tutorial close to your sewing machine.
The Question Your Wallet Wants You to Skip
You already know this part. You’ve been sewing long enough that nobody needs to explain the difference between a walking foot and a zipper foot. But even experienced sewists skip this step — and it’s the one that actually decides what’s worth paying for.
What are you sewing most, right now? Not what you sewed in 2009.
Garments? You already know what you want. Clean stitch selection. Real speed control. Interchangeable presser feet. A machine that doesn’t fight you on a curved seam. You’re not buying features. You’re buying fewer arguments with your machine.
Quilting? You know the drill too. Big throat space. A wide table, so your quilt isn’t wrestling gravity the whole time. Consistent stitch length over long straight runs, because nobody wants puckering forty percent of the way through a king-size top.
Bags? Underrated category, and a growing one — half your stash probably went into a tote at some point. Bags mean bulk. Layers of interfacing, canvas, maybe something vinyl that fights back. You want a machine that doesn’t flinch at thick seams, and a free arm doesn’t hurt either.
Embroidery? Different animal entirely. Either a dedicated machine or a combo unit with its own module. That deserves its own conversation later, not a bullet point here.
A little of everything, whatever’s calling to you this month? Most experienced sewists actually land here, no matter how organized they claim to be. That’s fine. It means you’re shopping for versatility, not a specialist tool.
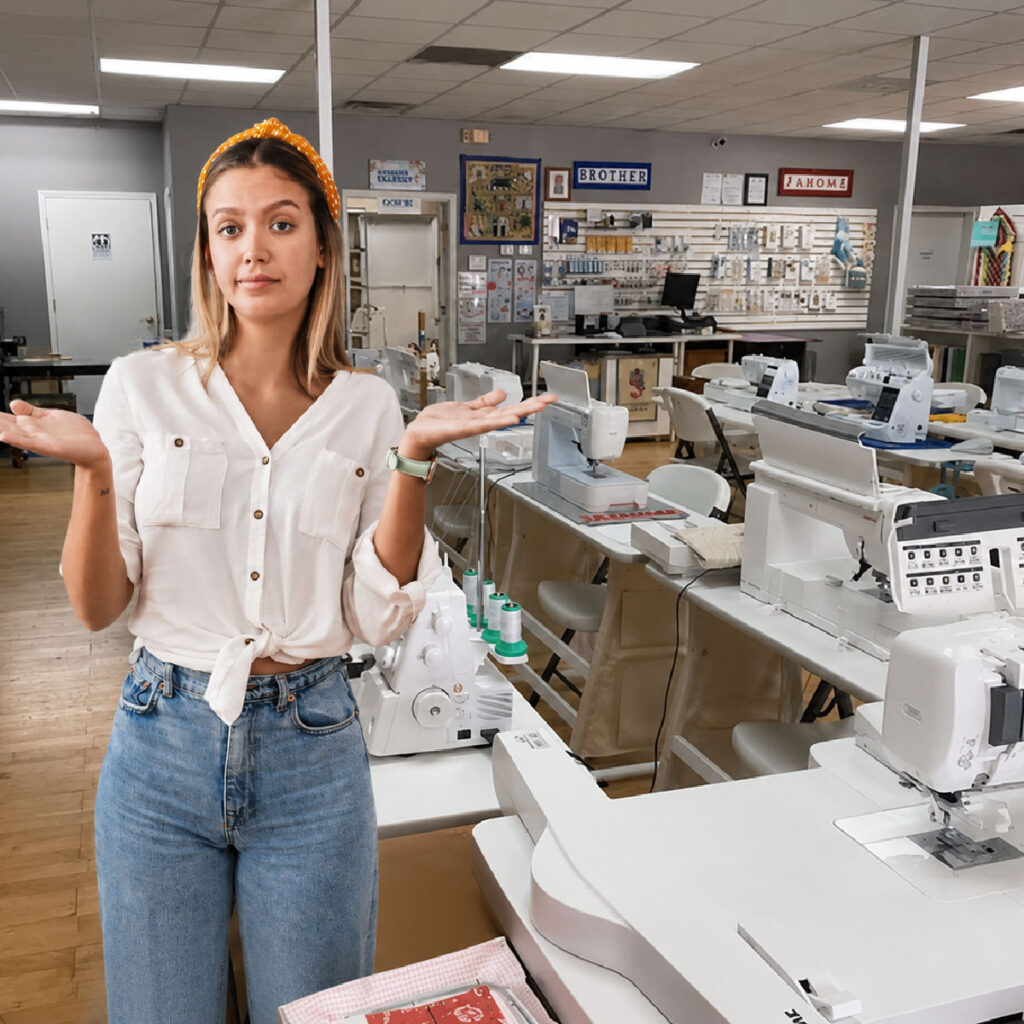
Now here’s the part where you have to be honest with yourself. You already have machines that cover all of this. Probably more than one for each. So the real question isn’t “what do I sew.” It’s “what am I sewing that my current machines make harder than it needs to be.” That’s the actual gap you’re shopping for. Everything else is just an excuse to spend a Saturday at a sewing machine store, and no judgment — we’ve all been there.
Everything Your Old Machine (Probably) Doesn’t Do
Every one of these features got explained to you once, but badly, by someone standing at a display model whose main goal was closing the sale before lunch. Let’s do it properly this time.
Automatic needle threading & thread cutting
You’ve threaded ten thousand needles in your life. You could do it half asleep, mildly annoyed, only half paying attention because the TV’s on. This was never about whether you can do it. It’s about whether you still want to, every single time you swap thread colors mid-project.
Modern machines have a small hook-and-guide mechanism built in. Press a lever or a button, and it threads the needle for you in about a second. You don’t have to lean in under the machine’s little light, tilt your head sideways, and squint until your eyes cross.
Here’s the part most buying guides skip. “Automatic needle threading” isn’t one single feature. There’s a real range, and it matters.
On the simpler end, you lay the thread in a small guide, then pull a lever down. A tiny hook grabs the thread and pulls it through the eye. Quick, but you’re still doing some of the staging yourself. Nudge the thread wrong, and you’re doing it twice.
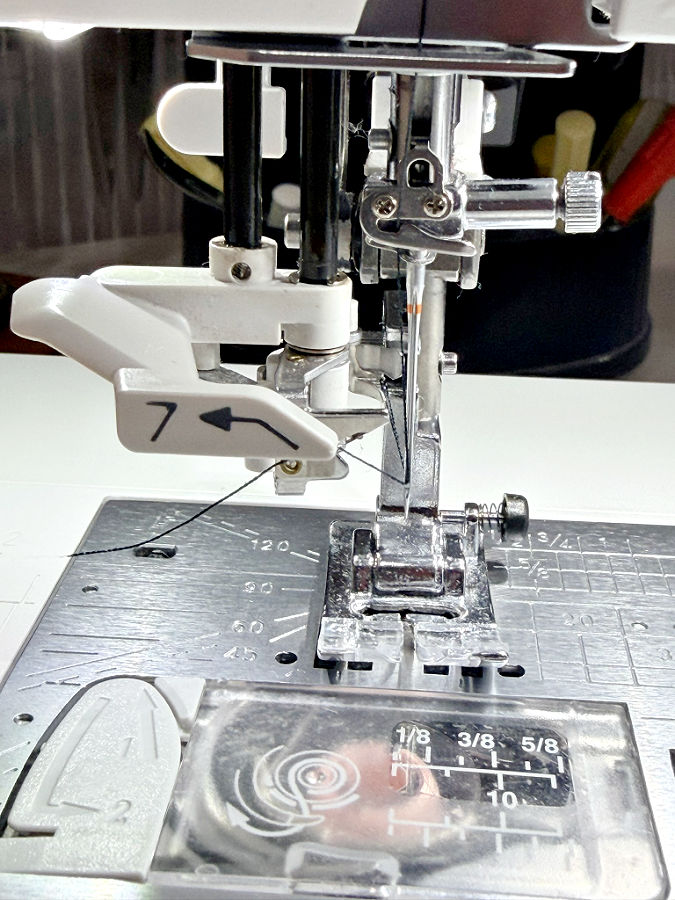
On the higher end, you lay the thread near the needle and press one button. The machine handles the rest. No lever, no second attempt, no fiddling with a guide that’s slightly too small for your thread. It’s the difference between assisted and actually automatic, and it usually shows up as you move up in price.
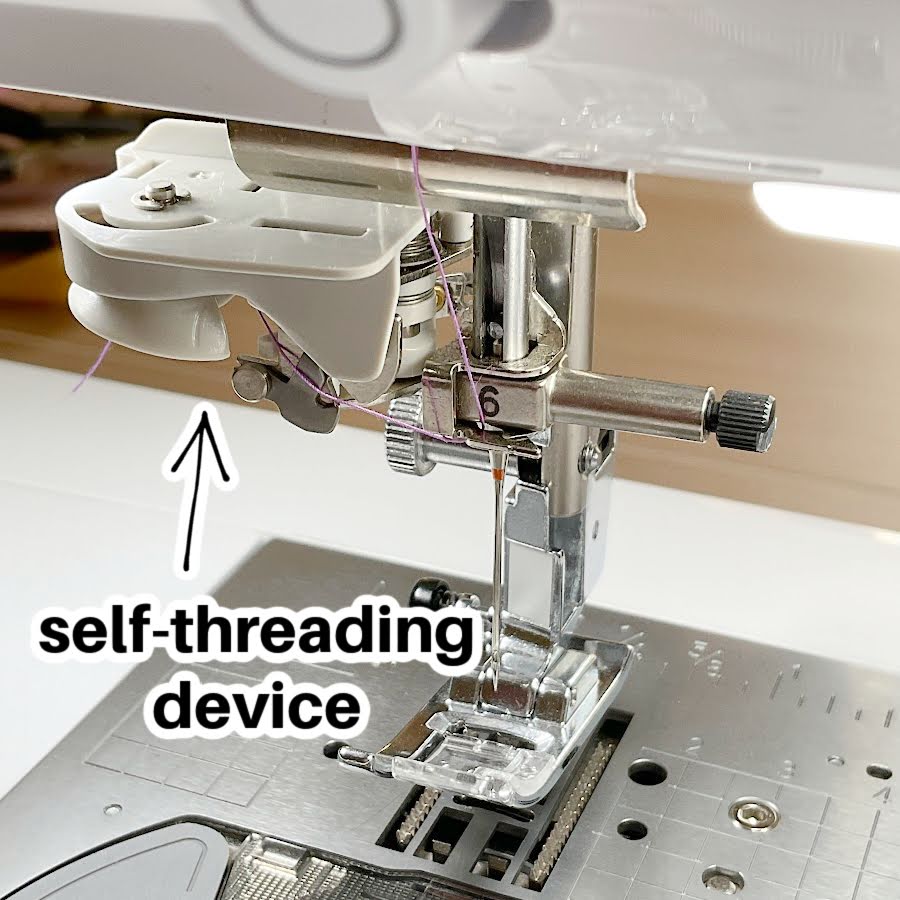
Pair that with automatic thread cutting, and the machine snips your thread at the end of a seam — top and bottom — no scissors required. Scissors stay in the drawer entirely, and your teeth stay out of it too, no raccoon impressions required.
Sounds minor. It isn’t. If you sew bags, garments, or anything with a hundred small seams, this shaves real time off a project. Fewer stops. Fewer scissors buried somewhere under a pile of scraps that used to be a pattern.
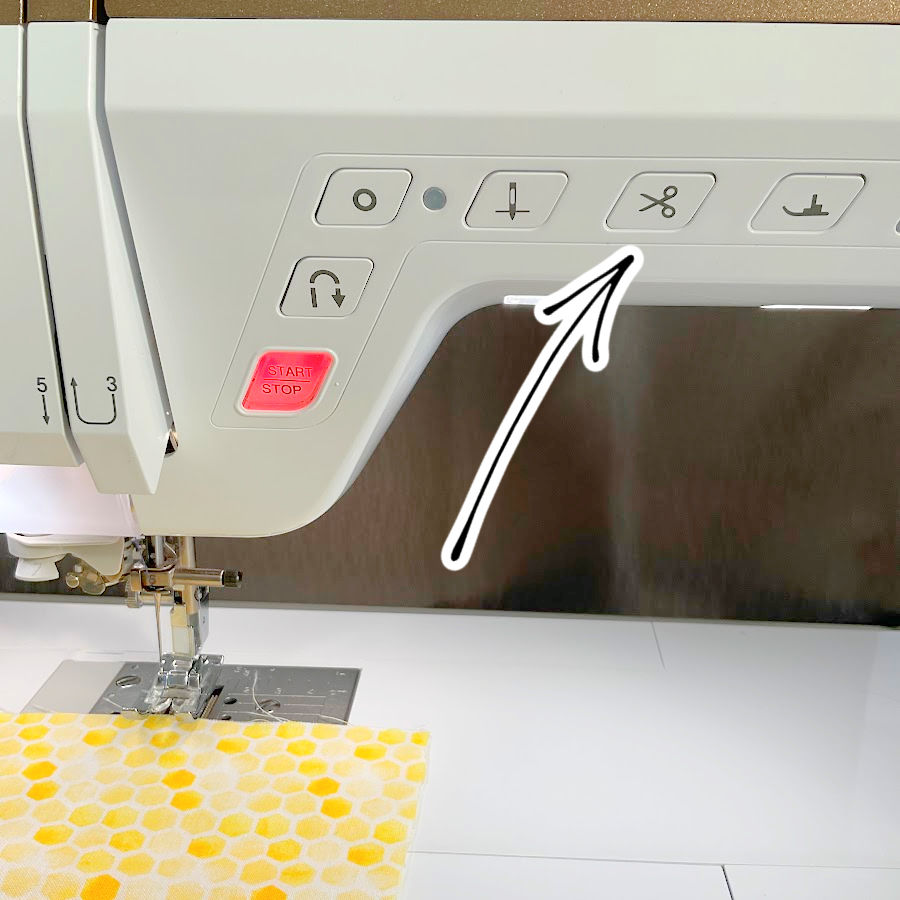
Is it necessary? No. You survived without it. So did your grandmother. But it’s the kind of feature you stop noticing after a week, and then can’t imagine sewing without.
✅ Related tutorial: 5 Sewing Machine Settings Nobody Mentions (But Should)
Note: Some of the links on this page are affiliate links. This means I will receive a commission if you order a product through one of my links. I only recommend products I believe in and use myself.


The Bobbin Situation
You know bobbins. You’ve dropped one on the floor and watched it unspool across the room like it had unfinished business elsewhere.That part hasn’t changed. What’s changed is where the bobbin actually lives once it’s in the machine.
Most modern computerized machines use a drop-in bobbin. It’s see-through, and it drops into a little window under the needle plate. You can see exactly how much thread is left without stopping to guess. No more sewing three more seams on a wing and a prayer because you think there might be enough.
Front-load machines still exist too, if that’s your setup. You already know the drill there.
Then there’s winding the bobbin in the first place. Brother machines now run a faster winding system, with a cutter built right into the winder seat.
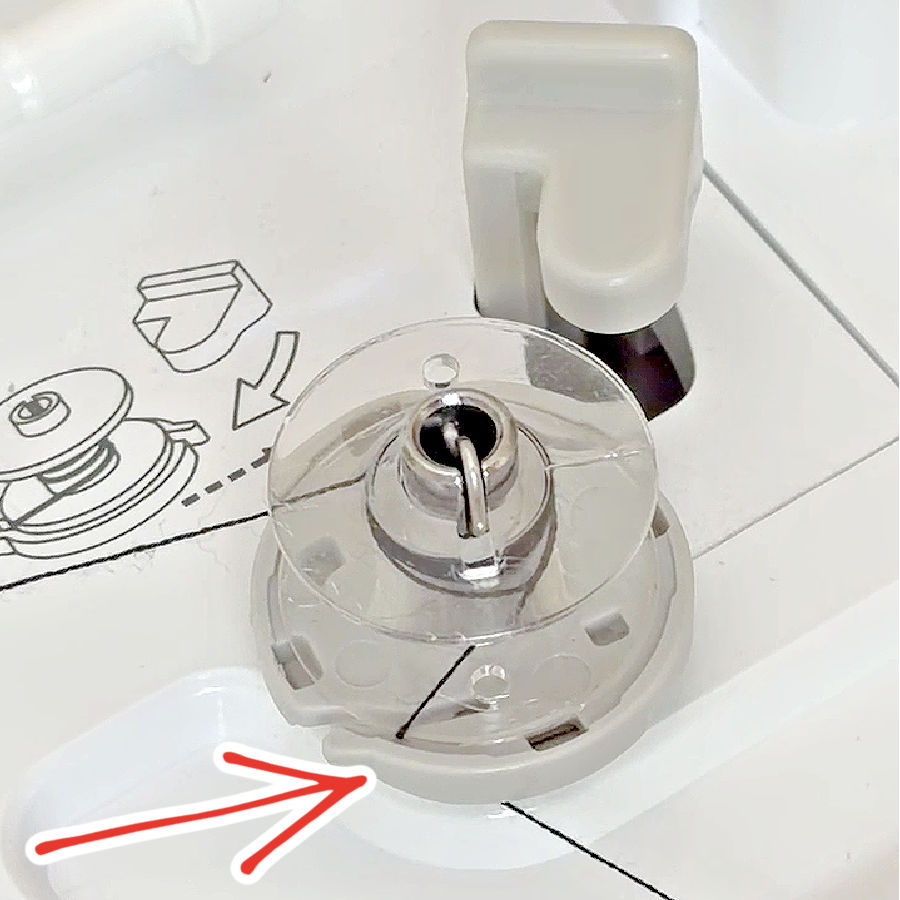
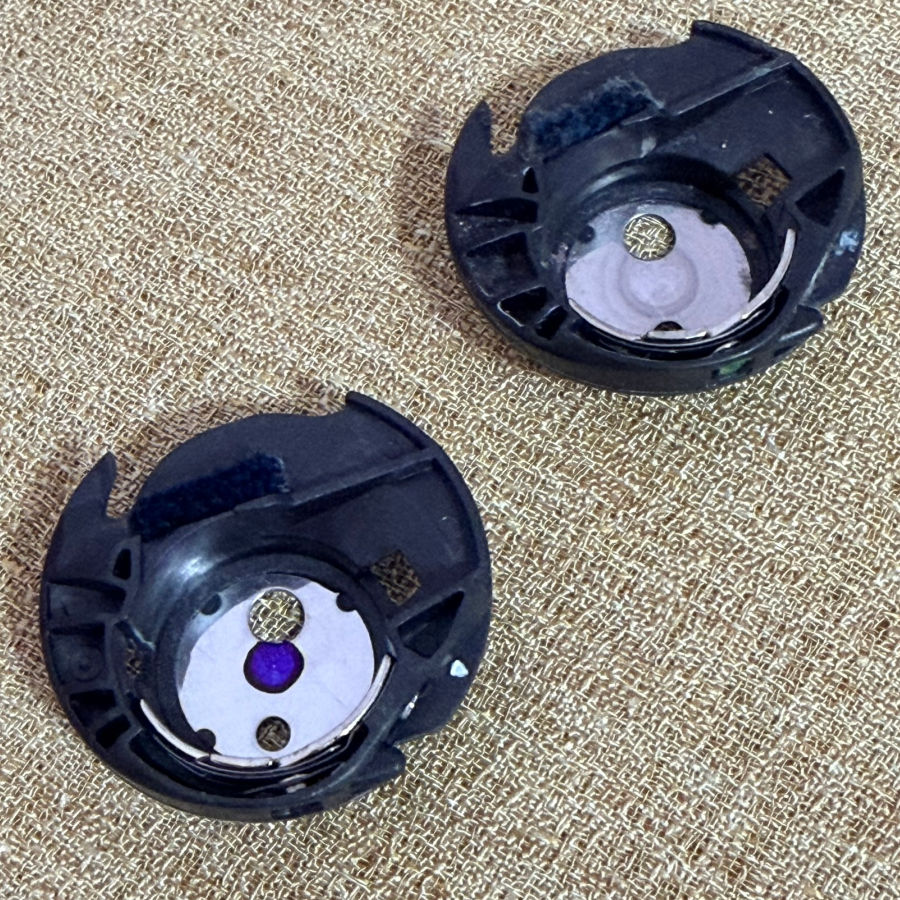
And here’s the part almost nobody explains: some machines ship with more than one bobbin case. Not a spare. A different one, on purpose. The one already in the machine usually has a factory tension setting, because the manufacturer doesn’t trust you with it — fair, honestly.
The second one, sometimes marked with a colored dot, built for heavier or specialty thread. Swap it in for bobbin work or decorative stitching. Swap it back out when you’re done. Your regular case never has to know it happened.


✅ Related tutorial: 5 Sewing Machine Bobbin Features You May Have Never Noticed
Needle plates: not just one metal rectangle
Here’s a part of the machine most people have never looked at twice. It’s just the flat piece under the needle, right? Turns out, it’s doing a lot of quiet work.
The plate that is in the machine by default has a wide opening, oval-shaped, built for the needle to swing left and right during zigzag and decorative stitches. Necessary for those stitches.
But also a lot of empty space around the needle for delicate fabric to disappear into.
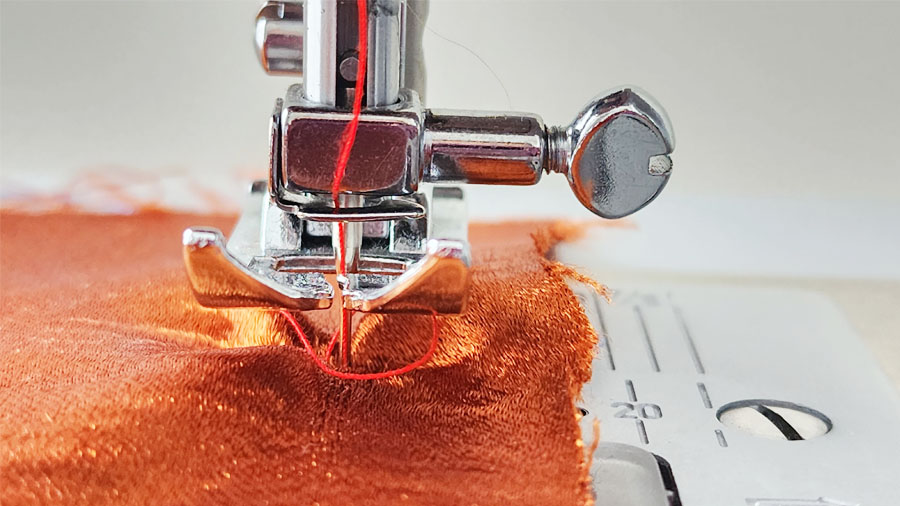
Swap in a straight stitch plate, and that opening shrinks down to one small round hole, sized for the needle and nothing else. The fabric gets supported right up against the needle instead of a wide gap to sink into. Translation: less puckering, cleaner starts, and your quilt blocks stop getting eaten at the seam edge. Great for fine or lightweight fabric, and for anyone doing precise piecing.
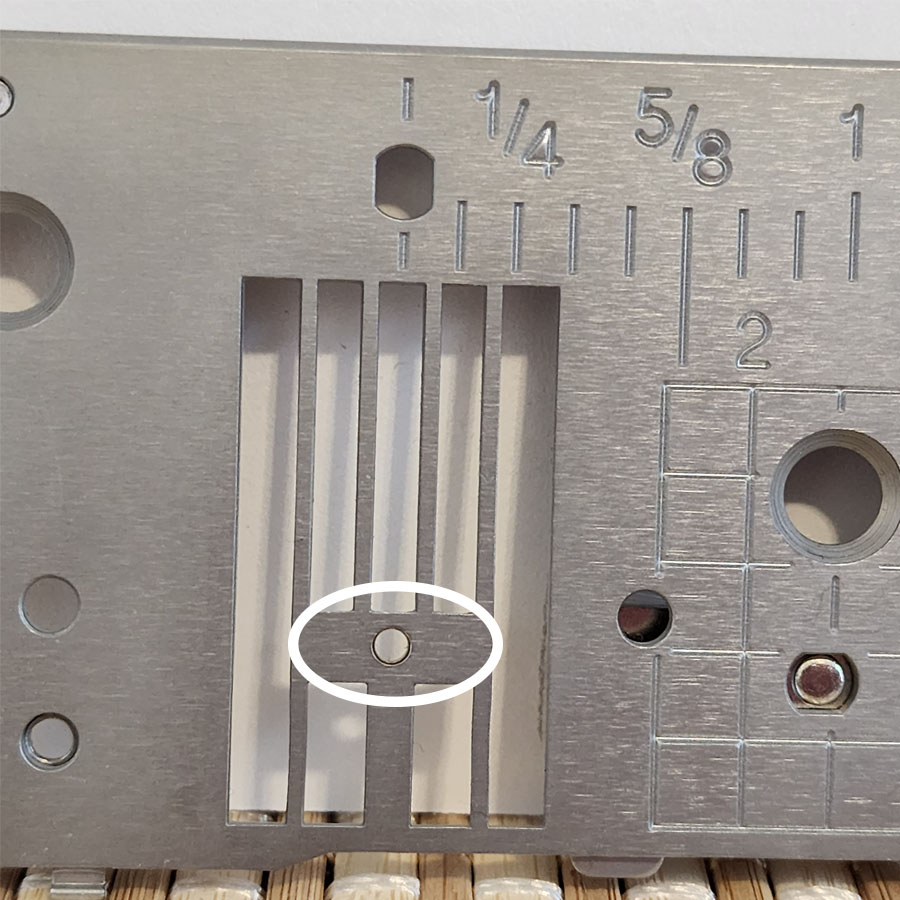
Some machines take it a step further. Mine’s a Janome, and it has a plate with three small holes instead of one — center, left, and right needle position, each one still fully supported. Move your needle over for edge-stitching or a zipper, and you keep that same tight, no-sink support instead of falling back to the wide zigzag opening.
✅ Related tutorial: Types of Sewing Machine Stitches: Unraveling the Mysteries of the Straight Stitch
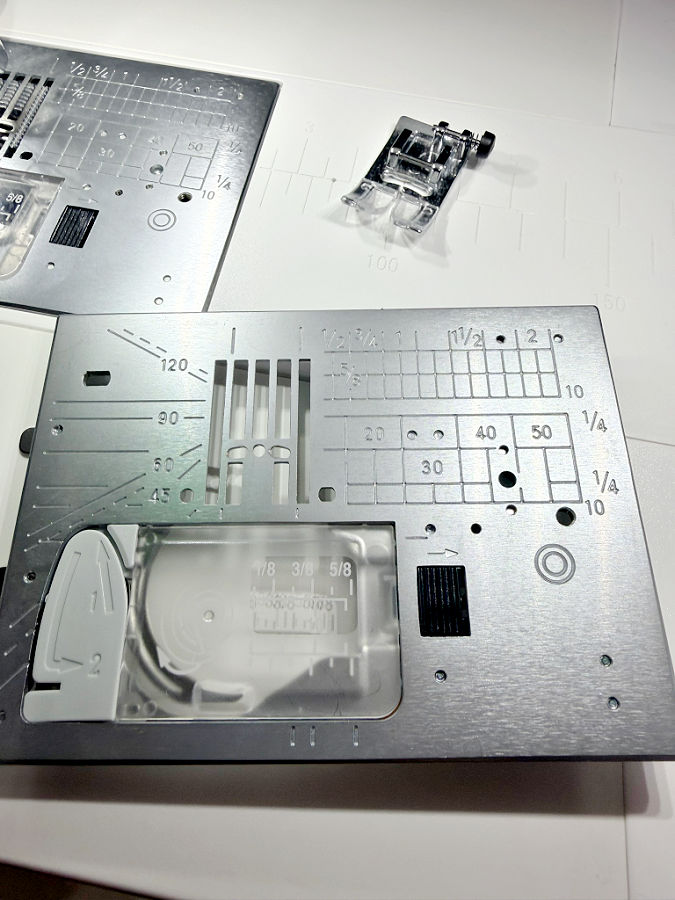
And here’s the part that used to be its own small annoyance: swapping plates meant unscrewing them, carefully, without dropping the screw somewhere it would never be found again.
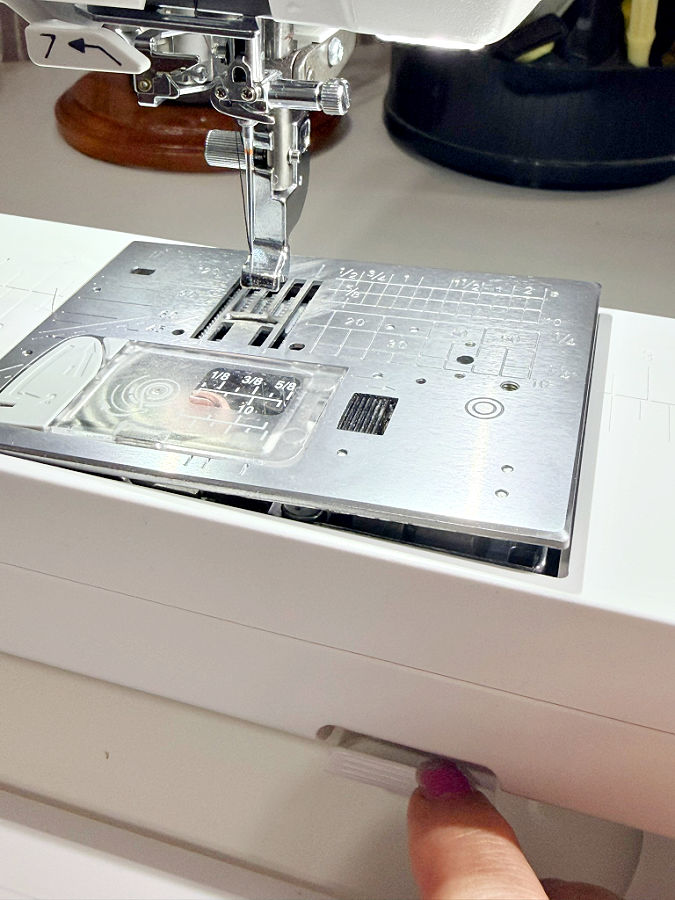
Modern machines skip that entirely. Press a button, and the plate pops right out. Snap the next one in. The screwdriver stays in the drawer, and no screw goes missing under the cabinet to live out its days in the dust.


Presser feet: the other collection you’re about to start
Feet are where the real rabbit hole begins. Before you buy a single one, there’s a compatibility puzzle to solve, and it has nothing to do with brand loyalty.
First: shank height. Most modern home machines are low shank, but some are high shank. And Bernina machines have their own presser foot system. A foot made for one won’t sit right on the other. Buy the wrong one, and it either won’t attach, or it attaches wrong and quietly ruins your stitch.
Then: stitch width. Machines are built around a maximum zigzag width, usually 7mm, sometimes 9mm on higher-end models. That number decides how wide the opening in the foot needs to be.
✅ Related tutorial: Presser Feet 101: What They’re For, When to Use Them, and Why They Matter
Get all that sorted, and then the actual fun starts. Most modern feet are snap-on. So you don’t need to fiddle with a tiny screw you’ll drop and never see again. Press a little lever, pop the old foot off, snap the new one on. Done in about three seconds.
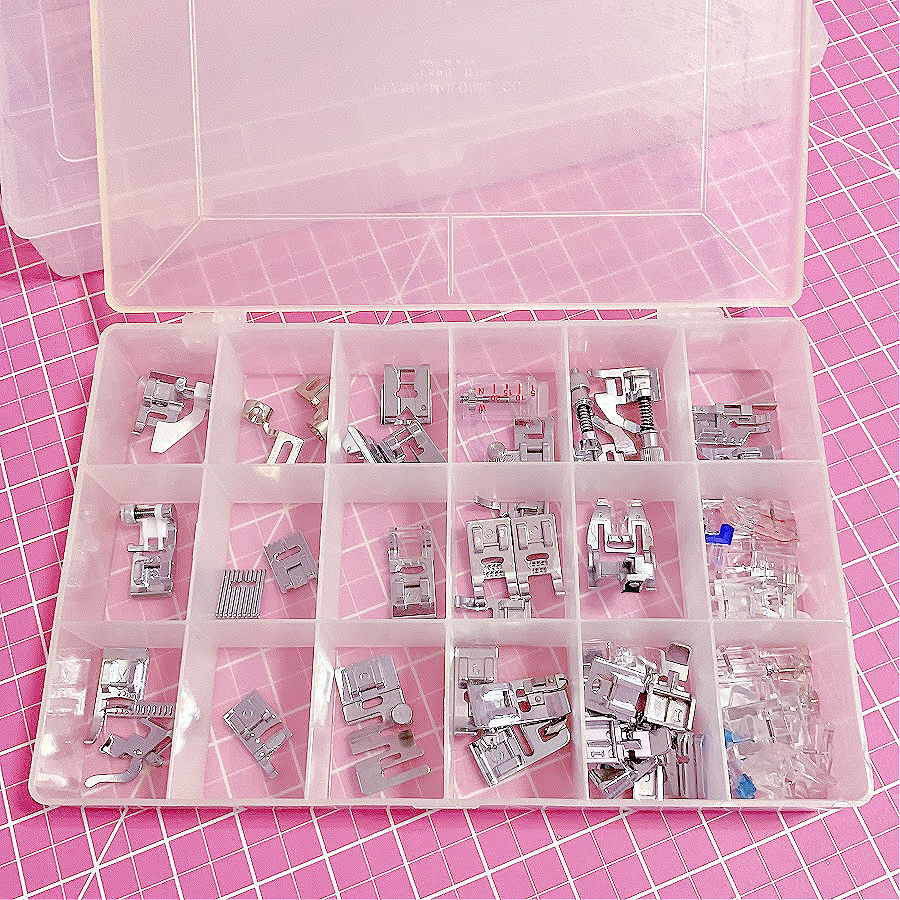
There are feet for zippers. Feet for buttonholes. Feet for rolled hems, blind hems, narrow hems, and hems nobody’s bothered to name yet. Feet that walk fabric through evenly. Feet that hold beads in place. Feet built for exactly one specialty stitch you’ll use twice a year (but treasure forever). Hundreds of them exist. Somewhere out there is a foot built for the exact fabric and the exact job you’re doing right now, and half the fun of owning a good machine is slowly finding out which one that is.


The Screen That Runs Basically Everything Now
Somewhere along the way, the little screen on your machine stopped being a screen and started being a control panel. Not just for stitches. For everything.
Yes, it shows you the stitch before you commit to it, full color, actual size, dragging width and length around with your finger.
Here’s what people don’t expect: the same screen also handles your tension, your speed limit. Whether the needle parks up or down. On embroidery machines, it previews your entire design, lets you rotate it, resize it, even simulate the thread colors before a single stitch gets sewn.
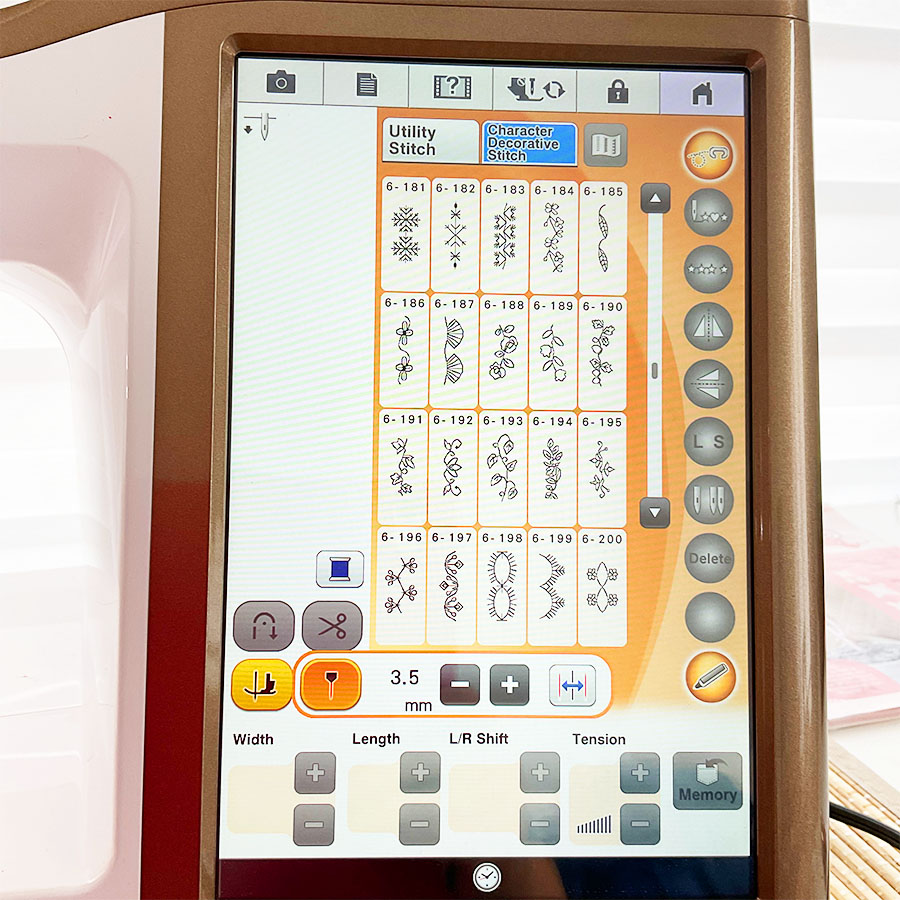
Some screens manage the machine’s WiFi. Some let you save your own custom settings. Some walk you through settings with a little animated diagram, like the machine is personally coaching you through it.
In other words: the touchscreen isn’t a stitch-selector with delusions of grandeur. It’s the dashboard. Every setting that used to live on a dial, a lever, or a separate button now lives inside that one screen, waiting for your finger, and occasionally your elbow, and once, memorably, a stray thread that landed at exactly the wrong angle.
Own one of these for a while, and you stop thinking of it as a screen at all. It’s just how the machine talks to you now. Sit down at an old dial-and-lever machine after that, and you’ll instinctively reach out and tap it, waiting for something to happen. Nothing will. That’s on you now.
800 Stitches, and You’ll Use Six of Them
Modern machines love a big number. Twenty years ago, sixty stitches sounded impressive. Now manufacturers list stitch counts like sports stats, and some machines brag about 800 or more.
So, what does that mean in practice? Straight stitch. Zigzag. A buttonhole or two. A blind hem. Maybe an overcast stitch if you don’t have a serger. That’s basically your whole sewing life, right there, in five or six stitches you already know by muscle memory.
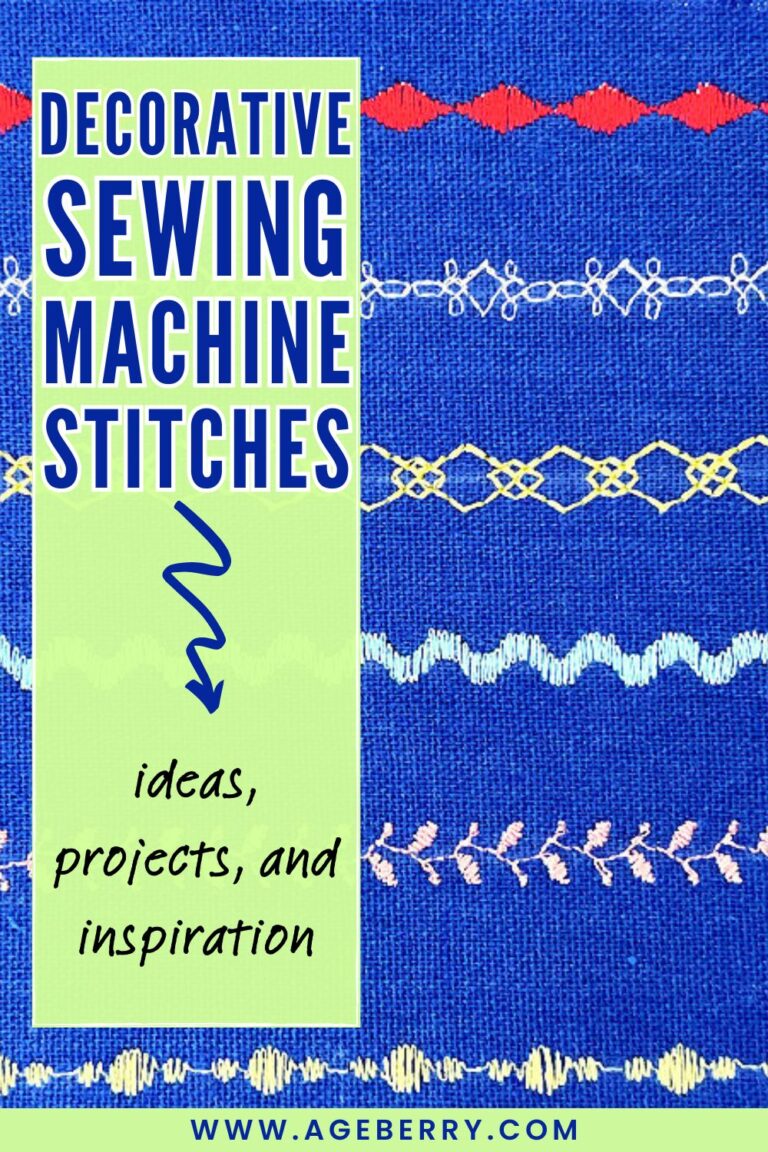
Everything past that is decorative. Scallops, feathers, hearts, something that might be a dinosaur if you look closer. An entire alphabet, in three fonts, for monogramming. Beautiful. Impressive. Used maybe twice a year, usually by accident, when you’re scrolling past looking for something else and think, well, now I have to try this.
✅ Related tutorial: Decorative Sewing Machine Stitches: Ideas, Projects and Inspiration
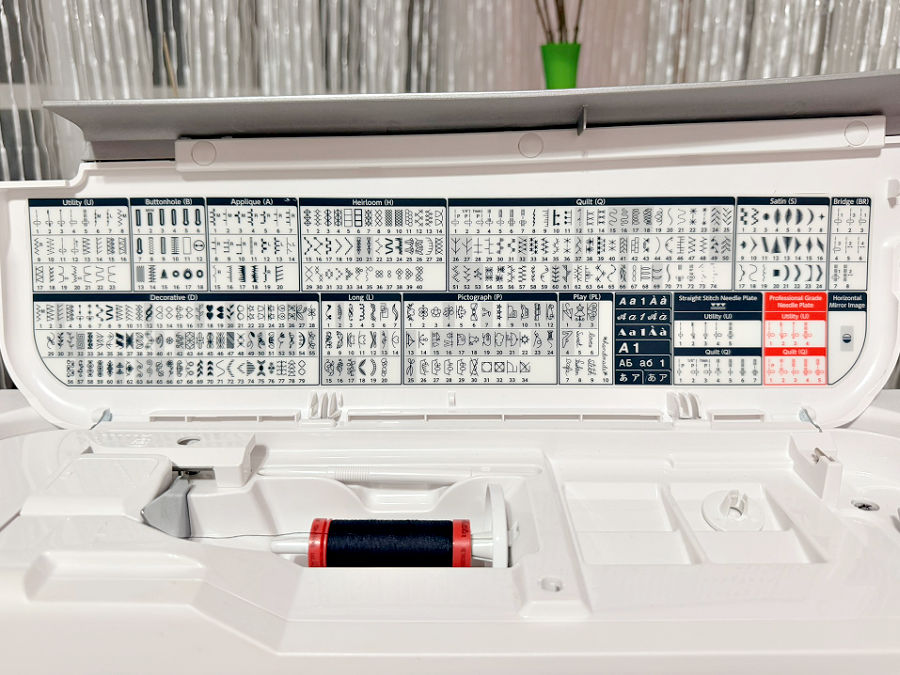
Quilters actually dip into the decorative pile more than most — crazy quilting, embellishment, the occasional show-off border. Garment sewists mostly nod at the whole catalog and go right back to the same six stitches, loyal as ever, unbothered by the other 794.
So when you’re comparing machines, the headline stitch count is mostly a marketing flex. What actually matters is whether the handful you’ll use daily are done well: a strong one step buttonhole, a real stretch stitch, a blind hem. Everything past that is bonus content. Fun bonus content. Still a bonus.
Needle Up, Needle Down, and Why You’ll Suddenly Care
One button. Genuinely small. Somehow reorganizes how you sew.
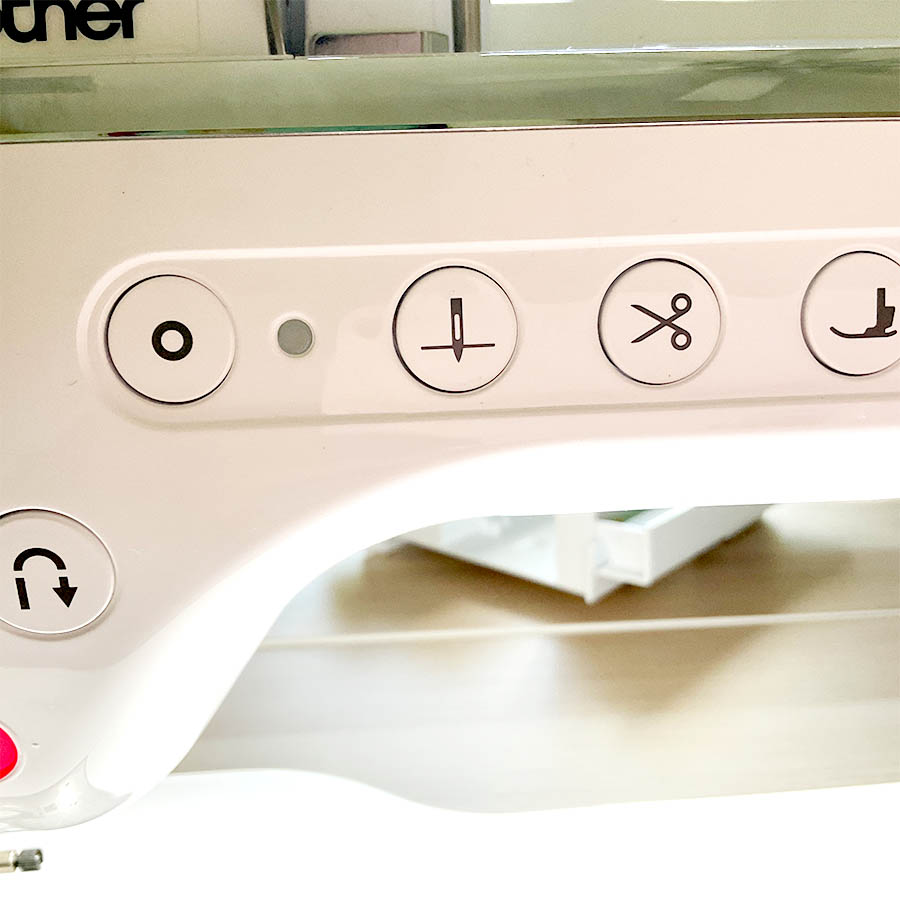
Here’s the problem it fixes. You stop mid-seam, needle up, and your fabric is now free to slide around while you pivot, check something, or reach for scissors. Every seamstress has felt that tiny betrayal — you look back down and the fabric shifted a full stitch out of line, for no reason except bad luck.
Set the needle to stop down instead, and the fabric stays locked in place. You pivot a corner clean, no drift. You stop to check a seam allowance, and everything’s still exactly where you left it. Pin a curve, reposition, keep going — nothing wandered off while you weren’t looking.
Flip it the other way when you actually need the needle up. Pulling your work free at the end of a seam. Repositioning for a totally different section. You don’t want the needle locked into the fabric, holding your project hostage while you try to lift the presser foot and wrestle it out.
The genuinely funny part: once you’ve sewn on a machine with this button, you’ll miss it on any machine that doesn’t have it.


Automatic Tension: A Truce, Not a Surrender
You’ve adjusted tension by feel. You know the hanging-thread test, the “righty tighty” chant under your breath, the specific kind of stitch that tells you the bobbin’s angry before you’ve even flipped the fabric over. That knowledge isn’t going anywhere. Good news: you’ll still use it.
Automatic tension takes a guess at your top tension based on the stitch you picked, and sometimes the fabric thickness it senses as you sew. It’s a real feature, not a gimmick — most of the time, it lands you somewhere close to correct without you touching a dial.
Then you switch to a slippery lining, a metallic thread, or six layers of denim, and the machine’s confident little guess falls apart. That’s fine. That’s exactly where your actual tension knowledge kicks back in, same as it always has, except now you’re fine-tuning instead of starting from zero.
Think of it less as replacing you and more as handing you a rough draft. You’re still the editor. You’re just not starting from a blank page every single time you thread a new spool.
✅ Related tutorial: Sewing Machine Tension Adjustment
The Extension Table: Real Estate for Your Fabric
Your machine’s default workspace is roughly the size of a paperback novel. Fine for a shirt cuff. Miserable for a quilt.
An extension table snaps or slides onto the machine and gives your fabric somewhere to actually rest instead of hanging off the edge, dragging on your lap, or fighting gravity the whole way through a seam.
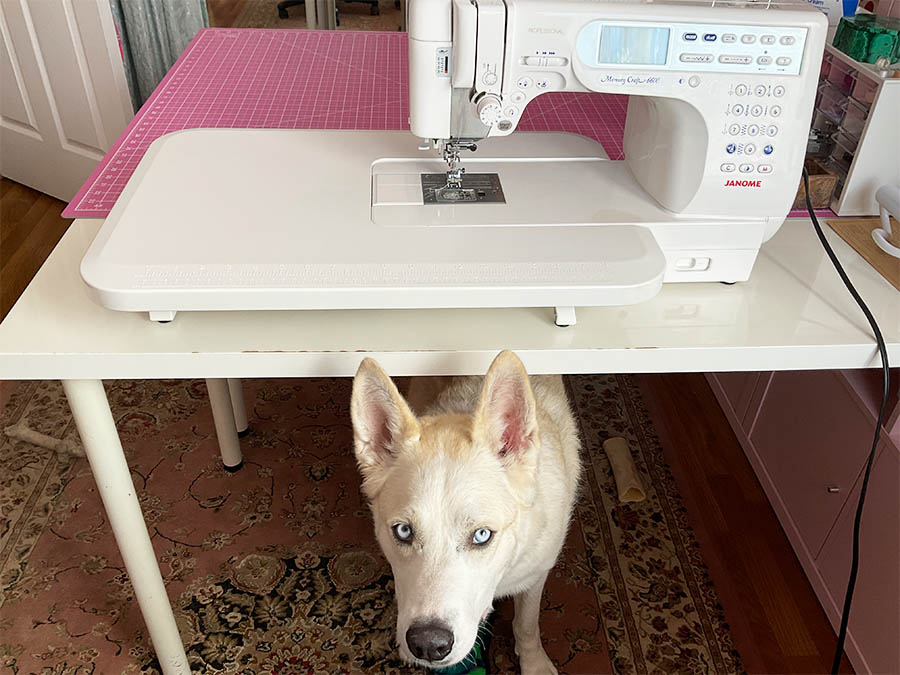
Suddenly a quilt top doesn’t feel like it’s trying to escape the table. A big bag panel stops sliding sideways mid-stitch. Your elbow has somewhere to live that isn’t awkwardly braced against the cat.
Some machines build it in as standard. Others sell it as an add-on, snapped on when you need the extra surface and stashed in a closet the rest of the time, taking up exactly the amount of space you swore you didn’t have.
It’s not glamorous. Nobody brags about their extension table at guild meetings. But sew one queen-size quilt without one, wrestling forty pounds of fabric through a space the size of a placemat, and you’ll understand exactly why this feature exists.
Built-In Embroidery: A Whole Second Hobby
This is where “just curious” turns into “I now own four hoop sizes and a hard drive full of downloaded designs, enough for three lifetimes I don’t have.”
Embroidery machines fall into two camps. Embroidery-only machines do one job and do it well — hoop the fabric, load a design, walk away while it stitches. Combo machines bolt embroidery onto a regular sewing machine, so you get both in one body.
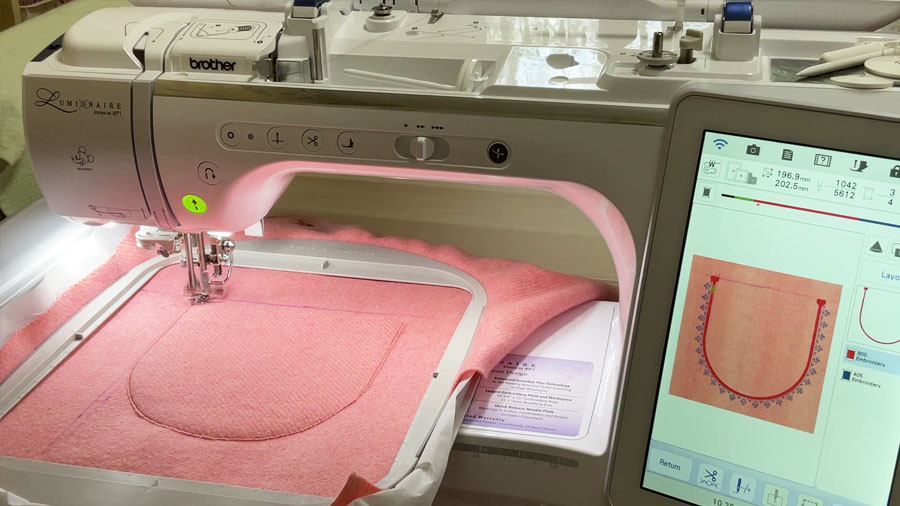
Either way, you’re learning digitizing software, or at minimum learning to shop for designs someone else already digitized. Fonts, file formats, hoop sizes that never quite match the project you had in mind. It’s a real skill set, on top of the one you already have. Budget a weekend for the learning curve.
Here’s the honest gut-check: do you actually want to embroider, or did you just like the idea of a machine that could? Those are different purchases. One turns into hours of quiet, satisfying stitch-outs and a stack of monogrammed towels everyone loves. The other turns into a very expensive feature you used twice and now mostly ignore.

✅ Related tutorial: In The Hoop Embroidery Designs: Halloween Treat Bags
WiFi: Your Sewing Machine Is Online Now
At some point your sewing machine got an internet connection, and nobody held a vote.
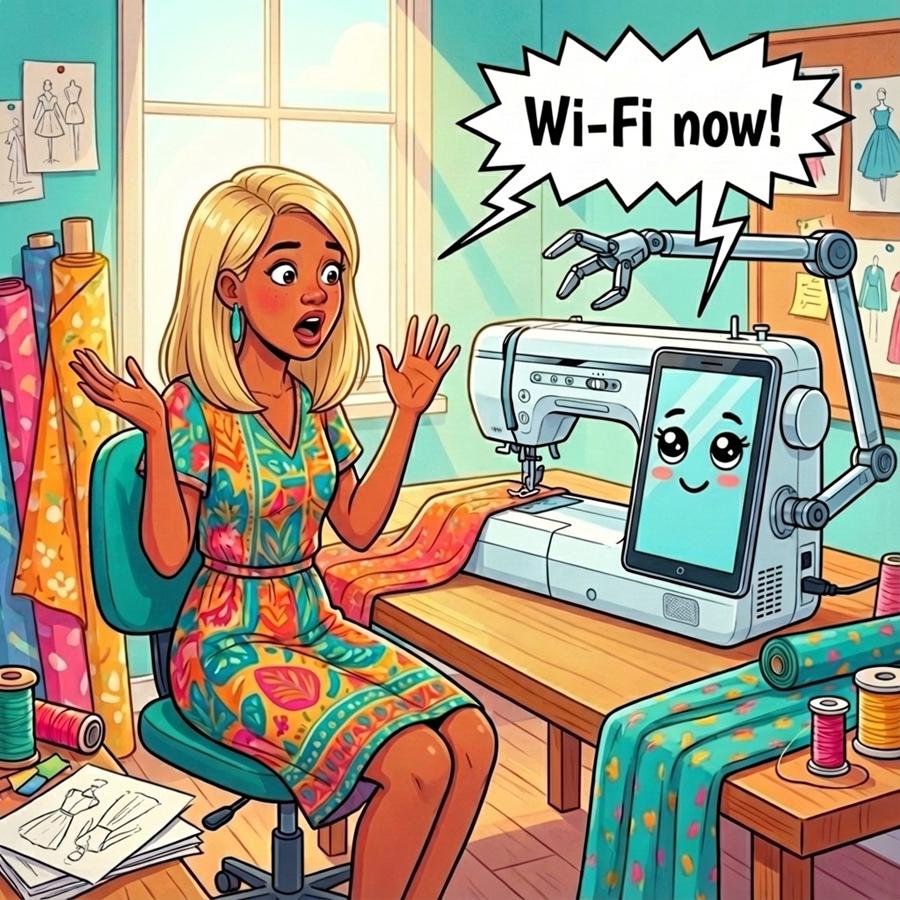
Mostly, it means moving embroidery designs onto the machine without a USB stick — which, credit where due, is genuinely useful if you’ve ever lost one of those tiny drives into the black hole in your sewing room. Designs go from your computer straight to the machine, and stay found, instead of turning up three months later in your purse for reasons nobody can explain.
✅ Related tutorial: I Went From a Basic Singer to a Brother Luminaire — The Shock Was Immediate
Some machines push software updates over WiFi too, quietly fixing bugs you didn’t know existed. Some pair with an app that pings you when the embroidery’s done, so you can wander off and reheat your lunch instead of hovering over the hoop.
Is it necessary? Depends entirely on what you sew. For garments or quilting, skip it and lose absolutely nothing — you were never going to use it anyway. For embroidery, it earns its keep fast. Either way, welcome to the future, where your sewing machine has a better internet connection than your first house did.
The Manual: A Document Nobody Has Finished
Somewhere in a box, or a drawer, or wedged behind the machine itself, sits a manual running well past a hundred pages. Nobody has read it cover to cover. Not you, not your dealer, arguably not the technical writer who assembled it.
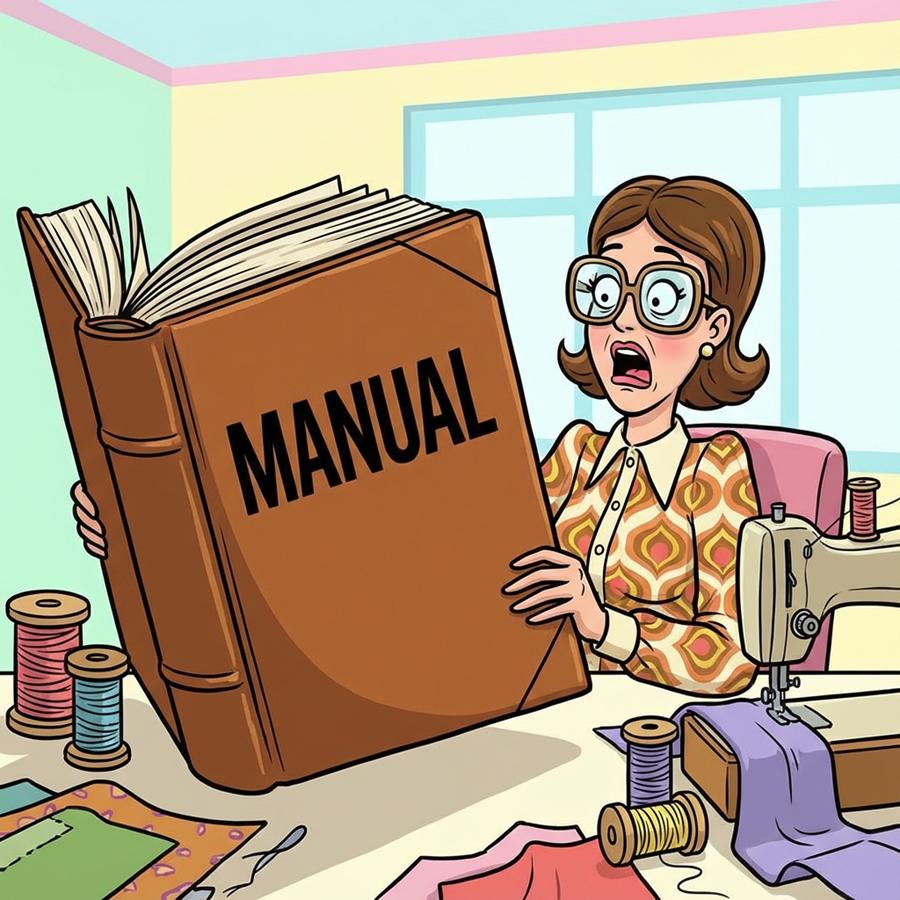
Most of it is diagrams, troubleshooting tables, and a stitch index longer than a phone book from a big city. Buried in there somewhere is one genuinely useful page about threading, and ninety others about warranty terms in six languages.
Here’s the actual survival strategy: skim the setup section once, the day you unbox the machine. Learn where the power switch is, how the bobbin loads, and how to change the needle. Then close it and don’t open it again until something specific goes wrong — a tension issue, an error code, a stitch that suddenly looks wrong for no reason you can identify.
That’s how everyone actually learns a machine anyway. Not by reading, but by sewing on it, breaking a rule by accident, hitting a wall, and then flipping straight to page 74 at eleven at night because the machine won’t stop beeping. The manual isn’t a book. It’s a reference you’ll open four times a year, tops, and that’s exactly as it should be.
Seriously now, I have attempted to touch some areas that need your attention is you intend to buy a modern sewing machine; so many things have changed in the last 25 years! I am sure there are other areas that merit equal attention, perhaps you can send me a message with your ideas?
Did this help you think a little differently about buying your next sewing machine — or at least make you feel better about owning more than one? 😄 Save this pin (see below) to your sewing board so you can find the article again when sewing machine temptation strikes, and follow me on Pinterest more sewing tips, tutorials, and ideas.

latest posts
- 10 Easy-to-Miss Features on Sewing Supplies You Should Be Using
- Twin Needle Sewing: My First Try Was a Mess, But Here’s What Worked
- 10 Rules That Made Me a Better Sewist
- How to Make a Lightweight Summer Neck Scarf with a Lettuce Hem
- What Sewists Hate About Sewing: Common Complaints and Practical Fixes
- Knit Presser Foot: How It Works, How to Use It, and My Sewing Tests
- How to Sew Neat Mitered Corners at Acute Angles
- Sewing Machine Needle Organization: A Clever System I Tried
- DIY Car Armrest Organizer: Sewing Tutorial