Corset Pressing Board for Sewing: What It Does and How I Use It
Let me show you an interesting tool you might not be familiar with. Yet.
A printable ad-free PDF version of this article is available in my shop for a modest price. It is included in the bundle Useful Sewing Products: Mini Clips, Fabric Eraser, Non-Slip Grips, Corset Ironing Board, along with articles about three other helpful sewing tools. With the PDF, you can download the article to your devices and read it anytime, without ads.
This little pressing tool has one problem before the iron even comes out: nobody seems quite sure what to call it.
On Amazon, the listing called it a Bust Corset Ironing Board, Sleeve Ironing Board Small with Solid Wood Base, Tailor’s Ham.
That is quite a name. It sounds as if several useful sewing tools were squeezed into one product title.
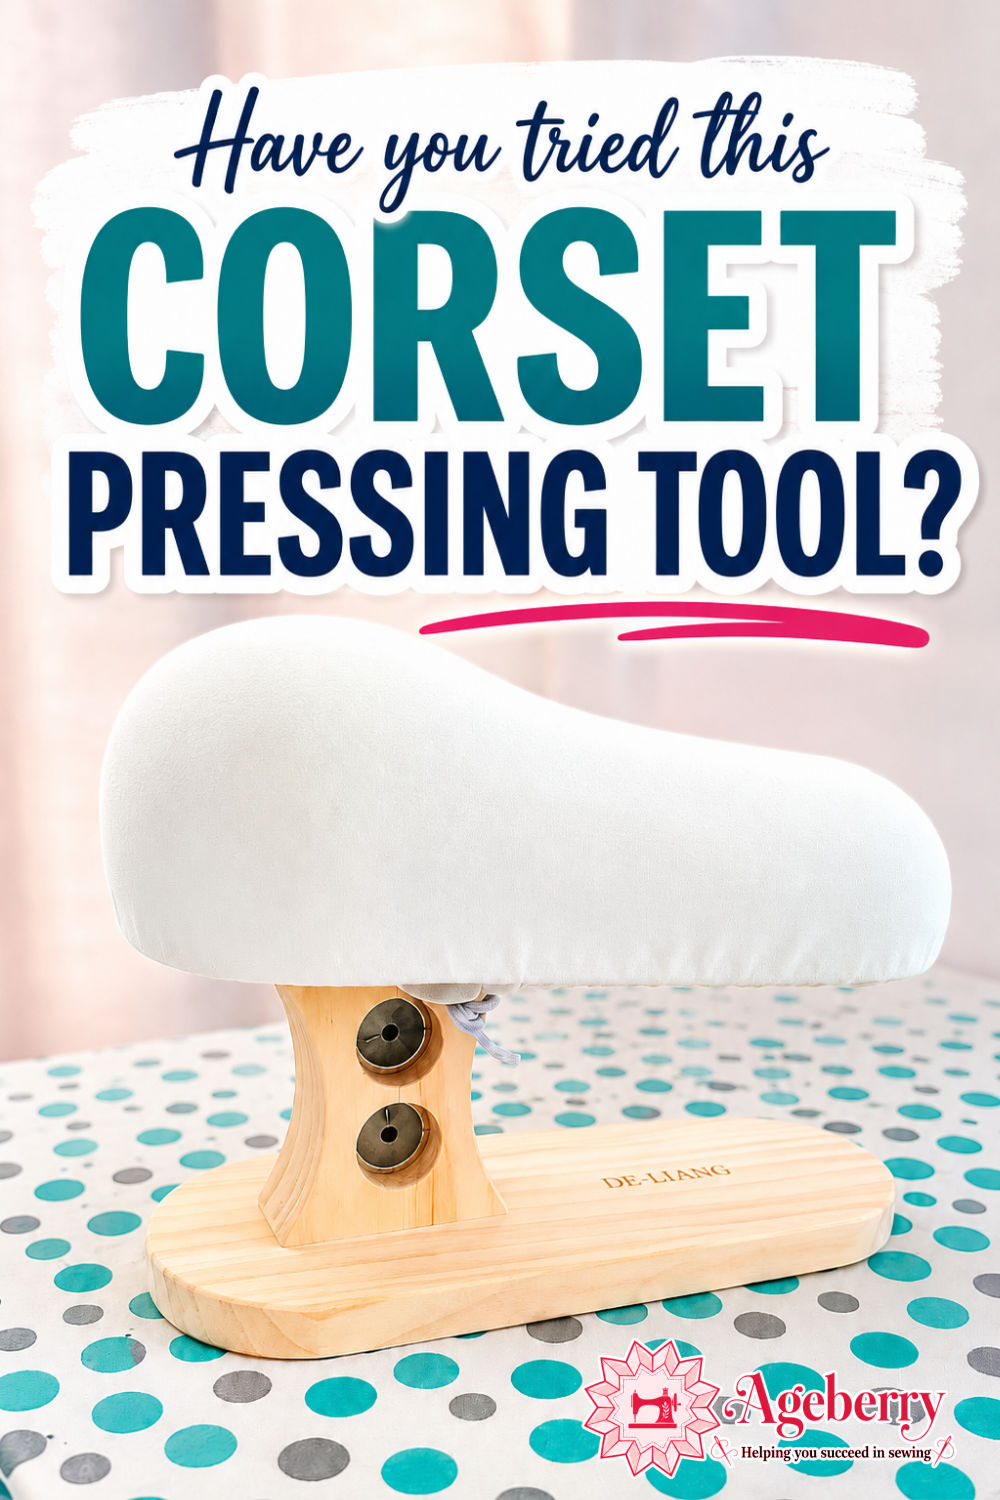
And in a way, that description is not wrong. It does look like a tailor’s ham with a support board. The padded top gives you a curved pressing surface. The wooden base holds it steady. That combination is exactly what caught my attention.
The phrase bust corset also feels odd to me. I think the seller meant a tool for bust curves and corset seams.
But I am going to drop bust from the name. Bust ironing board sounds weird. Nobody wants to explain that phrase to a visitor who wanders into the sewing room.
“Oh, what’s that?”
“That’s my bust ironing board.”
[Silence.]
[Someone reaches for their coat.]
No. We’re not doing that. I don’t care how accurate it is. Some phrases just cannot survive casual conversation.
But WAIT. Because then the box from Amazon arrived. And the label on the box said something completely different. Are you ready?
DE-LIANG Ironing Stool.
A STOOL, people. That made me laugh. No, not because of THAT.
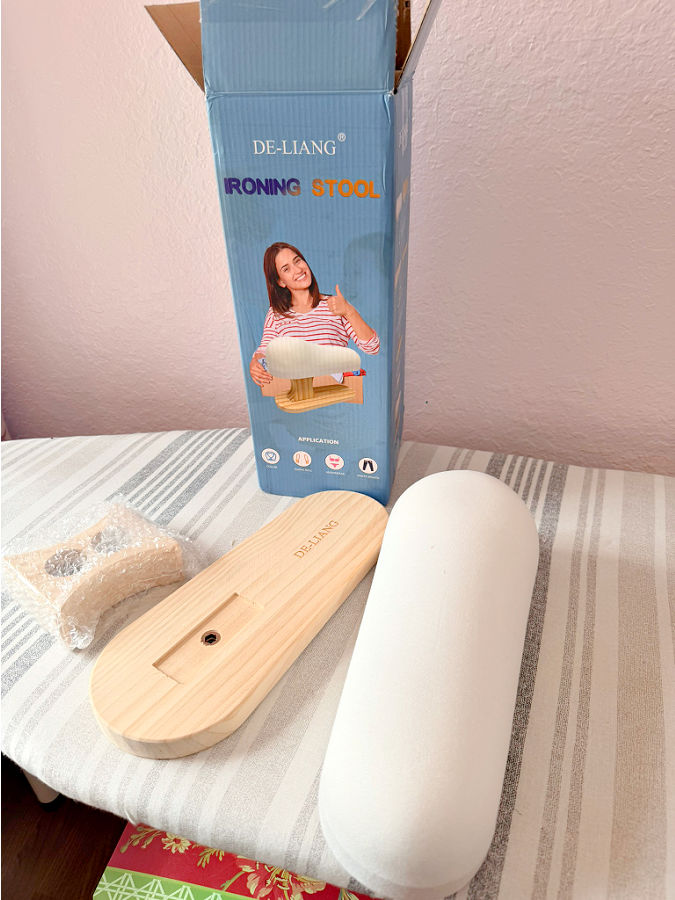
Now listen. I don’t know what they were going through when they named this thing. But I need them to know that nobody should sit on this thing. Unless you want to explain to your doctor exactly how you ended up in the emergency room with a tailor’s ham stuck to your backside.
I laughed out loud when I saw “stool.” In my kitchen. Alone. Over a pressing tool.
So for this review, I will call it a corset pressing board. That name feels clearer. It describes the tool well enough without turning the title into a sewing vocabulary obstacle course.
The tool itself, by the way — once you get past the naming chaos — is really useful.
Five stars for the tool. Also five stars for the entertainment.
Zero stars for the naming department — but honestly, I wouldn’t change a thing.
What This Corset Pressing Board Is
This corset pressing board is a small pressing tool made for shaped areas that do not sit well on a flat ironing board. It has a padded, rounded top and a solid wooden base. The shape reminds me of a tailor’s ham, but with one very helpful difference: it stands on its own.
A regular tailor’s ham works well, but it can shift while you position fabric and reach for the iron. This tool stays in place on the table because it has a sturdy base, so both hands can focus on the garment.
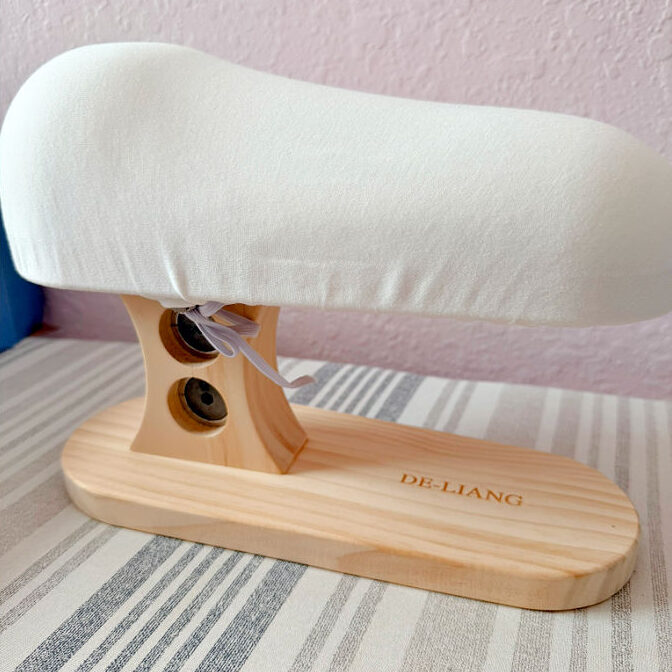
The top has a long curved surface with rounded ends. One side is fuller, and the other end is narrower. This gives you several areas to test against different garment shapes. The larger curve can support bust seams, corset panels, sleeve caps, and curved darts. The smaller end can help with collars, cuffs, narrow sleeve areas, and small rounded sections.
Think of it as a detail pressing tool. It comes out when the garment has a 3D shape.
For fitted sewing, that makes a real difference. Dresses with princess seams, jackets with curved panels, corsets, blouses with bust darts, and garments with shaped sleeve caps all need more than heat. They need support under the fabric. This board gives the seam a raised surface, so the fabric can rest in a curved position while you press.
The wooden platform also feels nicely finished. It is sanded smooth, with no rough spots that could snag delicate fabric while you move a garment around the board.
The foam feels firm and dense rather than squishy. It has enough give for pressing shaped seams, but it does not collapse under the iron, so it seems sturdy enough for regular use.
Why Curved Seams Need Curved Support
Curved seams create shape in a garment. A princess seam, for example, is not there only to join two pieces of fabric. It helps the fabric fit over the bust, waist, hip, or back. That shape is built into the pattern, then refined with stitching and pressing.
A flat ironing board can press that shape out of the seam. The seam allowance may fold sharply. The right side of the fabric may show a ridge. The curved area may look slightly flattened instead of smooth. This is especially noticeable on fitted bodices, dress fronts, jackets, and corset-style seams.
The problem is simple: the fabric has a curve, but the board is flat.
A curved pressing surface supports the garment from underneath. The seam can sit over the rounded top, so the fabric keeps its natural shape during pressing.
Assembling the Board After Taking It Out of the Box
This pressing board does need a small setup step after it comes out of the box. It arrives in separate pieces: the padded curved top, the wooden base, the support piece, screws, and the small keys needed to put everything together.
I was not bothered by that. In fact, it makes sense. Fully assembled, this tool would need a much larger box. Packed in parts, it is much easier to ship.
The assembly was simple. The parts were easy to understand, and the screws went where they were supposed to go.
I could have assembled it myself. The keys were included. The screws were included. The instructions were not a novel. But there were screws involved, so I followed a very traditional household method: I looked at the parts, confirmed that I was capable, and then asked my husband.
This is not a weakness. This is strategic delegation and he needs to feel useful.
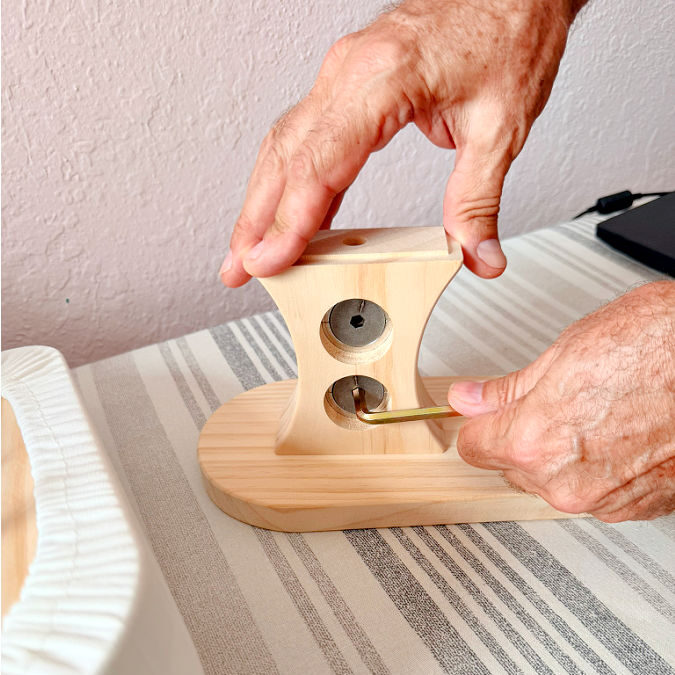
He put it together quickly, and I provided the important supervisory services. You know, standing nearby, taking photos, and saying useful things like, “I think that part goes there.” Marriage is teamwork.
Once assembled, the board felt sturdy. The wooden base sits flat on the table, and the support holds the padded top at a useful height. Nothing about the setup felt complicated or flimsy.
So no, this is not quite a rip-open-the-box-and-press tool. But it is also not a puzzle from a furniture store, so we survived. After all, we have a lot of experience with Ikea furniture!
✅ Related tutorial: IKEA Sewing Room Ideas for small spaces
I tested this pressing board on a curved princess seam made from denim. Denim was a useful choice because it has enough body to show the shape clearly. Thin fabric can hide small pressing problems. Denim tells the truth, sometimes a little too loudly.
Note: Some of the links on this page are affiliate links. This means I will receive a commission if you order a product through one of my links. I only recommend products I believe in and use myself.

A Quick Note About This Test Project
I am not at home right now. I am visiting my daughter, and her house does not come with my usual sewing-room setup. So if some photos look like they were taken on a bed, that is because they were.
Sewing content sometimes happens in a bright, organized sewing room. Other times, it happens between family visits, borrowed table space, and a bed that suddenly becomes a filming station. The important part is that the pressing board and the seam samples are easy to see.
For this test, I decided to use denim from old jeans. My daughter has a pile of low-rise jeans that she no longer wears. They were once everywhere, but fashion has moved on, and those jeans now sit in the “what do we do with these?” category.
That gave me a good project idea: an upcycled denim corset-style top.
Denim works well for this kind of test. It has structure, it holds a curve, and it shows pressing results clearly. A corset-style top also has the kind of shaped seams that need careful pressing, especially around the bust area. So this was not just a random scrap test. It was part of a real upcycling project, with real seams, real curves, and real old jeans waiting for a second chance.
Testing the Tool on Princess Seams
So, I placed the curved seam over the rounded top of the board. I centered the seam line on the highest part of the board. This gave the fabric support from underneath while I worked on the seam allowances.
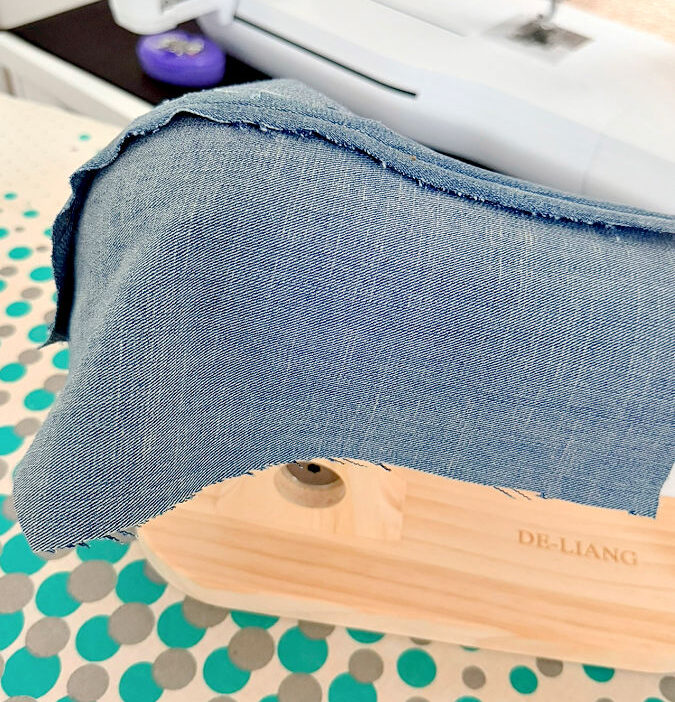
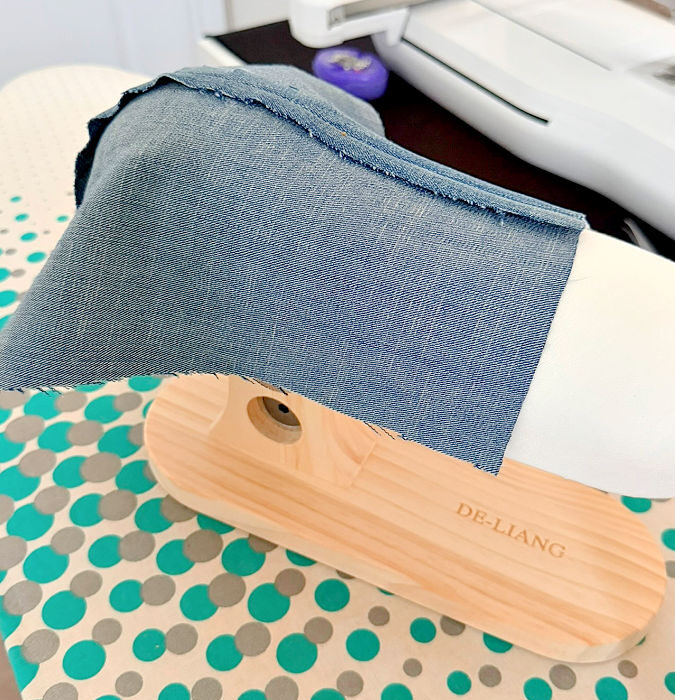
This is where the tool starts to make sense. On a flat ironing board, the fabric has to spread across a flat surface. On this board, the fabric rests over a shape that is closer to the shape of a fitted bodice.
I can move the fabric toward the fuller part of the board for a broader curve. I can also slide it toward the narrower end for a smaller area. That is useful because not all princess seams have the same curve.
A bust seam, a side front seam, and a back princess seam may each need a slightly different position. The board does not need to match the seam exactly. It just needs to support the area better than a flat board would.
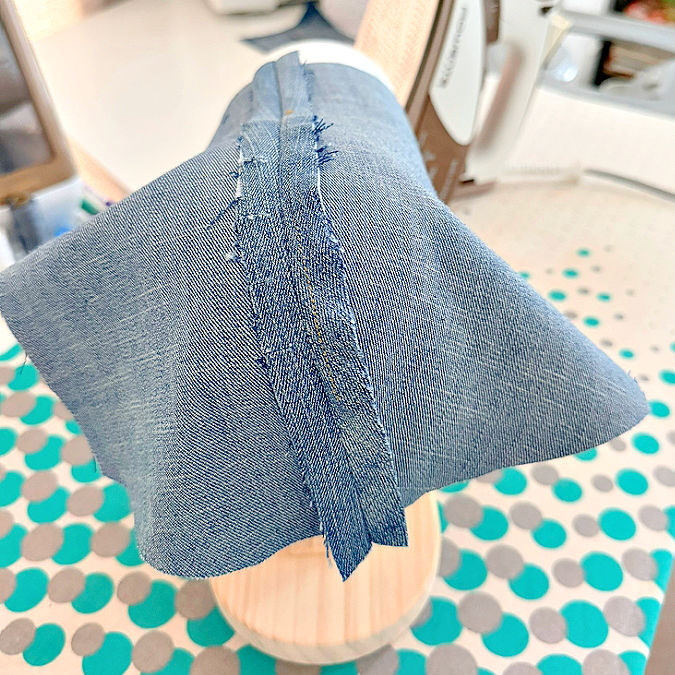
For this denim top, I opened the seam allowance. Some patterns may tell you to press both allowances toward one side, usually toward the center. The method depends on the garment, the fabric, and the pattern instructions.
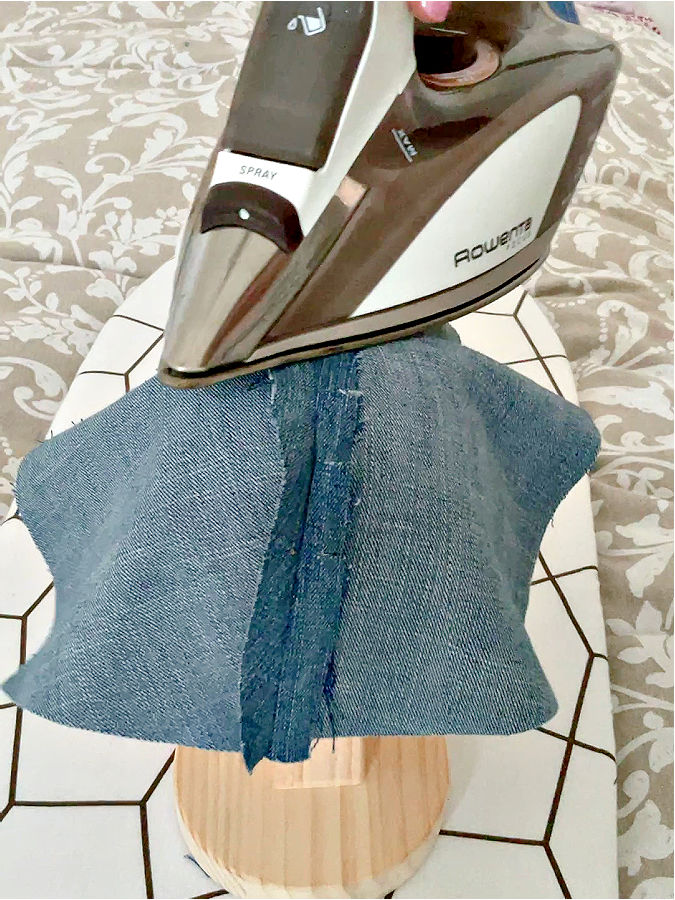
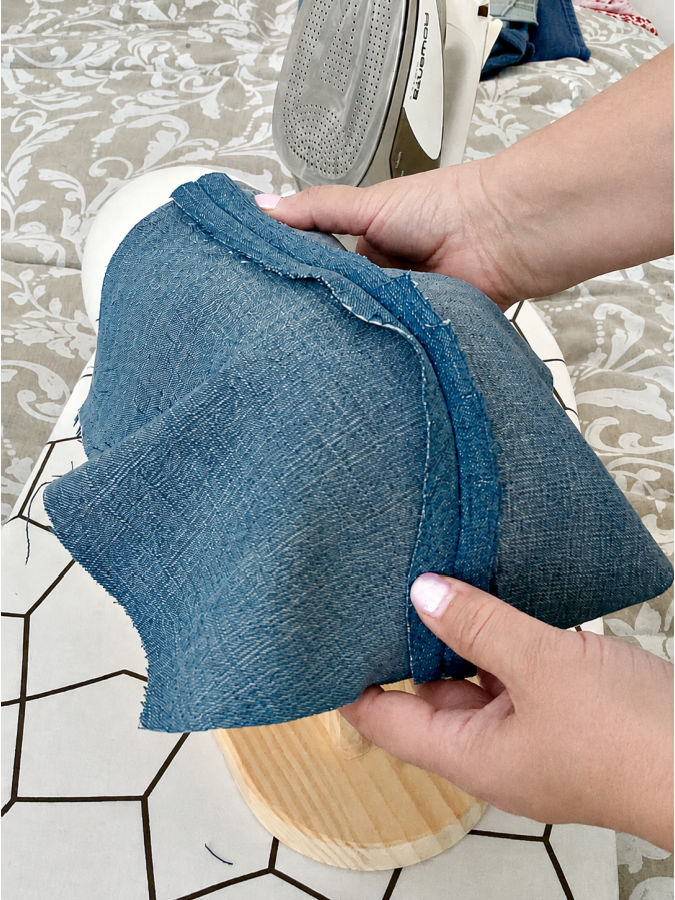
I pressed the seam with steam and light pressure. I lowered the iron, held it for a moment, then lifted it. I did not slide the iron back and forth along the seam.
Sliding can stretch a shaped seam, especially on fabric with a bit of give. It can also push the seam allowance out of place. For curved seams, a lift-and-press motion gives better control.
The stable wooden base helped a lot here. This is one of the main reasons I liked the tool for princess seams. The board stays in place, and the curved top holds the fabric high enough for easy access.
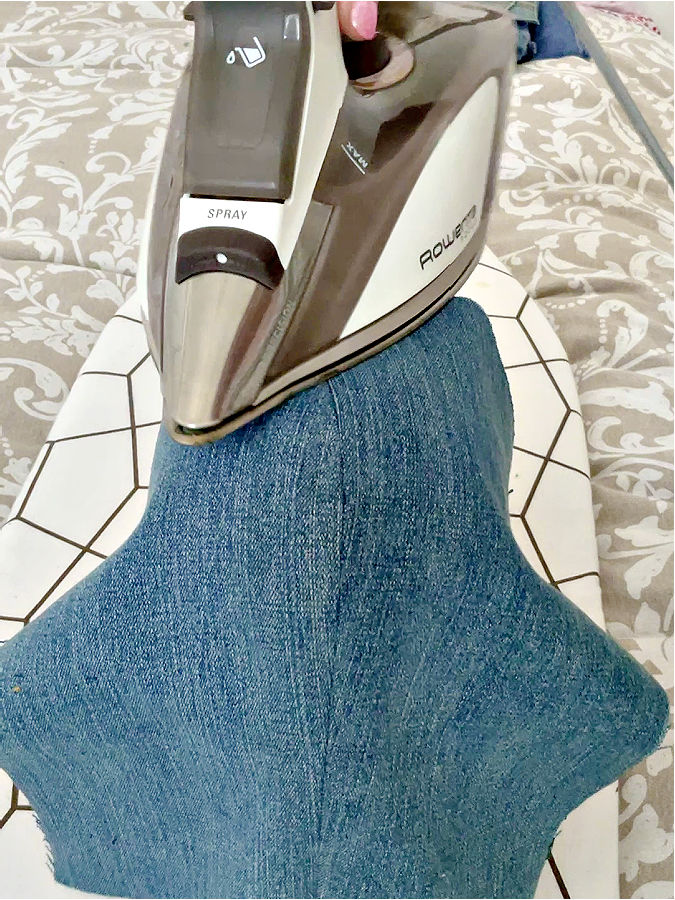
After the seam allowance was pressed from the wrong side, I turned the sample over and pressed from the right side. I used light pressure again. The goal was to smooth the seam line, not flatten the whole curved area.
For delicate fabrics, wool, or anything that may get shiny, I would use a press cloth. Denim can handle more, but many garment fabrics need extra protection from direct heat.
The pressed seam allowance looked much flatter after it cooled on the board. That cooling step is easy to skip, but it helps the fabric keep the shape after steam.
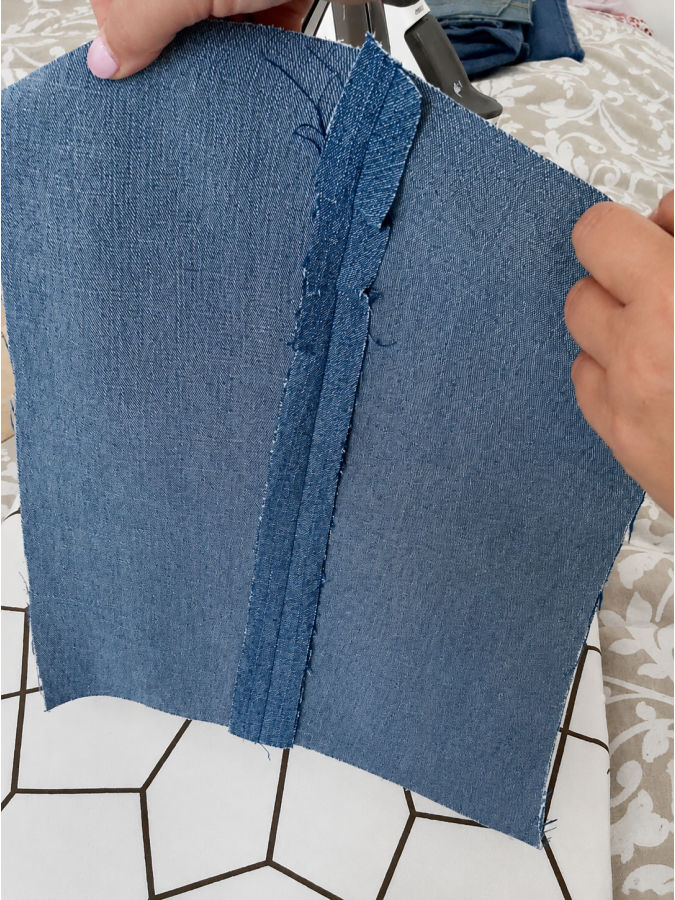
From the right side, the seam looked smoother and more shaped than it would after a quick press on a flat board. The curved support made the biggest difference near the fuller part of the seam, where the fabric needs room..
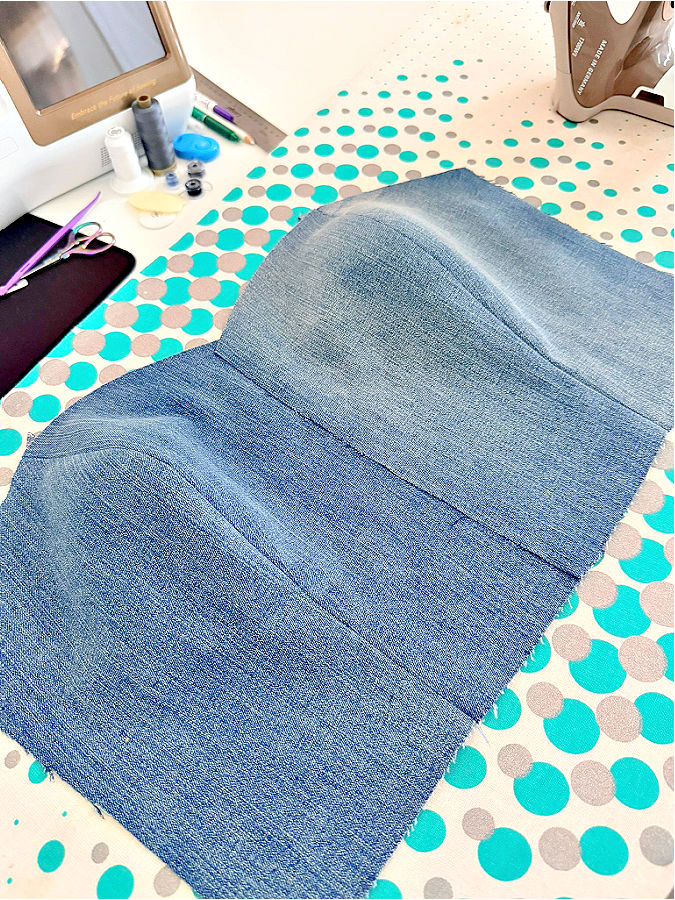
This tool will not fix a poorly sewn princess seam. It will not hide puckers caused by uneven stitching or skipped clipping. But if the seam is sewn well, the board makes the pressing step much easier.
What I Like About This Pressing Tool
- It stays put better than a loose tailor’s ham.
- The curved top supports shaped seams.
- It gives both hands more control.
- It is small enough for a sewing table.
A Few Limitations
- The shape will not match every curve.
- The cover may show marks over time.
- It may not suit very small bra cups.
- It takes more storage space than a soft tailor’s ham.
- A tailor’s ham I can make myself, this one I had to buy.
✅ Related tutorial: How to make a tailor’s ham
I do not think this is a tool every sewist must own. A regular ironing board and a tailor’s ham can handle many projects. But in my sewing room, this board fills a useful gap. It gives curved seams a raised surface and stays steady while I press. If I did more alterations, wedding dresses, fitted dresses with princess seams, or corsets, I would certainly want this tool nearby.
I hope this review helps you decide whether a corset pressing board belongs with your sewing tools. Save the pin below to your sewing board so you can find this article later when you need help with pressing princess seams, corset seams, darts, or other curved garment areas. You can also follow me on Pinterest for more sewing reviews, tutorials, and practical sewing tips.

latest posts
- 10 Easy-to-Miss Features on Sewing Supplies You Should Be Using
- Twin Needle Sewing: My First Try Was a Mess, But Here’s What Worked
- 10 Rules That Made Me a Better Sewist
- How to Make a Lightweight Summer Neck Scarf with a Lettuce Hem
- What Sewists Hate About Sewing: Common Complaints and Practical Fixes
- Knit Presser Foot: How It Works, How to Use It, and My Sewing Tests
- How to Sew Neat Mitered Corners at Acute Angles
- Sewing Machine Needle Organization: A Clever System I Tried
- DIY Car Armrest Organizer: Sewing Tutorial