
Would you like to make your own stylish case/cover for your iPad, tablet or Kindle? Yes? Good! Let me show you how to make the tablet case. This is going to be a really easy sewing project (if you can sew, of course).

Note: Some of the links on this page are affiliate links. This means I will receive a commission if you order a product through one of my links. I only recommend products I believe in and use myself.
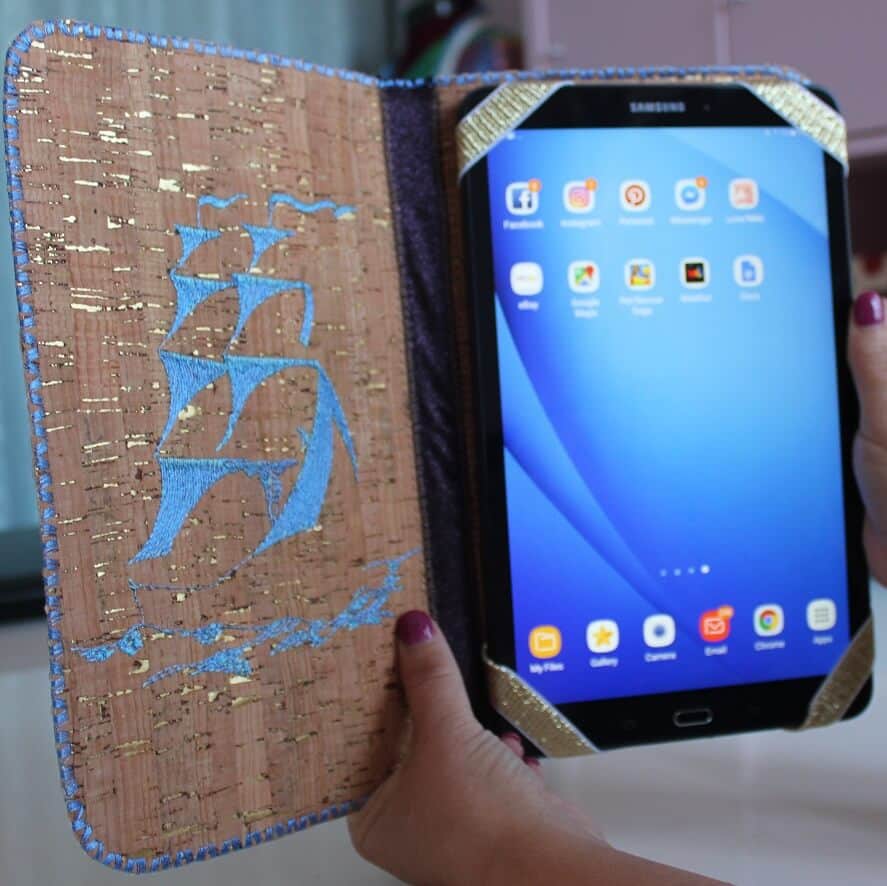
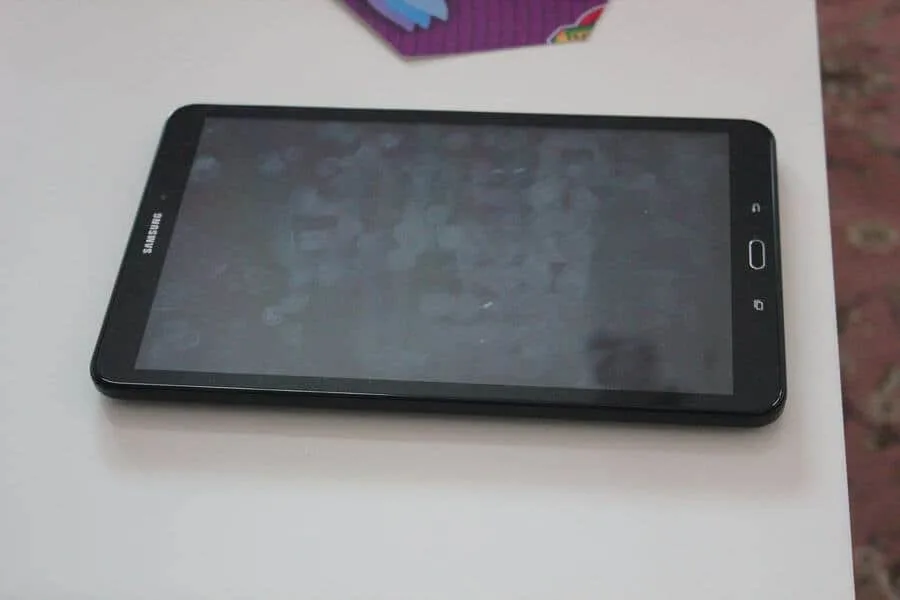
I bought a new tablet (with a 10.1″ screen!) and after using it for a few days I decided to make my own cover for the tablet, to protect the tablet from scratches, to be able to hold it more comfortable in my hands and carry it around in style. Of course, there are plenty of tablet covers for sale but I like to make one-of-a-kind things.
My case is made from cork fabric (which was a little bit tricky), fastened with a Velcro flap, and reinforced with plastic inserts. I don’t have to open the case to charge the tablet. I added some embroidery also. You could do this in so many different ways too.
What materials I use to make the tablet case
Cork fabric


In order for the case to keep its shape well, it must be strengthened. So I used thin plastic from a folder for papers. The plastic should be quite sturdy, about 0.7-0.8 mm thick. It can be cut with scissors. I didn’t want to use regular cardboard, because it can bend too easily.
In order to connect the layers, I used glue.
I also used elastic and velcro for fastening. Now it’s so easy to find colored elastic and velcro for your projects.
These items are relatively inexpensive on Amazon and probably you can find them in local stores too: velcro and ribbon. You can use any brand of glue that you have available.
Working process
First I had to figure out the measurements for the cover. Well, that was easy. I just put my tablet on a piece of paper and drew an outline. I also had to measure my device’s thickness.

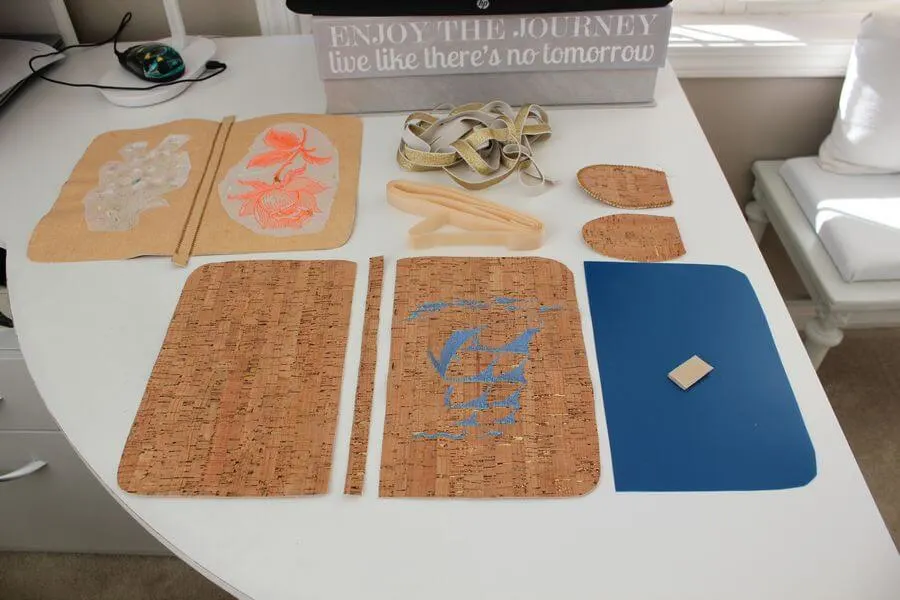
The next step was cutting the cork fabric using this pattern. I cut 4 equal pieces. I made the pattern ¼ inch bigger than the tablet itself. Also, I straightened 2 corners on each piece to make them square and kept the other 2 other round so, in the end, it looked like this.


I didn’t want any seam allowances because I was working with cork fabric. So I cut 2 inside pieces half an inch along straight edges (where they are going to be connected to the binding inserts) – they need to be cut a little bit smaller than the top pieces.
I had to cut also two strips for the middle of the case to accommodate the thickness of the tablet in order for the tablet to close freely. One of these pieces (for the outside) should be cut from cork fabric and another one (for the inside) should be a bit stretchable for opening and closing the case, so I cut it from a piece of spandex fabric.
I cut also two flap pieces from cork fabric for fastening the case.

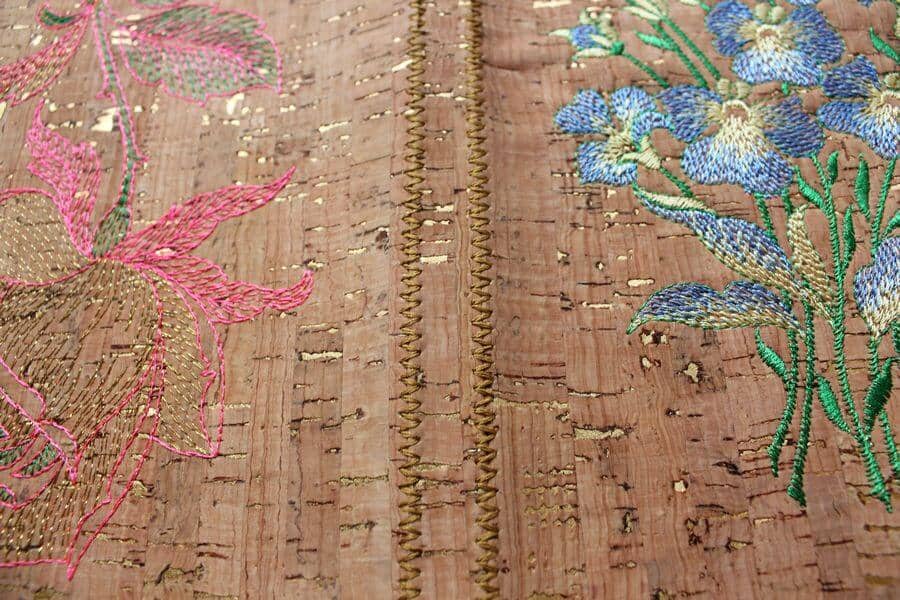
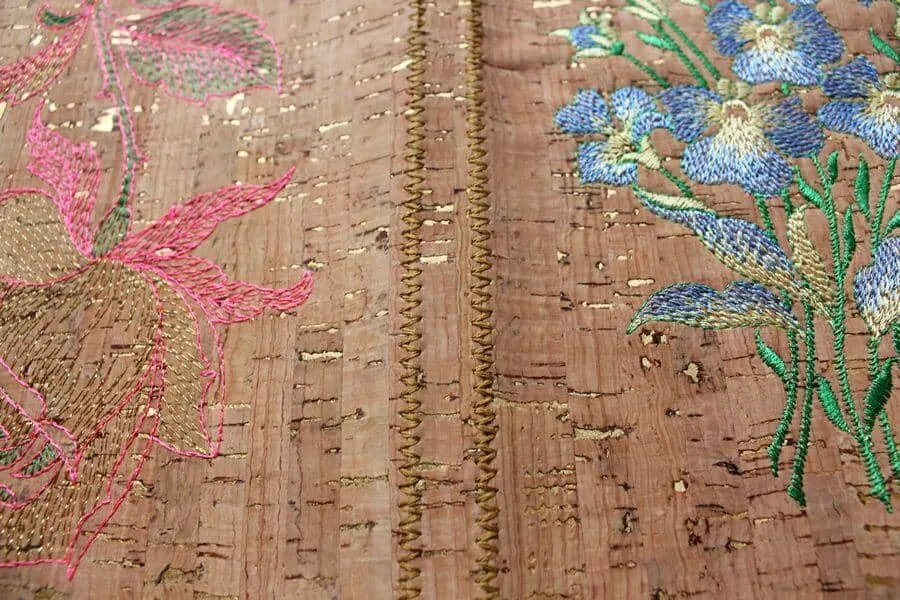
I put embroidery on my pieces which gives a refined and high-end look to my cover.
For the cork fabric, I chose not very dense designs. It’s a super fun way to add a little extra flair to the project, to express yourself, make something your very own, and choose a design that matches your personality!

Next, I sewed three top (outside) pieces together and three inside pieces together. I used pure silk thread – it’s a very strong and very beautiful thread.

I glued the plastic inserts onto the cork fabric. These inserts should be cut half an inch smaller than the tablet pattern.

The next step


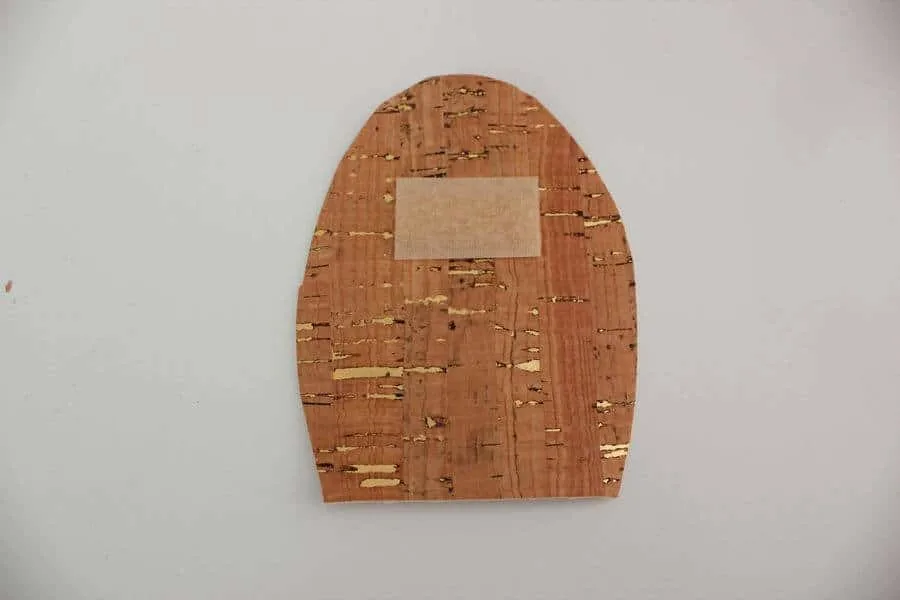
After that, I glued the flap pieces together and stitched them along the edge. I glued the finished flap to the plastic.
I had to cut the inner part of the case (the one that has a stretchy binding in the middle) for elastic bands. For
I inserted elastic straps through those holes and glued them in place making sure they are extra secured with glue. The strips will hold the tablet in place. My screen is not blocked by the elastic straps (or maybe only by 1/32 of an inch or so) so it’s not a problem.
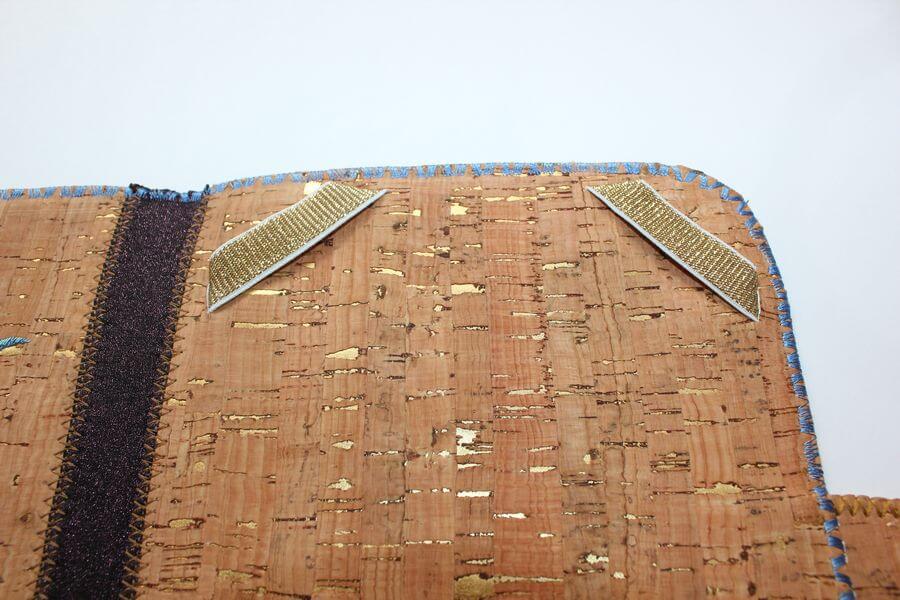

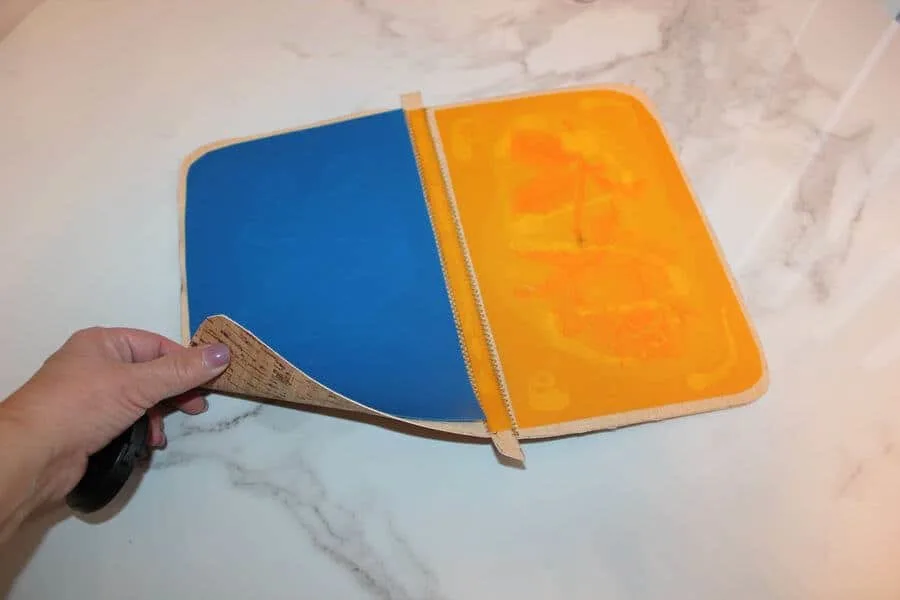
The next step – lay the open outer part face down, put the open inner part on it (wrong sides together), line up all the edges, and glue them together. Finish with some nice stitching to hold everything together.
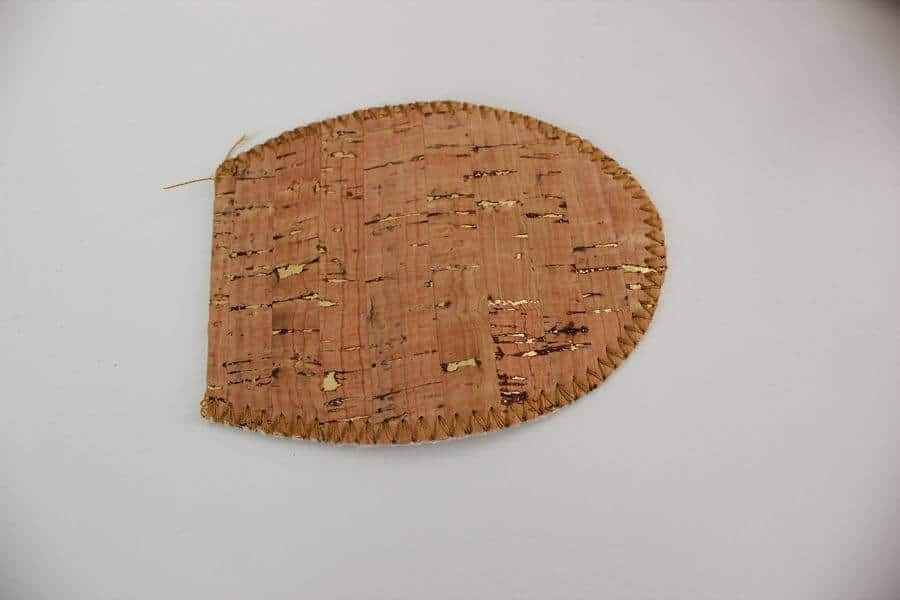
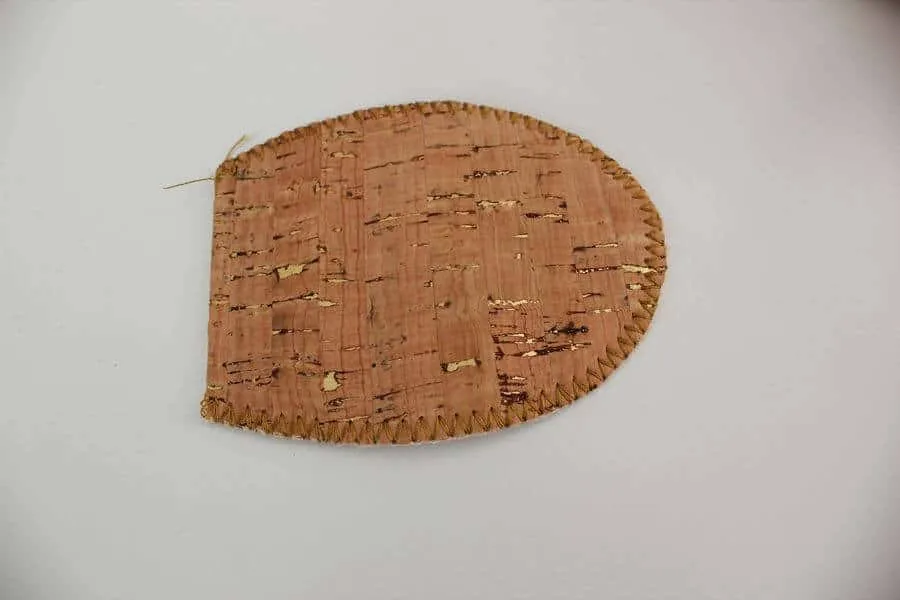
I sewed along all edges using decorative thread and one of the decorative stitches of my sewing machine.

I love my tablet but I noticed that the screen gets dirty so easily. I needed to get rid of my fingerprints and found some good products to do the job. And it works for my eyeglasses, phone, and laptop also!

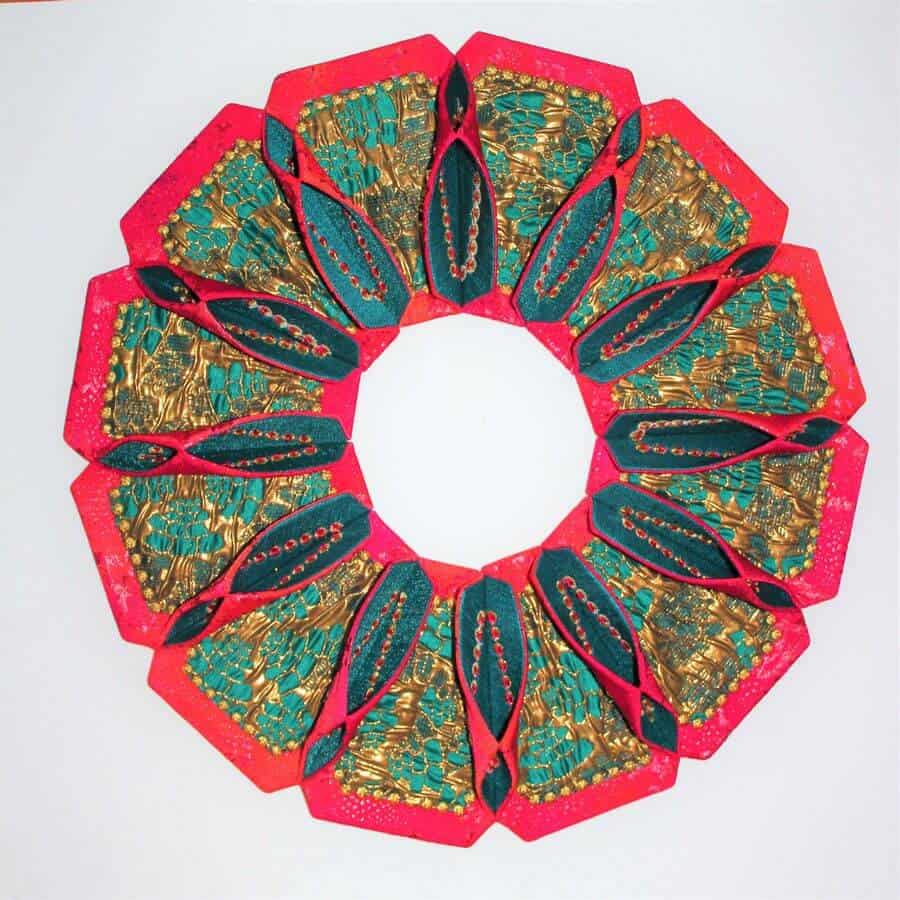
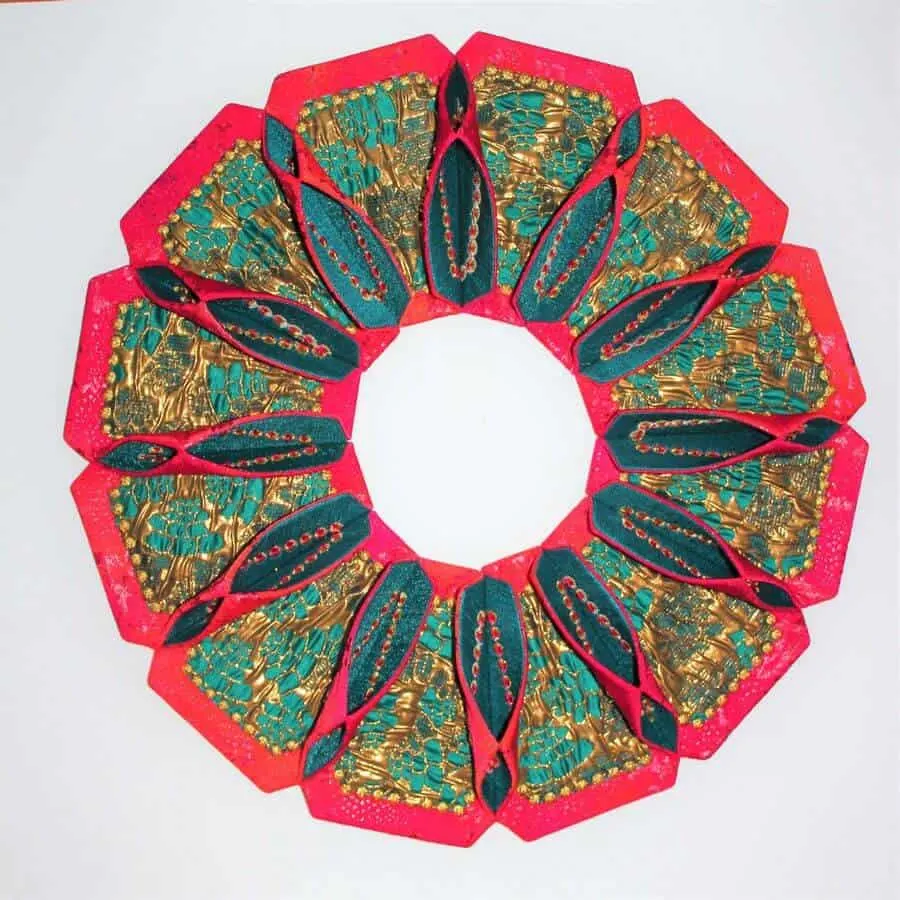
I’m fairly satisfied with the result. I think this project would make a great handmade Christmas gift and it was quite easy to make!
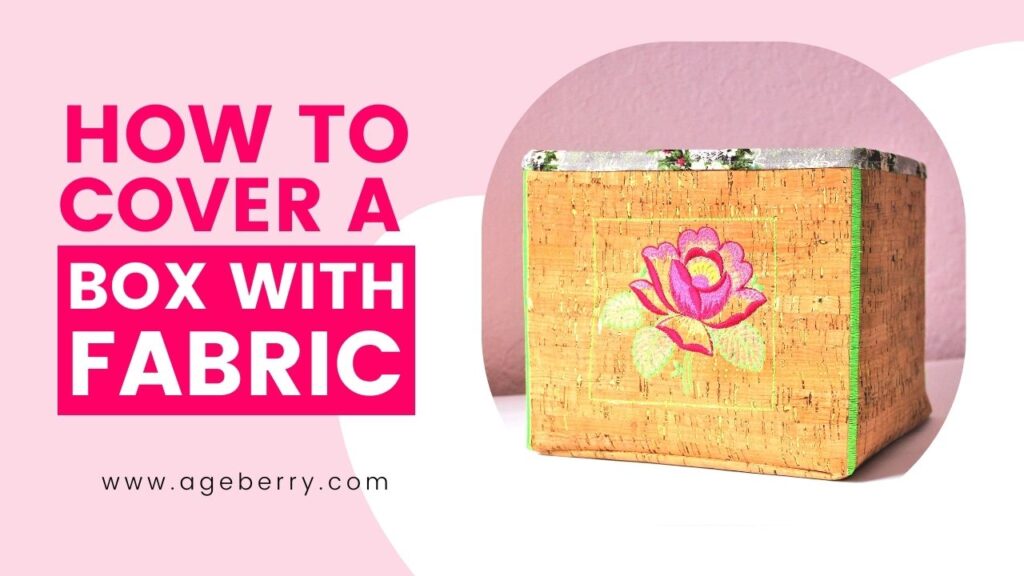

For another interesting project that uses cork fabric please refer to my article How to cover a box with fabric
Did you like this tutorial? If you want to save it for future reference and to use it later when you are ready to sew the tablet case, pin the image below to your sewing board on Pinterest and follow me on Pinterest for more tips, tutorials, and inspiration.


Your turn: Share your DIY iPad case project with us! We’d love to see your image on the Ageberry Facebook page.
Ready to take the next step in your sewing journey? Check out more step-by-step tutorials from my site


latest posts
- Ever Tried This on Your Serger? This Differential Feed Feature Will Amaze You
- Ditch My Sewing Machine? Not in This Lifetime!
- Adorable DIY Needle Book | Easy Tutorial for Beginners
- Master the Seam Ripper: Your Ultimate Guide to Precision Stitch Removal
- Think You Know Zippers? This Installation Guide Might Surprise You
- Why Does Your Seam Ripper Have a Red Ball? Discover Its Purpose!
- Topstitching Troubles? This Simple Trick Will Turn It Around Instantly!
- How to Sew Shirring: A Step-by-Step Guide to Elastic Thread Gathering
- Are Self-Threading Needles Really Useful?