
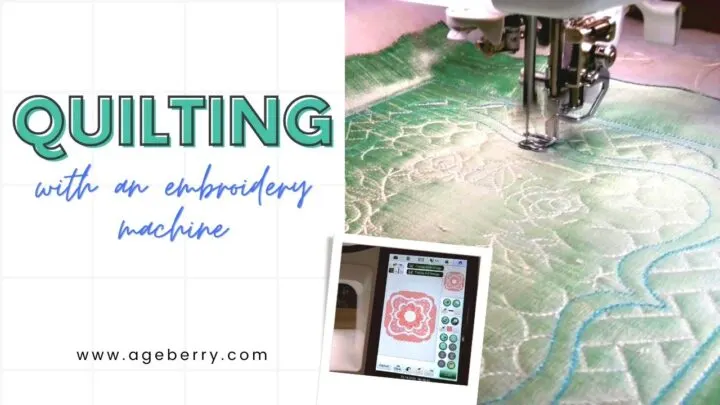
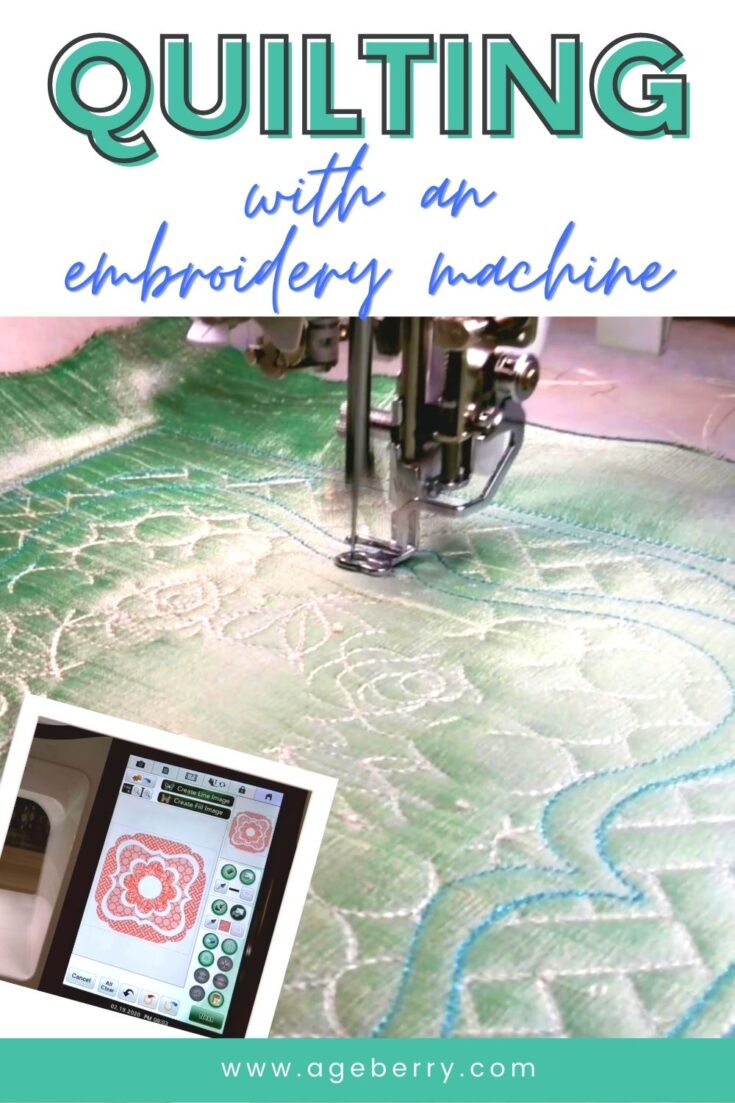
In this post, I would like to show you how we can quilt with an embroidery machine. Creating quilt blocks has never been easier – modern sewing and embroidery machines are new wonders of the world.
Spend 5 minutes – and you are done with your one-of-a-kind quilting design. Another 5 minutes – and your wonderful block is ready. Make as many exactly the same blocks as you want.
I am still new to quilting but I can make nice quilts in no time at all with my Destiny 2.

Check out the quick video I made for YouTube and BE AMAZED. It will change the way you see the world of quilting.

This is genuinely fascinating, right?
Do you have a similar machine?
Then you may like these step-by-step instructions for creating quits with ease in your embroidery hoop.
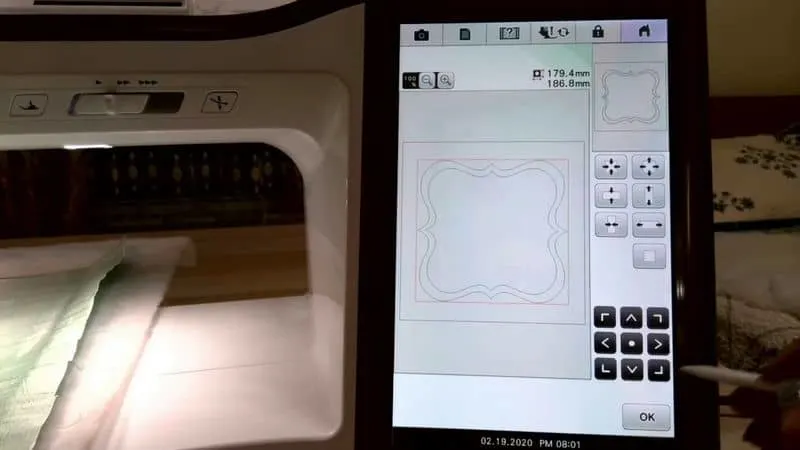
Open IQ Designer (or its equivalent if your machine is not a Baby Lock). Choose your embroidery hoop. Select a square shape and resize it according to your preferences. It will be your block outline/placement stitch. I made mine 9 x 9 inches.


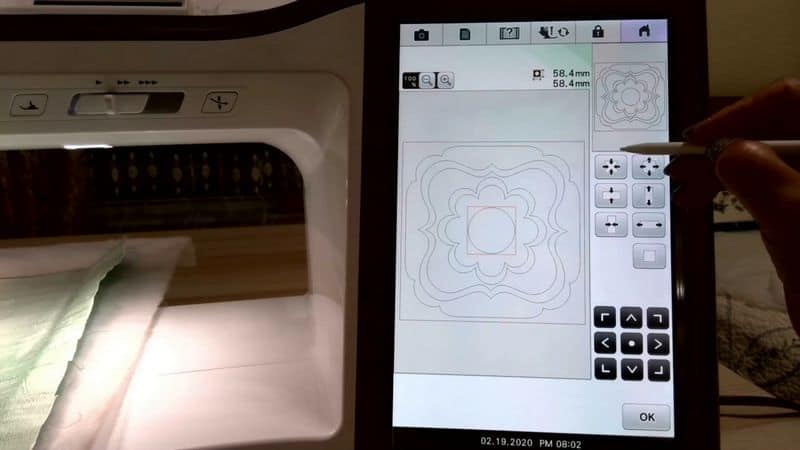
Select a shape you want and see how it fits inside your block.


You can copy the shape and resize it as you want it. Press SIZE to position your copy in the center of the block (press the dot in the center).

Choose other shapes you like to use in your quilting design. Resize them and position them as you like.

Combine different shapes and give them different decorative fills.
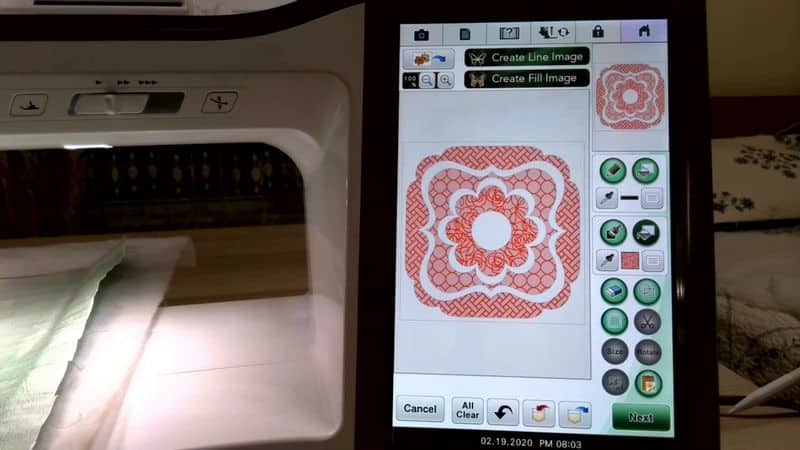
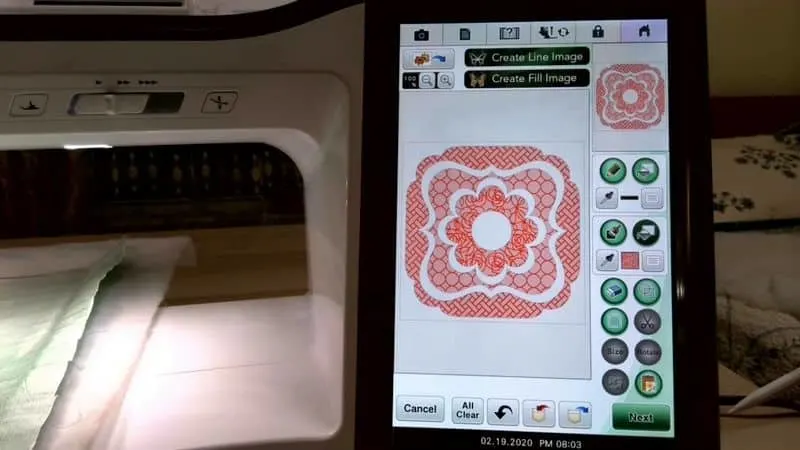
Specify stitch settings you want to use (such as satin stitch, or running stitch). You can also specify stitch length, width, and density.


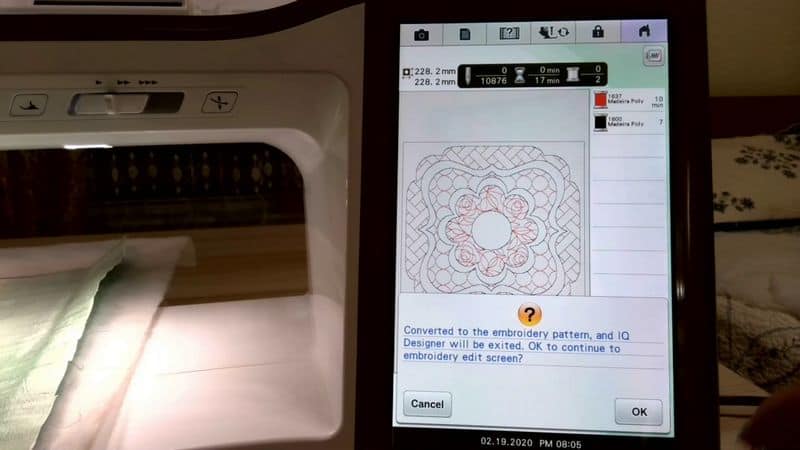
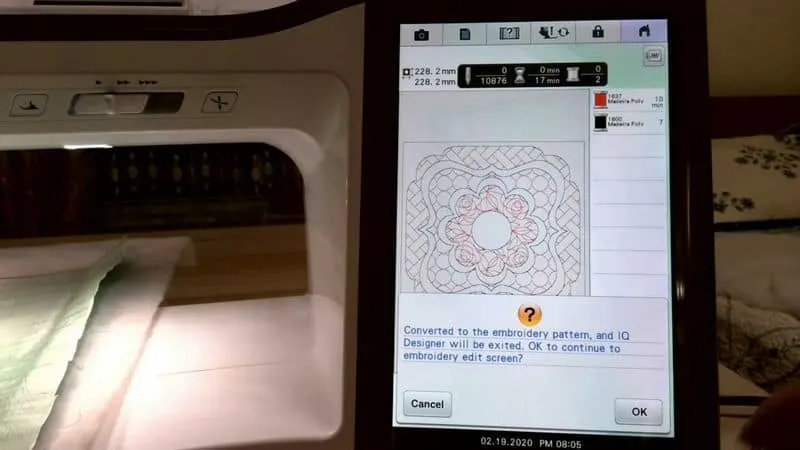
Save your design in the machine memory and convert image data to embroidery data.
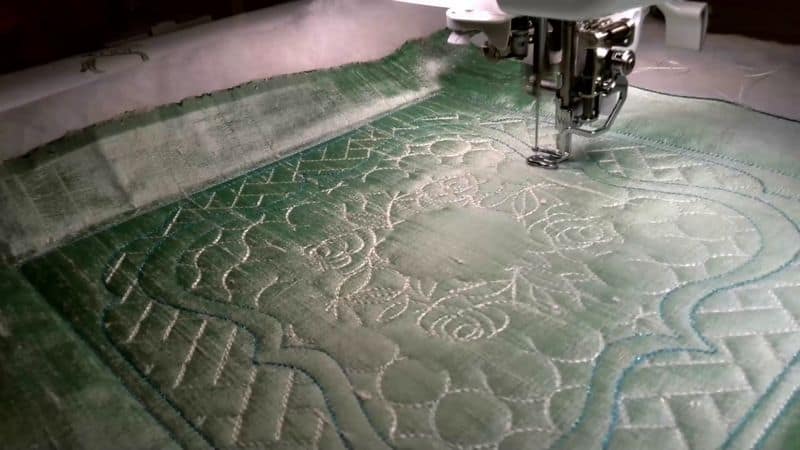
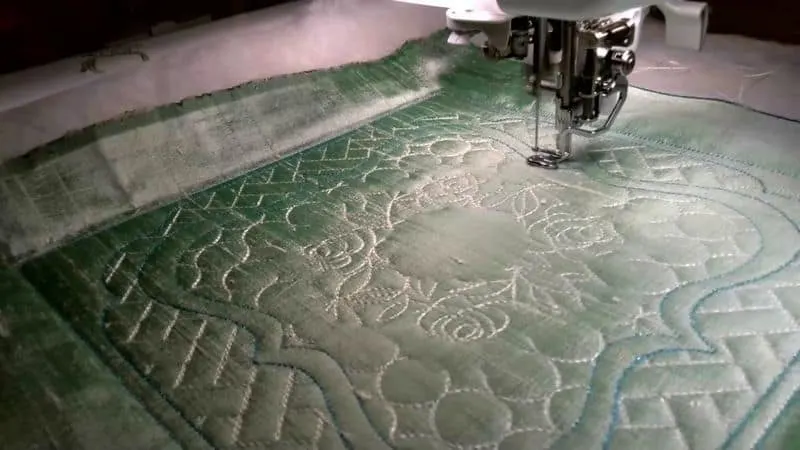
Hoop your fabric (I used 100% silk dupioni) and batting, choose threads and press the start button – the machine will quilt your wonderful design.
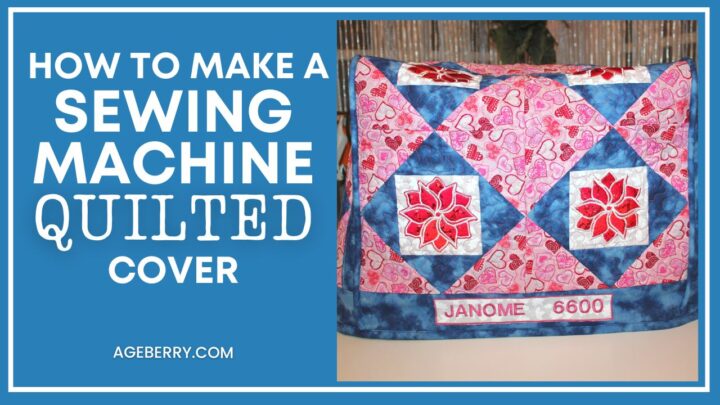
Check out my other tutorial on quilting with an embroidery machine – A cover your sewing machine absolutely needs: a quilted cover with piecing in the hoop

You might also like these tutorials.

Did you find this tutorial helpful? If so, save this pin (see below) on your sewing board so you can come to this tutorial later and follow me on Pinterest for more tips, tutorials, and inspiration!

latest posts
- Ever Tried This on Your Serger? This Differential Feed Feature Will Amaze You
- Ditch My Sewing Machine? Not in This Lifetime!
- Adorable DIY Needle Book | Easy Tutorial for Beginners
- Master the Seam Ripper: Your Ultimate Guide to Precision Stitch Removal
- Think You Know Zippers? This Installation Guide Might Surprise You
- Why Does Your Seam Ripper Have a Red Ball? Discover Its Purpose!
- Topstitching Troubles? This Simple Trick Will Turn It Around Instantly!
- How to Sew Shirring: A Step-by-Step Guide to Elastic Thread Gathering
- Are Self-Threading Needles Really Useful?
