
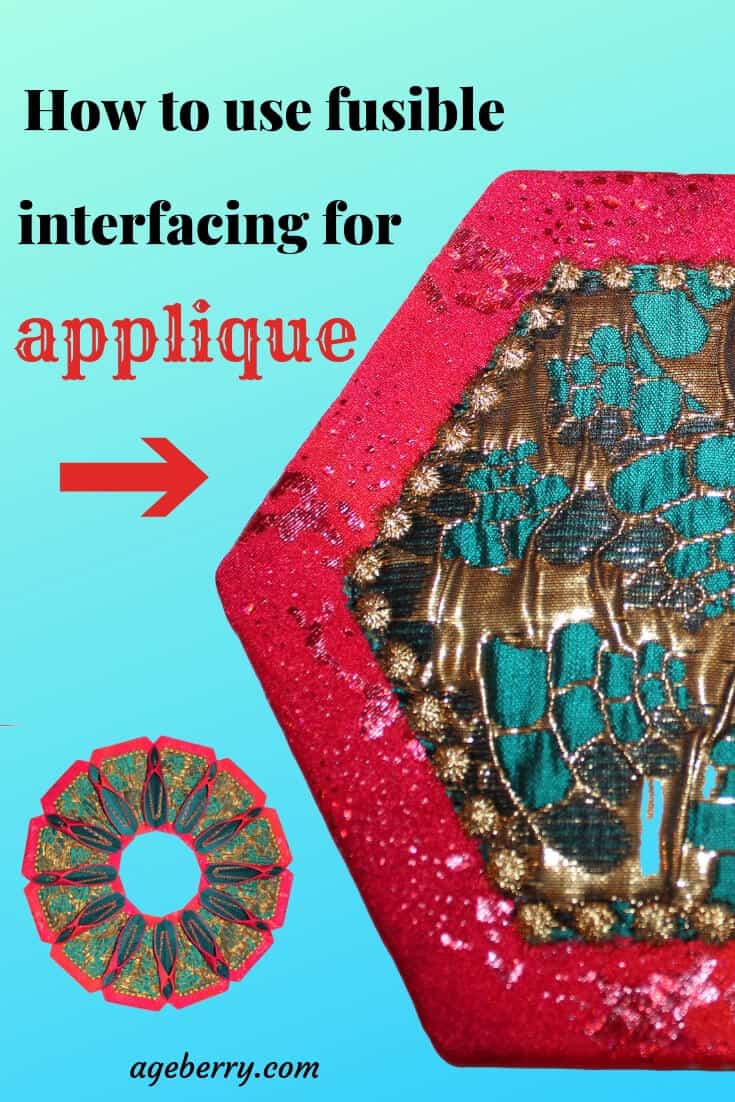
In this tutorial, I want to show you how to machine applique with the fusible web so you can transform plain fabric into the wealth of colors, textures, and shapes. The fusible web makes creating beautiful applique projects easy and fast.

If you prefer a video tutorial on How to use fusible interfacing for applique go to my YouTube channel here.
Best fusible web for applique
Fusible web is a type of fusible interfacing (read all about fusible interfacing in my other tutorial) that has adhesive on both sides. Usually, one side of the fusible web is paper-backed (sometimes both sides have the paper-backing though) and you have to peel it away to bond two fabric pieces together.
Fusible web is perfect to use for applique because you can position an applique very easy and very precisely and secure it to the base fabric without pinning or basting. It holds the applique in place and you don’t have to worry about it shifting. Also, the fusible web stabilizes the applique fabric which makes it easier to cut and stitch. Fusible web also prevents (to some degree) fabric from fraying which is really helpful.
The paper that covers one side of the fusible web is very convenient for tracing applique designs.
There are many types and weights of fusible web. The most popular brands are
- Wonder-Under
- HeatNbond
- SteamAseam
Note: Some of the links on this page are affiliate links. This means I will receive a commission if you order a product through one of my links. I only recommend products I believe in and use myself.
Warm Company Steam-A-Seam Steam-A-Seam 5417 fusible, 9×12, 9″x12″ Sheets 5/Pkg
25 Sheets (8″ x 10.5″) – FlexiFuse Lightweight Fusible Web for Applique
HeatnBond Lite Iron-On Adhesive, 17 Inches x 35 Yards
Heavyweight fusible web (like no-sew HeatNbond) is mostly used for appliques that are not stitched to the base fabric because this kind of fusible produces a good bond without any stitching. It’s best suited for appliques from vinyl, leather, denim, canvas, and other heavyweight fabric. The adhesive on the heavyweight fusible web is more solid and can gum up the machine needle if you choose to stitch the applique.
Medium-weight (all-purpose) fusible web is good to use with medium-weight fabrics.
Lightweight fusible web (heatNbond lite) is used for lightweight fabrics and doesn’t make an applique stiff. Because of this, it can be used with any fabric if you want to use your finished product for clothes or bed linen so the applique and the fabric stay soft.
I prefer to use the lightweight fusible web because I don’t want my appliques to be stiff, I want my fabric to keep its drape and I don’t want to have problems with gumming up my needles.
Sometimes fusible web has a grid on the paper-backing which can help with positioning or enlarging appliques.
So let’s start our applique adventure. I am going to show you how to use all modern innovations for applique so it’s easier, faster, and more fun. There are a variety of techniques for applique. I am going to use “raw edge applique”.
1. Choose your applique design.
You can draw it yourself, use printed coloring books, or online coloring pages, you can Google whatever designs you want (go to Google, enter your design (for example, “rose flower”) – images – tools – type – line drawing) but be careful with copyright information – many designs are not free to use and you can buy them (really cheap). You can easily find applique designs online. I like designs from this site Planet Applique.
Have in mind that when using the fusible web for your applique projects your designs will come out IN REVERSE when looked at from the interfacing side, so if the designs you choose are not symmetrical (it doesn’t apply for symmetrical designs, obviously) you need to draw your applique shapes backward. For example, if you want to applique letters using fusible web your letters will look like this when seen from the interfacing side.


2. Choose your fabric and fusible web.
Any type of fabric can be used for applique. Just have in mind that the applique fabric has to be compatible with the base fabric. For example, if you are going to wash the finished product, use fabric for an applique that’s also washable. It’s recommended to prewash your fabrics before cutting an applique. Also, it’s not really good to use for applique fabric that frays easily.
The next step can be done differently and I am going to show you that. The first method is to cut the fusible web first (3A to 8A) and the second one is to fuse it to the fabric first and cut after (3B to 6B). Which you choose is a matter of personal preference.
I advise you to test your fabric and fusible web combinations to see what works best for your project.
3 A. Use your home cutting machine to cut appliques.
I would say that the next step is tracing your design. But….
We live in the 21 century, right? So I will say — put your design on a USB drive and go to your home cutting machine.
Don’t have a cutting machine? Well, maybe it’s time to buy one?
You can use Cricut for cutting an applique design but I have Brother ScanNcut so I will use that. But the procedure is similar with a Cricut machine. If you do not have either, below are some links for Amazon (these will show what the current offer is):
Cricut cutting machines offers at Amazon
Brother ScanNCut cutting machines at Amazon
Obviously my cutting ,machine which can be seen in the images is an earlier version. Newer ones are even more versatile.
I was making the fabric wreath presented in this article First-time quilting: how to make a wreath with fabric or a round table topper and I needed 12 hexagon pieces to use as my applique pieces.
So I found the hexagon shape in my ScanNcut machine (that was easy, I didn’t need to save anything on my USB). Designs can be easily enlarged and reduced.
I loaded the mat with a piece of lightweight fusible web (the size of the mat) and the cutting machine cut my applique pieces very precisely and fast! Magic! I cut 4 pieces at once and had to repeat the procedure 2 more times for my wreath.

4 A. Now I have to fuse my applique pieces (cut from fusible web) to the applique fabric.
Always do a test first on a scrap piece of your applique fabric, so you can see how it works. Use manufacturer’s instructions coming with your fusible web so you know what is the correct iron temperature and whether to use steam or dry iron. You can adjust the iron temperature after testing. Sometimes manufacturers recommend fusing using steam and sometimes you will need to use a dry iron.
I have chosen 100% silk brocade for my project. So I press the fusible side of my cut hexagon pieces to the wrong side of my silk applique pieces. Remember that you should always fuse fusible web on the wrong side of your applique fabric. I press for 3-5 seconds. You can use a pressing cloth but my applique pieces have the paper-backing and the iron can go over it without problems. My fabric is textured so the adhesive side of the fusible web doesn’t stick very easily to the fabric and I have to keep the iron a little longer to get a good bond. But don’t keep the iron too long also as the heat may scorch the fabric.
The applique should stick to the fabric so you can’t lift it.

Never iron on the adhesive side of the fusible web! You will make your iron dirty.
Buy just in case, in the clip below you will see the instructions on how to remove the fusible web from your iron. I use Faultless Hot iron cleaner and it works great!

Faultless 40105 Hot Iron Cleaner – 2 Pack
5 A. In this step, I am going to cut my applique pieces using my rotary cutter.

6 A. Now I need to fuse my applique pieces with my project pieces.
I have to peel off the paper backing and sometimes it’s almost impossible to do it. In the video below I show a trick – if you can’t find a paper edge to start peeling use a pin or scissors to scratch the paper in the middle of the applique and you will see how easy it is to peel the paper off this way.

7 A. Position the applique on the base fabric.
The adhesive side (that was under the paper) goes on the right side of the fabric. Sometimes – like in my case now – you just press with your fingers and the applique is fused (the adhesive side doesn’t need to be activated by the heat from an iron) but some types of fusible web need to be pressed with an iron and the applique stays in place after pressing.

8 A. Now I will show you how to finish the fusible applique.
You have to stitch the applique in place and finish the raw edges. There are many stitching techniques available. The most common way to do it is just to zigzag stitch by your sewing machine. Stitch so one edge of the zigzag falls in the applique fabric and the other edge, just past the raw edges of the applique in the base fabric.
But again – modern technology gives us many wonderful features in modern sewing machines and I am going to show you how to use a Babylock embroidery machine for stitching the applique. It’s fast, easy, and fun!

3 B. The other way of making an applique is with fusible web.
Still – use your cutting machine. But let the machine cut the applique pieces from fabric.
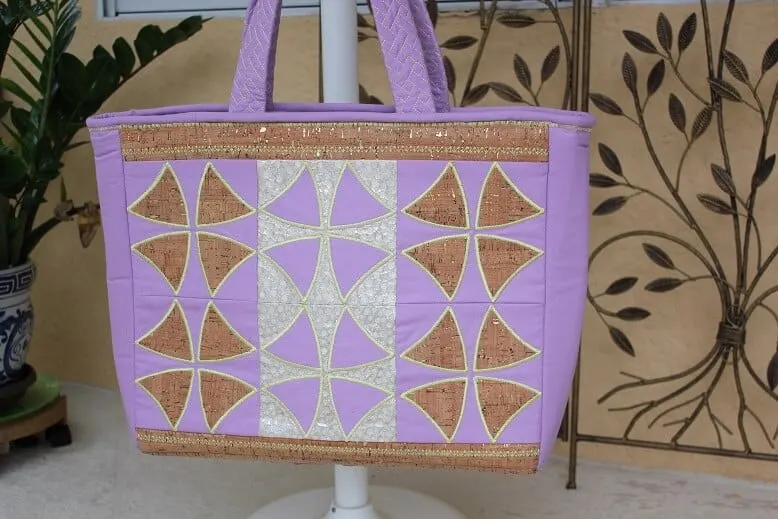
I used this technique to make my quilted tote bag.

So, cut a piece of fabric the size of your cutting mat (approximately) and cut a piece of fusible web corresponding in size.
Iron, fusible side down, to the wrong side of your applique fabric. Follow manufacturer’s instructions for your fusible web. Use a pressing cloth to protect your iron from the glue on the fusible web. Or you can use parchment paper – the fusible web is not sticking to the parchment paper.

4 B. Cut the applique shapes with a cutting machine.
This time my applique shape was not in the memory of the cutting machine. So, as I have Scan N cut, I scanned my applique piece (I drew it myself) and cut pieces by machine – first from pink cotton fabric and afterward from cork fabric.
You have to place your applique fabric onto your cutting mat with fusible web down. Make sure the fabric firmly adheres to the mat and there are no bubbles.
Cutting applique shapes with a home cutting machine is so easy and fun!

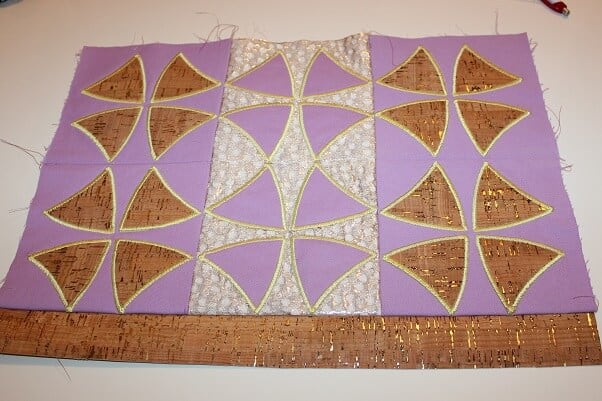
5 B. I traced the design onto my base fabric.
The design has 4 equal pieces in some symmetrical figures (I found this quilting design here). I fused cut applique pieces to my base fabric.

6 B. I used my embroidery machine to stitch all the applique pieces in place.
This time I used satin stitches.

Some additional tips
Fusible web can gum up your needle. It may happen if you are using heavyweight fusible web, or if you are using a few layers of different fabrics for one applique.
There are some special needles from Schmetz that are covered with non-stick coating – they are a great choice for stitching your fusible applique.
And if you are using just a regular Universal needle and it got gummed up clean the needle with alcohol.
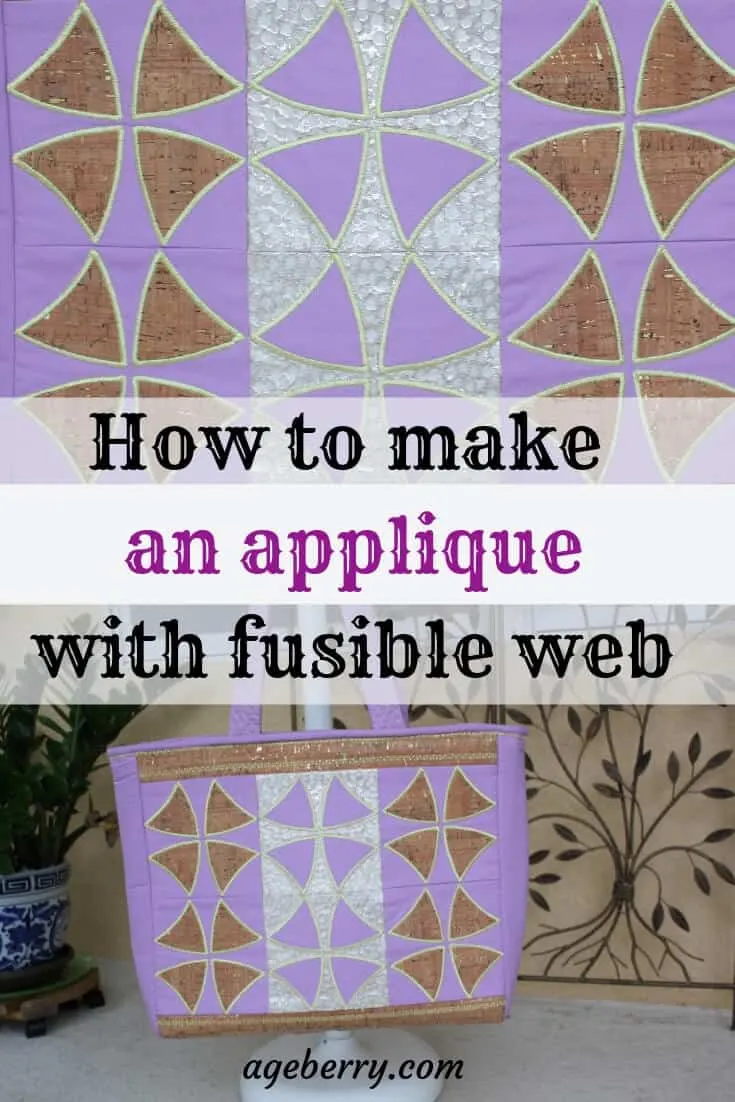
Did you find this tutorial helpful? If so, save this pin (see below) on your sewing board so you can come to this tutorial later when you are ready to make an applique, and follow me on Pinterest for more tips, tutorials, and inspiration!

latest posts
- Ever Tried This on Your Serger? This Differential Feed Feature Will Amaze You
- Ditch My Sewing Machine? Not in This Lifetime!
- Adorable DIY Needle Book | Easy Tutorial for Beginners
- Master the Seam Ripper: Your Ultimate Guide to Precision Stitch Removal
- Think You Know Zippers? This Installation Guide Might Surprise You
- Why Does Your Seam Ripper Have a Red Ball? Discover Its Purpose!
- Topstitching Troubles? This Simple Trick Will Turn It Around Instantly!
- How to Sew Shirring: A Step-by-Step Guide to Elastic Thread Gathering
- Are Self-Threading Needles Really Useful?
