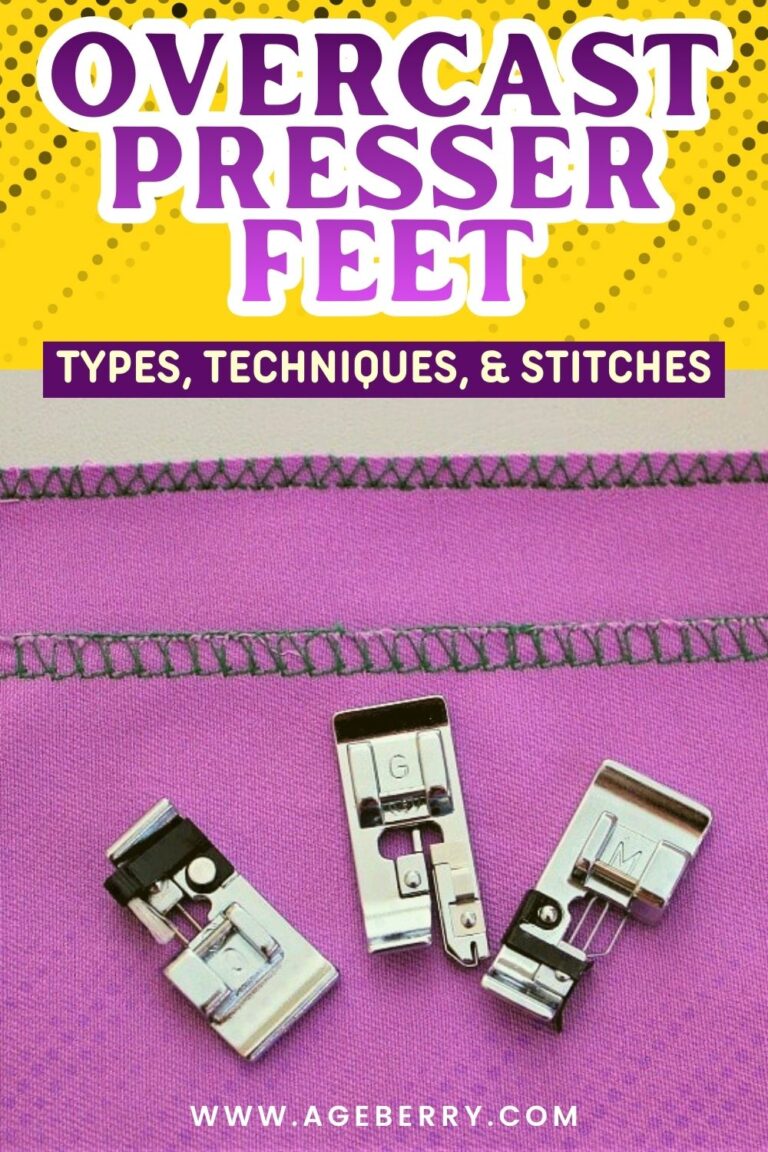
How to Use Fabric Glue: an Essential Guide for All Skill Levels
If you find a tear on a piece of fabric or need to fix the hem on a piece of clothing, your first instinct may be to reach for your sewing machine. However, there is a viable alternative: fabric glue! Whether you need a break from the sewing machine or want a super quick solution, this article will show you everything you need to know about fabric glue and how (and when!) to use it.
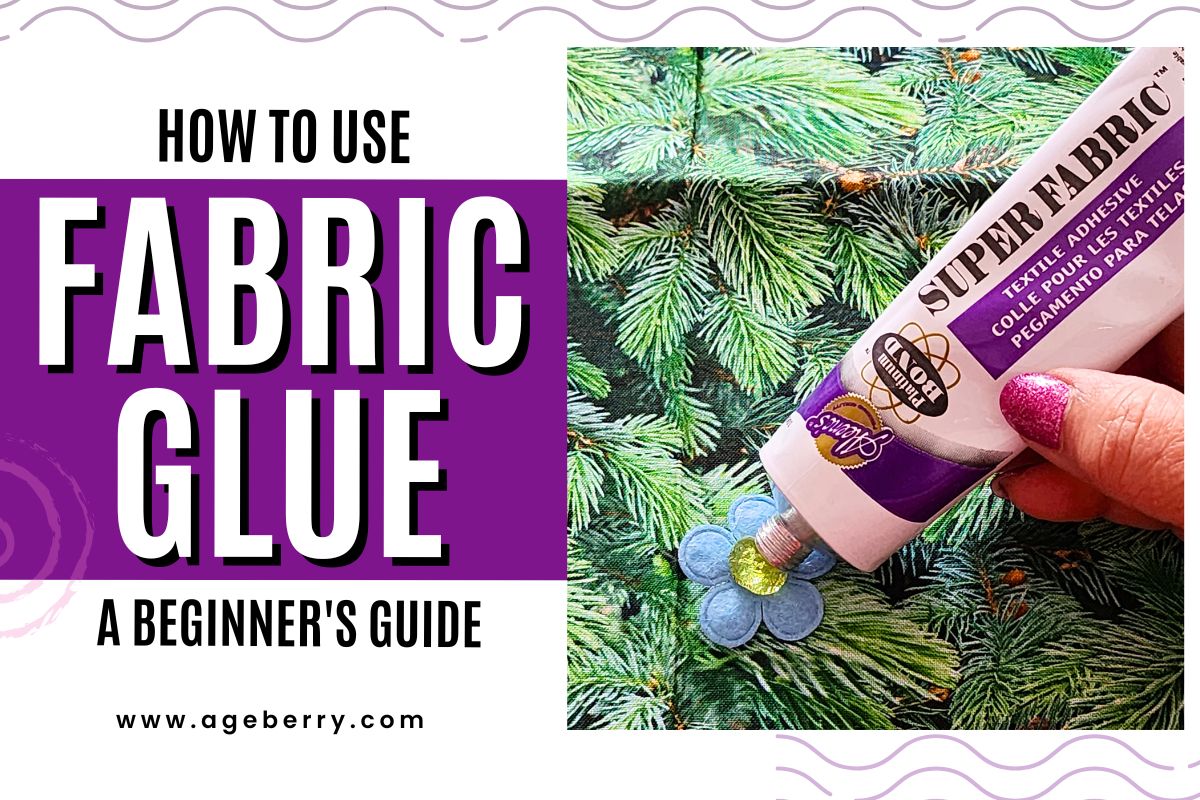
Why fabric glue? Well, why not! This easy-to-use and versatile adhesive can be used by sewists to repair clothes, create seams, and everything in between without special tools or skills. So, fabric glue can be a useful addition to your toolkit.
But how do you use the fabric glue effectively? That’s what this article is all about.
General Instructions For Using Fabric Glue
Can you use fabric glue on any fabric? Generally, you can use high-quality fabric glue with almost any material, but the strength and durability of the bond may vary.
There are many types of fabric glue on the market, but they are not all equal. Nor do you use them all the same way (ex: glitter glue doesn’t work the same way as E6000 on fabric).
However, there are some general “rules” that apply across the board. Use these tips to get the best results when using fabric glue.
Choose The Right Fabric Glue
Various types of fabric glue have different strengths, drawbacks, and purposes. To get the final result you want, it’s important to choose the best option based on factors such as fabric compatibility, flexibility, and drying time.
Here are some of the types of fabric glues you can find:
- Temporary
- Permanent
- Hot glue
- Spray fabric glue
- Glue stick
- Flexible
- Water-soluble
- And more!
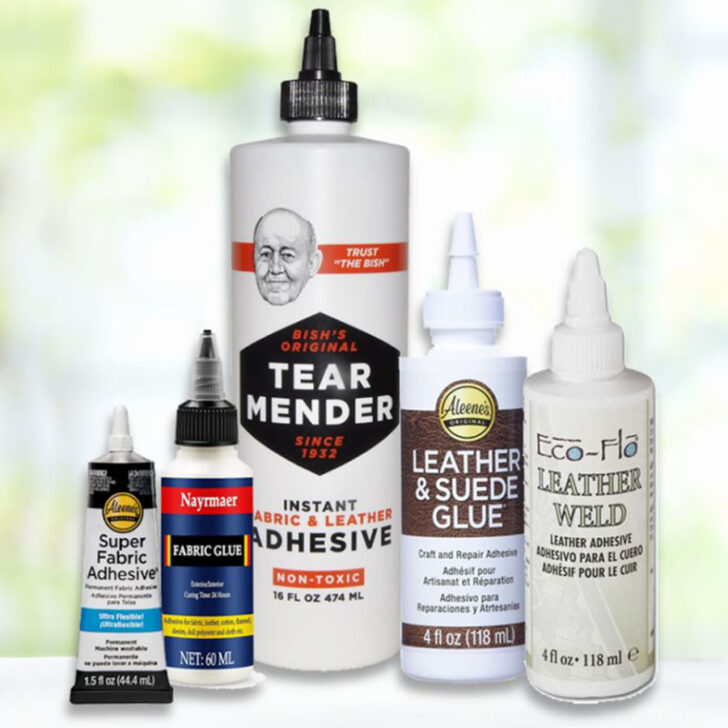
For tips on picking the right fabric glue, have a look at my guide on the best fabric glue options for all your sewing projects. It’s got useful info to help you decide which glue to use for any fabric you’re working with.
Note: Some of the links on this page are affiliate links. This means I will receive a commission if you order a product through one of my links. I only recommend products I believe in and use myself.
For example, if you are working with lightweight fabric you’ll want to find a glue that’s gentle and won’t weigh down or stain the delicate fabric, a glue that dries clear to avoid any visible residue. Brands like Aleene’s and Fabri-Tac offer fabric glues that are generally recommended for a wide range of fabrics.
If you are working with leather or vinyl, you need to pick one that creates a strong bond and is flexible enough to move with the material. Leather-specific adhesives like Aleene’s Leather & Suede Glue or Tandy’s Eco-Flo Leather Weld are good options.


Prepare Your Material
- Make sure that the fabric is clean and dry and doesn’t have any dirt, dust, dog’s fur, or other debris.
- If you’re using fabric glue to repair a tear or hole, make sure that the edges of the tear are clean and don’t have frayed threads.
- Iron the fabric before applying glue so that the material is wrinkle-free and you get the best possible bond.
Certain fabrics, like chiffon, are often difficult to glue because of their delicate and transparent nature. When you try to apply glue to chiffon, it often seeps through the fabric, becoming visible from the right side and potentially ruining the garment’s appearance. This is due to the lightweight and open weave of the fabric, which doesn’t provide a solid enough barrier to contain the glue.
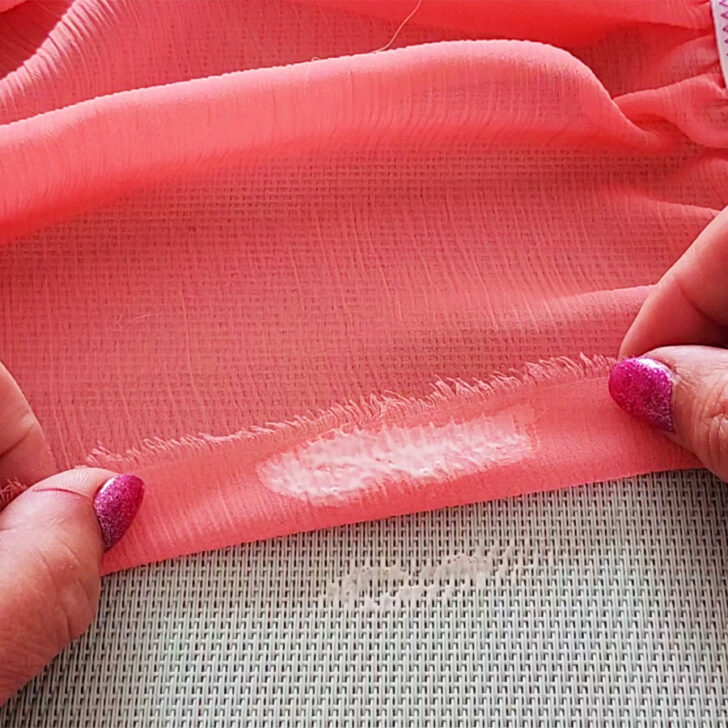
Attaching small items like beads or crystals to the right side of a chiffon dress might work because you can place them precisely and use tiny amounts of glue. However, attempting to fix hems or seams with glue on such fabrics can lead to unsightly results. The adhesive can spread, create stiffness, and alter the drape of the fabric.
The same problem occurs with fabrics that have a loose weave. The open spaces in the weave allow the glue to penetrate through to the right side, where it becomes visible.
On the other hand, fabrics with a tighter weave typically fare better with fabric glue. The closely-knit fibers prevent the glue from seeping through, so it remains invisible from the front side of the fabric. This makes it possible to repair hems and seams without the glue showing.
When working with challenging fabrics, it’s often best to avoid glue and use sewing instead, whether by hand or machine, to maintain the appearance of the fabric.
Apply Fabric Glue Correctly
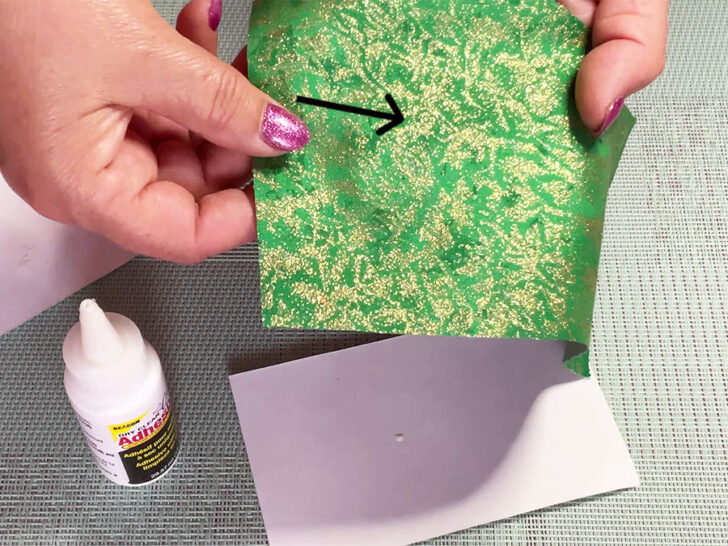
Apply glue in a thin, even layer to ensure a strong bond between the fabrics and the glue.
Use the nozzle of the glue bottle or a small brush (or applicator) to precisely apply the glue.
Try to apply the glue to the entire area, covering close to edges and corners. This prevents the fabric from peeling away or fraying at the edges.
However, it’s not always necessary to cover every inch with glue. A thin line or small dots can be often enough.
For instance, when you’re attaching a patch or an applique, applying glue around the perimeter might be sufficient, as long as you go close to the edges. This method secures the patch while minimizing the amount of glue used. This will help maintain the fabric’s flexibility and feel.
If you’re working with heavier fabrics or materials that won’t be compromised by a bit more glue, you can apply it more liberally to ensure everything stays in place.
But with delicate fabrics or when you’re concerned about the glue showing through, you’ll want to be more conservative with your application.
Always follow the instructions for the specific fabric glue you’re using, as some may require full coverage for optimal adhesion, while others might recommend a lighter touch.
Carefully press the glued areas together, make sure they’re properly aligned. Different fabric glues have varying set times. Some glues are designed to become tacky a few seconds after application. With these, you have a small window to adjust and align your fabrics before the glue starts to set. This tackiness helps to hold the fabric in place once you press it together.
On the other hand, there are fabric glues that dry very quickly. With fast-drying adhesives, you need to work swiftly and efficiently. Have everything positioned and ready to go before you apply the glue, and once you do, immediately press the fabrics together firmly.
No matter which type of glue you’re using, always read and follow the manufacturer’s instructions. They will provide the best guidance on how long to wait before pressing the fabric together and how quickly you need to work.
Work Safely with Fabric Glue
As is necessary with other tools and techniques in sewing, it’s important to follow some basic safety precautions when working with fabric glue:
- Work in a well-ventilated area and avoid inhaling any fumes from the glue.
- When using a spray adhesive, make sure that you cover any nearby surfaces to prevent overspray.
- Take care to avoid getting the glue on your skin because it can cause irritation and be difficult to remove. If you do get glue on your skin (it happens to all of us at some point!), immediately wash the affected area with soap and water.
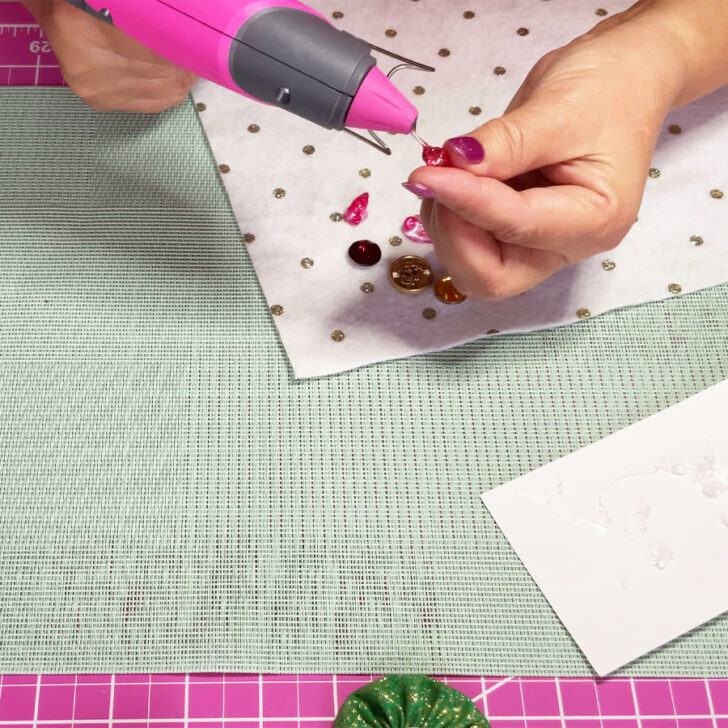
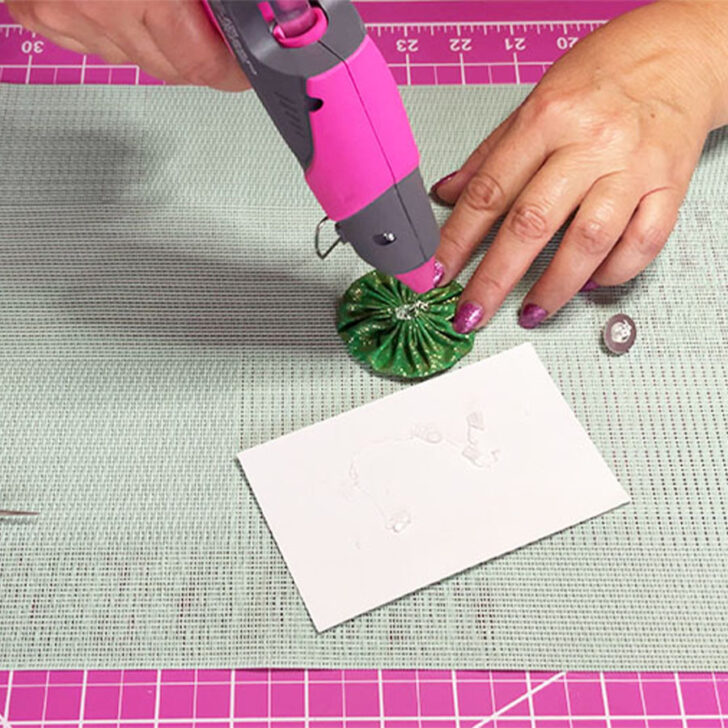
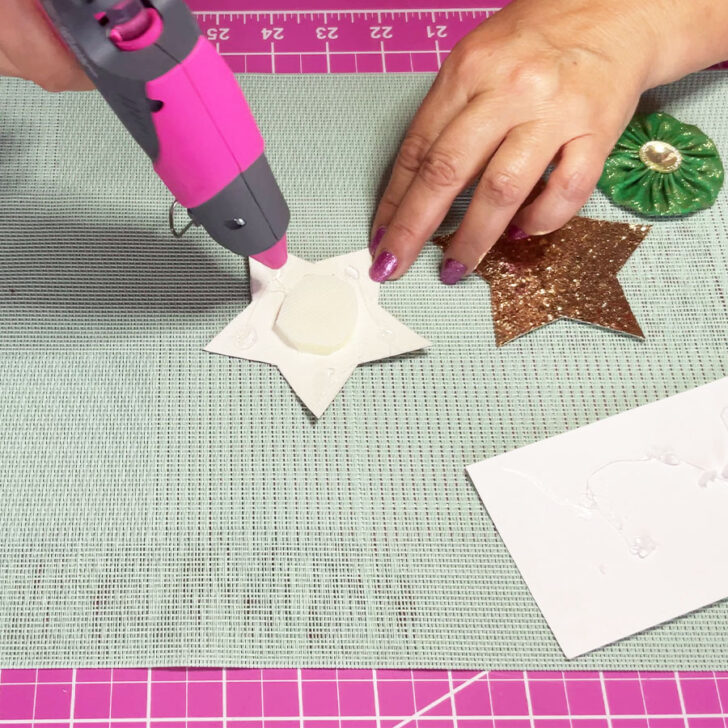
How To Use A Glue Gun On Fabric
Using a glue gun on fabric can be a great way to create a variety of projects! However, I don’t use a glue gun to stick fabric to fabric because the glue isn’t great for washing and it doesn’t stretch with the fabric.
But it’s really good for attaching things like beads, shiny crystals, or even buttons on fabric. The glue from the gun comes out thick, so it doesn’t seep into the fabric and make a mess. It’s quick to stick stuff on.
But if you need to wash it or if the fabric needs to stretch a lot, sewing is probably better. Glue guns are more for adding cool decorations that stay put.
Here are some tips to help you use a glue gun on fabric.
Choose The Right Glue Gun And Glue Stick
A hot glue gun can be a great option when working with fabric because it sets quickly and creates a strong bond. However, choosing the right glue gun and glue stick is crucial.
If you aren’t sure which hot glue gun will be best for your needs, check out my post about the best glue gun for fabrics. It’s filled with my top tips about choosing the best hot glue gun and how to use it properly.
You can use a low-temperature glue gun for fabric to prevent scorching or melting the material if you are working with lightweight fabric.
Prepare The Fabric
Before you start slapping glue on fabric with a glue gun, take the time to prepare the fabric so you get the best results. Start by cleaning the fabric to remove any (and all) dirt or dust.
Next, if the fabric is wrinkled, use an iron on the appropriate heat setting for the material to smooth it out.
Apply The Glue Correctly
Once your fabric is ready, you can start applying the glue!
First, heat up the glue gun and let the glue melt and flow through the nozzle. Then, carefully apply the glue to the item.
You may need to work quickly once the glue is applied because hot glue dries fast. So have everything set up and laid out before you start.
Be sure to apply the glue in small sections, not too much, as it can create a stiff spot on the fabric. Gently press the items together to ensure that it bonds properly.
Give the glue enough time to cool down and set before moving the fabric.
Pro Tip: Hot glue is HOT! Be very careful when working with it to avoid burning your skin. To keep your fingers safe, you can either wait a couple of seconds for the glue to cool slightly before pressing the fabric together. Or, another option is to wear fingertip caps to avoid burns as you work with hot glue. Also, keep your hot glue gun away from children and pets.
Tips For Using Fabric Glue
Fabric glue is a versatile alternative to traditional sewing methods. Although it’s an easy-to-use technique, employ these helpful tips to get the most benefit out of your fabric glue:
#1. Test glue on scrap fabric first
Before applying fabric glue to your project, it’s a good idea to test it on a scrap piece of fabric first to ensure that it won’t damage your fabric and that it will bond as desired.
#2. Work in a well-ventilated area
Fabric glue can have a strong odor, so it’s important to work in a well-ventilated area. Open a window or turn on a fan to help circulate the air and avoid breathing in too much fumes.
#3. Remove excess glue spills immediately
When some of the glue sneaks out past the edges, you will need to clean this up right away. If you let it dry, it can be tough to get off and might leave a mark. Quick! Grab a damp cloth or a wipe and gently dab away the excess glue. This will help keep your project looking clean without any sticky messes.

#4. Remove dried spills before using the fabric
It can happen to all of us I think (as it sometimes happens to me!). If you get fabric glue on fabric and don’t realize it right away, you can usually still get it off, but it’ll take a little work. Learn the best methods to use for your glue in my post How to Remove Glue from Fabric: Easy and Effective Solutions.
#5. Allow full drying/curing time before using the item
Various fabric glues require different amounts of time to fully cure. Since using it before it fully dries can destroy the bond (and create a mess to clean up), make sure to allow it to fully dry and cure before using your project. If you have any questions, always check the glue’s instructions for recommended drying times.
#6. Check washing instructions for permanence
Although fabric glue can be a great alternative to sewing, it’s important to check the washing instructions for your project before you use it to make sure it’s the right choice for your project. Some types of fabric glue may not work for certain types of fabrics or hold up to certain washing methods.
Common Uses For Fabric Glue
Are you wondering just how versatile fabric glue is? Here are some common uses for fabric glue.
Patching Holes And Tears
Patching small holes and tears with fabric glue is a quick fix that can save a garment from the trash bin. So, how to do it?
#1. Select a fabric glue that dries clear and is suitable for the type of fabric you’re repairing.
#2. Clean the area around the hole or tear and make sure it’s dry. Iron the fabric if necessary so it lays flat.
#3. Find a piece of matching fabric that’s slightly larger than the hole or tear. Round the edges of the patch to prevent fraying. Or choose fabric that doesn’t fray.
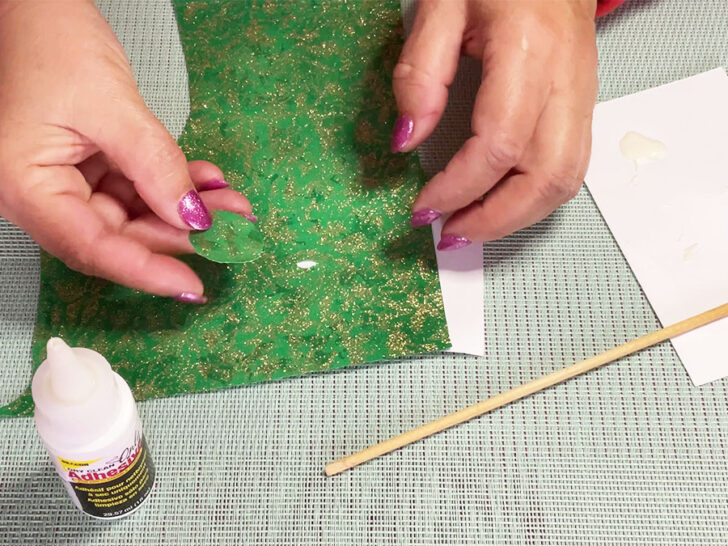
#4. Turn the item to the wrong side and apply a thin layer of glue around the edges of the patch.
#5. Carefully position the patch over the glued area and press it down firmly. Make sure all the edges are well sealed.
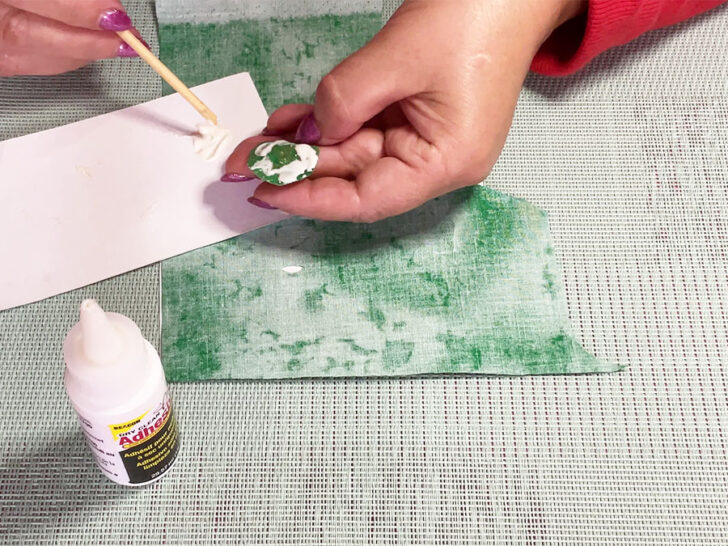
#6. Place a heavy book or some object on top of the patched area to keep it flat while the glue dries.
#7. Leave the glue to set according to the manufacturer’s instructions, usually for several hours.
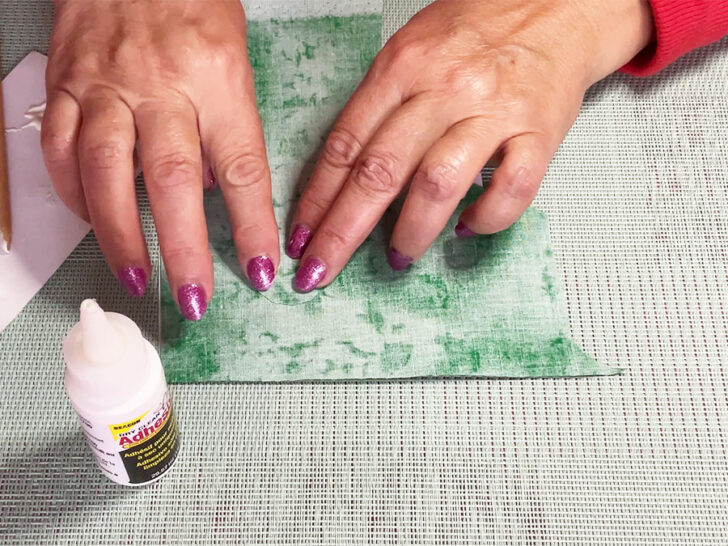
#8. Once dry, check the repair if the patch is secure. If needed, apply more glue around the edges.
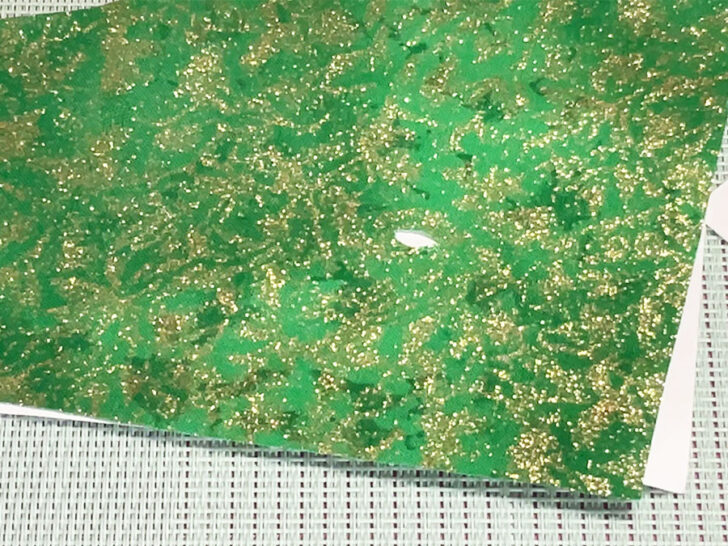
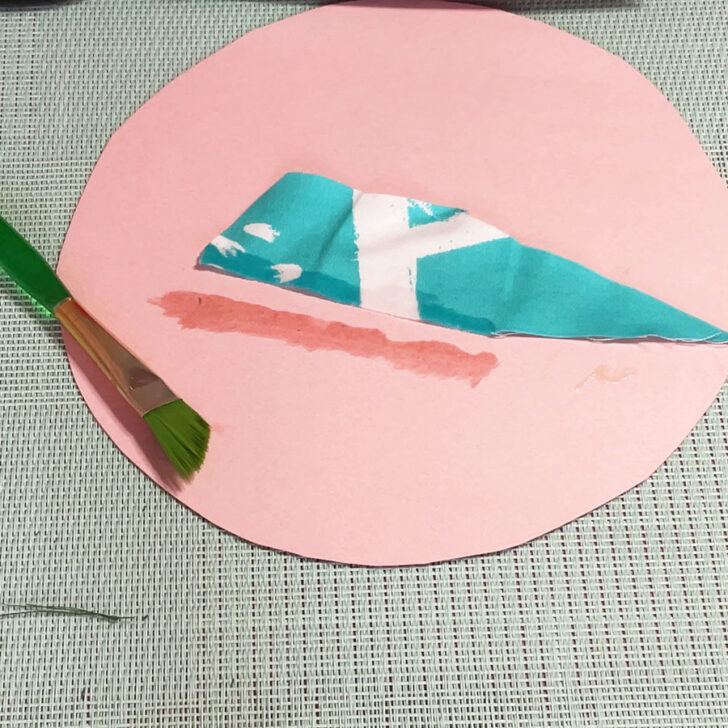
The repair can be so good that it looks like there was never a hole there in the first place, just like you can see in this image.
If you pick the right kind of glue, a proper patch and apply it carefully, it can blend in really well with the fabric, making the hole disappear. This kind of fix is great because it’s not obvious and keeps your clothes looking neat and whole.
Fabric glue can be a convenient option for quick repairs, but it may not hold up as well as sewing, especially on items that are washed frequently or undergo a lot of wear and tear.
Hemming
Hemming curtains with fabric glue is an easy, no-sew method that can give you a clean finish. Here is how to do it step-by-step.
- Determine the desired length of your curtains, measure and mark a line where you want the hem to be.
- Fold the bottom of the curtain up, creating a fold at your desired hem length. Use an iron to press the fold firmly in place.
- Lay the curtain flat with the back side up. Apply a thin line of fabric glue inside the fold, close to the edge. Be sure not to use too much glue to prevent it from seeping through the fabric.
- Fold the fabric back down over the glue and press along the hem with your fingers to secure the bond.
- Allow the glue to dry completely, according to the manufacturer’s instructions, before hanging the curtains.
Using fabric glue for hemming curtains is a great option if you need a quick fix or don’t have sewing skills or equipment. Just make sure the glue is suitable for the fabric type and that it’s washable if you intend to launder the curtains in the future.
Repairing Seams And Hemming
Repairing seams and hems with fabric glue is a straightforward process. You can tackle these common fabric issues this way:
- Look at the seam or hem to see how much fabric has come undone. This will determine the size of the repair.
- Carefully trim any frayed threads around the seam or hem to create a clean area for the glue to adhere to.
- Turn the garment inside out so you can access the seam allowance and hem.
4. Run a thin line of fabric glue along the edge of the seam or hem where the fabric has separated. If you’re repairing a seam, apply glue to both sides of the seam allowance.
5. Press the fabric together where the glue has been applied, and hold it in place for a few seconds to make sure it sticks. You can use clips or pins to keep the fabric together if needed.
6. Allow the glue to dry completely. Avoid using the item until the glue has fully cured.
While fabric glue is convenient, it’s not always as durable as sewing, especially for seams that undergo a lot of stress. However, for a quick fix or in areas of low tension, fabric glue can be an effective solution.
Finishing Raw Edges
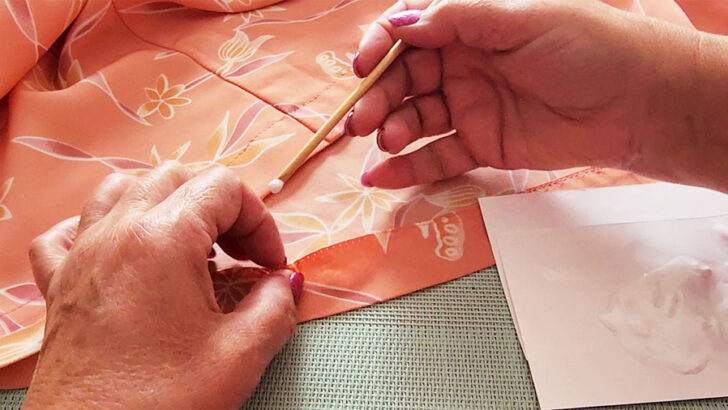
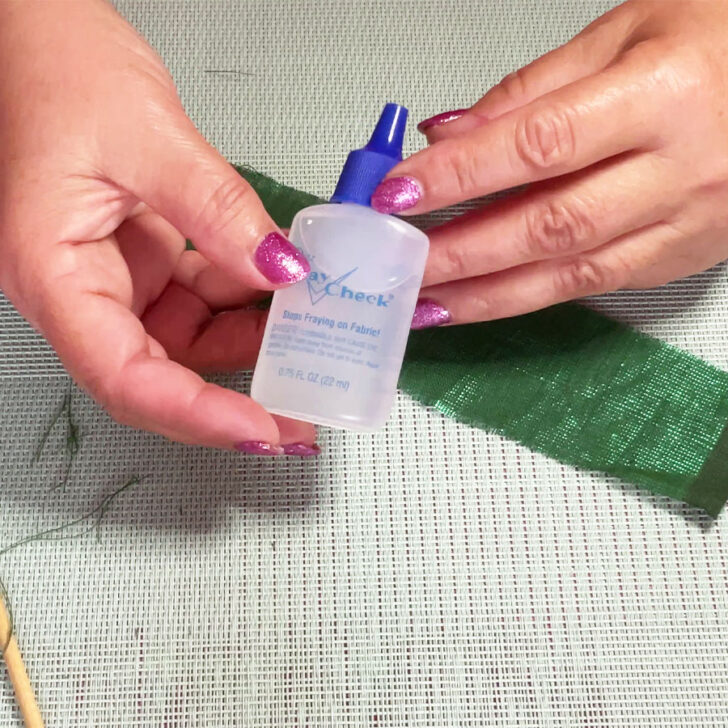
Do you have fabric edges that keep unraveling? Fabric glue can be a great option to prevent fraying on the edges of fabric and keep your projects looking neat. Here’s how to do it and what type of glue to use:
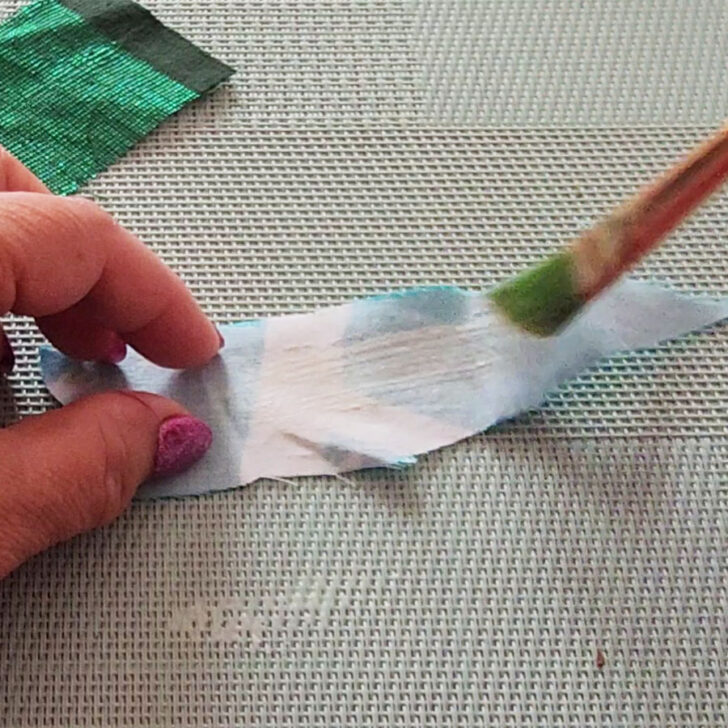
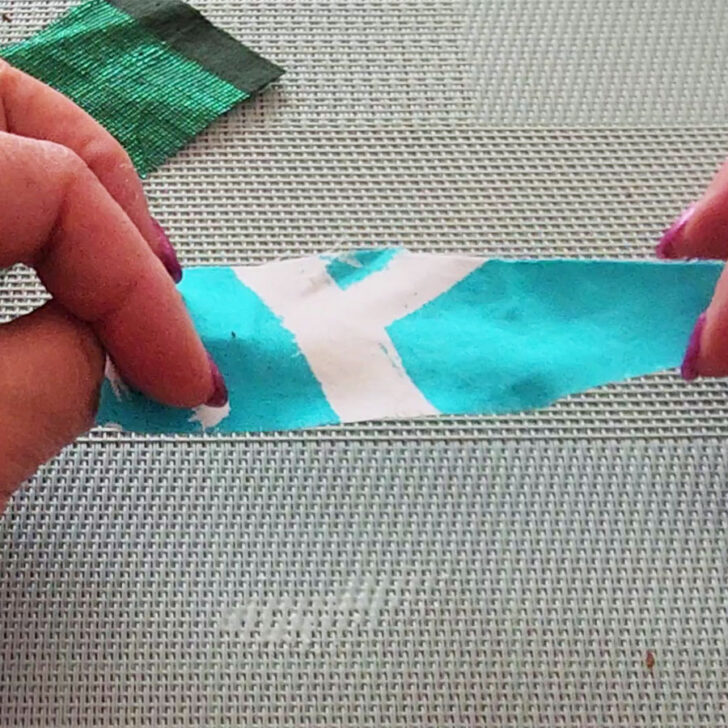
- Choose a fabric glue that’s specifically designed to stop fraying, like a fray check or a seam sealant. These types of glues are made to soak into the fabric and seal the edges without adding stiffness.
2. Trim any loose threads and make sure the edge is straight and clean.
3. Gently apply the fray-preventing glue along the raw edge of the fabric. Use the applicator tip for a precise line, or if the product doesn’t come with one, you can use a small paint brush or toothpick for better control.
4. The glue should cover the entire raw edge but try not to saturate the fabric (which can be difficult, because Fray Check is pretty runny). You want just enough glue to seal the edge without making the fabric stiff or leaving a residue.
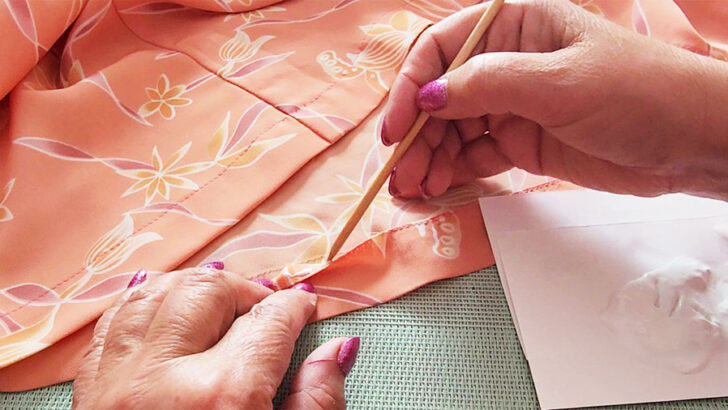
5. Let the glue dry fully.
6. Once dry, gently tug at the edge to ensure the glue holds and the fabric doesn’t fray.
Using the right fabric glue to finish edges is a quick alternative to overcasting stitches and can be especially helpful for fabrics that are prone to fraying or for projects where sewing isn’t feasible and you want to keep things from unraveling. It’s nice because it doesn’t make the fabric stiff; it stays bendy and moves like normal.
But, there’s a downside. On some types of fabric, fray check might leave marks. Like in this picture, you can see how it’s left a bit of a stain.
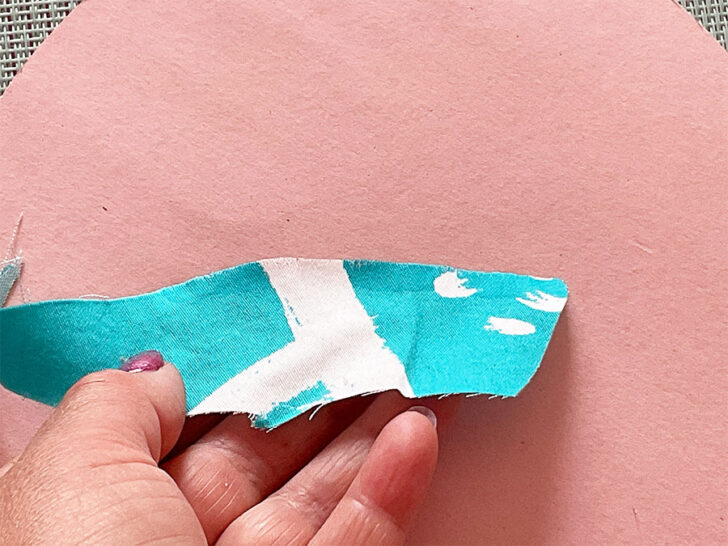
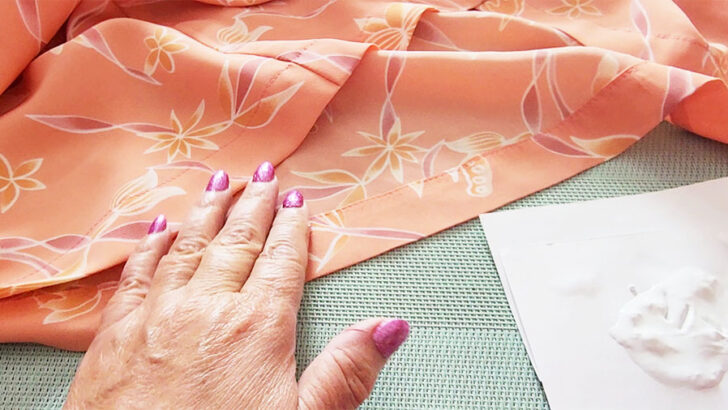
That’s something to think about before you use it, especially on darker or very light fabrics where a mark could stand out. It’s always a good idea to test it on a small spot first to make sure it won’t leave any unwanted marks.
Also, fabric glue can sometimes create a stiff or rough edge, which might be uncomfortable against the skin. For areas where the fabric will touch the skin directly, sewing might be a better option if you need a soft, non-irritating finish.
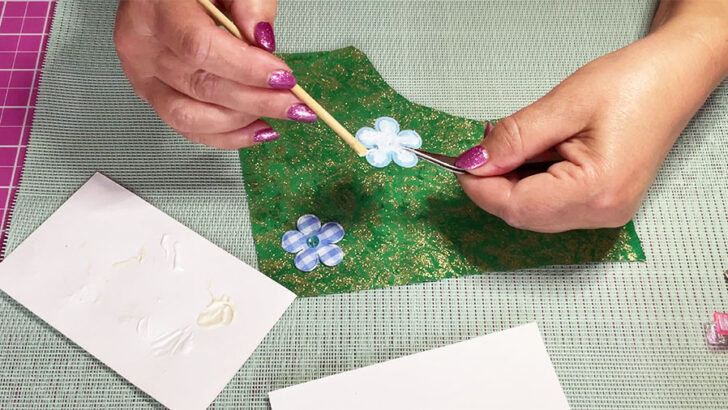
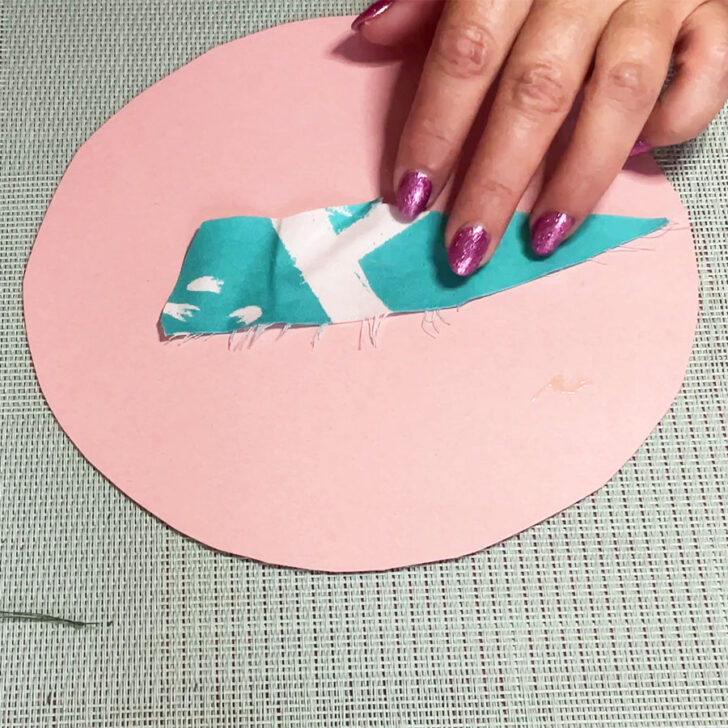
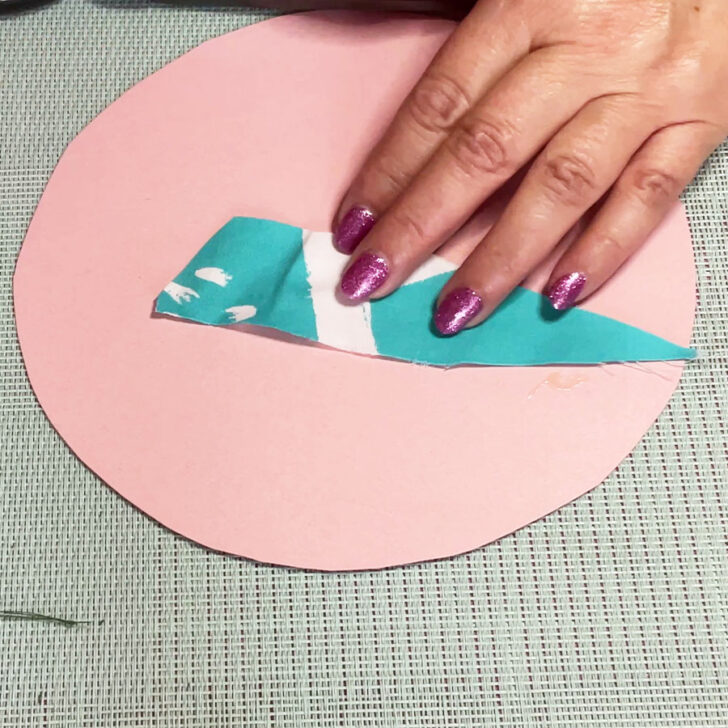
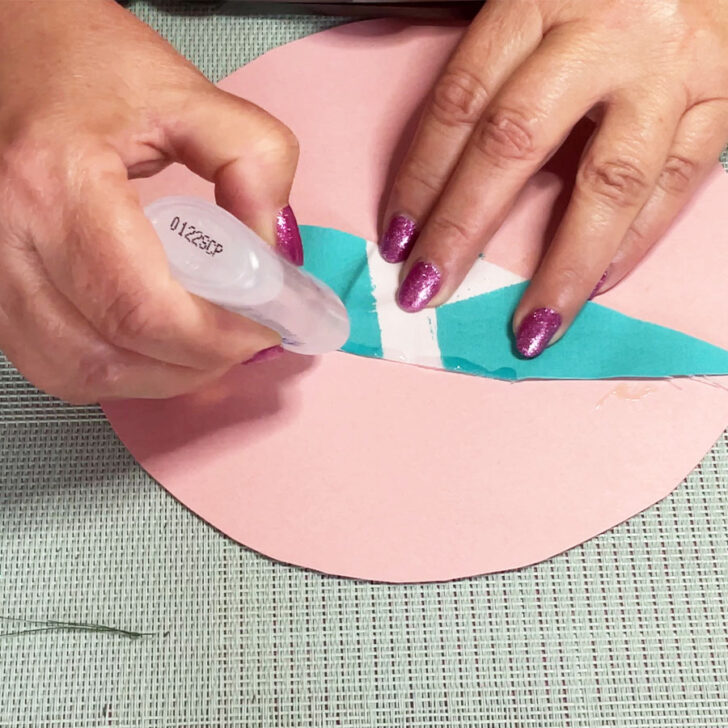
Attaching Appliques, Patches, and Other Embellishments
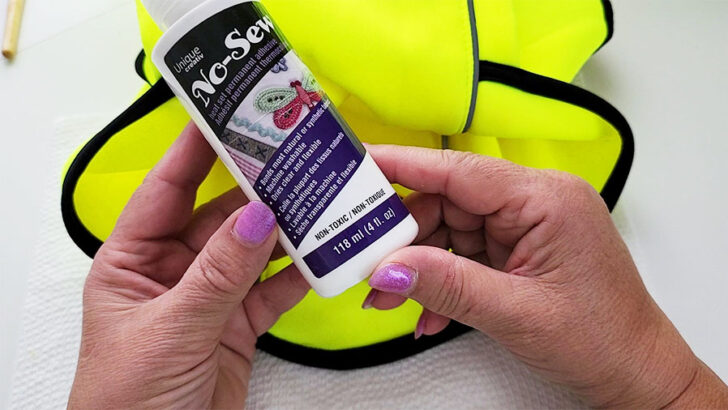
Fabric glue is perfect for attaching appliques, patches, and other embellishments to your fabric projects. Select a fabric glue that’s strong enough to hold your applique or embellishment. It should be washable if you plan to launder the item and dry clear for a clean finish. This is how to proceed:
- Both the fabric item and the applique or patch should be clean and dry. If the fabric is wrinkled, iron it first for a smooth surface.
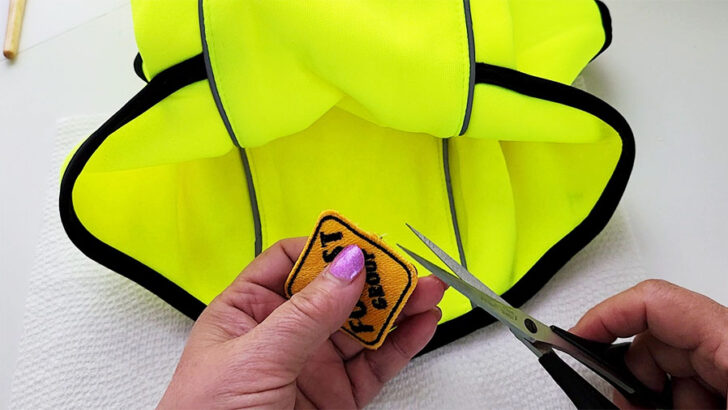
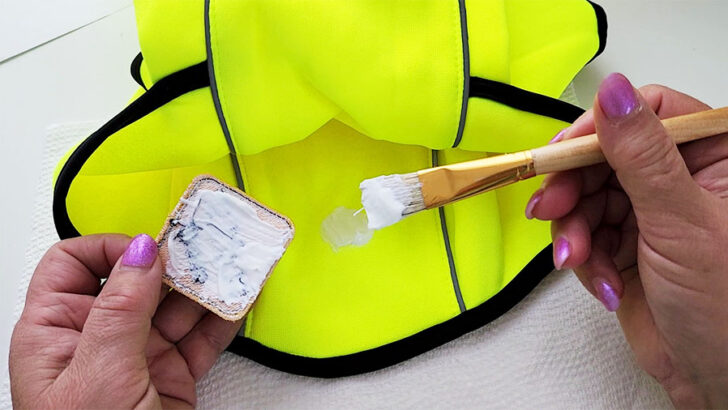
For example, I made a logo patch (with my embroidery machine) for my friend who works in construction. Before I glued it onto the fabric, I had to trim some loose threads from around the edges of the patch. This helps the glue grab onto the fabric better, and it makes the patch look neat and tidy.
You can also buy applique patches, Amazon offers a vast selection to choose from.

2. Put a thin layer of glue on the back of the applique, patch, or embellishment.
Be careful not to over-apply, as excess glue may seep around the edges. Sometimes putting glue just around the edges of the applique should do the trick so the fabric can still move and feel soft. If your fabric is thick, you can use more glue – a little extra will make it all to stick well. For thinner or more delicate fabrics, though, you’ll want to use less glue. Too much might make it show on the front, and you don’t want that. So, just use a small amount to keep things neat.
3. Place the applique or patch onto the fabric in the desired location. Press down firmly to create a good bond.
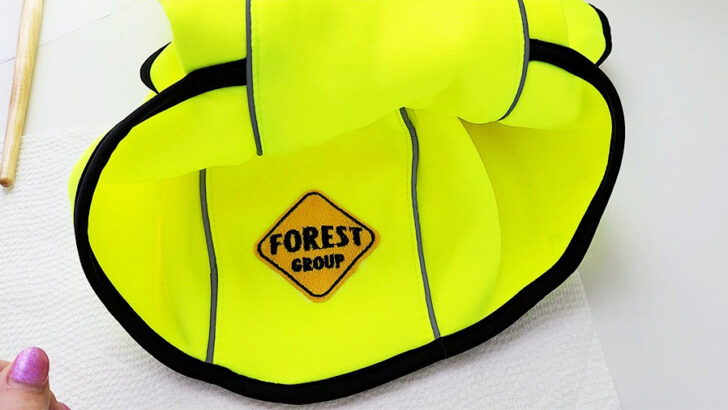
4. You can use a heavy book to apply even pressure over the applique or patch to help secure the bond.
5. Allow the glue to set completely, which may take a few hours. Avoid moving the fabric until the glue is dry.
6. Gently tug at the edges of the applique or patch to ensure it’s securely attached.
Fabric glue is convenient for these types of applications, it’s not always as durable as sewing. For items that will be worn and washed frequently, sewing might be a better long-term solution.
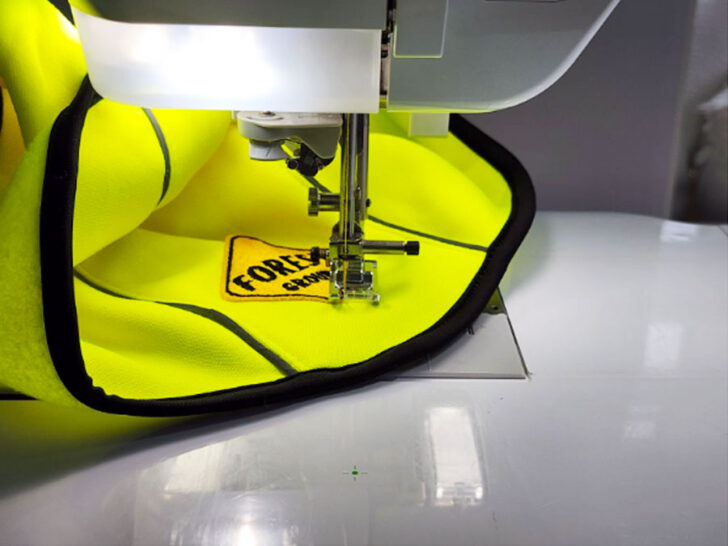
I wanted to make sure the patch I made for my friend would stay put so I sewed it around the edges after the glue dried out.
Fabric glue can be used the same way to attach ribbons, trims, bias tapes, and other embellishments.
Gluing Interfacing and Stabilizers
Instead of sewing, save time by attaching interfacing (not the fusible type, obviously) and stabilizers to material with fabric glue. For projects like this, use spray glue. Simply spray the glue onto the fabric and press the interfacing or stabilizer onto the fabric. Allow the glue to dry completely before using the fabric.
If you want to learn more about which fabric glue is the best one to use with your projects, check out my post How To Choose The Best Fabric Glue For Every Occasion.
Troubleshooting Common Issues
Using fabric glue can be a great alternative to sewing, but, unfortunately, sometimes things don’t go as planned. Here are some common issues you may encounter when using fabric glue and how to troubleshoot them:
Glue Not Drying
If your glue is just not drying close to the time you expected, it could be because you applied too much or it is too thick for the project. To fix this issue, try applying a thinner layer of glue and allow it to dry completely before adding any additional glue. You can also try using a hairdryer on a low setting to speed up the drying process.
Glue Staining Fabric
If you find that your fabric glue is leaving stains, it’s a clear sign that the adhesive isn’t a good match for the material you’re working with. Different fabrics react to glues in various ways. Some might absorb the glue and create a discolored spot, while others might resist the glue and cause it to sit on top, leaving a visible mark.
To avoid this issue, it’s better to plan ahead and test your fabric glue before starting your main project. Choose a small, inconspicuous area on the fabric, or better yet, use a scrap piece of the same material for the test.
Put a small amount of glue on the test fabric patch just as you would in your project. Give it the same amount of drying time as you would for your project to see the final result. Once dry, check the test area for any signs of staining or change in the fabric’s texture or color.
If the test reveals staining or damage, you’ll need to find a different glue that’s more compatible with your fabric. Look for fabric glues labeled as “non-staining” or those specifically formulated for use with your fabric type. Read the manufacturer’s guidelines, as they may include helpful information about fabric compatibility.
Glue Not Holding
If your glue isn’t holding a good bond, it could be because the surfaces were not clean or dry before applying the glue. Always make sure the surface of your material is thoroughly clean and dry before applying fabric glue. You can also try using a stronger glue or adding more glue (in small amounts) to the area.
Glue Stiffens The Fabric
If your glue is making the fabric feel stiff, it could be because the glue isn’t flexible enough or you applied too much to the material. Before you work with fabric glue, always check ahead of time that you’re using one that’s designed to be flexible and stretchable, and apply it in a thin layer (use just enough to create the bond you need).
Glue Creates Air Pockets
Once in a while (especially if you’re heavy-handed when applying glue), you can get air pockets in your fabric glue. This scenario can be frustrating if it dries this way because the air pocket can compromise the strength of the bond and create unwanted bulk or stiffness. To prevent air pockets, make sure to press the surfaces together firmly and smooth out any wrinkles or bubbles while the glue is still wet.
Glue Isn’t Machine Washable
Using fabric glue can be a nice and easy fix for many material-related issues. But using an adhesive that can’t withstand machine washing can create a headache for cleaning. I highly recommend checking the label on the packaging before you use it to make sure your glue is machine washable.
Fabric glue can be a great alternative to sewing in many different ways, but choosing the right glue and applying it correctly will be the keys to your success. I hope this post helped answer your questions about how to use fabric glue so that you get great results every time!
latest posts
- What Do You Call a Person Who Sews? I Asked My Readers and Got 1,408 Opinions
- DIY Round Purse: PDF Sewing Pattern and Detailed Instructions
- Mini Wonder Clips By Clover: Useful Sewing Tool Or Just Another Notion?
- Non-Slip Grips For Quilting Rulers: A Small Notion With A Useful Job
- Fabric Eraser for Sewing: What It Removes and When to Use It
- What Is The Best Thread For Sewing Machine Projects? Let’s Find Out!
- Butterfly Quilt Block Tutorial – Foundation Paper Piecing
- How To Sew Quilt Squares So The Corners Match
- Sewing With Fork Pins: How They Help With Pattern Matching, Slippery Fabric, And Seams