
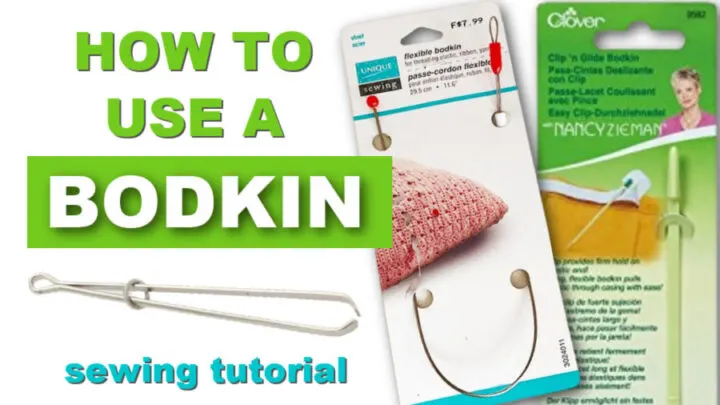
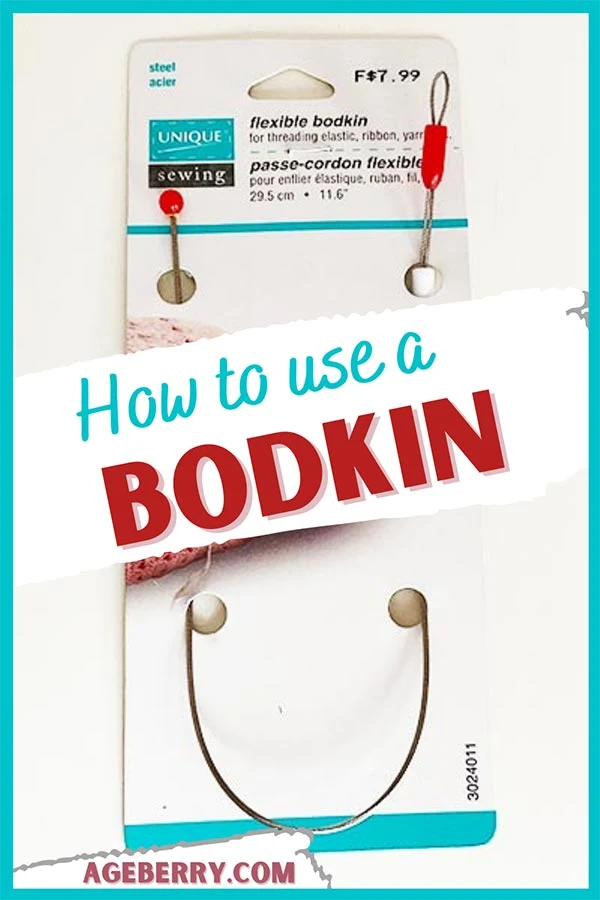
In this sewing tutorial, I want to talk about a BODKIN – a simple sewing tool with an unusual name that can be used to insert elastic or string into a casing. But it is also more.

I am going to present the following topics:
- Types of bodkins
- How to use a bodkin for:
- Inserting elastic
- Turning tubes of fabric right side out
- Turning tubes of fabric right side out
- Inserting drawstrings, ribbons, and trims in a casing
- Ribbon weaving
- Pulling elastic or string from the casing
- Antique bodkin
- What can you use instead of a bodkin?
Princeton’s University Wordnet database defines the word like this:
- S: (n) poniard, bodkin (a dagger with a slender blade)
- S: (n) bodkin (formerly a long hairpin; usually with an ornamental head)
- S: (n) bodkin (a small sharp-pointed tool for punching holes in leather or fabric)
- S: (n) bodkin, threader (a blunt needle for threading ribbon through loops)
The origins of the word seem to be of Celtic roots which are actually of little importance to us.
Looking at a bodkin I dare you to guess its functionality, especially since it comes in many unexpected shapes. I myself own three different types. I KNOW I have three types but I only found two. The third is probably in a safe place somewhere and doesn’t like to have its image taken.
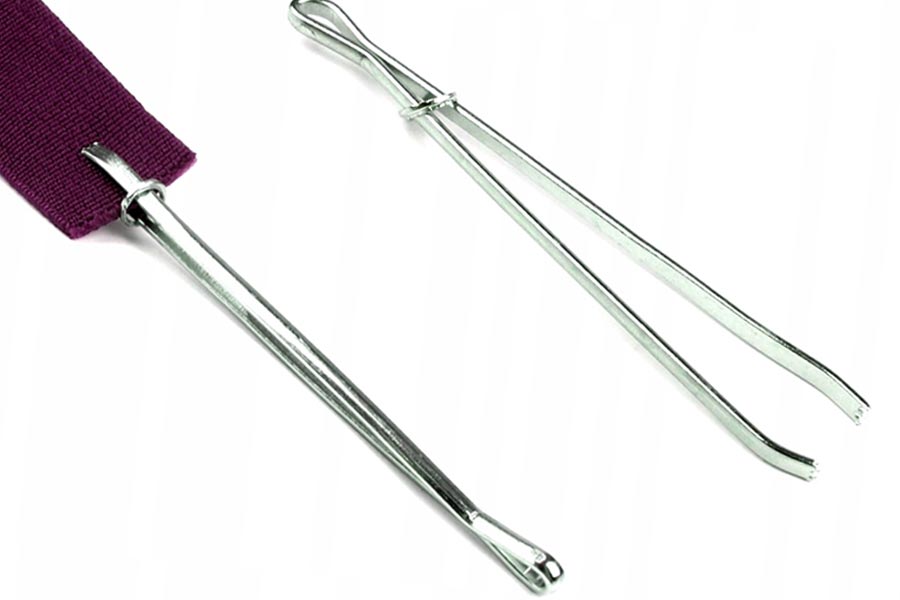
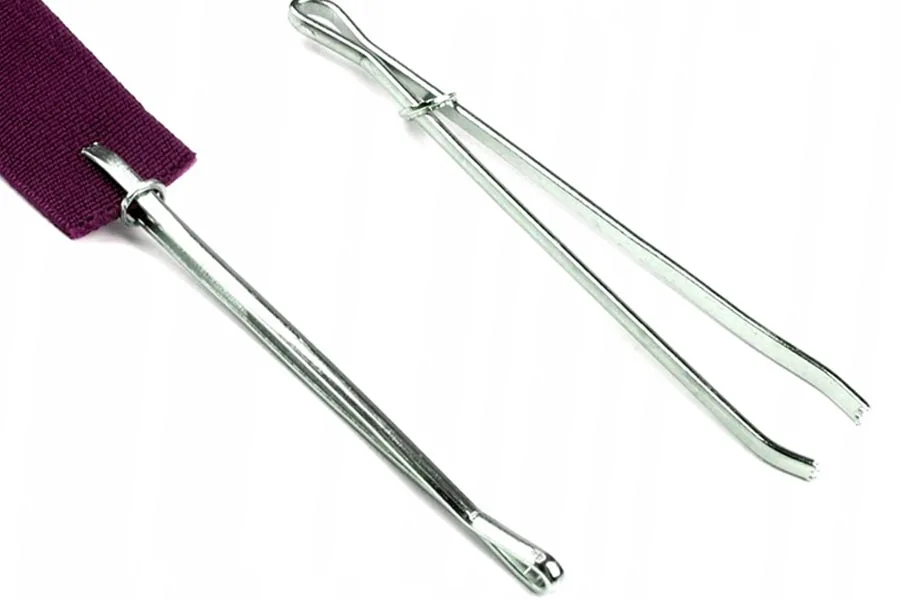
Picture of a bodkin
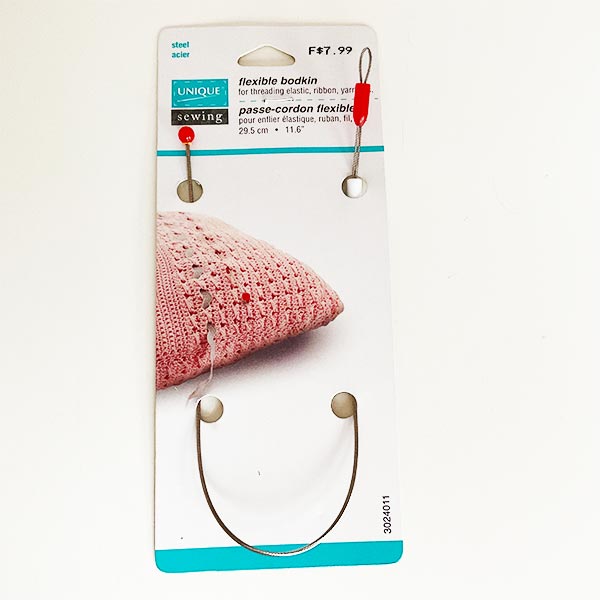
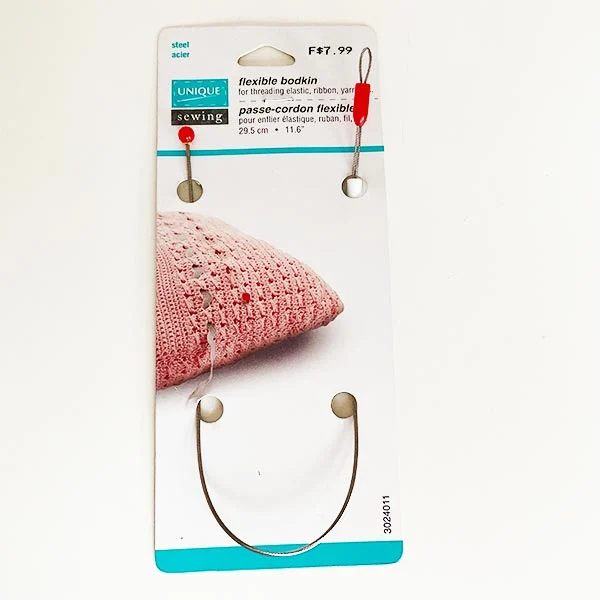
A Bodkin always has an elongated shape which allows it to go through the casing easily, even if it’s very thin. It can help to insert elastic, cording, ribbon, or trim through a fabric casing without the need to take out stitches. Some bodkins are designed to help extract old elastic or cording from casing too as in the image above.
Like anything else, once you know what it’s for and how you can use it, it all seems obvious and you may ask yourself how could you live without it!
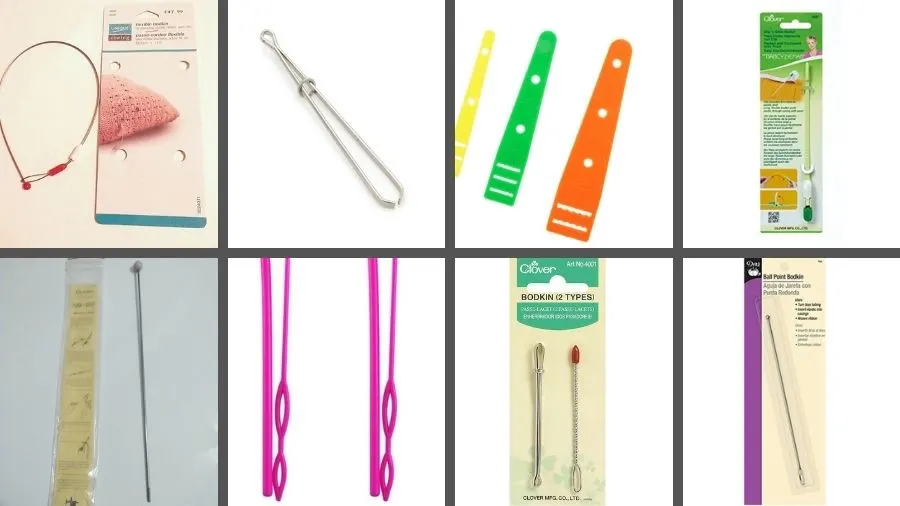
Types of bodkins
Bodkins come in different styles and shapes, all designed to make the process easier. The simplest form is a simple thin rod with a larger head, pretty much like an oversized pin.
But Bodkin is a generic term for a family of tools like the images below show.

How to use a bodkin
A bodkin can be used for many things – drawing elastic back through waistbands of sweatpants, and skirts; drawing ribbon or webbings through casings; turning out fabric tubes; inserting cording, or extracting it, and probably more.
Inserting elastic

To insert elastic with a bodkin you need to attach the elastic to the bodkin and secure it. Either tighten the ring on the device until the elastic is secured, make a knot, or simply insert the elastic like a thread in the slot and pull it like you would when you thread a needle with a double thread.
Next, place the rounded end of the Bodkin into the opening of your elastic casing. Why the rounded part? Because otherwise you risk snagging and damaging the material. Push the bodkin all the way through the casing, just like you would if you were using a safety pin, pulling the casing back from the bodkin. Just make sure that you don’t lose the elastic somewhere, do not pull on the elastic, just on the metallic part. Of course, if you have attached it well, this should not be a problem.
Once the elastic is all the way through, just loosen the tiny ring, untie the knot, or pull one of the elastic ends (depending on how you fastened the elastic) and take the bodkin off of the elastic. It IS easy, right?
But you might say “I already did this with a safety pin, what a big deal”. True. But the safety pin is small and difficult to maneuver inside the casing, while the bodkin is much longer and it slides easily. Personally, I found a bodkin much easier to use than a safety pin!
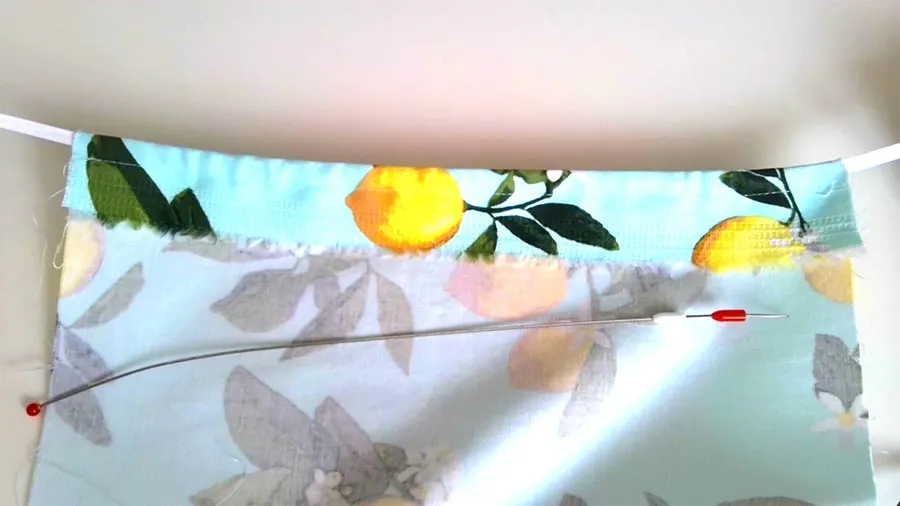
Turning tubes of fabric right side out

- Start by locking a thread tail in the bodkin. Your tube will be attached at that end to the bodkin’s eye. Or slot.
- Slide the ball into the fabric tube.
- Push the bodkin through the tube gathering your fabric over the bodkin. The tube will start folding onto itself as you advance the bodkin.
- Continue the process until the bodkin comes out on the opposite end of your tube. Pull the tube all the way through until your tube is completely right side out.
- If the fabric seems stuck at any point, don’t tug on it because you may rip the bodkin out of its place. Instead, loosen it gently so that the gather can slip past each other.
Inserting drawstrings, ribbons, and trims in a casing
You can also use a bodkin to thread not only elastic but also ribbon or cord through any kind of casing. Using it with a ribbon (which doesn’t stretch) is even easier than with elastic, the ribbon will slide easier than the elastic through the casing. But the procedure is the same.
Simply secure the ribbon, cording, or whatever you have to the bodkin, insert it into the casing and work through.
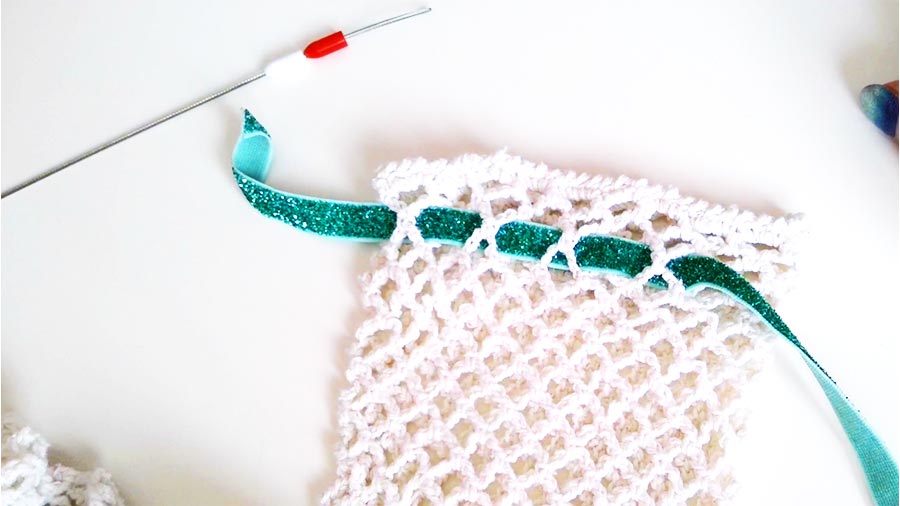
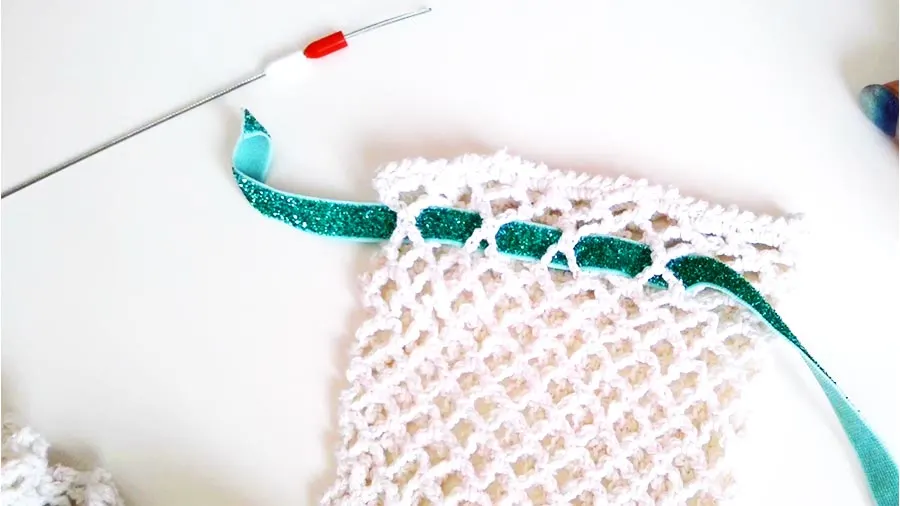
Ribbon weaving
You can weave ribbon through eyelets or trim loops using a ballpoint bodkin. Insert ribbon into the eye of the bodkin. Use the ballpoint end to weave the ribbon through trim loops or eyelets.
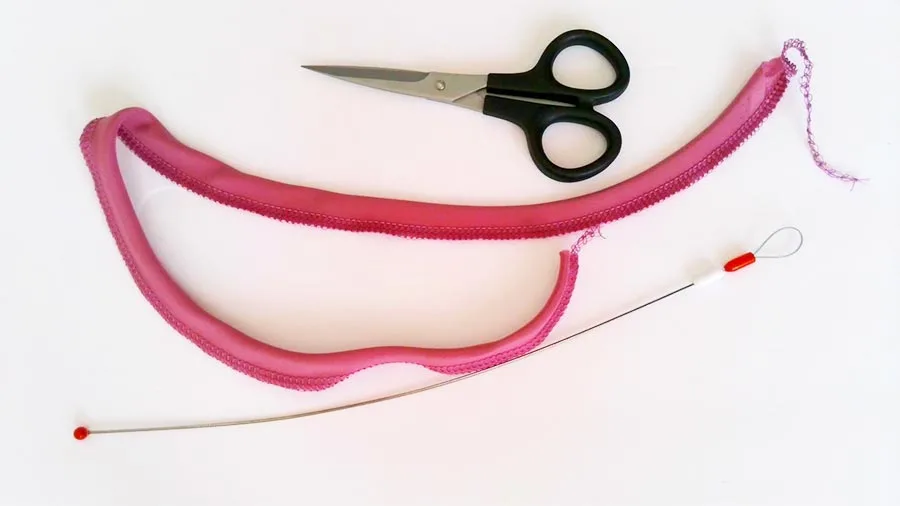
Pulling elastic from the casing
Not all types of bodkin are suitable for this operation; you need the type which is able to hook the elastic, like the one here. This type of bodkin is called pinch bodkin.
Simply insert an open bodkin into the waistband, grab the elastic or cord with the open end of the device, and slide the ring to close the bodkin. The elastic or cord should be now secured to the bodkin.
Now pull the elastic or cord or whatever you need to pull out.
This type of bodkin seems easiest to use for inserting the elastic too because you do not need to work extra to attach the elastic to the bodkin, you simply grab it with a pinch. And because the direction of the pull (when you insert elastic) is favoring tightening the pinch, the elastic usually stays secure in the bodkin.
It took me a while to get the hang of this, but once you get used to it, it’s very easy. Now, if only I could find it!
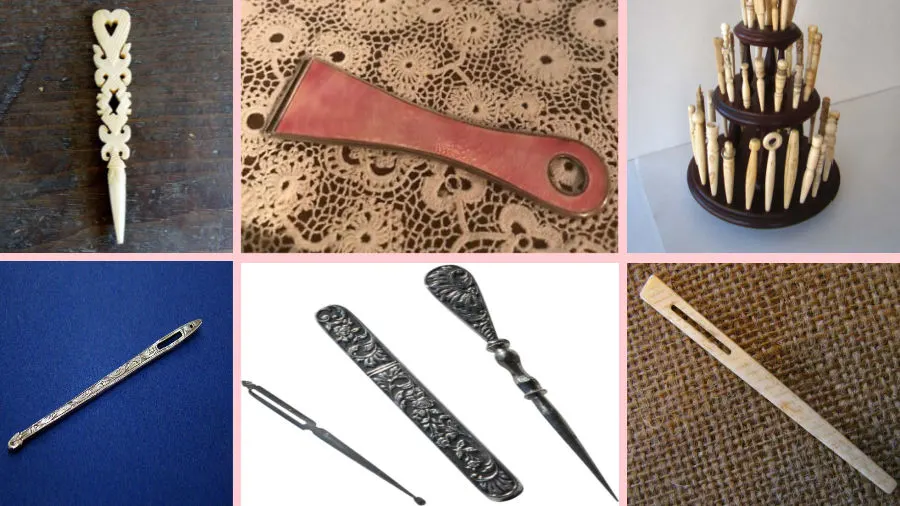
Antique bodkin
This tool is not a modern invention; far from it! Nowadays it’s mostly made out of steel and has a functional shape, but in the past, it was made out of silver or bone and some of them were really a piece of art. Take a look at some images:

Ok. We now know what a bodkin is. But what if you don’t have one handy?
What can you use instead of a bodkin?
A bodkin is as you could see extremely simple and of course, there are many substitutes for it. Perhaps not so efficient, but in a pinch, they will do the job. Let’s see what are our alternatives:

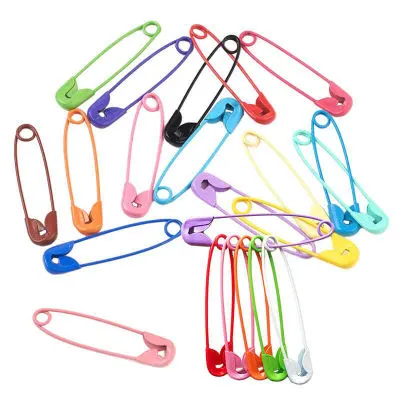
A safety pin! The safety pin has a very serious drawback though: if it somehow becomes open while inside the casing, you may have a hard time extracting it.
Related post: Safety Pins: Types, Sizes and How to Use Them
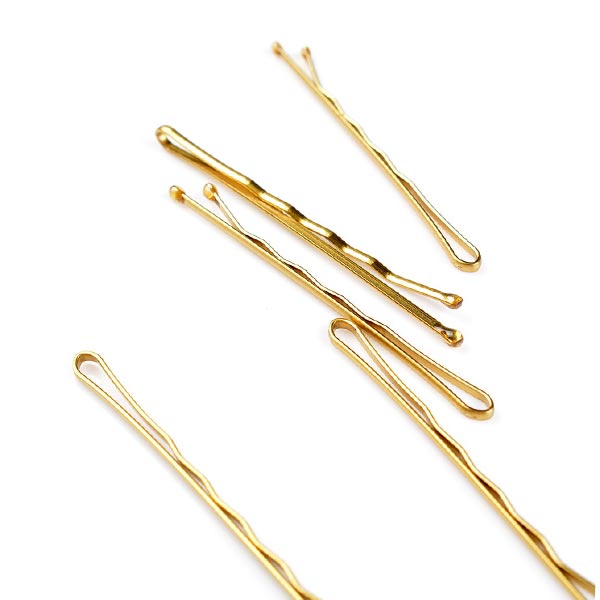

Or a bobby pin, as my grandmother used. This also has a drawback, it tends to snag the casing because the pointed edge is inserted first.
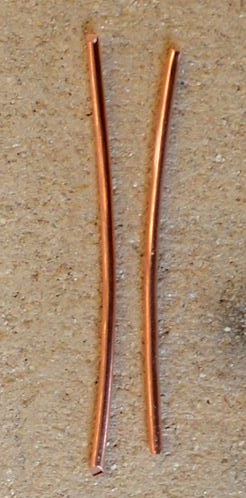
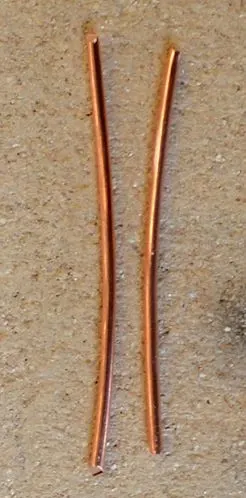
Or a simple piece of cut wire, it can be aluminum, steel, or copper. It has to be stiff enough for you to push through the casing and long enough to allow the casing to gather on it. This you can bend (using a pair of small pliers, for example) at the rear end to make a loop to hold the elastic or ribbon.
Did you find this tutorial helpful? If so, save this pin (see below) on your sewing board so you can come to this tutorial later when you are ready to use a bodkin, and follow me on Pinterest for more tips, tutorials, and inspiration!

latest posts
- Ever Tried This on Your Serger? This Differential Feed Feature Will Amaze You
- Ditch My Sewing Machine? Not in This Lifetime!
- Adorable DIY Needle Book | Easy Tutorial for Beginners
- Master the Seam Ripper: Your Ultimate Guide to Precision Stitch Removal
- Think You Know Zippers? This Installation Guide Might Surprise You
- Why Does Your Seam Ripper Have a Red Ball? Discover Its Purpose!
- Topstitching Troubles? This Simple Trick Will Turn It Around Instantly!
- How to Sew Shirring: A Step-by-Step Guide to Elastic Thread Gathering
- Are Self-Threading Needles Really Useful?
