Easy DIY Potholder Sewing Tutorial: Better Shape, Better Grip, Smart New Design
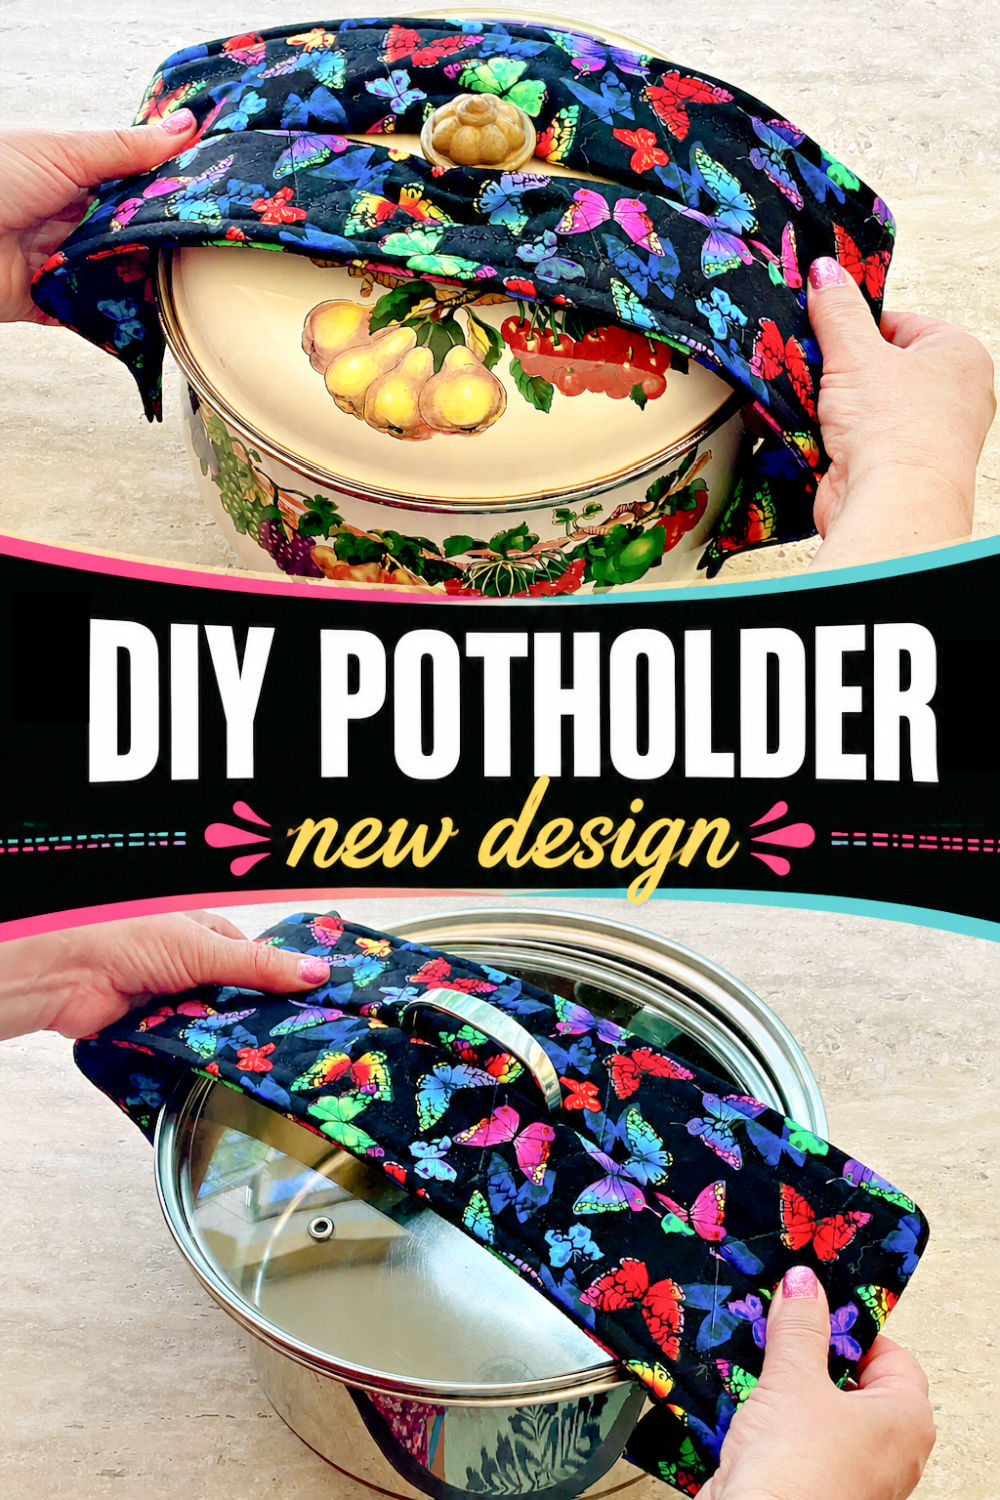
This isn’t your typical potholder that flops around or makes you second-guess your grip. This one is made to hold real pots comfortably and safely.
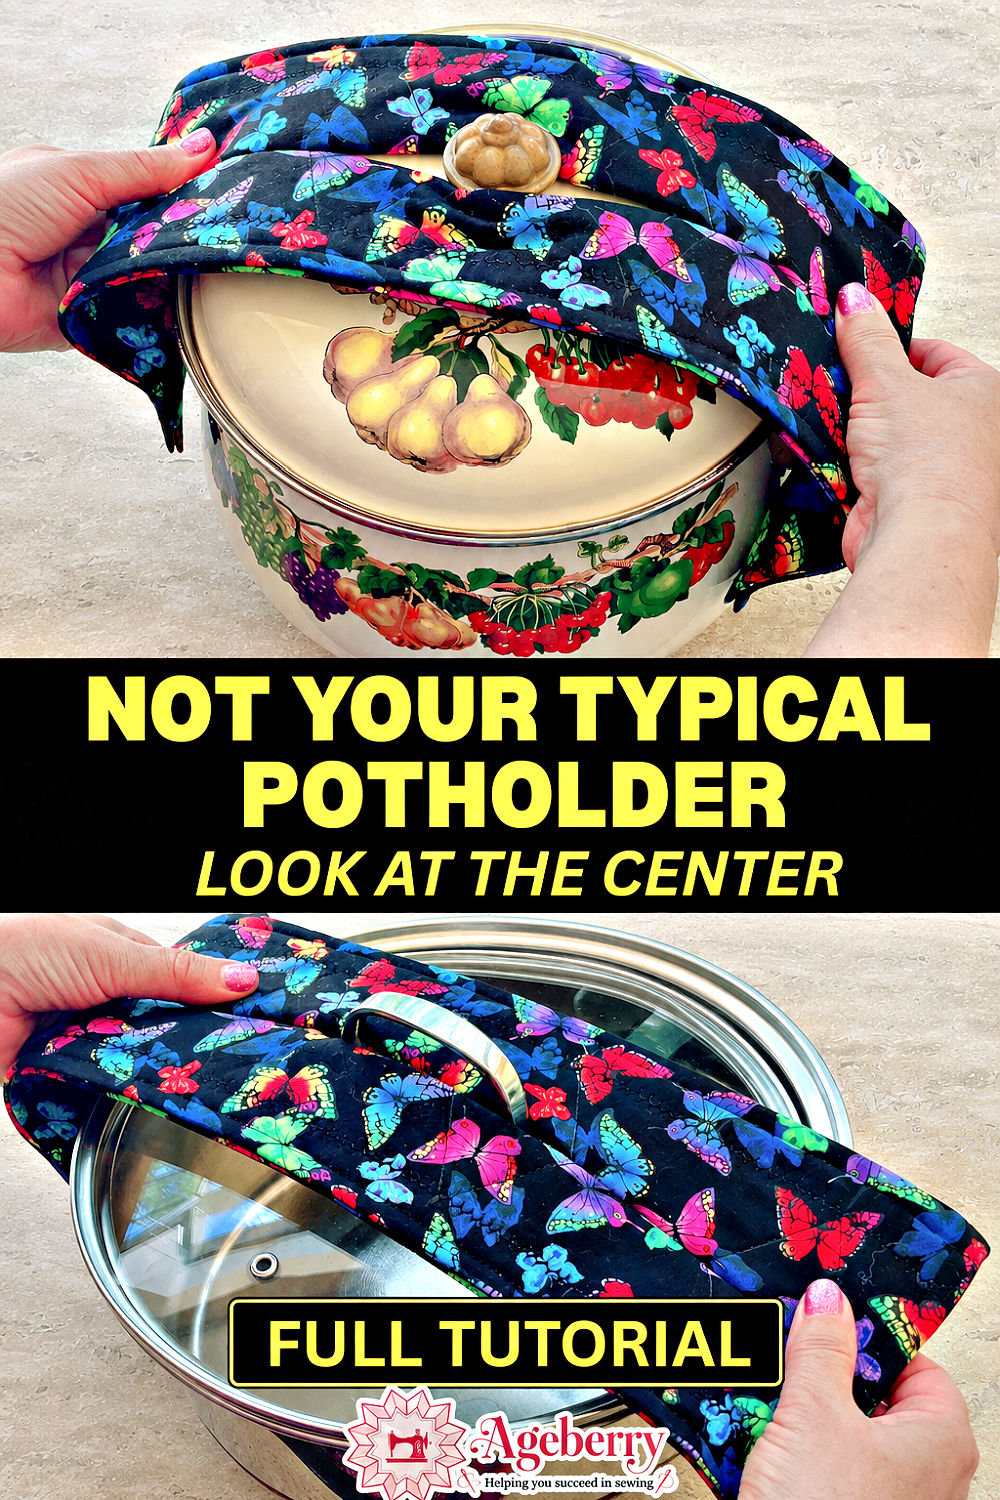
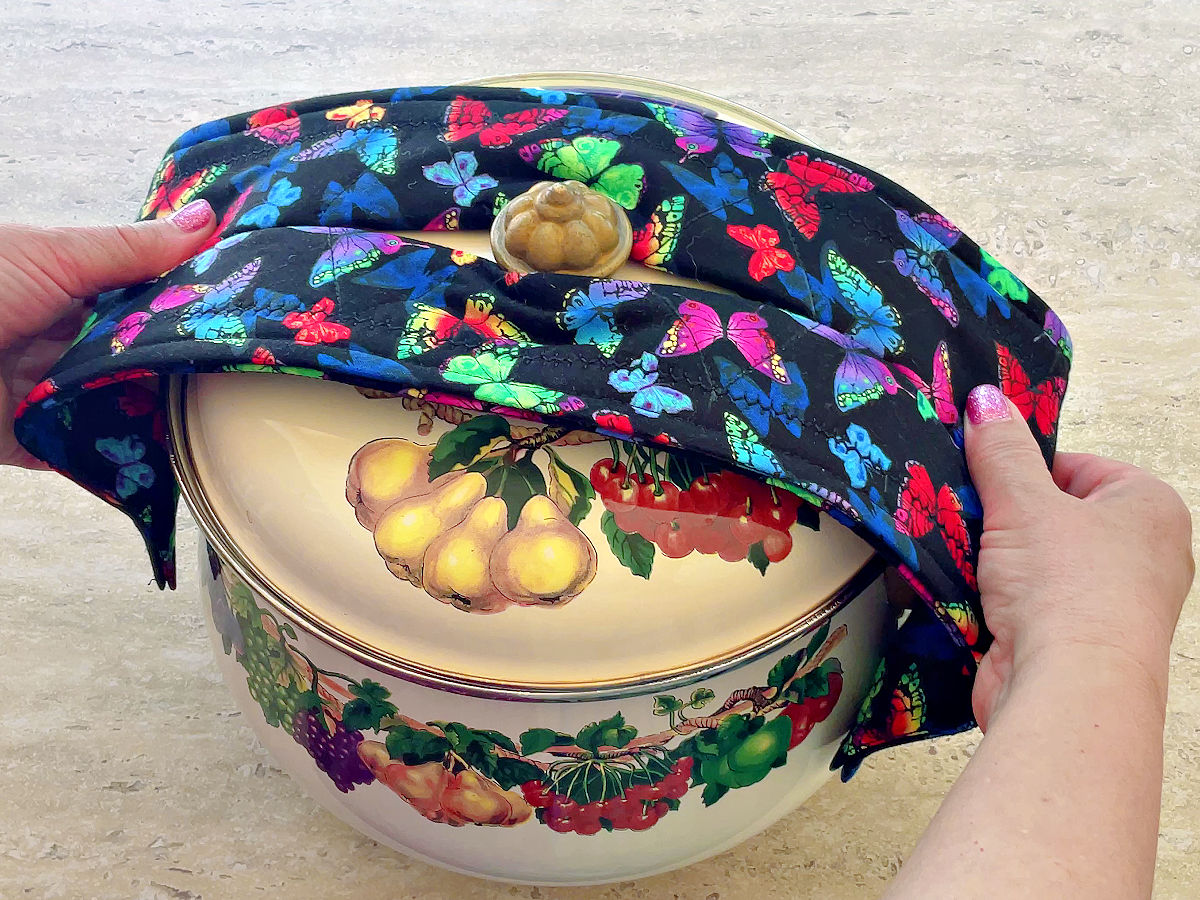
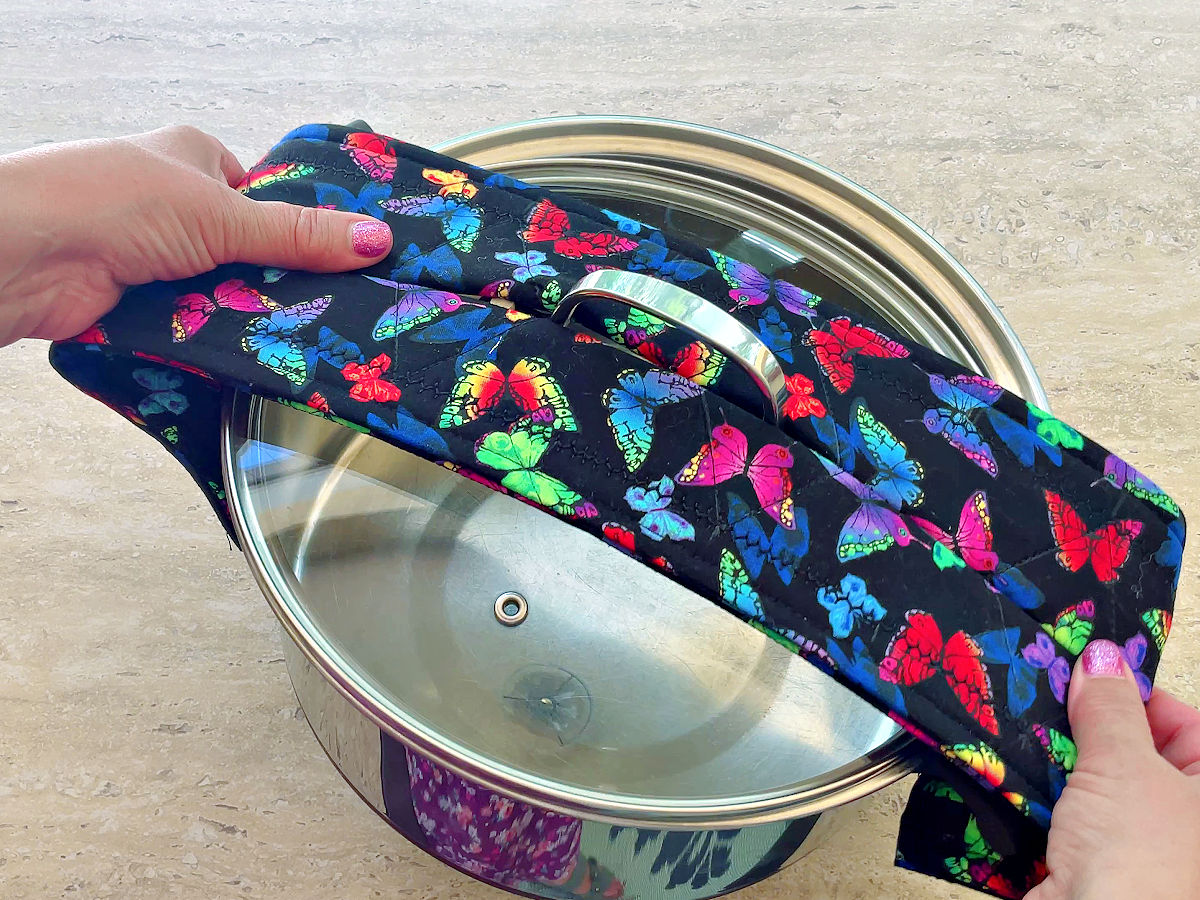
The shape is what makes it different. That opening in the center lets it sit right over the lid handle or pan handle, so you’re not fighting the fabric while holding something hot. It almost “locks in” place.
It’s quick to sew, very practical, and once you use it—you’ll probably want a few more.
Prefer to read without ads?
I created a PDF version of this guide for anyone who likes to keep sewing guides saved, printed, or easy to read without ads. It includes the same helpful information in a simple format you can download and use whenever you need it.
The PDF is available in my shop for a small fee. It’s a nice option if you want to support my work and keep this tutorial close to your sewing machine.
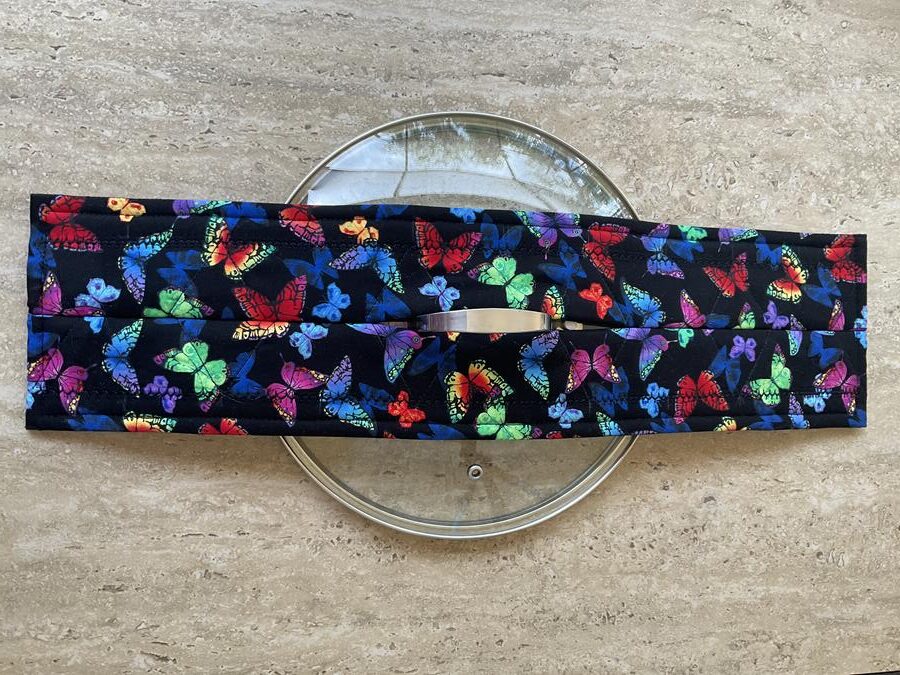
Materials
- Quilting cotton fabric – half a yard (44″ wide)
- Heat-resistant batting – 2 pieces, 5″ x 21″
- Matching thread
- Universal sewing machine needle (size 80/12)
Tools
- Rotary cutter
- Quilting ruler
- Cutting mat
- Fabric marking pen or pencil
- Pins
- Sewing machine
- Magnetic seam guide (very helpful for even stitching)
- Iron
- Tailor’s clapper (optional, but very helpful)

Step 1: Prepare and cut the fabric rectangles
Start with your fabric as it comes from the store — it’s usually folded lengthwise. For this project, quilting cotton is the best choice because it’s stable, presses well, and is easy to cut accurately.
First, press the fabric well. Iron the entire piece, paying special attention to the center fold so it lies completely flat. This step makes a big difference in how straight your cuts will be.
Next, fold the fabric lengthwise again, matching selvage to selvage. Take a moment to align the edges carefully — if the selvages are even, your cut will be straight along the grain.
Before measuring, fix the starting edge. The cut from the store is often not perfectly straight, so use your ruler and rotary cutter to trim a clean, straight edge where you’ll begin.
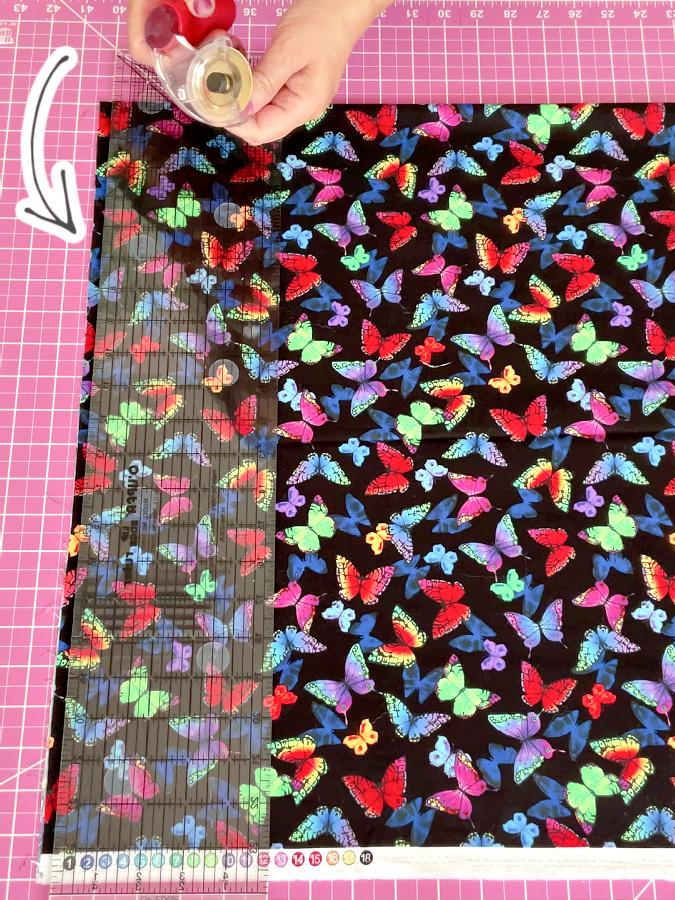
✅ Related tutorial: How to square up fabric
Now keep the fabric folded and measure 6 ½ inches from the cut edge. Line up your ruler with the grid on the cutting mat and cut along the length.
Cut along the full length of the folded fabric. Quilting cotton is usually about 44–45 inches wide, so when it’s folded selvage to selvage, the folded length will be about 22 inches. If your fabric is wider, still cut the full length first, then measure 22 inches on the folded rectangle and trim it to size.
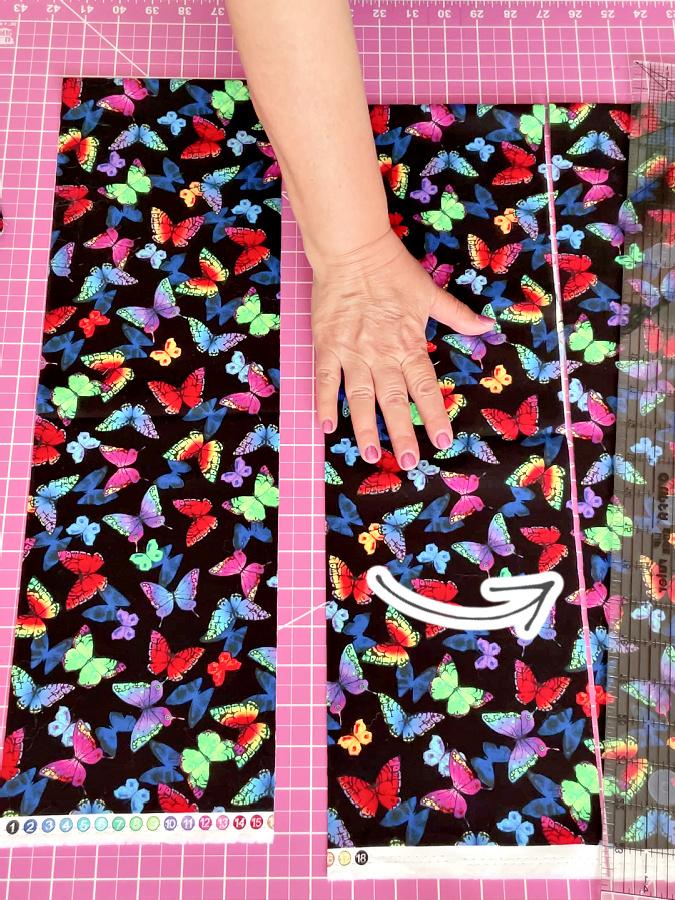
Because the fabric is folded, this gives you a piece that would open to 44 inches long by 6 ½ inches wide — but don’t unfold it. Keep the rectangle folded, since we’ll continue working with it this way.
Repeat the same steps to cut the second rectangle.
After cutting both rectangles, trim off the selvages from the fabric.
You should now have two long, neatly cut rectangles (still folded), ready for the next step.
Step 2: Cut the heat-resistant batting
For a potholder, regular batting isn’t enough — you need something that can handle heat. The best option here is heat-resistant batting, often called Insul-Bright (or thermal batting). It has a metalized, silver foil side that reflects heat, and a soft batting side that adds padding.
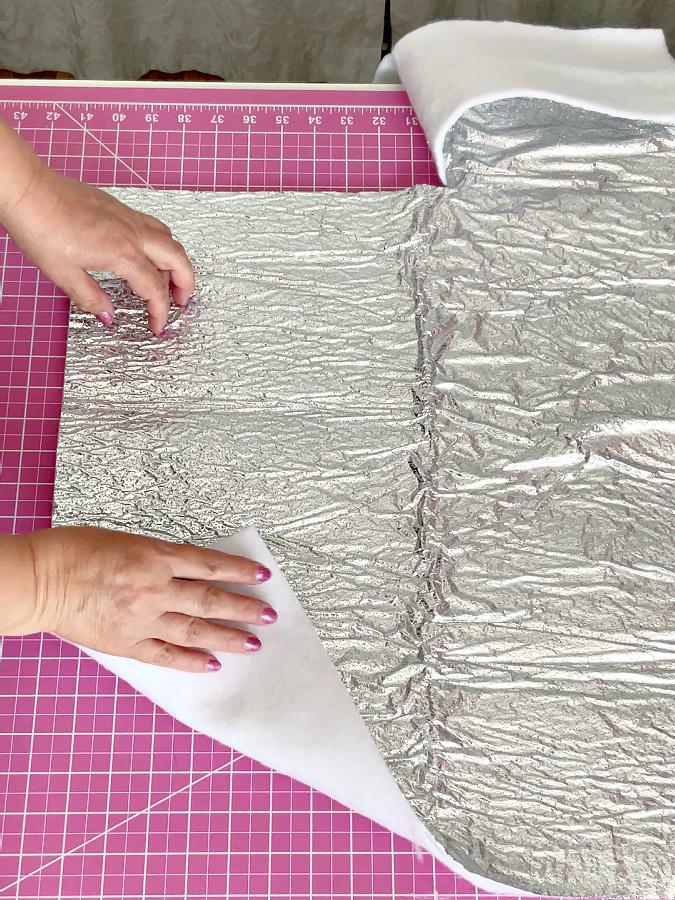
Place the batting on your cutting mat and smooth it out so it lies flat. You’ll notice one side is shiny (that’s the heat-reflective layer) and the other looks like regular white batting.
Using a ruler and rotary cutter, cut 2 rectangles, each measuring 5 inches wide and 21 inches long.
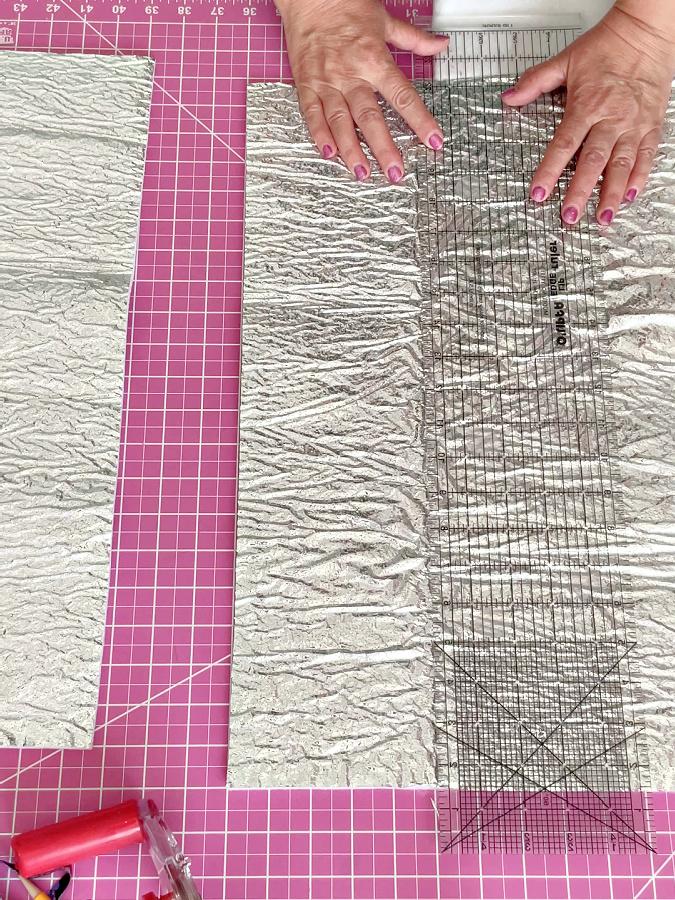
These pieces are slightly smaller than the fabric rectangles on purpose — this helps reduce bulk in the seams and makes the final potholder easier to sew and turn.
Set the batting pieces aside for the next step.
Step 3: Mark and layer the pieces
Open one fabric rectangle so it’s lying flat, right side down.
Using a fabric marking pen, mark the center line along the width (fold line) of the rectangle. Then mark ¾ inch from each long edge.
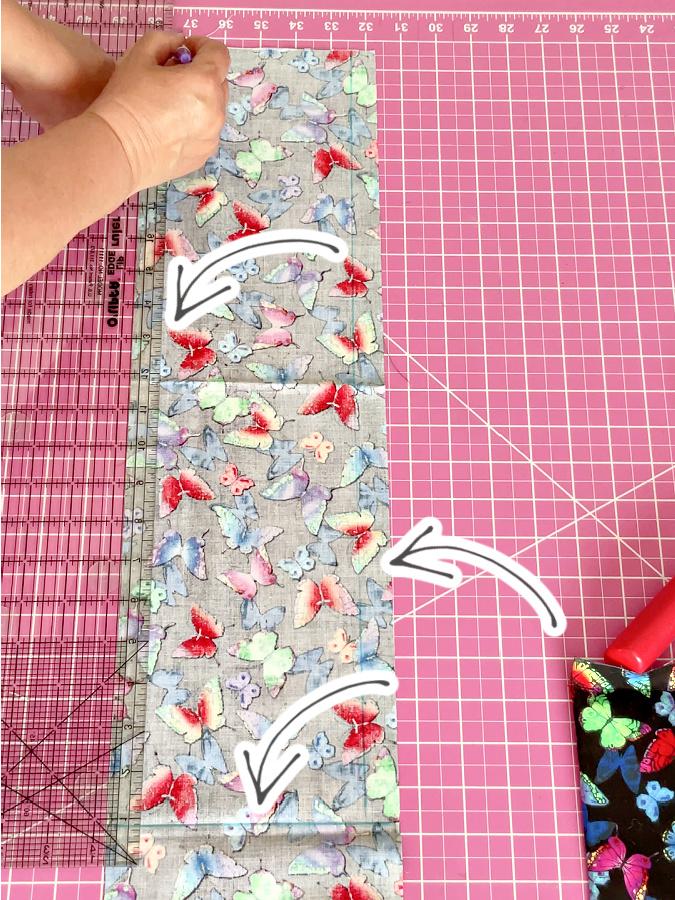
Now place one piece of the heat-resistant batting on top of the fabric. Position it between the marked lines. Make sure the silver (reflective) side is facing up.
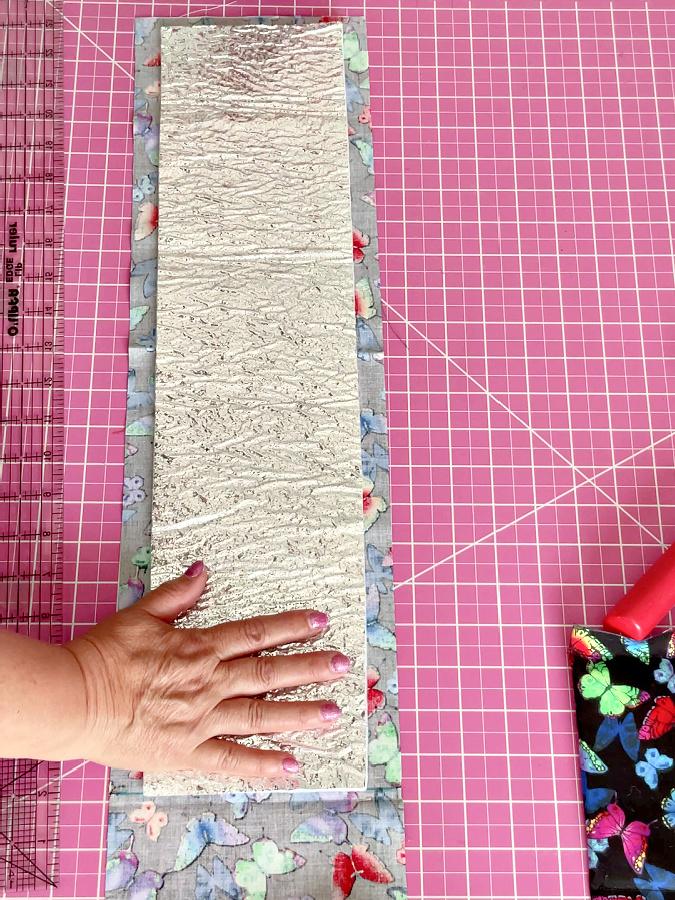
Next, fold the other half of the fabric rectangle over the batting, bringing all edges together so the batting is fully enclosed inside. Make sure there are no wrinkles or shifting layers.
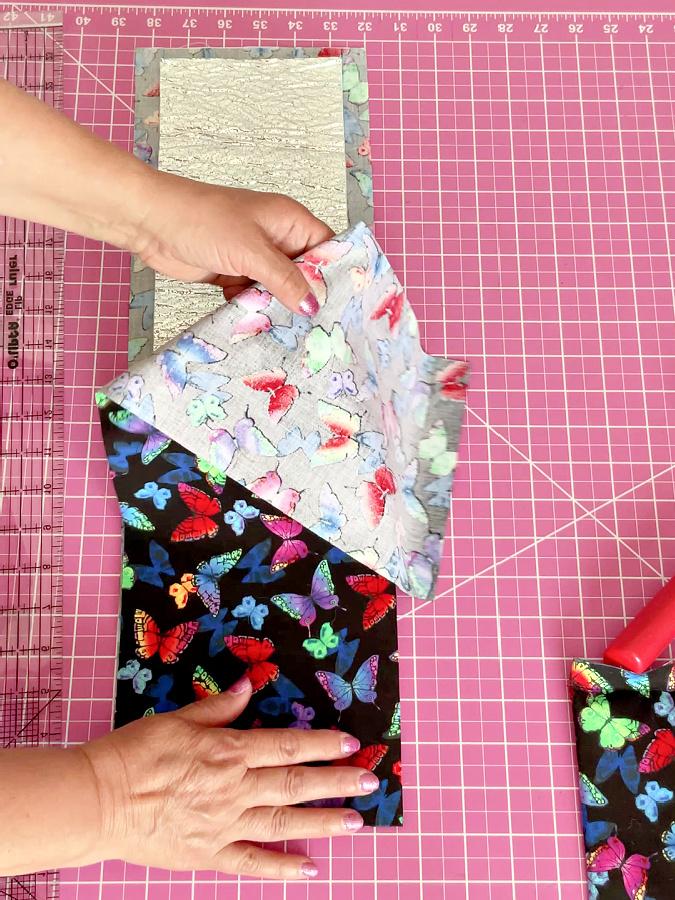
Insert pins along the length to hold all layers in place. This will keep the fabric and batting from moving while you sew.
Before moving on to sewing, finish the short end. One short edge is already folded, so there’s no raw edge there. But the other short edge is raw, and that’s the one you need to finish.
Take that raw short edge and fold the fabric over the batting inside. Smooth it with your fingers and pin in place.
Don’t worry if the two fabric layers don’t line up perfectly at the short end — it’s supposed to look like that at this stage. Just make sure the batting is fully covered and everything is secured with pins.
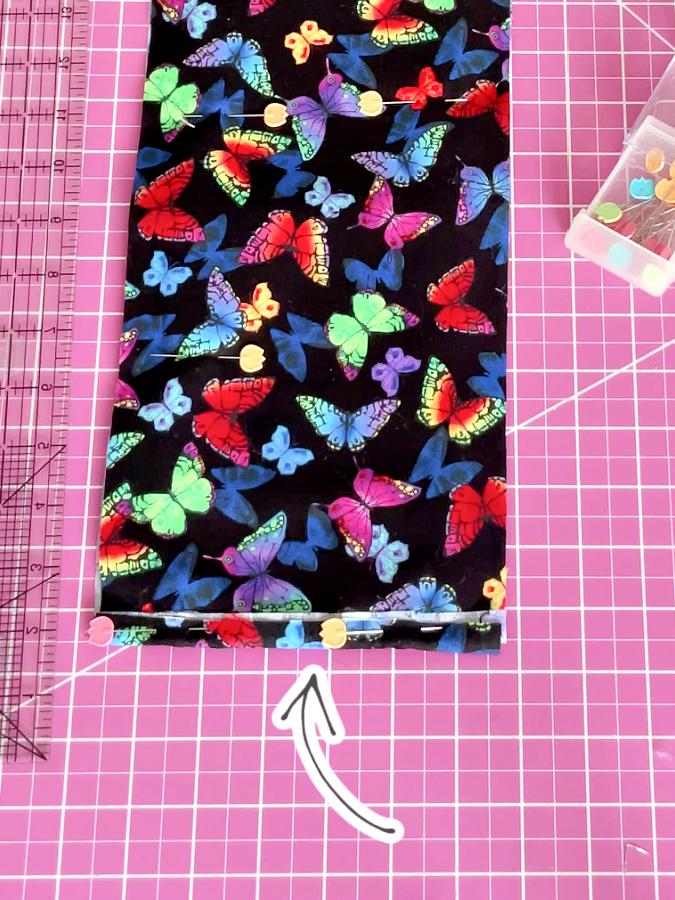
Repeat the same steps with the second fabric rectangle.
Step 4: Stitch along the long edges
Take your prepared piece to the sewing machine.
Set up your machine first: use thread that matches your fabric, insert a new Universal needle size 80/12, and set the stitch length to 3 mm.
Even though you marked the lines earlier, they are now inside and not visible, so you’ll rely on a seam guide instead. Attach a magnetic seam guide to your needle plate at ¾ inch. This will help you keep both seam lines perfectly straight and evenly spaced.
Place the fabric under the presser foot and sew a straight line ¾ inch from one long edge, letting the edge of the fabric run along the seam guide. Then repeat on the other long edge.
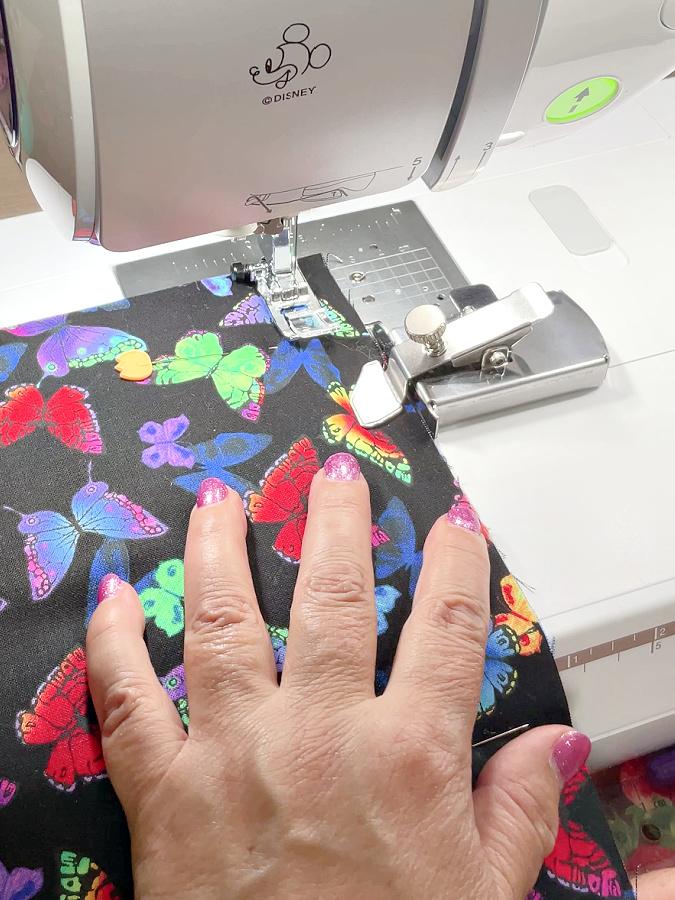
Go slowly and don’t pull the fabric, just guide it as it feeds through.
Repeat the same stitching for the second piece.
Step 5: Quilt the rectangles
At this point, it’s a good idea to quilt the layers together. This keeps everything stable and helps the potholder hold its shape.
You can quilt in any pattern you like — nothing complicated is needed here. I used a simple straight-line quilting approach with a few decorative details.
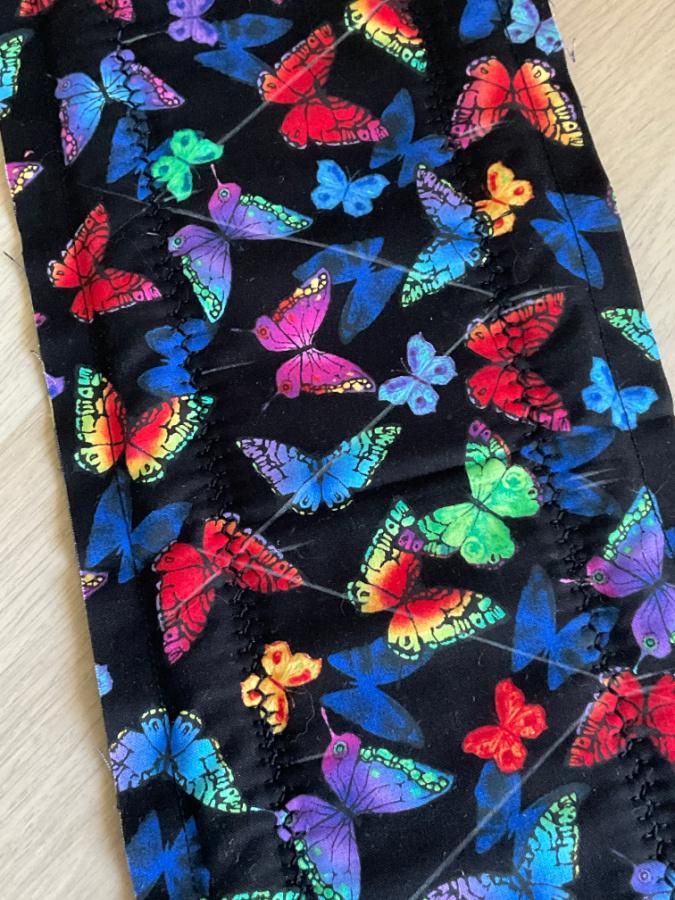
First, I stitched two decorative lines along the long edges of the rectangle, close to the sides. Then I added a few more lines across the piece — not perfectly straight, slightly wavy and organic — just enough to hold the layers together without making it stiff.
As you can see in the image, the quilting is light and not dense. The lines run mostly along the length, with a bit of variation, giving texture without overworking the fabric.
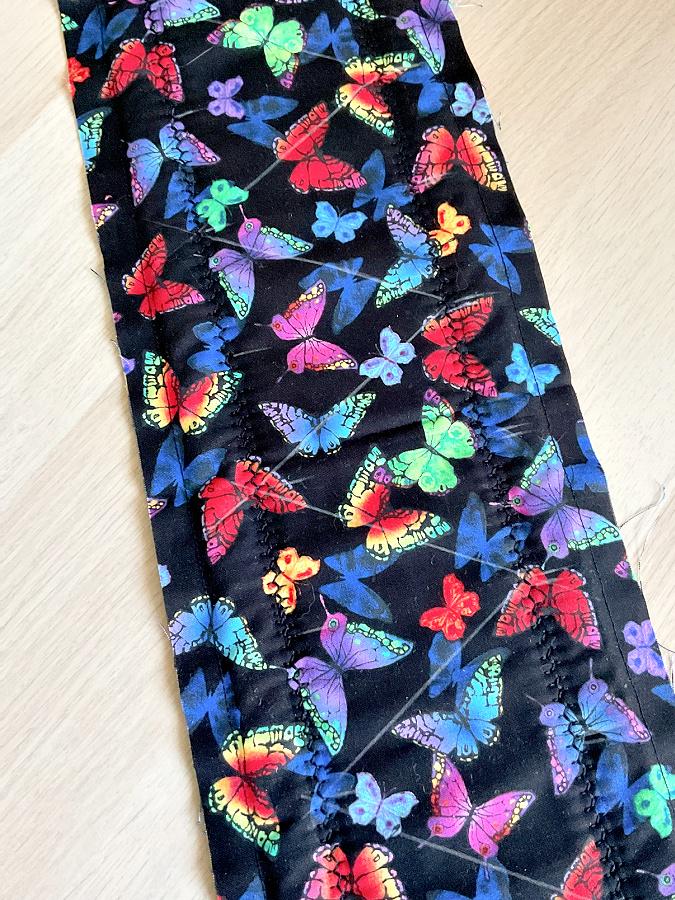
There’s no need to overthink this step — the goal is simply to secure the layers and add a bit of structure.
Repeat the same quilting on the second piece.
Step 6: Fold and press the long edges
Now we need to fold the long raw edges on each rectangle.
Use the stitching lines you made earlier as a guide (on the same side where the short edge is already turned in). Fold each long edge along the ¾ inch seam line, bringing the edge inward toward the center. This creates clean, even folds on both sides.
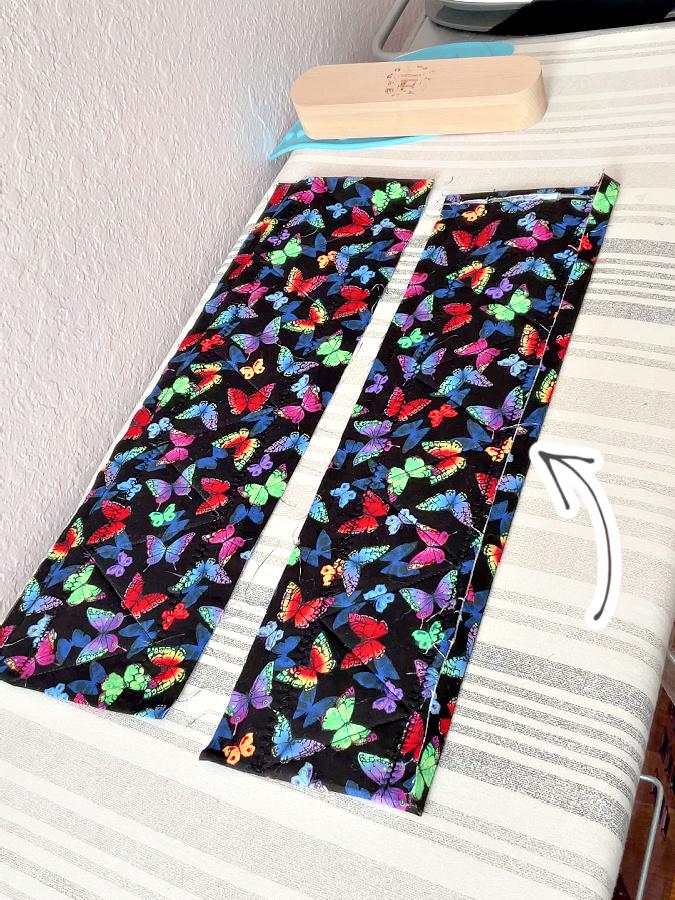
Press the folds in place. A steam iron works best here — the heat and steam help the fabric hold its shape.
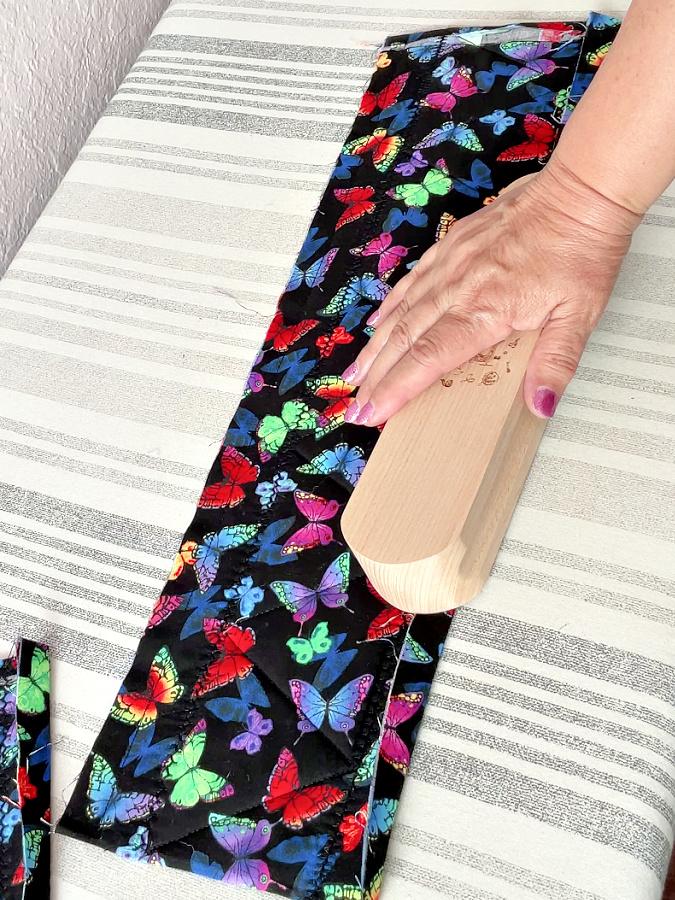
You can also use a wooden pressing tool called a tailor’s clapper. First press the folds with the iron, then place the clapper on top and hold it for a few seconds. It absorbs the heat and locks the folds in place, so the seam allowances stay exactly where you want them.
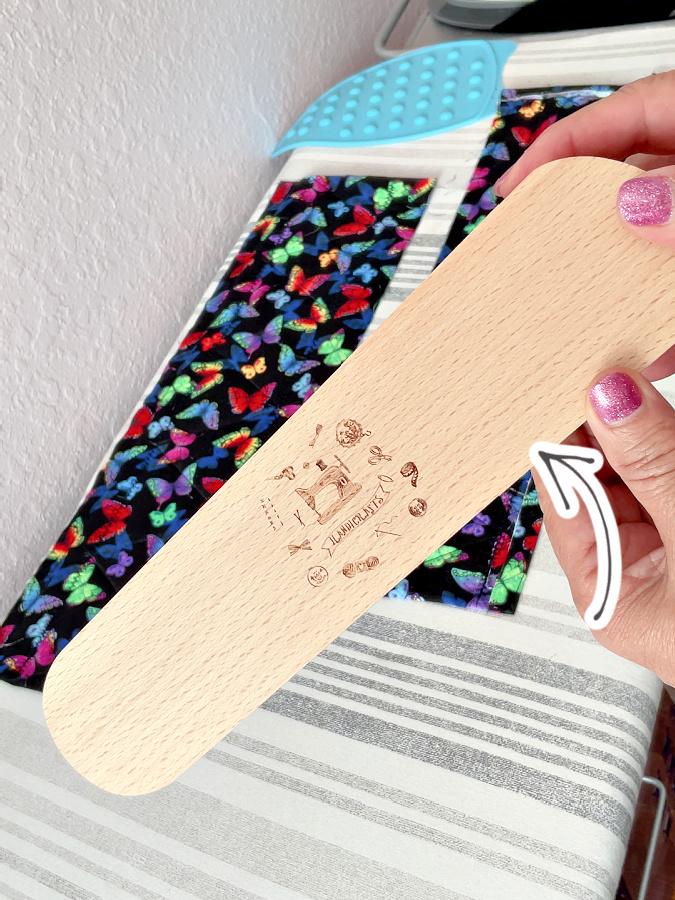
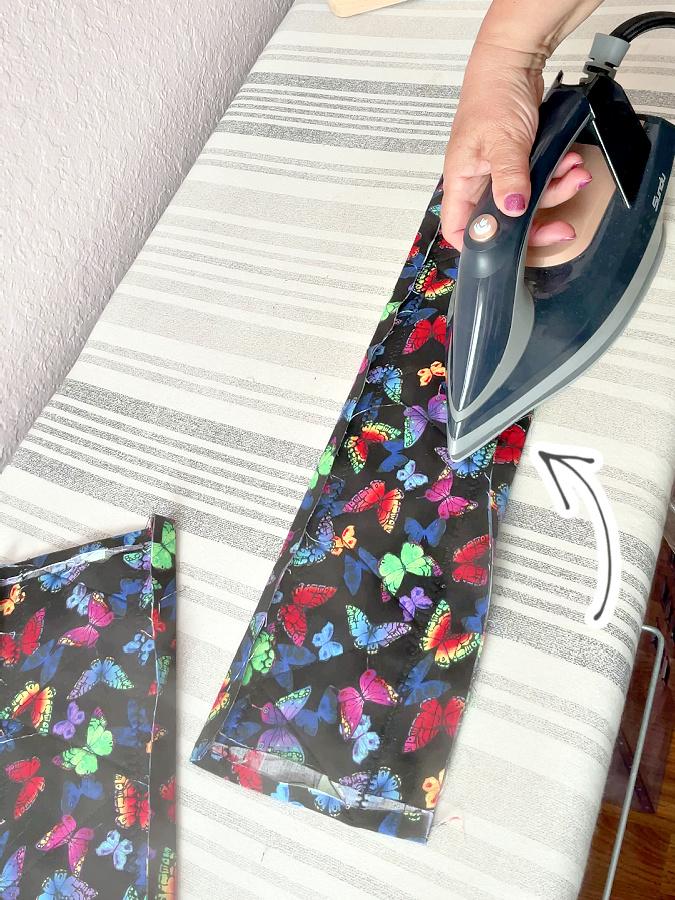
Make sure both long edges are folded neatly and evenly — this will make the next steps much easier.
Step 7: Join the two pieces
Take your two prepared rectangles and place them right sides together, one on top of the other.
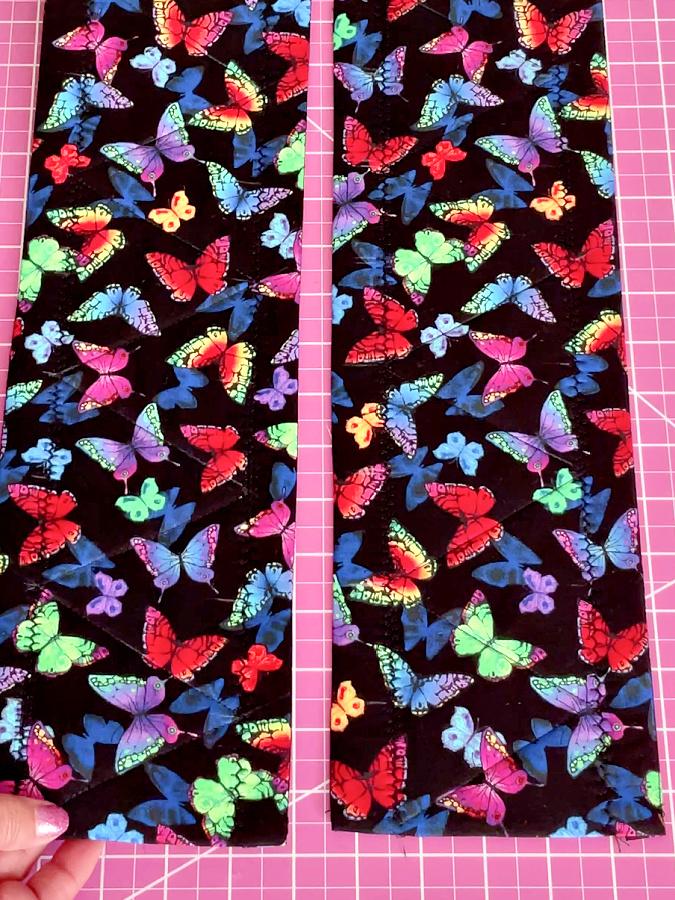
If everything was cut and folded correctly, the pieces should line up nicely. Don’t worry about tiny differences along the long edges — a few millimeters off is perfectly fine. But the short edges must align precisely, so take a moment to match them carefully before stitching.
Smooth the layers and align the edges. Then, using a ruler and a marking pen, draw a straight center line along the length of the top piece.
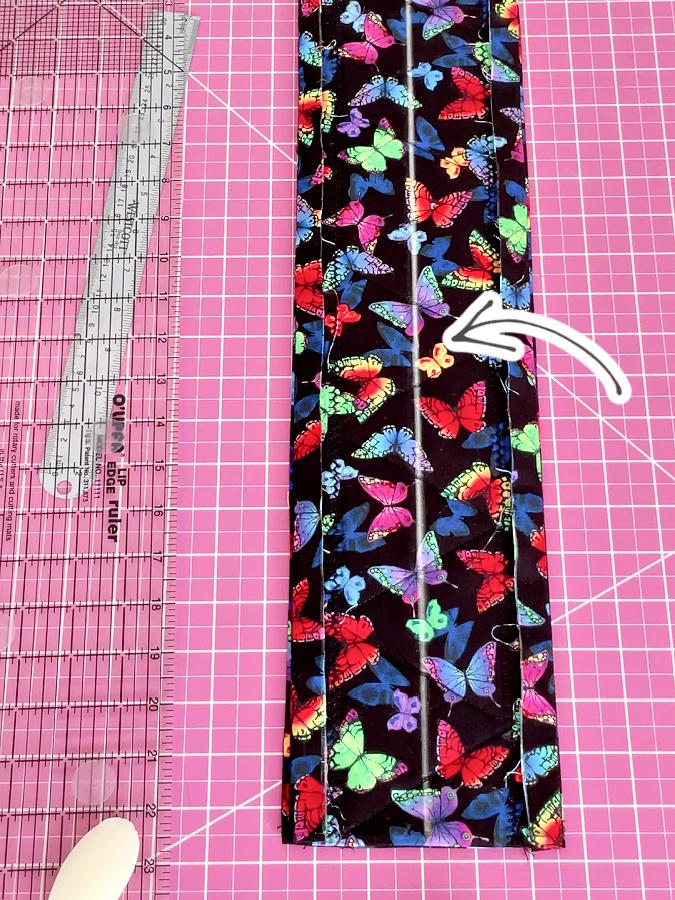
Now find the middle of that line and mark a 6-inch section right in the center — 3 inches to the left and 3 inches to the right of the center mark. This part will stay open, so mark it clearly.
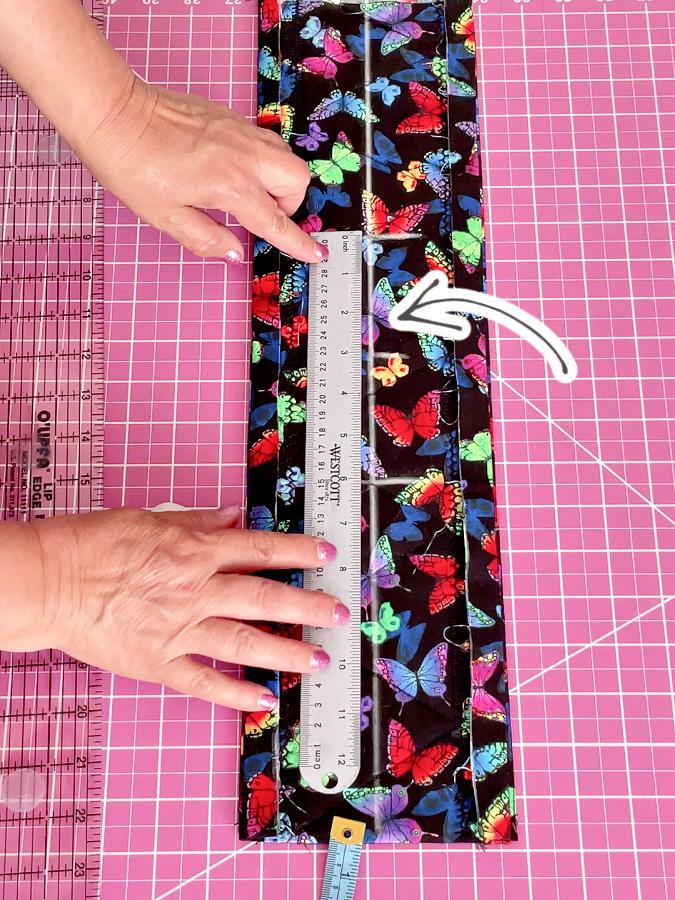
Take the piece to your sewing machine and stitch exactly along the drawn center line, but leave the 6-inch section unstitched. Sew up to the mark, stop, secure, then continue stitching after the marked opening.
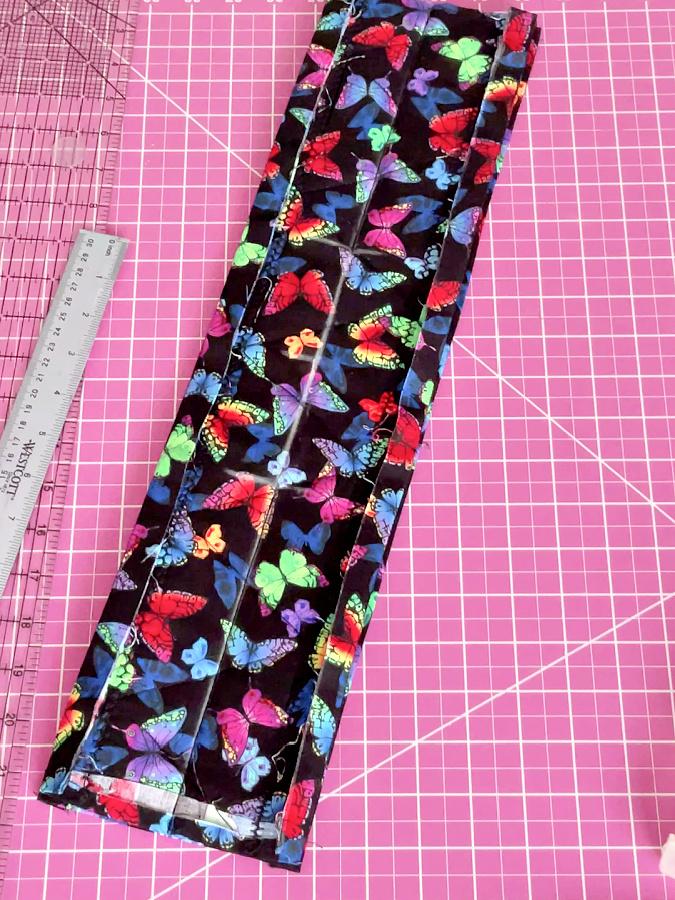
This opening will be important in the next steps, so make sure it stays unstitched.
Step 8: Fold the stitched pieces outward
Now fold the layers away from the center stitching line.
Take one fabric section and fold it outward along the stitched center seam, bringing that half back over itself. Smooth it flat with your fingers and pin.
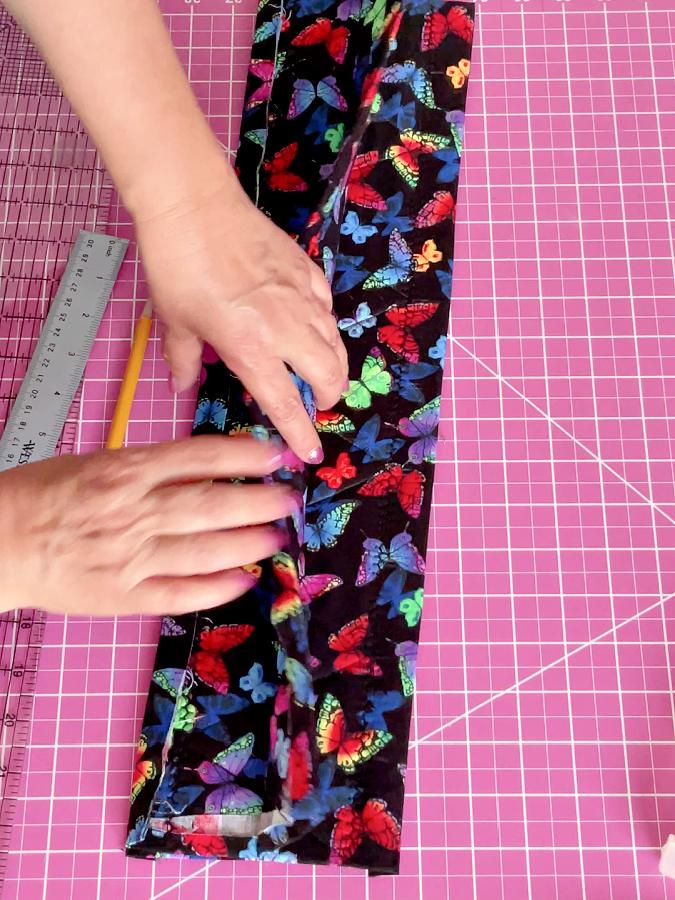
Then do the same thing with the other fabric section on the opposite side. Fold it outward along the same stitched line, smooth it flat and pin.
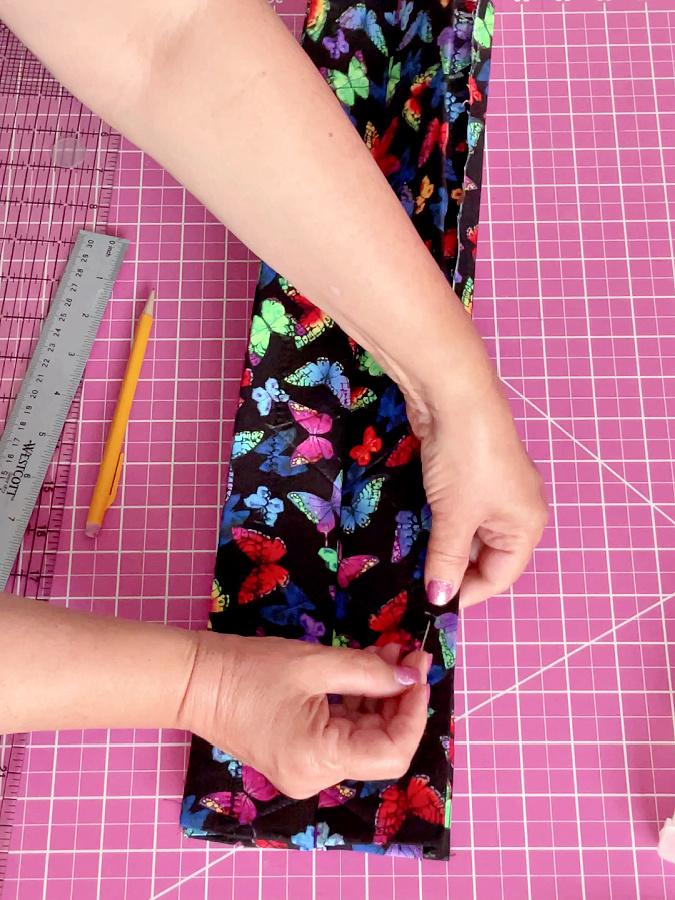
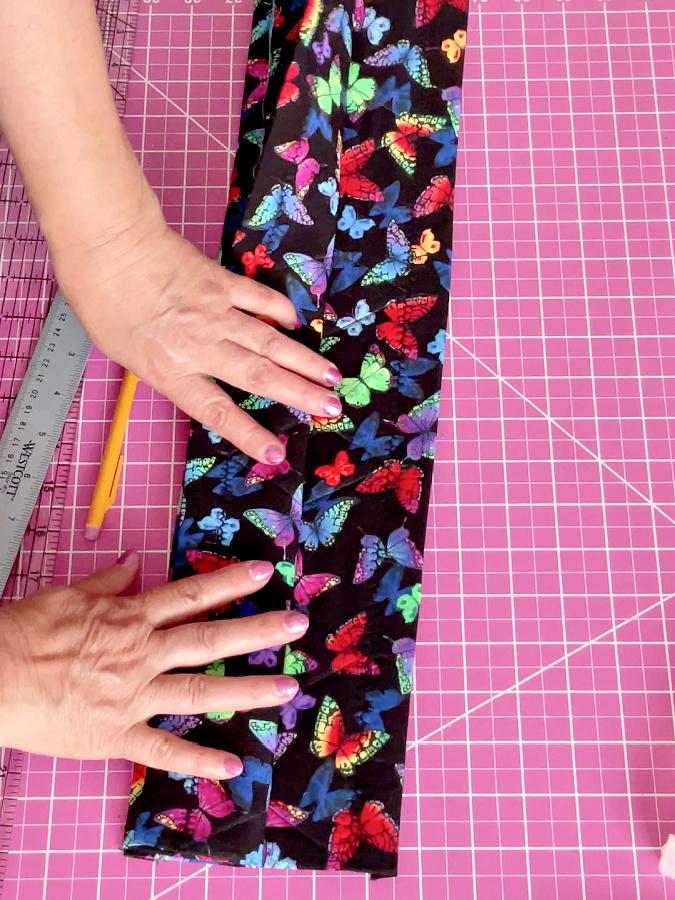
After both sides are folded out, the two long pieces will form one rectangle. The 6-inch unstitched section in the middle will now become the center opening for the pot lid handle.
Step 9: Stitch around the edges and finish
Take your piece to the sewing machine and stitch all the way around the outer edges to secure everything in place.
Don’t stitch too close to the edge. I used the width of my presser foot as a guide — about 9 mm (11/32″) from the edge. This gives a clean, even finish and keeps all layers nicely enclosed.
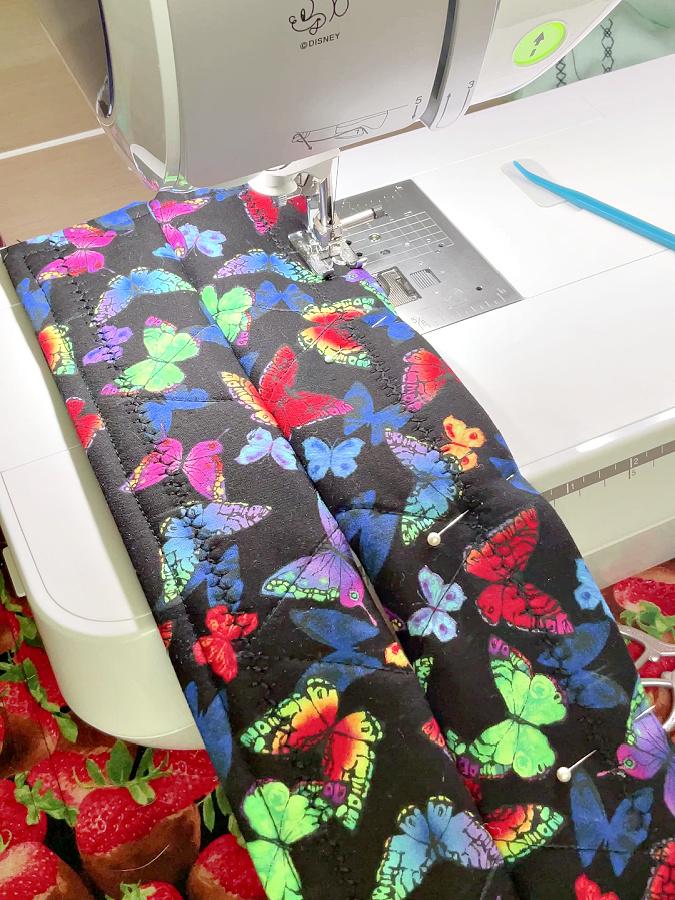
Sew around all sides, pivoting at the corners to keep your lines neat.
When you’re done, give the potholder a good press to flatten everything. Then trim any stray threads and thread tails.
And that’s it — your potholder with a center opening is finished.
Did you find this design interesting? Perhaps you intend to try it? If so, save this pin (see below) on your sewing board so you can come to this tutorial later when you are ready, and follow me on Pinterest for more tips, tutorials, and inspiration!

latest posts
- 10 Easy-to-Miss Features on Sewing Supplies You Should Be Using
- Twin Needle Sewing: My First Try Was a Mess, But Here’s What Worked
- 10 Rules That Made Me a Better Sewist
- How to Make a Lightweight Summer Neck Scarf with a Lettuce Hem
- What Sewists Hate About Sewing: Common Complaints and Practical Fixes
- Knit Presser Foot: How It Works, How to Use It, and My Sewing Tests
- How to Sew Neat Mitered Corners at Acute Angles
- Sewing Machine Needle Organization: A Clever System I Tried
- DIY Car Armrest Organizer: Sewing Tutorial