
How to make a lovey blanket – DIY bunny lovey
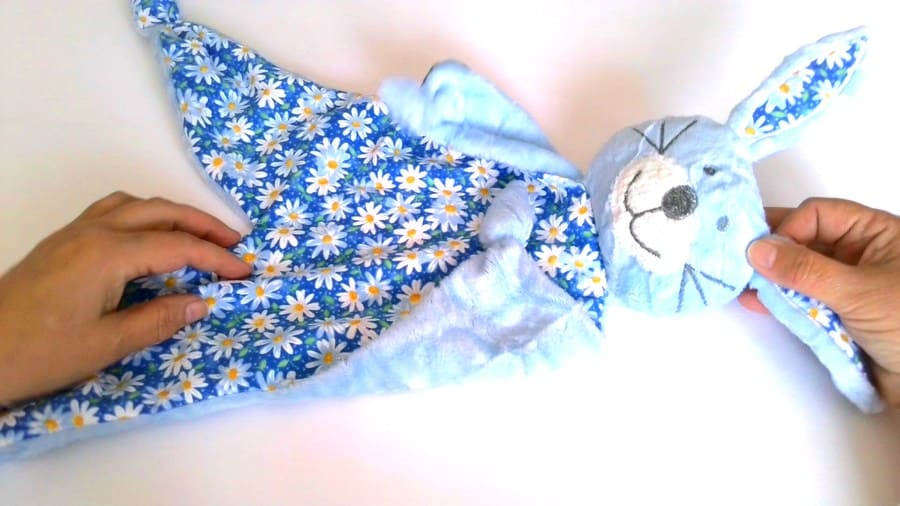
In this sewing tutorial, I will show you how to make a lovey blanket – an ultra soft snuggly lovey with a cute plush bunny head. Babies like to cuddle with their security blankets, the lovey blanket eases them into sleep quickly, provides a sense of comfort, and becomes a first treasured toy for toddlers. The DIY bunny lovey helps babies to feel safe regardless of where they are.
Bunnies have traditionally been associated with Easter for a very long time, Wikipedia tells us that the tradition already existed in the 1600s in Germany. What a lucky coincidence! Since bunnies are soft, non-threatening, and cute, kids of all ages also like bunnies.
Kids from a couple of months old to my age (I won’t say what age, exactly). So here it is, my Easter bunny lovey!
You can sew this bunny lovey as a unique gift for newborn babies and baby showers.
The pattern is free for subscribers to my newsletter and you can find the files to download in my Resource Library. The bunny’s head is done with simple embroidery and applique (and the embroidery design is also free for my subscribers) but if you don’t have an embroidery machine you can easily do it by hand.
I advise you to read the whole tutorial before proceeding with the project.
Attention! If you like the video format, at the bottom of this post, look for a YouTube video version where there is a step-by-step tutorial on how to make a lovey blanket. For a more complete picture, I recommend exploring both versions.
Note: Some of the links on this page are affiliate links. This means I will receive a commission if you order a product through one of my links. I only recommend products I believe in and use myself.
What you will need for making the bunny lovey blanket
Fabric – any soft and fluffy fabric like plush fleece fabric, faux fur with short fibers, cotton flannel, Minky plus quilting cotton fabric. Choose a fabric that doesn’t shed, can be easily washed multiple times, and is soft on the baby’s skin.
- Regular sewing notions
- Embroidery design for the bunny’s head
- Pattern (printable PDF)
Both the pattern and the embroidery designs are offered free to all subscribers to my newsletter in my password protected Resource Library page. If you are a subscriber already, the password is in the emails you received. If you are not a subscriber yet, no problem – please use the below form to sign up!
The project is easy in general but there are some tricky moments: 1. If you choose faux fur you need to know how to sew this fabric because it has a nap. 2. It’s tricky to attach the head – the head is not flat and has to go between two layers of fabric.
Step 1
Make the head of the bunny with an embroidery machine
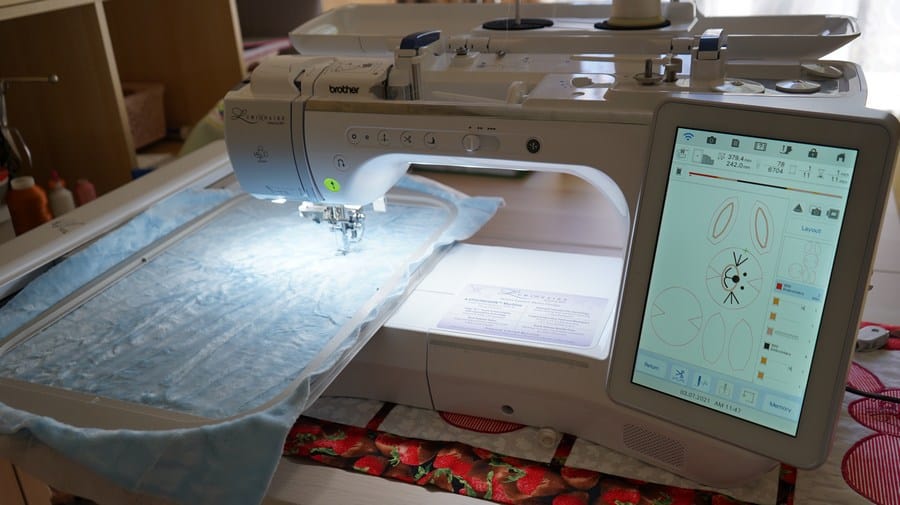
I made the head with my embroidery machine.
Hoop a piece of NO SHOW MESH stabilizer and a piece of fleece or fur TOGETHER.
Load the embroidery design onto your embroidery machine and run the first step – you will make outlines for the head and ears.
Run the applique stitches – the bunny’s nose. I used a small piece of white fabric.
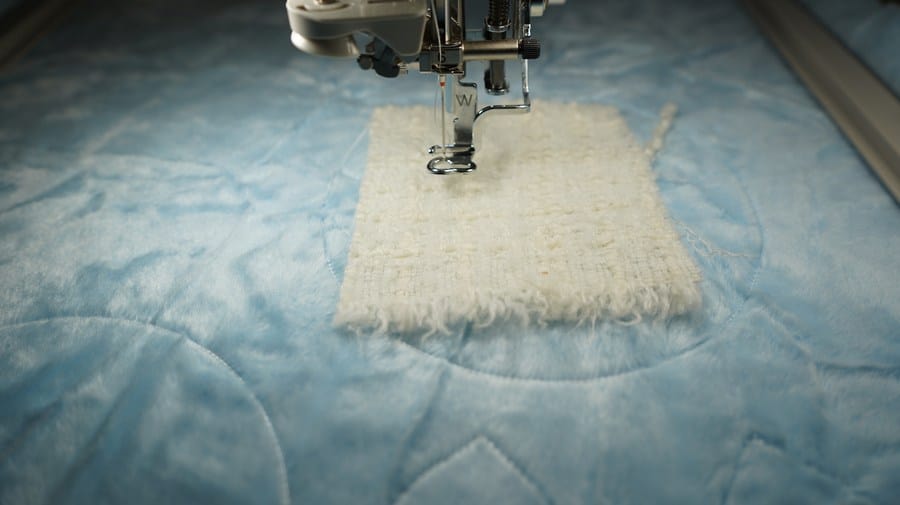
Embroider the face and make appliques on the ears.
✅ Related tutorial: How to applique with an embroidery machine
If you don’t have an embroidery machine you still can make the bunny’s head. Just download the free pattern for the head and ears, cut the pieces from fabric and embroider the mouth, eyes, and nose by hand.
Step 2
Cut the fabric pieces for the bunny lovey
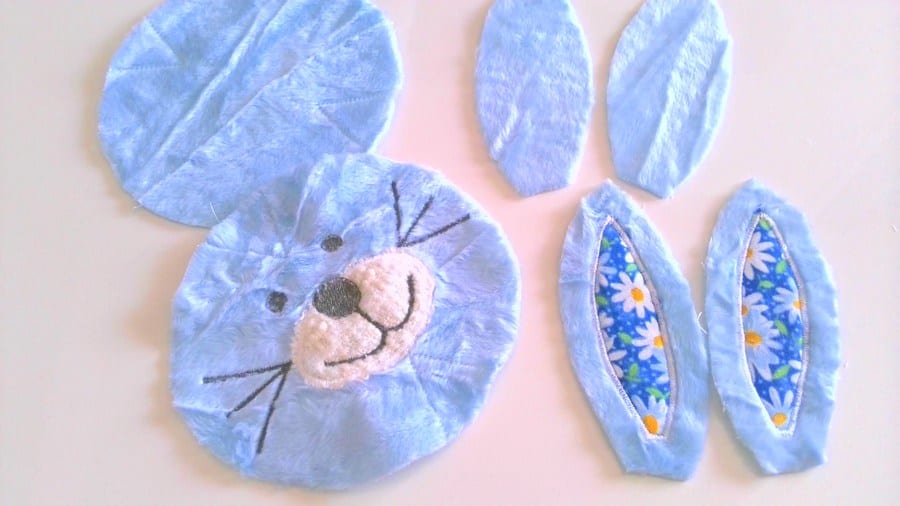
Take the hoop out and cut the head and earpieces right at the stitching lines. Don’t cut the darts though.
Step 3
Sew the bunny’s ears and head
Pin the darts on both headpieces and stitch them. Sew very close to the marked lines (they are marked with embroidery threads) and make sure they stay inside your stitching and don’t show on the right side of the fabric.
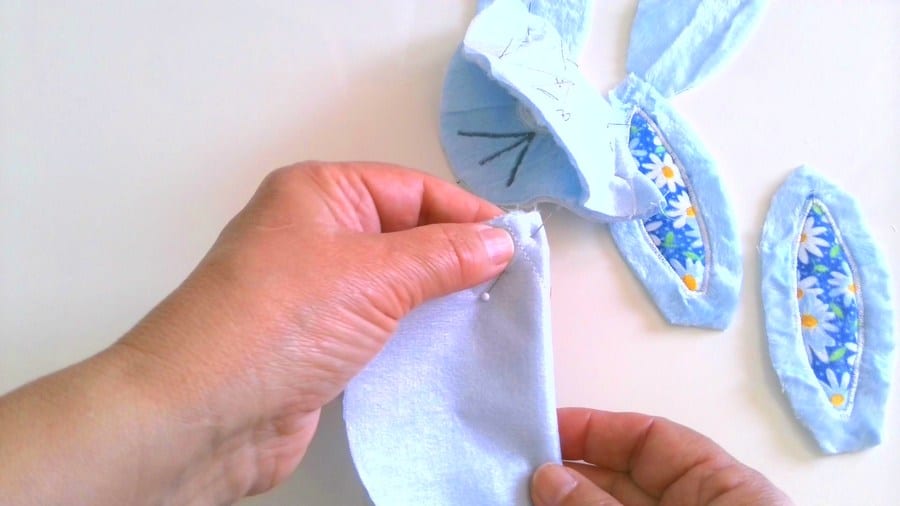
Place ear pieces right sides together and stitch leaving an inch and a half unstitched for turning them right side out. Seam allowances are 1/4 inch.
Pin the ears to the front headpiece.
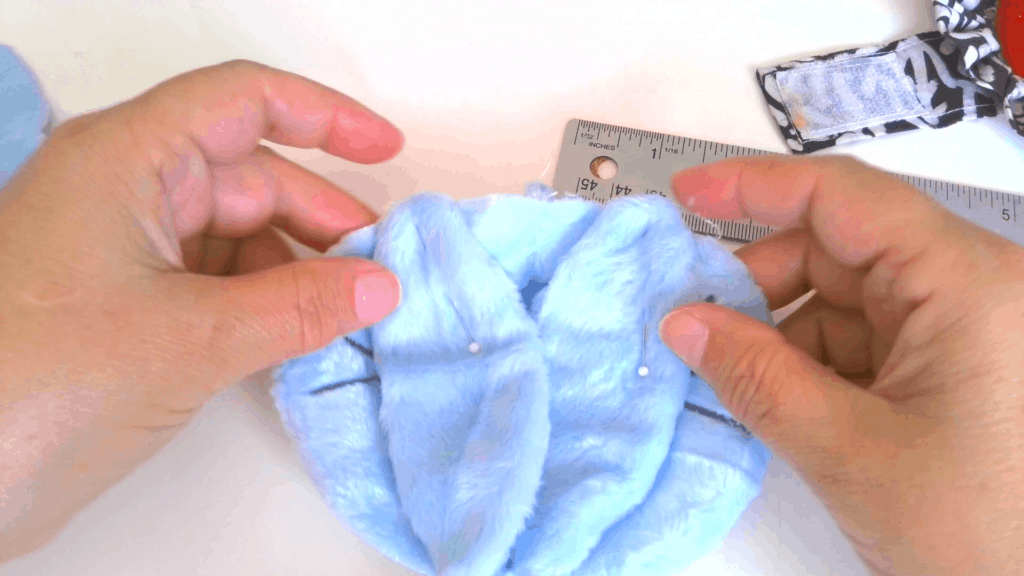
Pin the front and back pieces of the head together and stitch leaving about 2 inches at the bottom unstitched for turning to the right side and for filling the head with foam. Seam allowances are 1/4 inch.
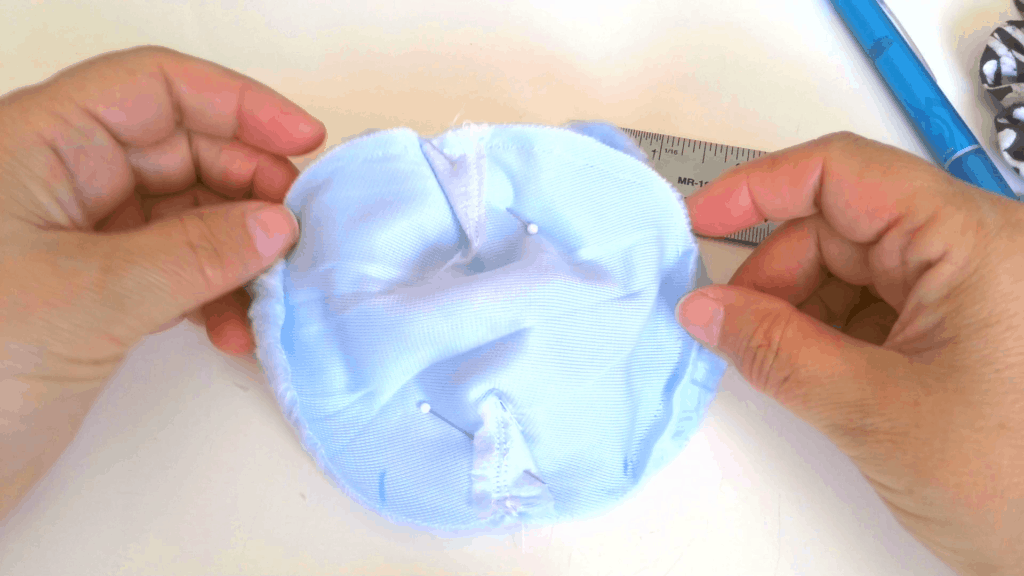
Step 4
Cut the fabric for the bunny’s body to make the security blanket
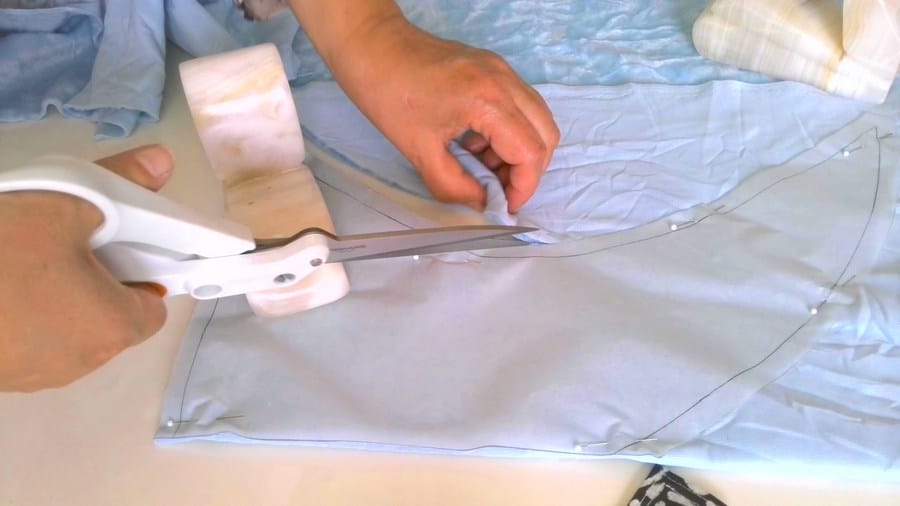
Use the free PDF pattern (free in my password-protected Resource Library for all subscribers). Cut 2 pieces – one from fleece or fur and another one from quilting cotton.
Step 5
Attach the bunny’s head to the body piece
Fill the head with foam and make a stitch closing the opening. It will be easier to attach the head if you do it first.
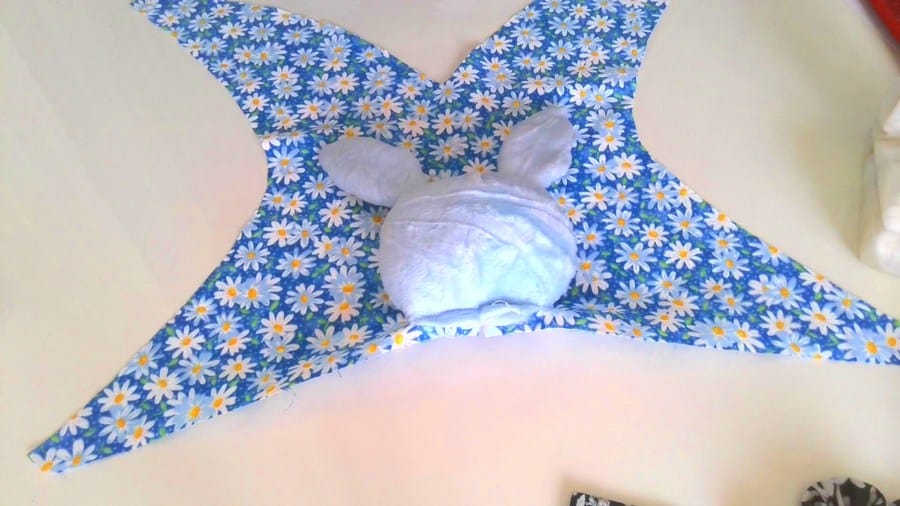
Attach the head to one piece of the body first. The head is not flat and because of this, it’s kind of tricky to sew the head.
Pin it first. Use bigger and stronger pins. Regular pins will bend because you will have a few layers of thick fabric. Make a stitch attaching the head to the body piece.
✅ Related tutorial: Types of sewing pins and their uses: all you need to know about straight pins for sewing
Step 6
Sew the bunny’s body pieces
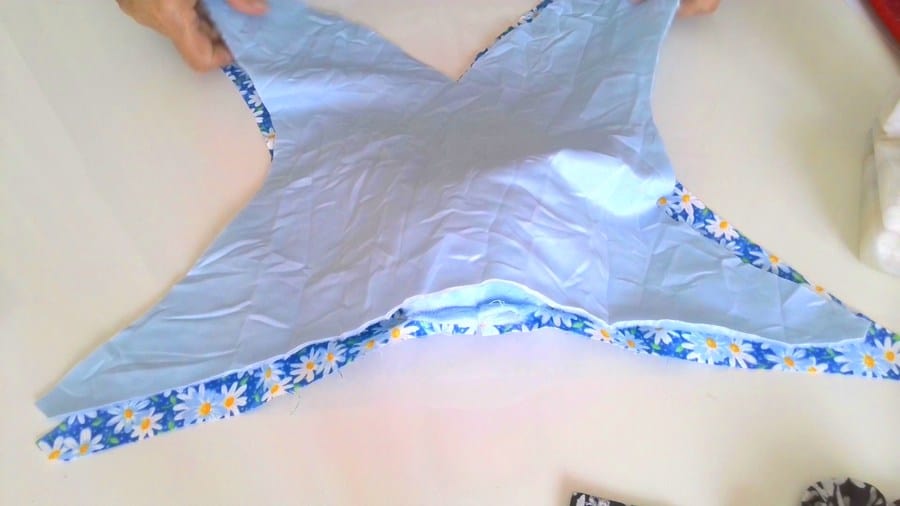
Pin the pieces’ right sides together and stitch leaving an opening for turning the item right side out. The opening should be big enough for the head to go through.
Make small cuts at curved seams (close to the stitches) so no puckering occurs when you turn the bunny right side out. Cut close to stitches at the corners.
Step 7
Finish the bunny lovey blanket
Turn the bunny right side out.
Close all openings by hand sewing – use an invisible stitch.
✅ Related tutorial: How to sew an invisible stitch by hand
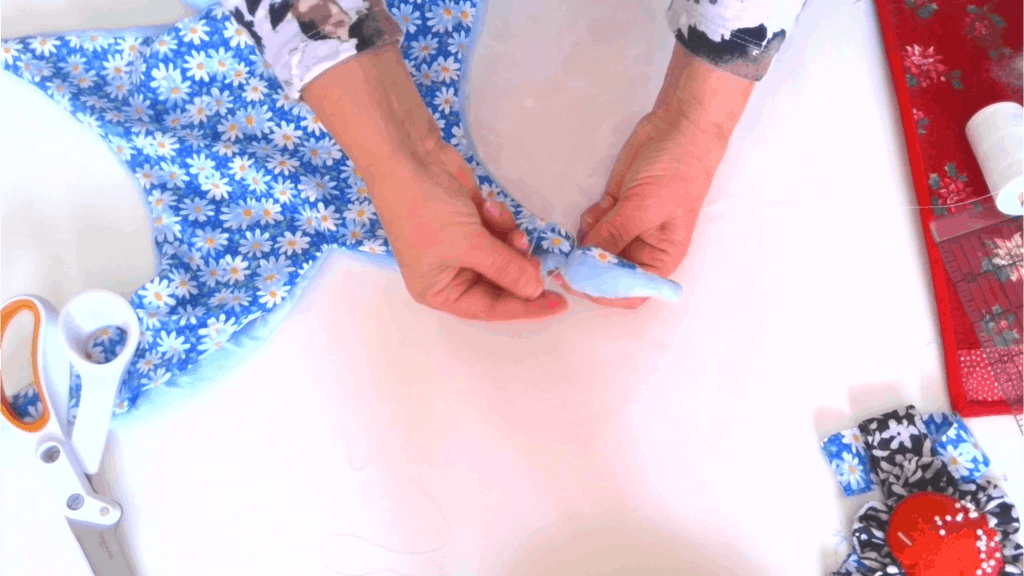
Fill all corners with a small amount of foam and tie using a very strong thread.
So here is my YouTube video. Check this out if you like to see how to make a lovey blanket instead of reading…

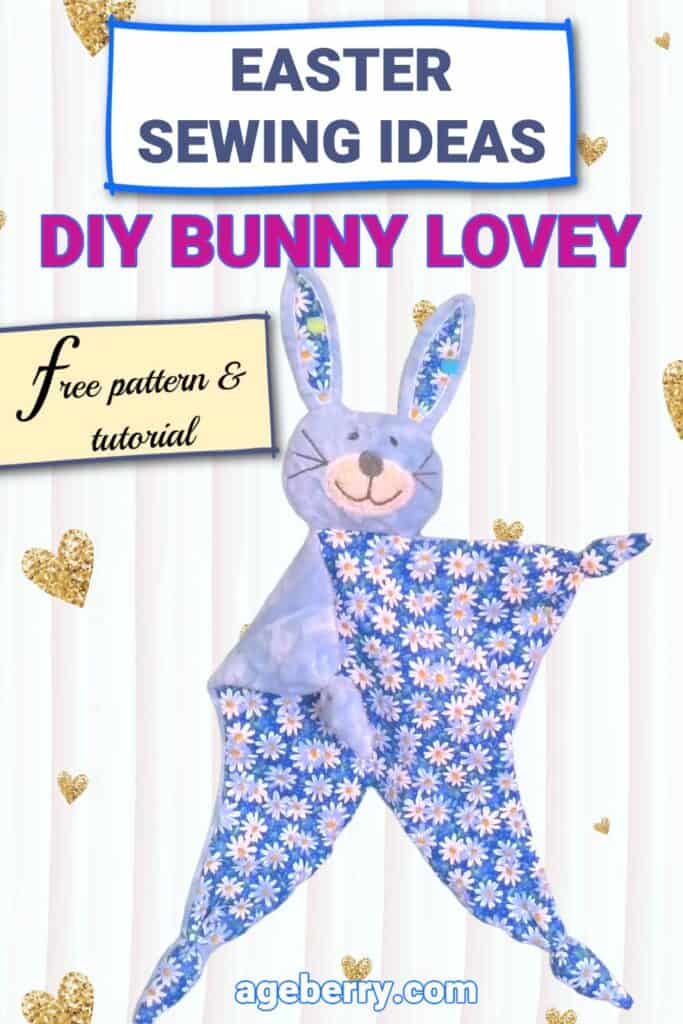
Did you find this tutorial helpful? If so, save this pin (see below) on your sewing board so you can come to this tutorial later when you are ready to make a bunny lovey, and follow me on Pinterest for more tips, tutorials, and inspiration!
Useful Info – Sewing Machine Troubleshooting
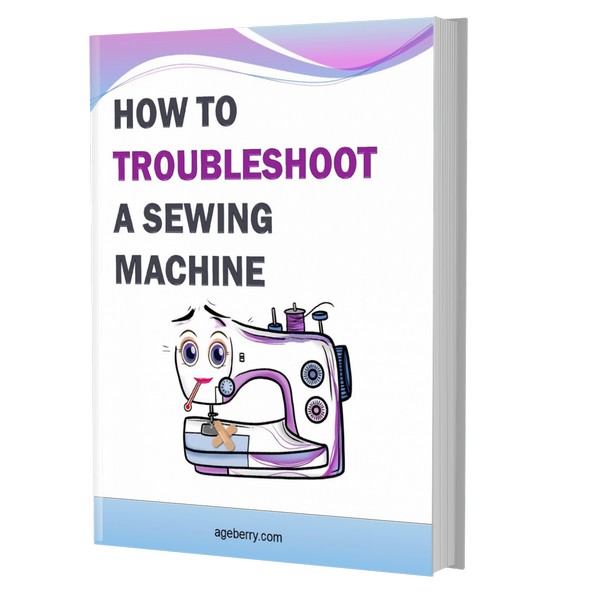
If you own a sewing machine long enough, you’re going to have to figure out how to troubleshoot your sewing machine at some point or another. While some sewing machine problems are preventable, others are inevitable. Learn how to troubleshoot your sewing machine with my printable PDF eBook. Whether you use a traditional sewing machine or a modern computerized one, work through this ebook before thinking about a replacement or going to a service center.

latest posts
- 10 Easy-to-Miss Features on Sewing Supplies You Should Be Using
- Twin Needle Sewing: My First Try Was a Mess, But Here’s What Worked
- 10 Rules That Made Me a Better Sewist
- How to Make a Lightweight Summer Neck Scarf with a Lettuce Hem
- What Sewists Hate About Sewing: Common Complaints and Practical Fixes
- Knit Presser Foot: How It Works, How to Use It, and My Sewing Tests
- How to Sew Neat Mitered Corners at Acute Angles
- Sewing Machine Needle Organization: A Clever System I Tried
- DIY Car Armrest Organizer: Sewing Tutorial

Hello, I don’t have a password to the resource library so I can get pattern to make the bunny lovey. Can you tell me how to acquire this pattern?
Thank you
The password is available to all subscribers to my newsletter and is mentioned in the newsletter itself. But if for any reason you lose it, please contract me directly using the contact link at the bottom of the page.
I subscribed to the newsletter but don’t see a password.
I answered via email.
Good morning I entered the email address as the password but it doesn’t allow me to go into the page. It keeps asking for the password.
Replied by email
I signed up for your newsletter and I didn’t get a password to access the bunny lovey pattern.
Apparently I don’t have a password or I lost it. Could you send me another. Thank you. Beverly
I have answered by email. Thank you.
Hi Olga,
I’m new to sewing and excited to try this project. I subscribed to the newsletter. Do you know how long it will take before I get the password to the site?
Happy sewing!
Sue
@Sue Serafin, the password was already sent in the email (twice) but the emails went probably to spam because they do not seem to be opened. Check the spam folder and make sure you add [email protected] in your contact list to avoid this situation.