
How to perfectly align checkers, stripes and other lines when inserting an invisible zipper
Usually it is quite easy to insert an invisible zipper. But if we have to align checkers, stripes and other lines of separate pattern pieces (like a contoured band or yoke) it can be a problem. In this tutorial I want to show you how to do it easily.

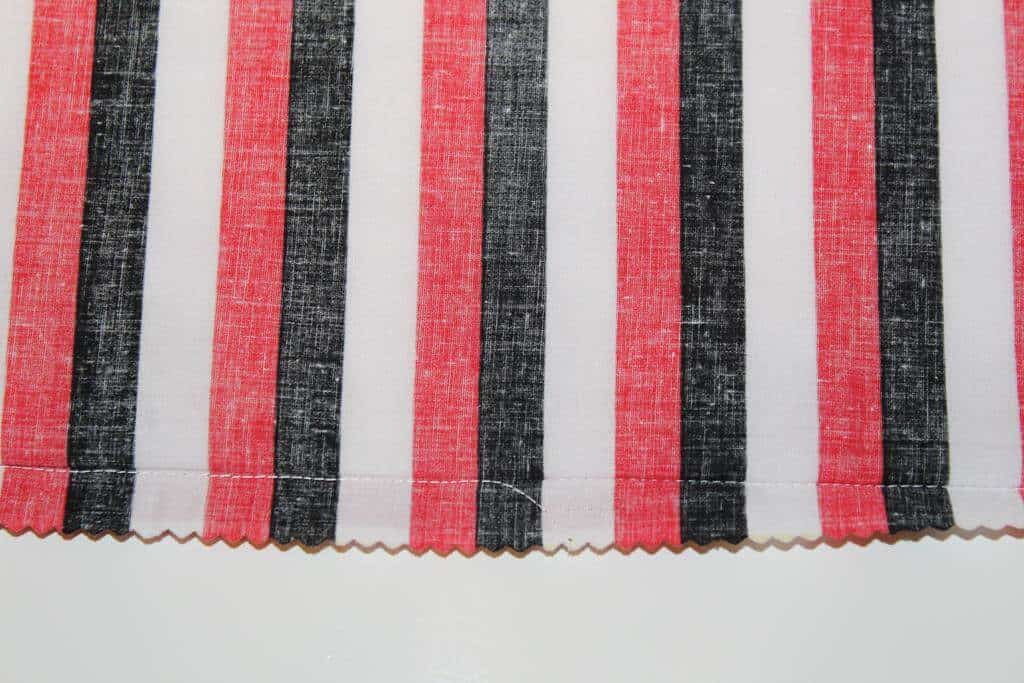
Pin pattern pieces together aligning them in the process.
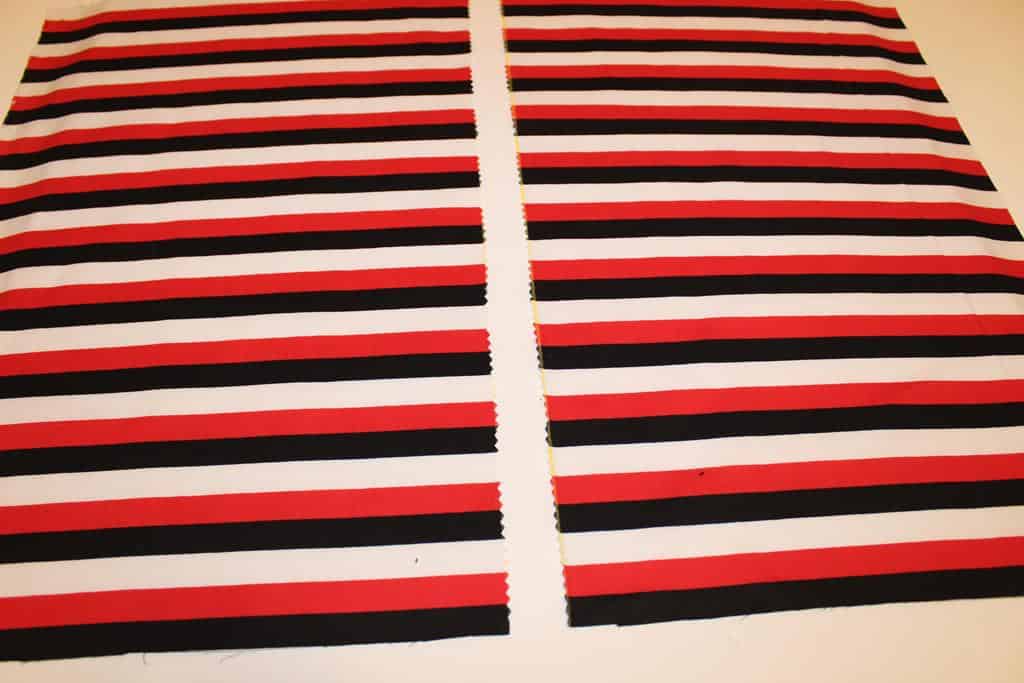


Mark where you want your zipper end.
Most of the time we insert invisible zippers before the seam is stitched together. But in our case we will do differently.

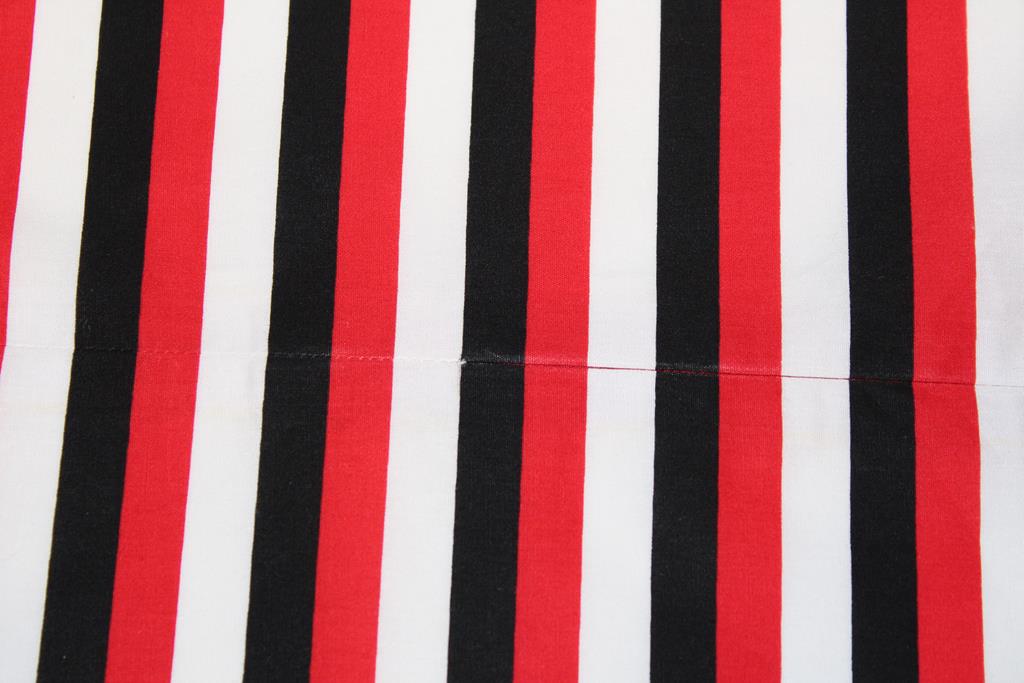
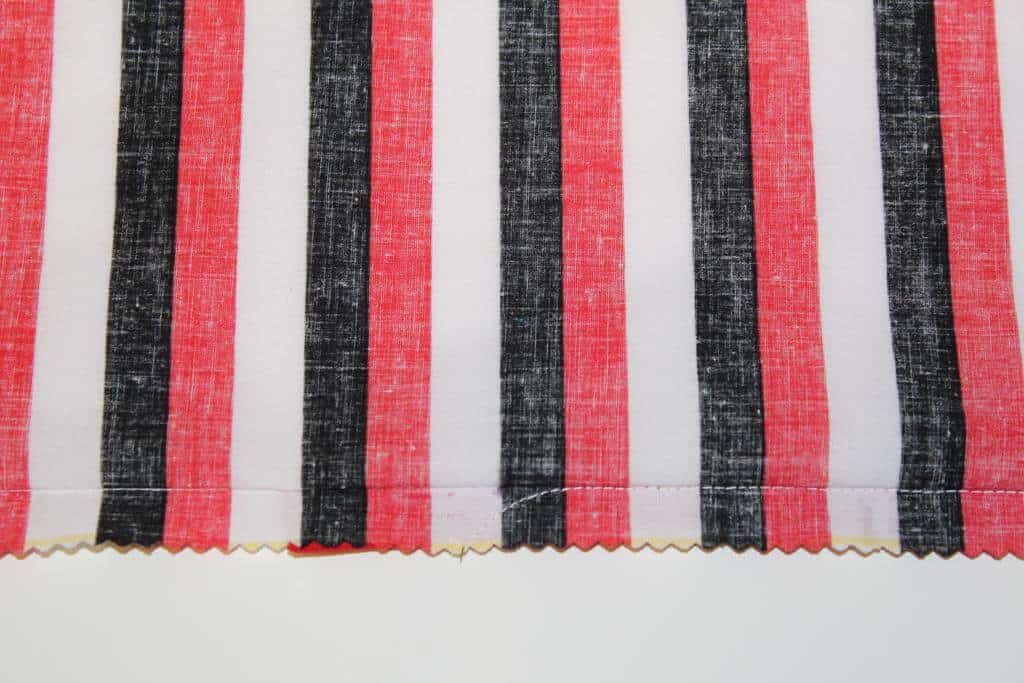
So stitch the seam from the mark down, and don’t forget to secure stitches in the beginning. Check pattern alignment. If it is not good, redo the seam.

Now stitch together the other part of the garment in place where the zipper should be inserted.
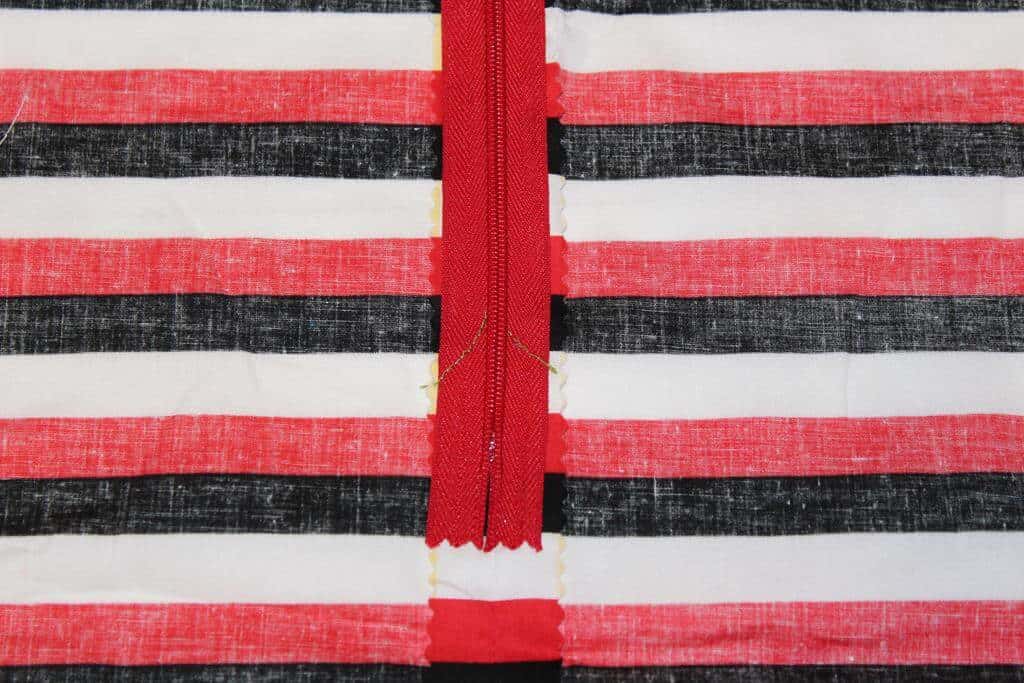
But for this use basting stitches of your sewing machine – put the stitch length at 5mm and tension at 0. In the end you will have to take it out. In this tutorial I even used different color threads. Check alignment. If you pinned pieces properly your alignment should be perfect.


Press your stitches open.


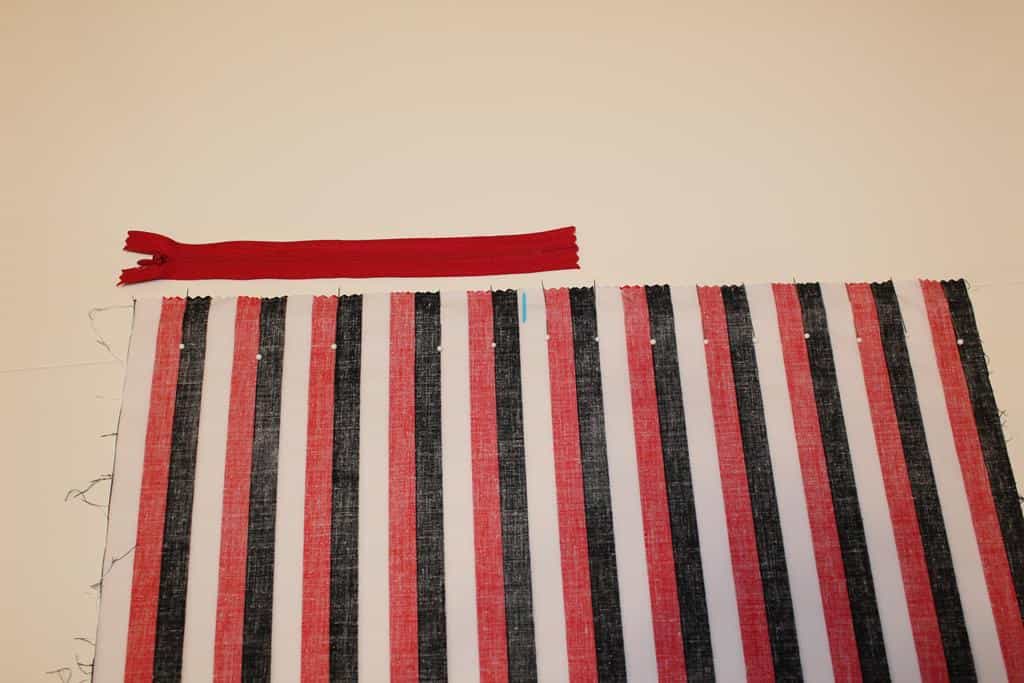
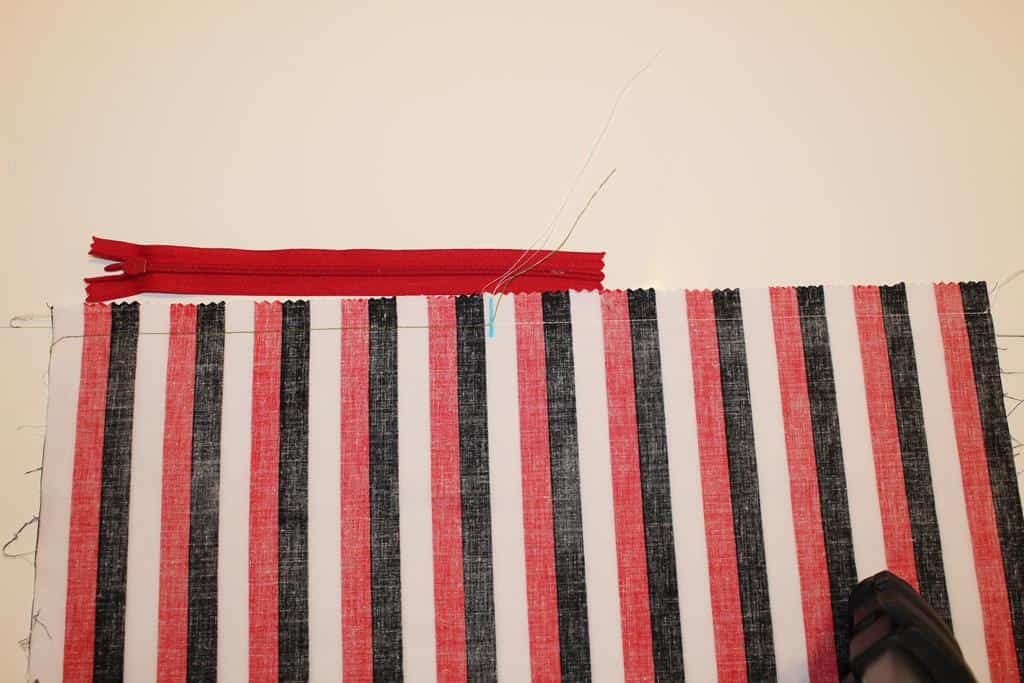
Now pin the invisible zipper to the seam where we put basting stitches. Make sure the center of the zipper is exactly above the seam line.


Change your presser foot. Insert a regular zipper foot, not the one special for invisible zippers.
Move the needle of your sewing machine away from the inside of the zipper foot toward where you want to sew.
Stitch both parts of the zipper with basting stitches. Try to sew as close to the coils as possible. But you don’t need to keep stitches straight. You will have to take them out later.
Stop stitching exactly at the mark you made earlier. Don’t bother to secure stitches. You are just basting the zipper to the seam.


This step is a little tricky. You will have to rip first basting stitches so you can open the zipper. The trickiest part is to open zipper fully to the end going beyond the mark.


Now you are ready to sew the zipper in place. Make necessary machine adjustments – proper stitch length, proper tension, etc. If you want you can use the invisible zipper foot, or you can stitch with the regular zipper foot we already used.


When you almost reach the mark ( 5 mm from the mark) make a little curve as I show in the image and video below. Close the zipper very carefully, pulling the zipper slider through the opening and up. Your zipper should be perfectly aligned.


Take out basting stitches from the zipper. You are almost done!

Press the seam flat from the right side of the garment.


And in the end you will have to anchor the bottom of the zipper to the seam allowance using just a regular foot of your machine. Make few stitches on each side of the zipper and secure them in place.

latest posts
- What Do You Call a Person Who Sews? I Asked My Readers and Got 1,408 Opinions
- DIY Round Purse: PDF Sewing Pattern and Detailed Instructions
- Mini Wonder Clips By Clover: Useful Sewing Tool Or Just Another Notion?
- Non-Slip Grips For Quilting Rulers: A Small Notion With A Useful Job
- Fabric Eraser for Sewing: What It Removes and When to Use It
- What Is The Best Thread For Sewing Machine Projects? Let’s Find Out!
- Butterfly Quilt Block Tutorial – Foundation Paper Piecing
- How To Sew Quilt Squares So The Corners Match
- Sewing With Fork Pins: How They Help With Pattern Matching, Slippery Fabric, And Seams


I’m definitely going to try this method for all invisible zip applications.They are the bane of my life!!
Thanks! I was doing this for many years and it worked for me every single time. No ripping and no tears. I hope it will work for you also. I would like to hear from you again when you try this method.
Interesting technique!